Introduction
Welcome to the world of delicious comfort food made easy with the help of an electric pressure cooker! If you’re a fan of classic chicken potpie but always found it time-consuming to prepare, worry no more. In this article, we will guide you through the steps to make a mouthwatering chicken potpie using your trusty electric pressure cooker.
Chicken potpie is a timeless dish that combines tender chicken, a medley of vegetables, and a savory gravy, all encased in a flaky pie crust. Traditionally, making chicken potpie involved a significant amount of time and effort, but with an electric pressure cooker, the process becomes much simpler, without compromising on taste.
Whether you’re a busy professional or a novice chef, using an electric pressure cooker to make chicken potpie allows you to enjoy this classic comfort food without spending hours in the kitchen. The pressure cooker not only cuts down on the cooking time but also intensifies the flavors, resulting in a rich and satisfying meal.
In this article, we will walk you through the step-by-step process of preparing chicken potpie using an electric pressure cooker. From preparing the chicken and sautéing the vegetables to cooking under pressure and assembling the pie crust, we’ve got you covered.
So, grab your electric pressure cooker and let’s dive into the world of chicken potpie that is both convenient and delicious!
Ingredients
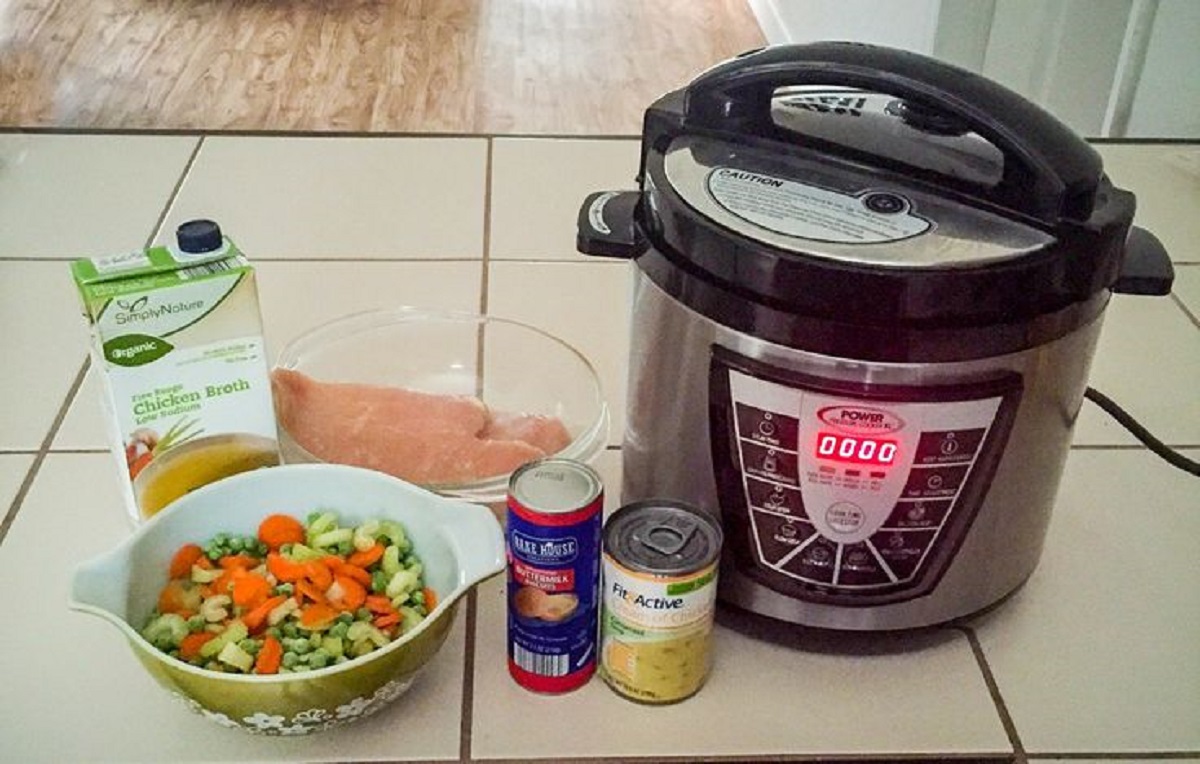
Making chicken potpie with an electric pressure cooker requires a handful of ingredients that are easily available. Here’s what you’ll need:
- 2 pounds of chicken breasts or thighs, boneless and skinless
- 1 tablespoon of olive oil
- 1 medium-sized onion, diced
- 2 carrots, diced
- 2 celery stalks, diced
- 3 cloves of garlic, minced
- 1 teaspoon of dried thyme
- 1 teaspoon of dried rosemary
- 1 teaspoon of salt
- ½ teaspoon of black pepper
- 4 cups of chicken broth
- 1 cup of frozen peas
- ½ cup of heavy cream
- 2 tablespoons of cornstarch (for thickening)
- 2 tablespoons of water
- 1 package of refrigerated pie crusts
Note: You can customize the recipe by adding other vegetables like mushrooms or potatoes based on your preference.
These ingredients form the foundation of a flavorful chicken potpie made using an electric pressure cooker. Feel free to adjust the seasonings according to your taste, and make sure to buy high-quality chicken for the best results.
Once you have gathered all the necessary ingredients, it’s time to start cooking our delicious chicken potpie in the electric pressure cooker. Follow along for step-by-step instructions!
Step 1: Prepare the Chicken
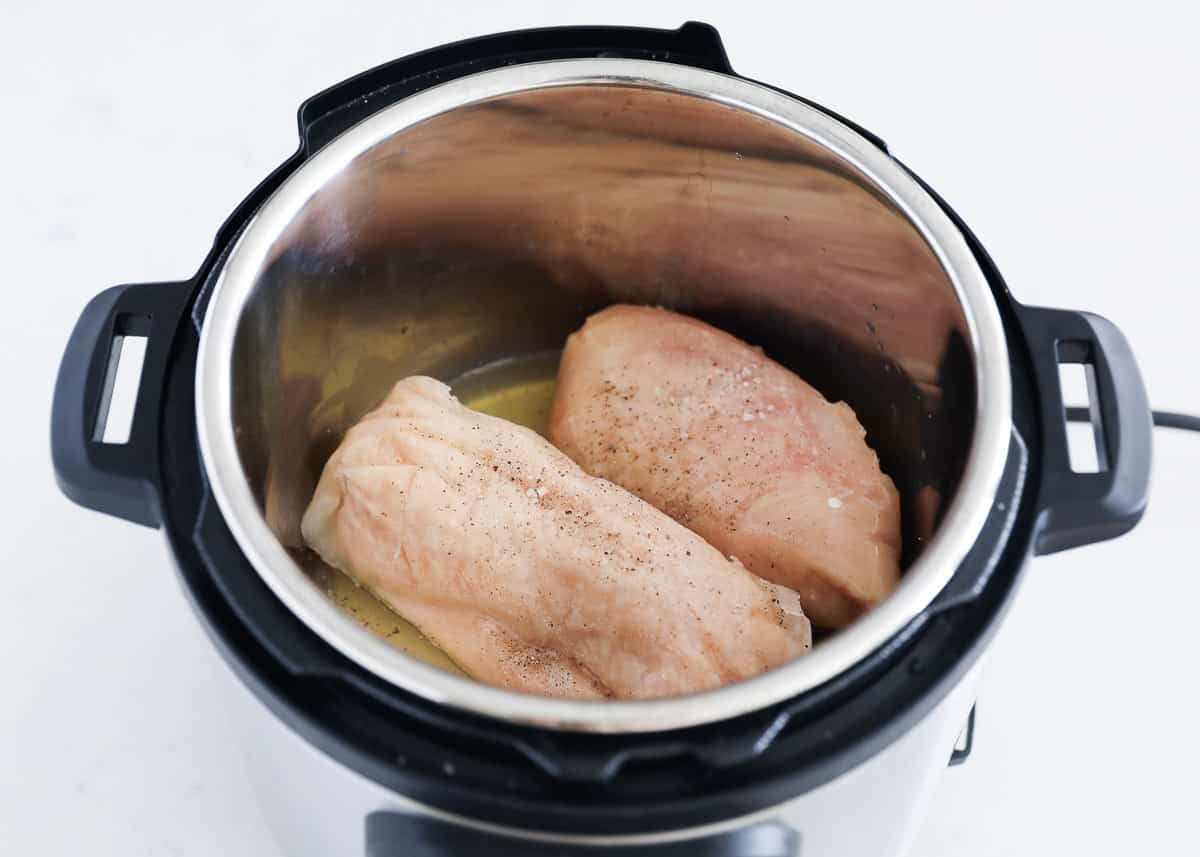
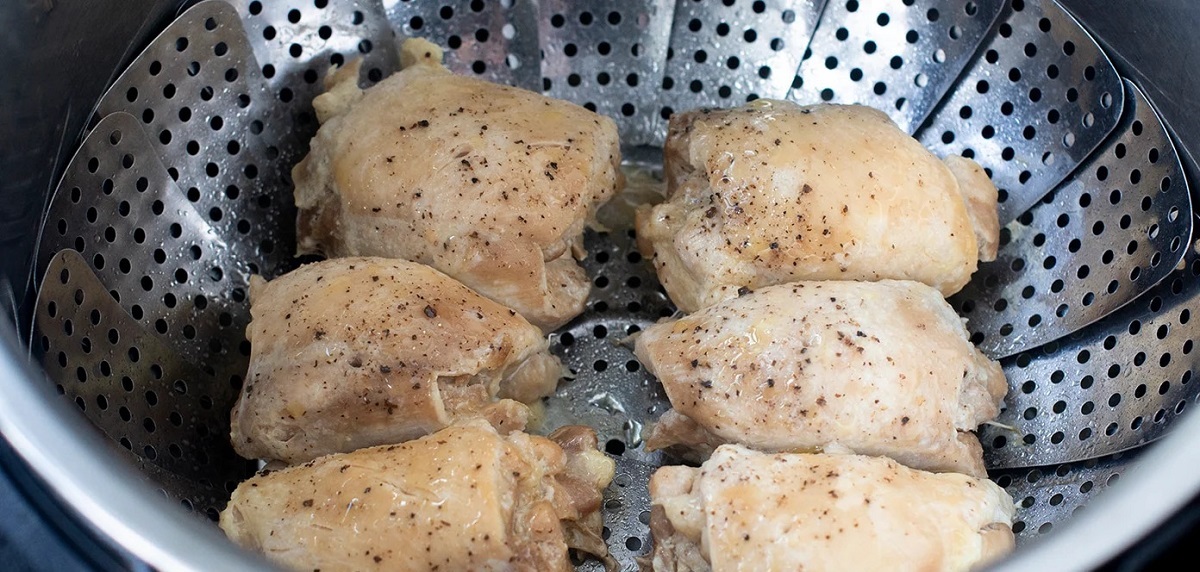
The first step in making a delectable chicken potpie with an electric pressure cooker is to prepare the chicken. Follow these simple instructions:
- Start by trimming any excess fat from the chicken breasts or thighs. You want to remove any visible skin and fatty portions.
- Once trimmed, cut the chicken into bite-sized pieces. This will ensure that the chicken cooks evenly and provides perfect tenderness in every bite.
- Season the chicken pieces with salt and black pepper. This will add flavor to the meat and enhance the overall taste of the potpie.
Preparing the chicken beforehand allows it to absorb the seasonings, resulting in a delicious and well-flavored filling for your potpie.
Once the chicken is ready, move on to the next step of sautéing the vegetables. This will add a depth of flavor to the potpie filling and create a rich and aromatic base for the dish.
Remember, the key to a successful chicken potpie lies in the quality of the ingredients and the preparation techniques. By taking the time to properly prepare the chicken, you’re ensuring a tasty and satisfying meal at the end.
Step 2: Sauté the Vegetables
After preparing the chicken, it’s time to sauté the vegetables to create a flavorful base for your chicken potpie. Follow these steps to achieve a delicious vegetable medley:
- Heat the electric pressure cooker on the Sauté mode and add olive oil to the pot.
- Once the oil is heated, add the diced onion, carrots, celery, and minced garlic. Sauté them for 3-4 minutes or until the vegetables are slightly softened.
- As the vegetables cook, the enticing aroma will fill your kitchen, setting the stage for a mouthwatering chicken potpie.
- Add the dried thyme, dried rosemary, salt, and black pepper to the sautéed vegetables. These herbs and seasonings will elevate the flavor profile of the potpie and create a well-rounded taste experience.
- Continue stirring the vegetables and spices for another minute, allowing the flavors to meld together.
The sautéed vegetables not only contribute to the overall taste of the potpie but also add texture and color to the dish. They provide a delightful contrast to the tender chicken and creamy gravy.
With the vegetables sautéed to perfection, it’s time to move on to the next step of adding the chicken and broth to the electric pressure cooker, where the magic truly begins to unfold.
Step 3: Add the Chicken and Broth
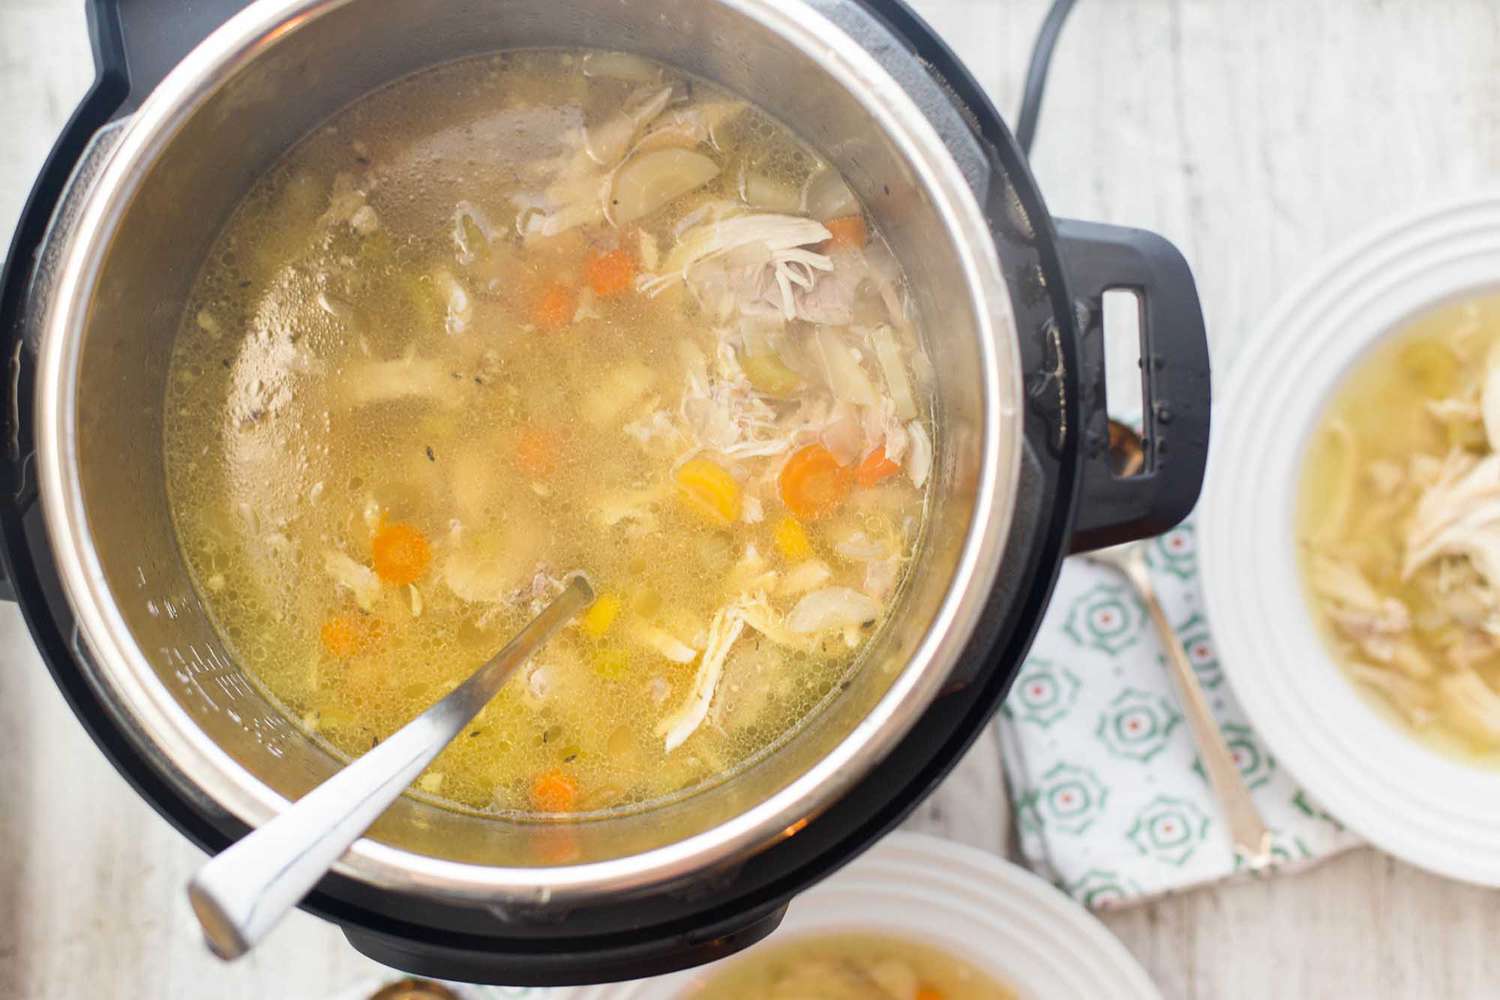
After sautéing the vegetables, it’s time to add the chicken and the flavorful broth to the electric pressure cooker. Follow these steps to continue building the scrumptious filling for your chicken potpie:
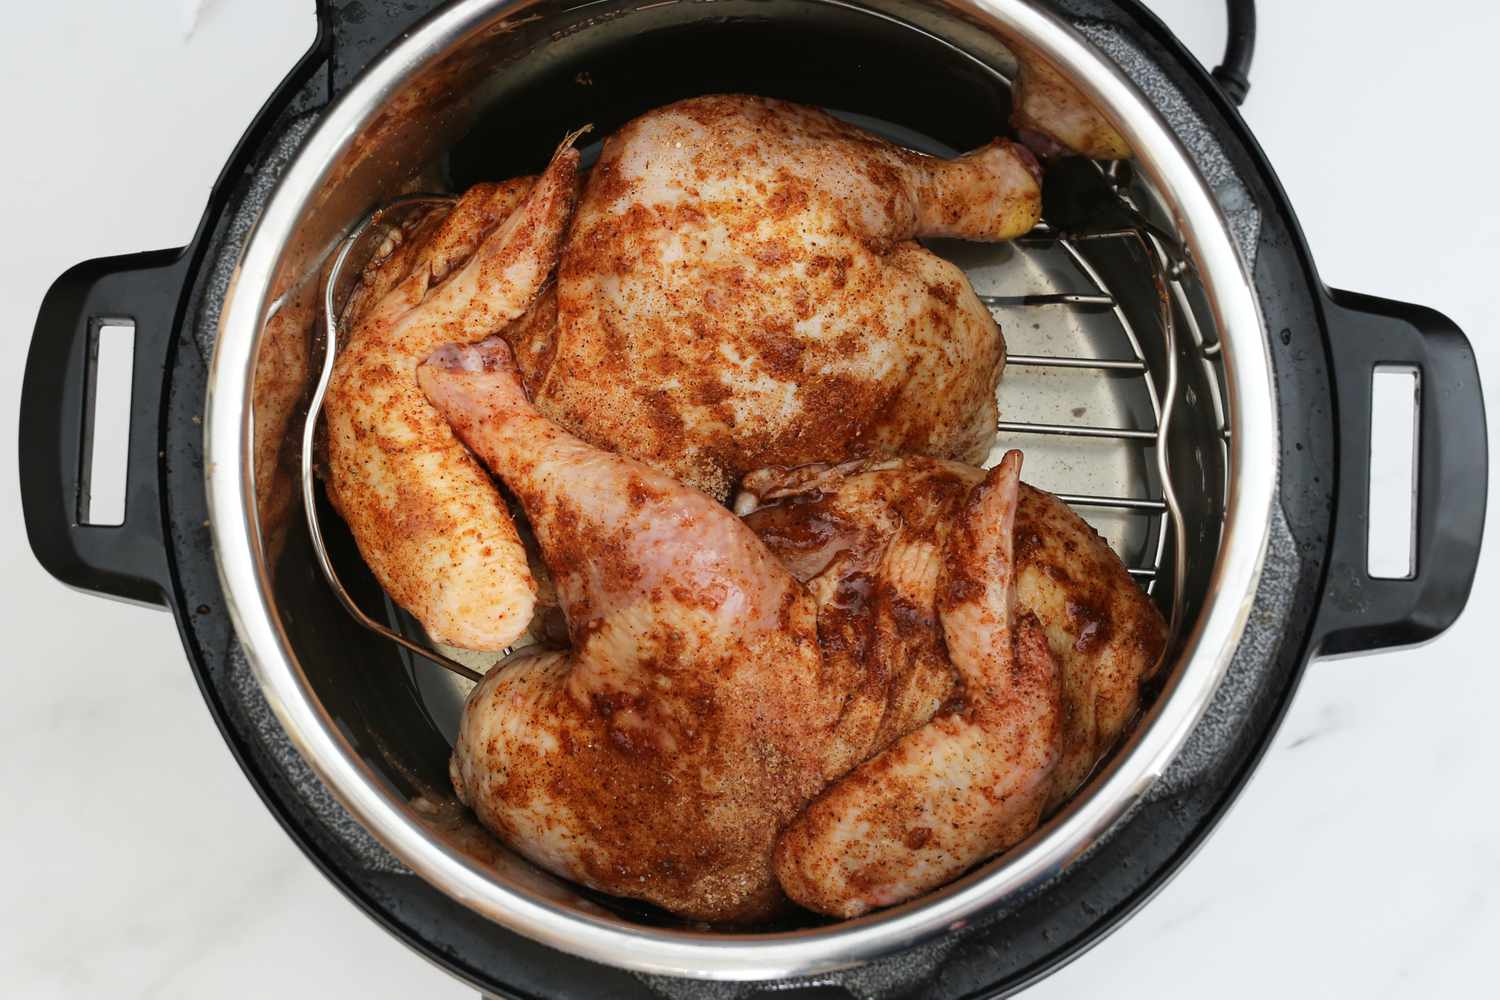
- Add the seasoned chicken pieces to the pot with the sautéed vegetables. Make sure to distribute them evenly to ensure even cooking.
- Pour in the chicken broth, making sure it covers the chicken and vegetables without exceeding the maximum fill line of your electric pressure cooker.
- The chicken broth will infuse the potpie filling with savory flavors as it cooks under pressure, resulting in a luscious and fragrant dish.
- Gently stir all the ingredients together to combine. This will ensure that the chicken and vegetables are coated with the delicious broth, contributing to the overall taste and consistency of the filling.
Adding the chicken and broth is a crucial step in building the foundation of your chicken potpie. The chicken will cook to tender perfection, soaking up the flavors of the broth and blending harmoniously with the sautéed vegetables.
With all the ingredients in the pot, it’s time to seal the lid and move on to the exciting process of pressure cooking, which will transform the ingredients into a delectable filling for your chicken potpie.
Step 4: Pressure Cook the Potpie
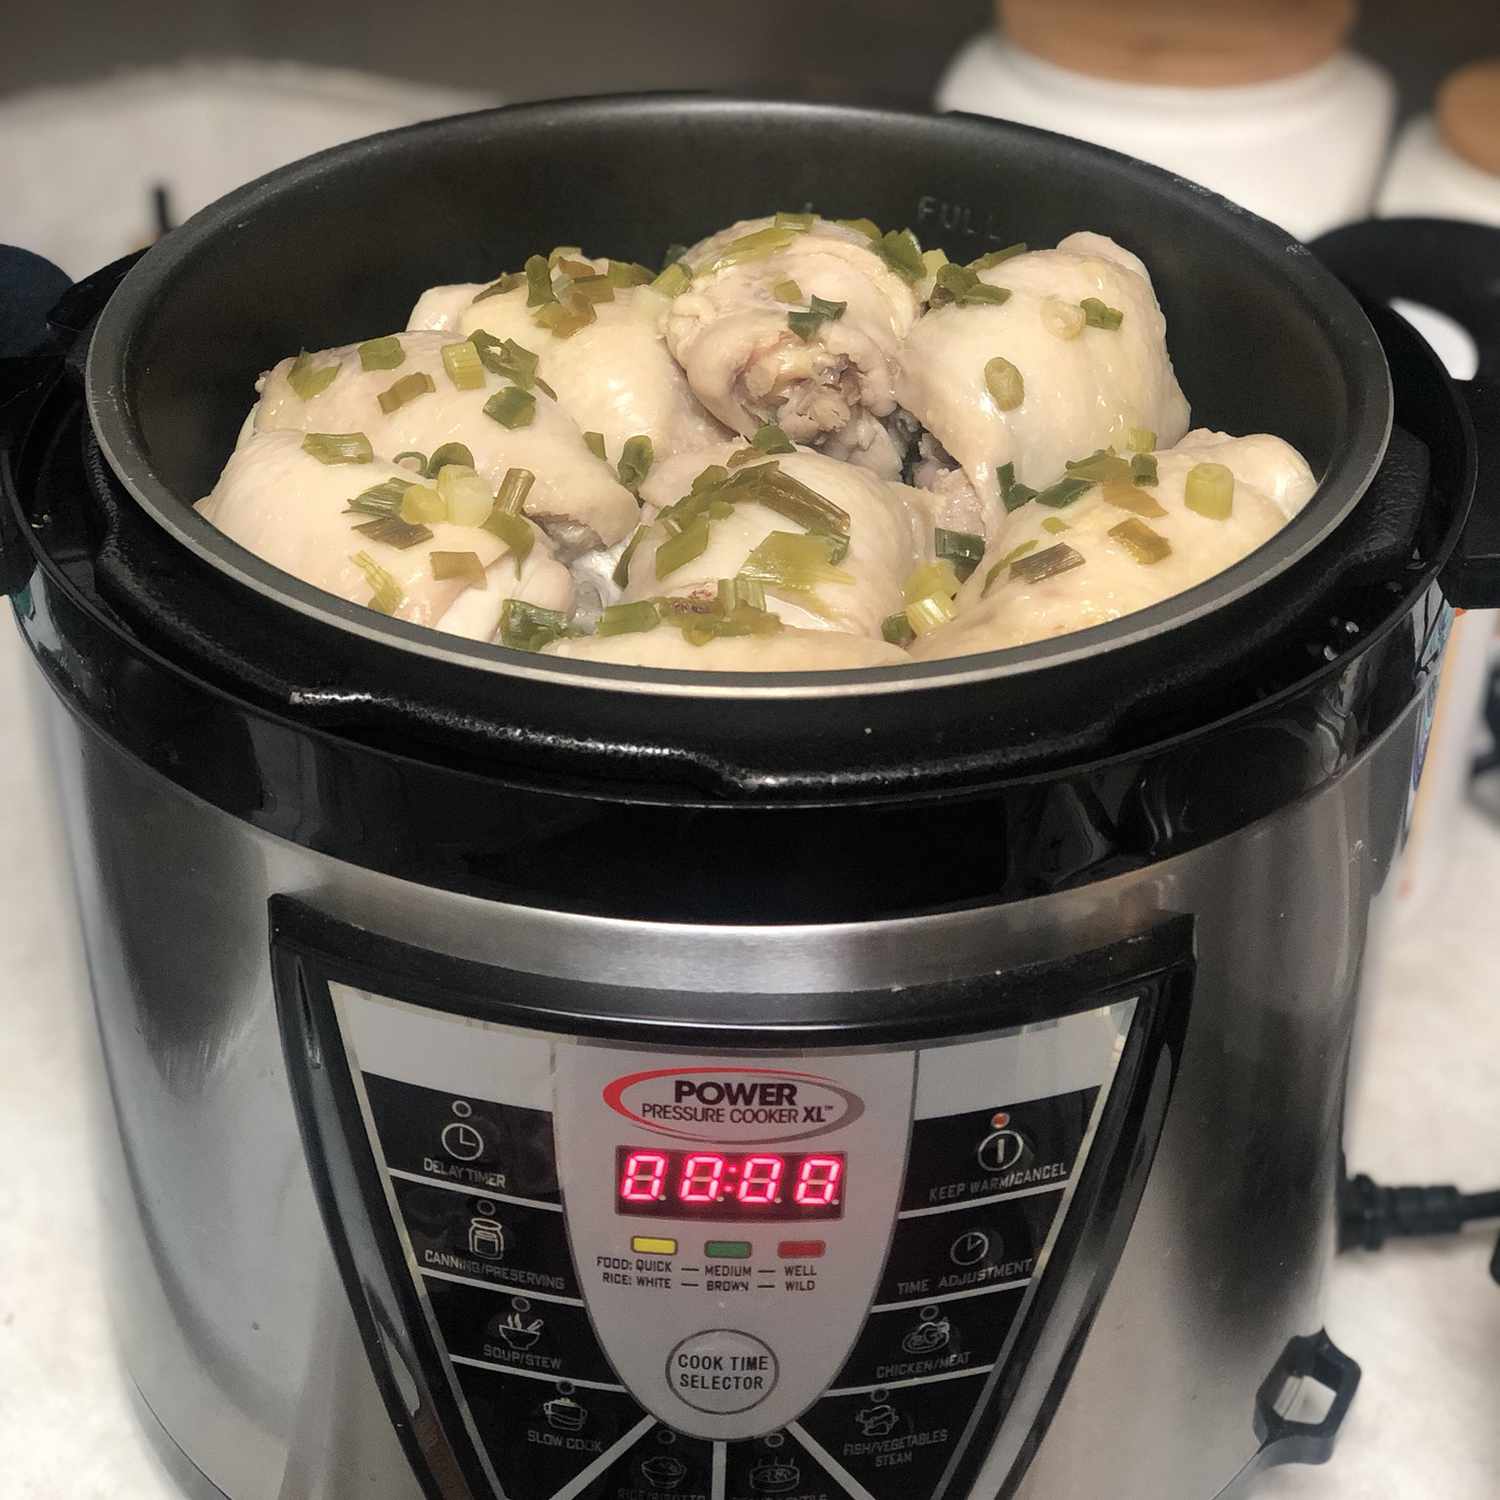
Once the chicken and broth are added to the electric pressure cooker, it’s time to lock in the flavors and cook the filling to perfection. Follow these steps to pressure cook your chicken potpie:
- Ensure that the lid is securely locked on the electric pressure cooker. Set the cooker to the desired pressure cooking mode, usually high pressure.
- Adjust the cooking time according to the manufacturer’s instructions or the recipe you’re following. Typically, pressure cooking chicken potpie filling takes around 8-10 minutes.
- As the pressure builds up inside the cooker, the ingredients will cook faster, allowing you to enjoy a flavorful potpie in a fraction of the time.
- Once the cooking time is complete, carefully release the pressure either by using the quick pressure release or natural pressure release method, as recommended by your electric pressure cooker’s instructions.
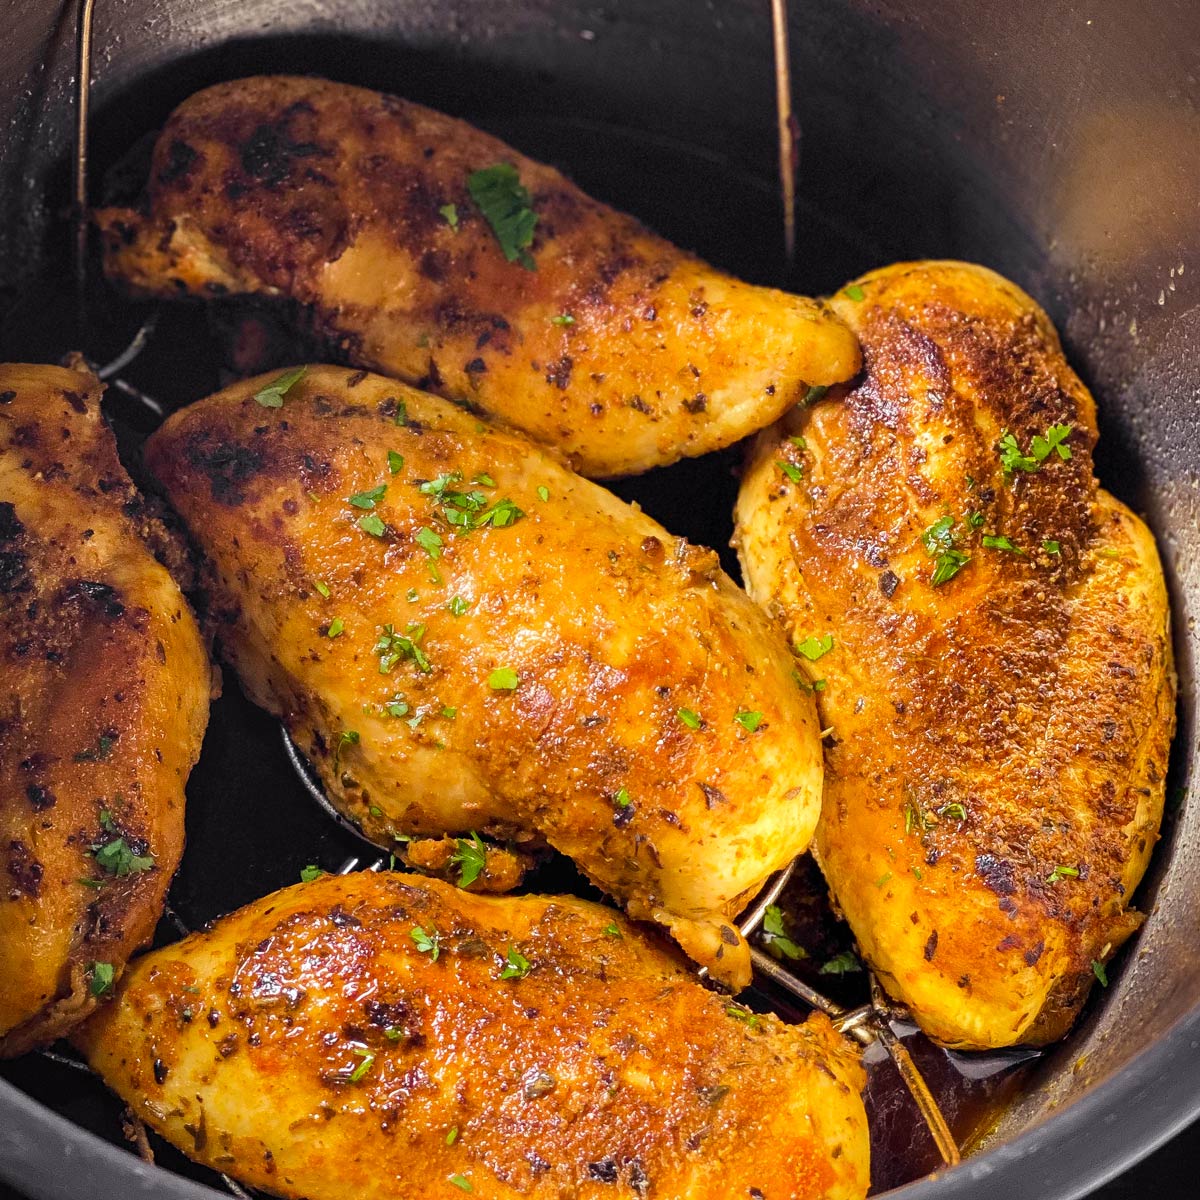
Pressure cooking infuses the chicken and vegetables with intense flavors while keeping the moisture locked in, resulting in a tender and delicious filling for your potpie.
Remember to follow the specific instructions provided by your electric pressure cooker’s manufacturer for safe operation and optimal cooking results.
Now that the pressure has been released, it’s time to move on to the next step of thickening the potpie filling, creating that lusciously creamy texture that will make your taste buds sing.
Step 5: Release the Pressure and Add the Thickener
After pressure cooking the chicken potpie filling, it’s time to release the pressure and add a thickener to create a rich and creamy texture. Follow these steps to achieve the desired consistency for your potpie:
- Depending on your electric pressure cooker, use the quick pressure release method or the natural pressure release method to release the pressure. Follow the instructions provided by the manufacturer for safe and proper pressure release.
- Once the pressure has been released, carefully remove the lid from the electric pressure cooker. Be cautious of any remaining steam and hot liquid.
- In a separate bowl, whisk together the cornstarch and water to create a slurry. This mixture will help thicken the potpie filling.
- Add the slurry to the pot and stir well to combine with the chicken and vegetable mixture. The slurry will gradually thicken the filling, creating a velvety texture.
- Allow the potpie filling to simmer for a few minutes, stirring occasionally, until it reaches your desired thickness. The thickener will enhance the gravy and give your potpie filling that classic creamy consistency.
Adding the thickener is an essential step that transforms the liquid-based filling into a sumptuous, rich, and velvety sauce that will coat the chicken and vegetables perfectly.
Once the potpie filling has reached the desired thickness, it’s time to move on to the next step of adding the final ingredients – peas and cream.
Step 6: Add in the Peas and Cream
As we near the final steps of creating a delicious chicken potpie in an electric pressure cooker, it’s time to add the finishing touches to the filling. Follow these steps to incorporate the peas and cream into your potpie:
- Add the frozen peas to the potpie filling. The heat from the filling will thaw and cook the peas to perfection. Stir gently to distribute the peas evenly throughout the mixture.
- Next, pour in the heavy cream. The cream adds a luscious and creamy element to the filling, further enhancing the overall flavor and texture of the potpie.
- Stir well to combine the peas, cream, and the rest of the filling. Make sure all the ingredients are thoroughly mixed together, creating a harmonious blend of flavors.
- Allow the potpie filling to simmer for a few minutes, allowing the flavors to meld together while the cream adds richness and depth to the sauce.
The addition of peas and cream brings a pop of color, freshness, and creamy goodness to your chicken potpie. The peas provide a burst of sweetness, while the cream adds a luxurious and silky texture.
With the peas and cream added, the filling is now complete and ready to be assembled into a delightful chicken potpie. The next step involves preparing and baking the pie crust to create the perfect vessel for your delicious filling.
Step 7: Assemble and Bake the Pie Crust
Now that your chicken potpie filling is ready, it’s time to assemble and bake the pie crust to create a golden and flaky topping for your dish. Follow these steps to complete your chicken potpie:
- Preheat your oven to the temperature specified on the package of your refrigerated pie crusts or according to your recipe.
- Prepare your pie dish by lightly greasing it to prevent the crust from sticking. This will ensure easy serving once the potpie is baked.
- Unroll one pie crust and gently press it into the bottom and sides of the prepared pie dish. Trim any excess crust hanging over the edges.
- Poke the bottom of the crust with a fork to prevent it from bubbling up during baking.
- If desired, you can blind bake the crust for a few minutes before adding the filling. This helps create a crispier bottom crust.
- Alternatively, if using a second pie crust for a covered potpie, set it aside for now.
The pie crust serves as the delicious and flaky casing for your chicken potpie filling. It adds a satisfying crunch and a beautiful presentation to the dish.
The next step involves filling the pie crust with the prepared chicken potpie filling, completing the assembly before it goes into the oven for a final bake.
Step 8: Fill the Crust with the Chicken Potpie Mixture
With the pie crust prepared and the oven preheated, it’s time to fill the crust with the delicious chicken potpie mixture that you’ve created. Follow these steps to complete the assembly:
- Carefully pour the prepared chicken potpie filling into the unbaked pie crust, ensuring that it is evenly distributed.
- Level out the filling with a spoon or spatula, making sure it is packed tightly and reaches the edges of the crust.
- If using a second pie crust, gently place it on top of the filled pie, sealing the edges with the bottom crust. Cut slits or create decorative vents on the top crust to allow steam to escape during baking.
- If only using a single pie crust, leave the filling exposed at the top.
- For added visual appeal, you can brush the top crust with a beaten egg or milk, which will give it a beautiful golden color when baked.
Filling the crust with the chicken potpie mixture is the key step to completing your potpie. The filling should be packed generously to create a hearty and satisfying dish.
Once the pie crust is filled, it’s time to transfer the assembled potpie to the oven and let it bake to perfection.
Step 9: Serve and Enjoy!
Congratulations! You’ve successfully made a delicious chicken potpie using an electric pressure cooker. The final step is to serve and enjoy your culinary masterpiece. Follow these steps to complete your chicken potpie experience:
- Carefully remove the baked chicken potpie from the oven and place it on a cooling rack or heat-resistant surface to cool slightly.
- Allow the potpie to rest for a few minutes before serving. This will help the filling set and make it easier to slice and portion.
- Once cooled slightly, use a sharp knife to cut through the crispy and golden crust, revealing the steamy, savory filling inside.
- Spoon out generous portions of the chicken potpie onto individual serving plates or bowls.
- Garnish with fresh herbs, such as chopped parsley or thyme, to add a burst of color and freshness. These herbs will complement the flavors of the potpie perfectly.
- Serve your chicken potpie with a side salad or steamed vegetables to complete the meal.
As you take your first bite, savor the delightful combination of tender chicken, flavorful vegetables, and creamy sauce, all nestled inside a flaky and buttery crust. The comforting flavors and textures will warm your soul and satisfy your taste buds.
Enjoy the heartwarming meal with your family and friends, sharing the joy of a homemade chicken potpie made with love and precision. This dish is perfect for any occasion – from cozy family gatherings to potluck dinners.
Now that you’ve mastered the art of making chicken potpie with an electric pressure cooker, don’t hesitate to experiment with different variations. Add your favorite herbs, spices, or even different types of protein to create unique and personalized potpie creations.
Remember, the satisfaction and enjoyment of a well-made meal like chicken potpie go far beyond the mere act of eating. It’s about creating memories, bringing people together, and indulging in the simple pleasures of good food shared with loved ones.
So, serve up your delicious chicken potpie, savor every bite, and relish in the collective satisfaction of a homemade meal done right. Bon appétit!