Introduction
Welcome to the world of electric pressure cooking! If you’re looking to whip up some delicious and tender chicken thighs, your electric pressure cooker is about to become your new best friend. With the ability to cook food up to 70% faster than traditional methods, pressure cooking is not only convenient but also produces amazing results.
Chicken thighs are a flavorful and versatile cut of meat that can be enjoyed in a multitude of recipes. Whether you’re planning to make a savory chicken curry, a mouthwatering barbecue dish, or simply want to enjoy some juicy chicken thighs with your favorite sides, using an electric pressure cooker will help you achieve tender, succulent results every time.
In this article, we’ll explore the optimal cooking time for chicken thighs in an electric pressure cooker, as well as provide you with some handy tips and tricks along the way. From preparation to cooking and serving, we’ve got you covered.
So, let’s dive in and learn how to cook the most delectable chicken thighs in your electric pressure cooker!
Choosing the right cooking time for tender chicken thighs
When it comes to cooking chicken thighs in an electric pressure cooker, getting the cooking time right is crucial. Undercooking the thighs will leave them tough and chewy, while overcooking them will result in dry and stringy meat. But fear not, as we’re here to guide you in selecting the perfect cooking time to achieve tender and succulent chicken thighs every time.
The general rule of thumb for cooking chicken thighs in an electric pressure cooker is to cook them for around 8 to 10 minutes per pound. However, this can vary depending on the size and thickness of the thighs, as well as personal preference for doneness.
If you prefer your chicken thighs to be fall-off-the-bone tender, you can opt for a slightly longer cooking time, such as 12 minutes per pound. On the other hand, if you prefer your thighs to have a bit of firmness, you can reduce the cooking time to 6-8 minutes per pound.
It’s important to note that cooking times can also vary based on the pressure level of your electric pressure cooker. Most recipes call for cooking chicken thighs at high pressure, which is typically around 10-15 psi (pounds per square inch). This higher pressure helps to speed up the cooking process and ensures thorough cooking.
However, if your pressure cooker has different pressure settings, such as low and high pressure, adjust the cooking time accordingly. For example, if cooking at low pressure, you may need to increase the cooking time to ensure the chicken thighs are fully cooked through.
Remember, the cooking time provided is just a guideline, and you may need to adjust it based on your specific electric pressure cooker and personal preference. It’s always a good idea to refer to the instruction manual of your pressure cooker for any specific guidelines.
In the next section, we’ll discuss how to properly prepare the chicken thighs before pressure cooking to enhance their flavor and ensure even cooking.
Preparing the chicken thighs for pressure cooking
Before you start cooking your chicken thighs in the electric pressure cooker, it’s important to properly prepare them to ensure maximum flavor and even cooking. Here are some simple steps to follow:
- Trim excess fat: Begin by trimming any excess fat from the chicken thighs. While a little fat adds flavor, too much can result in a greasy end result.
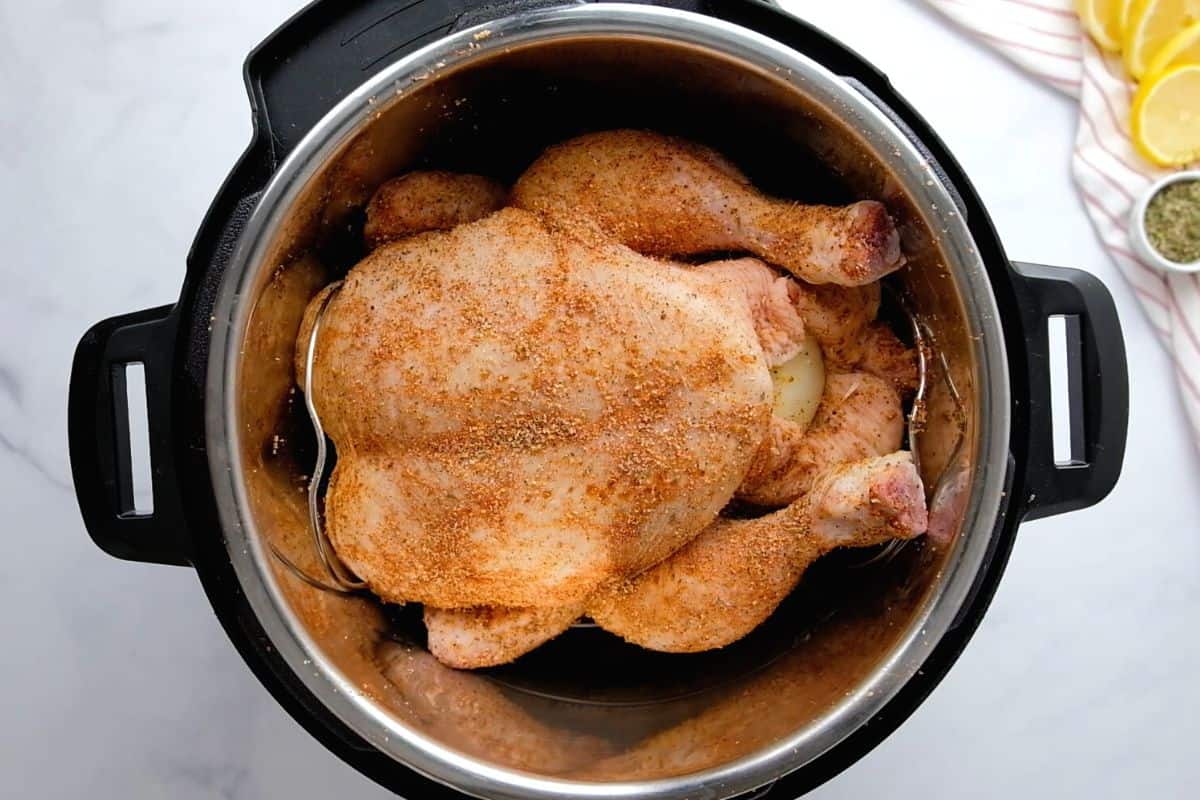
- Season the chicken: To infuse the chicken thighs with flavor, season them with your favorite herbs and spices. A simple combination of salt, pepper, garlic powder, and paprika is always a great starting point.
- Marinate (optional): If time permits, marinating the chicken thighs can enhance their flavor and tenderness. You can use a marinade of your choice, such as a tangy teriyaki sauce or a zesty lemon and herb mixture. Allow the chicken thighs to marinate in the refrigerator for at least 30 minutes, or overnight for more intense flavor.
- Let the chicken thighs come to room temperature: It’s best to let the chicken thighs sit at room temperature for about 15-30 minutes before cooking. This allows for more even cooking and helps to prevent the meat from becoming tough.
Once you’ve prepared the chicken thighs, it’s time to set up your electric pressure cooker and get ready to cook. We’ll cover the steps for setting up the pressure cooker in the next section.
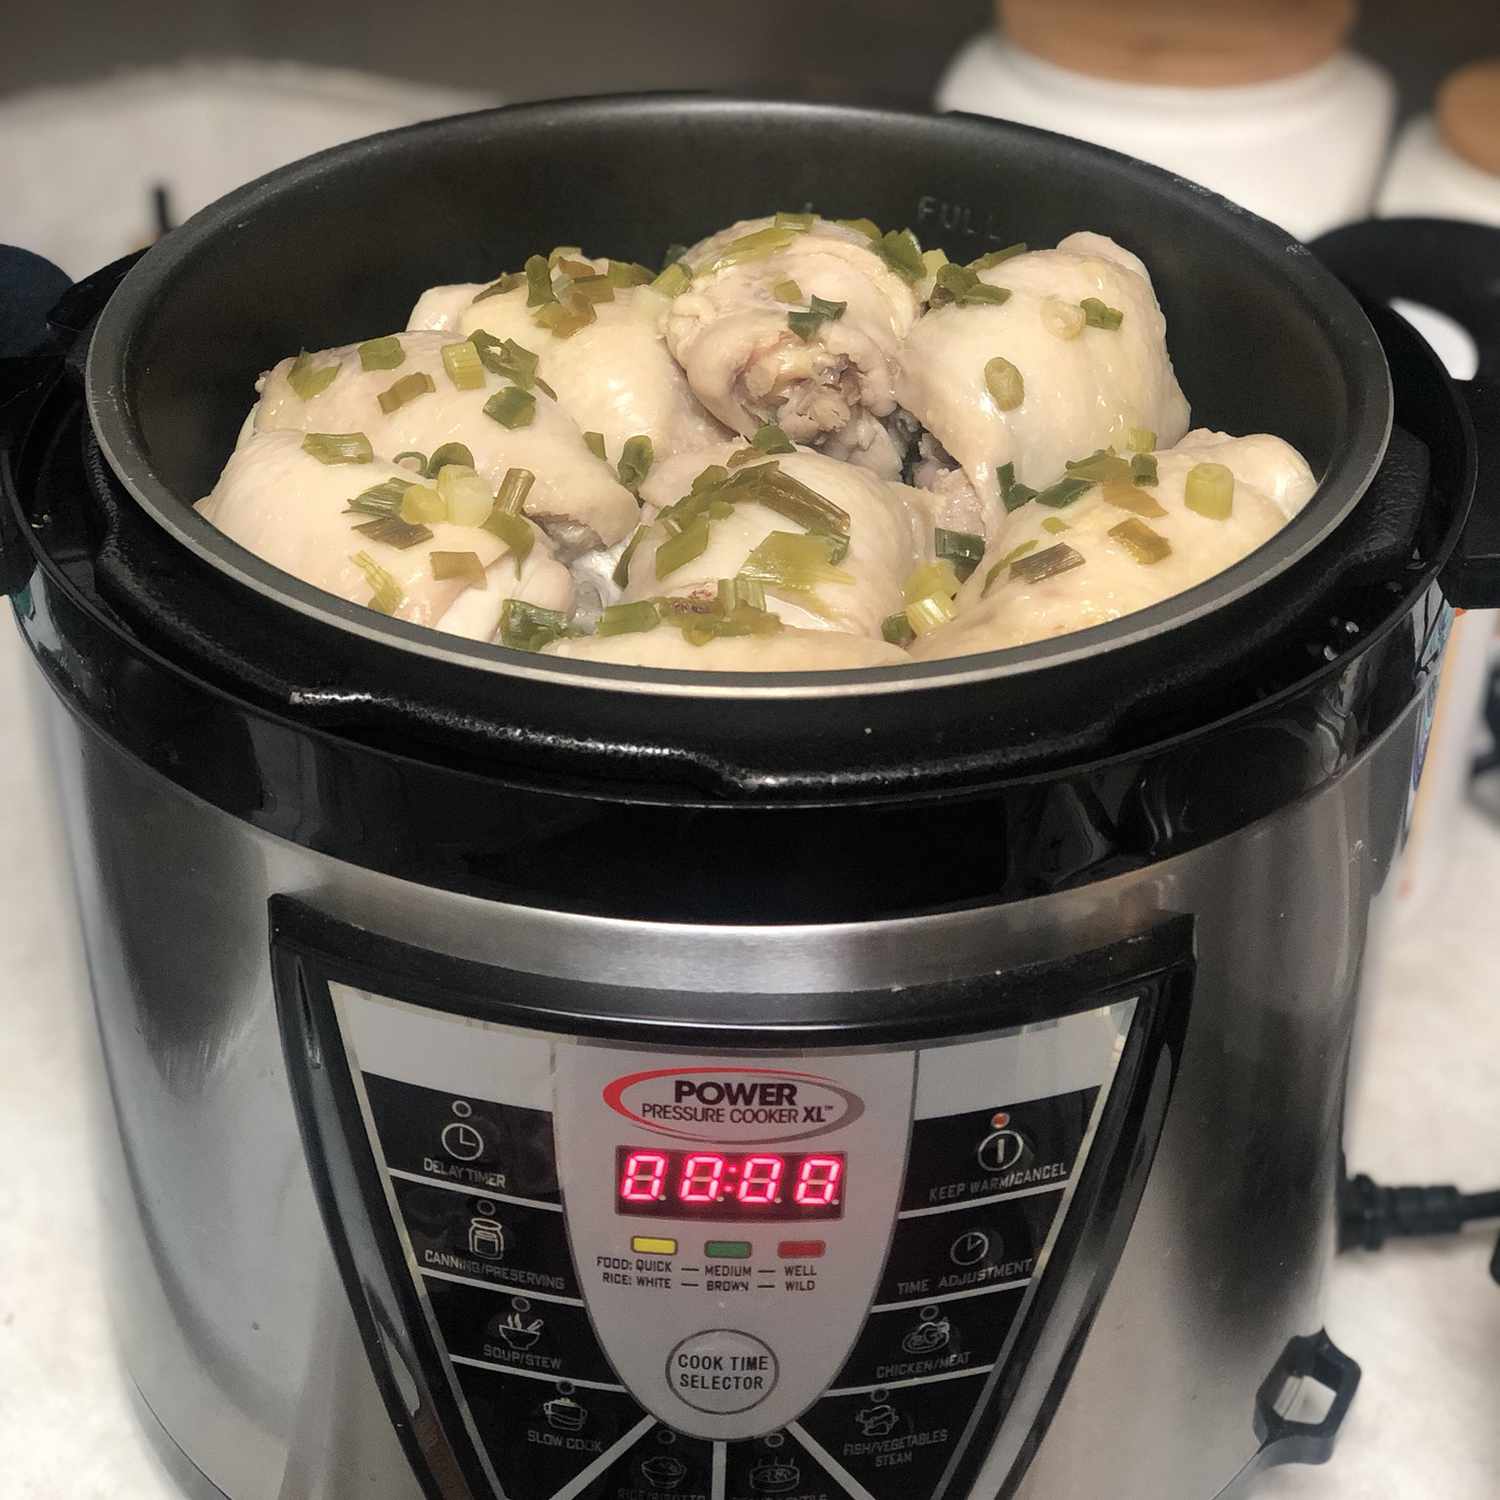
Setting up your electric pressure cooker
Before you start cooking your chicken thighs, make sure to properly set up your electric pressure cooker. Follow these steps to ensure a smooth and safe cooking experience:
- Read the instruction manual: Familiarize yourself with the specific instructions and safety precautions outlined in the manual of your electric pressure cooker. Different models may have slightly different settings or procedures, so it’s important to follow the manufacturer’s guidelines.
- Ensure a tight seal: Check the rubber sealing ring on the inside of the lid to make sure it is clean and properly fitted. A tight seal is essential for achieving and maintaining pressure during cooking.
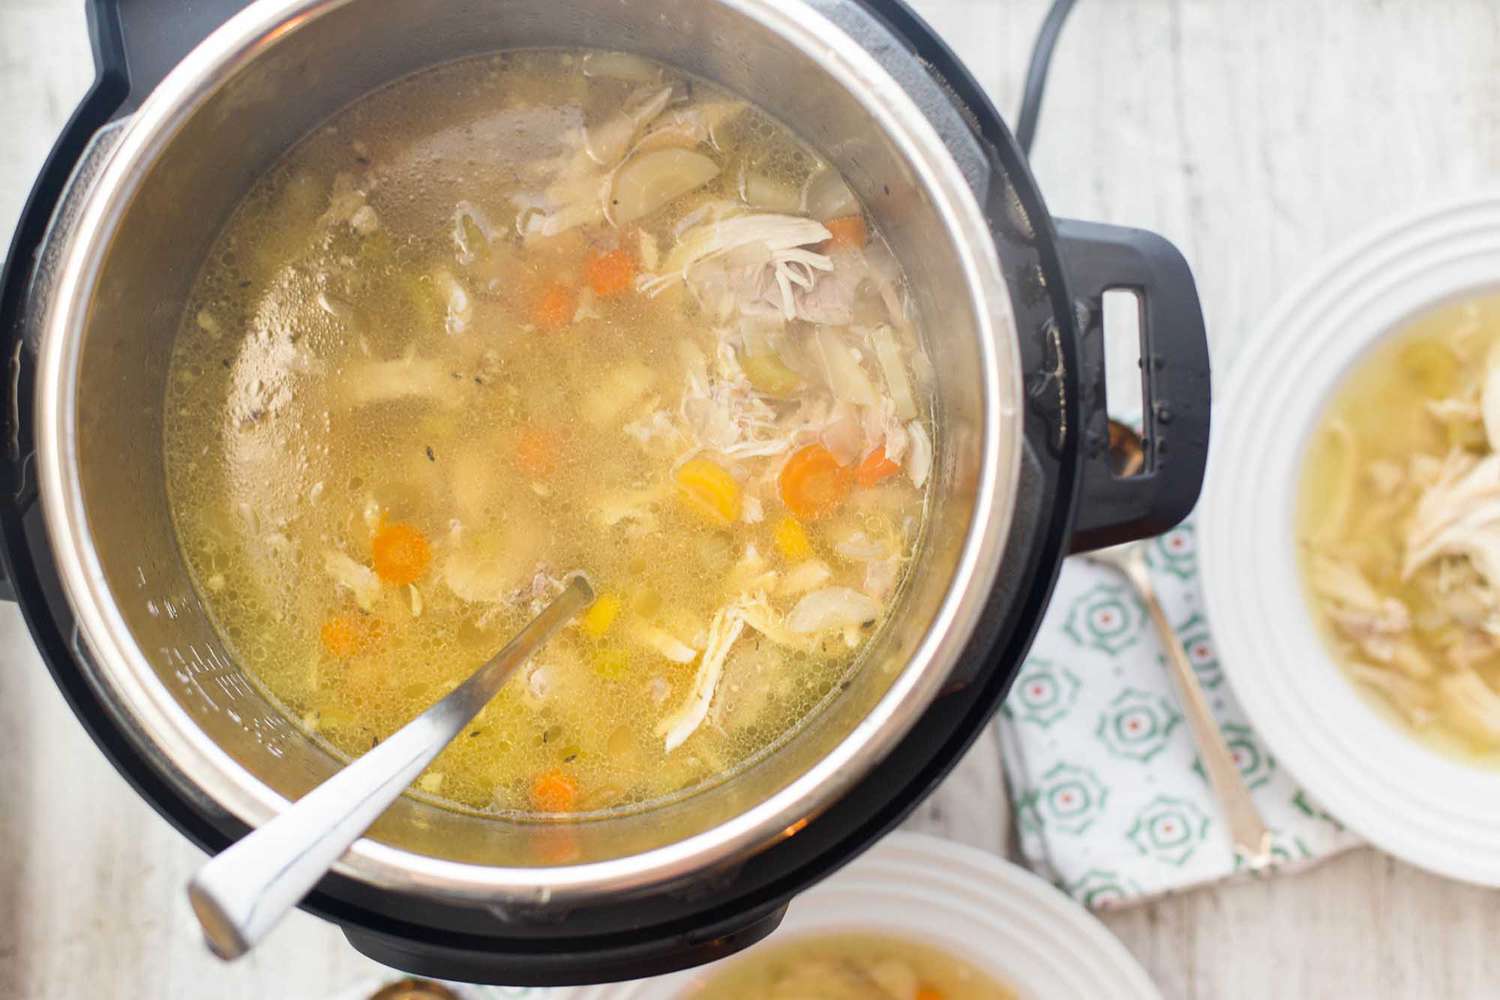
- Add liquid: Most electric pressure cookers require a minimum amount of liquid to create steam and build up pressure. Check your manual for the recommended liquid quantity. Common choices include water, broth, or a combination of both.
- Preheat if needed: Some electric pressure cookers have a preheat function that helps speed up the cooking process. If your model offers this feature, follow the instructions to preheat the cooker before adding the chicken thighs.
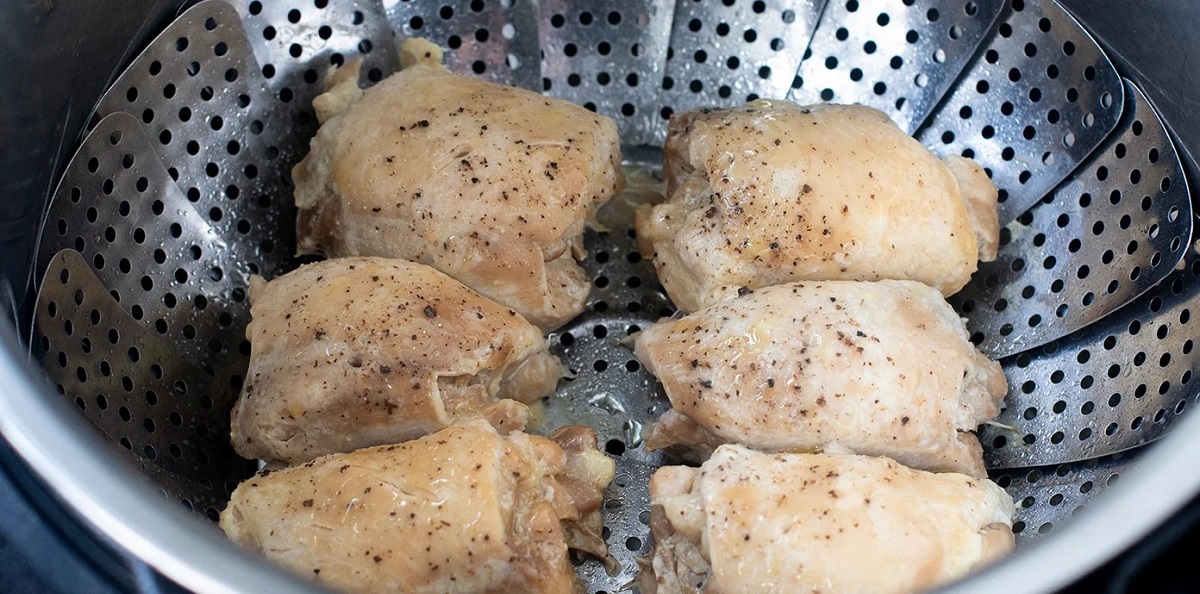
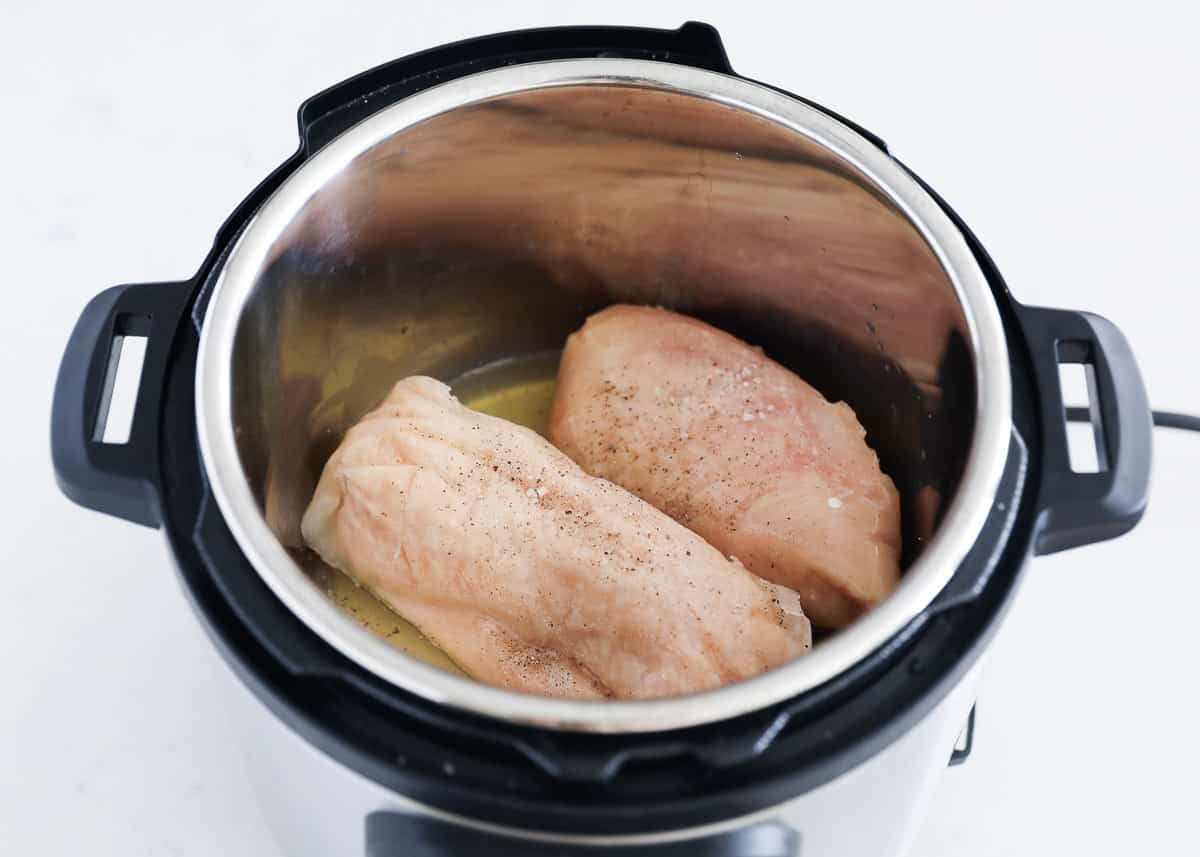
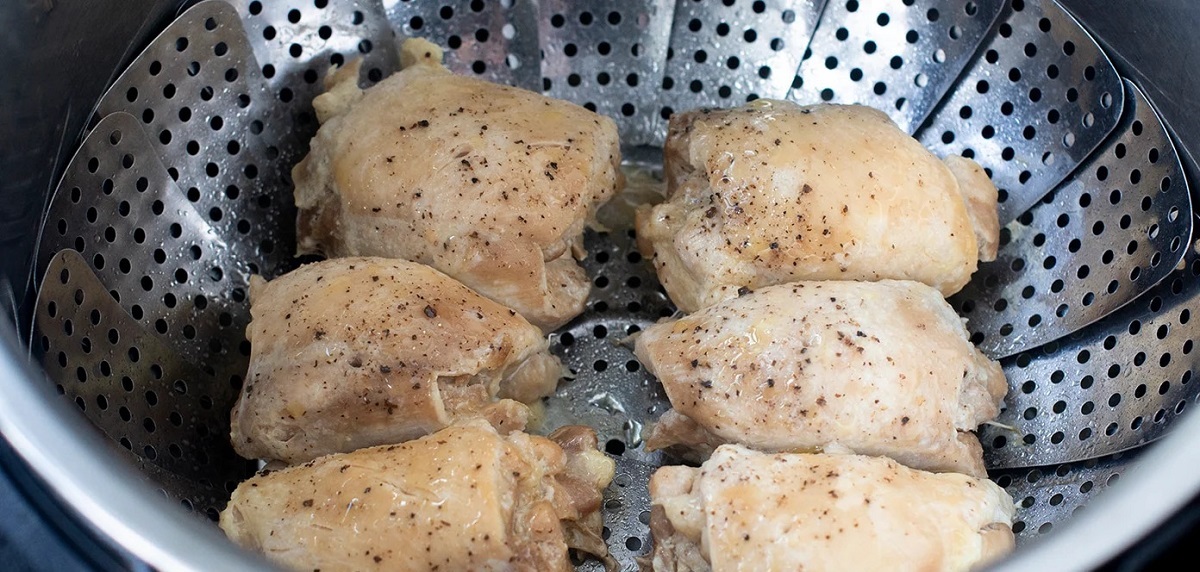
- Place the chicken thighs in the pot: Carefully place the seasoned chicken thighs in the cooking pot of the electric pressure cooker. Arrange them in a single layer to ensure even cooking.
Once you have set up your electric pressure cooker, it’s time to start the cooking process. In the next section, we’ll explore how to cook chicken thighs at high pressure for perfectly cooked results.
Cooking chicken thighs at high pressure
Now that your electric pressure cooker is set up, it’s time to cook the chicken thighs at high pressure. This cooking method will ensure tender and flavorful results. Here’s how to do it:
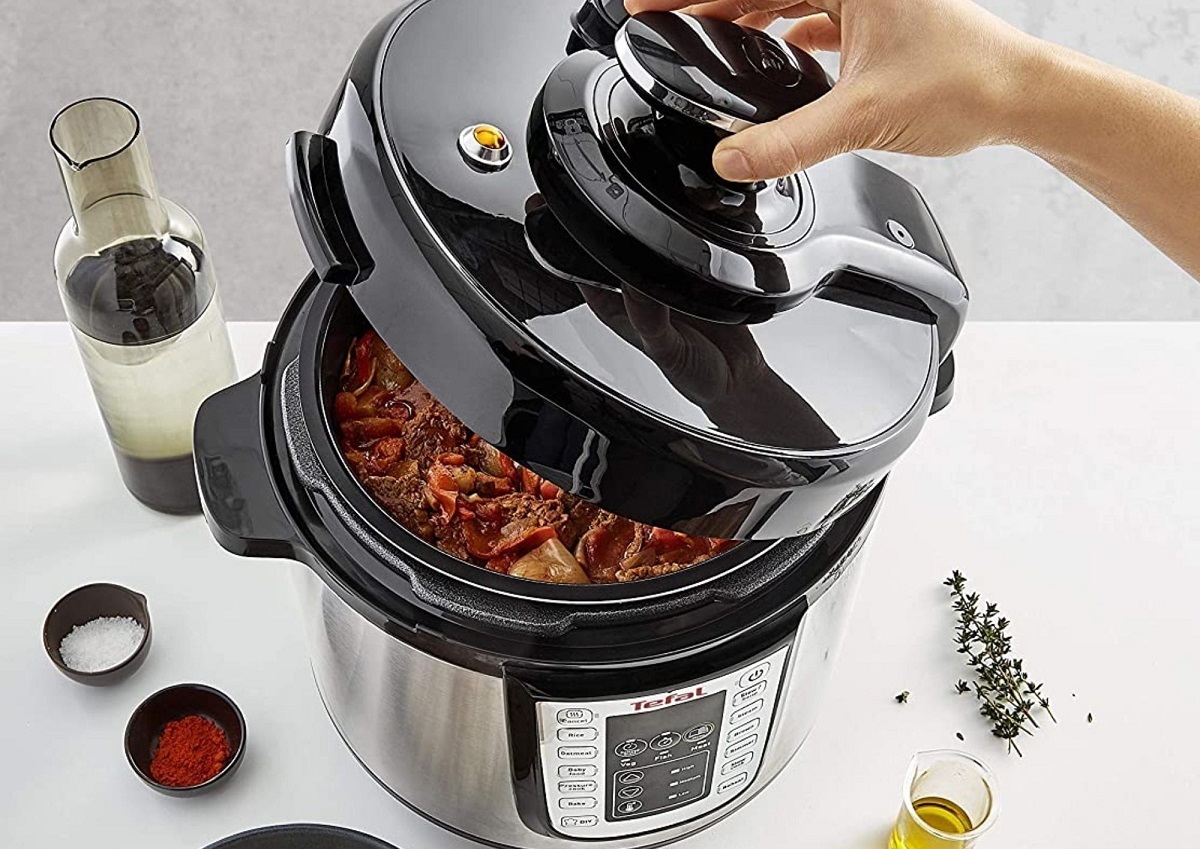
- Close the lid: Securely close the lid of the pressure cooker, making sure it locks into place. This is important for creating a sealed environment where pressure can build.
- Select the cooking mode: Depending on your electric pressure cooker model, select the appropriate cooking mode for high pressure. This is usually indicated by a button or setting on the control panel.
- Set the cooking time: Use the cooking time guidelines we discussed earlier to determine the appropriate cooking time for your chicken thighs. Adjust the timer accordingly using the controls on your pressure cooker.
- Start the cooking process: Once you’ve set the desired cooking time, start the pressure cooking process by pressing the appropriate button or activating the cooking mode on your electric pressure cooker.
- Wait for the pressure to build: Your electric pressure cooker will take some time to build up pressure before cooking begins. This is normal and may take a few minutes. Once the pressure has built, the cooking time countdown will begin.
- Avoid overcooking: Remember that pressure cooking is faster than other cooking methods, so be mindful not to overcook the chicken thighs. Follow the recommended cooking time closely to achieve perfectly cooked and tender results.
While the chicken thighs are cooking, you’ll have the option of either performing a natural release or a quick release once the cooking time is complete. Let’s explore these two methods in the next section.
Natural release vs. quick release
Once the cooking time for your chicken thighs in the electric pressure cooker is complete, you have two options for releasing the pressure: natural release and quick release. Here’s a breakdown of each method:
Natural release: Natural release involves allowing the pressure to decrease naturally over time. After the cooking time is complete, simply leave the pressure cooker untouched and let the pressure subside on its own. This process usually takes around 10-15 minutes, but it can vary based on the amount of liquid and ingredients in the cooker. Natural release is ideal for delicate dishes or when a longer cooking time is required, as it allows the flavors to meld together and the chicken thighs to continue cooking gently in the residual heat.
Quick release: Quick release involves manually releasing the pressure from the electric pressure cooker using the pressure release valve. This method is faster and allows for immediate venting of the steam. Before performing a quick release, ensure that you are wearing suitable hand protection to avoid any potential burns from the steam. Quick release is ideal for recipes where you want to halt the cooking process quickly and prevent any further cooking of the chicken thighs.
It’s important to follow the recipe instructions or guidelines provided in your electric pressure cooker manual to determine which release method is recommended. Some recipes may specify a specific release method to achieve the best results.
After releasing the pressure from your electric pressure cooker, it’s time to check the doneness of the chicken thighs. Let’s explore how to do that in the next section.
Checking for doneness
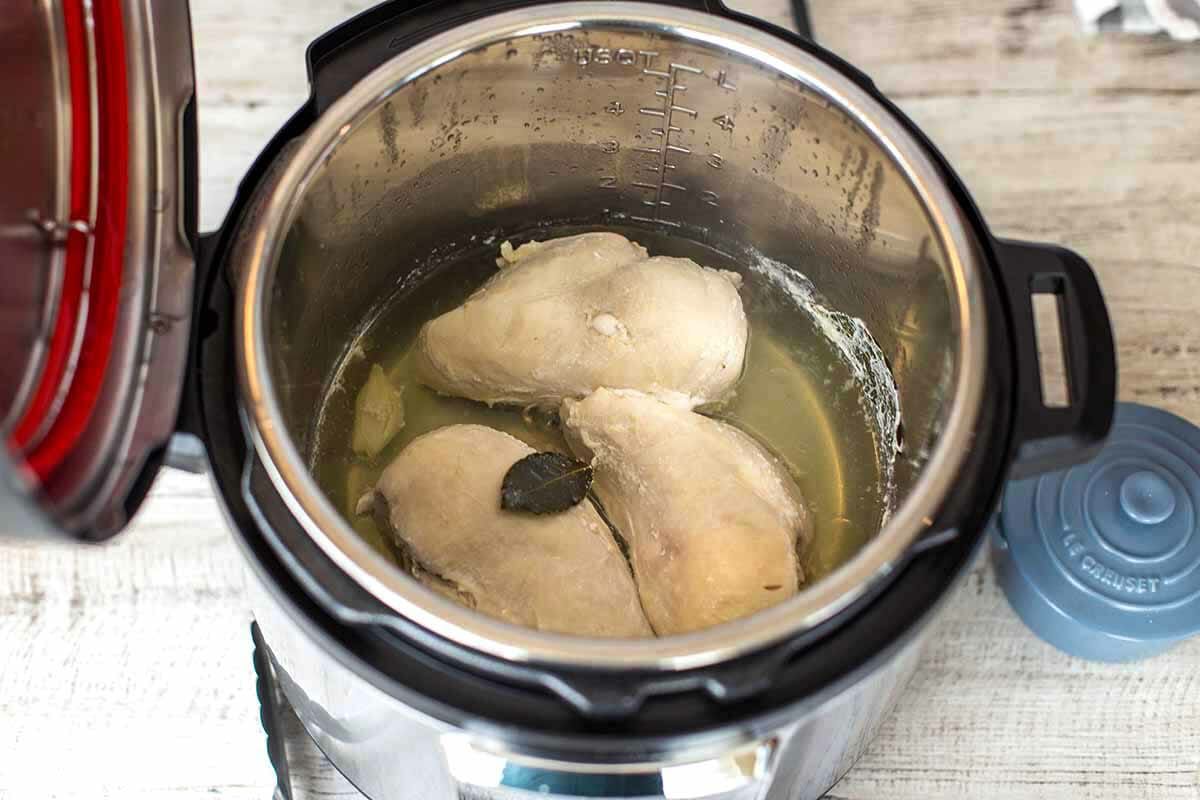
Once the pressure has been released from the electric pressure cooker, it’s important to check the doneness of the chicken thighs before serving. Properly cooked chicken should reach an internal temperature of 165°F (74°C) to ensure it is safe to eat. Here are a few methods to check for doneness:
- Thermometer: The most accurate way to check the doneness of chicken thighs is by using a meat thermometer. Insert the thermometer probe into the thickest part of the thigh without touching the bone. If the internal temperature reads 165°F (74°C), your chicken thighs are fully cooked and safe to eat.
- Visual cues: Another way to determine if the chicken thighs are done is by observing their appearance. The meat should be white throughout with no traces of pink. Additionally, when pierced with a fork or knife, the juices should run clear rather than pink or red.
- Texture test: Lastly, you can perform a texture test by gently pressing the chicken thighs with your finger or a fork. If the meat feels tender and yields easily, it is likely cooked to the desired doneness.
If the chicken thighs are not fully cooked, you can reseal the pressure cooker and cook them for an additional few minutes, or until the desired level of doneness is achieved. Remember to factor in carryover cooking, as the residual heat will continue to cook the chicken thighs even after they have been removed from the pressure cooker.
Once the chicken thighs are cooked to perfection, it’s important to let them rest before serving. We’ll discuss the importance of resting in the next section.
Letting the chicken thighs rest
After cooking your chicken thighs in the electric pressure cooker, it’s crucial to let them rest before serving. Resting allows the juices to redistribute throughout the meat, resulting in more tender and flavorful chicken thighs. Here’s why resting is important and how to do it:
Resting time: As a general rule, let the chicken thighs rest for about 5-10 minutes before cutting into them. This short period allows the juices to settle and helps to retain the moisture in the meat. If you cut into the chicken thighs immediately after cooking, you may lose some of those delicious juices and end up with drier chicken.
Retained heat: Resting also allows the chicken thighs to continue cooking slightly in their residual heat. This extra bit of cooking time helps to ensure that the thighs are fully cooked and reach the desired level of doneness throughout.
Tenting with foil: To keep the chicken thighs warm during the resting period, you can tent them with aluminum foil. This will help to trap the heat and maintain the ideal serving temperature.
During the resting period, take a moment to prepare any accompanying side dishes or garnishes. Once the chicken thighs have rested, they’re ready to be served and enjoyed!
Now that we’ve covered the importance of resting, let’s move on to some serving suggestions to make the most of your perfectly cooked chicken thighs.
Serving suggestions for perfectly cooked chicken thighs
Now that your chicken thighs are cooked to perfection in the electric pressure cooker, it’s time to think about how to serve them. Here are some delicious and versatile serving suggestions that will complement the flavors of your tender chicken thighs:
- Classic sides: Pair your chicken thighs with classic side dishes like mashed potatoes, roasted vegetables, or a fresh salad. These options provide a well-rounded meal that can be enjoyed for lunch or dinner.
- Flavorful sauces: Elevate the taste of your chicken thighs with a variety of flavorful sauces. Consider options like mushroom cream sauce, tangy barbecue sauce, or a zesty lemon caper sauce. These will add a burst of flavor and take your chicken thighs to the next level.
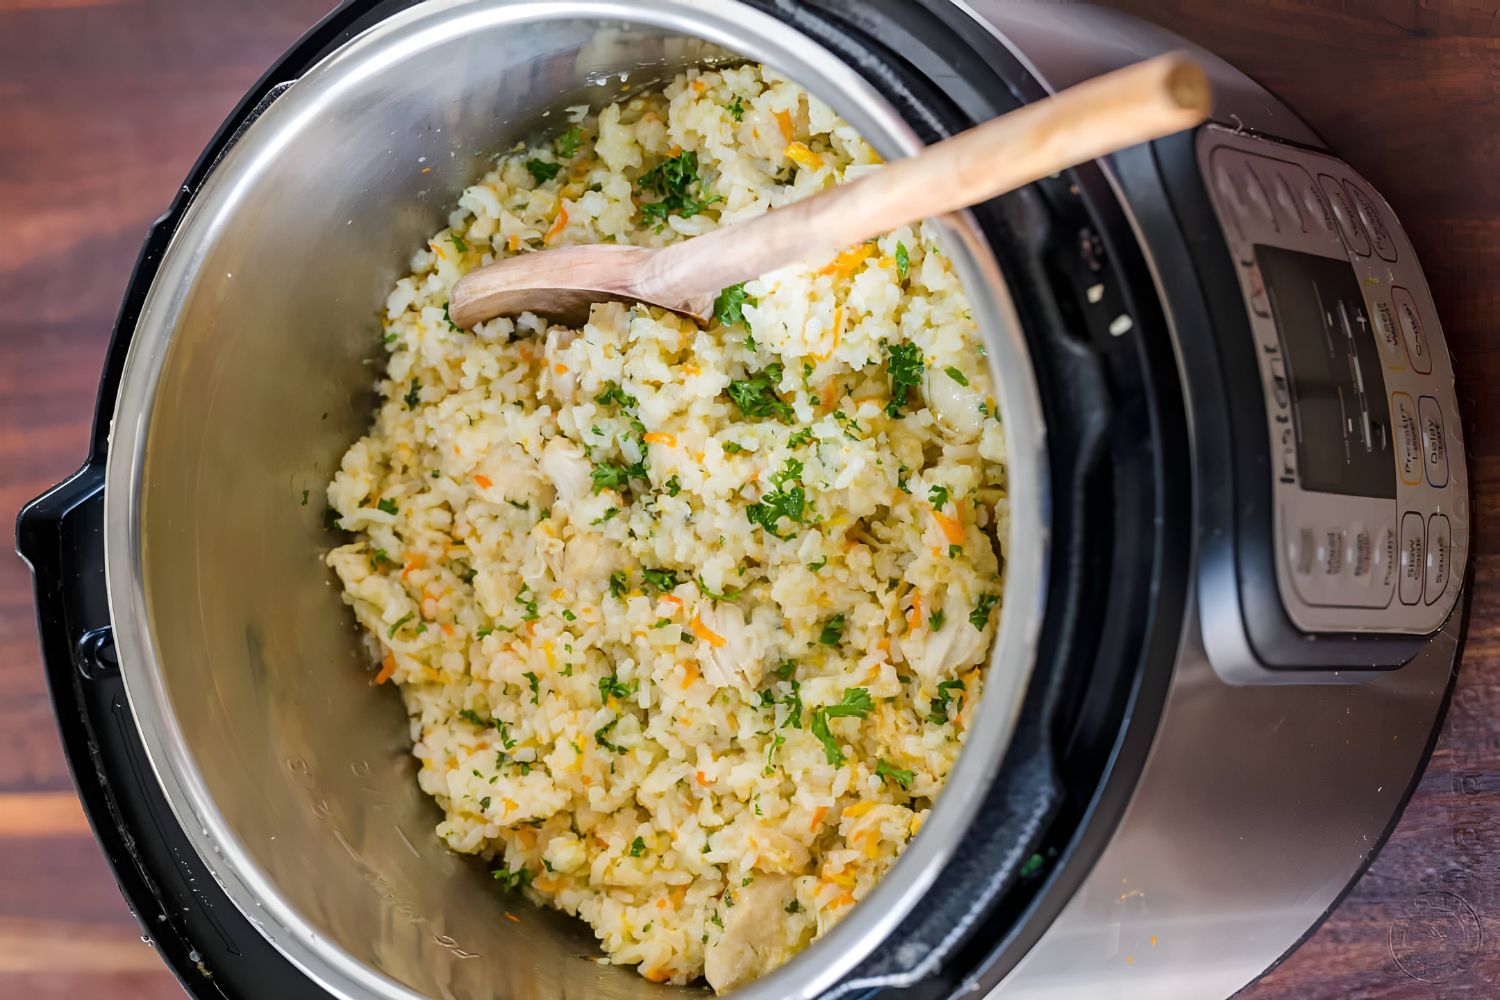
- International cuisines: Explore different cuisines and flavors by serving your chicken thighs with dishes inspired by various cultures. For example, serve them with a side of fragrant saffron rice and tzatziki for a Greek-inspired meal, or pair them with warm tortillas, salsa, and guacamole for a Mexican-inspired feast.
- Healthy options: If you’re looking for a lighter meal, serve your chicken thighs with steamed vegetables, quinoa, or a refreshing cucumber and tomato salad. These options are not only nutritious but also delicious.
- Sandwiches and wraps: Transform your perfectly cooked chicken thighs into delicious sandwiches or wraps. Add some crispy lettuce, tomato slices, and your favorite condiments for a quick and satisfying meal on the go.
Get creative with your serving suggestions and experiment with different flavors and ingredients to customize your meal according to your preferences. Whether you choose to keep it simple or try something adventurous, your tender and flavorful chicken thighs will be the star of the show.
Now that you have some serving ideas, it’s time to put them into practice and enjoy the fruits of your cooking efforts. Bon appétit!
Conclusion
Cooking chicken thighs in an electric pressure cooker opens up a world of possibilities for flavorful and tender meals. By following the recommended cooking times, properly preparing the chicken, and setting up your pressure cooker correctly, you can achieve perfectly cooked chicken thighs every time.
Remember to choose the appropriate cooking time based on your preferences and the desired level of doneness. Utilize the natural release or quick release methods to release the pressure, and always check the internal temperature to ensure that the chicken thighs are fully cooked and safe to eat.
Allowing the chicken thighs to rest after cooking will result in juicier and more delicious meat. Take this time to prepare any accompanying side dishes or sauces, and let the flavors meld together.
When it comes to serving your perfectly cooked chicken thighs, the options are endless. Pair them with classic sides, experiment with international cuisines, or even transform them into sandwiches or wraps. The choice is yours.
With your electric pressure cooker as your culinary companion, you can easily create mouthwatering chicken thigh dishes that will impress family and friends. So, don’t hesitate to explore different recipes and unleash your creativity in the kitchen.
Now that you have the knowledge and confidence to cook chicken thighs in an electric pressure cooker, it’s time to unleash your culinary talents and enjoy the delightful and tender results. Happy cooking!