Introduction
Welcome to the wonderful world of cooking with an electric pressure cooker! If you’re a fan of succulent, tender meats with rich flavors, then you’re in for a treat. In this article, we’ll explore the art of cooking ham hocks in an electric pressure cooker.
Ham hocks, also known as pork knuckles, are a versatile and economical cut of meat that adds depth and complexity to a wide range of dishes. Whether you’re planning to make a hearty soup, a flavorful stew, or a savory bean dish, ham hocks are the perfect ingredient to elevate the taste to the next level.
Using an electric pressure cooker to cook ham hocks brings numerous benefits to the table. First and foremost, it significantly reduces the cooking time, allowing you to enjoy your meal in a fraction of the time it would take with traditional cooking methods. The high-pressure environment inside the cooker helps to break down the tough collagen in the ham hocks, resulting in meat that is incredibly tender and juicy.
Furthermore, cooking ham hocks in an electric pressure cooker allows the flavors to meld together beautifully. The sealed environment of the cooker helps to lock in the natural juices and intensify the flavors of the seasonings and aromatics. As a result, you’ll be treated to a dish that is bursting with mouthwatering flavors and textures.
Not to mention, using an electric pressure cooker is incredibly convenient. You can set it and forget it, allowing you to multitask while your ham hocks cook to perfection. It’s a hassle-free way to cook a delicious meal that will impress your family and friends.
In the following sections, we’ll explore how to prepare and season ham hocks, the step-by-step process of cooking them in an electric pressure cooker, and some helpful tips and tricks to ensure your ham hocks turn out absolutely scrumptious. So, roll up your sleeves and get ready to embark on a culinary adventure!
Benefits of Cooking Ham Hocks in an Electric Pressure Cooker
Cooking ham hocks in an electric pressure cooker offers several advantages that make it an attractive method for preparing this flavorful cut of meat. Let’s explore some of the benefits:
1. Time-saving: One of the biggest advantages of using an electric pressure cooker is the significant reduction in cooking time. With conventional cooking methods, ham hocks can take hours to become tender and fully cooked. However, the high-pressure environment in an electric pressure cooker accelerates the cooking process, allowing you to enjoy succulent ham hocks in a fraction of the time.
2. Enhanced flavor: The sealed environment of an electric pressure cooker helps to lock in the natural juices, intensifying the flavors of the ham hocks and any seasonings or aromatics you choose to use. The result is a dish that is bursting with rich, savory flavors. Additionally, the high-pressure cooking technique helps to evenly distribute the flavors throughout the meat, resulting in a more delicious and well-rounded taste.
3. Tender and juicy meat: Ham hocks are known for their tough collagen and connective tissues. However, when cooked in an electric pressure cooker, the high pressure and steam help to break down these tough components, resulting in meat that is incredibly tender and juicy. The result is a melt-in-your-mouth texture that is simply irresistible.
4. Convenience: Cooking ham hocks in an electric pressure cooker is incredibly convenient. Once you set it to the desired pressure and cooking time, you can simply let it do its job while you attend to other tasks. There’s no need for constant monitoring or frequent stirring. It’s a hassle-free way to cook a delicious meal without the need for constant attention in the kitchen.
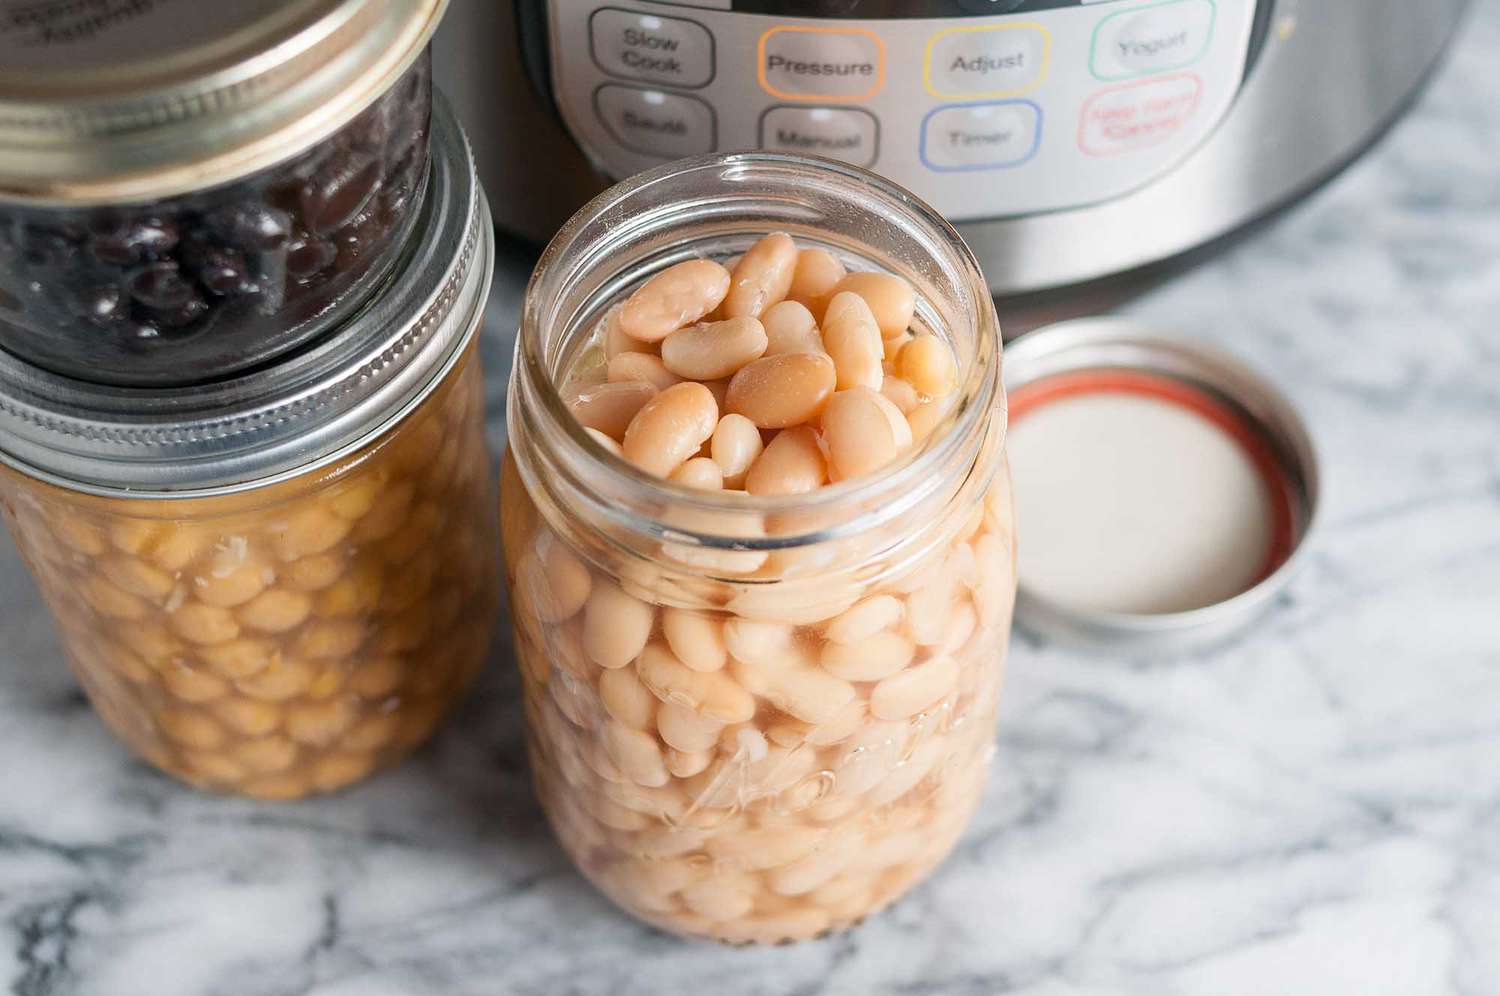
5. Versatility: Electric pressure cookers are incredibly versatile appliances. In addition to cooking ham hocks, you can use them to prepare a wide range of dishes, from soups and stews to beans and rice. This makes the electric pressure cooker a valuable tool in any kitchen, allowing you to experiment with different recipes and expand your culinary repertoire.
Overall, cooking ham hocks in an electric pressure cooker is a fantastic way to save time, enhance the flavor, and achieve tender and juicy meat. The convenience and versatility of this cooking method make it a popular choice among home cooks and professional chefs alike. So, why not give it a try and experience the deliciousness for yourself?
Preparing the Ham Hocks
Properly preparing the ham hocks before cooking is essential to ensure they are clean, trimmed, and ready to impart their delicious flavors to your dish. Here’s a step-by-step guide to help you prepare your ham hocks:
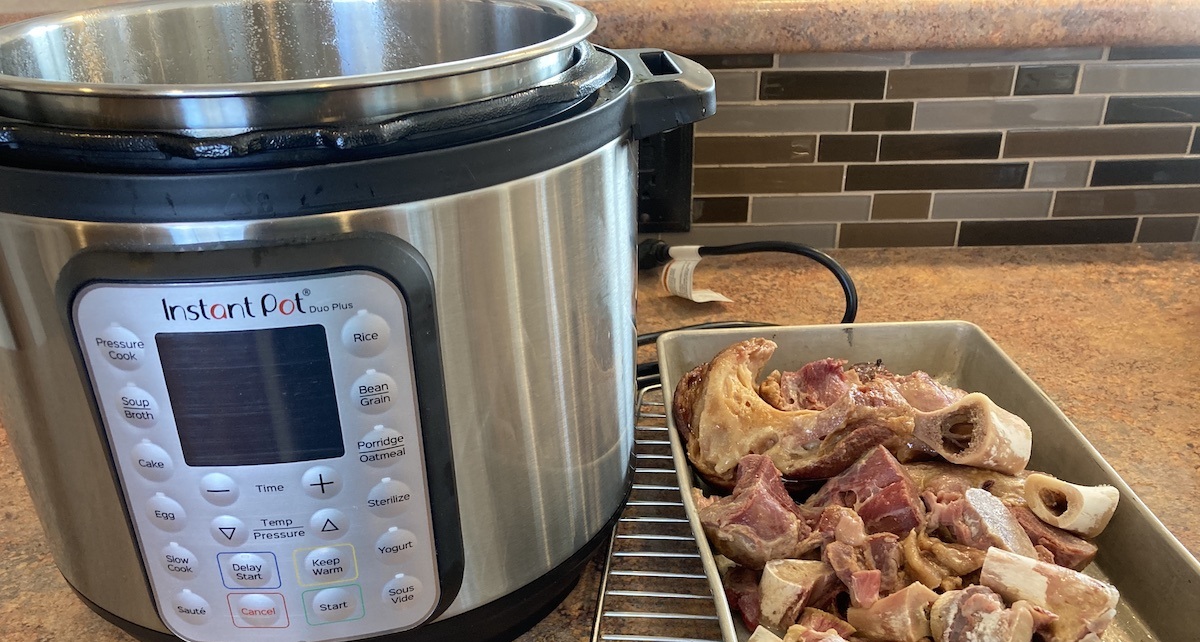
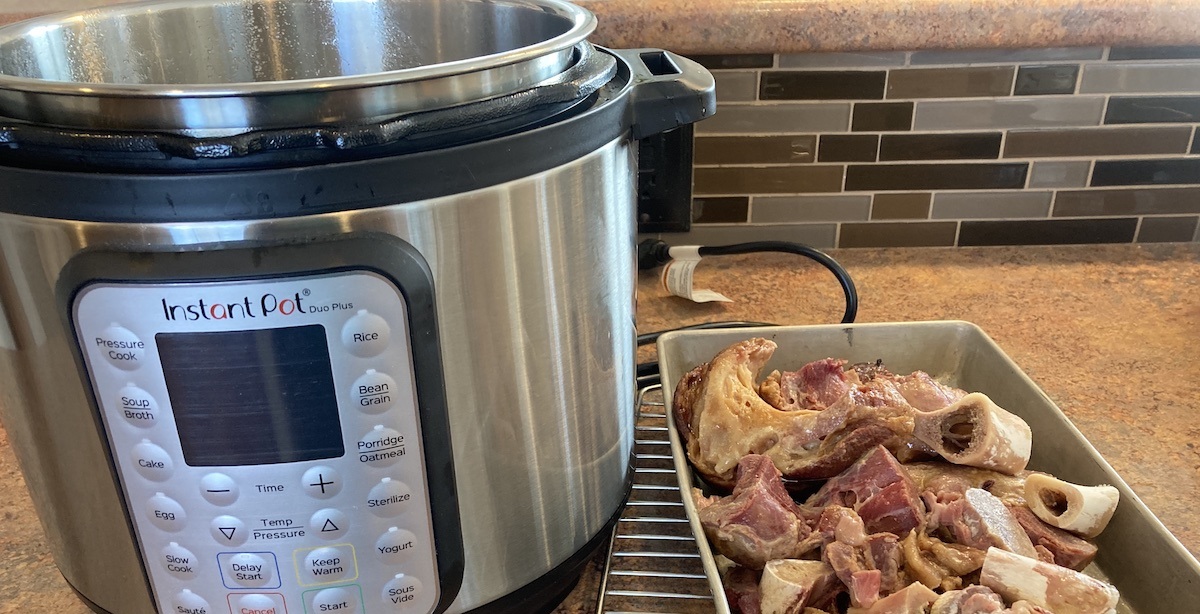
1. Purchasing and inspecting: Start by selecting high-quality ham hocks from a reputable butcher or grocery store. Look for hocks with a good amount of meat and minimal fat. Additionally, check for any signs of discoloration or unpleasant odor, which may indicate spoilage.
2. Soaking and cleaning: It’s a good practice to soak the ham hocks in cold water for 1-2 hours before cooking. This helps to remove any excess salt, impurities, or residual blood from the meat. After soaking, rinse the ham hocks under cold running water and pat them dry with paper towels.
3. Trimming: Trim any excessive fat from the ham hocks, leaving a thin layer for flavor. Excessive fat can make the dish too greasy and affect the final texture. Use a sharp knife to remove any skin or tough outer layers, if desired.
4. Cutting: Depending on your recipe and personal preference, you may want to cut the ham hocks into smaller pieces. This can help distribute the flavors more evenly and reduce cooking time. Cut the ham hocks into chunks or leave them whole, depending on your desired end result.
5. Seasoning: While not essential at this stage, you can choose to season the ham hocks with salt, pepper, spices, or herbs to enhance their flavor. Alternatively, you can wait to season them until later in the cooking process, allowing the flavors of the dish to penetrate the meat more deeply.
By following these steps, you’ll ensure that your ham hocks are clean, trimmed, and ready to be transformed into a delicious culinary masterpiece. Preparing the ham hocks properly sets the stage for a successful and flavorful cooking experience, ultimately leading to a mouthwatering end result that will impress your family and guests.
Seasoning Options for Ham Hocks
Seasoning plays a crucial role in elevating the flavors of ham hocks and creating a delicious and aromatic dish. While ham hocks have their own unique savory taste, adding the right combination of spices and herbs can take them to the next level. Here are some seasoning options to consider:
1. Traditional seasoning: For a classic approach, you can season the ham hocks with salt, black pepper, and garlic powder. This simple combination brings out the natural flavors of the meat while providing a touch of savory richness.
2. Fragrant herbs: Herbs such as bay leaves, thyme, rosemary, and sage can infuse the ham hocks with delightful aromas. Add a few sprigs of your favorite herbs to the cooking liquid to impart a fragrant and earthy taste to the meat.
3. Smoky spices: To add a smoky depth of flavor, consider using spices like smoked paprika, cumin, or chipotle powder. These spices pair exceptionally well with ham hocks and can give them a deliciously complex taste.
4. Sweet and spicy: For a twist on the traditional flavors, you can try a sweet and spicy combination. Create a glaze with ingredients like honey, brown sugar, mustard, and cayenne pepper. Brush the glaze onto the ham hocks during the cooking process for a tantalizing flavor profile that balances sweetness and heat.
5. Cajun or Creole seasoning: Give your ham hocks a Louisiana-inspired kick by using Cajun or Creole seasoning. These spice blends typically include a mix of spices like paprika, cayenne pepper, garlic powder, and onion powder. The bold and robust flavors will add a zesty flair to the ham hocks.
6. Experiment with marinades: For an extra boost of flavor, consider marinating the ham hocks for a few hours or overnight. You can create a marinade using ingredients like soy sauce, Worcestershire sauce, vinegar, citrus juice, and herbs and spices of your choice. The marinade will infuse the meat with added layers of flavor and tenderness.
7. Custom spice blends: Get creative and experiment with your own spice blends to suit your taste preferences. Mix together a combination of spices such as garlic powder, onion powder, paprika, thyme, oregano, and any other herbs or spices that you enjoy. Adjust the quantities to achieve the desired level of seasoning.
Remember to taste and adjust the seasoning as needed throughout the cooking process. This will allow you to fine-tune the flavors and ensure they complement the natural taste of the ham hocks. Whether you prefer a traditional approach or want to explore more adventurous flavors, finding the perfect seasoning for your ham hocks will take your dish to new heights of deliciousness.
Cooking Ham Hocks in an Electric Pressure Cooker
Cooking ham hocks in an electric pressure cooker is a fantastic way to achieve tender, flavorful meat in a fraction of the time. Here’s a step-by-step guide on how to cook ham hocks in this versatile appliance:
1. Preheat the pressure cooker: Start by preheating your electric pressure cooker on the “Sauté” or “Browning” function. This will allow you to brown the ham hocks and enhance their flavor before pressure cooking.
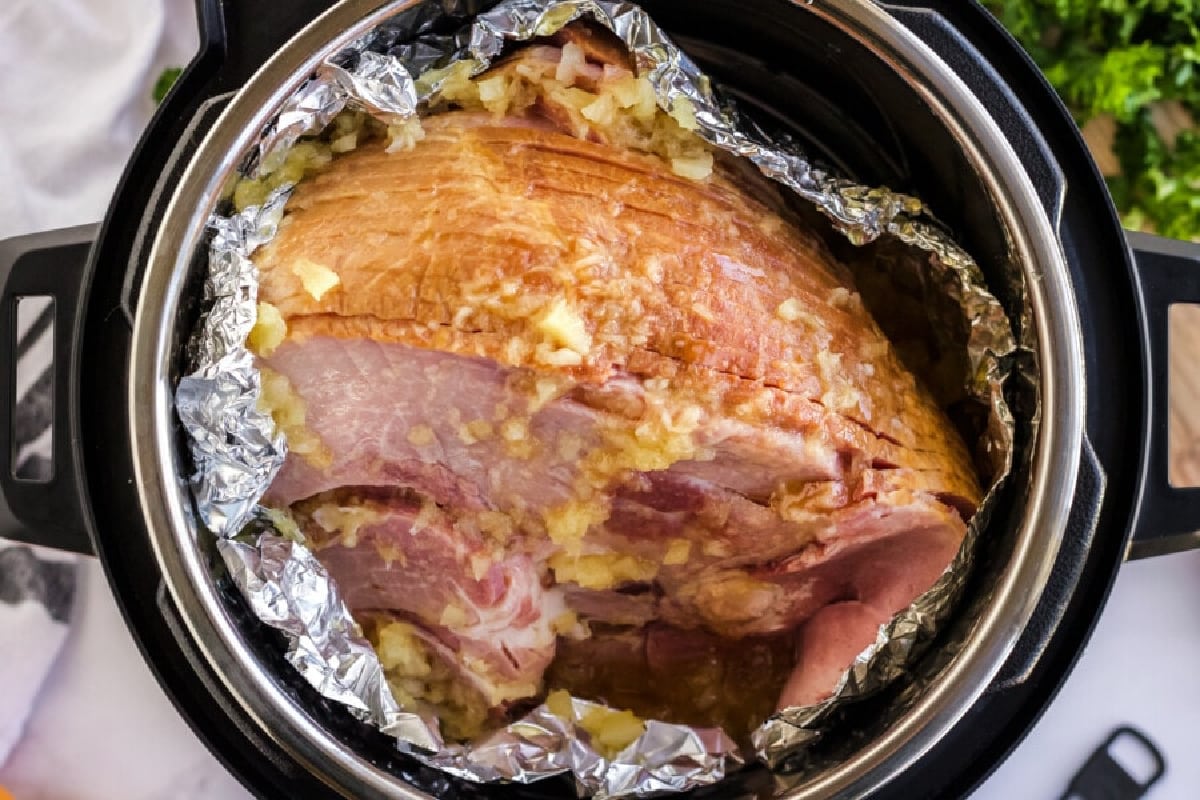
2. Brown the ham hocks: Add a small amount of oil or cooking spray to the pressure cooker and sear the ham hocks on all sides until they develop a golden brown crust. Browning the meat adds depth and rich flavors to the final dish.
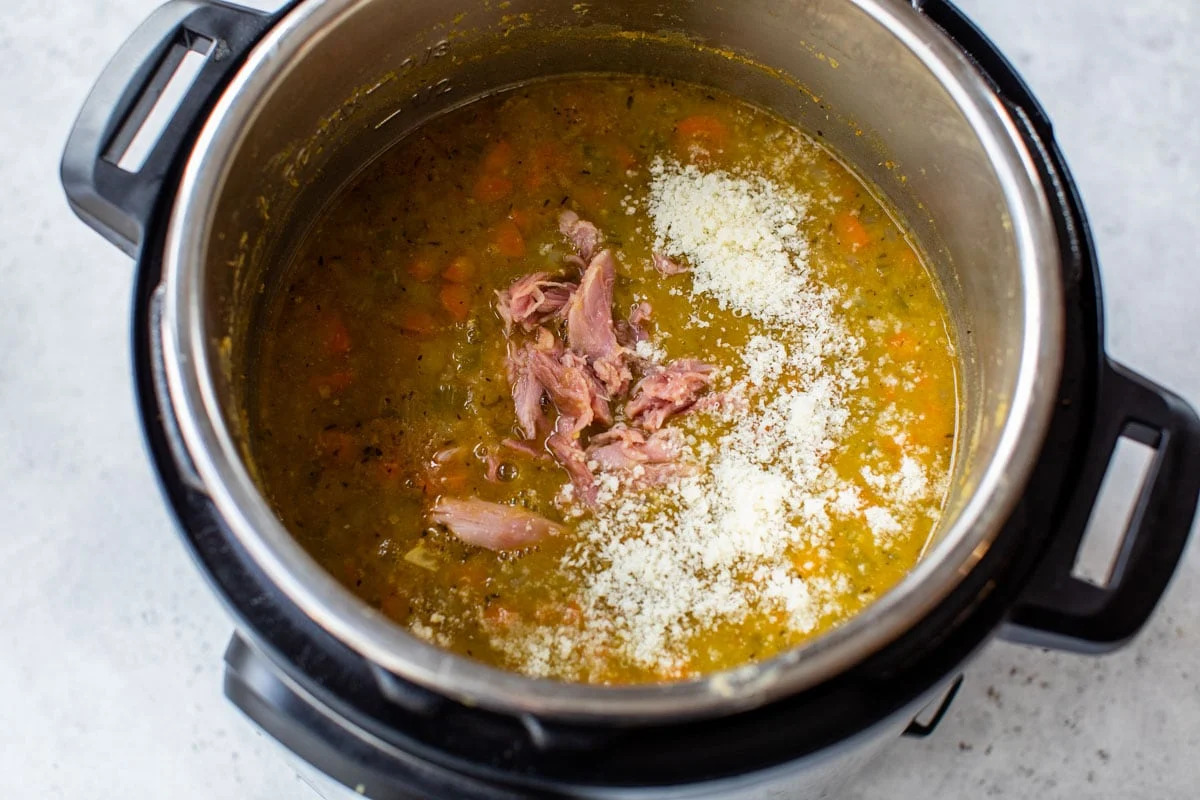
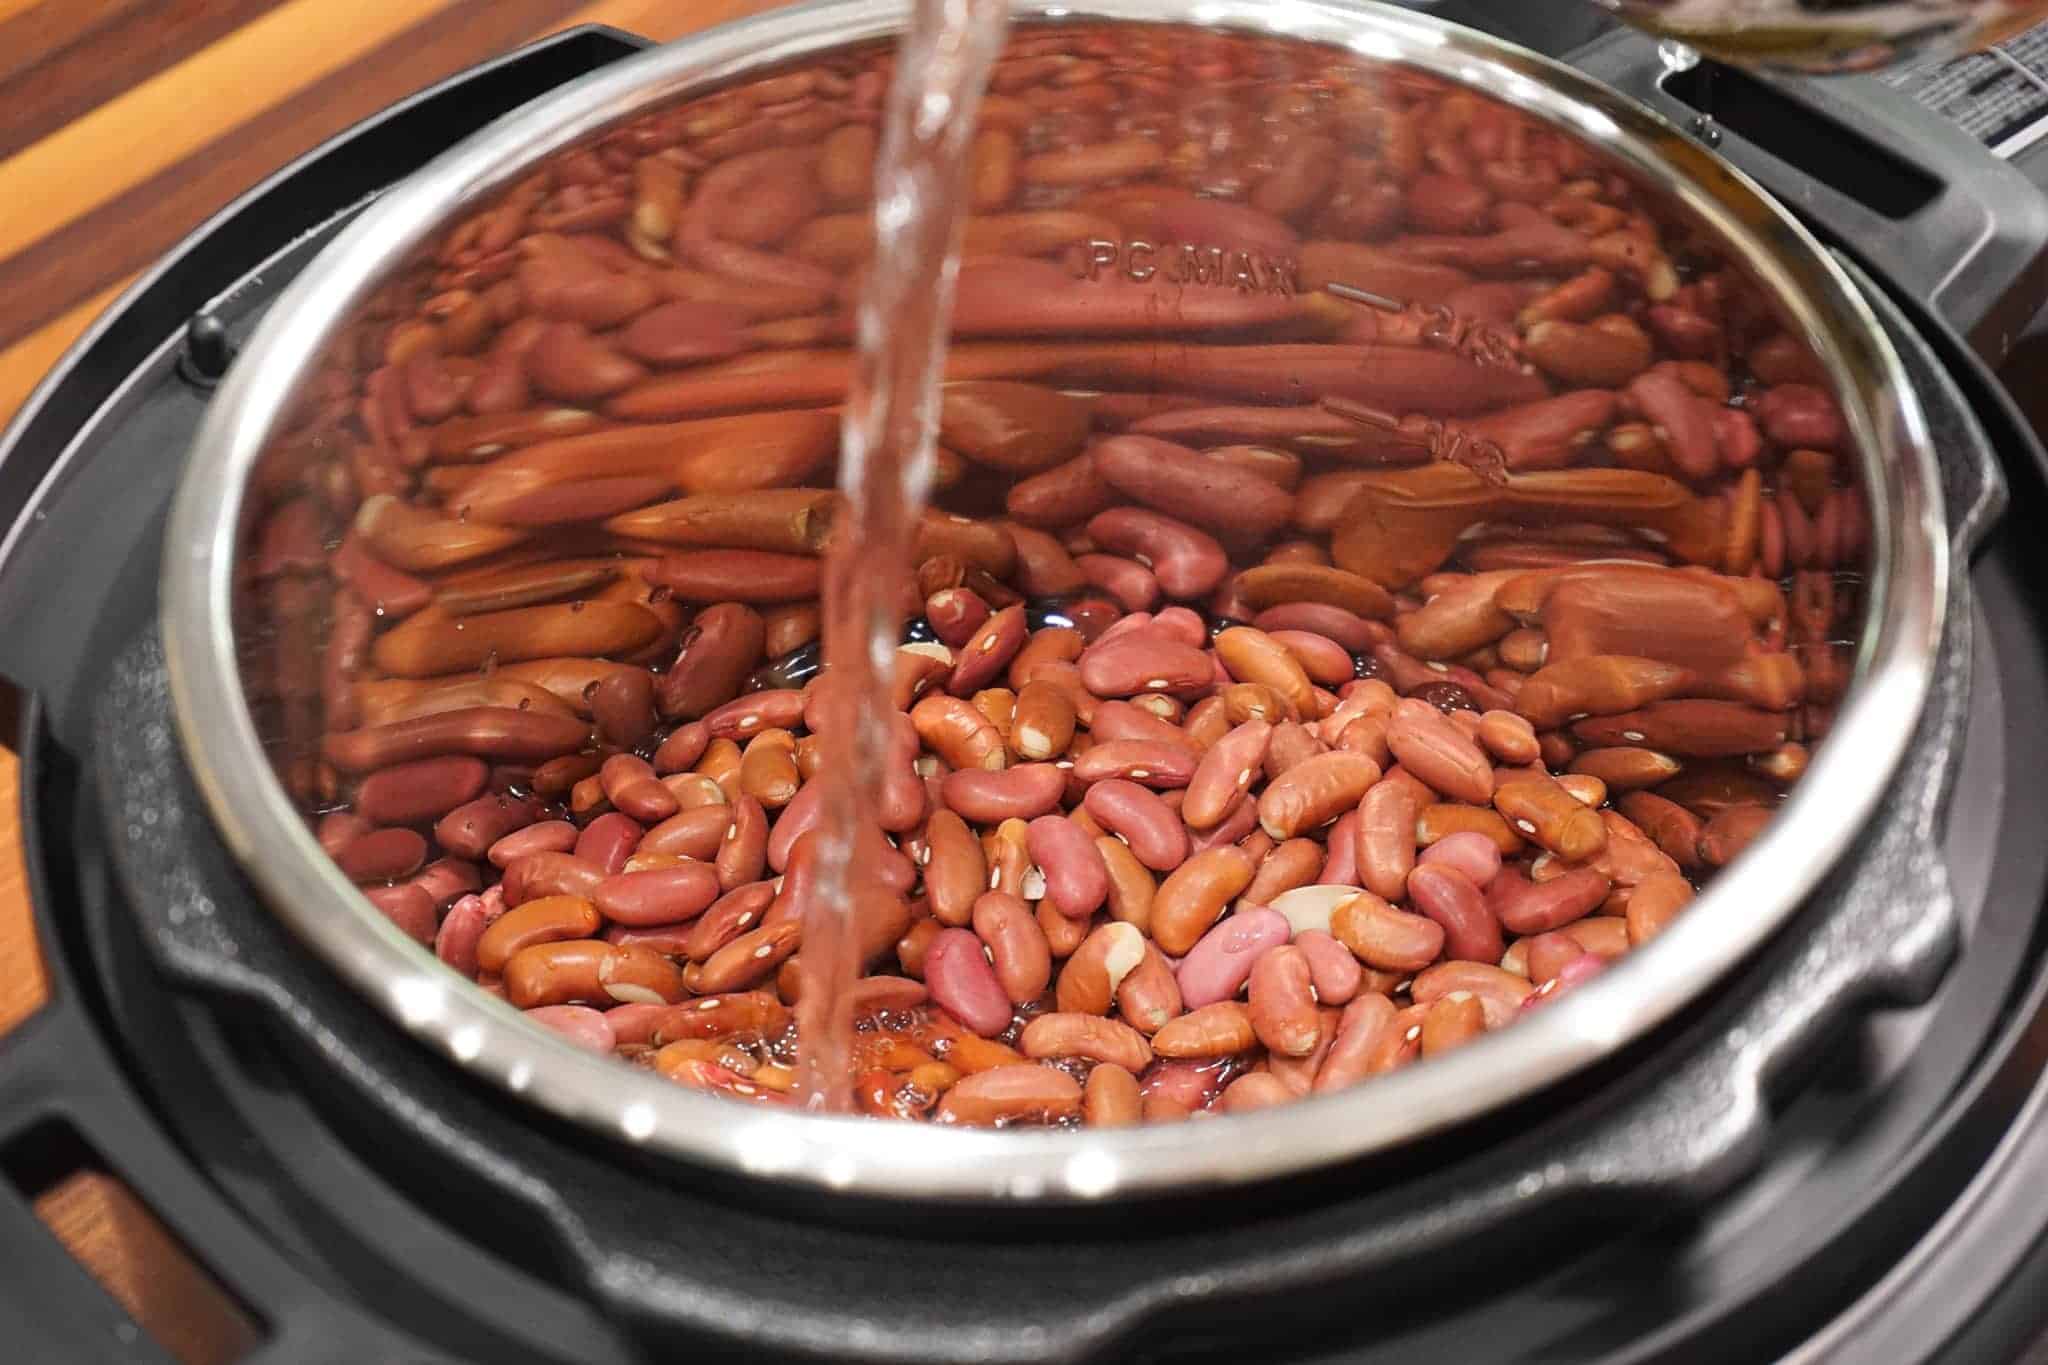
3. Add liquid and seasonings: Once the ham hocks are browned, remove them from the pressure cooker and set them aside on a plate. Add your choice of liquid, such as broth, water, or a combination of both, to the pressure cooker. This will create the steam necessary for pressure cooking. Optionally, add additional seasonings like herbs, spices, or aromatics to infuse the liquid with flavors.
4. Pressure cook: Return the ham hocks to the pressure cooker and secure the lid in place. Set the pressure cooker to high pressure and adjust the cooking time according to the weight and thickness of the ham hocks. Typically, ham hocks require around 30-40 minutes of cooking time under pressure.
5. Natural release vs. quick release: After the cooking time has elapsed, you have two options for releasing the pressure: natural release or quick release. Natural release involves allowing the pressure to decrease naturally over time, which can take around 10-15 minutes. Quick release involves manually releasing the pressure using the pressure release valve. Note that quick release may result in slightly less tender meat compared to natural release, but the difference is minimal for ham hocks.
6. Check for doneness: Carefully remove the lid once the pressure has been fully released. Use a fork or tongs to check the doneness of the ham hocks. The meat should be tender and easily pull away from the bone. If desired, you can continue cooking for a few more minutes under pressure if the meat isn’t quite tender enough.
7. Rest and serve: Allow the ham hocks to rest for a few minutes before serving. This helps redistribute the juices and allows the flavors to fully develop. Serve the ham hocks as a main dish with your favorite sides, or use them as a flavorful addition to soups, stews, or beans.
Cooking ham hocks in an electric pressure cooker is a time-saving method that yields incredibly tender and flavorful results. By following these steps, you’ll be able to enjoy succulent ham hocks that are sure to impress even the most discerning taste buds.
Natural Release vs. Quick Release
When cooking ham hocks in an electric pressure cooker, you have two options for releasing the pressure: natural release and quick release. Both methods have their advantages and considerations. Let’s explore the difference between these two techniques:
Natural Release: Natural release is the process of allowing the pressure to decrease on its own without actively releasing it. After the cooking time has elapsed, you simply leave the pressure cooker untouched and let the pressure come down naturally over a period of time. This can take around 10-15 minutes, depending on the specific model of your pressure cooker and the amount of pressure inside.
The main benefit of natural release is that it allows the meat to continue cooking gently in the residual heat and pressure. This can result in even more tender and flavorful ham hocks. Additionally, natural release helps to prevent the sudden release of steam, which could potentially cause liquid to splatter or meat to become dry.
Quick Release: Quick release, on the other hand, involves manually releasing the pressure by turning the pressure release valve. This rapid venting process allows the pressure inside the cooker to be released immediately. When using quick release, you must exercise caution to avoid direct contact with the hot steam.
The advantage of quick release is that it allows you to stop the cooking process abruptly, preventing any overcooking of the ham hocks. This can be particularly beneficial if you’re concerned about the meat becoming too tender or if you’re short on time. Quick release is also useful when adding additional ingredients that require less cooking time, such as vegetables or pasta.
When deciding which pressure release method to use, consider the desired tenderness of the ham hocks and the overall cooking time. If you prefer incredibly tender and falling-off-the-bone meat, natural release is the way to go. However, if you’re looking for a quick and efficient cooking process, quick release can be a suitable option.
It’s worth noting that for ham hocks, the difference between the two methods is generally minimal. The high-pressure cooking environment already breaks down the tough collagen, resulting in tender meat. Therefore, either method will yield delicious results, and the choice ultimately comes down to personal preference and convenience.
Regardless of the pressure release method you choose, make sure to follow the manufacturer’s instructions for your specific electric pressure cooker model. Safety should always be a top priority when dealing with hot steam and pressure. With proper precautions, you’ll be able to enjoy perfectly cooked ham hocks that are succulent and full of flavor.
Serving Suggestions for Ham Hocks
Now that you’ve cooked your delicious ham hocks in an electric pressure cooker, it’s time to think about how to serve them. Ham hocks are a versatile ingredient that can be enjoyed in various ways. Here are some serving suggestions to inspire your culinary creativity:
1. Main dish: Serve the ham hocks as a main course, accompanied by your choice of sides. Mashed potatoes, roasted vegetables, or a fresh salad make excellent accompaniments. Drizzle the ham hocks with the cooking juices or a flavorful sauce for an extra burst of flavor.
2. Soup or stew: Ham hocks add depth and richness to soups and stews. Use them as a base for hearty bean soup, split pea soup, or a classic ham and vegetable stew. The tender meat will infuse the broth with a savory taste that will have everyone coming back for seconds.
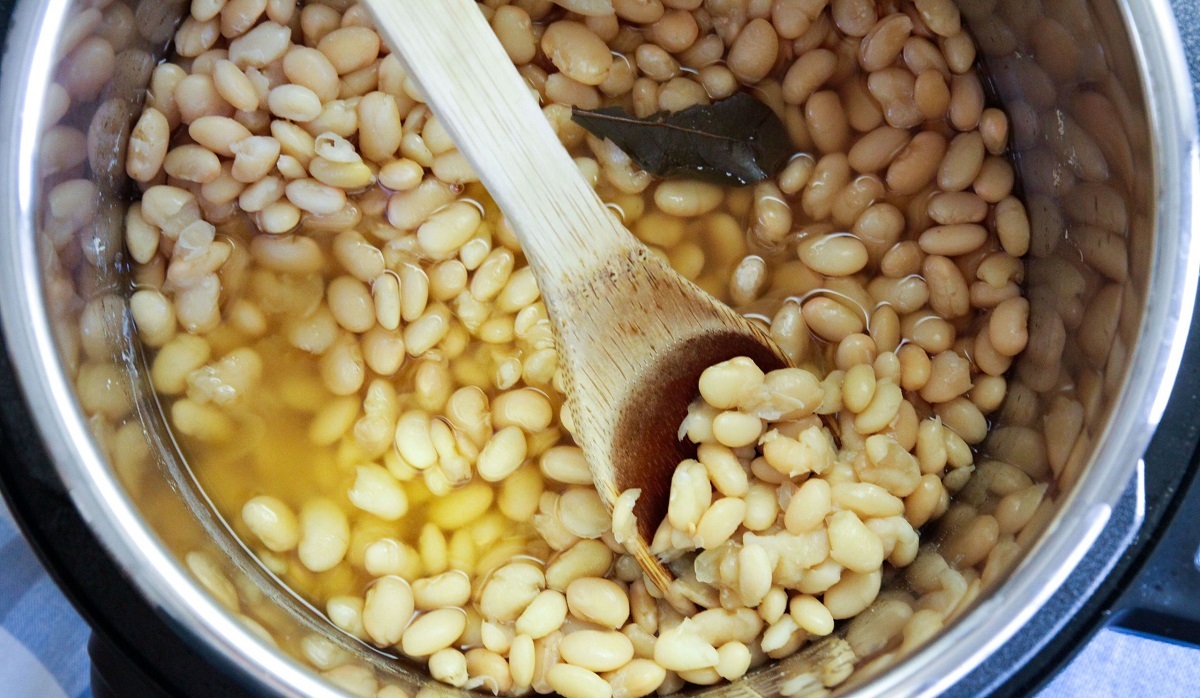
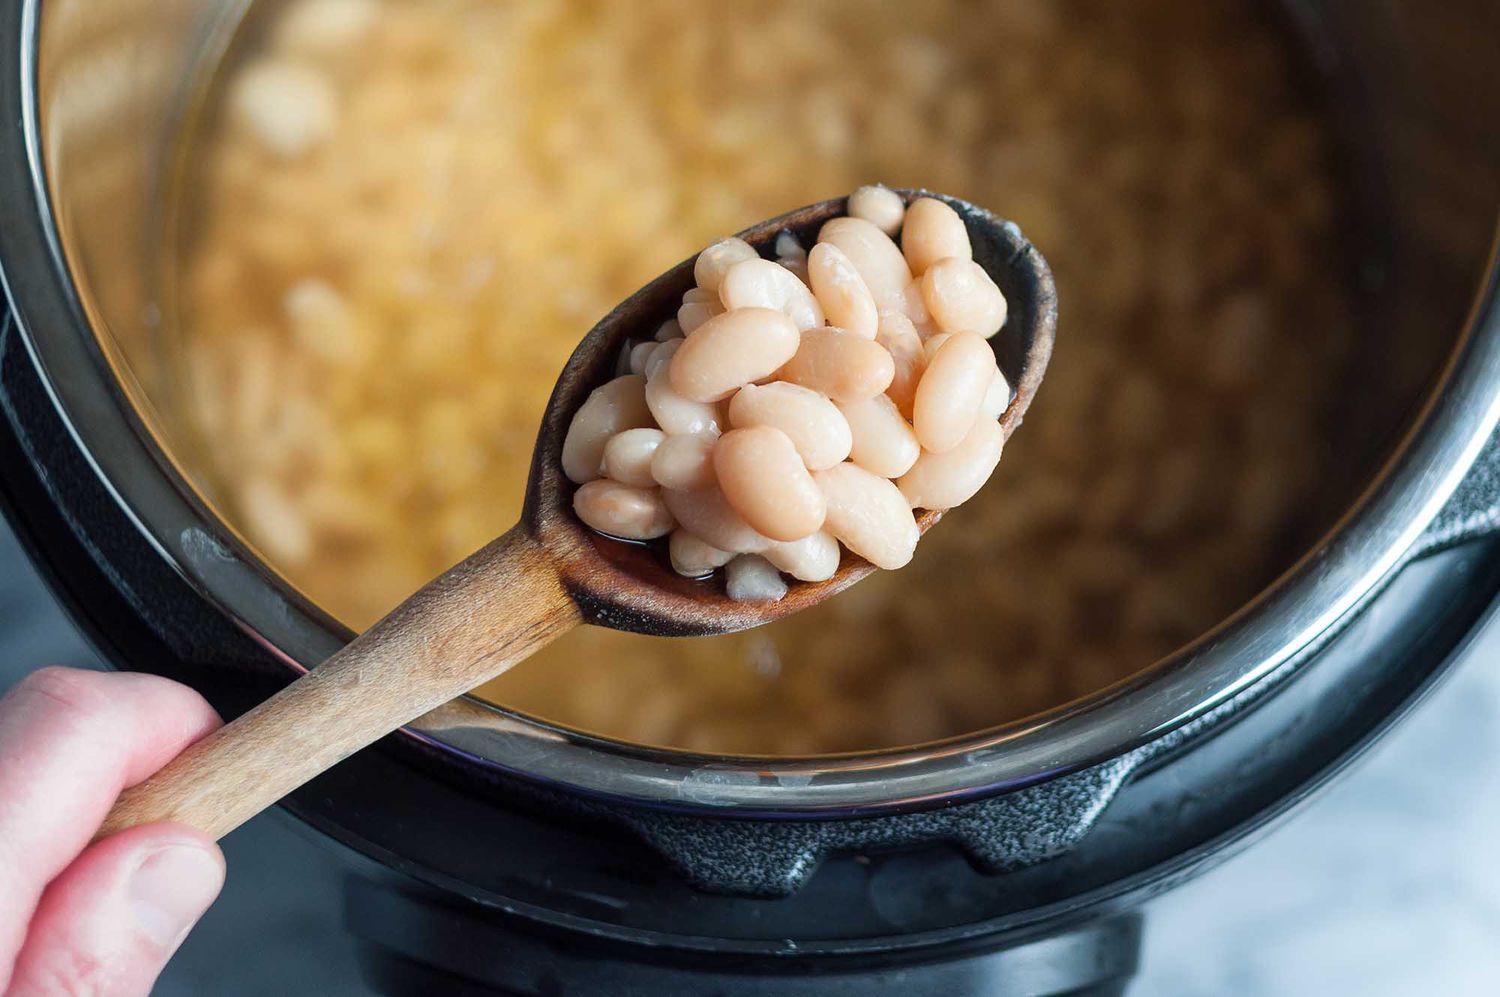
3. Beans and legumes: Ham hocks are a classic addition to beans and legumes. They impart a smoky flavor and meaty richness to dishes like red beans and rice, black-eyed peas, or collard greens. Serve them with cornbread or rice for a comforting and satisfying meal.
4. Sandwiches: Shred the tender ham hock meat and use it as a filling for sandwiches. Pile it onto a crusty roll or your favorite bread. Top it with pickles, mustard, and coleslaw for a mouthwatering pulled pork sandwich alternative.
5. Breakfast or brunch: Utilize the leftover ham hocks from your previous meal and incorporate them into a hearty breakfast or brunch. Chop the meat and add it to omelets, frittatas, or breakfast casseroles. The savory goodness of the ham hocks pairs perfectly with eggs and other breakfast ingredients.
6. Tacos or burritos: Create a flavorful taco filling by shredding the ham hock meat and adding your favorite toppings—salsa, avocado, lettuce, and cheese. Alternatively, use the meat to make delicious burritos or quesadillas, adding a twist to your Mexican-inspired dishes.
7. Salads: For a lighter option, incorporate the ham hocks into salads. Slice the meat thinly and use it as a garnish for a fresh garden salad or a hearty Cobb salad. The saltiness and richness of the ham hocks will add a satisfying and flavorful element to your greens.
Feel free to get creative with your serving suggestions and adapt them to your tastes and preferences. Whether you enjoy the ham hocks as a main course, a soup ingredient, or in a sandwich, the tender and flavorful meat will delight your taste buds and leave you craving more.
Storing and Reheating Leftover Ham Hocks
When you find yourself with leftover ham hocks, you can easily store them for future enjoyment. Here are some guidelines for storing and reheating your leftovers:
1. Storing: Allow the ham hocks to cool completely before storing them. This prevents the buildup of condensation, which can lead to a soggy texture. Place the leftovers in an airtight container or wrap them tightly in aluminum foil or plastic wrap. Store them in the refrigerator for up to 3-4 days.
2. Freezing: If you have a larger amount of leftover ham hocks or want to extend their storage time, freezing is a great option. Simply place the cooled ham hocks in freezer-safe bags or airtight containers, removing as much air as possible. Label the containers with the date and store them in the freezer for up to 3 months.
3. Reheating: There are a few different ways you can reheat your leftover ham hocks:
- Oven: Preheat your oven to 325°F (163°C). Place the ham hocks in a baking dish and cover the dish with aluminum foil to prevent them from drying out. Heat them in the oven for about 20-30 minutes or until they are heated through.
- Stovetop: Slice or shred the leftover ham hock meat and heat it in a skillet or frying pan over medium heat. Stir occasionally to ensure even heating. You can also add a small amount of liquid, such as broth or water, to prevent the meat from drying out.
- Microwave: For a quick and convenient option, place the ham hocks in a microwave-safe dish and cover them with a microwave-safe lid or plastic wrap. Heat them on high in one-minute intervals, stirring or flipping the meat in between, until they are heated through.
Regardless of the method you choose, be careful not to overheat the ham hocks, as this can cause them to become tough and dry. Check the internal temperature with a meat thermometer to ensure it reaches a safe temperature of at least 165°F (74°C).
Once the leftover ham hocks are reheated, you can serve them as desired. They can be enjoyed in the same ways as freshly cooked ham hocks, such as in soups, sandwiches, salads, or as a standalone main dish.
Remember that reheated ham hocks should be consumed within a day or two. If you have any doubts about the quality or safety of the leftovers, it’s best to discard them to avoid any potential foodborne illnesses.
By properly storing and reheating your leftover ham hocks, you can continue to enjoy their delicious flavors and textures, even after the initial meal. Waste not, want not!
Tips and Tricks for Cooking Ham Hocks in an Electric Pressure Cooker
When cooking ham hocks in an electric pressure cooker, a few tips and tricks can help you achieve the best results possible. Here are some valuable tips to keep in mind:
1. Soaking for flavor: Consider soaking the ham hocks in a flavorful marinade or brine for a few hours before cooking. This enhances the taste and tenderness of the meat while infusing it with additional flavors. You can use ingredients like herbs, spices, vinegar, or citrus juice to create a delicious marinade.
2. Searing for flavor: Take the time to sear the ham hocks before pressure cooking. Browning the meat helps to develop rich flavors and adds depth to the final dish. Use the “Sauté” or “Browning” function on your pressure cooker to achieve a beautiful golden crust on the ham hocks.
3. Liquid requirements: Be mindful of the amount of liquid you use when pressure cooking ham hocks. The ham hocks will release juices during the cooking process, so avoid adding too much liquid to prevent the dish from becoming too watery. A good rule of thumb is to use around 1-1.5 cups of liquid per pound of ham hocks.
4. Properly season: Don’t skimp on the seasoning! Ham hocks benefit from bold flavors, so be generous with your spices, herbs, and seasonings. Remember that the high-pressure cooking process can sometimes dull the flavors, so it’s better to season a touch more than you think you need. You can always adjust the seasonings later if necessary.
5. Use a trivet or steamer basket: To prevent the ham hocks from sticking to the bottom of the pressure cooker and to promote even cooking, consider using a trivet or steamer basket. Elevating the ham hocks from the bottom of the pot helps to distribute the heat more evenly and prevents scorching.
6. Let the flavors meld: After the cooking time has elapsed, allow the ham hocks to sit in the pressure cooker with the lid on for a few extra minutes. This allows the flavors to meld together and develop further. The residual heat will continue to penetrate the meat, resulting in even more flavorful and tender ham hocks.
7. Adjust cooking time for thickness: The cooking time for ham hocks will vary depending on their thickness. Thicker ham hocks may require a slightly longer cooking time to ensure they become tender. If you’re unsure, it’s always better to slightly overestimate the cooking time and check for doneness with a fork before serving.
8. Use the cooking liquid: Don’t let the flavorful cooking liquid go to waste! After removing the ham hocks, strain the cooking liquid and use it as a base for soups, stews, or sauces. The rich broth will inherit the delicious flavors from the ham hocks and add an extra layer of tastiness to your dishes.
By keeping these tips and tricks in mind, you’ll be well-equipped to cook succulent and flavorful ham hocks in your electric pressure cooker. With a little experimentation and practice, you’ll become a master at creating mouthwatering meals that will impress your family and friends.
Conclusion
Cooking ham hocks in an electric pressure cooker is a fantastic way to achieve tender, flavorful, and delicious results. The high-pressure environment of the cooker helps to break down the tough collagen in the ham hocks, resulting in meat that is succulent and easily falls off the bone. Whether you’re aiming for a main dish, a soup ingredient, or a flavorful addition to other recipes, ham hocks bring depth and richness to your cooking.
Throughout this article, we’ve explored the benefits of using an electric pressure cooker to cook ham hocks, from the time-saving advantages to the enhanced flavors and convenience it provides. We’ve discussed various aspects of the cooking process, including preparing and seasoning the ham hocks, as well as the importance of natural release versus quick release for optimal results.
We’ve also provided serving suggestions to inspire your culinary creativity, from main dish presentations to incorporating ham hocks into soups, sandwiches, salads, and more. Plus, we’ve covered the proper storage and reheating techniques to make the most of any leftover ham hocks.
Lastly, we shared valuable tips and tricks to help you achieve the best possible outcome when cooking ham hocks in your electric pressure cooker. From soaking and searing the meat to properly seasoning and adjusting cooking times, these tips will help elevate your cooking and ensure a memorable dining experience.
With the knowledge and guidance provided in this article, you’re now equipped to embark on your own culinary adventure with ham hocks in an electric pressure cooker. So, roll up your sleeves, gather your ingredients, and get ready to enjoy the tender, flavorful, and unforgettable results of your ham hock cooking endeavors!