Choosing the Right Ham
When it comes to cooking a ham in an electric pressure cooker, choosing the right type of ham is key. There are several options available, each with its own unique flavor and texture. Here are some factors to consider when selecting your ham:
- Ham Type: There are two main types of ham – bone-in and boneless. Bone-in hams tend to have more flavor and tenderness but can be a bit trickier to carve. Boneless hams, on the other hand, are easier to handle and carve but may not have the same depth of flavor.
- Ham Size: Consider the size of the ham you need based on the number of people you’ll be serving. A rule of thumb is to estimate about 1/3 to 1/2 pound of ham per person. If you’re planning for leftovers, you may want to select a larger ham.
- Ham Quality: Look for hams that are labeled “fully-cooked” or “ready-to-eat” as they will require less cooking time. It’s also worth considering factors such as organic or free-range options, as they often result in a more flavorful and ethically sourced ham.
- Ham Flavor: Hams come in various flavors, such as honey-glazed, smoked, or maple-infused. Consider your personal preferences and the occasion for which you’re cooking the ham. A smoky flavor might be perfect for a barbecue, while a sweeter glaze might be more suitable for a holiday gathering.
By considering these factors, you can choose the perfect ham that suits your taste and cooking needs. Whether it’s a traditional bone-in ham or a convenient boneless option, selecting the right ham sets the foundation for a delicious meal cooked in your electric pressure cooker.
Preparing the Ham for Pressure Cooking
Before you start cooking your ham in the electric pressure cooker, it’s essential to properly prepare it. Follow these steps to ensure your ham is ready for pressure cooking:
- Remove Packaging: Take your ham out of its packaging and remove any plastic wrapping or netting. If the ham comes with a pre-applied glaze, you can leave it as-is or choose to add your own glaze later.
- Trim the Fat: It’s common for hams to come with a layer of fat on one side. While some people enjoy the flavor and juiciness that the fat provides, others prefer to trim it off. Use a sharp knife to carefully remove any excess fat, leaving a thin layer to enhance flavor and moisture.
- Score the Ham: Scoring the surface of the ham helps with the absorption of flavors and creates an attractive presentation. Use a sharp knife to make shallow cuts in a diagonal or crisscross pattern across the surface of the ham.
- Add Liquid: To prevent your ham from sticking to the bottom of the pressure cooker, add a cup of liquid such as water, broth, or apple juice. This will create steam and help cook the ham evenly.
Once you’ve completed these steps, your ham is now ready to be placed in the electric pressure cooker. Properly preparing the ham ensures that it cooks evenly and absorbs the flavors you’ll be adding during the cooking process. With the preparation complete, you’re one step closer to enjoying a tender and flavorful ham cooked in your electric pressure cooker.
Adding Flavor to Your Ham
While hams already have a delicious natural flavor, adding additional flavors can elevate it to a whole new level. Here are some ways to enhance the taste of your ham when cooking it in an electric pressure cooker:
- Glaze: Applying a glaze to your ham adds a sweet and savory coating that not only enhances the flavor but also provides a beautiful caramelized finish. Popular glazes include honey mustard, brown sugar, maple syrup, or a combination of fruit preserves and spices. Apply the glaze to the scored surface of the ham before pressure cooking.
- Spices and Herbs: Experiment with different spices and herbs to infuse your ham with aromatic flavors. Some classic options include cloves, nutmeg, cinnamon, allspice, thyme, rosemary, or smoked paprika. Rub these seasonings onto the surface of the ham or add them to the liquid in the pressure cooker for a more pronounced flavor.
- Fruits and Juices: Adding fruits such as pineapple rings, orange slices, or apple wedges along with their juices can impart a tangy and fruity taste to the ham. The natural sugars in the fruits also add a touch of sweetness. Place the sliced fruits on top or around the ham before pressure cooking.
- Liquid Enhancements: Instead of using plain water, consider using flavored liquids to enhance the taste. For example, you can use apple cider, chicken or vegetable broth, wine, or even cola to give your ham a unique flavor profile.
Be creative with the flavors you choose and don’t be afraid to experiment with different combinations. The pressure cooking process will help infuse these flavors into the ham, resulting in a tender and delicious centerpiece for your meal. Adding your own personal touch to the ham ensures that it not only tastes amazing but also reflects your culinary style and preferences.
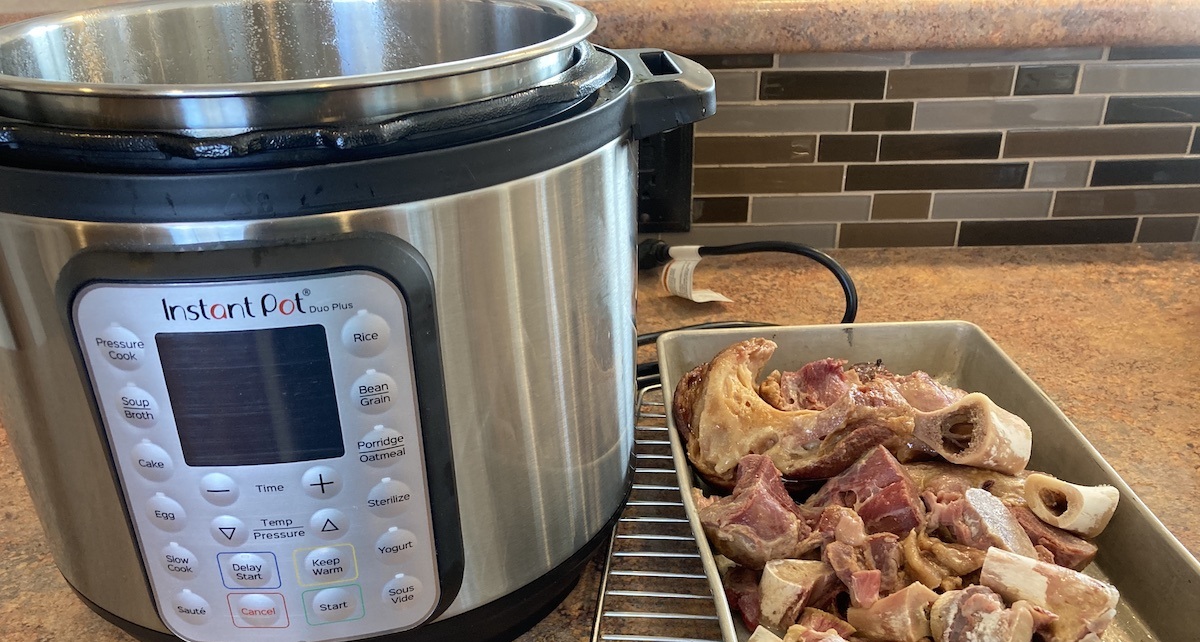
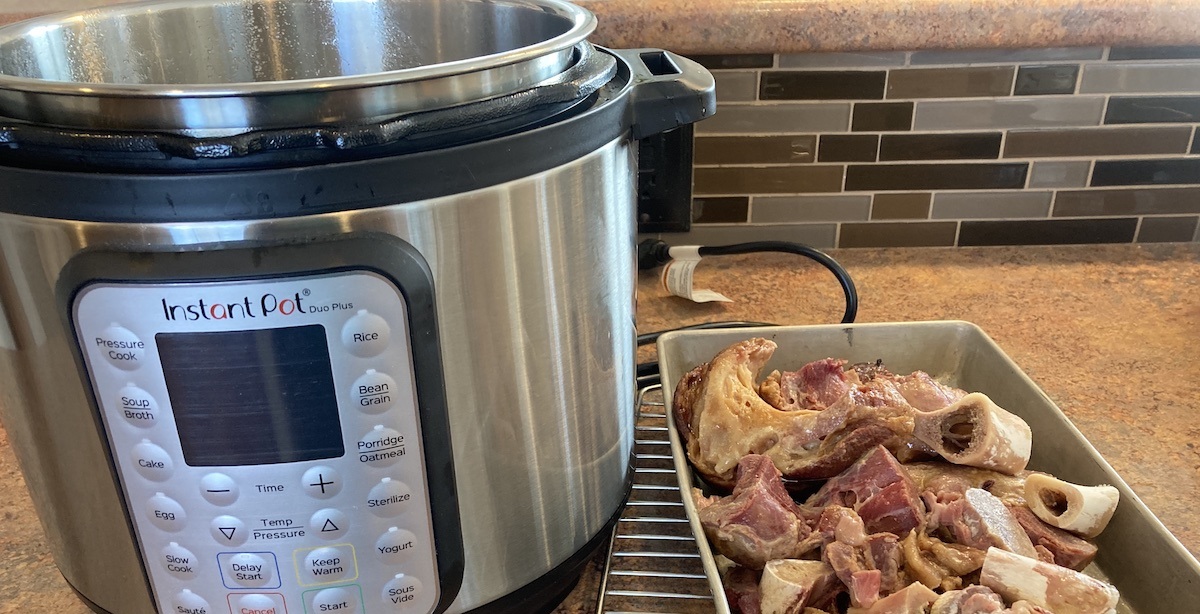
Setting the Pressure Cooker
Setting the pressure cooker correctly is crucial to ensure that your ham cooks to perfection. Follow these steps to set up your electric pressure cooker for cooking a ham:
- Add the Trivet: Place the trivet or a steamer rack at the bottom of the pressure cooker. This will elevate the ham above the liquid and prevent it from sticking to the bottom.
- Add the Liquid: Pour the desired liquid into the pot. This liquid will create steam and help cook the ham evenly. Be sure not to exceed the maximum fill level indicated in your pressure cooker’s manual.
- Place the Ham: Carefully place the prepared ham onto the trivet or steamer rack inside the pressure cooker.
- Secure the Lid: Ensure that the lid is securely locked in place. This is important for maintaining the pressure during the cooking process.
- Select the Pressure Cook Setting: Depending on your electric pressure cooker, select the appropriate pressure cook setting. Most models have a “pressure cook” or “manual” setting. Adjust the time as per the cooking chart or recipe you are following.
- Set the Cooking Time: Set the cooking time based on the size of your ham and the recommended cooking time. Refer to the cooking chart provided by the pressure cooker manufacturer or follow a trusted recipe. It is important to ensure that the ham is cooked thoroughly, but not overcooked.
- Start Cooking: Press the start button or program the pressure cooker to begin the cooking process. The pressure cooker will build up the required pressure and begin cooking the ham.
After setting up the pressure cooker properly, you can sit back and allow it to work its magic. The pressure cooking method helps to lock in moisture and flavors, resulting in a tender and succulent ham. Make sure to follow the manufacturer’s instructions and safety guidelines specific to your pressure cooker model for the best results.
Cooking Times for Different Sizes of Ham
The cooking time for your ham in an electric pressure cooker will vary depending on the size of the ham. It’s important to cook the ham for the appropriate amount of time to ensure it is fully cooked and tender. Here are general guidelines for cooking times based on the size of the ham:
- Small Ham: For a small ham weighing around 2-4 pounds, cook it for approximately 6-10 minutes per pound. This will result in a total cooking time of about 12-40 minutes.
- Medium Ham: A medium-sized ham weighing 5-7 pounds will require about 5-8 minutes per pound. Plan for a cooking time of around 25-56 minutes.
- Large Ham: Larger hams weighing 8-10 pounds will need about 4-7 minutes per pound, resulting in a cooking time of approximately 32-70 minutes.
It’s important to note that these cooking times are estimates, and you should always refer to the specific instructions provided by your pressure cooker manufacturer or a trusted recipe. Additionally, factors such as the specific model of your pressure cooker and the desired level of doneness can affect the cooking time. Use a meat thermometer to ensure the internal temperature of the ham reaches at least 145°F (63°C) for fully cooked or 160°F (71°C) for a ham with a smoked flavor.
Remember to also factor in the time needed for the pressure cooker to reach the required pressure before the actual cooking time begins. Allow for a natural release or quick release method as per the recipe instructions and based on your preference.
By following these general cooking time guidelines and using a meat thermometer to ensure proper doneness, you can cook your ham to perfection in your electric pressure cooker.
Quick Release or Natural Release
After the cooking time is complete, it’s essential to release the pressure from the electric pressure cooker before opening the lid. There are two common methods for releasing the pressure: quick release and natural release. Understanding the differences between the two will help you choose the right method for your ham:
- Quick Release: Quick release is the faster method of releasing pressure from the pressure cooker. It involves manually turning the pressure release valve to release the steam and pressure immediately. This method is suitable for recipes that require a shorter cooking time or when you want to stop the cooking process quickly. However, keep in mind that quick release can cause some liquid splatter, so it’s important to exercise caution when using this method.
- Natural Release: Natural release is a slower method where you allow the pressure to naturally decrease over time. After the cooking time is complete, you turn off the heat and let the pressure cooker sit undisturbed. Gradually, the pressure inside the cooker will decrease on its own. This method is ideal for recipes that require longer cooking times or when you want to let the flavors further develop. Keep in mind that natural release will add extra time to the overall cooking process, so factor that into your meal planning.
The choice between quick release and natural release depends on the recipe and the desired outcome. For ham, it is generally recommended to use natural release for a few minutes to allow the meat to rest and properly absorb the juices. However, always refer to the specific recipe or pressure cooker manufacturer’s instructions for recommended release methods.
Regardless of which release method you choose, it’s important to follow proper safety precautions. Avoid placing your hands or face directly over the valve when releasing pressure, as the steam can be hot and cause burns. Always ensure that the pressure indicator has dropped before attempting to open the pressure cooker.
By understanding the differences between quick release and natural release and choosing the appropriate method for your recipe, you’ll be able to safely and effectively release the pressure from your electric pressure cooker and proceed with serving your deliciously cooked ham.
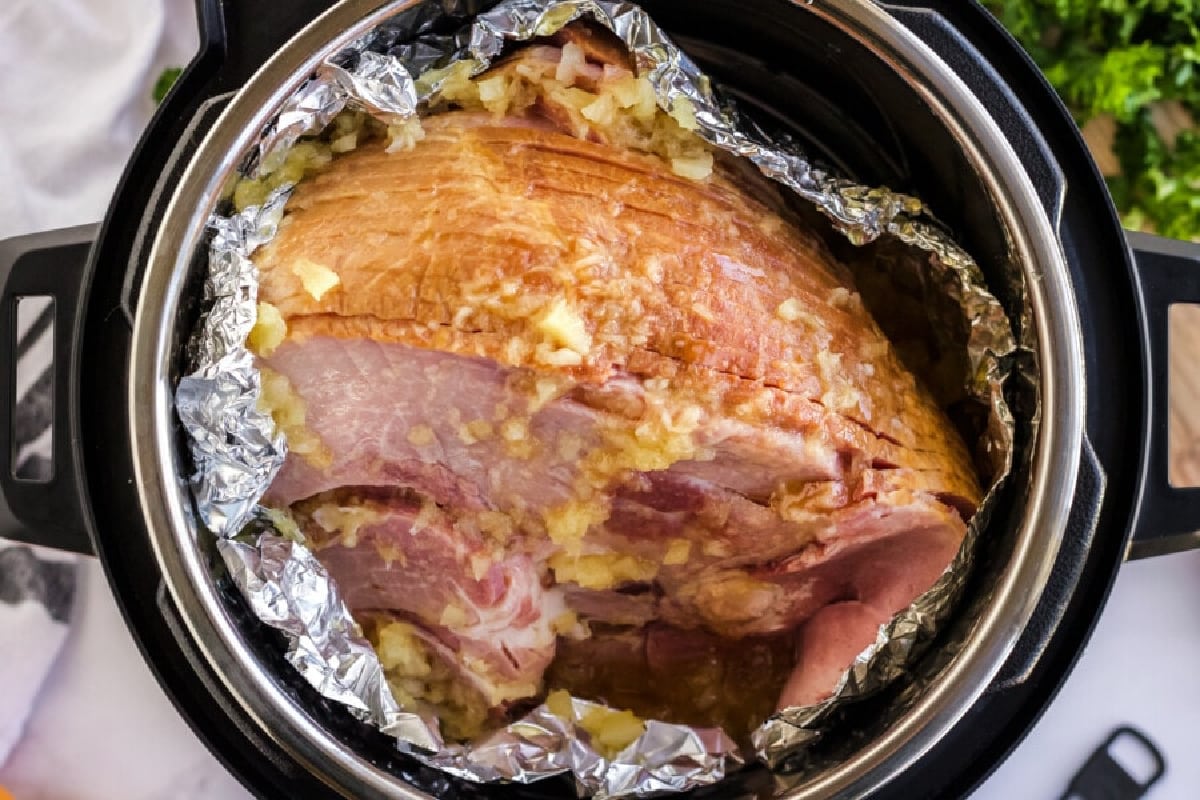
Glazing the Ham
Glazing your ham adds a beautiful caramelized finish and enhances the taste with a sweet and savory coating. Here’s how to glaze your ham to perfection:
- Prepare the Glaze: Start by preparing your desired glaze. This can be a combination of ingredients such as honey, brown sugar, mustard, maple syrup, or fruit preserves. Heat the glaze ingredients in a saucepan over low heat until they are well combined and have a smooth consistency.
- Score the Ham: Before you apply the glaze, ensure that the ham is scored. Use a sharp knife to make shallow cuts in a diagonal or crisscross pattern on the surface of the ham. This helps the glaze penetrate the meat and adds an attractive appearance.
- Apply the Glaze: Generously brush or pour the glaze over the scored surface of the ham. Ensure that the glaze covers the ham evenly, both on top and around the sides. The natural indentations from the scoring will help the glaze hold onto the ham and create a delicious crust.
- Return to the Pressure Cooker: Place the glazed ham back into the pressure cooker. You can place it directly on the trivet or steamer rack, or you can wrap it loosely in foil to prevent the glaze from sticking to the cooker’s interior.
- Pressure Cook for Additional Time: Close the pressure cooker lid and resume pressure cooking for an additional few minutes to allow the glaze to infuse into the ham. Follow the recommended cooking times based on the size and type of ham you’re preparing.
After pressure cooking, your ham will have a beautifully glazed exterior. If desired, you can transfer the ham to a baking dish and place it under the broiler for a few minutes to further caramelize and crisp up the glaze. Keep a close eye on it to prevent burning.
By glazing your ham, you add an extra layer of flavor and visual appeal to your dish. The sweet and savory glaze complements the natural flavors of the ham and creates a memorable centerpiece for your meal. Experiment with different glaze combinations to find your favorite flavor profile, and enjoy the delicious results.
Resting and Carving the Ham
Once your ham is cooked to perfection, it’s crucial to allow it to rest before carving. Resting allows the juices to redistribute, resulting in a more tender and succulent ham. Here’s what you need to do:
- Remove from Pressure Cooker: Carefully remove the ham from the pressure cooker using heat-resistant gloves or tongs. Place it on a clean cutting board or a serving platter.
- Cover with Foil: Loosely cover the ham with foil to keep it warm during the resting period. This helps to retain the heat and prevents the ham from drying out.
- Rest the Ham: Allow the ham to rest for about 10-15 minutes. This resting time allows the juices to redistribute throughout the meat, resulting in a juicier and more flavorful end result.
- Carving the Ham: Once the ham has rested, it’s time to carve it. Begin by finding the bone, if applicable, and use a sharp carving knife to slice along the bone to separate the meat into slices. For boneless hams, start by slicing thin slices from one end and work your way across.
- Serving the Ham: Place the carved slices of ham on a serving platter and garnish as desired. Serve it hot or at room temperature, depending on your preference and the meal you are serving.
Carving a ham can be a work of art, so take your time and make each slice as even and appealing as possible. Remember that the end slices near the bone tend to be more flavorful and juicy. Arrange the slices on a serving platter, and you’re ready to serve your delicious ham to your family or guests.
Keep in mind that leftovers from the ham can be stored and enjoyed for several days. Store the leftover ham in an airtight container in the refrigerator. It can be used in sandwiches, salads, soups, or a variety of other recipes.
By allowing your ham to rest and carving it properly, you ensure that each slice is tender, juicy, and full of flavor. Taking the time to rest and carve your ham properly enhances the overall dining experience and ensures that every bite is enjoyable.
Tips and Tricks for Perfectly Cooked Ham
Cooking a ham in an electric pressure cooker can be a fantastic way to achieve tender and flavorful results. To ensure your ham turns out perfectly, consider these tips and tricks:
- Choose the Right Size: Select a ham size that suits the number of people you plan to serve, allowing for leftovers if desired. This ensures that the cooking time and pressure are appropriate for the portion.
- Use a Meat Thermometer: To ensure proper doneness, use a meat thermometer to check the internal temperature of the thickest part of the ham. For fully cooked hams, aim for at least 145°F (63°C) or 160°F (71°C) for a smoked ham.
- Don’t Overcook: Be cautious not to exceed the recommended cooking time to prevent the ham from drying out. Use a trusted recipe or follow the cooking times provided by the pressure cooker manufacturer.
- Check for Proper Sealing: Before starting the pressure cooking process, ensure that the sealing ring is properly fitted, and the valve is in the correct position. This seal is crucial to maintain pressure during cooking.
- Experiment with Flavors: Don’t be afraid to get creative with seasonings, glazes, and liquids. Try different combinations of herbs, spices, and sweet or savory glazes to find your favorite flavor profile.
- Allow for Natural Release: In most cases, allowing the pressure cooker to release pressure naturally for a few minutes before performing a quick release can result in a more tender ham. Follow recipe instructions for the recommended release method.
- Rest the Ham: Give your cooked ham ample time to rest before carving. This allows the meat to relax and the juices to redistribute, resulting in a more tender and flavorful end result.
- Use Leftovers Creatively: Don’t let any leftover ham go to waste. Utilize it in delicious recipes like sandwiches, salads, omelets, or casseroles.
- Take Safety Precautions: Always follow safety guidelines provided by the pressure cooker manufacturer. Ensure the pressure has been fully released and the indicator has dropped before opening the lid.
By considering these tips and tricks, you’ll be on your way to cooking a perfectly tender and delectable ham in your electric pressure cooker. Don’t be afraid to experiment and make adjustments based on your personal preferences. Enjoy the process and savor the delicious results!
Frequently Asked Questions about Cooking Ham in an Electric Pressure Cooker
Here are some commonly asked questions regarding cooking ham in an electric pressure cooker:
- Can I cook a frozen ham in an electric pressure cooker? Yes, you can cook a frozen ham in an electric pressure cooker. However, it’s important to adjust the cooking time accordingly. Frozen ham will take longer to cook, so refer to the pressure cooker manual or a trusted recipe for specific guidelines.
- Do I need to add water to the pressure cooker when cooking ham? Yes, it’s recommended to add liquid to the pressure cooker when cooking ham. This helps create steam, which aids in the cooking process and prevents the ham from drying out. You can use water, broth, fruit juice, or other flavorful liquids to enhance the taste.
- Is a bone-in ham better than a boneless ham? Both bone-in and boneless hams have their own advantages. Bone-in hams tend to have more flavor and tenderness, while boneless hams are easier to handle and carve. Consider your preferences and the cooking method you’re using to select the right type of ham for your needs.
- How do I prevent the ham from sticking to the pressure cooker? To prevent the ham from sticking to the bottom of the pressure cooker, place a trivet or steamer rack at the bottom and add liquid such as water or broth. This creates a barrier between the ham and the cooker’s surface, preventing sticking and promoting even cooking.
- Can I use the pressure cooker’s browning or sauté function before pressure cooking the ham? Yes, you can use the browning or sauté function of an electric pressure cooker to brown the ham before pressure cooking. This helps enhance the flavor and appearance of the ham. Follow the manufacturer’s instructions for utilizing these functions safely.
- Can I reheat leftover ham in an electric pressure cooker? Yes, you can use an electric pressure cooker to reheat leftover ham. Place the ham slices or chunks in the pressure cooker with some liquid to prevent drying out, and heat on a low-pressure setting until warmed through. Be cautious not to overcook, as it can lead to dryness.
- Can I cook a ham with other ingredients or vegetables in the pressure cooker? Absolutely! Cooking a ham with other ingredients or vegetables can add depth of flavor and create a one-pot meal. Choose ingredients that complement the ham, such as potatoes, carrots, or onions. Adjust the cooking times of the vegetables based on their density and desired tenderness.
Remember to always consult the specific instructions provided by your pressure cooker manufacturer for optimal results. Feel free to experiment and adapt recipes to suit your taste preferences and dietary needs. With a little practice and creativity, you’ll become an expert at cooking ham in an electric pressure cooker.