Introduction
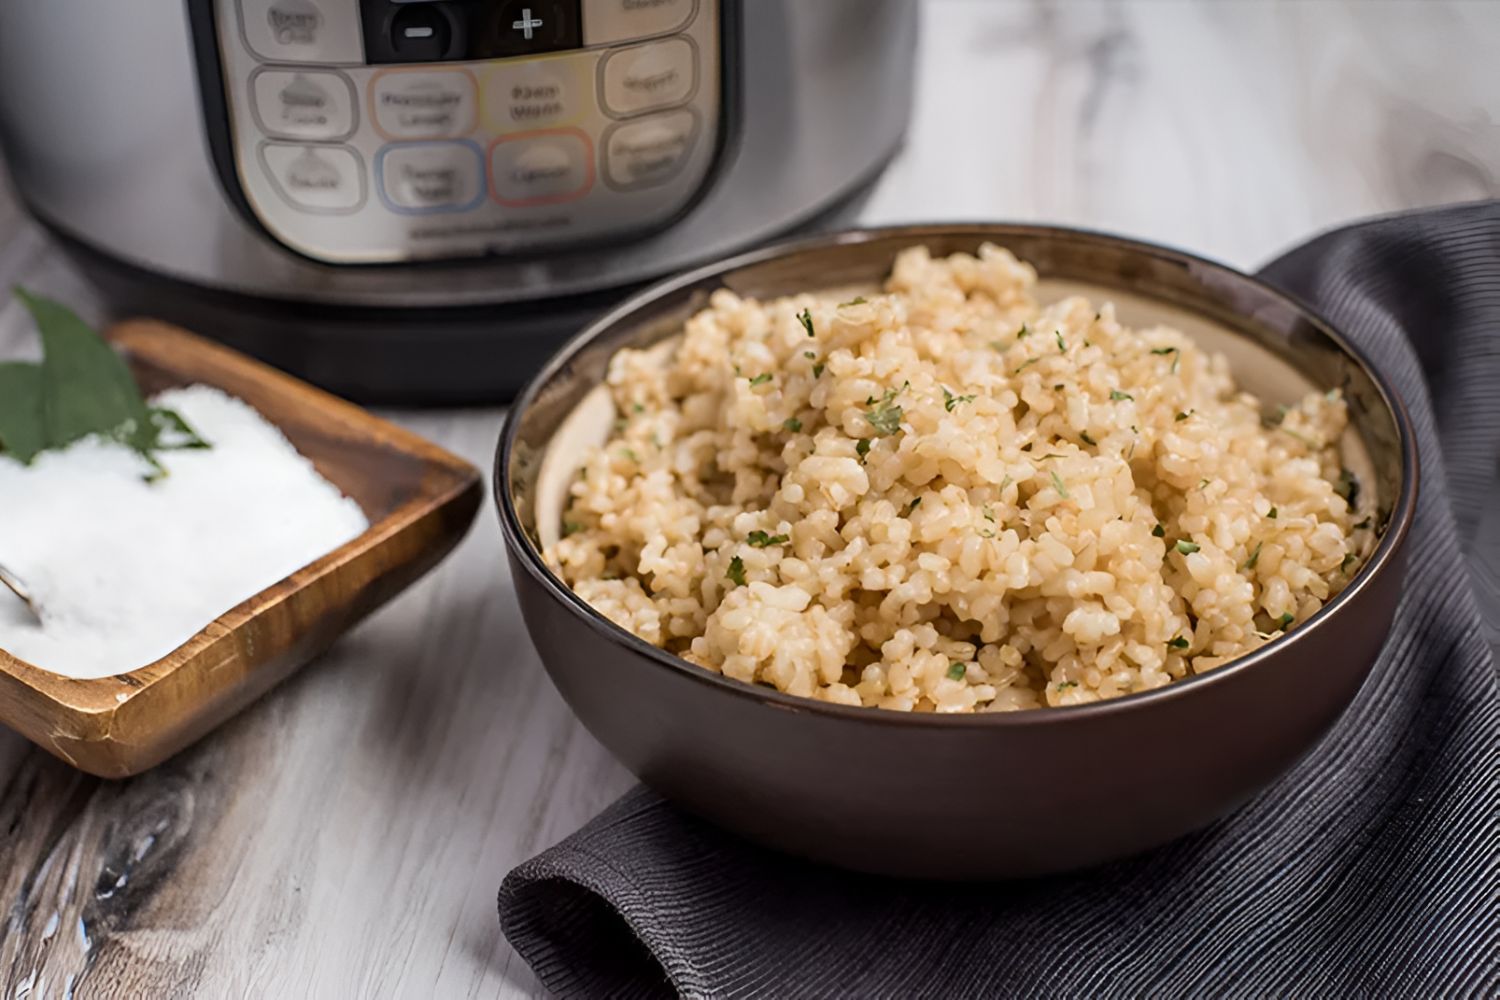
Welcome to the world of electric pressure cooking, where delicious and perfectly cooked rice is just a few button presses away! Cooking rice in an electric pressure cooker is a game-changer for many home cooks. With the efficient and precise cooking technology, you can say goodbye to undercooked or overcooked rice forever.
In this guide, we will take you through the step-by-step process of cooking rice in an electric pressure cooker. Whether you’re a beginner or an experienced cook, we’ve got you covered with all the tips and tricks to achieve fluffy and flavorful rice every time.
Gone are the days of monitoring the stovetop, worrying about the water boiling over, or dealing with uneven heat distribution. The electric pressure cooker takes the guesswork out of cooking rice and provides consistent results with every batch. Plus, it saves you time and energy, making it an essential tool in any kitchen.
Not only is cooking rice in the electric pressure cooker convenient, but it also allows for versatility in the types of rice you can cook. From classic long-grain white rice to aromatic jasmine rice or nutritious brown rice, the electric pressure cooker can handle them all. With just a few adjustments to the cooking time and water ratio, you can enjoy a wide variety of rice dishes to suit your preferences.
Throughout this guide, we’ll share essential tips on how to choose the right type of rice, measure the rice and water accurately, and prepare your electric pressure cooker for cooking. We’ll also explore the different techniques for pressure release and how to fluff the rice for the perfect texture. Additionally, we’ll troubleshoot common issues that may arise during the cooking process.
So, if you’re ready to elevate your rice game and make cooking a breeze, let’s dive in and unlock the secrets to cooking rice in the electric pressure cooker. Get your apron on and let’s bring out the best in your rice!
Getting Started
Before you start cooking rice in your electric pressure cooker, there are a few things you need to keep in mind to ensure success. Let’s take a look at the essential steps to get started with cooking rice in the electric pressure cooker.
1. Read the Instructions: Familiarize yourself with the manufacturer’s instructions for your specific electric pressure cooker model. Understanding how to operate your device correctly is crucial for safe and effective cooking.
2. Gather Your Ingredients: You will need the type of rice you want to cook and water. Different rice varieties require different amounts of water, so be sure to check the package instructions or refer to reliable sources for the correct ratios.
3. Prepare Your Electric Pressure Cooker: Ensure that the inner pot of the electric pressure cooker is clean and properly inserted into the appliance. Make sure the sealing ring is securely in place and that the venting knob or valve is set to the “Sealing” position.
4. Select the Cooking Function: Most electric pressure cookers have specific buttons or settings for cooking rice. Look for the appropriate function on your device’s control panel. If there isn’t a specific rice function, you can use the manual or pressure cook function and adjust the cooking time accordingly.
5. Rinse the Rice: It’s a good practice to rinse the rice before cooking to remove any excess starch. Place the rice in a fine-mesh strainer and rinse it under cold water until the water runs clear. This step helps prevent the rice from becoming sticky.
6. Measure the Rice and Water: Use a measuring cup to accurately measure both the rice and water. The ratio of rice to water can vary depending on the type of rice being cooked. As a general guideline, for white rice, use a 1:1 ratio (1 cup of rice to 1 cup of water), and for brown rice, use a 1:1.25 to 1:1.5 ratio. Adjust the ratio according to the package instructions or your personal preference.
7. Add Salt or Seasonings (Optional): At this stage, you can add a pinch of salt or other seasonings to enhance the flavor of the rice. This step is entirely optional and can be adjusted according to your taste preferences.
8. Close the Lid: Once you’ve added the rice, water, and seasonings (if using), ensure that the sealing ring is in place, and securely close the lid of your electric pressure cooker. The lid should fit tightly to create a proper seal during cooking.
9. Select the Cooking Time: Depending on the type of rice and the quantity being cooked, set the appropriate cooking time using the buttons or control panel on your electric pressure cooker. Refer to the package instructions for the recommended cooking time, or follow recipes and resources specifically designed for electric pressure cookers.
10. Start Cooking: Once you have adjusted the cooking time, press the start button or the designated cooking function button to begin the cooking process. The electric pressure cooker will start building pressure and cook the rice according to the selected time.
11. Wait for Natural Pressure Release or Use Quick Pressure Release: After the cooking time is complete, you have a choice between natural pressure release (NPR) or quick pressure release (QPR). NPR involves allowing the pressure to release naturally, which takes longer but can result in fluffier rice. QPR involves manually releasing the pressure using the venting knob or valve, which is faster but may affect the texture of the rice.
Following these fundamental steps will set you on the right path to cooking perfect rice in your electric pressure cooker. In the next sections, we’ll delve deeper into each step and provide additional tips and tricks to enhance your rice cooking skills.
Choosing the Right Type of Rice
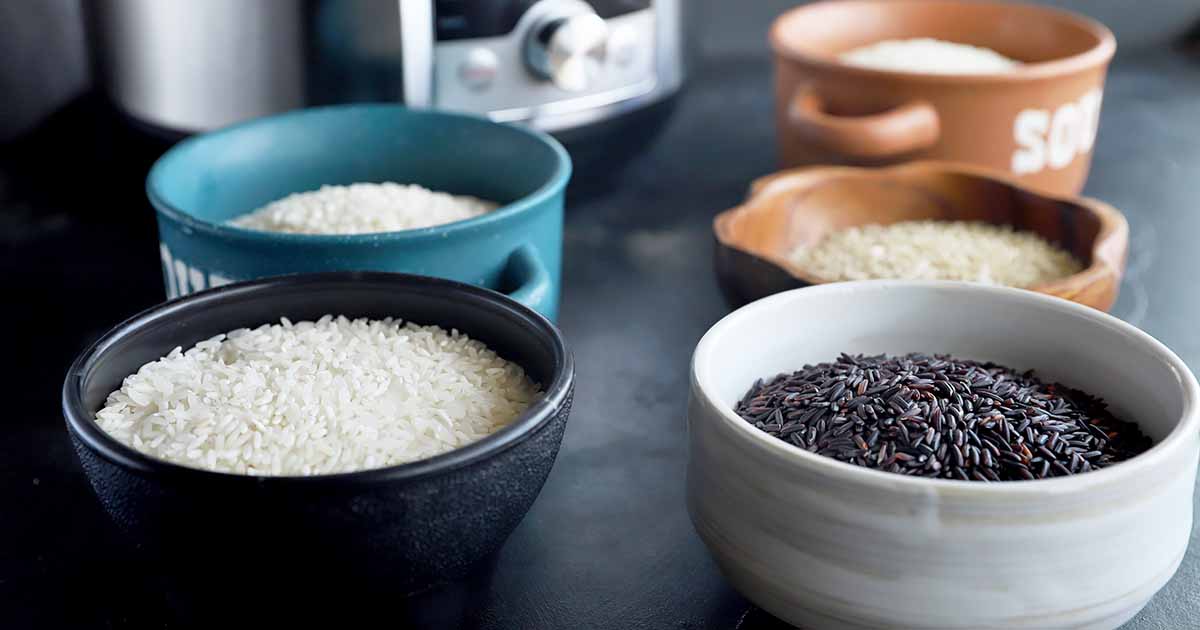
When it comes to cooking rice in an electric pressure cooker, selecting the right type of rice is crucial. Different types of rice have varying levels of starch content, cook times, and water absorption, which can affect the final texture and flavor of the cooked rice. Here are some popular rice varieties and their characteristics to help you make the best choice:
1. Long-Grain White Rice: Long-grain white rice is the most common and versatile type of rice. It has a firm texture and remains separate and fluffy when cooked. This type of rice typically requires a 1:1 ratio of rice to water and a cooking time of around 5-7 minutes on high pressure.
2. Jasmine Rice: Jasmine rice is a fragrant variety that adds a subtle floral aroma and flavor to your dishes. It has slightly shorter grains compared to long-grain rice but still maintains a fluffy texture. For jasmine rice, use a 1:1 ratio of rice to water and a cooking time of 6-8 minutes on high pressure.
3. Basmati Rice: Basmati rice is another aromatic variety known for its long, slender grains and delicate flavor. It pairs well with Indian and Middle Eastern cuisine. For basmati rice, use a 1:1.25 to 1:1.5 ratio of rice to water and a cooking time of around 6-8 minutes on high pressure.
4. Brown Rice: Brown rice is a healthier alternative to white rice as it retains the bran and germ, which provide additional fiber and nutrients. It has a nuttier flavor and a slightly chewier texture. Brown rice typically requires a longer cooking time of 20-25 minutes on high pressure and a ratio of 1:1.25 to 1:1.5 of rice to water.
5. Arborio Rice: Arborio rice is a short-grain variety popular in Italian cuisine, especially for making risotto. It has a high starch content, which gives risotto its characteristic creamy texture. For arborio rice, use a 1:1.25 to 1:1.5 ratio of rice to water and a cooking time of around 7-10 minutes on high pressure, depending on the desired firmness.
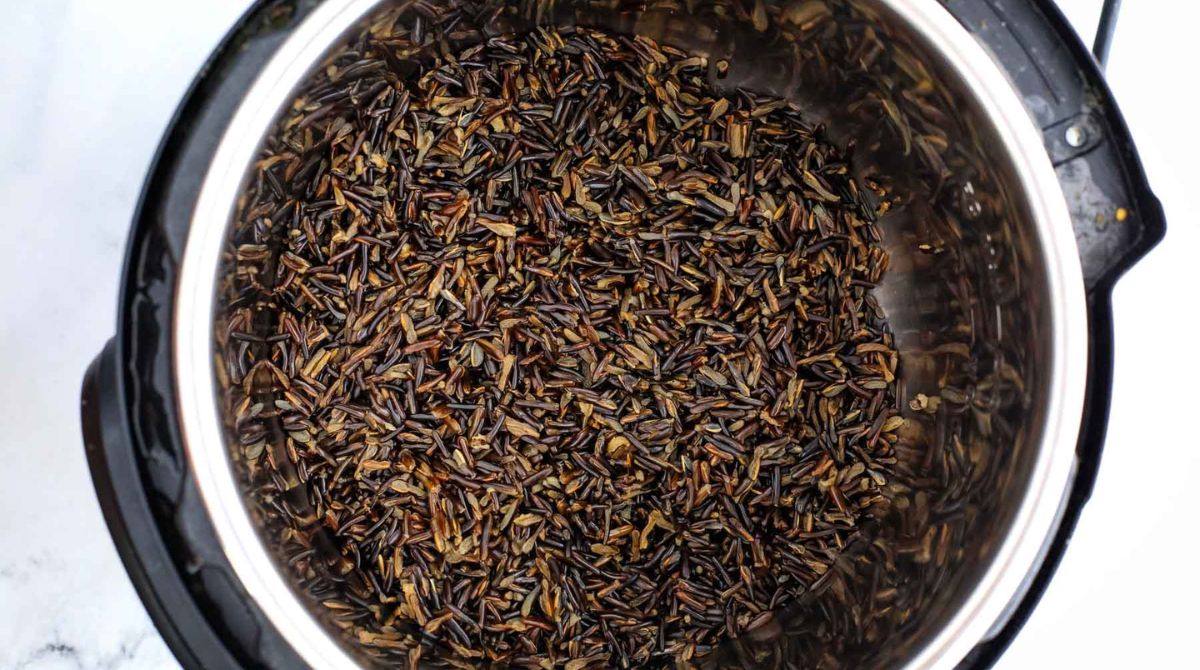
6. Wild Rice: Wild rice is not actually a rice grain but a seed from aquatic grass. It has a nutty flavor and a chewy texture. When cooking wild rice in the electric pressure cooker, use a ratio of 1:2 to 1:2.5 of rice to water and a cooking time of around 25-30 minutes on high pressure.
Remember to refer to the specific instructions provided with the rice package or reliable sources to determine the exact cooking time and water ratios for each rice variety. Experiment with different rice types to discover your favorite flavors and textures.
By selecting the appropriate rice variety for your desired dish and following the recommended cooking instructions, you’ll be able to achieve perfectly cooked rice with just the right texture and taste. Keep in mind that rice cooking times and water ratios may vary slightly depending on personal preferences and individual electric pressure cooker models.
Measuring the Rice and Water
Accurately measuring the rice and water is crucial for achieving perfectly cooked rice in your electric pressure cooker. The ratio of rice to water will vary depending on the type of rice you are cooking. Let’s explore the correct measuring techniques to ensure the ideal balance of rice and water:
1. Use a Measuring Cup: Use a measuring cup specifically designed for dry ingredients to measure both the rice and water. A measuring cup ensures consistency and helps you achieve the recommended ratio for the best results.
2. Rice to Water Ratio: The ratio of rice to water can vary depending on the type of rice. As a general guideline, for long-grain white rice, use a 1:1 ratio (1 cup of rice to 1 cup of water). For brown rice, use a 1:1.25 to 1:1.5 ratio. Jasmine, basmati, and other rice varieties may also require slightly different ratios. Refer to the package instructions or reliable sources for the specific ratios recommended for each type of rice.
3. Adjust for Soaking or Pre-Cooking: Some rice varieties may benefit from soaking or pre-cooking before pressure cooking. In such cases, adjust the amount of water accordingly. If you decide to soak the rice, reduce the amount of water slightly to compensate for the absorbed liquid.
4. Consider External Factors: Factors such as altitude, humidity, and personal preferences can affect the cooking process. In high-altitude areas, you may need slightly more water, while in humid climates, you may require slightly less. Additionally, if you prefer your rice to be softer or firmer, you can adjust the water ratio accordingly.
5. Avoid Overcrowding: When measuring the rice, make sure not to overcrowd the inner pot of your electric pressure cooker. Overcrowding can lead to uneven cooking and affect the final texture of the rice. Follow the manufacturer’s guidelines for the maximum capacity of your specific electric pressure cooker model.
6. Adjusting for Quantity: The recommended ratios are generally based on measuring cups. If you are cooking a smaller or larger quantity of rice, you may need to adjust the water accordingly. As a general rule, the ratio remains consistent regardless of the quantity. For instance, if you use 1 cup of rice, you will require 1 cup of water for a 1:1 ratio, regardless of whether you are cooking 1 cup or 4 cups of rice.
Remember, it may take a few tries to find the perfect rice-to-water ratio that suits your taste preferences and the specific rice variety you’re using. Feel free to experiment and make adjustments as needed until you achieve the desired texture and consistency.
By measuring the rice and water accurately and following the recommended ratios, you’ll ensure that your rice is cooked to perfection every time. The right balance of rice and water is key to achieving fluffy, tender, and delicious rice in your electric pressure cooker.
Preparing the Electric Pressure Cooker
Properly preparing your electric pressure cooker before cooking rice is essential to ensure a successful and hassle-free cooking experience. Here are the necessary steps to get your electric pressure cooker ready:
1. Clean the Inner Pot: Before you begin, make sure the inner pot of your electric pressure cooker is clean and free from any residue or food particles. Wash it thoroughly with warm soapy water and rinse it well. Dry the pot completely before using it.
2. Insert the Inner Pot: Take the clean inner pot and securely insert it back into the electric pressure cooker. Ensure that it sits properly and aligns with the cooker’s heating element.
3. Check the Sealing Ring: The sealing ring is an important component that creates an airtight seal during cooking. Make sure the sealing ring is clean, properly seated, and not damaged. If it’s worn out or damaged, replace it with a new one to ensure effective pressure cooking.
4. Verify the Venting Knob/Valve: Electric pressure cookers have a venting knob or valve that controls the pressure release during cooking. Ensure the venting knob/valve is in the “Sealing” position to prevent any steam from escaping during the cooking process. This is crucial for building and maintaining pressure inside the cooker.
5. Check the Lid: Inspect the lid of the electric pressure cooker for any cracks, damages, or debris. Clean the lid thoroughly and ensure that the sealing gasket on the underside is clean and in good condition. The lid should fit tightly onto the cooker to create a proper seal.
6. Check the Pressure Release Mechanism: Familiarize yourself with the pressure release mechanism on your electric pressure cooker. Some models have a pressure release button, while others have a valve that can be turned to the “Venting” position. Understanding how to safely release the pressure is essential for a smooth cooking process.
7. Have a Trivet or Steamer Basket Ready: Depending on the recipe or personal preference, you may want to use a trivet or steamer basket to elevate the rice above the cooking liquid. This can prevent the rice from getting too wet or soggy during the cooking process. Place the trivet or steamer basket at the bottom of the inner pot before adding the rice and water mixture.
8. Plug in the Electric Pressure Cooker: Ensure that your electric pressure cooker is properly plugged in and connected to a power source. This allows the cooker to reach and maintain the desired cooking temperature throughout the process.
By following these steps, you’ll ensure that your electric pressure cooker is clean, in good condition, and ready to go. Taking the time to properly prepare your cooker before cooking rice will help create the ideal cooking environment and ensure reliable results.
Once you have prepared your electric pressure cooker, you’re ready to move on to the next step: measuring and adding the rice and water to the cooker. Let’s dive into the cooking process and discover how to cook rice to perfection in the electric pressure cooker.
Cooking Rice in the Electric Pressure Cooker
Now that your electric pressure cooker is properly prepared, it’s time to cook the rice. Follow these step-by-step instructions to achieve perfectly cooked rice in your electric pressure cooker:
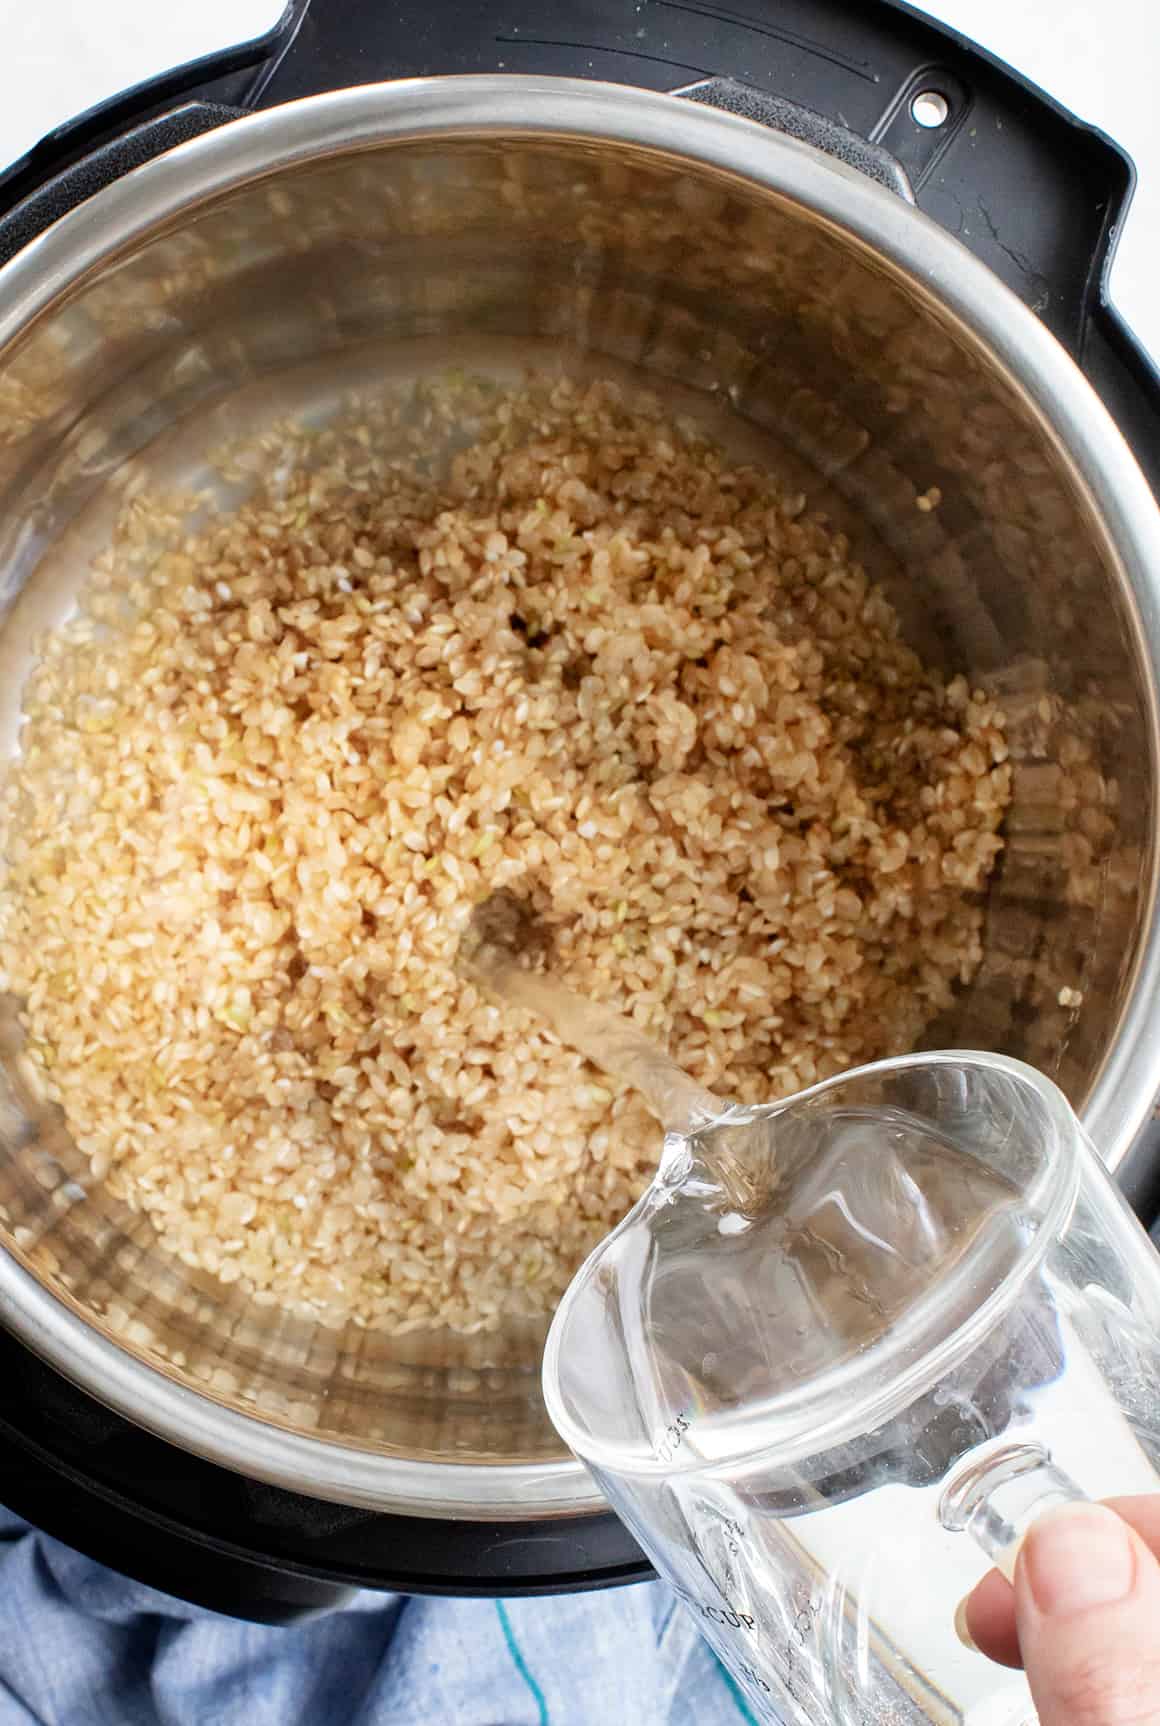
1. Add the Rice and Water Mixture: Measure the desired amount of rice using a dry measuring cup and add it to the inner pot of the electric pressure cooker. Pour in the corresponding amount of water, following the recommended ratios for the specific type of rice you are cooking.
2. Optional: Add Salt or Seasonings: If desired, add a pinch of salt or other seasonings to enhance the flavor of the rice. Stir gently to distribute the salt or seasonings evenly throughout the rice and water mixture.
3. Close and Seal the Lid: Securely close the lid of your electric pressure cooker. Ensure that the lid is properly aligned and sealed to create a tight and efficient cooking environment. Consult your cooker’s manual to understand the correct positioning of the lid for proper sealing.
4. Select the Rice Cooking Function: Look for the specific rice cooking function on your electric pressure cooker’s control panel. If there isn’t a dedicated rice function, use the manual or pressure cook function. Select the appropriate pressure and cooking time for the type of rice you are preparing.
5. Start the Pressure Cooking: Once you have adjusted the cooking settings, press the start button or the designated function button to initiate the pressure cooking process. The electric pressure cooker will begin to heat up and build pressure inside the pot.
6. Cooking Time: The cooking time will vary depending on the type of rice and the quantity being cooked. Refer to the package instructions or reliable sources for specific cooking times. As a general guideline, white rice typically cooks in about 5-7 minutes on high pressure, while brown rice may require 20-25 minutes.
7. Natural Pressure Release (NPR) or Quick Pressure Release (QPR): After the rice has finished cooking, you have two options for releasing the pressure. Natural pressure release (NPR) involves allowing the pressure to release naturally over a specified period of time. This can take anywhere from 10 to 15 minutes or longer depending on the recipe or personal preference. Quick pressure release (QPR) involves manually venting the pressure by turning the venting knob or valve to the “Venting” position. Exercise caution when doing a quick pressure release as hot steam will be released.
8. Open the Lid: Once the pressure has been fully released, the pressure indicator on your electric pressure cooker will drop. At this point, it is safe to open the lid. Lift the lid away from you to avoid any steam that may still be present inside the cooker.
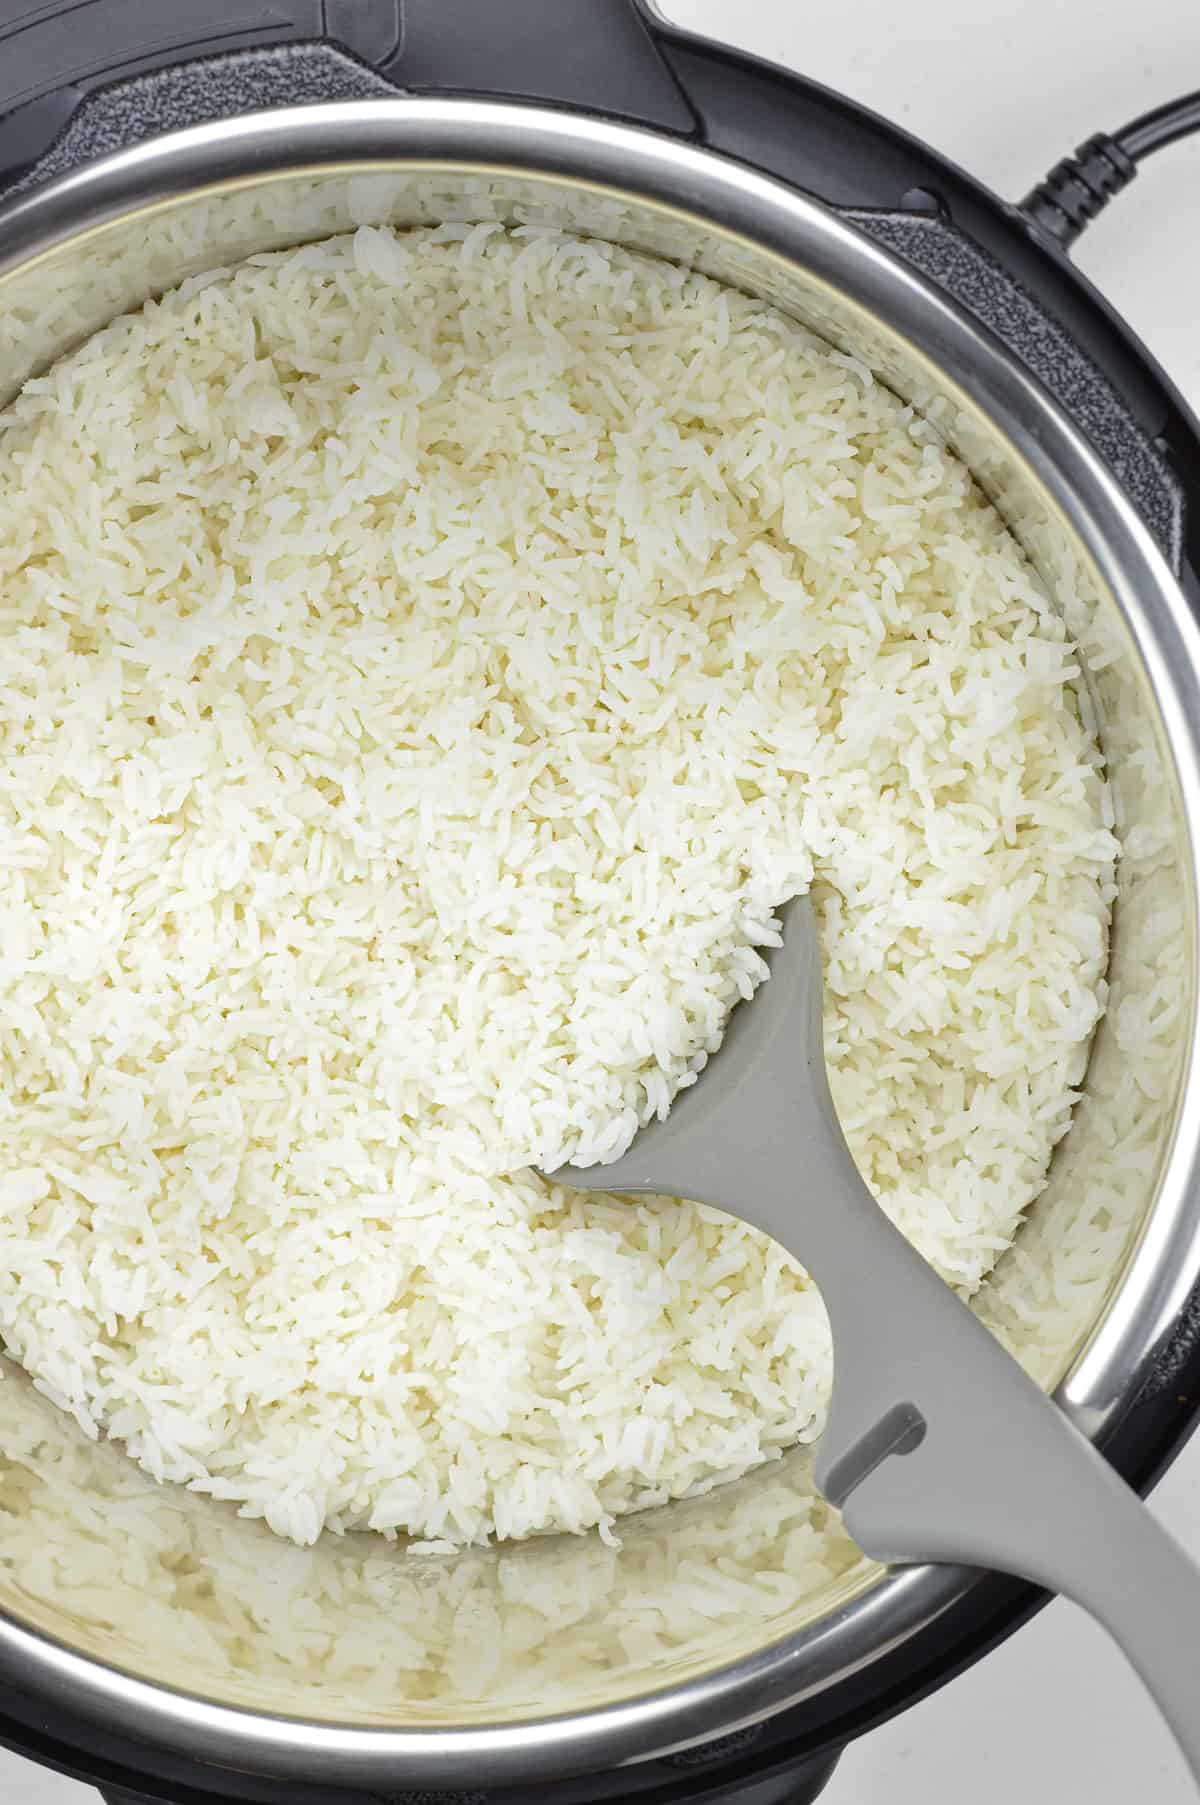
9. Fluff the Rice: Use a fork or a rice paddle to gently fluff the cooked rice. This helps to separate the grains and create a light and fluffy texture. Be careful not to over-stir the rice, as this can cause it to become sticky.
10. Serve and Enjoy: Your perfectly cooked rice is now ready to be served alongside your favorite dishes. Whether it’s a stir-fry, curry, or a delicious rice bowl, your electric pressure cooker has done the job of cooking the rice to perfection.
Remember that the cooking times and pressure release methods may vary slightly depending on your specific electric pressure cooker model and recipe. It may take a few attempts to find the ideal settings and techniques that work best for your preferences and equipment.
Now that you have mastered the art of cooking rice in your electric pressure cooker, let’s explore some additional tips and tricks to elevate your rice-cooking game further.
Natural Pressure Release vs. Quick Pressure Release
When cooking rice in an electric pressure cooker, understanding the difference between natural pressure release (NPR) and quick pressure release (QPR) is essential for achieving the desired texture and flavor. Let’s explore the pros and cons of each method:
Natural Pressure Release (NPR): NPR involves allowing the pressure inside the electric pressure cooker to decrease naturally without any intervention. This process takes time and can range from 10 to 15 minutes or longer, depending on factors such as the quantity of rice, the type of rice, and personal preference.
Pros of Natural Pressure Release:
– Helps achieve a fluffier texture: Allowing the pressure to release naturally can result in fluffier rice as it continues to absorb steam and moisture during the process.
– Reduces the risk of rice spillover: NPR allows any excess steam and pressure to gradually dissipate, minimizing the chances of rice spitting out from the vent valve when the cooker is opened.
– Less risk of rice sticking to the bottom: Cool down time during NPR reduces the chance of rice sticking to the bottom of the pot, making it easier to remove and clean.
Cons of Natural Pressure Release:
– Longer cooking time: The natural pressure release method adds extra time to the overall cooking process, which may not be ideal if you’re short on time.
– May result in slightly softer rice: Since the rice continues to cook in the residual heat during NPR, it may become slightly softer compared to quick pressure release.
Quick Pressure Release (QPR): QPR involves manually releasing the pressure by turning the venting knob or valve to the “Venting” position, allowing the steam to escape rapidly. This method can be faster than NPR and is typically used for recipes that require immediate pressure release or for those who prefer a firmer texture.
Pros of Quick Pressure Release:
– Saves time: QPR provides a faster way to release pressure, which can be especially beneficial if you’re in a hurry or have time constraints.
– Preserves texture: Quick pressure release helps maintain the texture and firmness of the rice, preventing it from becoming overly soft or mushy.
Cons of Quick Pressure Release:
– Risk of spillover: Releasing the pressure quickly may cause rice or liquid to spew out of the vent valve. Exercise caution when using this method and ensure there is enough space around the cooker to prevent any mess.
– Potential for rice sticking to the bottom: Since the residual heat is still present while opening the cooker after QPR, there is a slight risk of rice sticking to the bottom of the pot. Be careful when removing the rice to avoid scraping the bottom and causing any damage.
Understanding the differences between natural pressure release and quick pressure release allows you to tailor your cooking process to achieve the desired rice texture. If you’re unsure which method to use, start with natural pressure release as it tends to yield more consistent results. Experiment with both methods to find the one that works best for you and suits your recipe requirements.
Now that you know about pressure release techniques, let’s move on to the next crucial step: fluffing the rice to perfection.
Fluffing the Rice
Fluffing the rice after it has finished cooking is an important step to ensure light, separated grains and to prevent the rice from becoming sticky. Here are the steps to successfully fluff your cooked rice:
1. Wait for a Few Minutes: After the pressure has been released from the electric pressure cooker, it’s important to let the rice sit for a few minutes. This allows the rice to settle and evenly distribute the moisture.
2. Gently Separate the Grains: Using a fork or a rice paddle, gently insert the utensil into the rice and lightly fluff it. Be careful not to mash or over-stir the rice, as this can result in a sticky texture.
3. Lift and Turn: While fluffing, lift and turn the rice from the bottom of the pot to mix the grains. This helps to distribute any moisture evenly and prevents clumping.
4. Use a Folding Motion: Instead of vigorously stirring, use a gentle folding motion to separate the rice grains. This technique helps maintain the individuality of each grain and prevents them from breaking.
5. Fluff in Small Batches: If you’re cooking a large quantity of rice, fluff it in smaller batches. This allows for better control and ensures that all the rice is properly fluffed and mixed.
6. Be Mindful of the Utensil: When fluffing the rice, be mindful of the utensil you’re using. Using a fork or a rice paddle with small gaps or prongs helps to avoid compacting the rice and creates better separation between the grains.
7. Fluff Again if Needed: If you find any clumps or areas where the grains have stuck together, gently break them up with the utensil and give the rice another round of fluffing.
8. Serve Immediately: Fluffed rice is best served immediately to enjoy its light and fluffy texture. Serve it alongside your favorite dishes or use it as a base for other culinary creations.
Fluffing the rice not only improves its texture but also enhances the visual appeal of your dish. Each grain stands out and adds to the overall presentation. Whether you’re cooking rice for a simple weeknight meal or an elaborate feast, taking the time to fluff the rice elevates the dining experience.
Remember, the way you fluff the rice can vary depending on personal preference and the specific recipe you’re following. Practice and experimentation will help you find the fluffing technique that works best for you and yields the desired texture.
Now that you have fluffed the rice to perfection, let’s explore some additional tips and tricks to ensure consistently delicious and flawless rice every time you cook.
Tips and Tricks for Perfect Rice
Cooking rice in an electric pressure cooker can be a breeze with a few helpful tips and tricks. Here are some handy techniques to achieve perfect rice every time:
1. Rinse the Rice: Before cooking, rinse the rice under cold water to remove excess starch. This helps prevent the rice from becoming sticky and clumpy.
2. Soak the Rice (Optional): For certain rice varieties like basmati or jasmine, soaking the rice for 15-30 minutes before cooking can help achieve fluffier results. Soaking softens the rice grains and reduces the cooking time slightly.
3. Adjust the Water Ratio: If you prefer your rice to be firmer, use slightly less water than the recommended ratio. Conversely, if you like softer rice, add a little more water. Experiment with water ratios to find your preferred level of tenderness.
4. Use Broth or Stock: For added flavor, substitute some or all of the water with vegetable or chicken broth. This can enhance the taste of your rice and complement the dishes you serve it with.
5. Add Seasonings: Jazz up plain rice by adding herbs, spices, or aromatics like garlic, ginger, or onions to the cooking water. This infuses the rice with additional flavor and makes it a more versatile side dish.
6. Let the Rice Rest: After fluffing the rice, let it rest in the electric pressure cooker with the lid closed for a few minutes before serving. This allows any excess moisture to be absorbed, resulting in a dryer and fluffier texture.
7. Double-check Cooking Time: When cooking different rice varieties, refer to trusted sources or package instructions for the specific cooking times. Adjust the cooking time accordingly to achieve the desired texture and consistency.
8. Use the Sauté Function (Optional): If you prefer a slightly drier or crispier texture, transfer the cooked rice to a pan and use the sauté function on your electric pressure cooker. Stir the rice occasionally to remove any excess moisture and achieve a more desirable texture.
9. Keep Track of Results: Consider keeping a rice cooking journal where you record the type of rice, water ratio, and cooking time used for each batch of rice. This helps you track your preferences and replicate successful cooking outcomes.
10. Practice Makes Perfect: Becoming an expert at cooking rice in an electric pressure cooker may require a few attempts. Adjust the technique, timing, and water ratios based on your taste preferences until you find the perfect combination.
With these tips and tricks, you’ll be able to consistently cook delicious and perfectly textured rice with your electric pressure cooker. Pair your rice with flavorful dishes or enjoy it as a standalone side dish.
Now, let’s address some common issues that may arise during the rice cooking process and how to troubleshoot them effectively.
Troubleshooting Common Rice Cooking Issues
While cooking rice in an electric pressure cooker is generally straightforward, sometimes you may encounter a few common issues. Here are some troubleshooting tips to help you resolve these problems and achieve perfect rice:
1. Rice is Undercooked: If your rice is undercooked and too firm, it may need additional cooking time. Close the lid of the electric pressure cooker and cook the rice for an additional 1-2 minutes on high pressure. Remember to adjust the cooking time based on the specific rice variety and quantity being cooked.
2. Rice is Overcooked or Mushy: Overcooked rice can be too soft and lose its individual grains. To prevent this, reduce the cooking time slightly or use a shorter pressure release method. Next time, try using a lower pressure setting or decrease the cooking time to achieve a firmer texture.
3. Rice is Sticking to the Inner Pot: Rice sticking to the bottom of the pot can be avoided by ensuring a clean and properly greased inner pot. Before adding the rice and water, lightly coat the inner pot with cooking oil or cooking spray. This creates a barrier between the rice and the pot, preventing sticking.
4. Rice Has a Burnt Smell: If you notice a burnt smell, it could indicate that the rice has stuck to the bottom of the pot and started to burn. Double-check the amount of liquid used and make sure it is sufficient. If the rice is burned, discard the affected portion and adjust the cooking time and water ratio for the next batch.
5. Rice is Soggy or Watery: If the rice turns out soggy or watery, it may be due to using too much water. Ensure you are measuring the rice and water accurately and adjust the water ratio for the specific type of rice being cooked. You can also try reducing the cooking time or using a quick pressure release to release excess steam.
6. Unevenly Cooked Rice: Unevenly cooked rice can result from not properly distributing the heat during cooking. Make sure to mix the rice and water thoroughly before pressure cooking and avoid overcrowding the pot. If needed, gently stir the rice after cooking to ensure even heat distribution.
7. Rice is Too Salty: If the rice turns out too salty, it’s likely due to adding too much salt or using a highly seasoned broth. To fix this, try reducing the amount of salt used in the recipe or use plain water instead of broth. You can also balance the saltiness by adding a squeeze of lemon juice or serving the rice with a mild-flavored dish.
8. Rice Has an Odd Texture: If your cooked rice has a strange texture, it could be due to using the wrong type of rice or incorrect water ratios. Double-check the recommended cooking instructions for the specific rice variety and adjust the water ratio accordingly to achieve the desired texture.
By troubleshooting these common rice cooking issues, you’ll be able to fine-tune your technique and overcome any challenges that may arise. Remember to keep a record of the adjustments you make to improve your cooking process and achieve perfect rice with your electric pressure cooker.
Now that you have a better understanding of troubleshooting, let’s move on to the maintenance and cleaning of your electric pressure cooker.
Cleaning and Maintaining Your Electric Pressure Cooker
Proper cleaning and maintenance of your electric pressure cooker are essential to keep it in good working condition and ensure safe and hygienic cooking. Follow these guidelines to clean and maintain your electric pressure cooker:
1. Unplug and Cool Down: Before cleaning, ensure that the electric pressure cooker is unplugged from the power source and allow it to cool down completely. This helps prevent any accidents or burns.
2. Disassemble and Wash the Removable Parts: Take apart the removable parts of the electric pressure cooker, such as the inner pot, sealing ring, lid, and any accessories, if applicable. Wash them with warm soapy water, using a non-abrasive sponge or cloth. Rinse thoroughly and dry completely before reassembling.
3. Clean the Inner Pot: Pay special attention to cleaning the inner pot, as this is where the food comes into direct contact. Use a soft sponge or non-abrasive brush to remove any food particles or stains. If necessary, soak the inner pot in warm soapy water to loosen any stubborn residue. Avoid using harsh cleaners or abrasive materials that can scratch the surface.
4. Clean the Lid and Sealing Ring: Wash the lid and sealing ring with warm soapy water, making sure to remove any food or residue. Check the sealing ring for any signs of wear or damage. Replace the sealing ring if necessary to ensure a proper seal during cooking.
5. Wipe the Exterior: Use a damp cloth to wipe the exterior of the electric pressure cooker, including the control panel and the surrounding areas. Avoid getting water into the control panel or any electronic components. Dry the exterior thoroughly to prevent any potential damage.
6. Clean the Venting Knob/Valve: Depending on your electric pressure cooker model, clean the venting knob or valve thoroughly to remove any residue that may have accumulated. Follow the instructions in your manufacturer’s manual for specific cleaning guidelines.
7. Regularly Check and Clean the Condensation Collector: Some electric pressure cookers have a condensation collector. Check and clean this part regularly, following the manufacturer’s instructions, to remove any build-up of liquid or residue. A clean condensation collector helps maintain the efficiency and performance of the pressure cooker.
8. Store Properly: After cleaning, make sure all parts of the electric pressure cooker are completely dry before storing. Store the electric pressure cooker in a cool, dry place away from direct sunlight and extreme temperatures. Keep it in a location that is easily accessible for future use.
9. Follow Manufacturer’s Recommendations: It’s important to consult the manufacturer’s instructions and guidelines regarding the cleaning and maintenance of your specific electric pressure cooker model. Different models may have variations in cleaning methods or specific recommendations to ensure optimal functionality.
Regular cleaning and proper maintenance of your electric pressure cooker not only extend its lifespan but also contribute to safe and enjoyable cooking experiences. By following these cleaning and maintenance practices, you can keep your electric pressure cooker in top shape and continue to create delicious dishes with ease.
Now that you know how to clean and maintain your electric pressure cooker, you’re well-equipped to make the most out of your cooking adventures. Let’s wrap up this guide with a few final thoughts on the joys of cooking rice in an electric pressure cooker.
Final Thoughts
Cooking rice in an electric pressure cooker is a game-changer for home cooks. The convenience, speed, and precision of this cooking method make it an invaluable tool in the kitchen. With the right techniques and tips, you can achieve perfectly cooked, fluffy, and flavorful rice every time.
By choosing the right type of rice, measuring the rice and water accurately, and properly preparing your electric pressure cooker, you set the foundation for success. Cooking rice in the electric pressure cooker is a breeze, but it’s important to understand the differences between natural pressure release and quick pressure release to achieve your preferred rice texture.
Fluffing the rice with a fork or rice paddle enhances the final texture, separating each grain for a visually appealing and enjoyable eating experience. Troubleshooting common rice cooking issues and properly cleaning and maintaining your electric pressure cooker ensure consistent and safe cooking results.
Remember that practice makes perfect. Experiment with different rice varieties, water ratios, and cooking times to find your ideal preferences. Keep track of your adjustments and techniques to create a rice cooking journal that guides you to achieve the best results every time.
Cooking rice in an electric pressure cooker opens up a world of possibilities. From classic rice dishes to incorporating rice as a base for colorful bowls and flavorful side dishes, the versatility of rice shines through. Explore a variety of seasonings, spices, and herbs to elevate the flavors, and let your creativity run wild.
So, grab your electric pressure cooker, some aromatic rice, and get ready to impress your family and friends with perfectly cooked rice dishes. Enjoy the delightful texture, the delicate flavors, and the satisfaction of mastering this essential kitchen skill.
Happy cooking!