Introduction
Welcome to the world of cooking with an electric pressure cooker! If you’re a fan of tender and fluffy jasmine rice, you’re in for a treat. In this article, we’ll guide you through the process of cooking jasmine rice in an electric pressure cooker, ensuring perfect results every time.
Electric pressure cookers have gained immense popularity in recent years due to their ability to cook food quickly and retain its natural flavors. They’re a versatile kitchen appliance that can handle a wide range of recipes, including rice dishes. With the right techniques and settings, you’ll be able to achieve perfectly cooked jasmine rice with minimal effort.
But why choose jasmine rice? Well, jasmine rice is renowned for its fragrant aroma and delicate flavor. It’s a staple in many Asian cuisines and pairs well with a variety of dishes such as curries, stir-fries, and even sushi. Plus, jasmine rice is gluten-free and has a lower glycemic index compared to other types of rice, making it a healthier option.
In this step-by-step guide, we’ll walk you through the entire process of cooking jasmine rice in an electric pressure cooker. From rinsing the rice to adjusting the settings, we’ll cover all the necessary details to ensure foolproof results. Whether you’re a beginner or an experienced cook, this guide will help you master the art of cooking fluffy and aromatic jasmine rice with ease.
So, grab your electric pressure cooker, gather the ingredients, and let’s get started on our journey to perfectly cooked jasmine rice!
Equipment Needed
Before you start cooking jasmine rice in your electric pressure cooker, it’s important to gather all the necessary equipment. Here’s a list of items you’ll need:
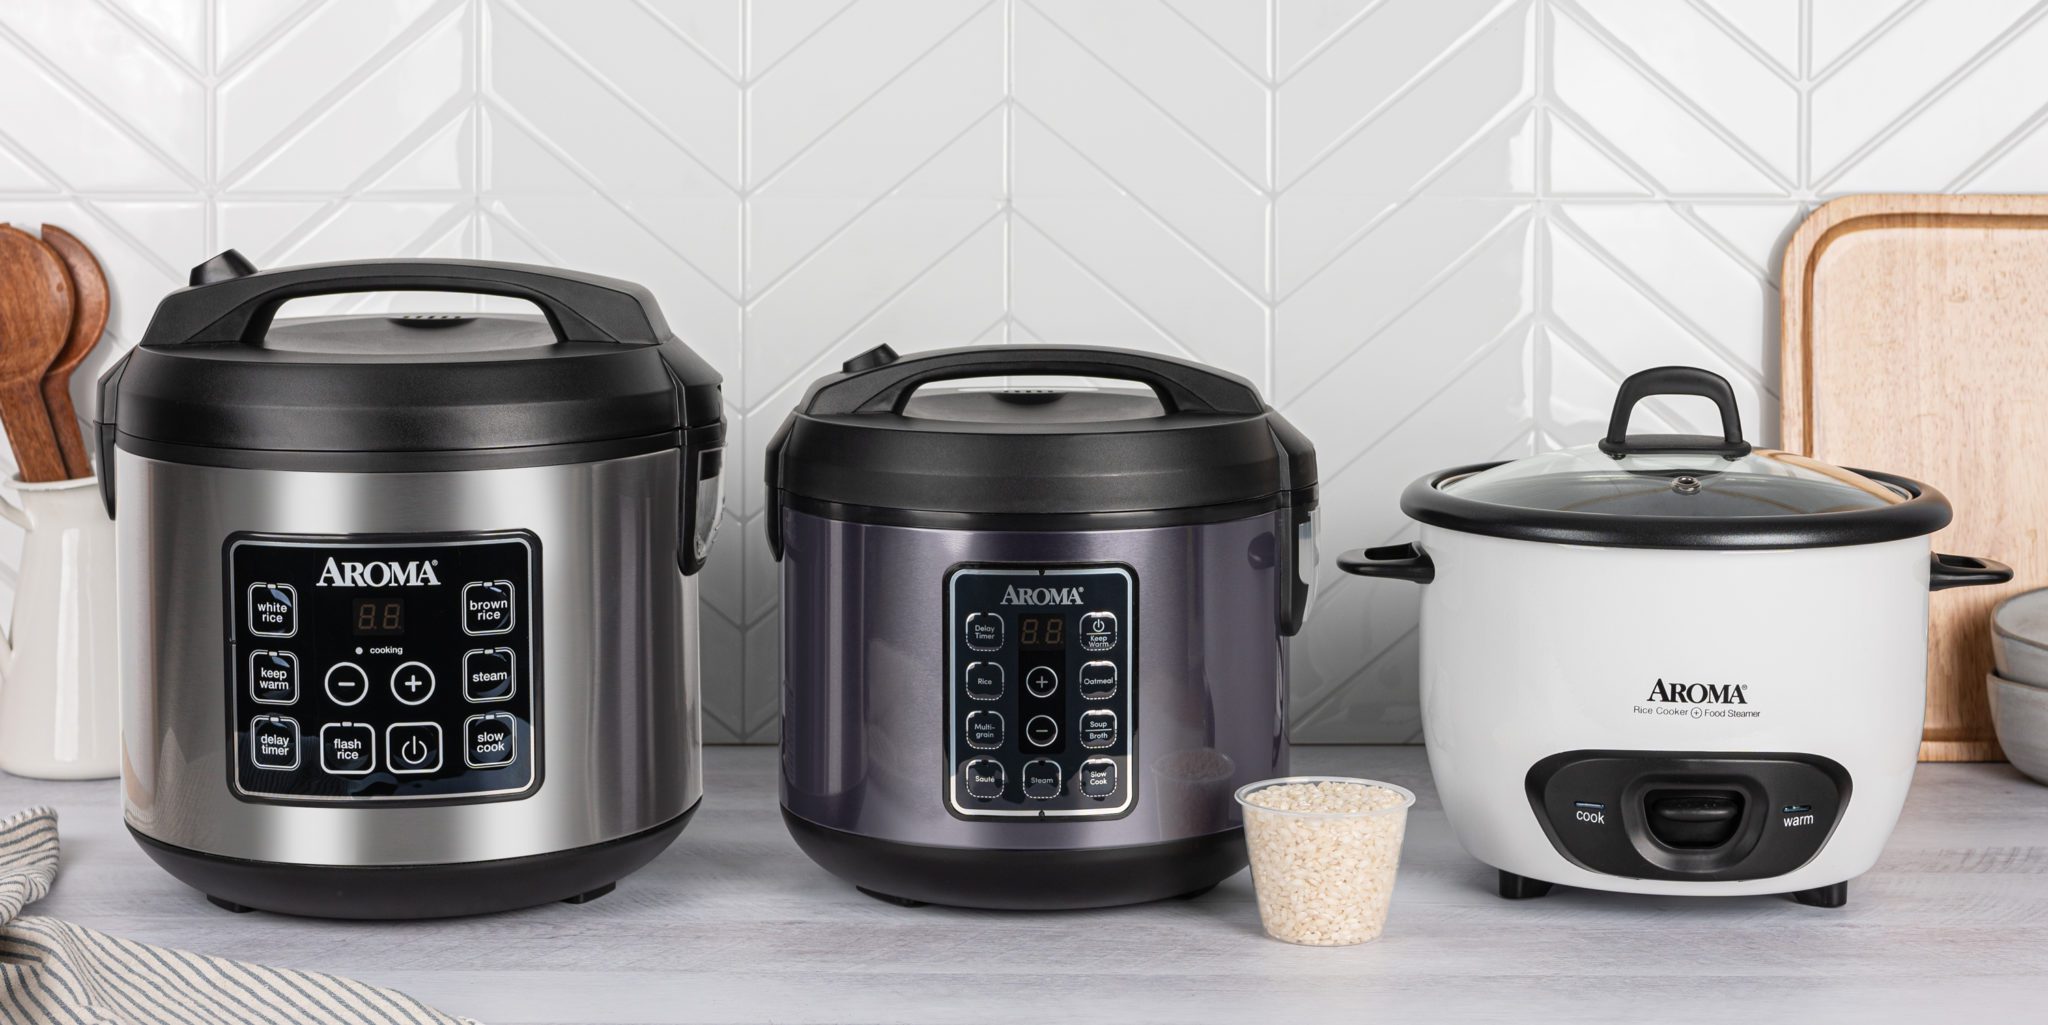
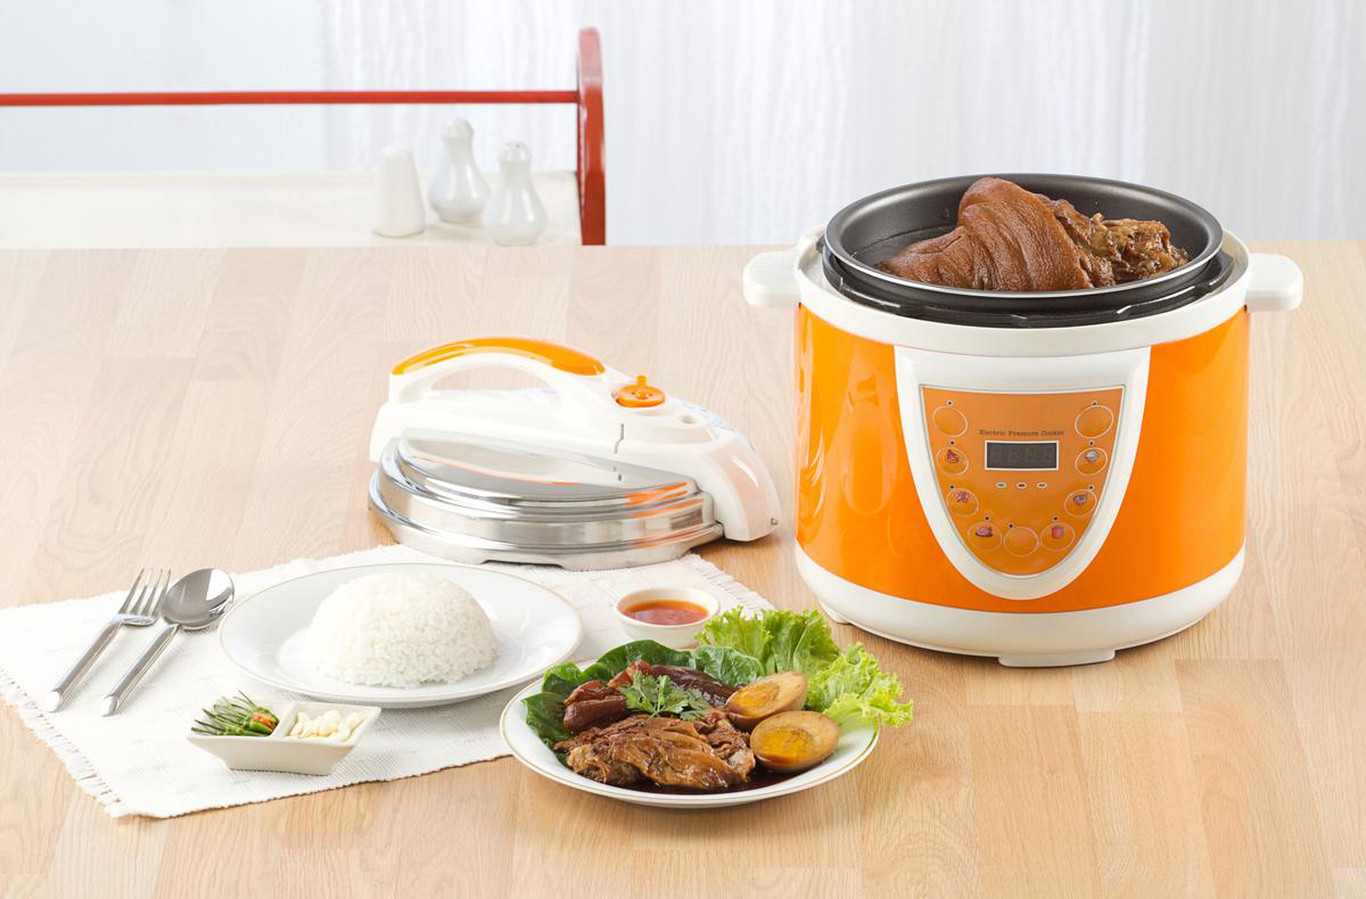
- Electric Pressure Cooker: Ensure that you have a reliable electric pressure cooker with a functioning lid and pressure release valve. Different models may have different settings, so refer to your specific cooker’s instruction manual for guidance.
- Measuring Cup: An essential tool for accurately measuring the rice and water ratios. Most electric pressure cookers come with a measuring cup, but if yours doesn’t, you can use standard measuring cups.
- Colander or Strainer: You’ll need a colander or strainer to rinse the jasmine rice before cooking. This helps remove any excess starch, resulting in fluffier rice.
- Heatproof Spatula or Spoon: A heatproof spatula or spoon is useful for stirring the rice and fluffing it after cooking.
- Water: You’ll need fresh, clean water to cook the jasmine rice. The amount of water needed will depend on the rice-to-water ratio, which we’ll discuss in the next section.
With these essential pieces of equipment at hand, you’re ready to start your jasmine rice cooking adventure with your electric pressure cooker. Remember to read the instruction manual for your specific cooker model to familiarize yourself with its features and settings. Now, let’s move on to the next section, where we’ll talk about the key ingredient for cooking jasmine rice – the rice itself!
Ingredients
To cook jasmine rice in an electric pressure cooker, you’ll only need a couple of simple ingredients. Here’s what you’ll need:
- Jasmine Rice: Start with high-quality jasmine rice, known for its fragrant aroma and tender texture. You can find jasmine rice in most grocery stores or Asian markets.
- Water: The amount of water needed for cooking jasmine rice will depend on the rice-to-water ratio. As a general rule, use 1 cup of rice to 1.5 cups of water. However, refer to the instructions on your rice packet as ratios may vary slightly.
- Salt (optional): Adding a pinch of salt to the cooking water can enhance the flavor of the jasmine rice. It’s an optional ingredient, so you can adjust the amount based on your preference.
- Additional Variations (optional): If you want to add more flavor to your jasmine rice, feel free to experiment with optional ingredients like herbs, spices, or even coconut milk. These can infuse the rice with exciting flavors and complement a wide range of dishes.
That’s it! With just a few simple ingredients and your electric pressure cooker, you’re well on your way to cooking delicious jasmine rice. Next, we’ll delve into the step-by-step process of preparing and cooking the rice using your electric pressure cooker. So, let’s get started in the next section!
Step 1: Rinse the Rice
The first step in preparing jasmine rice in an electric pressure cooker is to rinse the rice. Rinsing removes any excess starch on the surface of the grains and helps prevent the rice from turning out sticky. Here’s how:
- Measure the desired amount of jasmine rice using the measuring cup. Typically, 1 cup of uncooked rice will yield around 3 cups of cooked rice.
- Place the rice in a colander or strainer and hold it under cold running water.
- Gently swish the rice with your hands or a spoon, allowing the water to run through the rice. Continue rinsing until the water runs clear, indicating that most of the starch has been removed.
- Once rinsed, let the rice sit in the colander for a few minutes to drain any excess water.
Rinsing the jasmine rice is an essential step as it ensures that your cooked rice will have a light and fluffy texture, rather than clumping together. It’s worth the extra few minutes to achieve the best results.
Now that the rice is rinsed and ready, it’s time to move on to the next step – adding water and rice to the electric pressure cooker. Read on in the following section to learn more!
Step 2: Add Water and Rice to the Pressure Cooker
Now that you’ve rinsed the jasmine rice, it’s time to add it to your electric pressure cooker along with the appropriate amount of water. Follow these steps to ensure perfectly cooked jasmine rice:
- Open the lid of your electric pressure cooker and ensure that the inner pot is clean and dry.
- Measure the rinsed jasmine rice using the measuring cup, and add it to the inner pot.
- For every 1 cup of rice, add 1.5 cups of water to the pot. This rice-to-water ratio is a good starting point, but check the instructions on your specific rice packaging for any specific ratios recommended.
- If desired, add a pinch of salt to the pot. This step is optional but can enhance the flavor of the jasmine rice.
- Use a spoon or spatula to gently mix the rice and water together in the pot, ensuring that all the rice is evenly coated and submerged in water.
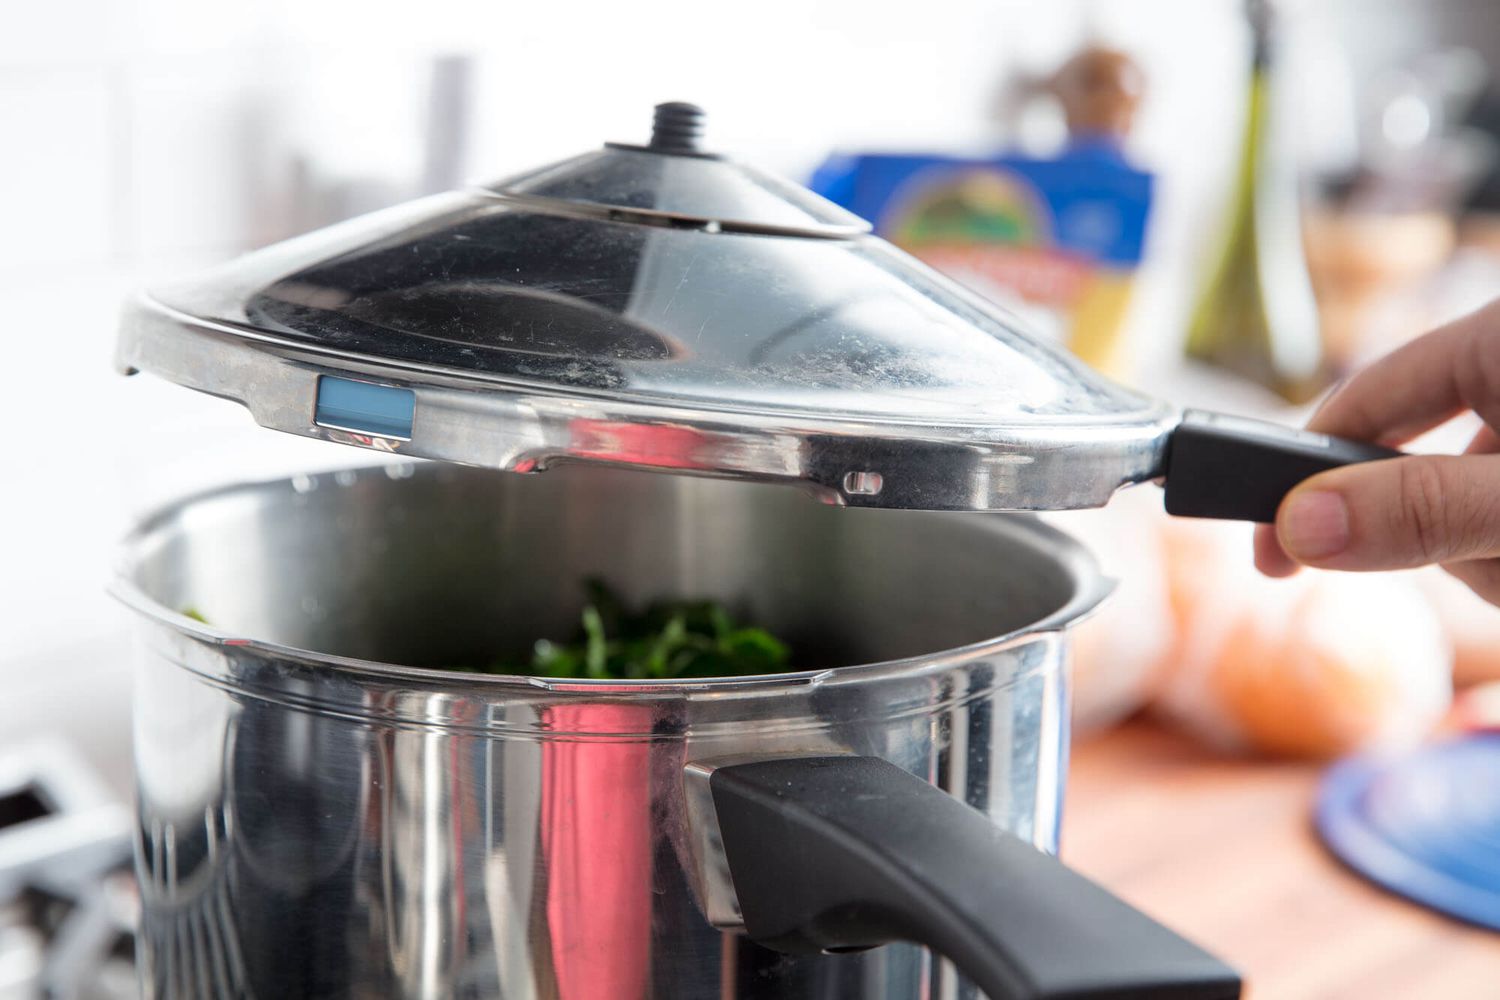
- Double-check that the pressure cooker’s sealing ring is properly in place and that the pressure release valve is in the sealed position.
- Close the lid firmly, making sure it’s properly aligned with the cooker’s body.
By following these steps, you’ve successfully added the rinsed jasmine rice and water to your electric pressure cooker. The next step is to adjust the cooking settings, which we’ll discuss in the following section. So, let’s move on to Step 3!
Step 3: Adjust Cooking Settings
Now that you’ve added the jasmine rice and water to your electric pressure cooker, it’s time to adjust the cooking settings to ensure perfectly cooked rice. Adjusting the settings may vary depending on the model of your pressure cooker, so be sure to refer to the instruction manual for specific guidance. However, here are some general guidelines:
- Select the appropriate cooking mode: Most electric pressure cookers have a “Rice” or “Pressure Cook” mode specifically designed for cooking rice. This mode usually has preset cooking times and pressure levels for different types of rice.
- Adjust the pressure level: If your pressure cooker allows you to adjust the pressure level, set it according to the instructions on your rice packaging or the pressure cooker’s manual. Typically, jasmine rice requires high pressure for optimal cooking results.
- Set the cooking time: The cooking time for jasmine rice in a pressure cooker is usually shorter than stovetop cooking. The exact cooking time may vary, but as a general rule, set the cooking time to 4-6 minutes for white jasmine rice and 20-25 minutes for brown jasmine rice.
- Start the cooking process: Once you’ve adjusted the settings, start the cooking process by pressing the “Start” or “Cook” button on your pressure cooker.
Remember, these are general guidelines, and it’s important to refer to your specific pressure cooker’s manual for accurate instructions and recommended settings. The cooking settings ensure that the rice is cooked under the right pressure and temperature, resulting in perfectly tender and fluffy jasmine rice.
With the cooking settings adjusted, it’s time to move on to the next step – starting the cooking process. We’ll cover this in detail in the following section, so let’s continue to Step 4!
Step 4: Start Cooking
With the cooking settings adjusted in your electric pressure cooker, it’s time to start the cooking process for your jasmine rice. Follow these steps to begin cooking:
- Ensure that the pressure cooker’s lid is securely closed and properly sealed.
- Turn on the pressure cooker by pressing the “Start” or “Cook” button.
- The pressure cooker will begin to build up pressure and reach the required cooking temperature. This process may take a few minutes depending on your model.
- Once the desired cooking pressure and temperature are reached, the cooking countdown will begin. The timer on your pressure cooker will indicate the remaining cooking time.
- During the cooking process, avoid opening the lid as it will release the built-up pressure and disrupt the cooking cycle.
- Allow the pressure cooker to complete the full cooking cycle. Once the cooking time is up, most electric pressure cookers will switch to a “Keep Warm” mode automatically to keep the rice warm until you’re ready to serve.
It’s important to be patient and allow the pressure cooker to complete the cooking cycle. Opening the lid prematurely can affect the rice’s texture and may result in undercooked rice. Trust the cooking time and let the pressure cooker work its magic!
With the cooking process underway, it’s time to decide whether you’ll use natural release or quick release. This will be discussed in the next section, so let’s move on to Step 5!
Step 5: Natural Release or Quick Release?
Once the cooking cycle is complete, it’s time to release the pressure from your electric pressure cooker. There are two methods for releasing pressure: natural release and quick release. Let’s explore each option:
Natural Release:
Natural release is the process of naturally releasing the pressure in the pressure cooker over time. To use this method:
- Turn off the heat on your pressure cooker and let it sit undisturbed for about 10-15 minutes. This allows the pressure to gradually decrease.
- After the natural release time has passed, check the pressure indicator on your pressure cooker. It should indicate that the pressure has fully released and it’s safe to open the lid.
- Open the lid carefully, ensuring that any residual steam is safely released away from your face and hands.
Natural release is recommended for delicate dishes like rice as it allows the rice to continue cooking gently and evenly as the pressure naturally decreases. It helps to avoid overcooking and uneven texture in the rice.
Quick Release:
Quick release, as the name implies, is a method of rapidly releasing the pressure from the pressure cooker. To use this method:
- Turn off the heat on your pressure cooker and carefully move the pressure release valve to the “Vent” or “Quick Release” position. Be cautious as hot steam will rapidly escape from the valve.
- Once the steam stops releasing and the pressure indicator drops, it’s safe to open the lid.
- Open the lid carefully, keeping your face and hands away from any remaining steam.
Quick release is useful when you’re short on time and want to stop the cooking process immediately. However, be aware that quick release can sometimes result in slightly stickier rice compared to natural release.
Now that you’re familiar with both natural release and quick release methods, it’s time to move on to the final step – fluffing and serving the cooked jasmine rice. Let’s continue to Step 6!
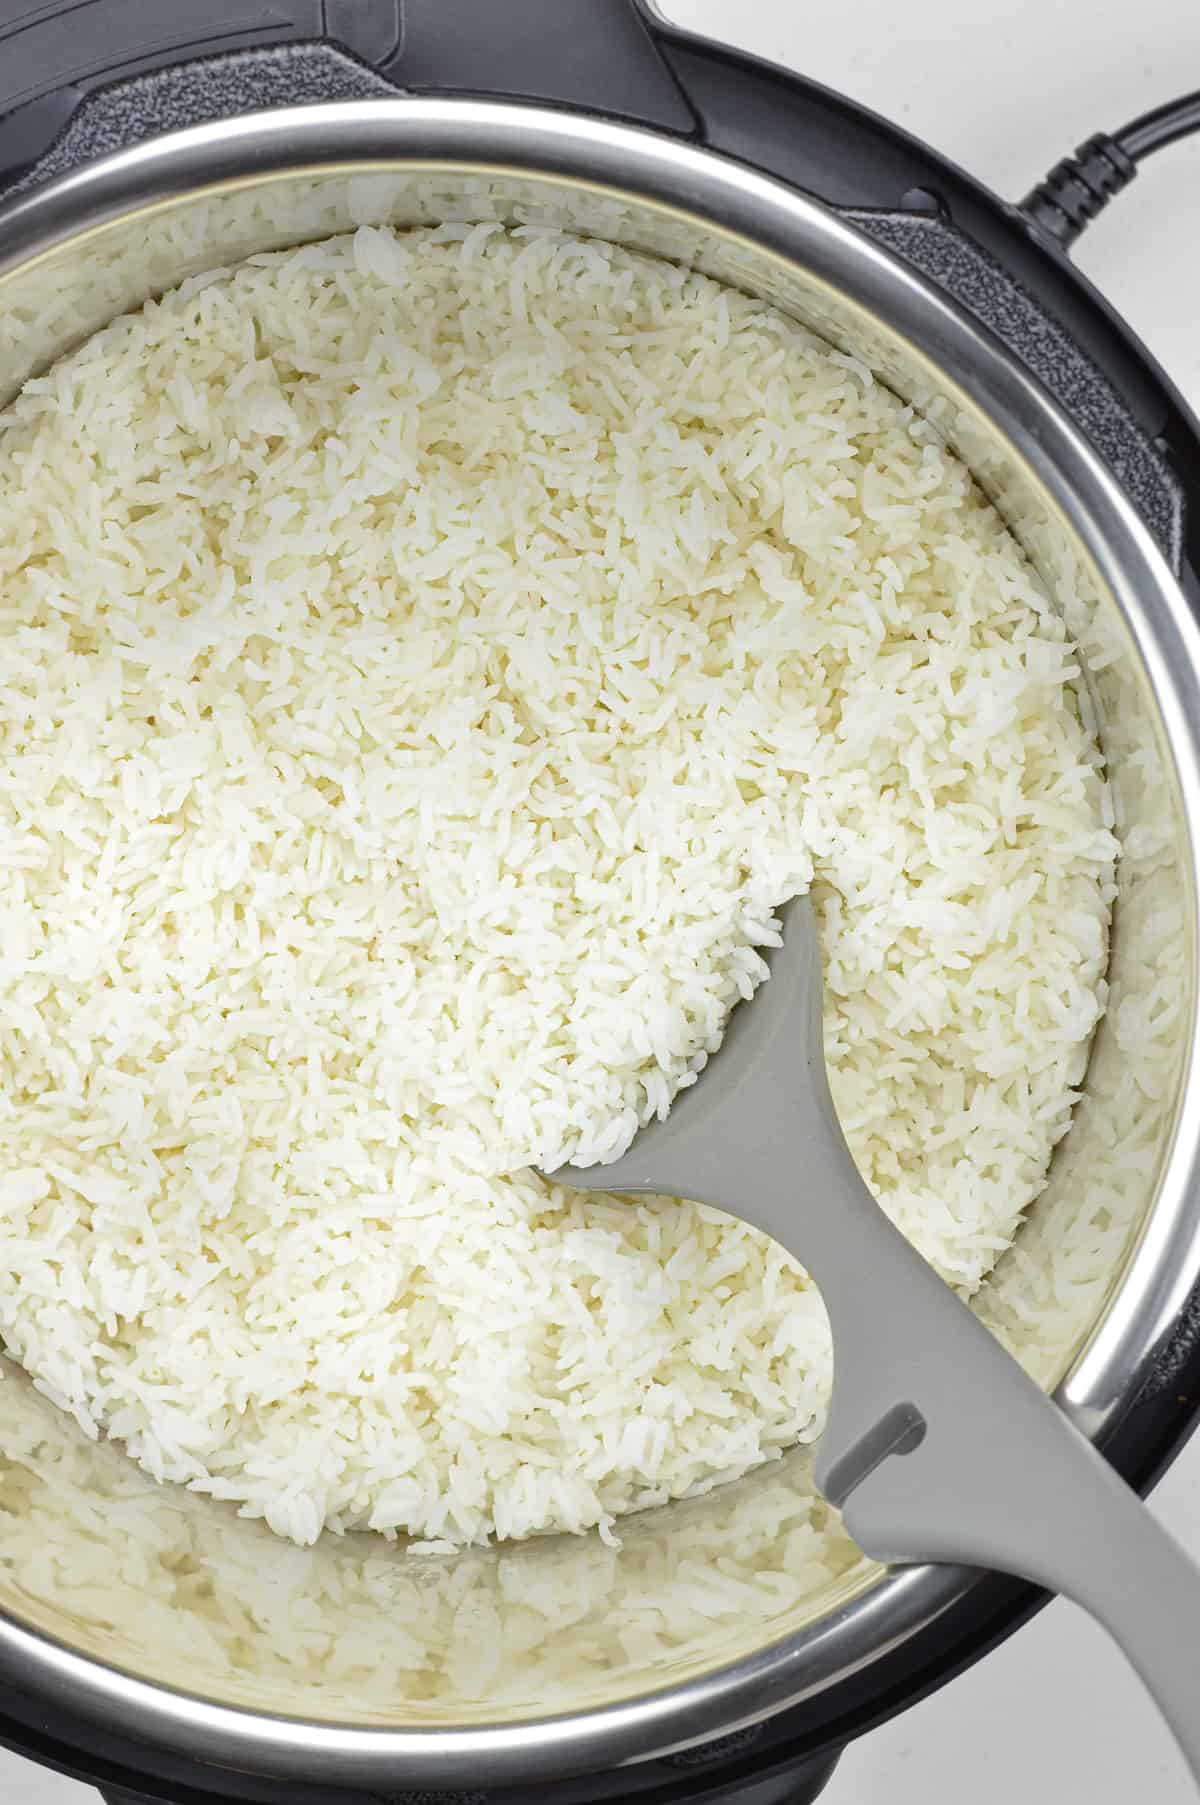
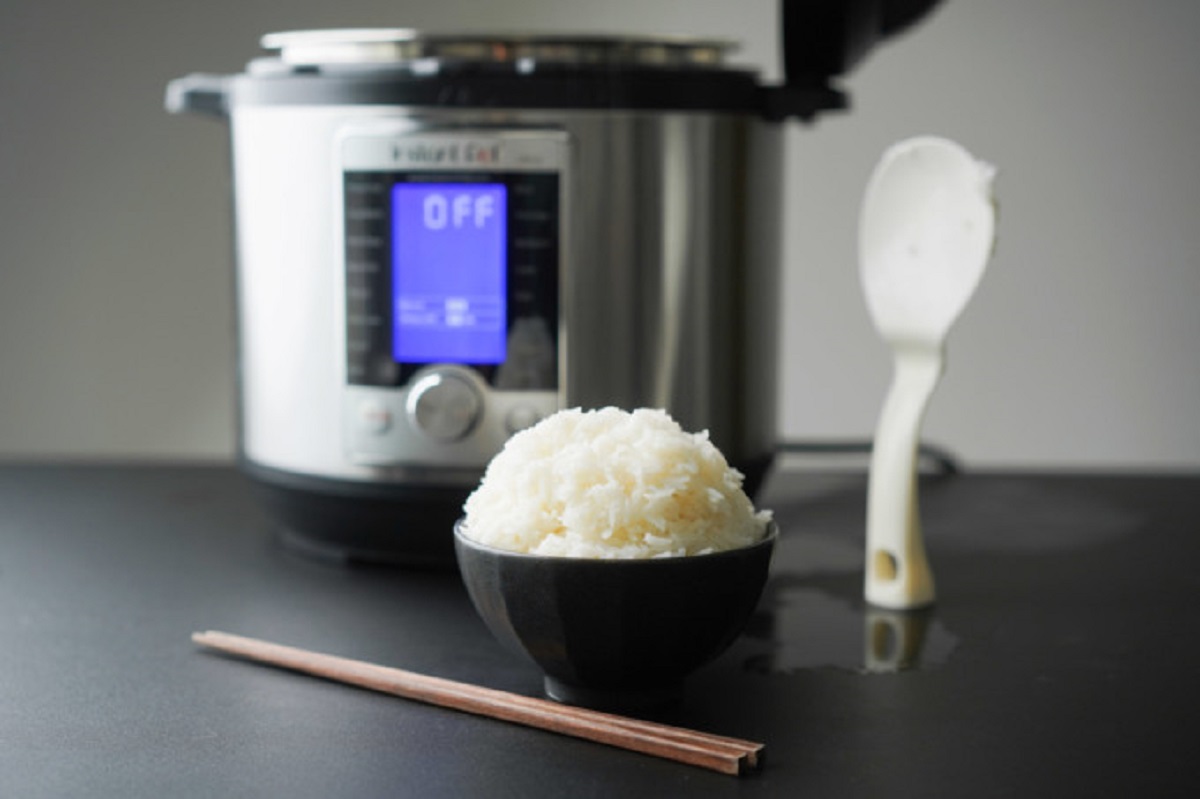
Step 6: Fluff and Serve
Now that your jasmine rice is perfectly cooked and the pressure has been released, it’s time to fluff the rice and get ready to serve it. Follow these steps to ensure fluffy and delicious jasmine rice:
- Using a heatproof spatula or spoon, gently fluff the cooked rice to separate the grains. This will help remove any clumps and distribute the moisture evenly.
- Once the rice is fluffed, let it sit uncovered for a few minutes to allow any remaining steam to escape.
- Taste a small portion of the rice to check for doneness and adjust the seasoning if needed. You can add more salt if desired or even incorporate additional flavors such as herbs or spices.
- Once the rice is seasoned to your liking, it’s ready to be served as a delicious side dish or as a base for your favorite main course.
- Garnish the rice with chopped herbs or a sprinkle of sesame seeds for an added touch of visual appeal.
- Serve the fluffy jasmine rice alongside your favorite dishes, such as stir-fries, curries, or grilled meats.
Enjoy the fragrant aroma and tender texture of your freshly cooked jasmine rice. With its delicate flavor and versatility, jasmine rice is the perfect complement to a wide range of cuisines.
Now that you’re an expert in cooking jasmine rice in an electric pressure cooker, you can confidently impress your family and friends with perfectly cooked rice each time. Remember to experiment with different variations and flavors to elevate your jasmine rice to the next level.
Thank you for following this step-by-step guide. Happy cooking and bon appétit!
Extra Tips and Variations
Now that you’ve mastered the basics of cooking jasmine rice in an electric pressure cooker, let’s explore some additional tips and variations that can take your rice to the next level:
1. Soaking the rice: Consider soaking the jasmine rice for about 15-20 minutes before cooking. Soaking helps to soften the grains and can result in fluffier rice.
2. Adding aromatics: Infuse your jasmine rice with extra flavor by adding aromatics such as garlic, ginger, or onion to the cooking liquid. Simply sauté the aromatics before adding the rice and water to the pressure cooker.
3. Using coconut milk: For a creamy and fragrant twist, replace some of the water with coconut milk. The coconut milk adds richness and a hint of tropical flavor to the rice.
4. Incorporating herbs and spices: Experiment with different herbs and spices to enhance the flavor profile of your jasmine rice. Add fresh herbs like cilantro, basil, or parsley, or incorporate spices like turmeric, cumin, or cardamom to infuse the rice with a delightful aroma.
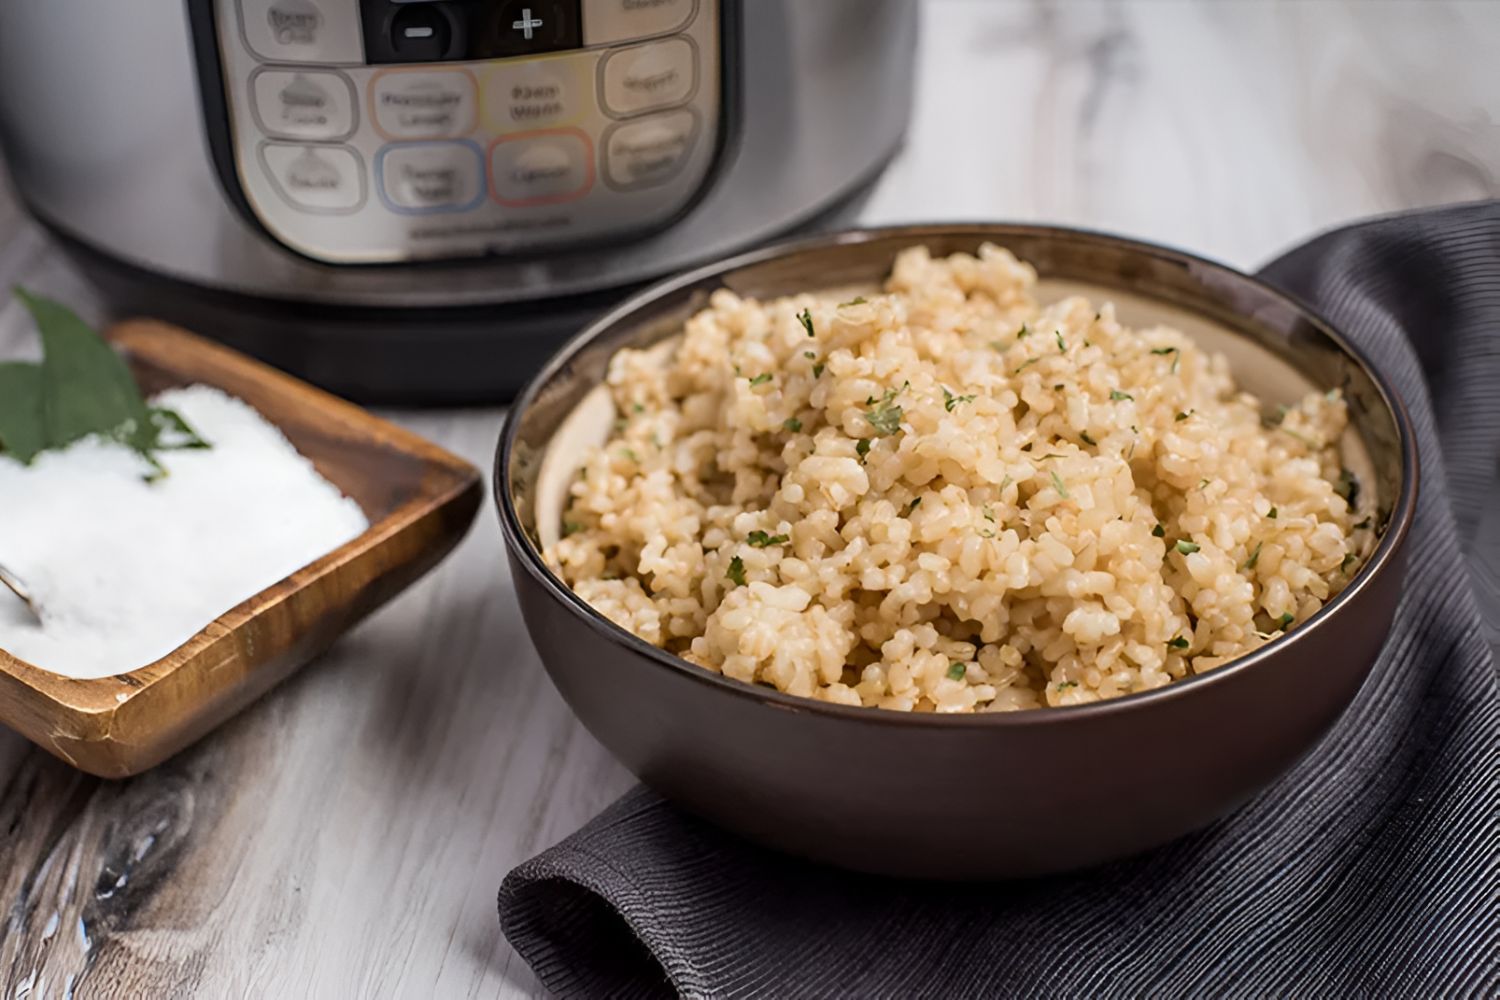
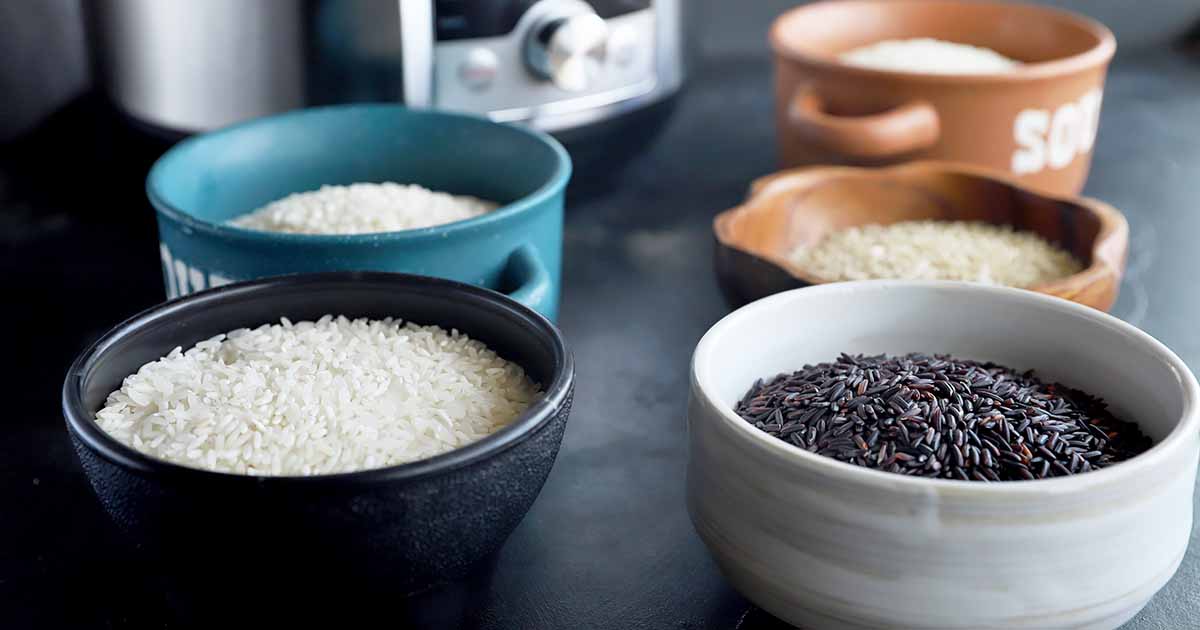
5. Mixed rice variations: Create unique flavor combinations by mixing jasmine rice with other types of rice, such as wild rice, brown rice, or black rice. This not only adds visual appeal but also introduces different textures and flavors to your dish.
6. Stir-frying leftover rice: If you have any leftover jasmine rice, don’t let it go to waste! Use it to make delicious stir-fried rice by sautéing vegetables, protein of your choice, and seasonings in a pan, then adding the cold cooked rice and stir-frying until heated through.
7. Storage and reheating: After cooking, let any leftover jasmine rice cool completely before transferring it to an airtight container and refrigerating. When reheating, sprinkle a few drops of water on the rice and heat it in the microwave or on the stovetop, stirring occasionally to ensure even heating.
With these extra tips and variations, you can elevate your jasmine rice dishes by experimenting with flavors, aromatics, and different cooking methods. Don’t be afraid to get creative and try new combinations to find your favorite version of jasmine rice.
Now that you have a range of options to explore, have fun cooking and enjoy the versatility and deliciousness of jasmine rice!
Conclusion
Cooking jasmine rice in an electric pressure cooker is a convenient and efficient way to achieve fluffy, tender, and aromatic rice. By following the step-by-step process outlined in this guide, you can confidently prepare perfect jasmine rice every time.
We began by discussing the equipment needed, such as the electric pressure cooker, measuring cup, colander, and spatula. Having the right tools ensures a smooth cooking experience.
Next, we highlighted the essential ingredients for cooking jasmine rice: high-quality jasmine rice and water. We also suggested optional additions like salt or additional flavors to diversify your rice dishes.
The step-by-step instructions covered rinsing the rice to remove excess starch, adding the rice and water to the pressure cooker, adjusting the cooking settings, starting the cooking process, and choosing between natural release and quick release methods for pressure release.
After the cooking process, we emphasized the importance of fluffing the rice and allowing it to rest before serving. This ensures that the rice grains are separated and the flavors are evenly distributed.
Additionally, we provided extra tips and variations to enhance your jasmine rice, such as soaking the rice, incorporating aromatics or coconut milk, and experimenting with herbs, spices, and mixed rice variations.
The guide concluded with tips on storing and reheating leftover jasmine rice, so you can make the most of your delicious creation.
With the knowledge and techniques shared in this article, you’re now equipped to cook perfect jasmine rice in an electric pressure cooker. Enjoy the delicate scent, fluffy texture, and versatility of jasmine rice as it complements a variety of dishes.
Now, it’s time to put these tips and techniques into practice and unleash your creativity in the kitchen. So, grab your electric pressure cooker and start enjoying the delightful flavors of freshly cooked jasmine rice!