Introduction
Welcome to this guide on how to can venison in an electric pressure cooker. Canning venison is a fantastic way to preserve this delicious and lean meat for long periods of time. With the help of an electric pressure cooker, you can safely and efficiently can venison in the comfort of your own kitchen.
Why would you want to can venison? Well, there are several reasons. First and foremost, canning allows you to extend the shelf life of your venison, meaning you can enjoy it throughout the year. It also helps to retain its flavor, tenderness, and nutritional value.
Another advantage of canning venison is that it provides convenience. With canned venison, you have a ready-to-eat protein source that can be used in a variety of recipes, from stews and chili to sandwiches and salads. Additionally, if you are an outdoor enthusiast, canned venison is an excellent option for quick and easy meals during camping trips or hunting excursions.
Now that you understand the benefits of canning venison, let’s explore the process of choosing the right electric pressure cooker for canning and understand the step-by-step process of canning venison safely and effectively.
Why Can Venison?
When it comes to preserving meat, canning offers a range of advantages, especially when it comes to venison. Here are a few reasons why canning venison is a great idea:
- Extended Shelf Life: Venison, being a perishable meat, can spoil quickly if not properly stored. By canning venison, you can extend its shelf life for up to two years, ensuring you have a supply of delicious and nutritious meat on hand whenever you need it.
- Preservation of Taste and Nutritional Value: Canning venison helps retain its natural flavor, tenderness, and nutritional value. The pressure cooking process helps break down tough connective tissues, resulting in tender and succulent meat that retains its original taste and nutrient content.
- Convenience: Canned venison offers ultimate convenience. It eliminates the need for refrigeration or freezing, making it a practical option for those without access to reliable electricity or freezer space. Canned venison can be readily used in various recipes, providing a quick and easy protein source.
- Versatility: Canned venison can be used in numerous recipes, adding a rich and savory flavor to dishes like stews, chili, tacos, sandwiches, and more. It is also a great option for outdoor enthusiasts, as it can be easily transported and consumed during camping trips or hunting expeditions.
- Self-Sufficiency: Canning your own venison allows you to take control of your food supply and reduce reliance on store-bought meat. Whether you are an avid hunter or have access to locally sourced venison, canning provides a sustainable and cost-effective way to preserve this precious resource.
Overall, canning venison offers a host of advantages, from extended shelf life and preserved flavor to convenience and self-sufficiency. Now that we understand the benefits, let’s delve into the process of choosing the right electric pressure cooker for canning venison and how to prepare and store it effectively.
Choosing Your Electric Pressure Cooker
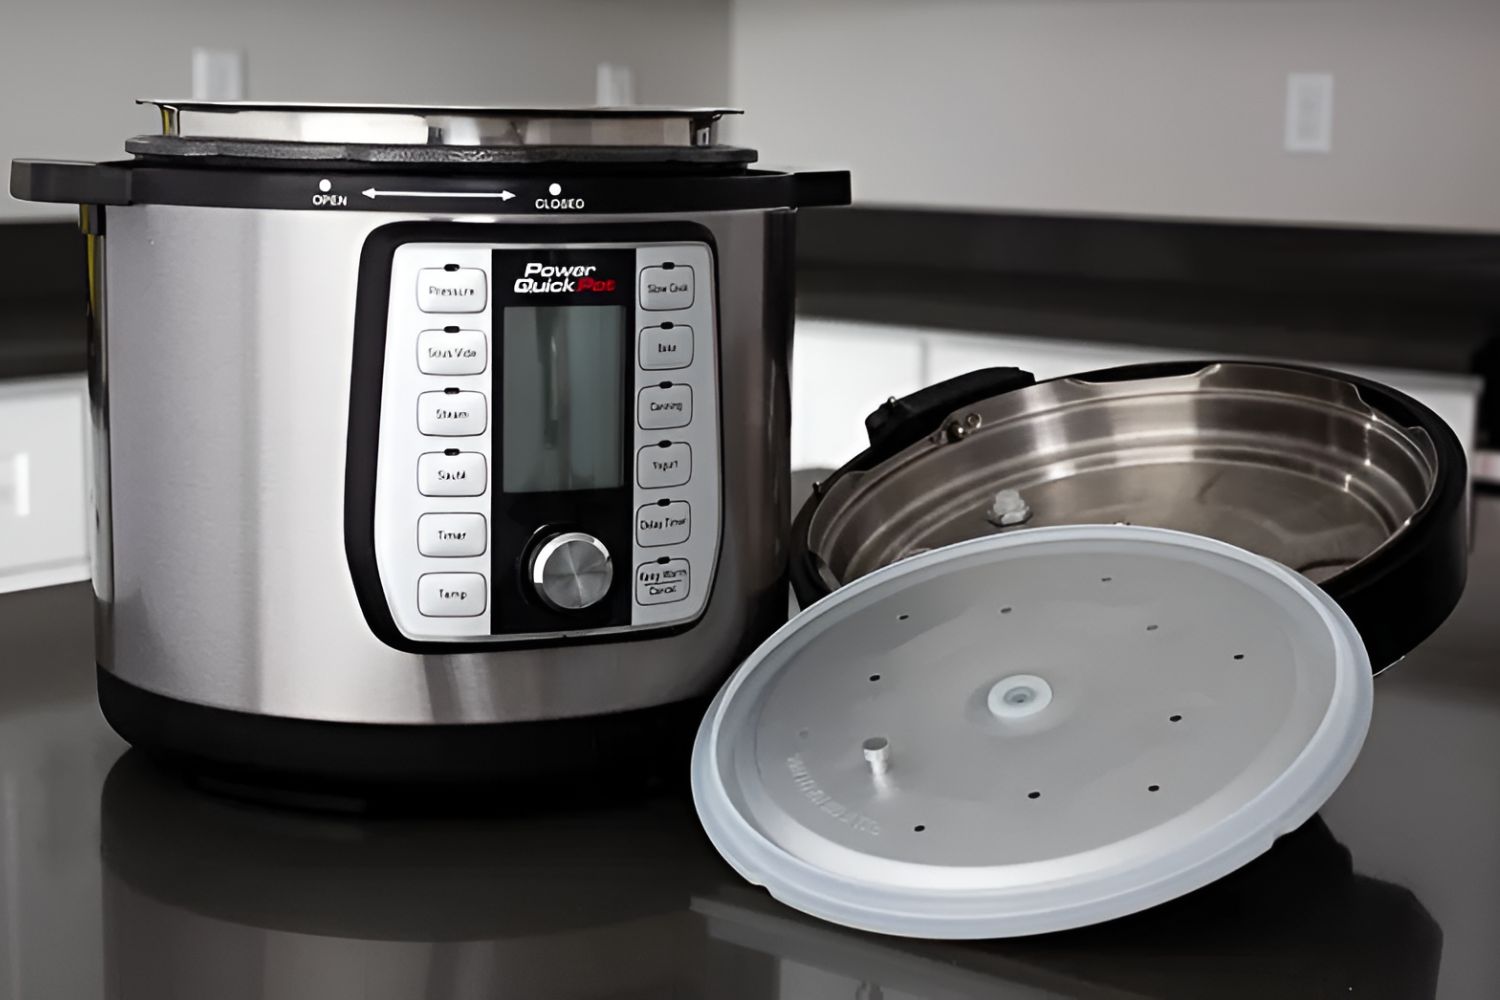
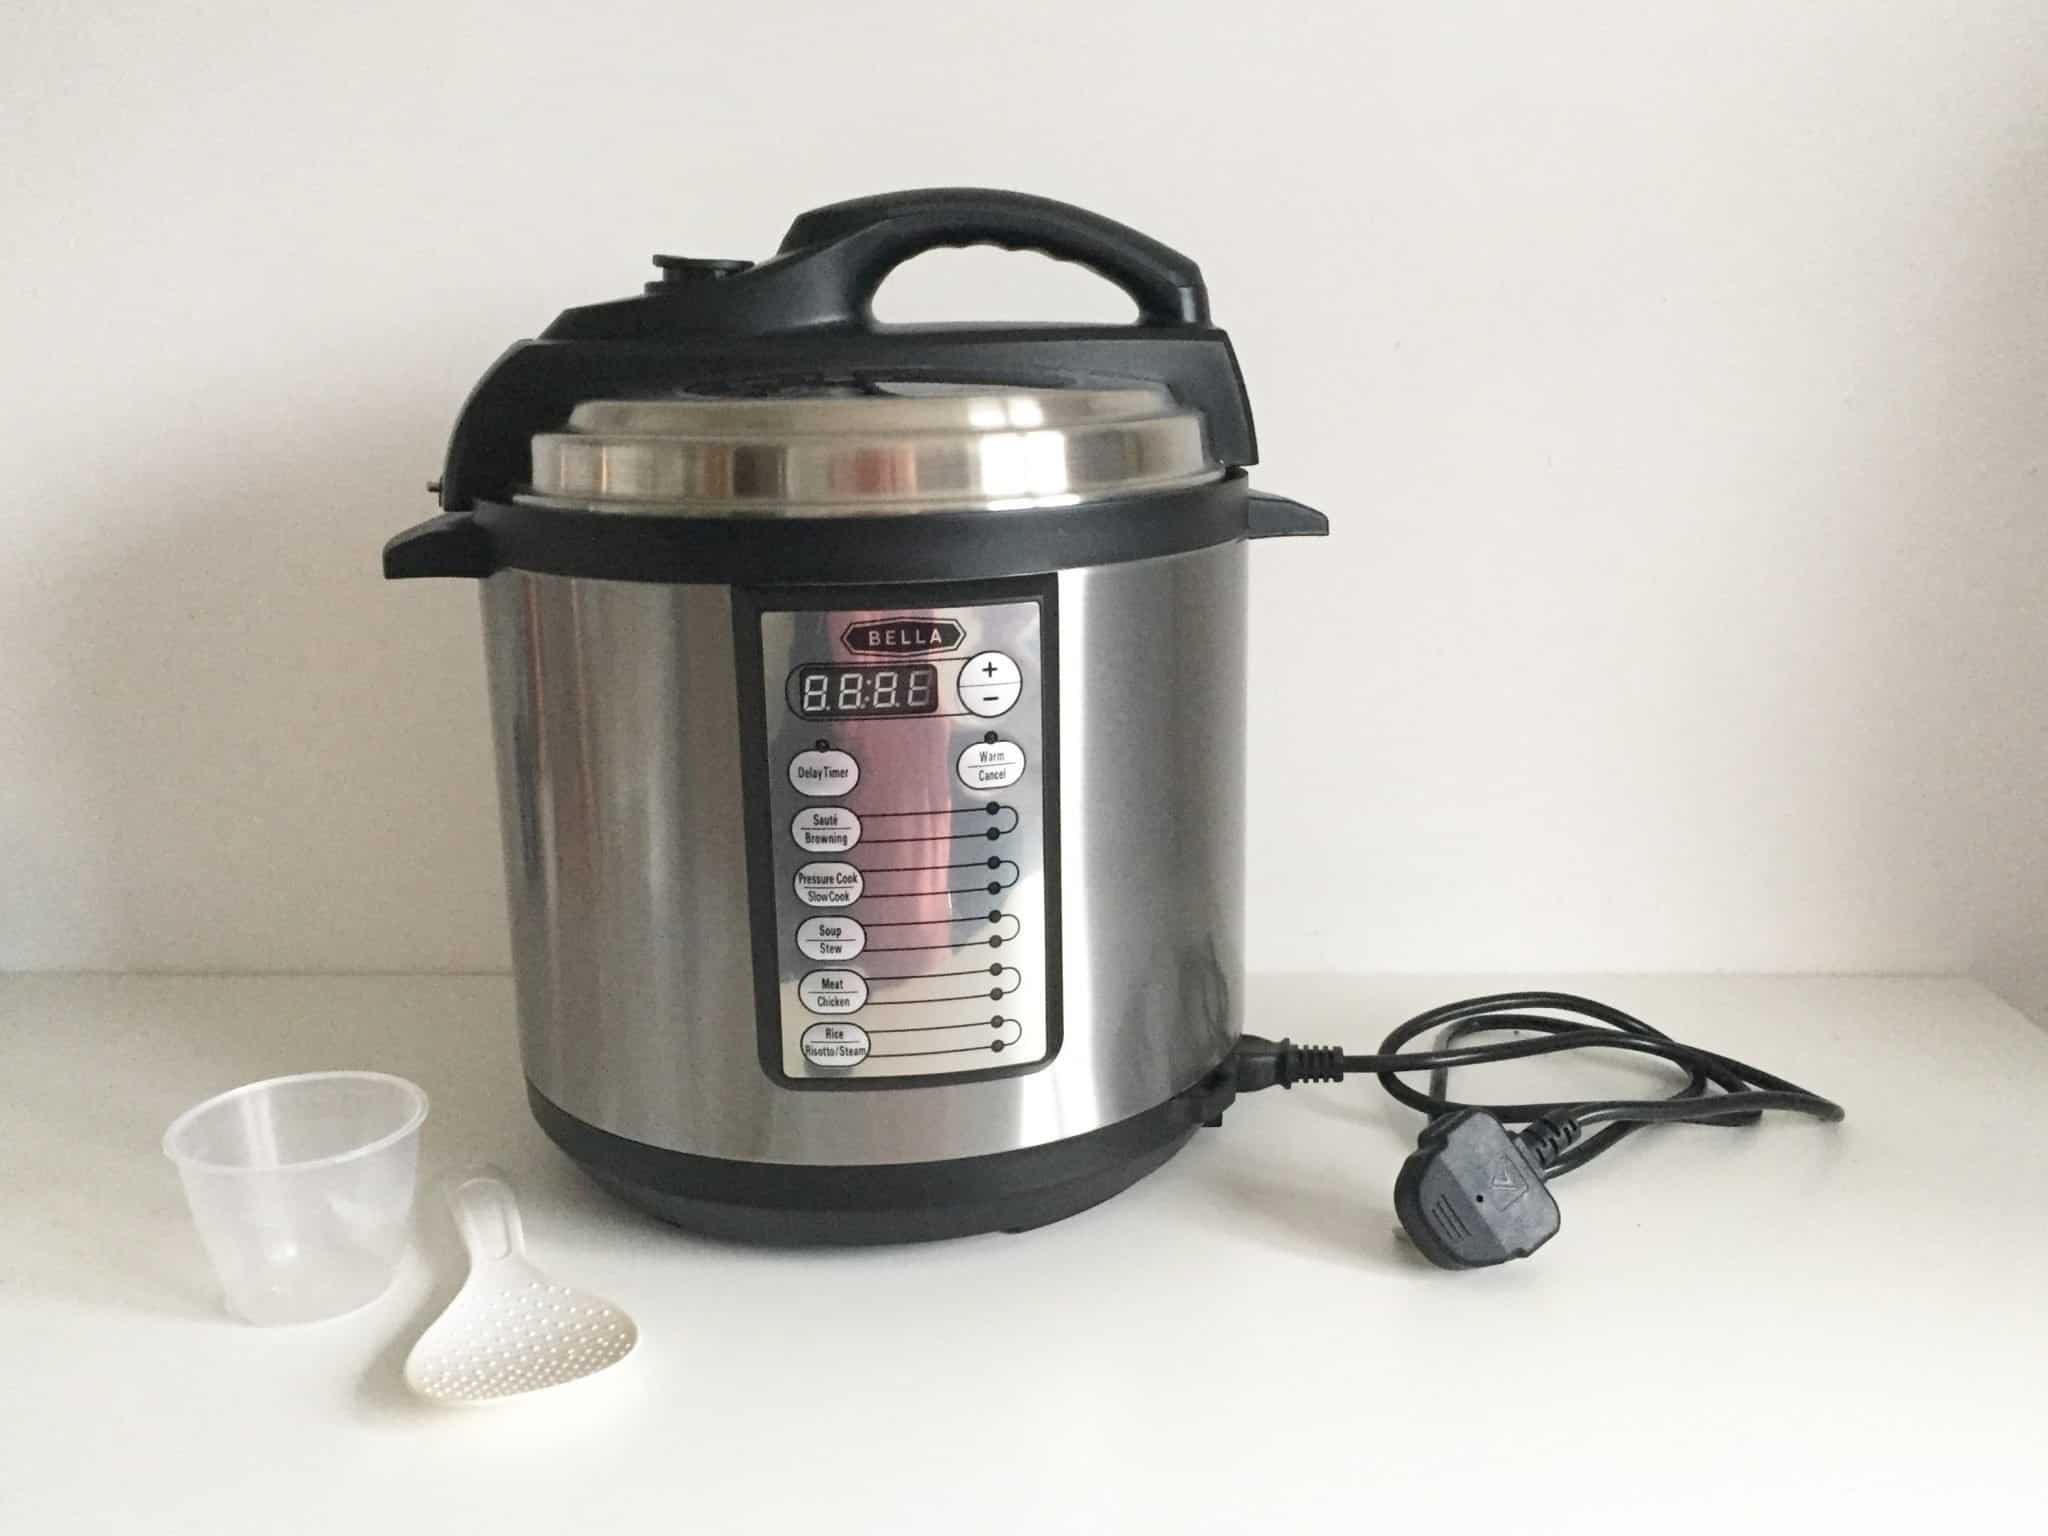
When it comes to canning venison, having the right electric pressure cooker is essential. Here are a few factors to consider when choosing the perfect cooker for your needs:
- Size and Capacity: The size of the electric pressure cooker will depend on the amount of venison you plan to can. Consider the quantity you typically process and choose a cooker that can accommodate the jars comfortably. It’s important to leave enough headspace inside the cooker to ensure proper pressure distribution during the canning process.
- Pressure Settings: Look for an electric pressure cooker with adjustable pressure settings. This feature is crucial for canning venison safely, as it allows you to regulate the pressure based on the altitude of your location. Different altitudes require different pressure levels to ensure proper canning.
- Safety Features: Opt for a pressure cooker that comes with essential safety features such as a locking lid, pressure release valves, and pressure indicators. These features help prevent accidents and ensure that the pressure cooker operates safely throughout the canning process.
- Timer and Preset Functions: Some electric pressure cookers come with built-in timers and preset functions specifically designed for canning. These features make the canning process more convenient and allow you to set the cooking time and temperature accurately.
- Quality and Durability: Invest in a high-quality electric pressure cooker with a durable construction. Look for one that is made from stainless steel or other sturdy materials, as this will ensure longevity and reliable performance.
- Additional Accessories: Consider the additional accessories that come with the electric pressure cooker. Look for a model that includes a canning rack or trivet to elevate the jars above the water level. This helps maintain proper heat distribution during the canning process.
Take your time to compare different models and read reviews from other users to find an electric pressure cooker that suits your canning needs. Remember, the right cooker will make the canning process smoother and more efficient, ensuring that your venison is safely preserved and ready to be enjoyed for months or even years to come.
Preparing Your Venison
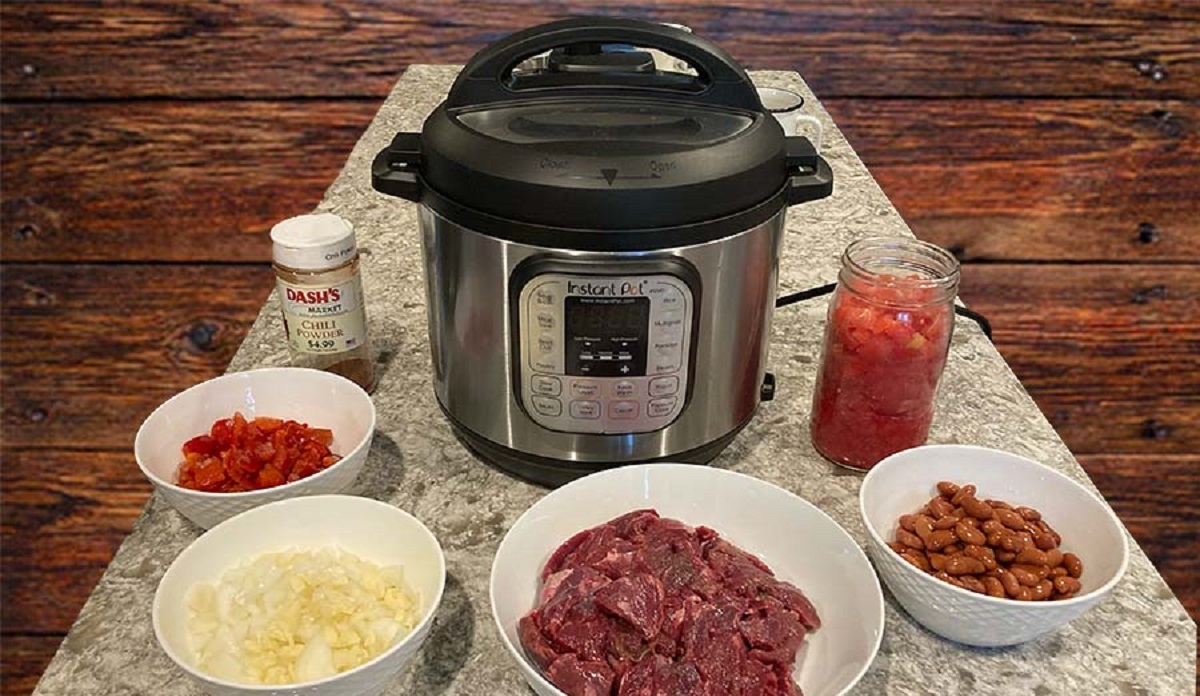
Before you begin canning venison, it is essential to properly prepare the meat to ensure optimal flavor and safety. Here are the steps to follow when preparing your venison:
- Choose Fresh Venison: Start with fresh, high-quality venison. If you are hunting the venison yourself, ensure that the meat is properly field-dressed and processed. If purchasing from a butcher or farm, select lean cuts with minimal fat and remove any silver skin or connective tissue.
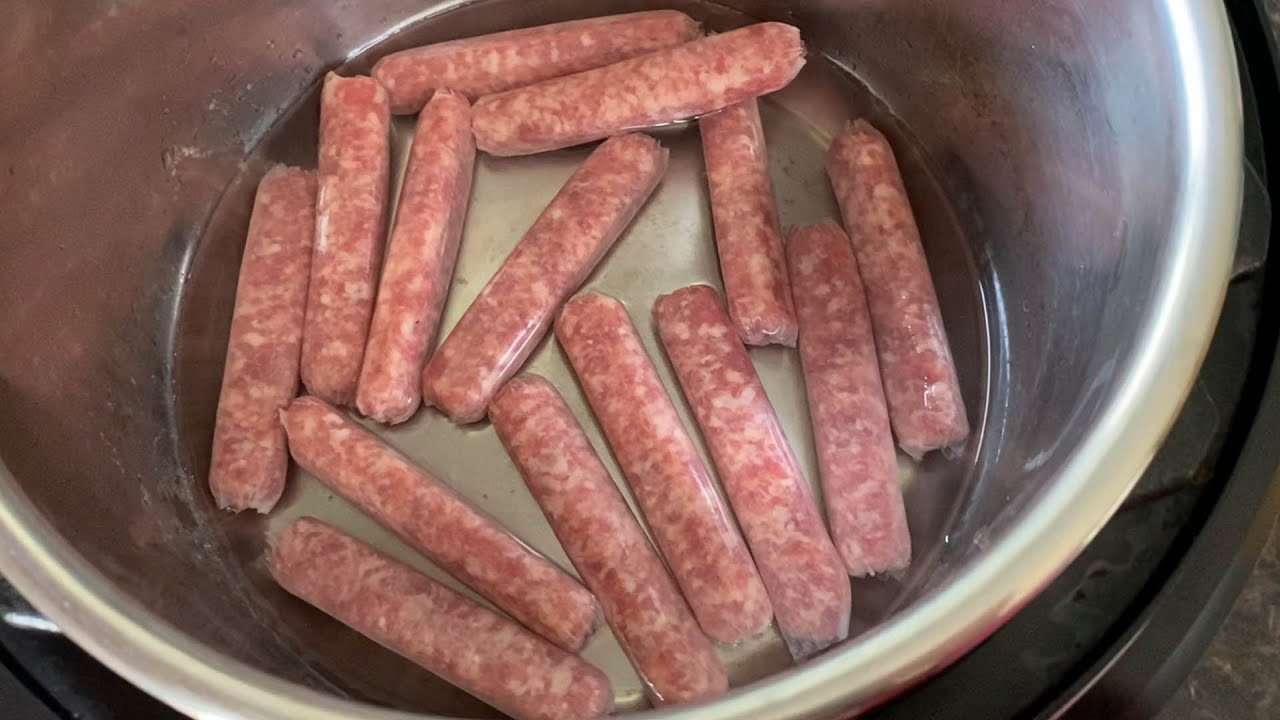
- Trim and Cut: Trim off any excess fat or silver skin from the venison. Fat can affect the flavor and texture of the canned meat and may increase the risk of spoilage. Cut the venison into uniform bite-sized pieces that will fit easily into your canning jars.
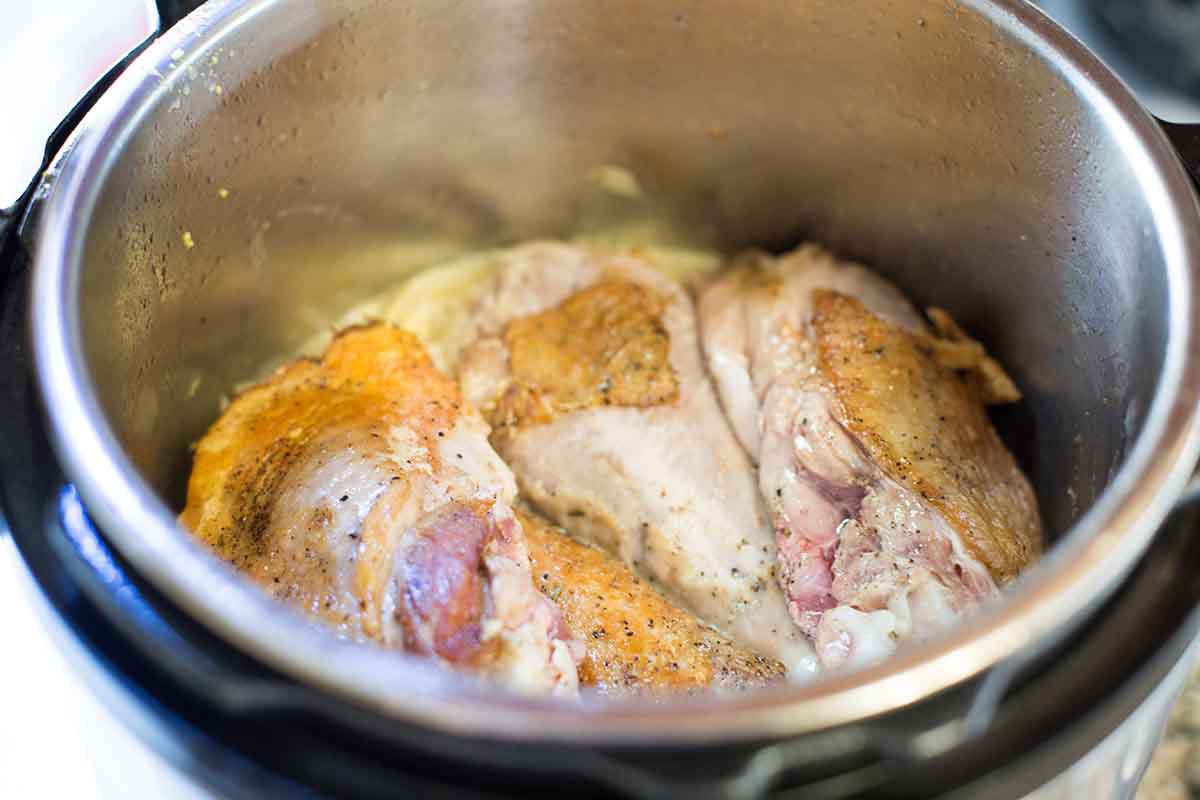
- Pre-Cooking (Optional): Some people prefer to pre-cook their venison before canning to enhance tenderness and remove excess moisture. This step is particularly useful if you have tougher cuts of meat. You can pre-cook by either simmering the venison in water or using a slow cooker until it reaches desired tenderness.
- Seasoning: Season the venison according to your taste preferences. You can use a combination of herbs, spices, and marinades to enhance the flavor. However, keep in mind that excessive seasoning can overpower the natural taste of the venison. Simple salt and pepper can also work wonders in bringing out the meat’s natural flavors.
- Packaging: Once the venison is seasoned, it’s time to pack it into your clean canning jars. Ensure that the jars are sanitized and free from any cracks or damages. Pack the venison tightly, leaving about a 1-inch headspace at the top of the jar to allow for expansion during the canning process.
By following these preparation steps, you’ll have properly trimmed, seasoned, and packed venison ready to be processed in your electric pressure cooker. Preparing your venison meticulously ensures that you’ll end up with flavorful, tender, and safe canned meat that can be stored for an extended period.
Sterilizing Your Jars
Before you begin the canning process, it is crucial to ensure that your jars are properly sterilized. Sterilizing your jars helps eliminate any bacteria or microorganisms that could cause spoilage or contamination of your canned venison. Here’s how to sterilize your jars:
- Wash the Jars: Start by washing the jars, lids, and bands in hot, soapy water. Use a bottle brush to scrub the jars and remove any residue or dirt. Rinse the jars thoroughly to ensure they are clean.
- Boil the Jars: Place the washed jars, lids, and bands in a large pot filled with enough water to cover them. Bring the water to a rolling boil and let the jars boil for 10 minutes to sterilize them effectively. This boiling process kills any remaining bacteria and prepares the jars for canning.
- Keep Jars Hot: While the jars are boiling, keep a separate pot filled with water simmering on the stove. Once the sterilization process is complete, carefully remove the jars from the boiling water using jar lifters or tongs, and place them in the simmering water. This keeps the jars hot and prevents rapid temperature changes when you fill them with the hot venison and liquid.
It’s essential to note that sterilization is crucial for safe canning. Failing to properly sterilize your jars can increase the risk of spoilage and potential health hazards. Take the time to ensure your jars are thoroughly cleaned and sterilized before proceeding with the canning process.
Filling the Jars
Now that your jars are sterilized and ready, it’s time to fill them with your prepared venison. Properly filling the jars ensures that the meat is evenly distributed and can be safely preserved. Here’s how to fill the jars:
- Pack the Meat: Using clean hands or tongs, carefully pack the prepared venison into the sterilized jars. Fill the jars to the recommended headspace mentioned in your recipe or at least 1 inch from the rim. It’s important not to overpack the jars, as this can lead to inadequate heat penetration during the canning process.
- Remove Air Bubbles: After filling the jars, use a non-metallic utensil, such as a plastic spatula or chopstick, to gently remove any air bubbles trapped between the meat pieces. This step ensures that there are no air pockets that could potentially cause spoilage.
- Wipe the Jar Rims: Before applying the lids, use a clean, damp cloth to wipe the rims of the jars. This removes any residue or moisture that could interfere with the proper sealing of the jars.
- Apply the Lids: Place the sterilized lids on top of the jars, ensuring the rubber sealing rings are in contact with the rims. Secure the lids in place by applying the bands and tightening them just until they are snug.
It’s crucial to follow proper filling techniques to ensure the safety and longevity of your canned venison. By packing the meat evenly, removing air bubbles, and securely sealing the jars, you set the stage for a successful canning process. Take your time and ensure each jar is properly filled before moving on to the next step.
Adding Liquid
When canning venison, it is essential to add a suitable liquid to the jars to ensure proper heat distribution and preservation. The liquid creates a cooking environment that helps maintain the quality of the meat during the canning process. Here’s what you need to know about adding liquid to your jars:
- Choose the Right Liquid: The liquid you choose should be a flavorful and nutritious base for your canned venison. Common options include beef broth, vegetable broth, or water. You can also enhance the flavor by adding herbs, spices, or seasonings according to your preference.
- Fill the Jars: Pour enough liquid into the jars to cover the venison completely, leaving the recommended headspace mentioned in your recipe. The liquid should cover the meat but not fill the jar to the rim, as this could cause the liquid to siphon out during the canning process.
- Remove Air Bubbles: After adding the liquid, gently tap the jars on a solid surface to release any air bubbles that may have formed. This step ensures proper heat penetration and prevents potential spoilage. If necessary, add more liquid to maintain the recommended headspace.
- Clean the Jar Rims: Wipe the rims of the jars with a clean, damp cloth to remove any liquid or residue. This ensures a clean and proper seal when placing the lids on the jars.
- Seal the Jars: As soon as you’ve added the liquid and wiped the rims, place the sterilized lids on top of the jars and secure them with the bands. Ensure the lids are centered and positioned properly before tightening the bands.
Adding the right amount of liquid is crucial when canning venison. It helps create a moist and flavorful environment for the meat, ensuring it’s thoroughly cooked and preserved. By following these steps, you can ensure that your canned venison is packed with flavor and maintains its quality during storage.
Closing the Jars
Once you have filled the jars with venison and added the appropriate liquid, the next step is to close and seal the jars properly. Closing the jars securely is crucial for creating a vacuum seal that keeps the canned venison safe and preserved. Here’s how to close the jars:
- Tighten the Bands: Place the lids on the jars and secure them in place by applying the bands. Use your fingertips to tighten the bands just until they are snug. Be careful not to over-tighten, as that can impede proper heat circulation during the canning process.
- Check for Proper Seal: Once the bands are tightened, double-check that the lids are securely in place. Press down on the center of each lid to ensure it does not move or make a popping sound. A properly sealed lid should be slightly concave and not move when pressed.
- Correcting Seal Issues: If you come across a jar that doesn’t seal properly, remove the lid and check for any debris or food particles on the rim. Clean the rim thoroughly, apply a new lid, and secure it with a clean band. Alternatively, you can refrigerate and consume the unsealed jar immediately instead of storing it.
Properly closing the jars ensures that a vacuum seal is created during the canning process, which is essential for preserving the venison safely. By following these steps, you can have confidence that your jars are closed securely and ready for the pressure cooking process.
Pressure Cooking Process
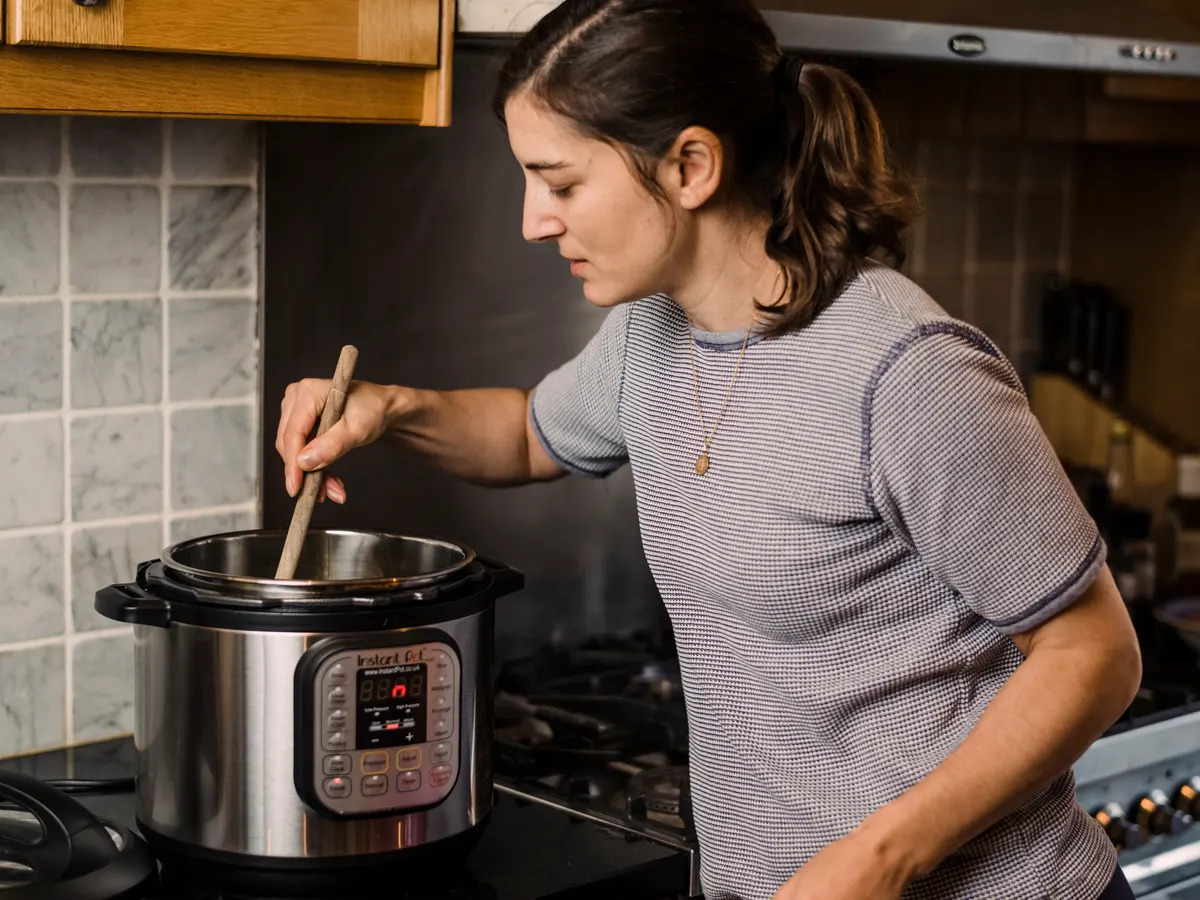
Now that your jars are filled, closed, and ready to go, it’s time to move on to the pressure cooking process. This step is crucial for safely preserving your canned venison. Here’s how to properly pressure cook your jars:
- Place the Jars in the Pressure Cooker: Arrange the filled and closed jars in the electric pressure cooker, making sure they are well-supported and not touching each other or the sides of the cooker. Add water to the pressure cooker according to the manufacturer’s instructions, ensuring it reaches the recommended level for pressure canning.
- Secure the Lid: Place and secure the lid onto the pressure cooker, ensuring it is properly locked in place. Follow the specific instructions for your electric pressure cooker to seal and pressurize the unit.
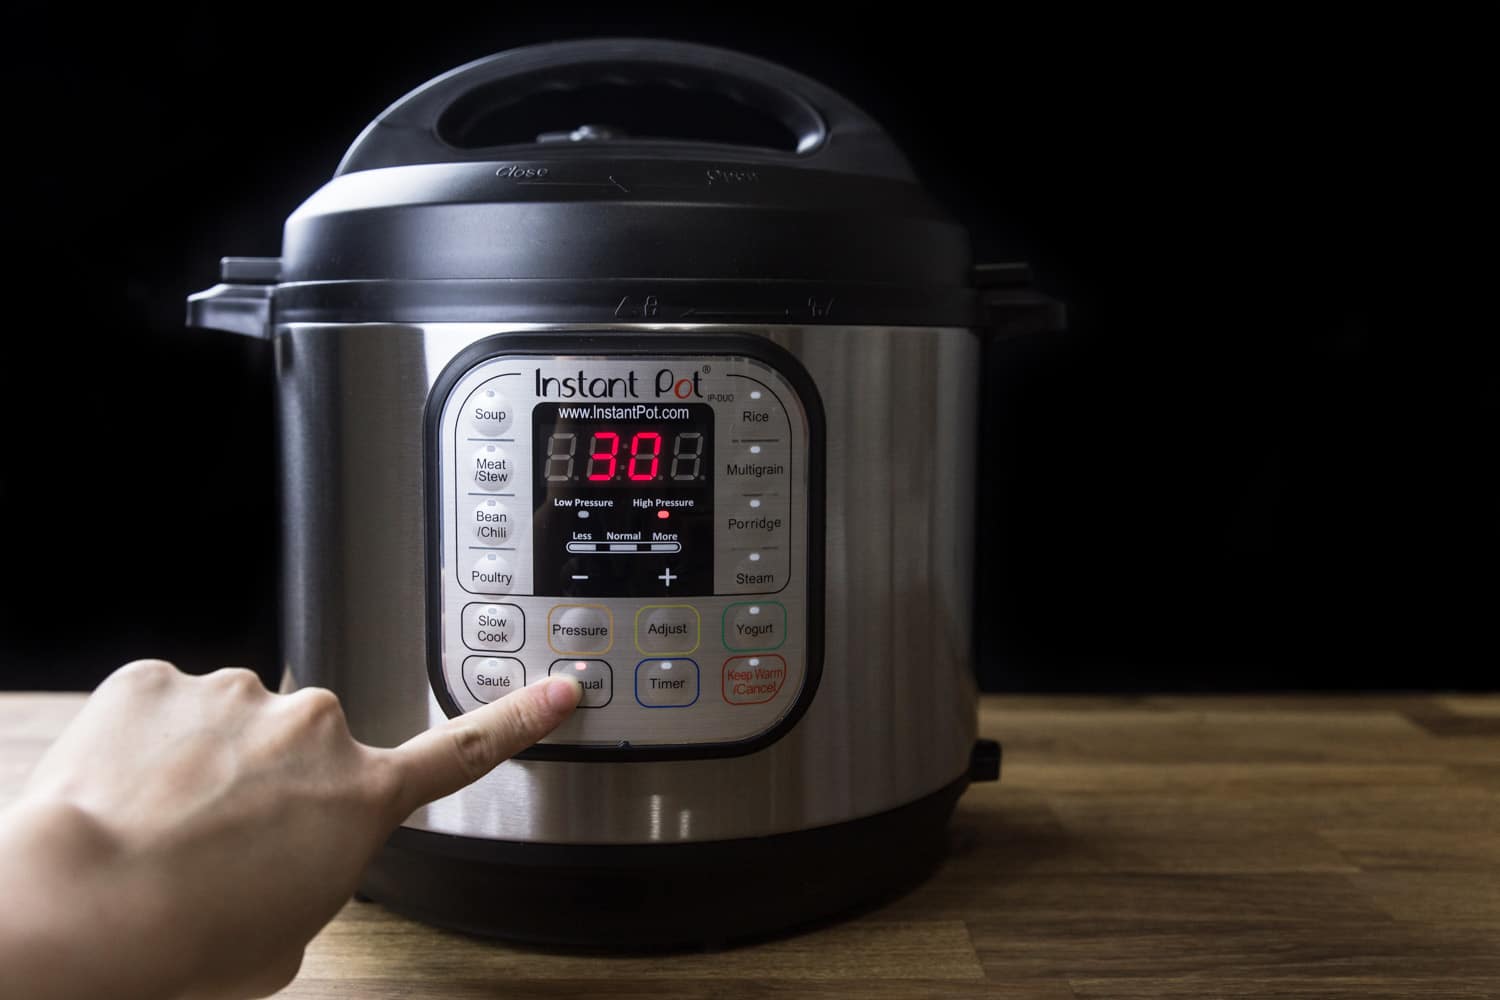
- Adjust the Pressure and Cooking Time: Set the electric pressure cooker to the appropriate level of pressure according to your recipe and altitude. Adjust the cooking time based on the size of the jars and the recommended processing time for venison canning. It is crucial to follow the precise instructions to ensure proper processing and preservation of the venison.
- Start the Pressure Cooking: Once you have set the pressure and cooking time, start the pressure cooking process. The electric pressure cooker will gradually heat up and build pressure inside. Stay attentive and monitor the cooker to ensure it maintains the correct pressure level.
- Process the Jars: Allow the jars to process at the recommended pressure for the specified cooking time. This duration may vary depending on the recipe and altitude. It is essential to maintain a consistent pressure throughout the cooking process to ensure the venison is properly cooked and safely preserved.
- Release the Pressure: After the cooking time is complete, carefully release the pressure from the electric pressure cooker according to the manufacturer’s instructions. Allow the pressure to release naturally or use the quick-release method if applicable.
- Remove the Jars: Once the pressure has been fully released, open the pressure cooker and carefully remove the jars using jar lifters or tongs. Place the hot jars on a heat-resistant surface or cooling rack.
The pressure cooking process is a critical step in canning venison. It ensures that the venison reaches the required temperature for proper preservation. By following these steps and adhering to the specific instructions for your electric pressure cooker, you can safely and effectively pressure cook your jars of venison.
Cooling the Jars
After the pressure cooking process is complete, it’s important to allow the jars to cool down gradually. Proper cooling ensures that the seals are formed correctly and that the canned venison remains safe and preserved. Here are the steps to cool the jars effectively:
- Remove from Heat: Once you have removed the jars from the pressure cooker, place them on a heat-resistant surface or cooling rack. Avoid placing them directly on a cold countertop or in a drafty area, as sudden temperature changes can cause the jars to break.
- Avoid Disturbance: Allow the jars to cool undisturbed for at least 12 to 24 hours. Avoid touching or moving them during this time to prevent any disruption to the cooling process.
- Listen for the “Ping”: As the jars cool, you may hear a distinctive popping or “pinging” sound. This is a good sign and indicates that the jars are properly sealed. The sound is caused by the vacuum seal forming inside the jars as they cool.
- Check the Seals: After the jars have cooled, visually inspect the lids to ensure they are concave and show no signs of lifting or movement. Gently press down on the center of the lids to ensure they are firm and do not flex. Any jars that haven’t properly sealed should be consumed or refrigerated immediately and not stored long-term.
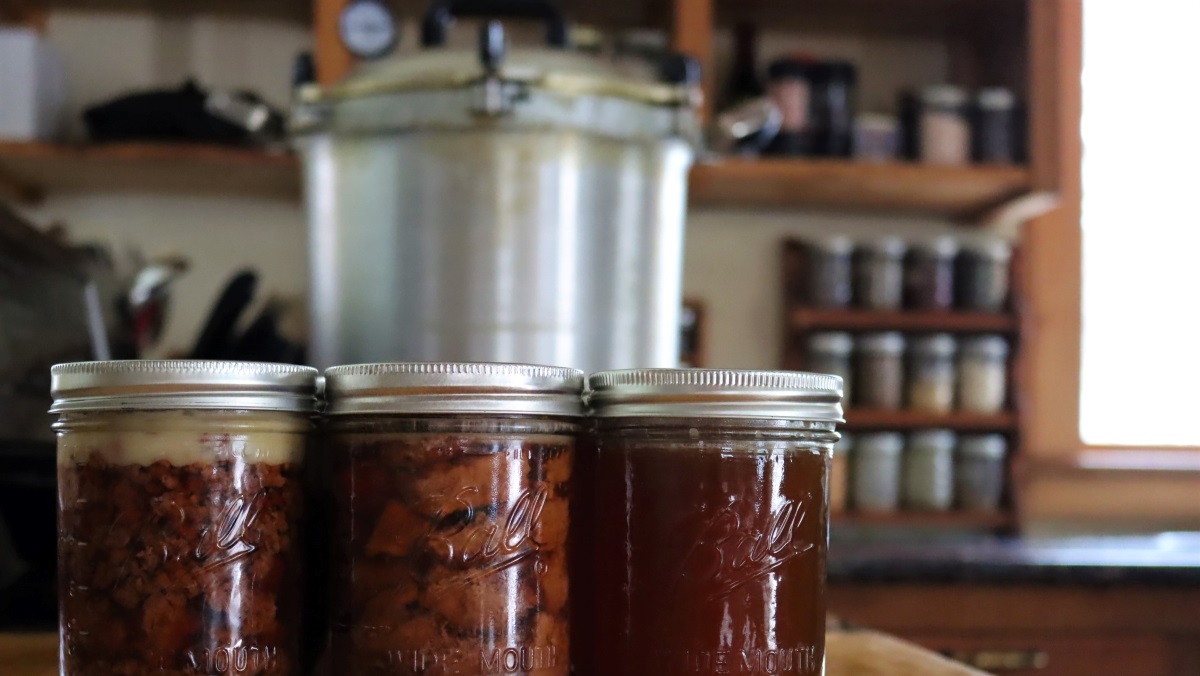
- Label and Store: Once the jars have cooled and the seals have been confirmed, label each jar with the content and date of canning. Find a cool, dark, and dry storage area to keep your canned venison. Aim for a consistent temperature and away from sources of heat, moisture, or direct sunlight.
Proper cooling is crucial for the success of your canned venison. It allows the vacuum seals to form and ensures that the canned meat remains safe for long-term storage. By following these steps and allowing the jars to cool gradually, you can maintain the quality and shelf life of your canned venison.
Storing and Using Canned Venison
Now that you have successfully canned your venison, it’s important to store it properly and know how to use it effectively. Follow these guidelines to ensure that your canned venison remains safe, flavorful, and ready to enjoy:
- Storage Conditions: Store your canned venison in a cool, dark, and dry place, such as a pantry or cellar. Aim for a consistent temperature between 50-70°F (10-21°C) to maintain the quality and shelf life of the meat.
- Check Seals Regularly: It’s advisable to check the seals of your canned venison periodically. Visually inspect the lids to ensure they are still concave and haven’t lifted or bulged. Any jars that show signs of compromised seals should be consumed or refrigerated immediately.
- Shelf Life: Canned venison can typically be stored for up to two years when properly canned and stored. However, for the best quality and flavor, it is recommended to consume the venison within one year of canning.
- Labeling: Properly label each jar with the content and date of canning. This helps you keep track of the freshness and allows you to organize your canned goods efficiently.
- Using Canned Venison: Canned venison is a versatile ingredient that can be used in numerous dishes. It can be added to stews, soups, casseroles, chili, sandwiches, and more. Simply drain the meat from the jar and incorporate it into your favorite recipes. The canned venison is already fully cooked, so you can heat it up and enjoy it straight from the jar.
- Enjoy Responsibly: When using canned venison, it’s important to follow safe food handling practices. Always check the appearance and smell of the meat before consuming it. If you notice any signs of spoilage, such as an off odor or unusual texture, discard the venison immediately.
By storing your canned venison properly, regularly checking the seals, and using it within a reasonable time frame, you can enjoy its delicious flavor and nutritional benefits. Remember to practice safe food handling and trust your senses when consuming canned venison.
Conclusion
Canning venison in an electric pressure cooker is a fantastic way to preserve this delicious and nutritious meat for long periods of time. By following the steps outlined in this guide, you can ensure that your canned venison is safe, flavorful, and ready to be enjoyed whenever you desire.
We explored the benefits of canning venison, including its extended shelf life, preservation of taste and nutritional value, convenience, versatility, and self-sufficiency. Canning allows you to take control of your food supply and enjoy venison throughout the year.
Choosing the right electric pressure cooker is crucial for successful canning. Consider factors such as size, pressure settings, safety features, and additional accessories when selecting the perfect cooker for your needs.
The preparation process of properly trimming and seasoning the venison sets the stage for delicious and preserved meat. The jars must be sterilized to eliminate any bacteria or microorganisms that could lead to spoilage or contamination.
Filling the jars with venison and adding suitable liquid ensures even heat distribution during the pressure cooking process. Properly closing the jars and then pressure cooking them at the appropriate pressure and time ensures the venison is safely preserved.
After the pressure cooking process, allow the jars to cool gradually. Confirm the seals and store the canned venison in a cool, dark, and dry place. Regularly check the seals and practice safe food handling when using the canned meat.
Canned venison offers convenience and versatility in various recipes, providing a ready-to-eat protein source for stews, soups, sandwiches, and more.
In conclusion, canning venison in an electric pressure cooker is a rewarding and practical way to enjoy this flavorful meat throughout the year. With proper preparation, cooking, and storage techniques, you can savor the natural taste and nutritional benefits of venison long after the hunting season has ended. So, gather your ingredients, fire up your electric pressure cooker, and embark on the journey of canning your venison today!