Introduction
Welcome to the world of cooking venison backstrap in an electric pressure cooker! Venison backstrap, also known as deer loin, is a tender and flavorful cut of meat that is perfect for a variety of dishes. Using an electric pressure cooker not only saves time, but it also helps to retain the moisture and tenderness of the meat, resulting in a delicious and succulent meal.
In this guide, we will take you through the step-by-step process of cooking venison backstrap in an electric pressure cooker, ensuring that you achieve mouthwatering results every time. Whether you’re a novice or an experienced cook, this technique will allow you to effortlessly create a gourmet meal in no time.
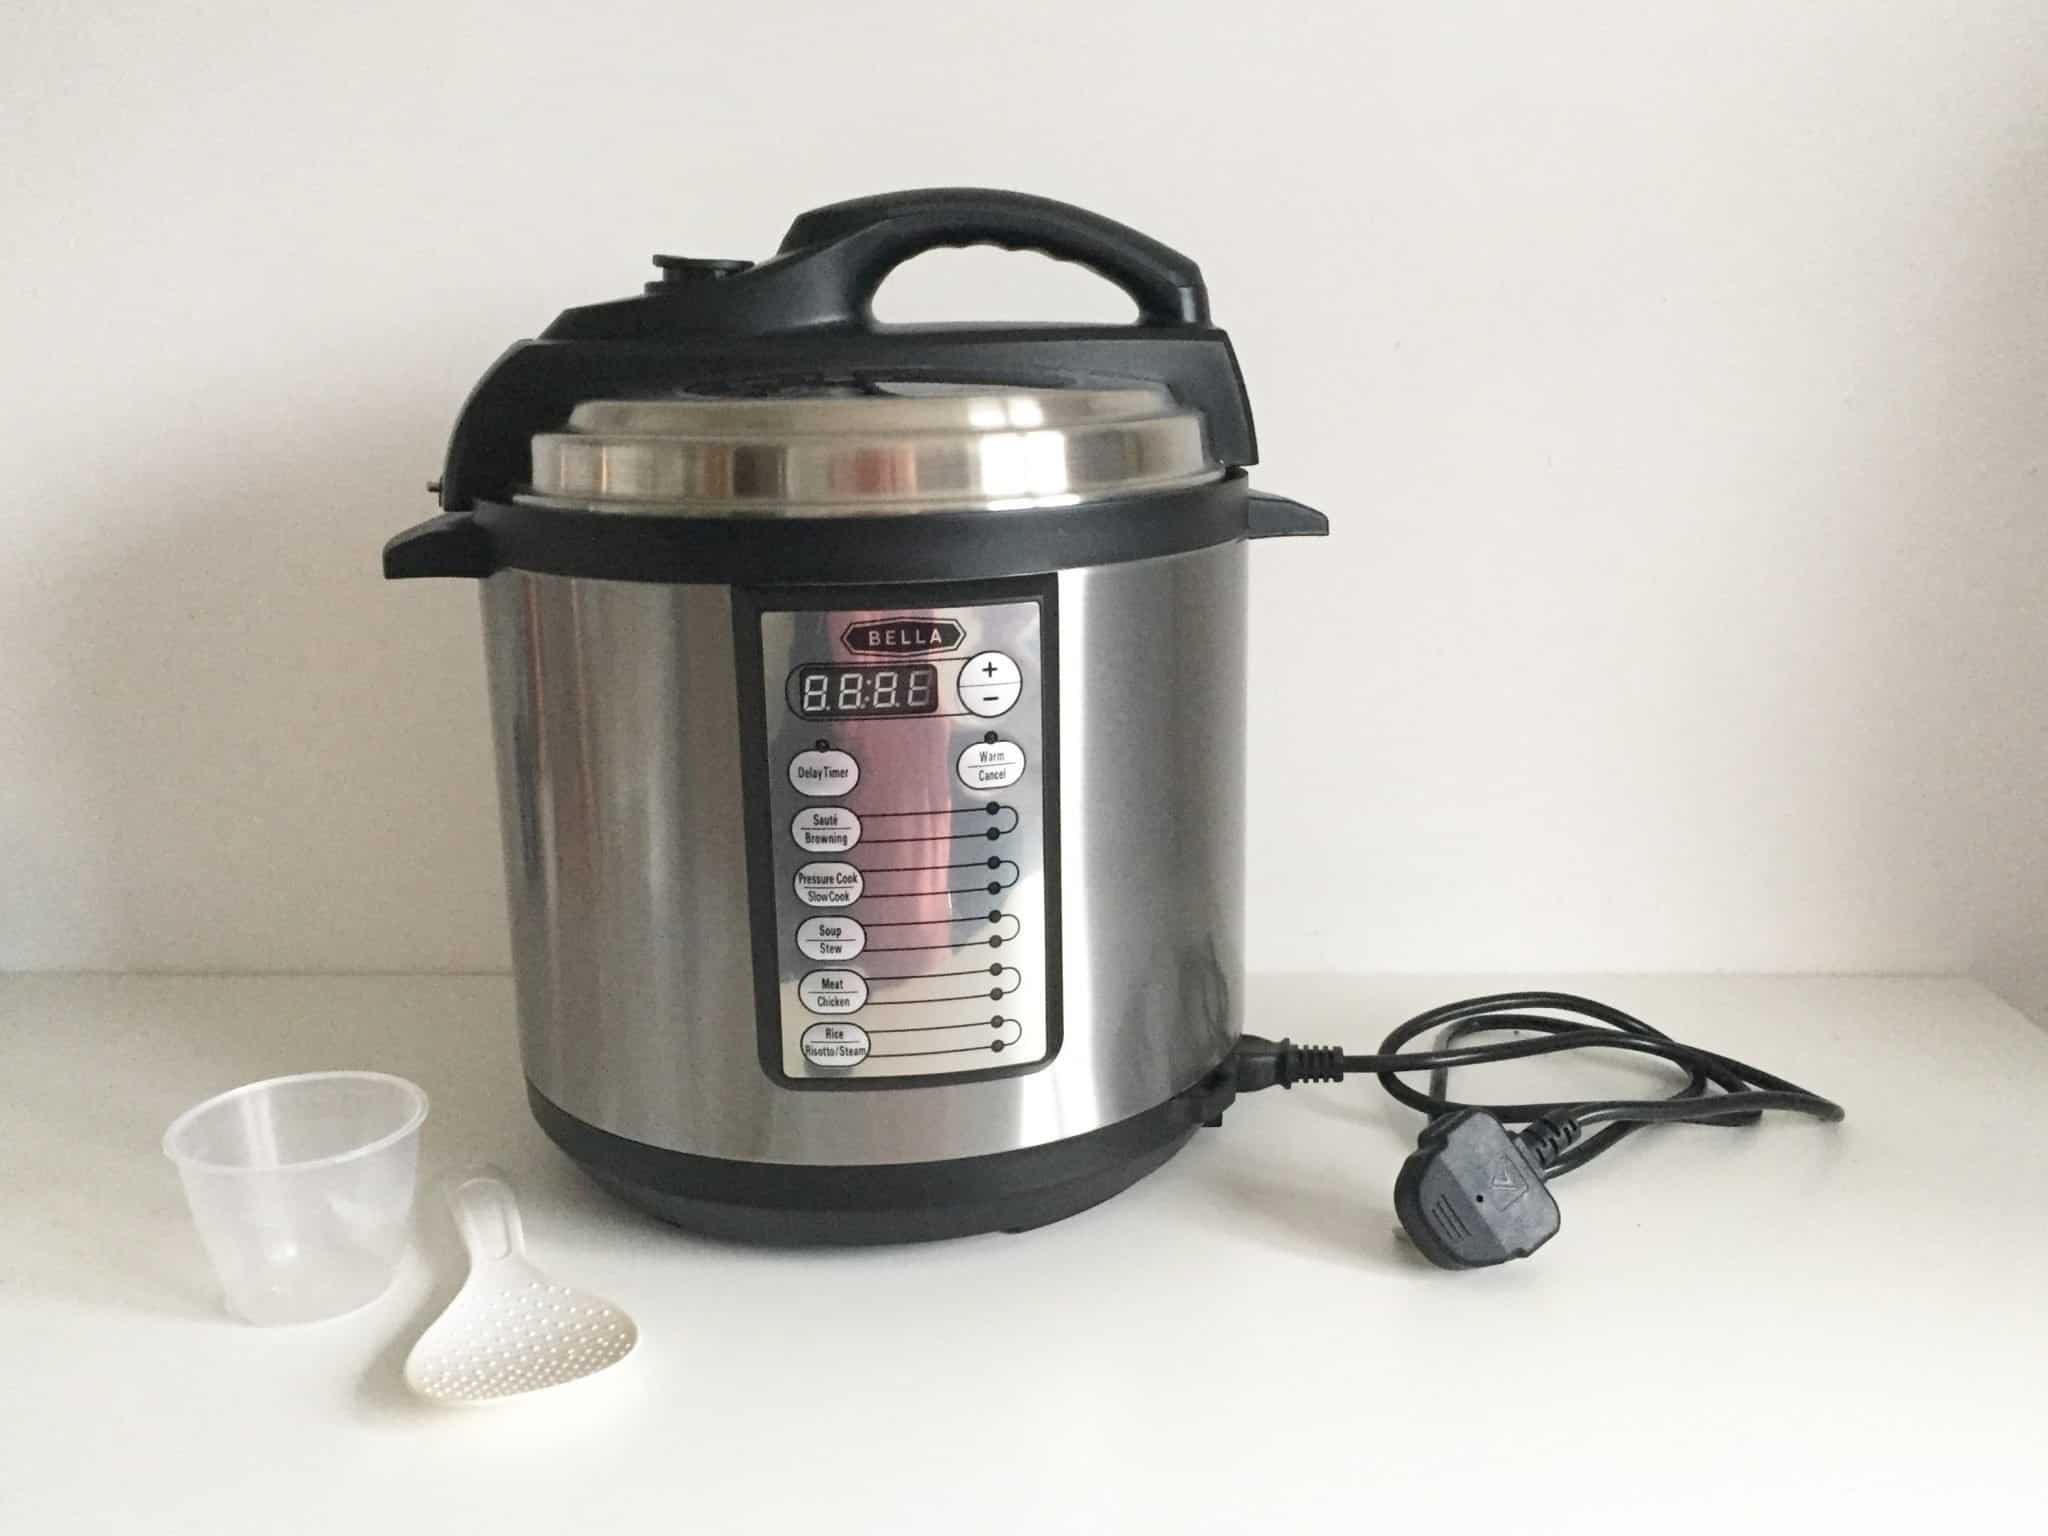
Before we dive into the cooking process, let’s talk about the ingredients and equipment you’ll need to get started. Gathering the necessary ingredients and ensuring you have the right tools at hand is essential for a smooth cooking experience.
So, put on your apron, sharpen your knives, and get ready to embark on a culinary adventure as we explore the art of cooking venison backstrap in an electric pressure cooker!
Step 1: Gather the Ingredients
Before you begin cooking your venison backstrap in an electric pressure cooker, make sure you have all the necessary ingredients on hand. This will ensure that you have a seamless cooking experience and that you don’t have to halt the process halfway to make a trip to the store.
Here’s a list of the ingredients you’ll need:
- Venison backstrap: Look for a fresh and well-trimmed backstrap that is free from any visible fat or connective tissue. Ideally, the backstrap should be around 1 to 2 pounds in weight.
- Olive oil: This will be used for searing the venison and adding flavor.
- Seasonings: Choose your preferred blend of seasonings to enhance the flavor of the venison. Common options include salt, black pepper, garlic powder, onion powder, and dried herbs like rosemary or thyme.
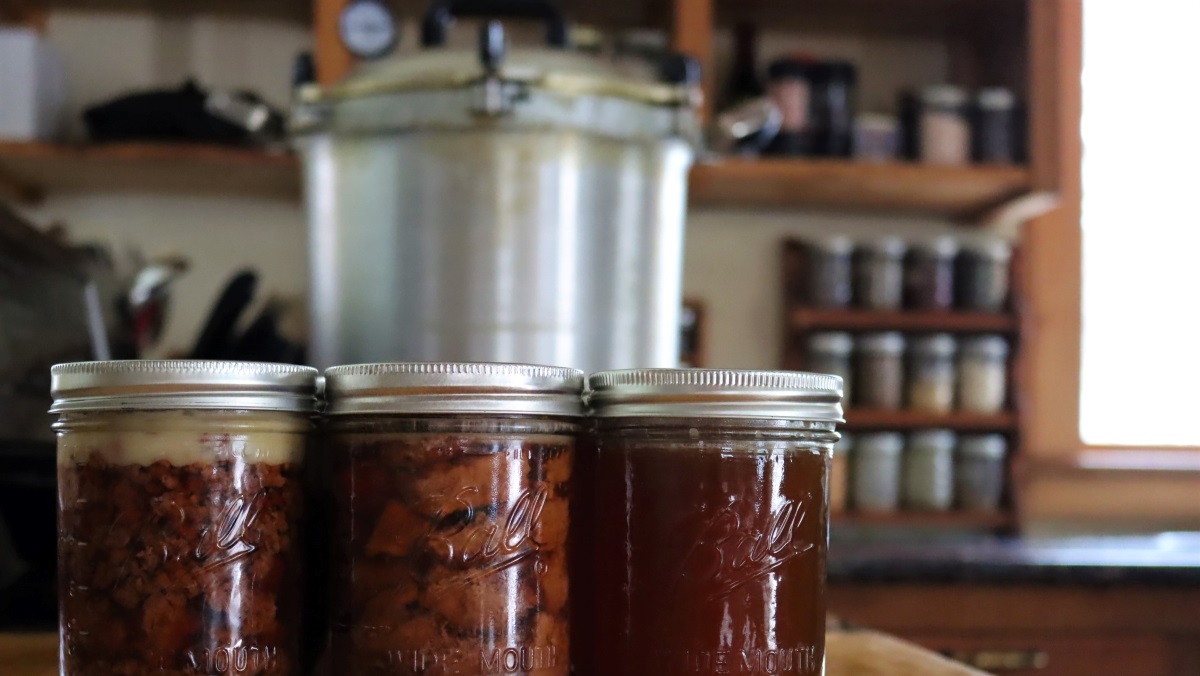
- Liquid: You’ll need some type of liquid to add moisture to the pressure cooker. Options include beef or vegetable broth, red wine, or even water.
- Aromatics: Aromatics like onions, garlic, and fresh herbs can add depth and complexity to the dish. Consider adding chopped onions, minced garlic, and your choice of herbs such as rosemary or thyme.
By having all these ingredients ready, you’ll be able to smoothly progress through the cooking process without any interruptions. Take a few moments to gather them and organize your workspace, ensuring that everything is within easy reach.
Step 2: Prepare the Venison Backstrap
Now that you have gathered all the necessary ingredients, it’s time to prepare the venison backstrap for cooking. Properly preparing the meat will help ensure that it cooks evenly and retains its delicious flavors.
Follow these steps to prepare the venison backstrap:
- Trim the excess fat: Using a sharp knife, carefully trim any excess fat or silver skin from the venison backstrap. This will enhance the tenderness and prevent any unwanted chewiness in the final dish.
- Pat the meat dry: Use paper towels to pat the backstrap dry. This will remove any excess moisture and improve the searing process, allowing for a beautiful crust to develop.
- Bring the meat to room temperature: For even cooking, it’s important to let the venison backstrap come to room temperature. Remove it from the refrigerator and let it sit on the countertop for about 20-30 minutes before cooking.
By following these simple steps, you’ll ensure that your venison backstrap is ready to be cooked to perfection. Properly trimming the fat, patting the meat dry, and allowing it to come to room temperature will set the stage for a delicious and tender result.
Step 3: Season the Venison Backstrap
Seasoning the venison backstrap is a crucial step in enhancing its natural flavors and creating a well-rounded taste. While you can opt for a simple salt and pepper seasoning, feel free to get creative and experiment with different herbs and spices to suit your preferences.
Follow these steps to season the venison backstrap:
- Sprinkle salt and pepper: Liberally sprinkle salt and freshly ground black pepper on all sides of the venison backstrap. This will help enhance the natural flavors and bring out the best in the meat.
- Optional: Add additional spices and herbs: Depending on your taste preferences, you can add additional spices and herbs to the backstrap. Consider options like garlic powder, onion powder, paprika, or dried herbs such as rosemary or thyme.
- Gently press the seasonings into the meat: Using your hands, gently press the seasonings into the meat to ensure they adhere well. This will ensure that the flavors penetrate the meat during the cooking process.
Remember, the amount of seasoning will depend on the size of your backstrap and your personal preference. Feel free to adjust the quantities accordingly. By seasoning the venison backstrap well, you’ll elevate its taste and create a flavorful dish that will leave your taste buds wanting more.
Step 4: Sear the Venison Backstrap
Searing the venison backstrap before pressure cooking is an essential step that adds depth of flavor and enhances the texture of the meat. The process of searing creates a crust on the outside, sealing in the juices and creating a delicious caramelized exterior.
Follow these steps to properly sear the venison backstrap:
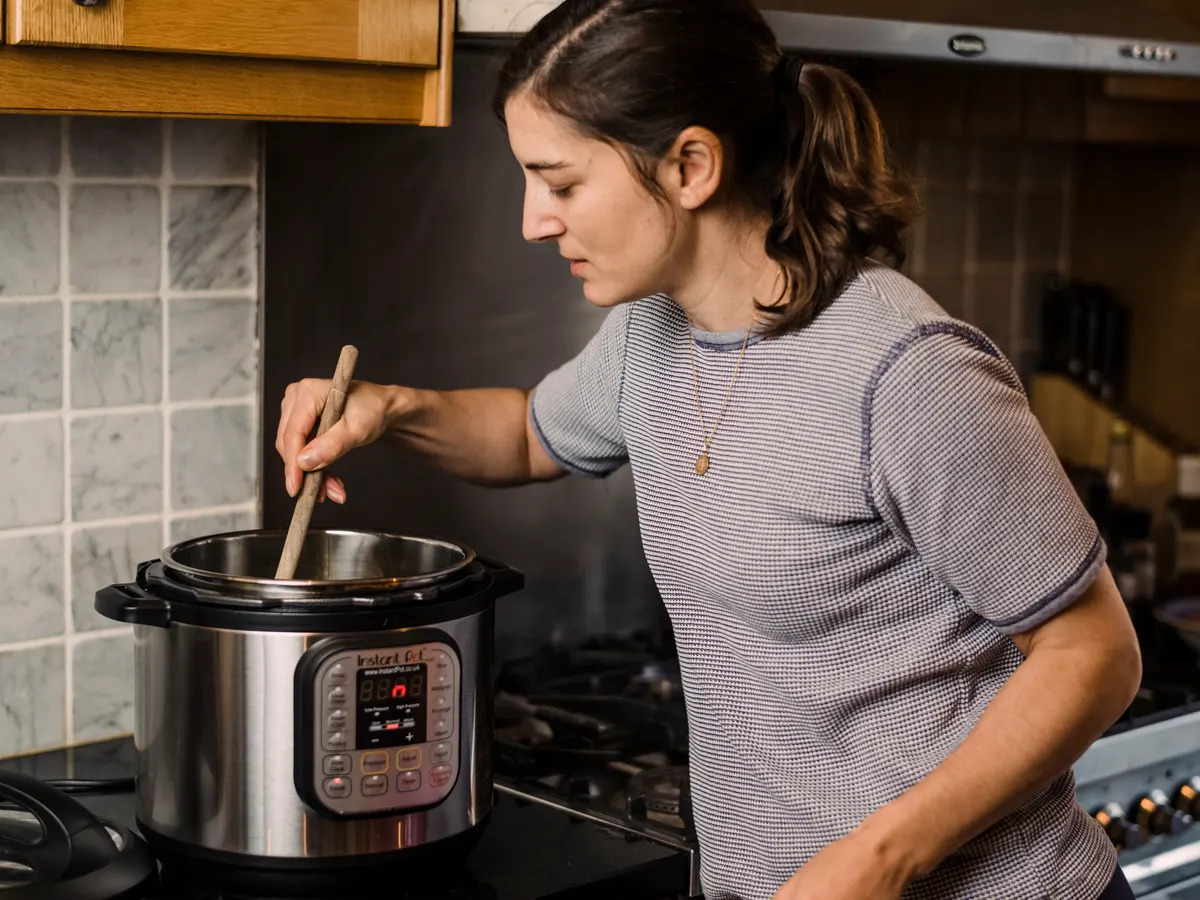
- Heat the electric pressure cooker: Select the sauté or browning function on your electric pressure cooker and allow it to heat up. Add a drizzle of olive oil to the pot and let it heat for a minute or two.
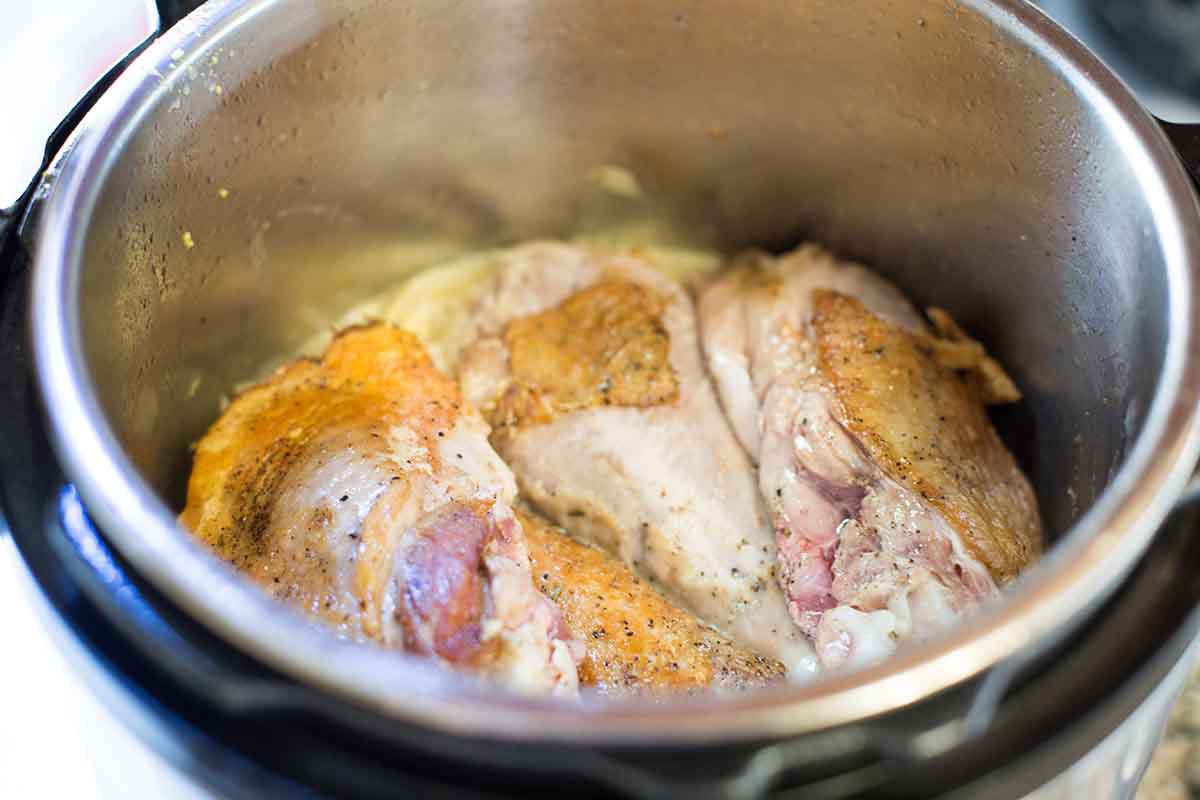
- Place the backstrap in the pot: Carefully place the seasoned venison backstrap in the hot oil. You should hear a sizzling sound as the meat hits the hot surface. Allow the backstrap to sear for 2-3 minutes on each side or until a golden brown crust forms.
- Rotate the backstrap: Using tongs, gently rotate the backstrap to sear all sides evenly. This will help achieve an even browning and crust on the meat.
It’s important to note that searing is a quick process to create the desired outer crust and should not cook the meat through. The goal is to lock in the flavors and juices, enhancing the overall taste of the backstrap.
Once you have achieved a beautiful sear on all sides, remove the backstrap from the electric pressure cooker and set it aside momentarily. The searing process is complete, and now it’s time to move on to the next step: adding liquid and aromatics.
Step 5: Add Liquid and Aromatics
After searing the venison backstrap, it’s time to infuse more flavor into the dish by adding liquid and aromatics. The liquid will provide moisture and help create a flavorful cooking environment, while the aromatics will add depth and complexity to the final dish.
Follow these steps to add the liquid and aromatics:
- Add the liquid: Pour your chosen liquid into the electric pressure cooker, covering the bottom of the pot. This can be beef or vegetable broth, red wine, or even water, depending on your preference.
- Add the aromatics: Place the aromatics, such as chopped onions, minced garlic, and your choice of fresh herbs, into the liquid in the pot. These aromatics will infuse the venison backstrap with a delicious flavor as it cooks under pressure.
As the liquid and aromatics combine, they will create a aromatic and flavorful base for the venison to cook in. This step is crucial in ensuring a rich and well-rounded taste in the final dish.
Once the liquid and aromatics are added, it’s time to move on to the next step: cooking the venison backstrap in the electric pressure cooker.
Step 6: Cook the Venison Backstrap in the Electric Pressure Cooker
Now comes the exciting part – cooking the venison backstrap in the electric pressure cooker! This cooking method allows for a faster and more efficient cooking process, resulting in tender and succulent meat.
Follow these steps to cook the venison backstrap in the electric pressure cooker:
- Place the seared backstrap back into the pressure cooker: Carefully place the seared venison backstrap back into the pot, making sure it is fully submerged in the liquid and aromatics.
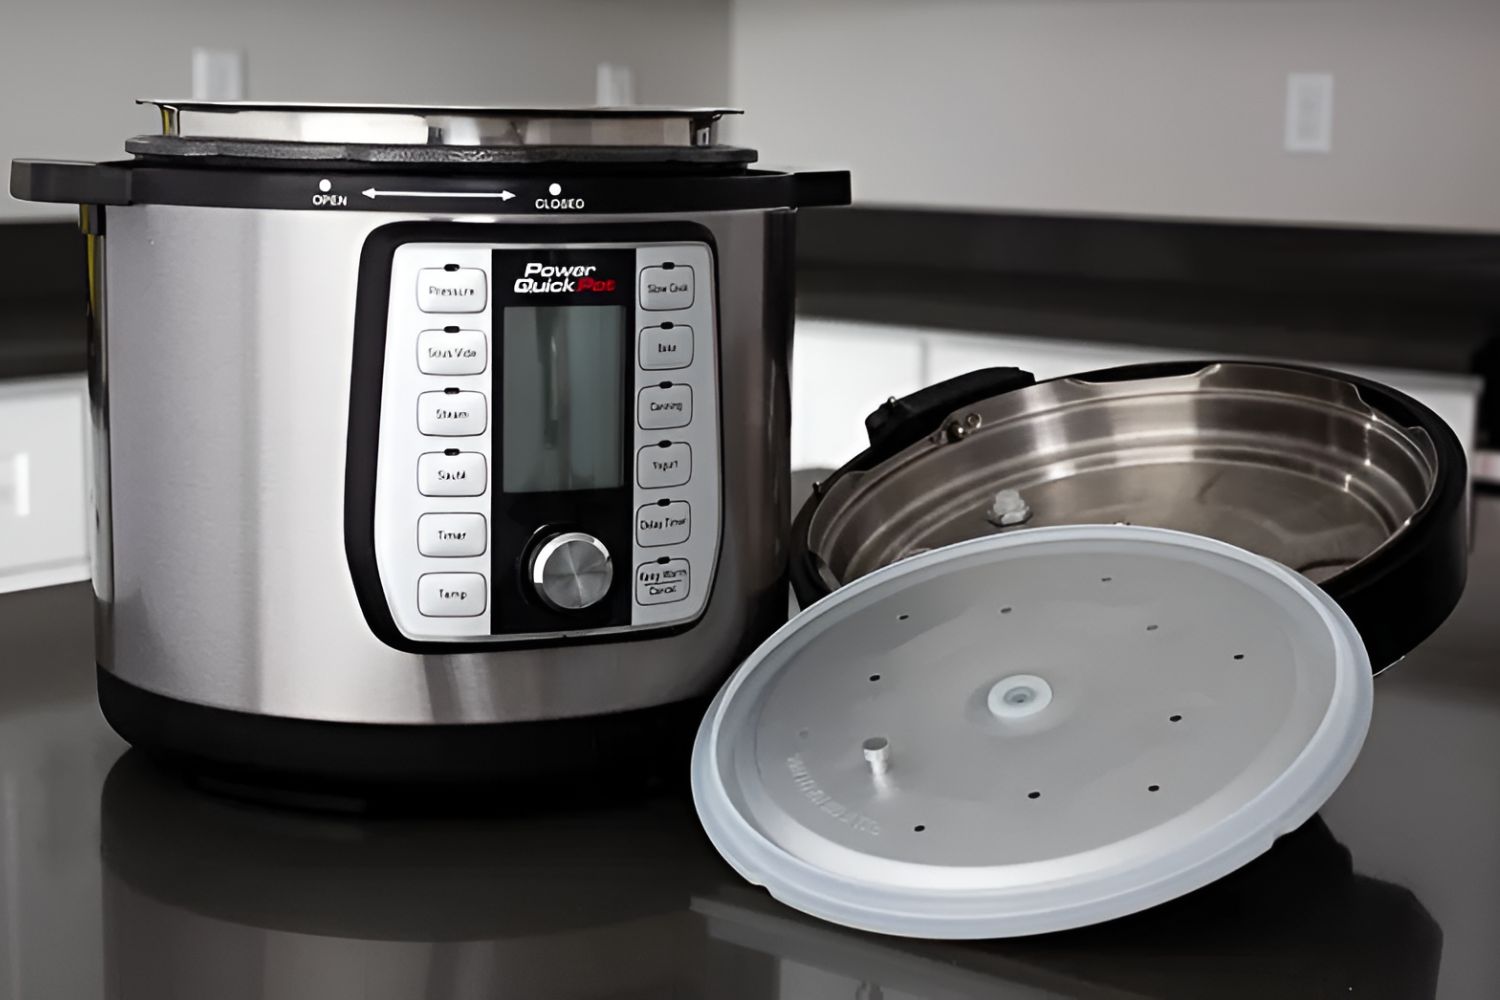
- Seal the pressure cooker: Secure the lid of the electric pressure cooker, ensuring it is properly sealed. Consult the manufacturer’s instructions for your specific model to ensure correct usage.
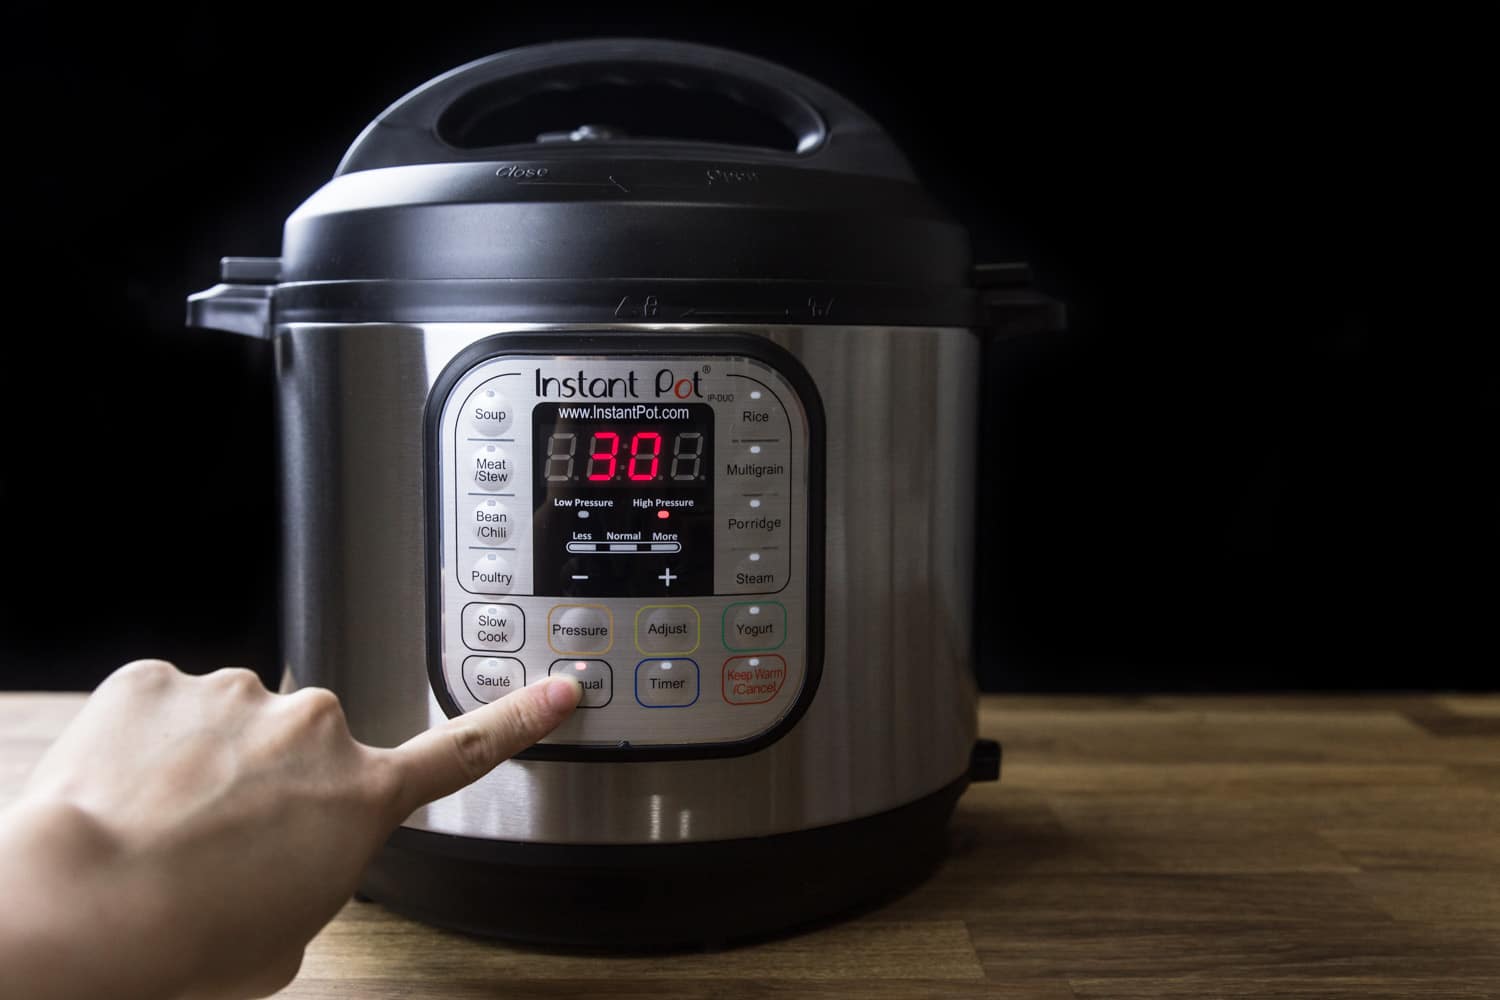
- Select the cooking time: Set the cooking time based on the weight and thickness of the backstrap. As a general guideline, cook the backstrap on high pressure for 10-15 minutes per pound of meat.
- Start the cooking process: Once you have set the cooking time, start the pressure cooker. It will take a few minutes to build pressure and begin the cooking process.
During the cooking process, the pressure inside the cooker will slowly build, allowing the venison backstrap to cook evenly and tenderize. The high pressure and steam help break down the tough fibers, resulting in a melt-in-your-mouth texture.
Note: Cooking times can vary depending on the size and thickness of the backstrap, as well as personal preference for the level of doneness. Adjust the cooking time accordingly to achieve your desired result.
Once the cooking time is complete, move on to the next step: releasing the pressure from the electric pressure cooker.
Step 7: Natural Release or Quick Release
After the venison backstrap has finished cooking in the electric pressure cooker, you have two options for releasing the pressure: natural release or quick release. The method you choose will depend on your preferred cooking style and the recipe you’re following.
Here’s what you need to know about both methods:
Natural Release: Natural release involves allowing the pressure to release naturally over time. After the cooking time has completed, simply leave the pressure cooker untouched and allow the pressure to decrease on its own. This method can take anywhere from 10 to 20 minutes, depending on the pressure cooker and the amount of food inside. Natural release is ideal for dishes that benefit from additional cooking time or when you want to preserve the juiciness of the meat.
Quick Release: Quick release is a faster method of releasing the pressure. It involves manually releasing the pressure by turning the pressure release valve to the “Venting” position. This quickly releases the steam and pressure from the cooker. Be cautious when performing a quick release, as the steam released is hot and can cause burns. Quick release is suitable when you want to stop the cooking process immediately or when the recipe specifies a specific timing for a quick release.
When the pressure has been fully released, it’s time to move on to the final step: resting and serving the venison backstrap.
Step 8: Rest and Serve the Venison Backstrap
After the venison backstrap has been cooked and the pressure released, it’s important to let the meat rest before slicing and serving. This resting period allows the juices to redistribute, resulting in a more flavorful and tender final dish.
Follow these steps to properly rest and serve the venison backstrap:
- Remove the backstrap from the pressure cooker: Carefully remove the venison backstrap from the pressure cooker using tongs or a slotted spoon. Place it on a cutting board or a plate.
- Cover with foil: Tent the cooked backstrap with aluminum foil to keep it warm and allow it to rest. This will help the meat retain its heat while the juices settle.
- Rest for 5-10 minutes: Let the venison backstrap rest for about 5-10 minutes. This resting period allows the juices to redistribute throughout the meat, resulting in a more juicy and tender texture.
- Slice and serve: After the resting period, carefully slice the venison backstrap against the grain into thin slices. This will help keep the meat tender and make it easier to chew. Serve the sliced backstrap with your choice of side dishes and enjoy!
By allowing the venison backstrap to rest, you’ll achieve a more flavorful and tender final product. The rest time also provides an opportunity for any residual cooking to take place, further enhancing the texture and taste of the meat.
Now that you have successfully cooked and rested the venison backstrap, it’s time to indulge in the delicious results of your efforts!
Conclusion
Cooking venison backstrap in an electric pressure cooker is a fantastic way to create a flavorful and tender dish. By following these step-by-step instructions, you can achieve mouthwatering results that will satisfy even the most discerning taste buds.
From gathering the ingredients and preparing the backstrap to seasoning, searing, and cooking it in the electric pressure cooker, each step contributes to the incredible flavor and texture of the final dish. The searing process creates a caramelized crust, while the pressure cooking method helps to tenderize the meat and infuse it with your chosen flavors.
Whether you prefer a natural release or quick release, allowing the venison backstrap to rest before slicing and serving is crucial. This will ensure that the meat retains its juiciness and tenderness, making each bite a true delight.
So, next time you have venison backstrap on hand, don’t hesitate to bring out your electric pressure cooker and try this cooking technique. Impress your family and friends with a flavorful and succulent meal that will leave them asking for seconds.
Remember, cooking is an art, and with practice, you can fine-tune the process to suit your preferences. Don’t be afraid to experiment with different seasonings, liquids, and cooking times to create your own signature dish.
Now, it’s time to roll up your sleeves, fire up the pressure cooker, and get ready to enjoy a delicious meal with perfectly cooked venison backstrap!