Introduction
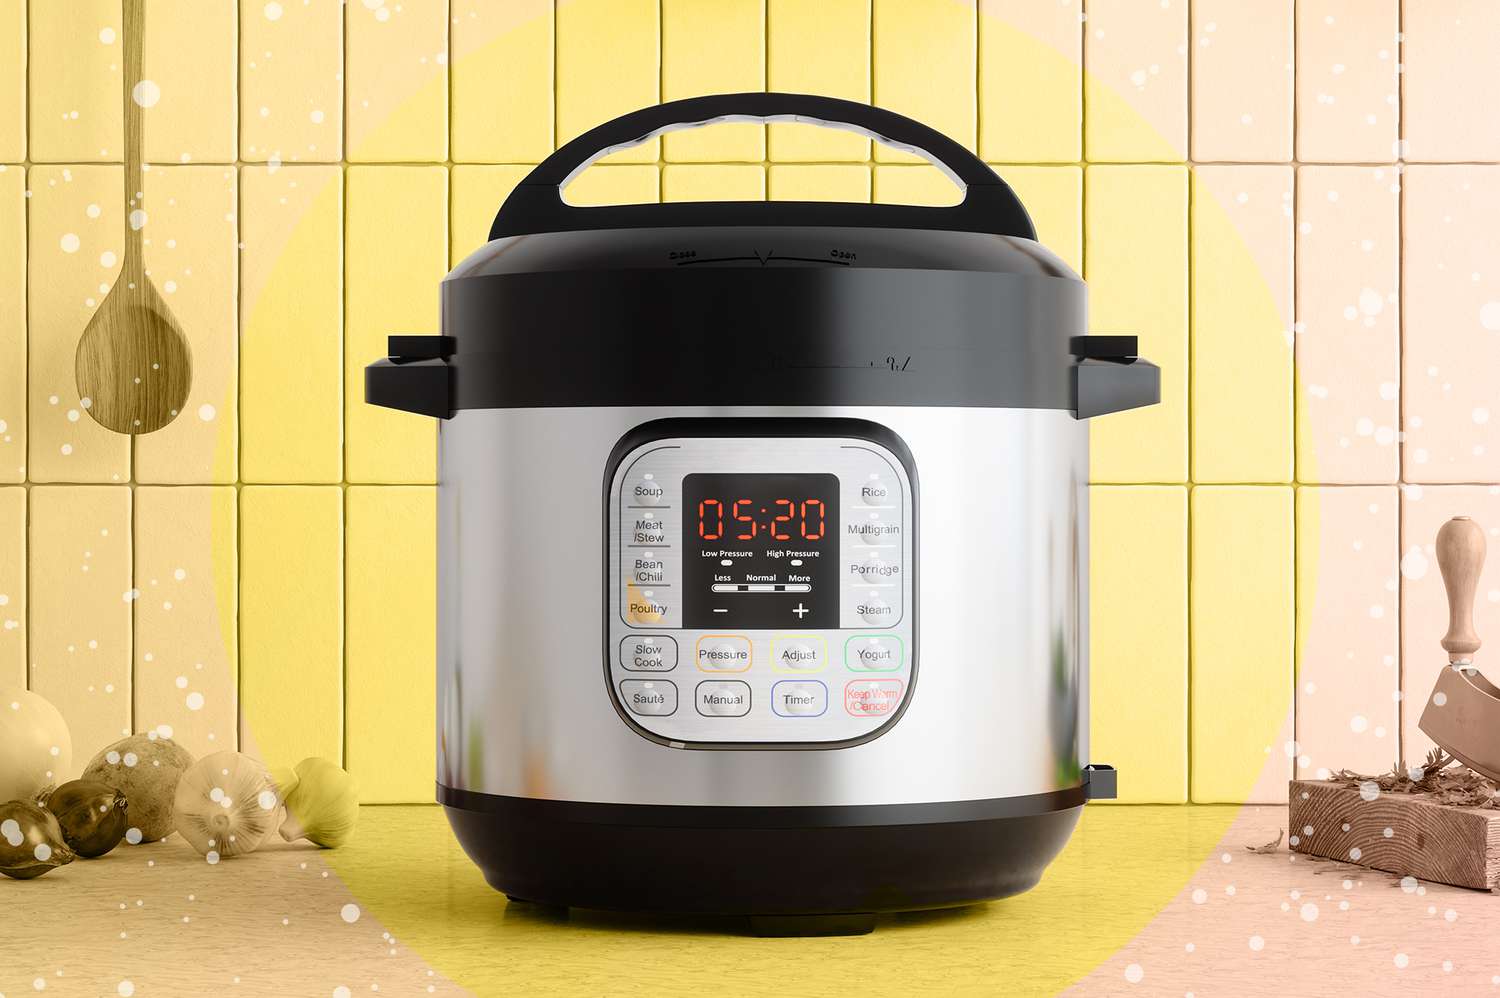
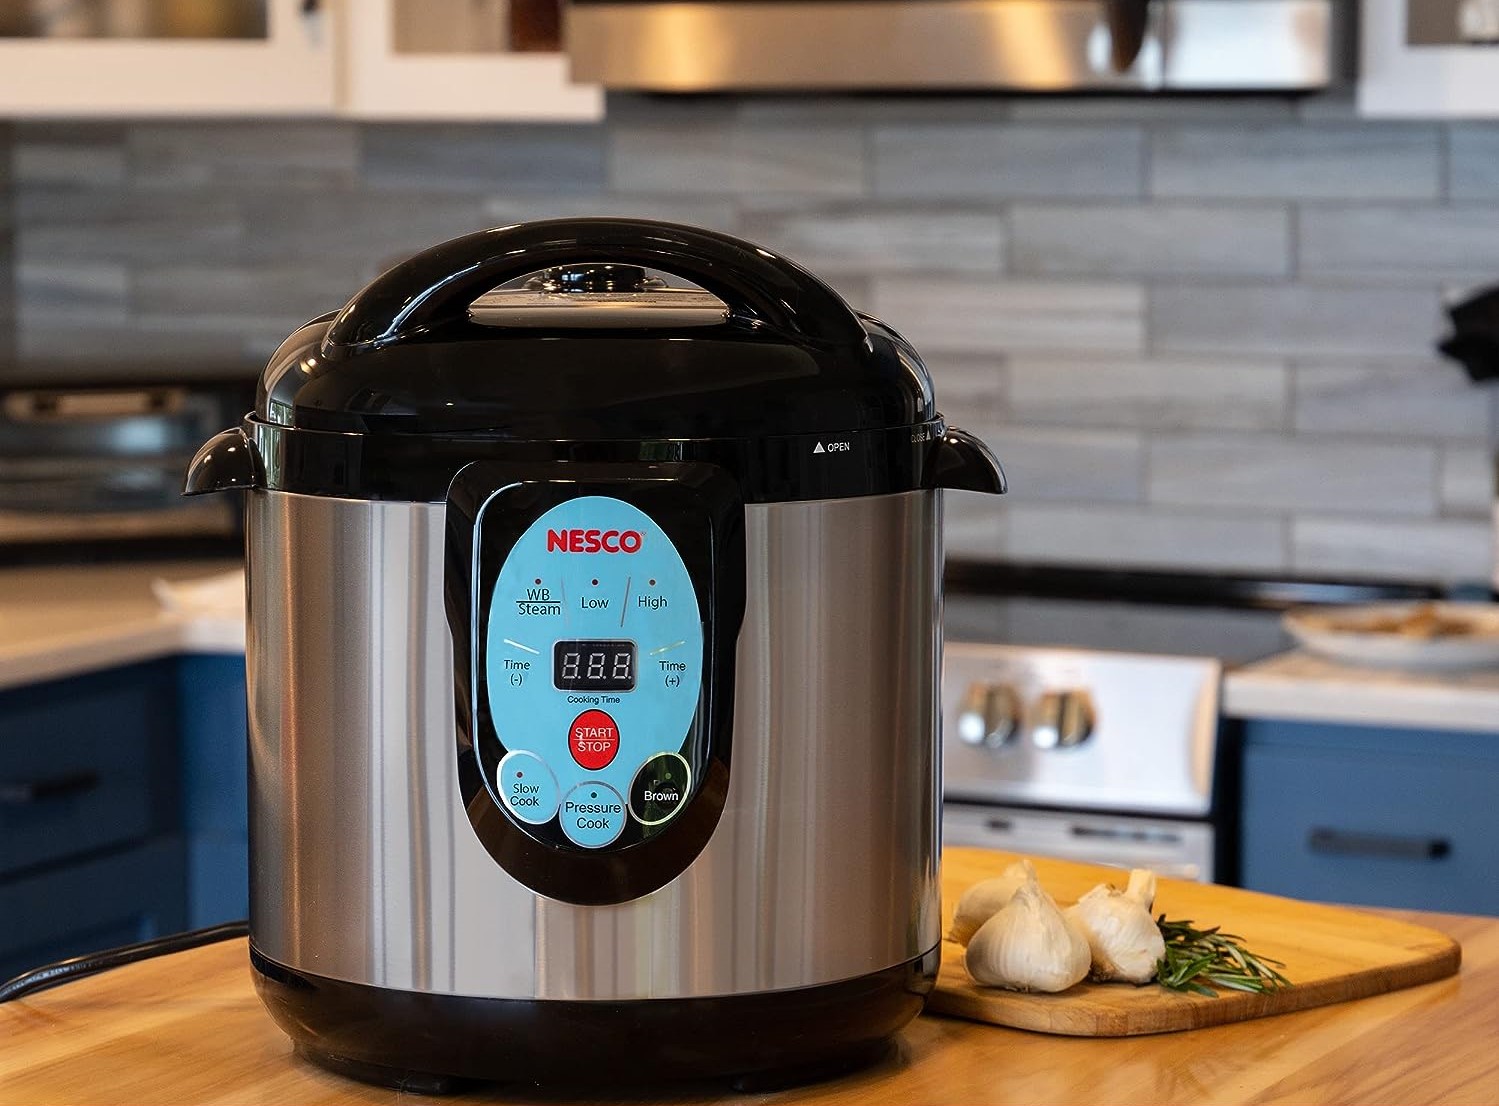
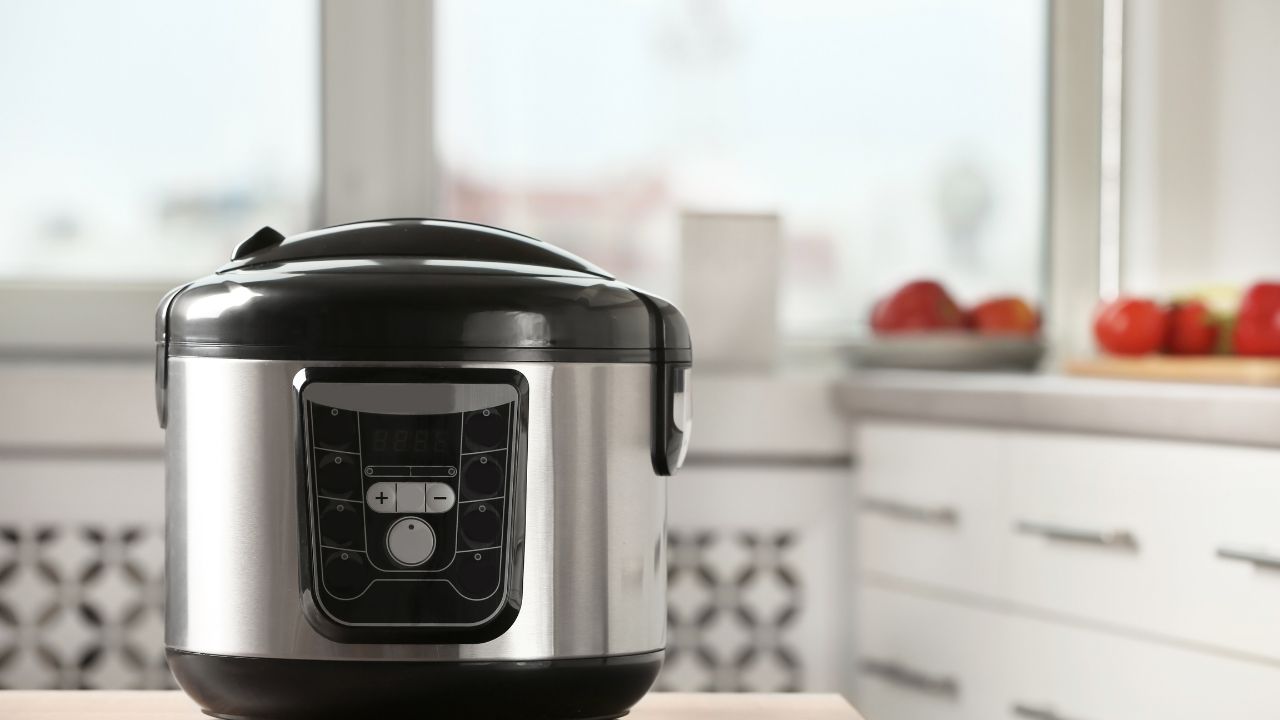
Electric pressure cookers have become increasingly popular in kitchens around the world. They offer a convenient and efficient way to cook a variety of meals in a fraction of the time compared to traditional stovetop cooking methods. However, just like any other kitchen appliance, regular maintenance and cleaning are essential to keep it functioning properly and ensure the longevity of the cooker.
Cleaning an electric pressure cooker may seem like a daunting task, but with the right guidance and a few simple steps, it can be done quickly and easily. In this article, we will guide you through the process of cleaning your electric pressure cooker, explaining the importance of regular cleaning, the materials needed, and safety precautions to take.
Regular cleaning of your electric pressure cooker is crucial for several reasons. First and foremost, it helps to remove any residual food particles or stains that can affect the taste and odor of your future dishes. Additionally, a clean pressure cooker prevents the buildup of bacteria and mold, ensuring the safety and hygiene of your meals.
Furthermore, maintaining a clean pressure cooker will help to improve its overall performance. It can help to prevent clogging of the steam release valve and maintain the integrity of the sealing gasket, thus ensuring that your pressure cooker continues to function optimally.
Before we dive into the cleaning process, let’s gather the materials you will need. Having these items easily accessible will make the cleaning process more efficient.
Importance of Cleaning an Electric Pressure Cooker
Regularly cleaning your electric pressure cooker is not only essential for hygiene purposes but also crucial for extending its lifespan and maintaining optimal performance. Let’s explore the key reasons why cleaning your pressure cooker is so important.
1. Food Safety: When you cook meals in an electric pressure cooker, food particles, oils, and liquids can accumulate on the inner pot, lid, and other components. If left uncleansed, these residues can become a breeding ground for bacteria, leading to potential foodborne illnesses. Keeping your pressure cooker clean will help ensure that the food you prepare is safe for consumption.
2. Odor Prevention: Over time, the accumulation of food residues and spices can cause unpleasant odors in your pressure cooker. Regular cleaning helps eliminate these odors, ensuring that your meals are free from unwanted smells and flavors.
3. Improved Performance: A clean pressure cooker operates more efficiently. Built-up residue and debris can hinder the proper functioning of the pressure release valve, reducing the cooker’s ability to build up pressure effectively. By keeping your pressure cooker clean, you can ensure that it performs optimally and delivers fast and efficient cooking results.
4. Maintain Non-Stick Coating: Many electric pressure cookers come with a non-stick coating on the inner pot. Regular cleaning prevents the buildup of sticky residues that could damage or degrade the non-stick surface, allowing your food to easily release from the pot and preventing potential sticking or burning during cooking.
5. Prolonged Lifespan: Proper maintenance and cleaning practices can significantly extend the lifespan of your electric pressure cooker. By regularly cleaning the various components, you can prevent deterioration and damage caused by neglect and ensure that your pressure cooker remains functional for years to come.
Remember: Following the manufacturer’s cleaning instructions is crucial to avoid damaging your electric pressure cooker. Always refer to the user manual for specific guidance on cleaning and maintenance.
Now that we understand the importance of cleaning an electric pressure cooker let’s move on to the materials you will need for the cleaning process.
Materials Needed
Before you begin cleaning your electric pressure cooker, it’s important to gather the necessary materials. Having these items on hand will make the cleaning process more efficient and ensure that you can effectively remove dirt, stains, and food residue. Here are the materials you will need:
1. Dishwashing Liquid: A mild dishwashing liquid is the primary cleaning agent you will need. Look for a gentle formula that is effective in cutting through grease and grime but won’t damage the surfaces of your pressure cooker.
2. Soft Sponge or Cloth: Choose a non-abrasive sponge or cloth to clean the exterior and interior surfaces of your electric pressure cooker. Avoid using rough scrub brushes or scouring pads, as they can scratch the cooker’s finish.
3. Soft Bristle Brush: A soft bristle brush will come in handy for cleaning hard-to-reach areas, such as the steam release valve or the gasket. Choose a brush with soft bristles that won’t cause any damage to these sensitive components.
4. Vinegar: White vinegar is a natural cleaner that can help remove stubborn stains, mineral deposits, and hard water buildup. It’s particularly useful for cleaning the inner pot, steam rack, and other stainless steel parts of the pressure cooker.
5. Microfiber Cloth: A microfiber cloth is perfect for drying and polishing the exterior surface of your electric pressure cooker. It is gentle yet effective in removing water spots and fingerprints, leaving your pressure cooker looking shiny and clean.
6. Hot Water: Hot water is an essential component of the cleaning process. It helps to loosen and dissolve grime and food residue, making them easier to remove. Ensure that the water is hot, but not boiling, to avoid any potential heat-related accidents.
7. Q-Tips or Cotton Swabs: Q-Tips or cotton swabs are useful for cleaning hard-to-reach nooks and crannies, such as the crevices around the steam release valve or the sealing gasket. They allow for precise cleaning in small areas where a sponge or cloth may not reach.
8. Soft Drying Rack or Towel: After cleaning your electric pressure cooker, you’ll need a soft drying rack or towel to place the components on as they dry. This helps to prevent any moisture from pooling and ensures that your pressure cooker is thoroughly dry before reassembling or storing it.
Now that you have gathered the necessary materials, let’s move on to the next section, where we will cover the important safety precautions you should take before starting the cleaning process.
Safety Precautions
Before you begin cleaning your electric pressure cooker, it’s important to prioritize safety. Taking the necessary precautions will help ensure that you can clean your appliance effectively without any accidents or injuries. Here are some important safety measures to keep in mind:
1. Unplug the Pressure Cooker: Before starting the cleaning process, always make sure to unplug your electric pressure cooker from the power source. This will eliminate the risk of electric shock and keep you safe while handling water and cleaning agents.
2. Allow the Pressure Cooker to Cool Down: After using your pressure cooker, it’s crucial to allow it to cool down completely before attempting to clean it. The high temperature inside the cooker can cause burns if you try to clean it too soon. Wait until it has reached a safe temperature before proceeding with the cleaning process.
3. Avoid Submerging Electrical Components: When cleaning your pressure cooker, avoid submerging any electrical components, such as the base unit or control panel, in water. These parts are not designed to be submerged and can be damaged if they come into contact with water.
4. Handle the Inner Pot with Care: The inner pot can become very hot during cooking. Always use oven mitts or heat-resistant gloves when removing the pot. Allow it to cool down before handling it for cleaning to avoid burns or injuries.
5. Be Gentle with the Gasket: The sealing gasket is a vital component of your pressure cooker and should be handled with care. Avoid using abrasive materials or sharp objects that could damage or puncture the gasket. Clean it gently with a soft sponge or cloth to maintain its integrity.
6. Use Caution with Steam Release Valve: When cleaning the steam release valve, exercise caution to prevent any accidental burns. Ensure that the pressure cooker is completely depressurized and the steam has dissipated before attempting to clean or move the valve.
7. Follow Manufacturer’s Instructions: Always refer to the manufacturer’s instructions and guidelines for the specific cleaning recommendations for your electric pressure cooker. Different models may have slightly different cleaning requirements, so it’s important to follow the instructions provided to ensure optimal cleaning and maintenance.
Remember: If you are unsure or have any concerns about cleaning your electric pressure cooker, contact the manufacturer or consult the user manual for further guidance and assistance. Safety should always be a top priority.
Now that we’ve covered the important safety precautions, let’s move on to the step-by-step cleaning process for your electric pressure cooker.
Step 1: Unplug the Pressure Cooker
Before you begin the cleaning process, it is crucial to unplug your electric pressure cooker from the power source. This step is vital to ensure your safety while handling water and cleaning agents near electrical components. Here’s how to safely unplug your pressure cooker:
1. Locate the Power Cord: Find the power cord of your electric pressure cooker. It is usually located at the rear or side of the cooker near the base unit.
2. Gently Pull the Plug: Firmly grip the plug and gently pull it out from the power outlet. Make sure to hold the plug itself rather than pulling on the cord, as this can damage the cord or the plug.
3. Confirm Full Disconnection: To ensure the cooker is completely disconnected, check that the display panel or any indicator lights are no longer illuminated. This confirms that the power supply has been successfully disconnected.
Why Unplugging is Important: Unplugging the electric pressure cooker is a critical safety measure to avoid the risk of electric shock and prevent any damage to the appliance during the cleaning process. It ensures that there is no electrical current flowing through the cooker, minimizing the risk of accidents or injury.
Remember to plug the cooker back in only after you have completed the cleaning process and all the components are dry. Now that the pressure cooker is safely unplugged, let’s move on to the next step: allowing the cooker to cool down.
Step 2: Wait for It to Cool Down
After unplugging your electric pressure cooker, it’s important to allow it to cool down completely before you start the cleaning process. The high temperatures reached during cooking can cause burns if you attempt to clean the cooker while it’s still hot. Here’s what you should do:
1. Turn Off and Release Pressure: If your pressure cooker has a pressure release valve, ensure that it is in the closed position. Turn off the cooker and allow it to release any built-up pressure naturally. This may take a few minutes depending on the cooker model.
2. Wait for the Indicator to Lower: Many electric pressure cookers have an indicator that rises when the cooker is under pressure. Wait until this indicator has dropped or is no longer elevated. This indicates that the internal pressure has dissipated and it’s safe to proceed.
3. Test the Temperature: Before touching any part of the cooker, check the temperature of the exterior surfaces using the back of your hand. Ensure it feels cool to the touch, indicating that it has cooled down sufficiently.
4. Safety Precautions: During this waiting period, it’s important to avoid touching any hot surfaces, including the inner pot, lid, and other components. Use caution and handle the pressure cooker with oven mitts or heat-resistant gloves to prevent burns or injuries.
Importance of Cooling Down: Allowing your pressure cooker to cool down completely is crucial for your safety. Cleaning a hot pressure cooker can cause burns and other injuries. By waiting for it to cool down, you can protect yourself from accidental contact with hot surfaces and ensure a comfortable and safe cleaning process.
Once your electric pressure cooker has cooled down, you’re ready to move on to the next step: removing the inner pot.
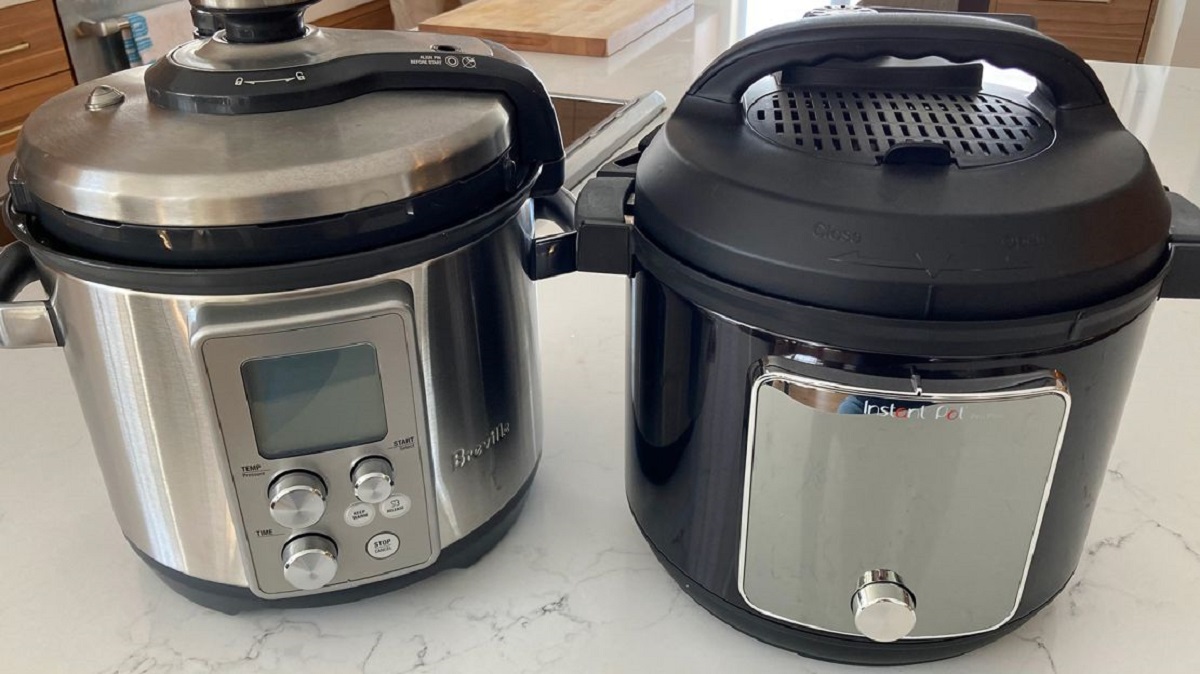
Step 3: Remove the Inner Pot
Now that your electric pressure cooker has cooled down, it’s time to remove the inner pot. The inner pot is where you cook your food and can accumulate residue and food particles over time. Removing it will allow you to clean it thoroughly. Here’s how to do it:
1. Open the Lid: Ensure that the cooker is in the unlocked position and lift the lid. Set it aside in a safe place.
2. Grasp the Handles: Most inner pots have handles on either side. Grasp these handles firmly with both hands and lift the pot straight up, carefully removing it from the cooker’s housing unit.
3. Empty Any Contents: Before cleaning the inner pot, check if there are any leftover food or liquid in it. If there are, discard or save them as needed. Use a non-metal utensil to avoid scratching the pot’s surface.
4. Set Aside the Inner Pot: Place the inner pot on a stable surface, such as a countertop or sink. Ensure it is on a heat-resistant mat, soft drying rack, or towel to protect both the pot and the surface.
Why Remove the Inner Pot: Removing the inner pot allows for a more thorough cleaning of the pressure cooker. It allows you to access the inner pot’s entire surface, making it easier to remove any residues or stains that may have accumulated during cooking. By removing the inner pot, you can ensure that your pressure cooker is clean and ready for the next use.
With the inner pot removed, you’re now ready to move on to the next step: cleaning the inner pot itself.
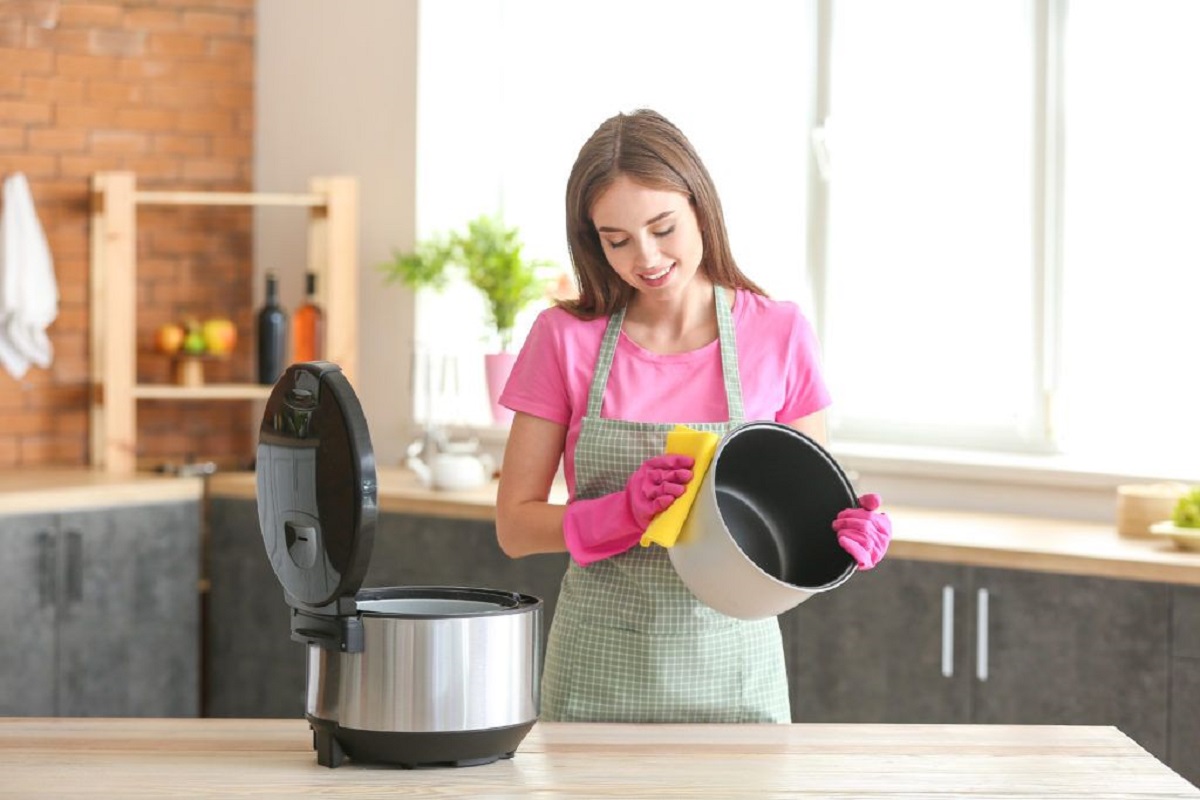
Step 4: Clean the Inner Pot
Now that the inner pot of your electric pressure cooker is removed, it’s time to clean it thoroughly. The inner pot is where you cook your meals, so it’s essential to ensure it’s free from any leftover food residue, stains, or odors. Follow these steps to clean the inner pot effectively:
1. Wash with Dishwashing Liquid: Start by washing the inner pot with warm water and a few drops of mild dishwashing liquid. Use a soft sponge or cloth to scrub the pot’s inside and outside surfaces, ensuring you reach all areas including the bottom and the sides. Pay particular attention to any visible food residue or stains.
2. Remove Stubborn Stains: For stubborn stains or food residue that is difficult to remove, create a paste with baking soda and water. Apply the paste to the affected areas and gently scrub with a soft sponge or cloth. Baking soda’s mild abrasive properties will help lift the stains without scratching the pot’s surface.
3. Rinse Thoroughly: After cleaning, rinse the inner pot under warm running water to remove all traces of dishwashing liquid, baking soda, and loosened debris. Ensure that there is no residue left on the pot to ensure the quality and taste of future meals.
4. Dry Completely: Once the inner pot is clean and rinsed, dry it thoroughly before reassembling or storing. Use a soft microfiber cloth or allow it to air dry on a soft drying rack. Make sure there is no moisture remaining on the surface of the pot to prevent any potential rusting or water spots.
Important Note: Avoid using abrasive materials, harsh cleaning agents, or steel wool on the inner pot, as these can potentially damage the non-stick coating or stainless steel surface.
Why Clean the Inner Pot: Cleaning the inner pot is crucial for maintaining the performance and integrity of your electric pressure cooker. Removing food residue and stains not only enhances the taste and cleanliness of future meals but also prevents the buildup of grime and bacteria. By ensuring the inner pot is clean, you can enjoy safe and delicious cooking every time.
With the inner pot cleaned and dried, we can now move on to the next step: cleaning the lid and gasket.
Step 5: Clean the Lid and Gasket
After cleaning the inner pot of your electric pressure cooker, it’s time to focus on cleaning the lid and the sealing gasket. These components play a vital role in the pressure cooking process and require regular cleaning to ensure optimal performance. Follow these steps to effectively clean the lid and gasket:
1. Disassemble the Lid: If your pressure cooker’s lid is detachable, carefully remove any removable parts, such as the sealing gasket or anti-block shield, according to the manufacturer’s instructions. This will allow for easier and more thorough cleaning.
2. Wash with Dishwashing Liquid: Fill a sink or basin with warm water and a few drops of mild dishwashing liquid. Dip a soft sponge or cloth into the soapy water and gently wipe the lid’s exterior and interior surfaces, including the handle and steam release valve. Pay attention to any areas with visible stains or food residue.
3. Clean the Gasket: The sealing gasket is a crucial part of the pressure cooker that helps create an airtight seal. Remove it from the lid and wash it separately using warm soapy water. Use a soft sponge or cloth to clean the gasket thoroughly, ensuring that all sides and crevices are free from residue and debris.
4. Remove Tough Stains: If there are stubborn stains on the lid or gasket that don’t come off with regular dishwashing liquid, create a paste made of baking soda and water. Apply the paste to the stained areas, and gently scrub with a soft sponge or cloth. This will help lift the stains without damaging the lid or gasket.
5. Rinse and Dry: Rinse the lid, gasket, and any removable parts under warm running water to remove all traces of soap or baking soda. Ensure that there is no residue left on any of the components. After rinsing, allow the lid and gasket to air dry completely before reassembling or storing.
Important Note: Do not submerge electrical components, such as the control panel or any other electronic parts, in water or expose them to excessive moisture. Wipe these components with a damp cloth instead.
Why Clean the Lid and Gasket: Cleaning the lid and gasket is necessary to maintain the performance and functionality of your electric pressure cooker. Removable food particles and stains can affect the sealing ability of the gasket, resulting in potential pressure issues during cooking. By keeping these components clean, you ensure a tight seal and efficient pressure cooking.
With the lid and gasket clean and dry, we can proceed to the next step: cleaning the housing unit.
Step 6: Clean the Housing Unit
Now that you have cleaned the inner pot, lid, and gasket of your electric pressure cooker, it’s time to turn your attention to the housing unit. While it may not come into direct contact with food, the housing unit can accumulate dust, residue, and spills over time. Follow these steps to effectively clean the housing unit:
1. Unplug the Pressure Cooker: Before cleaning the housing unit, make sure the pressure cooker is unplugged from the power source to ensure your safety.
2. Wipe the Exterior: Start by wiping the exterior of the housing unit with a soft, damp cloth. Gently scrub any visible stains or spills, such as food splatters or fingerprints, using a mild dishwashing liquid if necessary. Rinse the cloth as needed to remove dirt and residue.
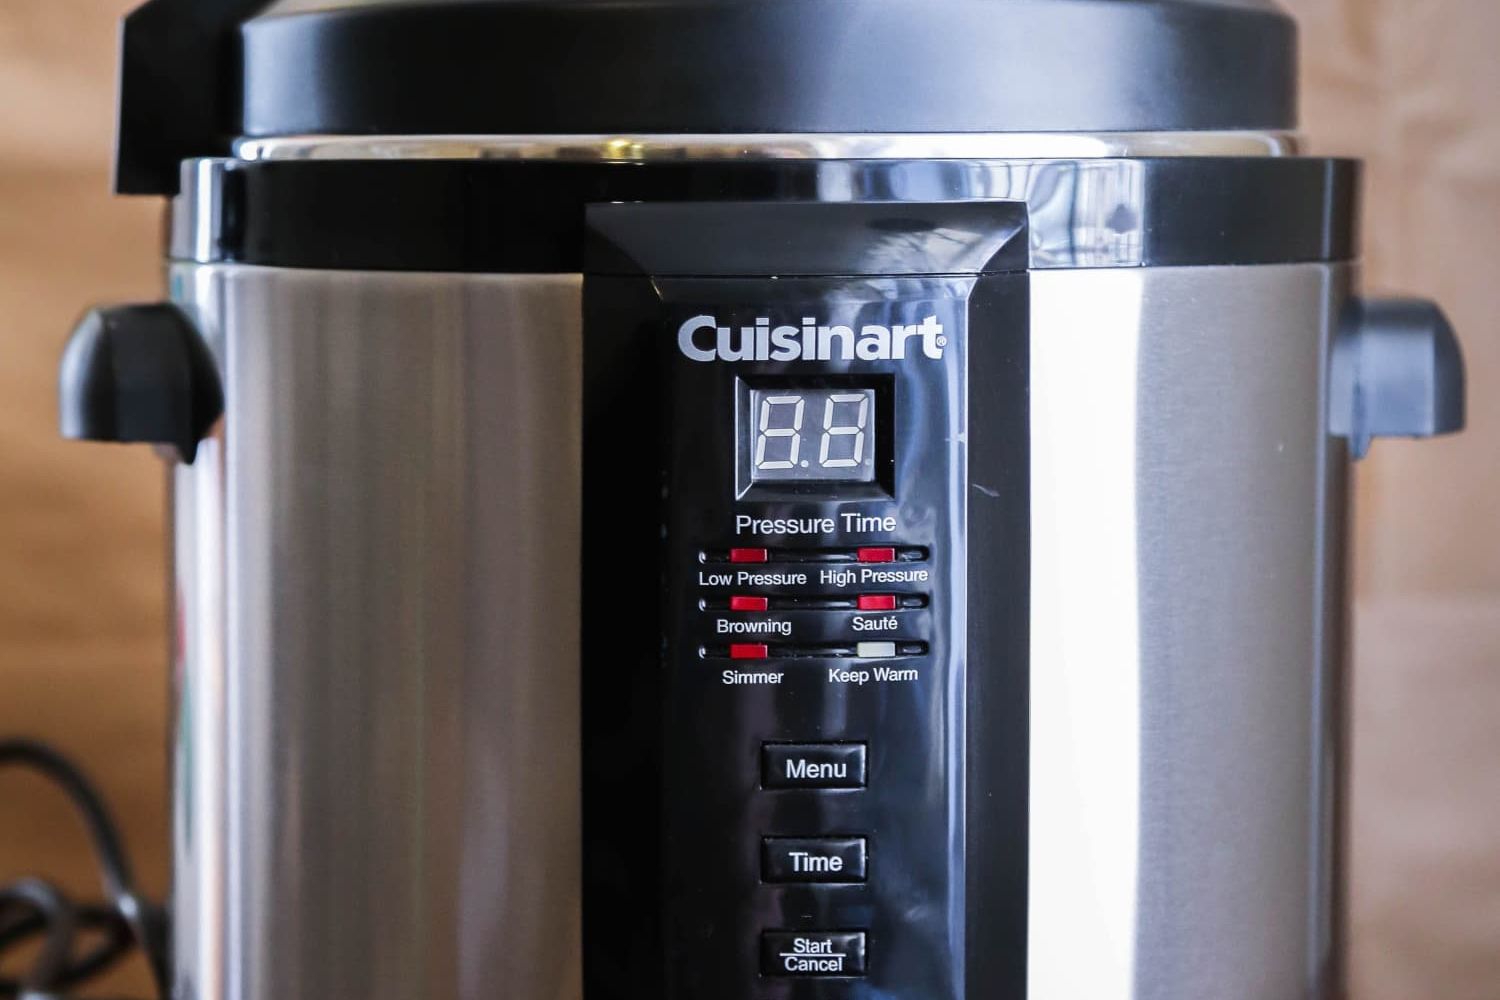
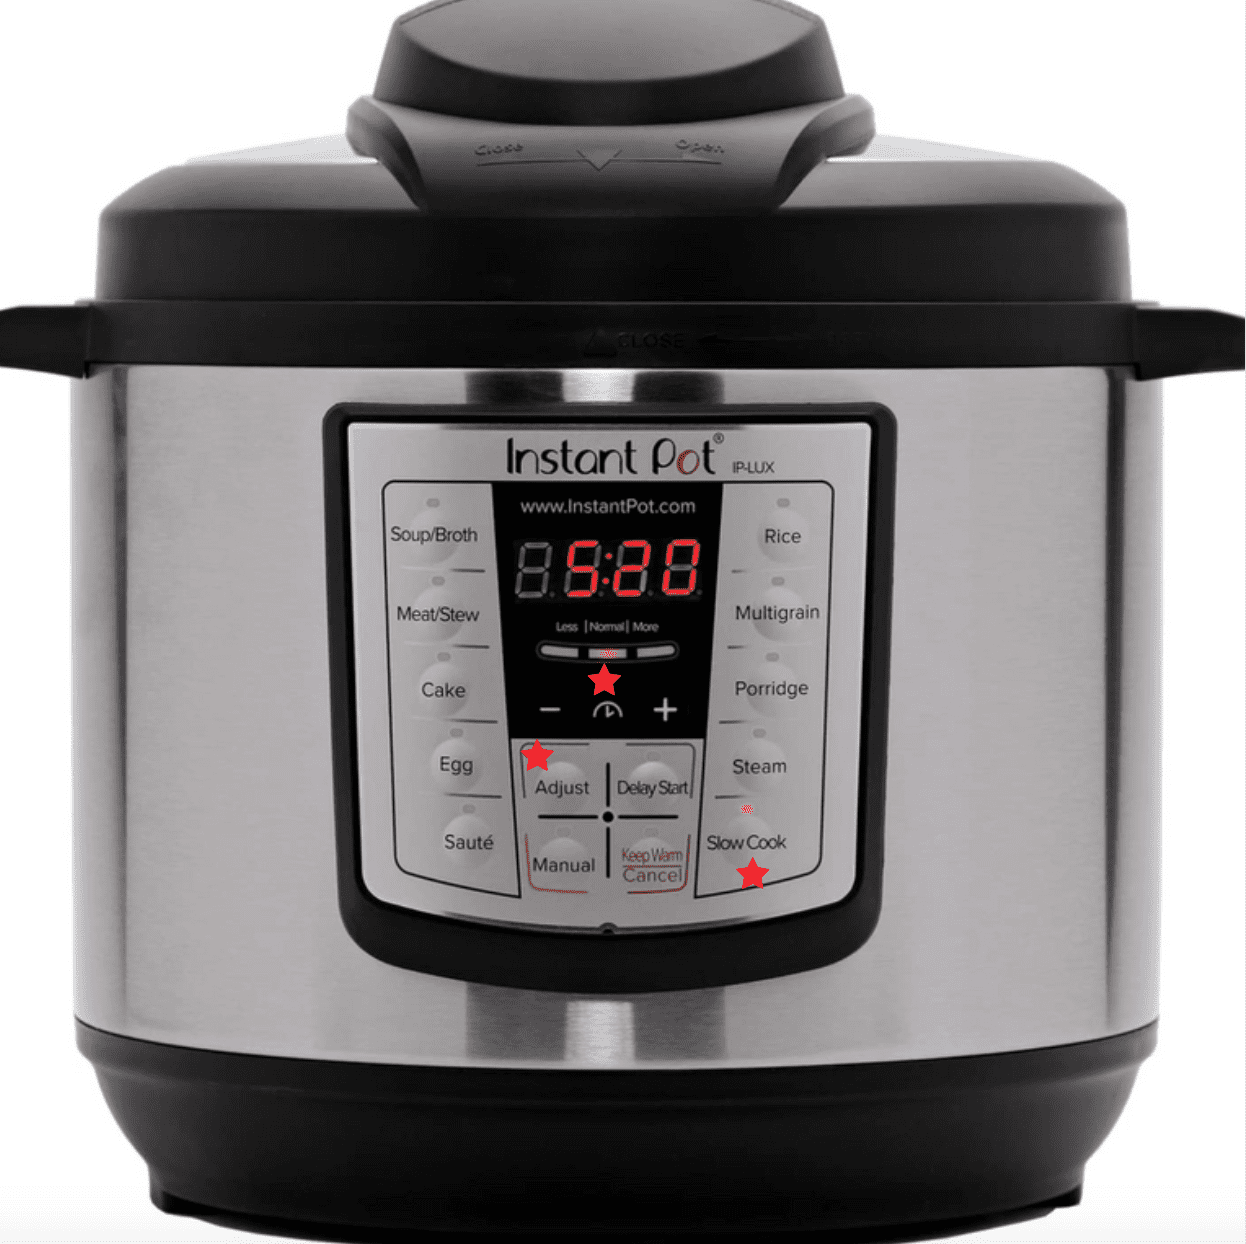
3. Clean Control Panel: Pay special attention to the control panel, as it tends to collect dust and dirt. Use a slightly damp cloth to wipe the control panel, ensuring that no moisture enters the electrical components. If there are stubborn stains, use a mild glass cleaner specifically designed for electronics and wipe it off with a soft cloth.
4. Dry Thoroughly: Once you have wiped the housing unit, use a dry, clean cloth to remove any moisture. Properly drying the housing unit is important to prevent water damage and ensure the longevity of your electric pressure cooker.
5. Clean the Power Cord: While cleaning the housing unit, don’t forget to wipe the power cord with a damp cloth to remove any dust or stains. Ensure that the cord is completely dry before plugging in the pressure cooker.
Important Note: Completely avoid submerging the housing unit or any electrical components in water. Moisture can damage the electrical connections and pose a safety risk.
Why Clean the Housing Unit: Cleaning the housing unit not only improves the appearance and hygiene of your electric pressure cooker but also helps maintain its overall functionality. Regular cleaning prevents dust and debris from accumulating, which can potentially damage the electrical components or affect the performance of the cooker. By keeping the housing unit clean, you ensure the long-term durability and efficiency of your electric pressure cooker.
With the housing unit clean and dry, let’s move on to the next step: cleaning the accessories that come with your electric pressure cooker.
Step 7: Clean the Accessories
Along with your electric pressure cooker, there are often accompanying accessories that require cleaning. These accessories may include the steam rack, trivet, silicone sealing rings, or any other additional components that come with your specific appliance. Follow these steps to effectively clean the accessories of your electric pressure cooker:
1. Review the User Manual: Consult the user manual or manufacturer’s instructions to identify the specific accessories that are dishwasher-safe. Some accessories may be dishwasher-safe, while others require handwashing.
2. Separate the Accessories: Remove all detachable accessories from your pressure cooker. This may include the steam rack, trivet, sealing rings, or any other components that can be removed for cleaning.
3. Handwash or Dishwash: If the accessories are dishwasher-safe, place them in the dishwasher according to the manufacturer’s instructions. If they require handwashing, wash them using warm soapy water and a soft sponge or cloth.
4. Rinse Thoroughly: After washing the accessories, rinse them under warm running water to remove any soap residue. Ensure that all nooks and crannies are thoroughly rinsed to prevent any leftover residue from contaminating future meals.
5. Dry Completely: To avoid water spots or mold growth, dry the accessories thoroughly before reassembling or storing them. Use a soft cloth or allow them to air dry on a drying rack.
6. Inspect the Sealing Rings: If your electric pressure cooker has silicone sealing rings, inspect them for any signs of damage or wear. If necessary, replace them according to the manufacturer’s instructions to maintain the proper sealing of the pressure cooker.
Important Note: Check your specific electric pressure cooker model’s user manual or manufacturer’s guidelines for information on cleaning and maintaining the accompanying accessories. Different models may have different requirements.
Why Clean the Accessories: Cleaning the accessories of your electric pressure cooker is essential for maintaining their functionality and ensuring the quality and safety of your meals. Regular cleaning removes any residual food particles, stains, or odors that may transfer onto your food during cooking. By keeping the accessories clean, you can enjoy delicious and hygienic meals every time you use your electric pressure cooker.
With the accessories cleaned and dried, let’s move on to the next step: cleaning the steam release valve.
Step 8: Clean the Steam Release Valve
The steam release valve is a crucial component of your electric pressure cooker that helps control the pressure inside the cooker during operation. Cleaning the steam release valve is important to ensure its proper functioning and prevent any blockages or buildup. Follow these steps to effectively clean the steam release valve:
1. Ensure Pressure Release: Before attempting to clean the steam release valve, make sure that the pressure cooker is fully depressurized and at a safe temperature. Ensure that no steam is actively being released from the valve.
2. Remove the Valve: The method of removing the steam release valve can vary depending on your specific electric pressure cooker model. Consult the user manual or manufacturer’s instructions to determine the correct method for your cooker. In some models, the valve may twist, lift, or slide off for easy removal.
3. Clean with Warm Water: Rinse the steam release valve under warm running water to remove any visible debris or residue. Use a soft bristle brush or a toothbrush to gently scrub the valve, paying attention to any crevices or hard-to-reach areas. A mild dishwashing liquid can be used if needed, but ensure that all soap residue is thoroughly rinsed off.
4. Check for Blockages: While cleaning, inspect the steam release valve for any signs of blockage or trapped food particles. Use a Q-tip or cotton swab to carefully dislodge any debris that may be obstructing the valve’s operation. Be gentle to avoid damaging the valve.
5. Rinse and Dry: Once the steam release valve is clean, rinse it under warm water to remove any remaining soap or debris. Ensure that there is no residue left on the valve. Allow the valve to air dry completely before reassembling it back onto the pressure cooker.
Important Note: Properly cleaning and maintaining the steam release valve is essential for the safe and efficient operation of your electric pressure cooker. Any blockages or obstructions can affect the cooker’s ability to release steam and maintain the desired pressure, compromising the cooking process.
Why Clean the Steam Release Valve: Cleaning the steam release valve prevents any potential blockages or buildup that can affect the functionality of your electric pressure cooker. By ensuring the valve is clean and free from debris, you can guarantee the proper release of steam and maintain the desired pressure levels during cooking, resulting in safe and efficient meal preparation.
With the steam release valve cleaned and dried, we can proceed to the next step: drying and reassembling all the components of your electric pressure cooker.
Step 9: Dry and Reassemble
After cleaning all the individual components of your electric pressure cooker, it’s time to ensure they are thoroughly dry and reassemble them. Proper drying and reassembling are crucial to prevent water damage, maintain the functionality of the cooker, and ensure a safe cooking experience. Follow these steps to dry and reassemble your electric pressure cooker:
1. Inner Pot: Verify that the inner pot is completely dry before placing it back into the housing unit. Use a soft cloth or allow it to air dry on a soft drying rack. Ensure there is no moisture remaining on the pot to prevent any potential rusting or water spots.
2. Lid and Gasket: Confirm that the lid and gasket are also completely dry before reassembling them. Inspect the sealing gasket to ensure it is free from any moisture or debris that could affect its effectiveness. If necessary, wipe the lid and gasket with a dry cloth to ensure they are completely dry.
3. Accessories: If you have cleaned any removable accessories, such as the steam rack or trivet, ensure that they are completely dry as well before placing them back in the pressure cooker. Use a cloth or allow them to air dry fully on a drying rack.
4. Housing Unit: Check that the housing unit is dry and free from any moisture before reassembling the components. Wipe the exterior of the housing unit with a dry cloth to remove any residual moisture.
5. Reassemble: Carefully place the inner pot back into the housing unit, ensuring it is securely seated. Reattach any removable accessories according to the manufacturer’s instructions. Replace the lid, ensuring it is properly aligned and locked into place. If applicable, reattach the sealing gasket and any other detachable parts.
Important Note: It is essential to ensure that all components are completely dry before reassembling your electric pressure cooker. Any residual moisture can lead to rust, mold, or electrical damage, compromising the performance and safety of the appliance.
Why Dry and Reassemble: Properly drying and reassembling the components of your electric pressure cooker is crucial for maintaining its functionality and preventing any potential damage. By ensuring that all components are completely dry, you minimize the risk of rust, mold, or electrical issues. Additionally, reassembling the cooker correctly ensures that it operates as intended, providing safe and efficient cooking for your meals.
Now that your electric pressure cooker is dry and reassembled, let’s move on to the final step: additional tips for maintenance to keep your cooker in optimal condition.
Step 10: Additional Tips for Maintenance
Once you have completed the cleaning process and reassembled your electric pressure cooker, it’s important to follow some additional maintenance tips to keep it in optimal condition. These tips will help prolong the lifespan of your pressure cooker and ensure its continued performance:
1. Regular Cleaning: Establish a regular cleaning schedule for your electric pressure cooker. Cleaning it after each use, at least a quick rinse or wipe down, can help prevent the buildup of food residues and stains.
2. Use Vinegar for Mineral Deposits: If you notice mineral deposits on the inner pot or any stainless steel parts, soak them in a solution of white vinegar and water for a few hours. The vinegar will help dissolve the deposits, making them easier to remove. Rinse thoroughly after soaking.
3. Avoid Overfilling: Do not overfill your pressure cooker beyond the recommended maximum fill line. Overfilling can lead to food spillover and damage the cooker. Follow the manufacturer’s guidelines for proper load capacity.
4. Store Properly: When not in use, ensure that your electric pressure cooker is stored in a clean and dry environment. Keep it in a cool, well-ventilated area away from direct sunlight or extreme temperatures.
5. Replace Sealing Rings: Sealing rings can deteriorate over time and may need to be replaced periodically. Refer to the manufacturer’s instructions for guidance on when and how to replace the sealing ring of your specific electric pressure cooker model.
6. Check Safety Features: Regularly inspect the pressure release valve and other safety features to ensure they are in good working condition. If you notice any signs of damage or malfunction, contact the manufacturer for assistance.
7. Follow the User Manual: Always refer to the user manual and follow the manufacturer’s instructions for operation, maintenance, and cleaning of your specific electric pressure cooker model. Each model may have unique features and requirements.
8. Stay Updated: Keep an eye out for any product recalls, updates, or safety notices issued by the manufacturer. Staying informed ensures that your electric pressure cooker is operating safely and efficiently.
By following these additional maintenance tips, you can ensure that your electric pressure cooker remains in optimal condition, providing you with many years of reliable cooking performance.
Conclusion
Cleaning an electric pressure cooker is an important task that should not be neglected. By following the step-by-step process outlined in this guide, you can ensure that your pressure cooker remains clean, safe, and in optimal condition for years to come.
From unplugging the pressure cooker and waiting for it to cool down to disassembling and cleaning the various components, such as the inner pot, lid, gasket, and accessories, each step plays a crucial role in maintaining the cleanliness and functionality of your appliance. Additionally, following safety precautions and manufacturer’s guidelines is imperative to avoid any accidents or damage during the cleaning process.
Regular cleaning helps prevent the accumulation of food residues, stains, and bacteria, ensuring food safety and improving the taste and quality of your meals. It also extends the lifespan of your pressure cooker, allowing you to enjoy its benefits for longer.
Remember to dry all components thoroughly before reassembling the pressure cooker and storing it in a cool, dry place. By following the recommended maintenance tips, such as regular cleaning, using vinegar for mineral deposits, and inspecting safety features, you can keep your electric pressure cooker in optimal condition and ensure its continued performance.
With proper cleaning and maintenance, your electric pressure cooker will continue to serve you well, providing quick and convenient meals for you and your family. So, go ahead, clean your electric pressure cooker, and enjoy many delicious and hassle-free cooking adventures!