Introduction
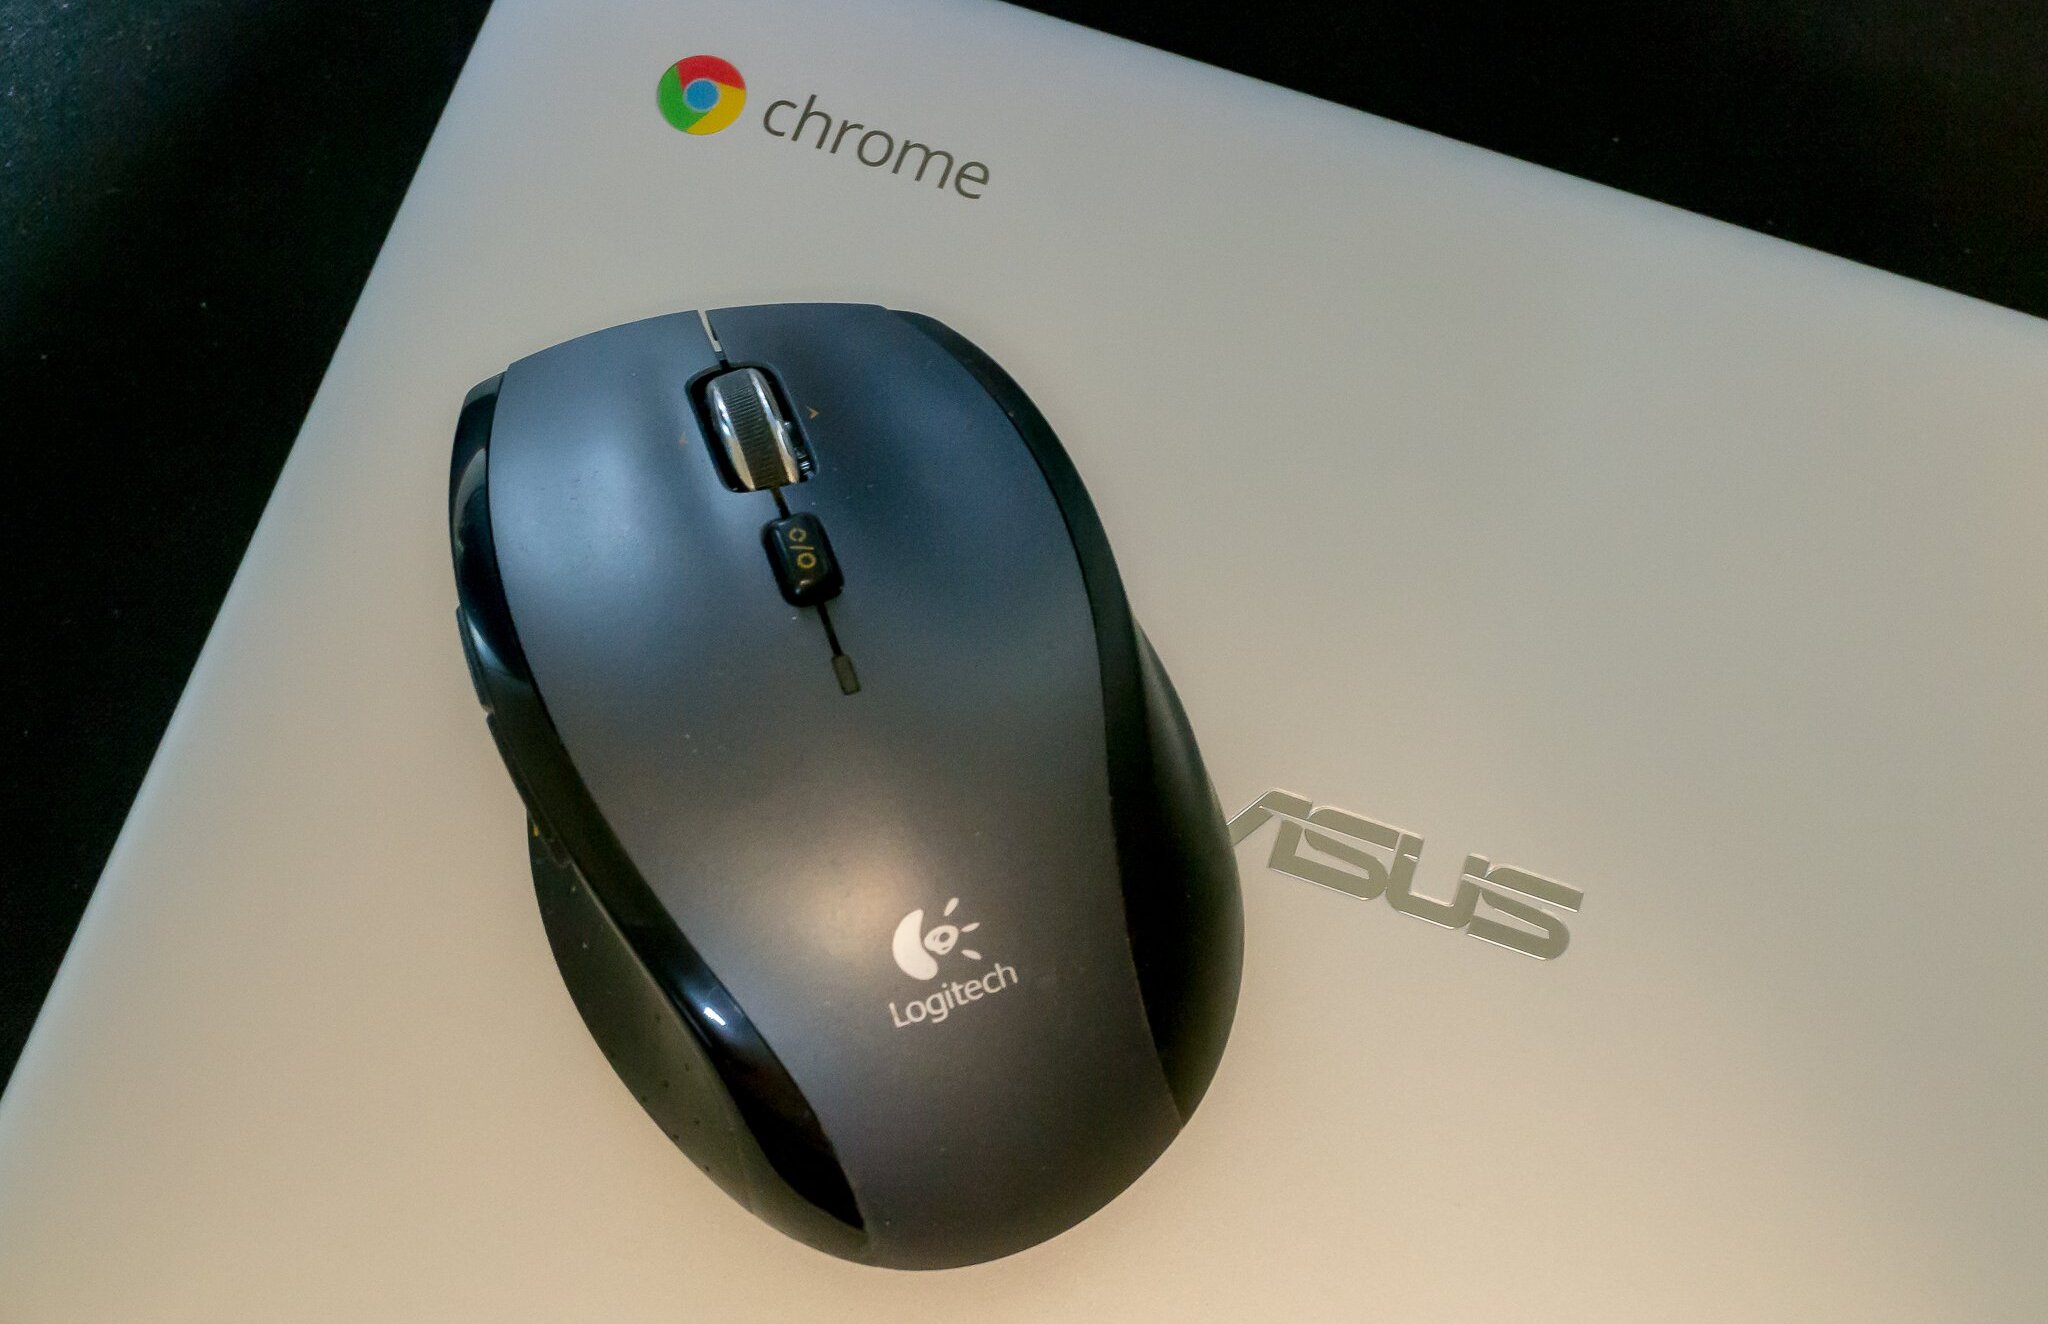
Welcome to this guide on how to connect a wireless mouse to your Chromebook! With the increasing popularity of Chromebooks, many users are looking for ways to enhance their navigation experience. A wireless mouse is not only convenient but can also offer improved precision and control.
Using a wireless mouse with your Chromebook allows you to navigate through websites, documents, and applications with ease. Whether you’re studying, working, or simply browsing the internet, a wireless mouse can greatly enhance your productivity and comfort.
In this step-by-step guide, we will walk you through the process of connecting a wireless mouse to your Chromebook. It’s a relatively straightforward process that anyone can do, regardless of their technical expertise. By following these simple steps, you’ll be enjoying the benefits of a wireless mouse in no time!
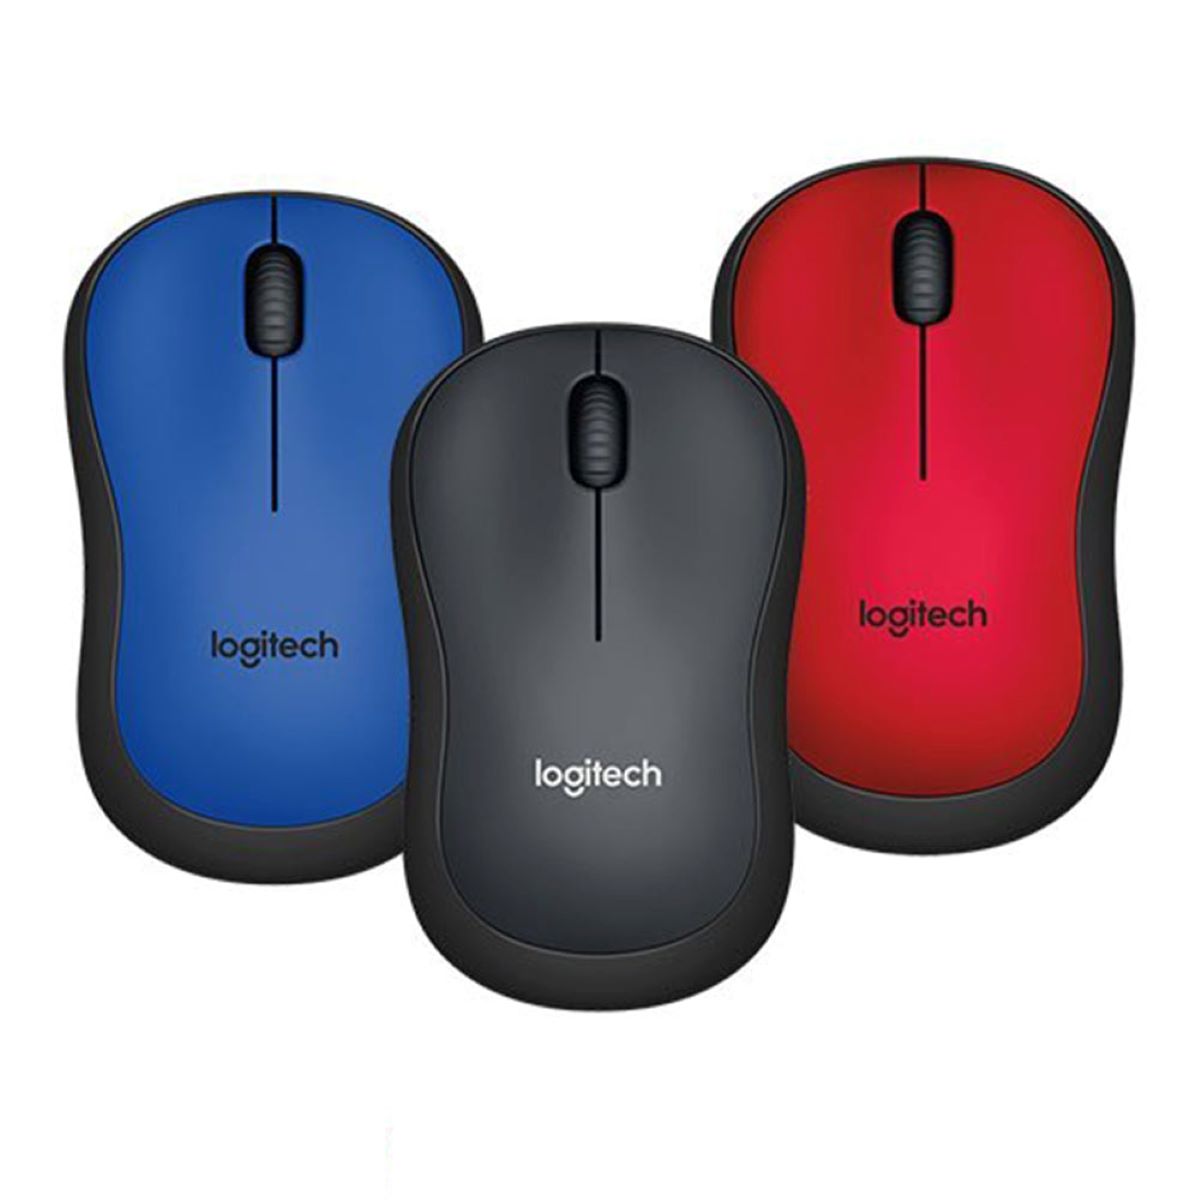
Before we dive into the steps, it’s important to note that not all wireless mice are compatible with Chromebooks. It’s essential to check the compatibility of your mouse before attempting to connect it. Don’t worry, we’ll guide you through the process of checking compatibility as well.
We’ll also be covering how to enable Bluetooth on your Chromebook, as it’s necessary for the wireless mouse to connect. If your Chromebook doesn’t have built-in Bluetooth, we’ll provide alternative solutions to help you make the connection.
So, if you’re ready to upgrade your Chromebook experience with a wireless mouse, let’s get started with the first step: checking compatibility!
Step 1: Check Compatibility
Before attempting to connect a wireless mouse to your Chromebook, it’s important to ensure that the mouse is compatible with your device. Not all wireless mice are designed to work with Chromebooks, so it’s crucial to verify compatibility to avoid any potential issues.
To check the compatibility of your wireless mouse, you can follow these simple steps:
- Check the manufacturer’s website: Visit the manufacturer’s website and look for information about compatibility. Most reputable manufacturers provide a list of compatible devices on their website. Look for any specific mentions of compatibility with Chromebooks.
- Read customer reviews: Another helpful resource is to read customer reviews of the wireless mouse. Look for reviews from Chromebook users specifically to see if they have successfully connected the mouse to their device. If there are any compatibility issues, users are likely to mention them in their reviews.
- Consult user forums or support: If you’re still unsure about the compatibility of your wireless mouse, you can visit user forums or contact the manufacturer’s customer support. These resources can provide valuable insights and guidance regarding compatibility.
By taking the time to verify compatibility, you can avoid frustration and ensure a smooth wireless mouse connection experience with your Chromebook. If your wireless mouse is indeed compatible, let’s move on to the next step: turning on Bluetooth on your Chromebook.
Step 2: Turn on Bluetooth
In order to connect a wireless mouse to your Chromebook, you’ll need to make sure that Bluetooth is enabled on your device. Bluetooth technology enables wireless communication between devices, allowing them to connect and interact with each other.
Here are the steps to turn on Bluetooth on your Chromebook:
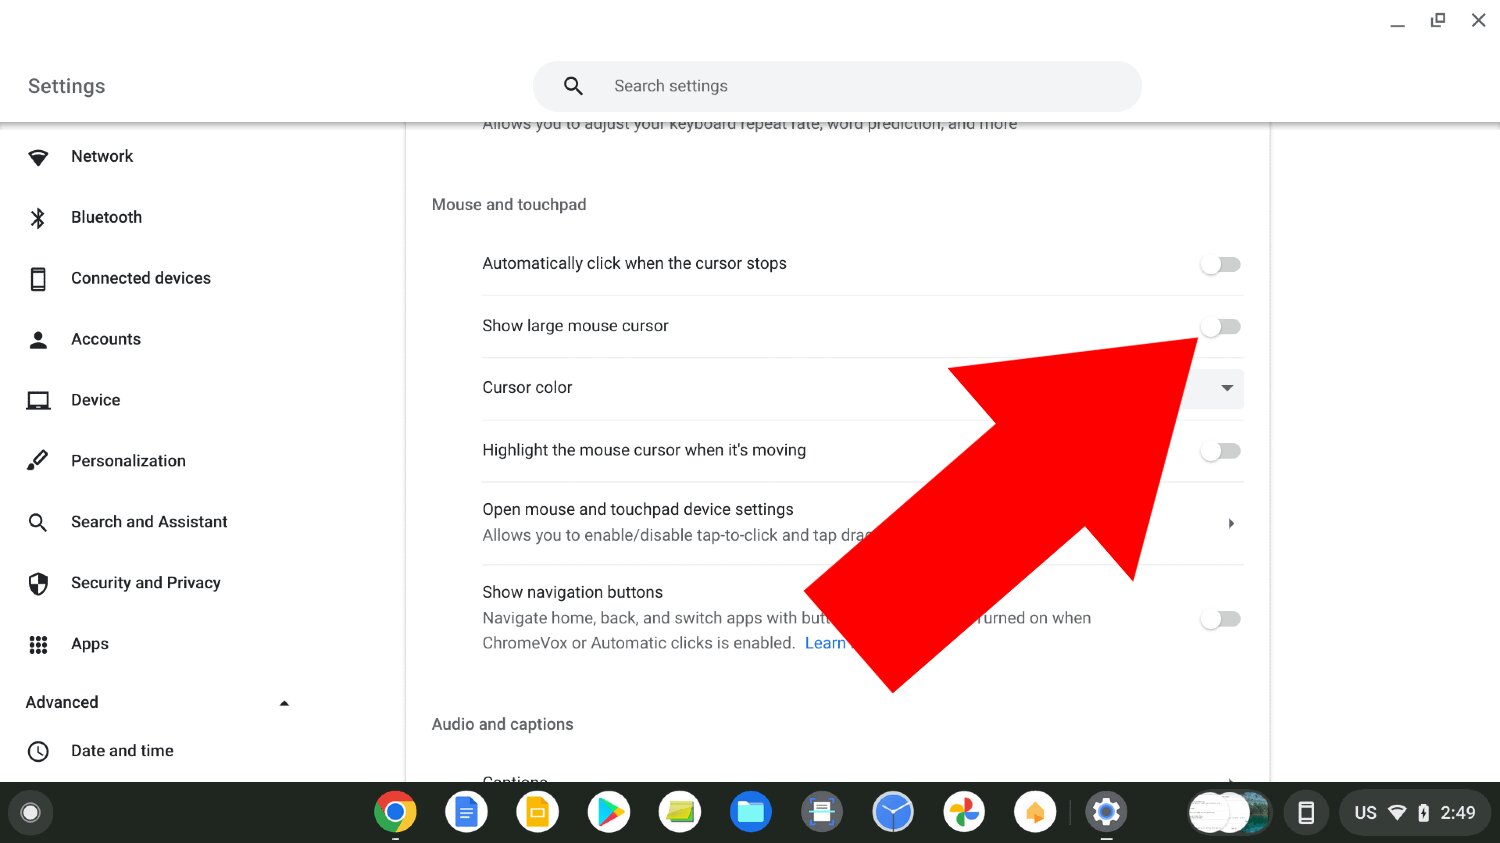
- Click on the time in the bottom-right corner: In the bottom-right corner of your Chromebook’s screen, you’ll see the time. Click on it to access the quick settings menu.
- Click on the gear icon: In the quick settings menu, you’ll see various icons. Look for the gear icon, which represents the settings menu, and click on it.
- Select “Bluetooth” from the menu: Once you’re in the settings menu, you’ll see different categories on the left-hand side. Scroll down and click on “Bluetooth” to access the Bluetooth settings.
- Toggle the Bluetooth switch to “On”: In the Bluetooth settings, you’ll see a switch next to “Bluetooth” at the top of the screen. Toggle the switch to the “On” position to enable Bluetooth.
Once you’ve turned on Bluetooth on your Chromebook, it will start scanning for available devices to connect to. Now that Bluetooth is enabled, you’re ready to put your wireless mouse in pairing mode.
Please note that some Chromebooks may have different steps or a slightly different interface for turning on Bluetooth. If the above steps don’t match your device, refer to the specific instructions provided by the manufacturer or consult your Chromebook’s user manual.
Now that Bluetooth is enabled on your Chromebook, it’s time to move on to the next step: putting your wireless mouse into pairing mode.
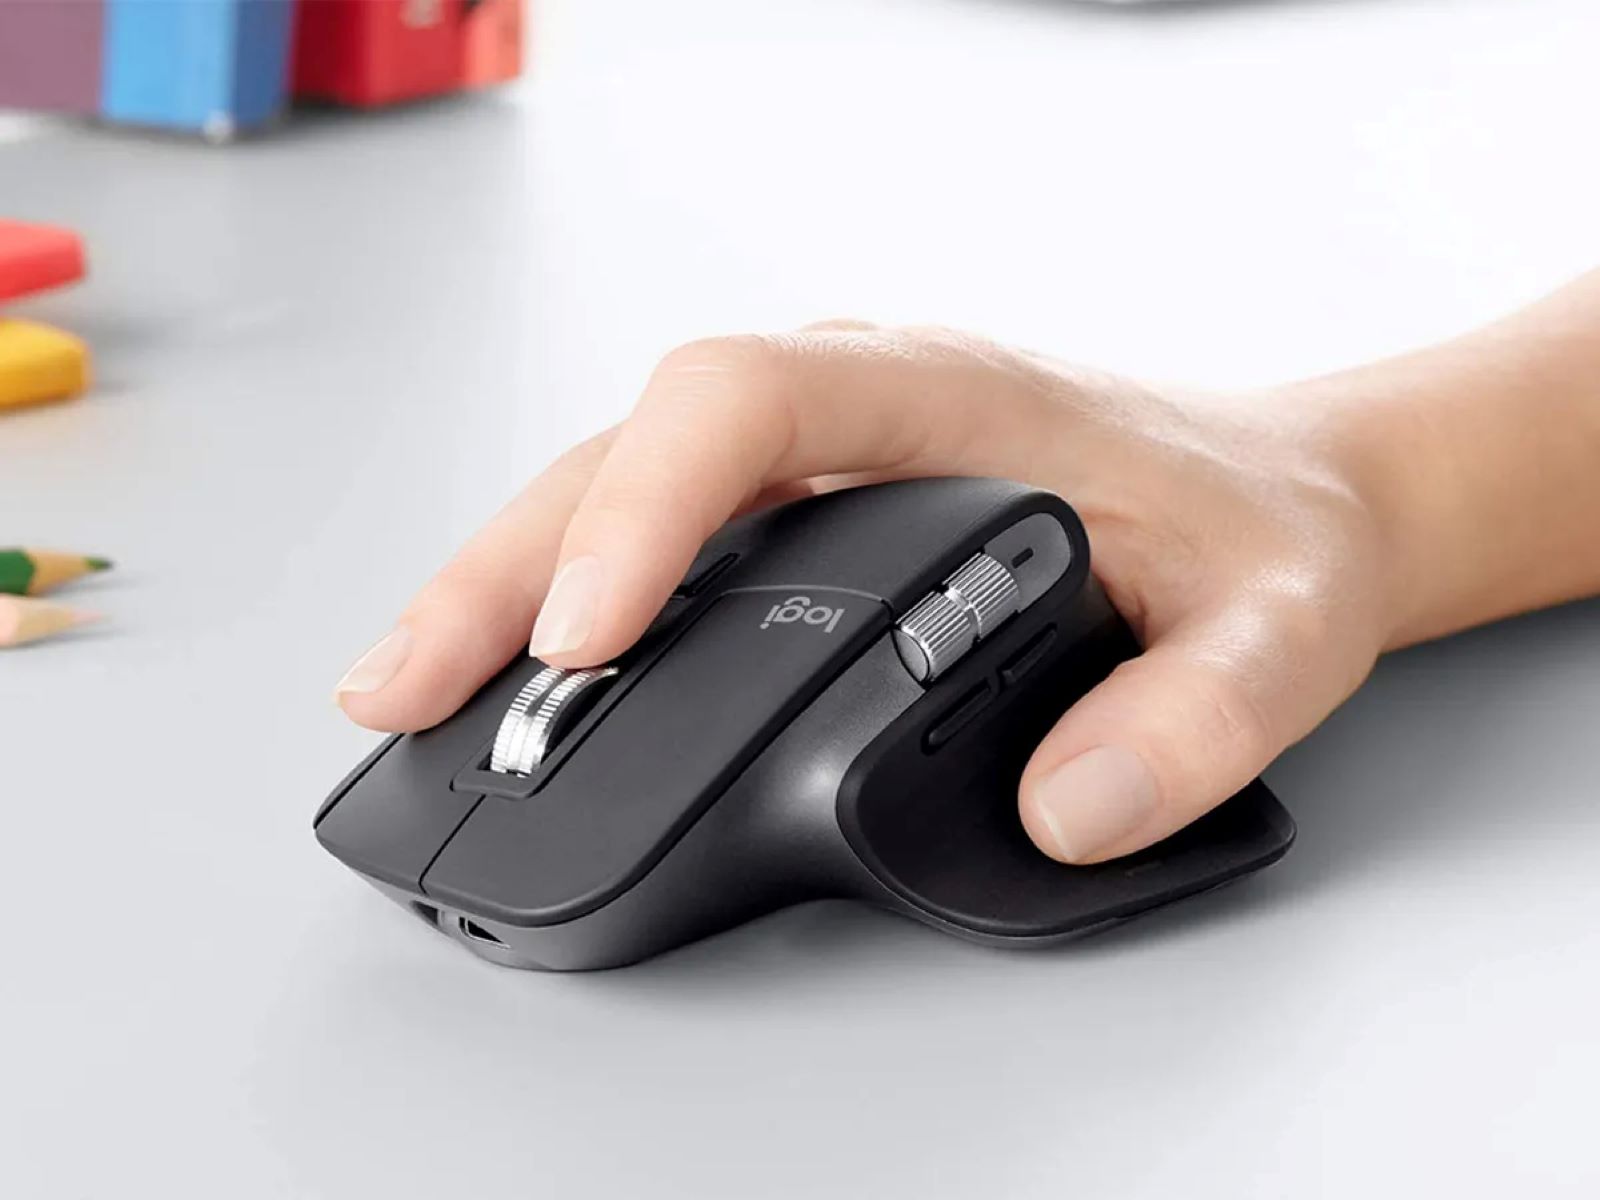
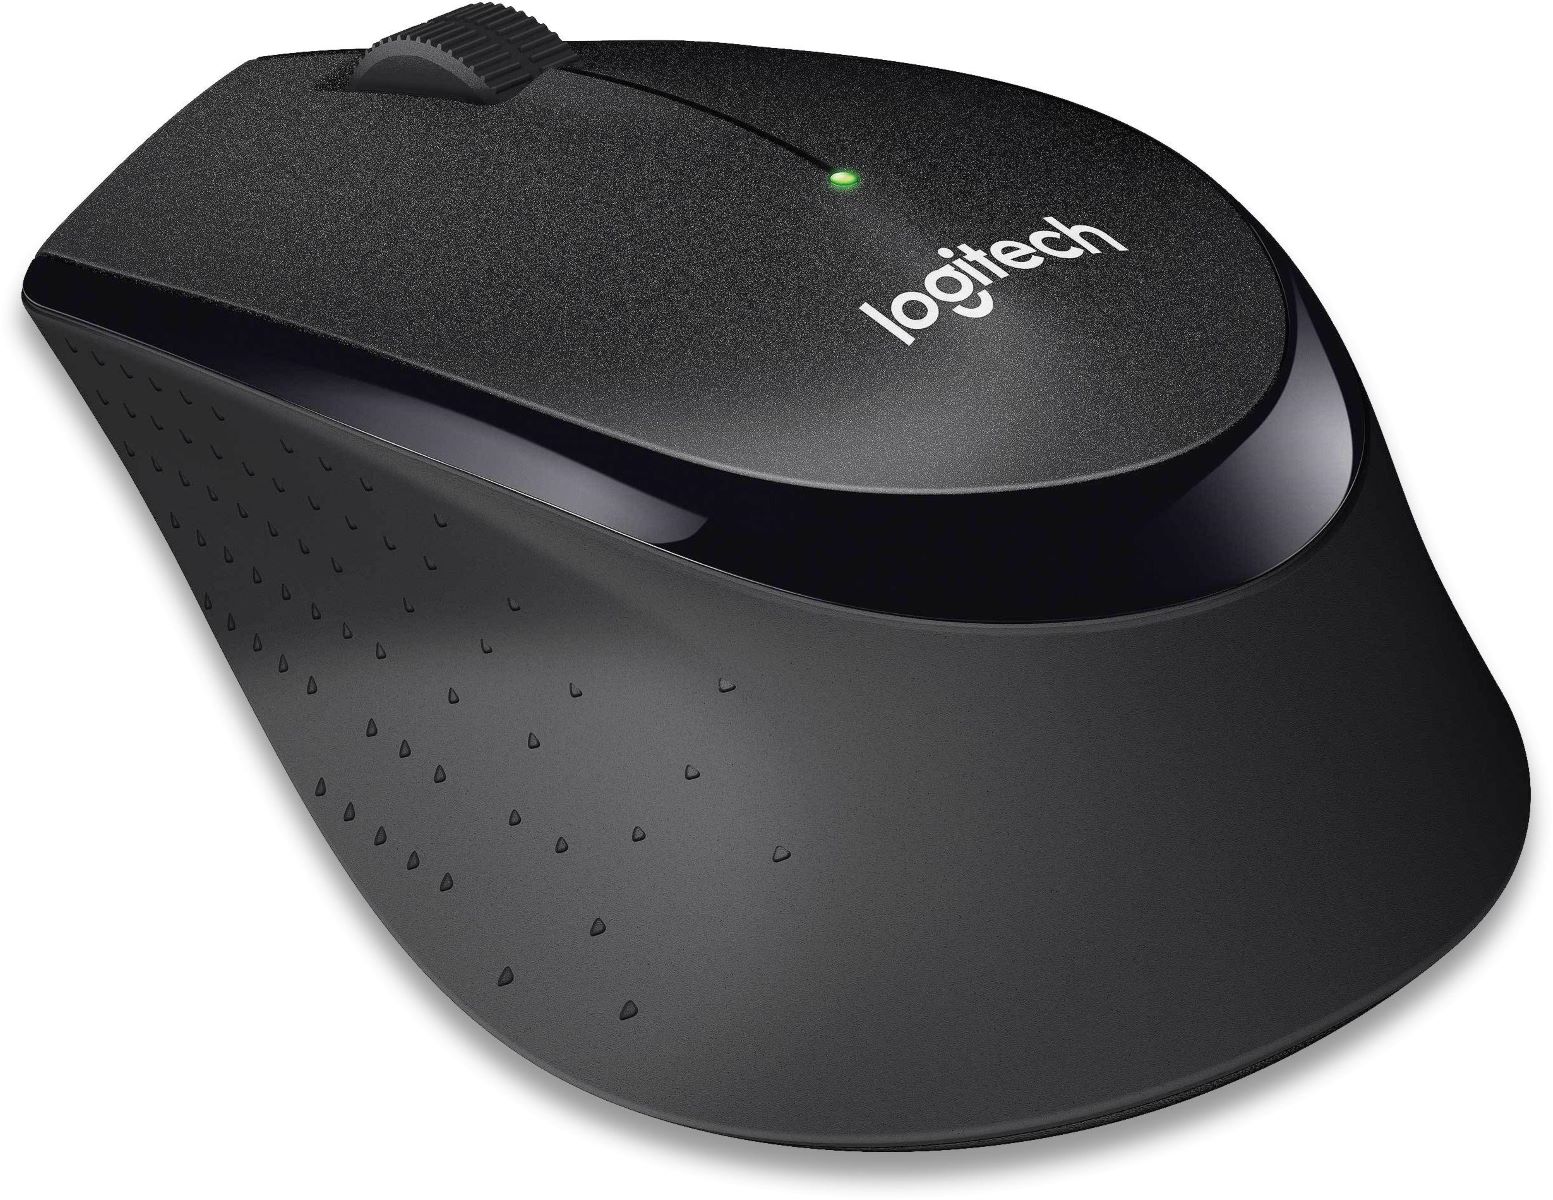
Step 3: Put the Mouse in Pairing Mode
Before you can connect your wireless mouse to your Chromebook, you’ll need to put the mouse in pairing mode. Pairing mode allows the mouse to be visible and discoverable to your Chromebook, enabling them to establish a connection.
The process of putting your wireless mouse into pairing mode may vary depending on the model and manufacturer. However, here are some general steps to follow:
- Check the mouse documentation: Refer to the instruction manual or any documentation that came with your wireless mouse. They often provide specific instructions on how to put the mouse in pairing mode.
- Press and hold the pairing button: Most wireless mice have a dedicated pairing button. Press and hold this button for a few seconds until you see a light indicator or any other sign that the mouse is now in pairing mode.
- Check the LED indicator: Some wireless mice have an LED indicator that blinks or changes color when in pairing mode. If your mouse has an LED indicator, observe its behavior to confirm that it’s in pairing mode.
- Wait for the mouse to be discoverable: Once the mouse is in pairing mode, it will be visible to your Chromebook. Give your Chromebook a moment to scan for available devices.
Remember to consult the specific instructions provided by the manufacturer if these general steps don’t apply to your wireless mouse. It’s essential to follow the correct procedure to ensure successful pairing.
Now that your wireless mouse is in pairing mode, it’s time to move on to the final step: connecting the mouse to your Chromebook.
Step 4: Connect the Mouse to Chromebook
Now that your wireless mouse is in pairing mode and your Chromebook has Bluetooth enabled, it’s time to connect the mouse to your Chromebook. Follow these steps to establish a connection:
- Click on the time in the bottom-right corner: Just like in step 2, click on the time in the bottom-right corner of your Chromebook’s screen to access the quick settings menu.
- Click on the gear icon: In the quick settings menu, locate and click on the gear icon to access the settings menu.
- Select “Bluetooth” from the menu: Within the settings menu, scroll down and click on “Bluetooth” to open the Bluetooth settings.
- Wait for the mouse to appear: In the list of available devices, wait for your wireless mouse to appear. It may take a few moments for your Chromebook to detect and display the mouse.
- Click on the mouse name: Once your wireless mouse is listed under available devices, click on its name to initiate the pairing process.
- Follow any additional prompts: Depending on your Chromebook and wireless mouse, you may be prompted to enter a PIN or complete an authentication process. Follow any on-screen instructions to complete the connection.
After completing these steps, your wireless mouse should be successfully connected to your Chromebook. You can now start using your mouse to navigate through your Chromebook’s interface, click on links, select text, and perform other actions with ease.
If the connection process is not successful, make sure your wireless mouse is still in pairing mode and try again. You may also need to troubleshoot any potential issues that prevent the connection, such as low battery or interference from other devices.
Congratulations! You have successfully connected your wireless mouse to your Chromebook. Enjoy the improved navigation and precise control that the mouse brings to your Chromebook experience.
Conclusion
Connecting a wireless mouse to your Chromebook is a simple and effective way to enhance your navigation experience. With the freedom of wireless connectivity, you can enjoy improved precision and control while using your Chromebook.
In this guide, we’ve walked you through the step-by-step process of connecting a wireless mouse to your Chromebook. We started by checking the compatibility of your mouse to ensure a seamless connection.
Then, we enabled Bluetooth on your Chromebook, a necessary step to establish a wireless connection. We explored how to turn on Bluetooth through the settings menu, allowing your Chromebook to search for and connect to devices.
Next, we put your wireless mouse into pairing mode, making it discoverable to your Chromebook. By following the manufacturer’s instructions or general steps, your mouse was ready to connect.
Finally, we connected your wireless mouse to your Chromebook through the Bluetooth settings. With a simple click of your mouse’s name, the pairing process was completed, and you can now enjoy smooth navigation and enhanced productivity.
Remember, if you encounter any issues during the connection process, ensure that your mouse is in pairing mode and troubleshoot any potential obstacles such as low battery or interference.
Now that your wireless mouse is successfully connected to your Chromebook, you can leverage its benefits for a wide range of activities, including studying, working, or browsing the internet. Enjoy the freedom and convenience that a wireless mouse brings to your Chromebook experience!