Introduction
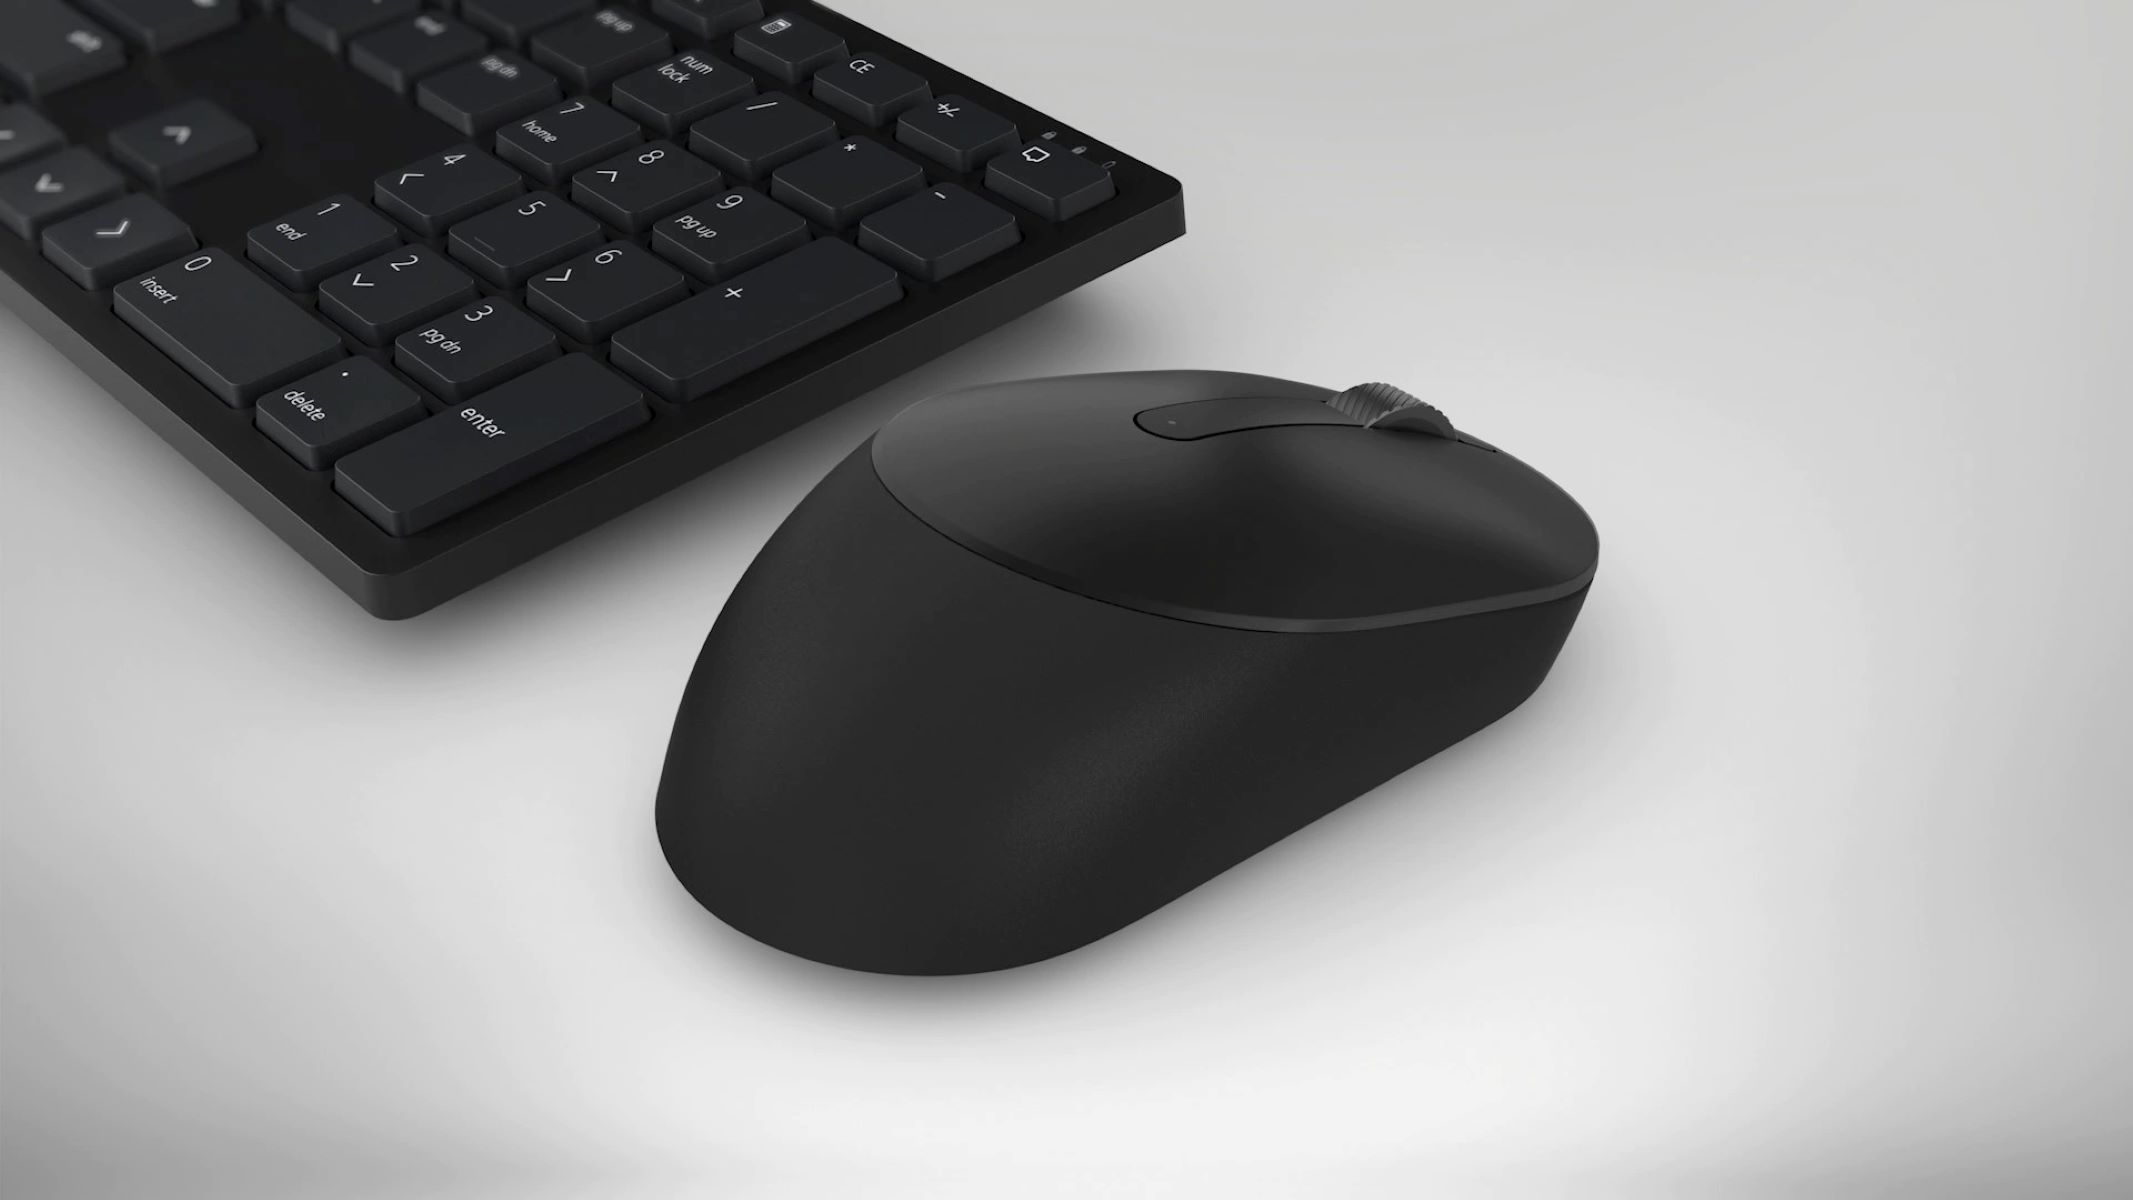
Welcome to the world of wireless technology! Say goodbye to tangled cables and embrace the ease and convenience of using a wireless mouse. Whether you’re a student, professional, or casual computer user, setting up a wireless mouse allows for greater freedom and flexibility in navigating your device.
In this article, we’ll walk you through the step-by-step process of setting up a wireless mouse. From checking compatibility to customizing settings, we’ll cover everything you need to know to get your wireless mouse up and running in no time.
Before we dive into the details, it’s important to note that setting up a wireless mouse may vary slightly depending on the specific model and brand you’re using. However, the general steps we’ll outline here will apply to most wireless mouse setups.
So, if you’re ready to enjoy a cable-free computing experience, let’s get started with the setup process! Before anything else, you’ll need to ensure that your device is compatible with a wireless mouse.
Step 1: Check Compatibility
Before purchasing a wireless mouse, it’s crucial to confirm that it is compatible with your computer or device. Most wireless mice are designed to work with both Windows and Mac operating systems, but it’s always a good idea to double-check.
Start by reviewing the specifications provided by the manufacturer. Look for information on the required operating system and any additional software or drivers that may be needed for full functionality. Make sure your device meets these requirements to avoid any compatibility issues.
If you’re unsure about the compatibility of a particular wireless mouse, you can visit the manufacturer’s website or check online forums for user experiences and reviews. Sometimes, users may encounter specific compatibility issues with certain devices or operating systems, so it’s best to be well-informed before making a purchase.
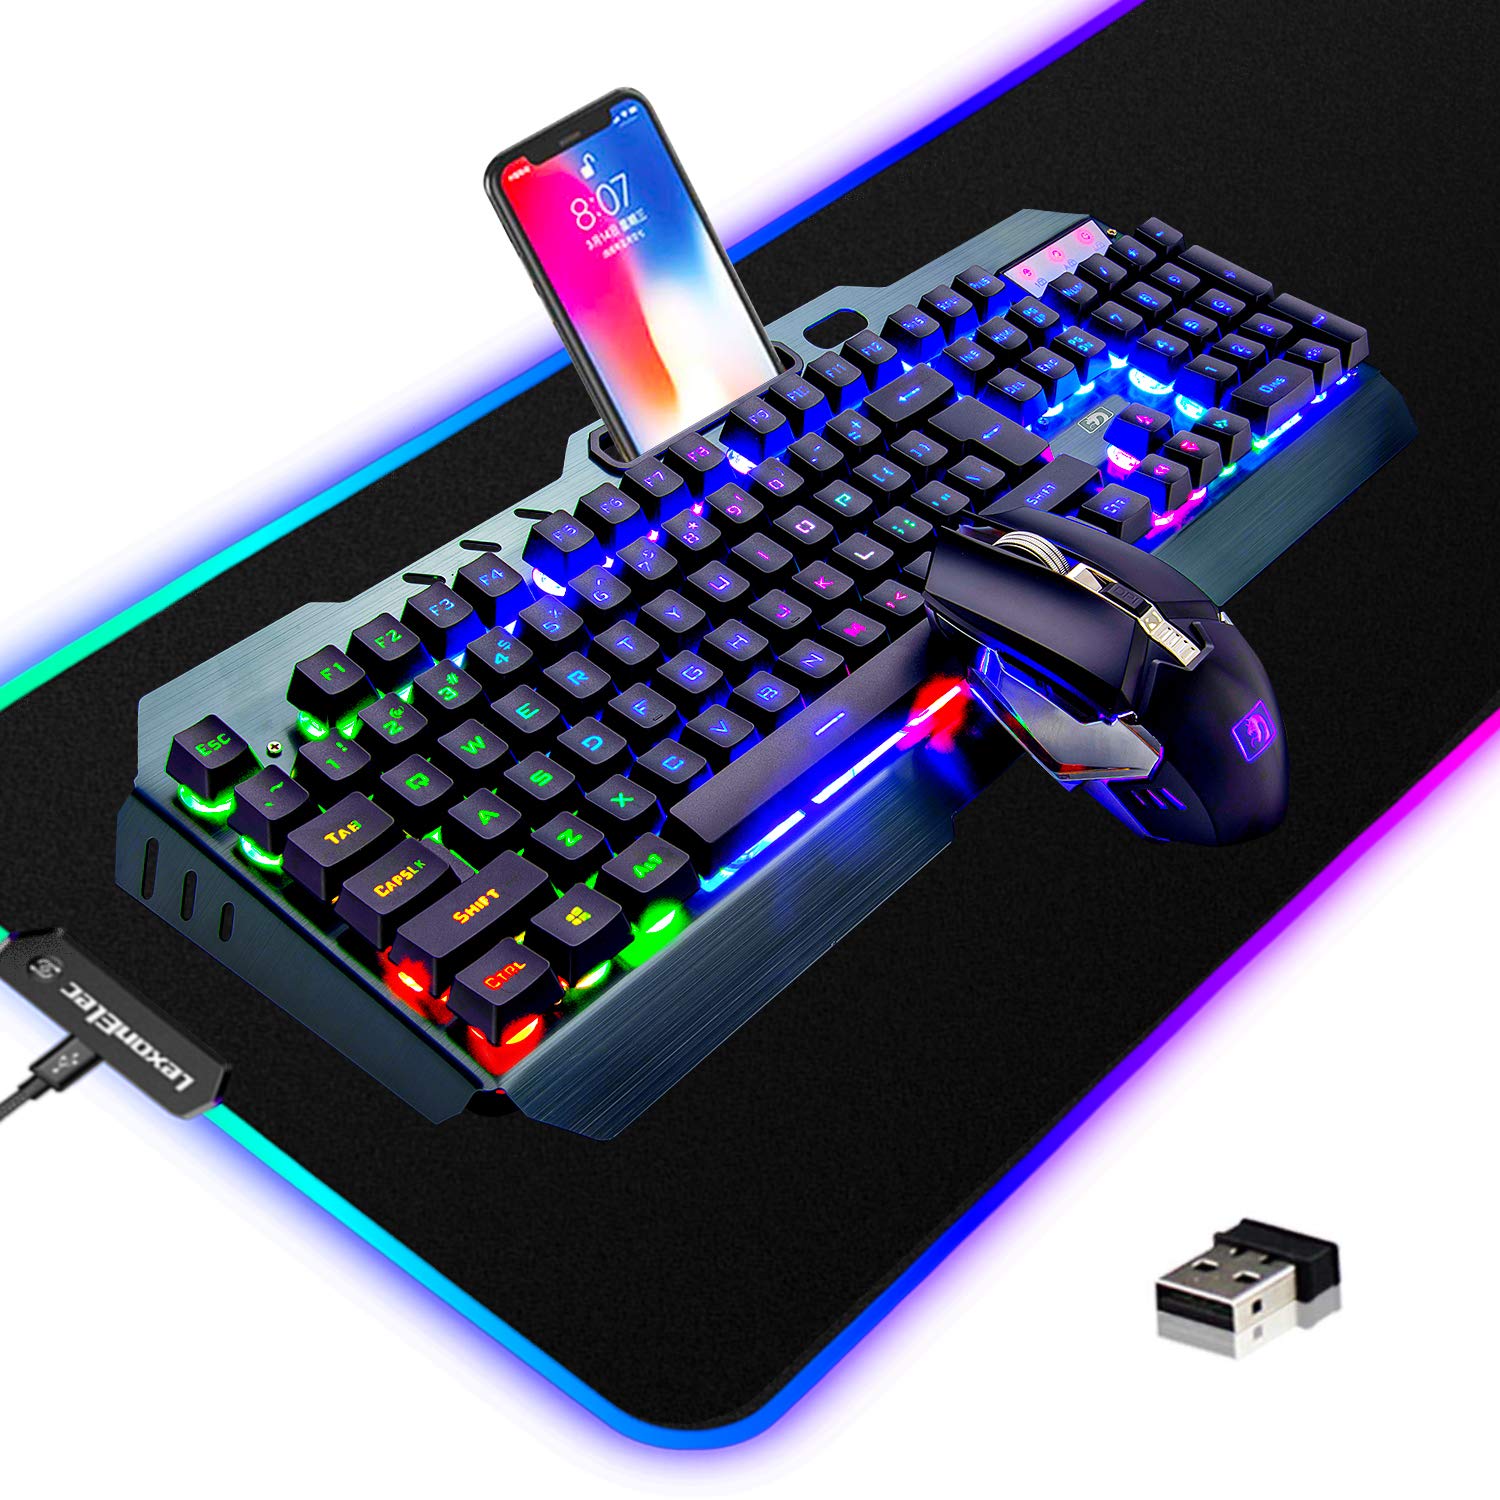
Additionally, it’s helpful to verify the type of wireless technology used by the mouse. Most wireless mice use either Bluetooth or a USB receiver to establish a connection with your device. Ensure that your computer has the necessary Bluetooth capabilities or available USB ports to support the wireless mouse.
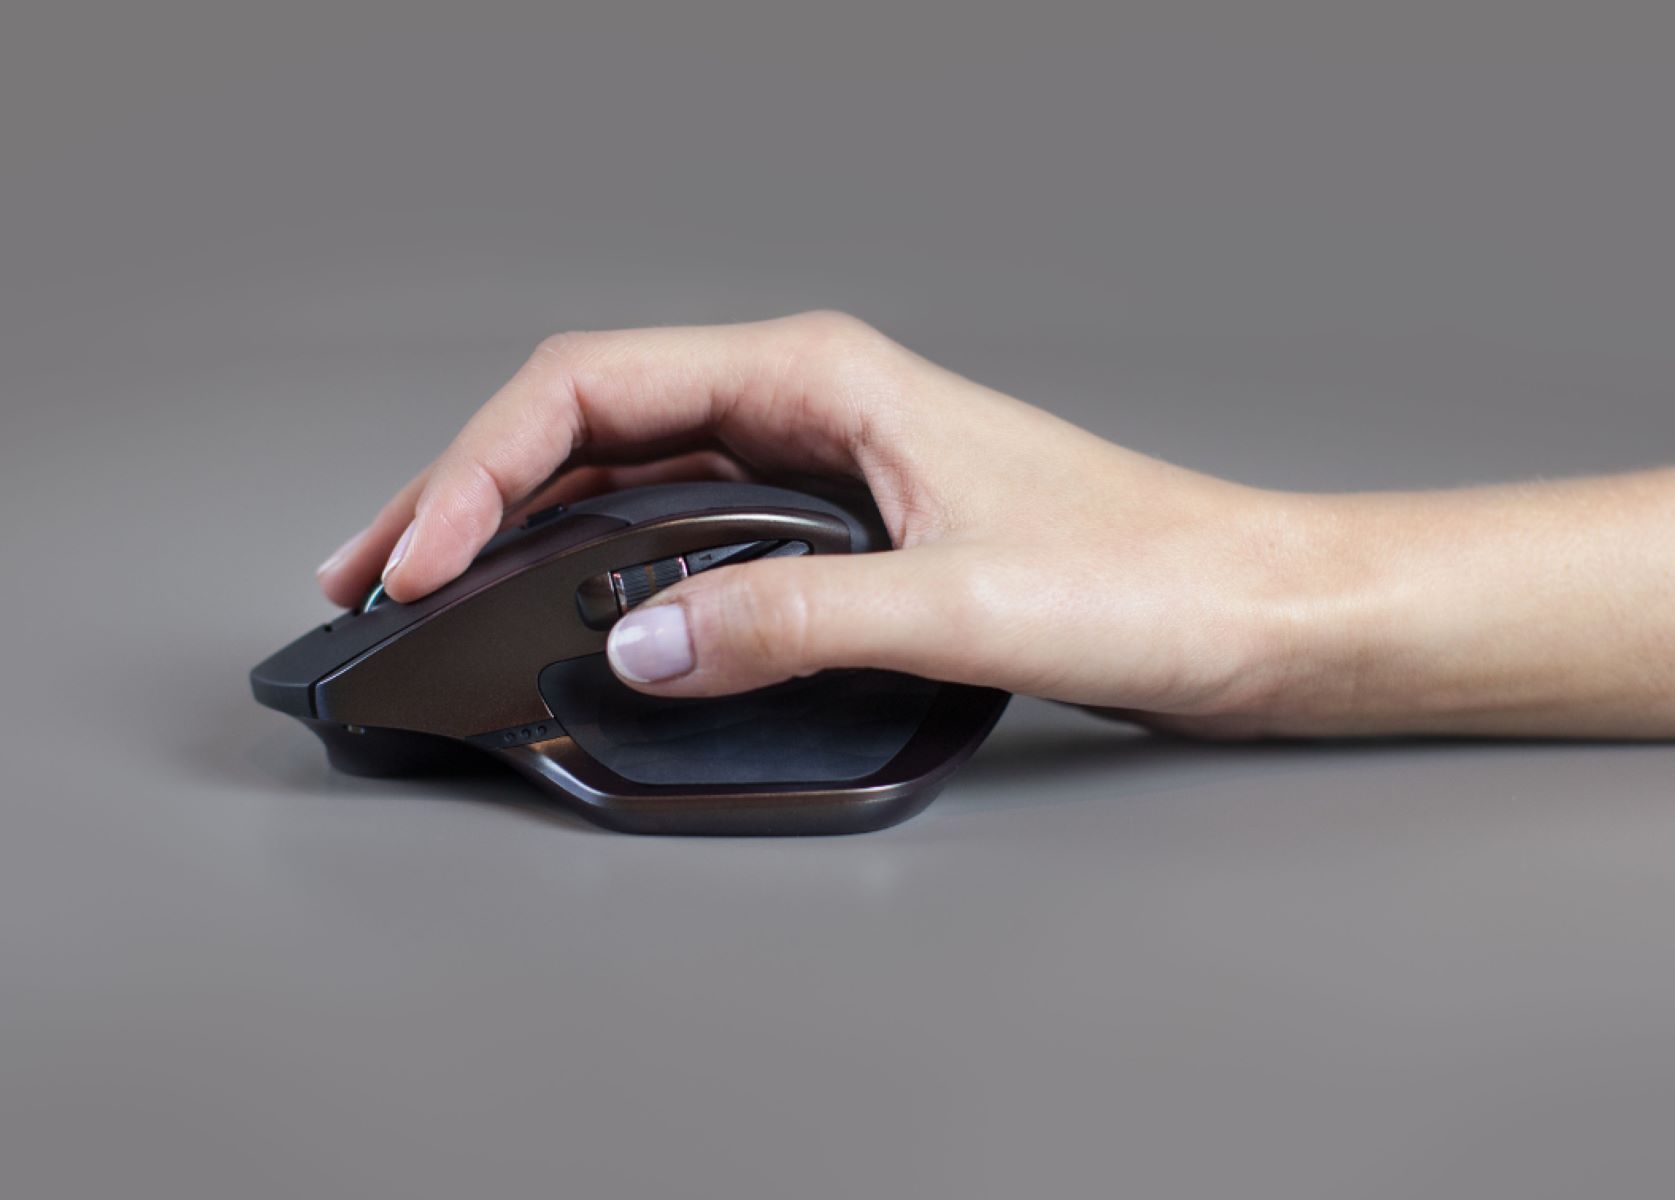
Checking compatibility may also involve considering the size and design of the mouse. Different individuals have different preferences when it comes to the shape and ergonomics of a mouse. If possible, try holding and testing out the mouse before buying it to ensure that it feels comfortable and suits your needs.
By taking the time to check the compatibility of the wireless mouse with your computer or device, you’ll save yourself from the frustration of purchasing a product that may not work optimally or at all. Once you’ve confirmed compatibility, you’re ready to move on to the next step: inserting batteries.
Step 2: Insert Batteries
Now that you’ve ensured compatibility, it’s time to power up your wireless mouse by inserting the required batteries. Most wireless mice operate on either AA or AAA batteries, but be sure to refer to the manufacturer’s instructions to determine the specific type of batteries needed.
Start by locating the battery compartment on the underside of the mouse. The compartment is typically secured with a latch or a removable panel. Consult the user manual or look for any indicators that guide you on how to access the battery compartment.
Once you’ve gained access to the battery compartment, insert the batteries according to the polarity signs (+ and -) indicated inside the compartment. Ensure that the batteries are correctly aligned so that the positive and negative ends match the corresponding markings.
After inserting the batteries, carefully close the battery compartment, making sure it is secure. Some mice may have a small switch or button on the underside to turn the mouse on or off. If your mouse has this feature, switch it on so that it’s ready for connection.
Keep in mind that battery life can vary depending on factors such as usage and the type of batteries used. To maximize battery performance, consider using rechargeable batteries, as they are more eco-friendly and cost-effective in the long run.
Now that your wireless mouse is powered up, it’s time to move on to the next step: plugging in the USB receiver.
Step 3: Plug in the USB Receiver
With the batteries inserted, the next step in setting up your wireless mouse is to plug in the USB receiver. The USB receiver is a small device that allows your mouse to communicate wirelessly with your computer or device.
Start by locating the USB receiver that came with your wireless mouse. It is usually a small dongle that plugs into one of the USB ports on your computer or device. Some receivers may be stored inside the battery compartment of the mouse for easy storage and transport.
Gently insert the USB receiver into an available USB port. Most modern computers and devices have multiple USB ports for you to choose from. If the USB receiver has an LED indicator, it should light up to indicate it is receiving power and ready to establish a connection.
It’s important to note that some wireless mice use Bluetooth technology instead of a USB receiver. In this case, you may not need to plug in a USB receiver. Ensure that your device has Bluetooth capabilities turned on and that the mouse is in pairing mode. Refer to the manufacturer’s instructions for the specific steps to pair your Bluetooth mouse.
Once the USB receiver is securely plugged in, your computer or device should automatically recognize the wireless mouse and install any necessary drivers or software. Depending on your operating system, you may see a notification or pop-up confirming the successful connection of the mouse. If prompted, follow any on-screen instructions to complete the installation process.
With the USB receiver plugged in and the necessary connections established, you’re almost there! The next step is to turn on the wireless mouse, which we’ll cover in the next section.
Step 4: Turn on the Mouse
Now that you’ve plugged in the USB receiver, it’s time to turn on your wireless mouse and prepare it for connection. Turning on the mouse is typically a straightforward process that varies slightly depending on the model and brand.
Start by locating the power switch on the wireless mouse. It is commonly located on the underside of the mouse. In some cases, the power switch may be integrated into the design, such as a button on the top or sides of the mouse. Refer to the user manual or look for any labeled indicators on the mouse to identify the power switch.
If your mouse has a physical power switch, slide or press the switch to the “ON” position. You may also notice an LED light or indicator on the mouse that confirms it is powered on.
In some wireless mice, the power may be activated automatically when you remove the receiver from its storage compartment or when you move the mouse. This feature helps conserve battery life by only powering on the mouse when it’s in use.
Once your wireless mouse is powered on, it should begin establishing a connection with the USB receiver. The LED indicator on the receiver or the mouse may blink or change color to indicate that the mouse is pairing with the receiver.
If the connection is successful, the mouse cursor should start responding to your movements on the screen. At this point, you can verify the functionality of the mouse by moving it around and clicking the buttons. If the cursor does not move or the buttons do not respond, you may need to troubleshoot the connection or repeat the previous steps.
With your wireless mouse turned on and connected, you are ready to move on to the next step: installing any required software or drivers.
Step 5: Install Any Required Software
Setting up a wireless mouse may require you to install specific software or drivers provided by the manufacturer. This software enhances the functionality of the mouse and allows you to customize settings according to your preferences.
The need for additional software varies depending on the model and brand of your wireless mouse. Some basic wireless mice may not require any additional software and can work with the default settings of your operating system. However, if your mouse comes with advanced features or customizable buttons, it’s recommended to install the provided software for an optimal user experience.
To install the required software, check the packaging or the manufacturer’s website for a software CD or a download link. Follow the provided instructions to install the software on your computer.
Once installed, launch the software and look for options to configure button assignments, sensitivity levels, scrolling behavior, and other mouse settings. Take advantage of these customization options to fine-tune your mouse to suit your needs and preferences.
Some software also offers advanced features like gesture control, macros, and profiles that allow you to have different settings for different applications. Explore these features as they can greatly enhance your productivity and overall mouse experience.
It’s worth mentioning that not all wireless mice require additional software. Some mice may have plug-and-play functionality, meaning they work automatically without the need for extra software installation. However, even without additional software, you may still be able to customize basic settings within your operating system’s mouse settings.
Once you’ve installed any necessary software and customized your mouse settings, you’re ready to proceed to the next step: customizing mouse settings (optional).
Step 6: Customize Mouse Settings (Optional)
Customizing the settings of your wireless mouse can greatly enhance your user experience and productivity. This step is optional but recommended to make the most out of your wireless mouse’s features and to suit your personal preferences.
Start by accessing the mouse settings on your operating system. Depending on whether you’re using Windows or Mac, the process may vary slightly. In Windows, you can find the mouse settings by navigating to the Control Panel or by searching for “Mouse” in the Start menu. On a Mac, you can access the mouse settings through the System Preferences.
Within the mouse settings, you’ll find options to adjust pointer speed, button assignments, scrolling behavior, and more. Experiment with these settings to find what feels most comfortable and intuitive for you. For example, you can increase or decrease the pointer speed to match your desired cursor movement, adjust the scroll speed or direction, or assign different functions to the mouse buttons.
If you’ve installed the manufacturer’s software in the previous step, you may have access to more advanced customization options. Explore the software’s interface to find additional settings specific to your wireless mouse model. This can include features like DPI adjustments, acceleration settings, and even RGB lighting options.
Another aspect you can customize is the mouse sensitivity. This determines how responsive the mouse is to your movements. If you prefer more precise control, you may want to lower the sensitivity. On the other hand, if you prefer faster cursor movement, increasing the sensitivity might be more suitable.
Take the time to play around with different settings, making small adjustments and testing them out. Finding the perfect settings for your mouse can greatly improve your overall workflow and comfort during prolonged use.
Once you’ve customized the mouse settings to your satisfaction, it’s time to move on to the final step: testing the mouse to ensure everything is working as expected.
Step 7: Test the Mouse
After setting up your wireless mouse and customizing the settings, it’s essential to test its functionality to ensure everything is working correctly. Testing the mouse allows you to identify any potential issues and address them promptly.
Start by moving the mouse around and observing how the cursor responds on your screen. Ensure that the movements are accurate and smooth without any noticeable lag or stuttering. If you experience any issues, try adjusting the mouse sensitivity in the settings to achieve the desired cursor movements.
Next, test the primary buttons (usually the left and right buttons) by clicking on various elements, such as icons or links. Make sure that the clicks are registering appropriately and that there are no double-clicking issues or delays between clicks.
If your wireless mouse has additional buttons, such as side buttons or a scroll wheel, test them as well. Assign specific functions to these buttons, if desired, using the software or settings you previously installed. Verify that these buttons perform their intended actions correctly.
When testing the scroll wheel, ensure that it moves smoothly and that scrolling up and down is responsive and precise. Depending on your mouse model, you may also have the option to scroll horizontally and perform other advanced scrolling actions. Use this opportunity to evaluate these features as well.
If your wireless mouse supports any advanced features, such as gesture controls or macros, experiment with them to understand how they work and determine if they are useful for your workflow.
Additionally, consider testing your wireless mouse on various surfaces to check its tracking capabilities. Most modern wireless mice are designed to work on different surfaces, including desk surfaces, mouse pads, and even fabric-covered surfaces, but it’s good to confirm their performance on the specific surfaces you commonly use.
By thoroughly testing your wireless mouse, you can identify and address any issues early on, ensuring a smooth and hassle-free user experience. If you encounter any persistent problems, consult the user manual or contact the manufacturer’s support for further assistance.
With the mouse successfully tested and functioning as expected, you can now enjoy the freedom and convenience of working wirelessly with your device.
Conclusion
Congratulations! You have successfully set up your wireless mouse and are now ready to enjoy a more convenient, cable-free computing experience. By following the step-by-step process outlined in this article, you ensured compatibility, inserted the required batteries, plugged in the USB receiver, turned on the mouse, installed any necessary software, customized the mouse settings, and thoroughly tested its functionality.
A wireless mouse offers flexibility and freedom of movement, allowing you to navigate your computer or device with ease. Whether you’re a student, professional, or casual computer user, a wireless mouse can greatly enhance your productivity and provide a more comfortable user experience.
Remember to regularly replace the batteries in your wireless mouse to maintain optimal performance. Additionally, if you experience any issues or have questions about your wireless mouse, don’t hesitate to refer to the user manual or reach out to the manufacturer’s support for assistance.
With your wireless mouse set up, you can say goodbye to the inconvenience of tangled cables and enjoy the seamless navigation and control provided by wireless technology. So, start clicking, scrolling, and gliding with ease and make the most out of your computing experience!


