Introduction
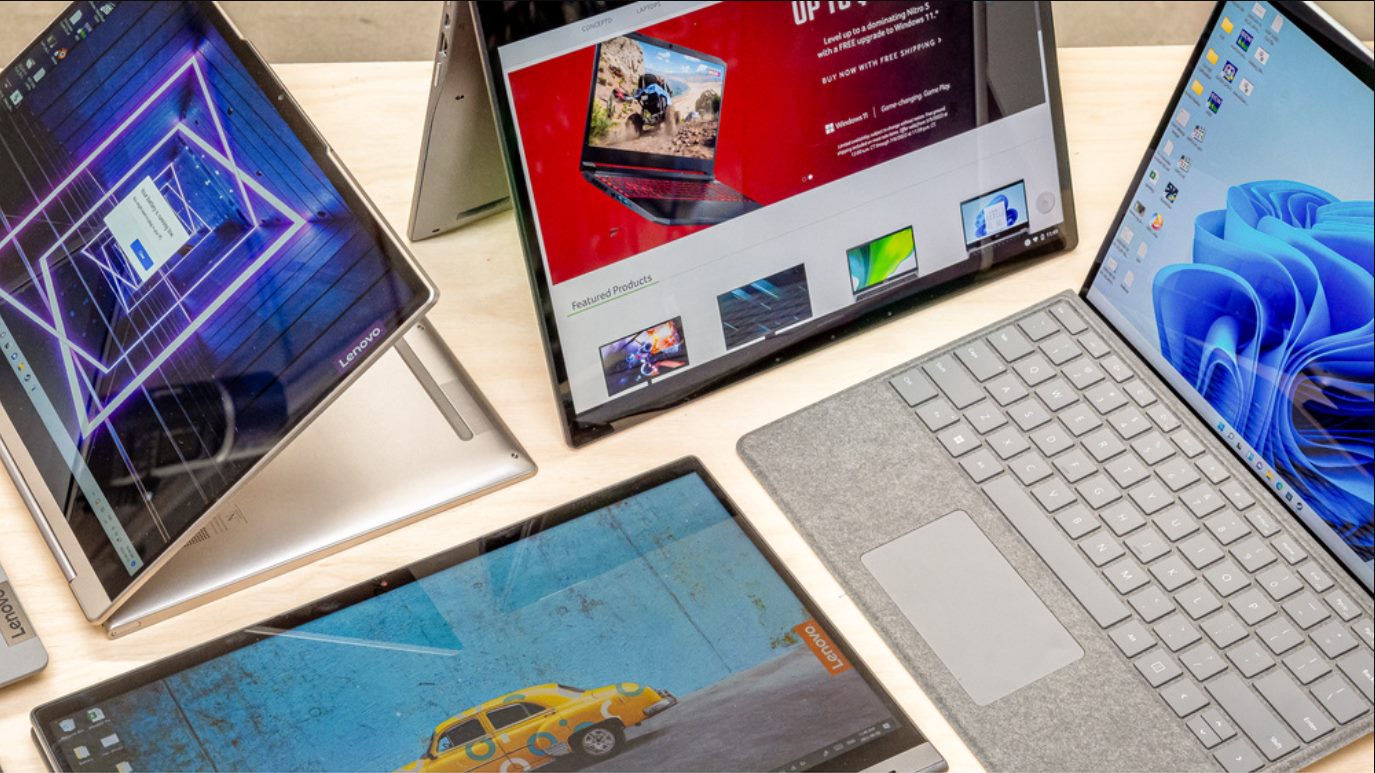
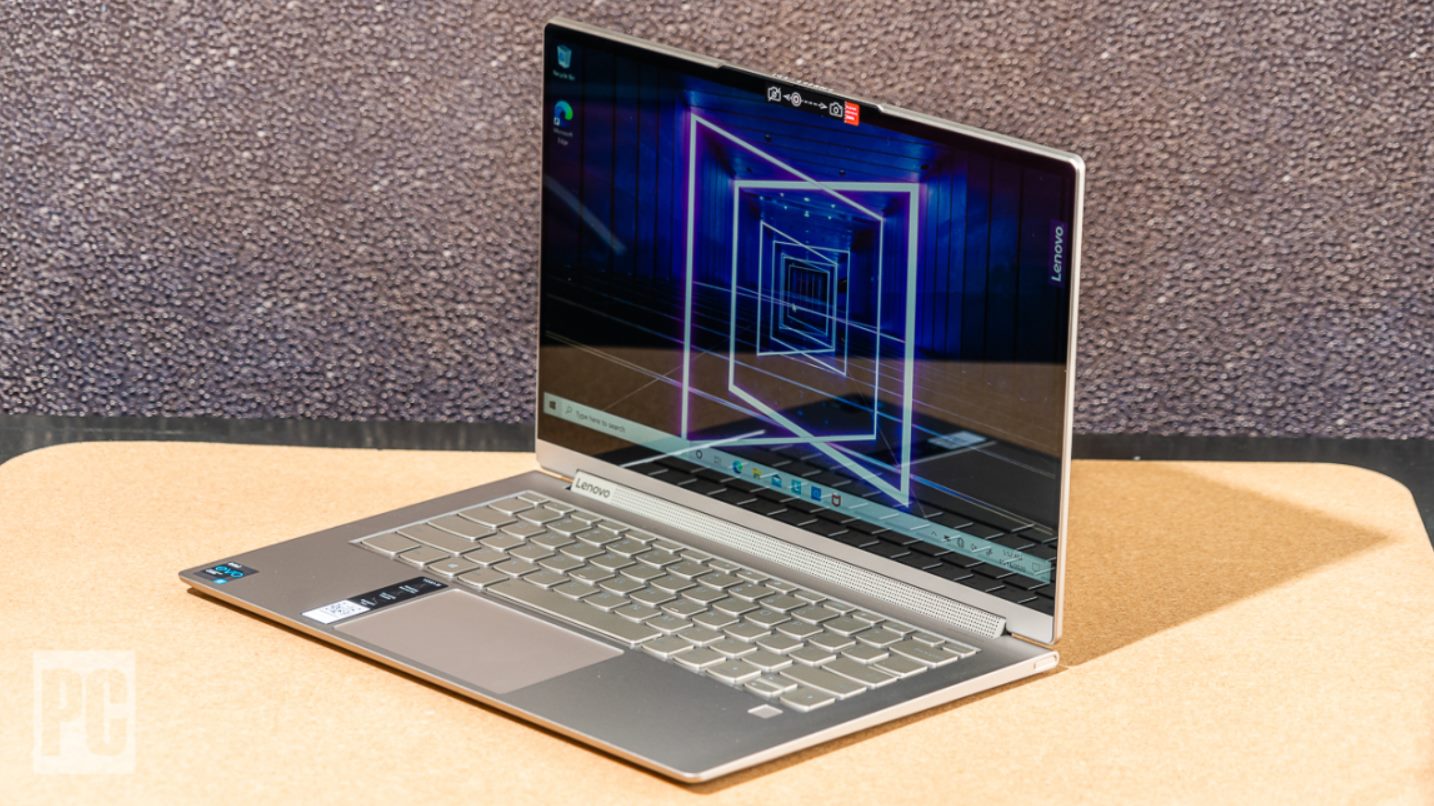
Welcome to the world of ultrabooks, where portability and performance meet seamlessly. Ultrabooks have become popular for their sleek design and powerful capabilities, making them a favorite choice among professionals and students alike. While ultrabooks excel in their wireless connectivity options, such as Wi-Fi and Bluetooth, they also offer the flexibility to connect to a Local Area Network (LAN) using an Ethernet cable.
Connecting your ultrabook to a LAN can provide a stable and reliable network connection, especially in situations where Wi-Fi signals may be weak or unreliable. Whether you need to transfer large files, stream high-definition videos, or engage in online gaming, a LAN connection can ensure smooth and uninterrupted network performance.
In this guide, we will walk you through the steps to connect your ultrabook to a LAN using an Ethernet cable. We will explore the necessary hardware requirements, configuration settings, and troubleshooting tips to help you establish a seamless and reliable LAN connection.
Before we dive into the step-by-step process, it’s important to note that the availability of an Ethernet port on your ultrabook may vary depending on the model. Most ultrabooks are equipped with a single USB-C Thunderbolt port, which can be used to connect various peripherals, including an Ethernet adapter. However, some ultrabooks may have a built-in Ethernet port. It’s essential to check the specifications of your ultrabook to determine the connectivity options available.
Now that we have a brief understanding of what to expect, let’s get started with the first step: checking your ultrabook’s LAN port.
Step 1: Check your ultrabook’s LAN port
The first step in connecting your ultrabook to a LAN is to check if it has an Ethernet port or if you need to use an adapter. As mentioned earlier, the availability of an Ethernet port may vary depending on the model of your ultrabook.
If your ultrabook has a built-in Ethernet port, you’re in luck! You can directly connect an Ethernet cable to the port without the need for any additional adapters. This provides a convenient and straightforward way to establish a LAN connection.
On the other hand, if your ultrabook doesn’t have a built-in Ethernet port, you will need to use an Ethernet adapter. These adapters typically connect to your ultrabook’s USB-C Thunderbolt port, providing you with the ability to connect an Ethernet cable.
To determine if your ultrabook has an Ethernet port, you can refer to the physical specifications provided by the manufacturer or consult the user manual. Another option is to visually inspect the sides or back of your ultrabook for a distinct Ethernet port. It is usually a rectangular port with a small tab at the bottom for securing the Ethernet cable.
If you discover that your ultrabook doesn’t have a built-in Ethernet port and you need to use an adapter, you will need to purchase a compatible USB-C to Ethernet adapter. Ensure that the adapter is compatible with your ultrabook model and supports the necessary data transfer speeds.
Once you have determined the presence or absence of an Ethernet port on your ultrabook, you are ready to move on to the next step: connecting an Ethernet cable to your ultrabook.
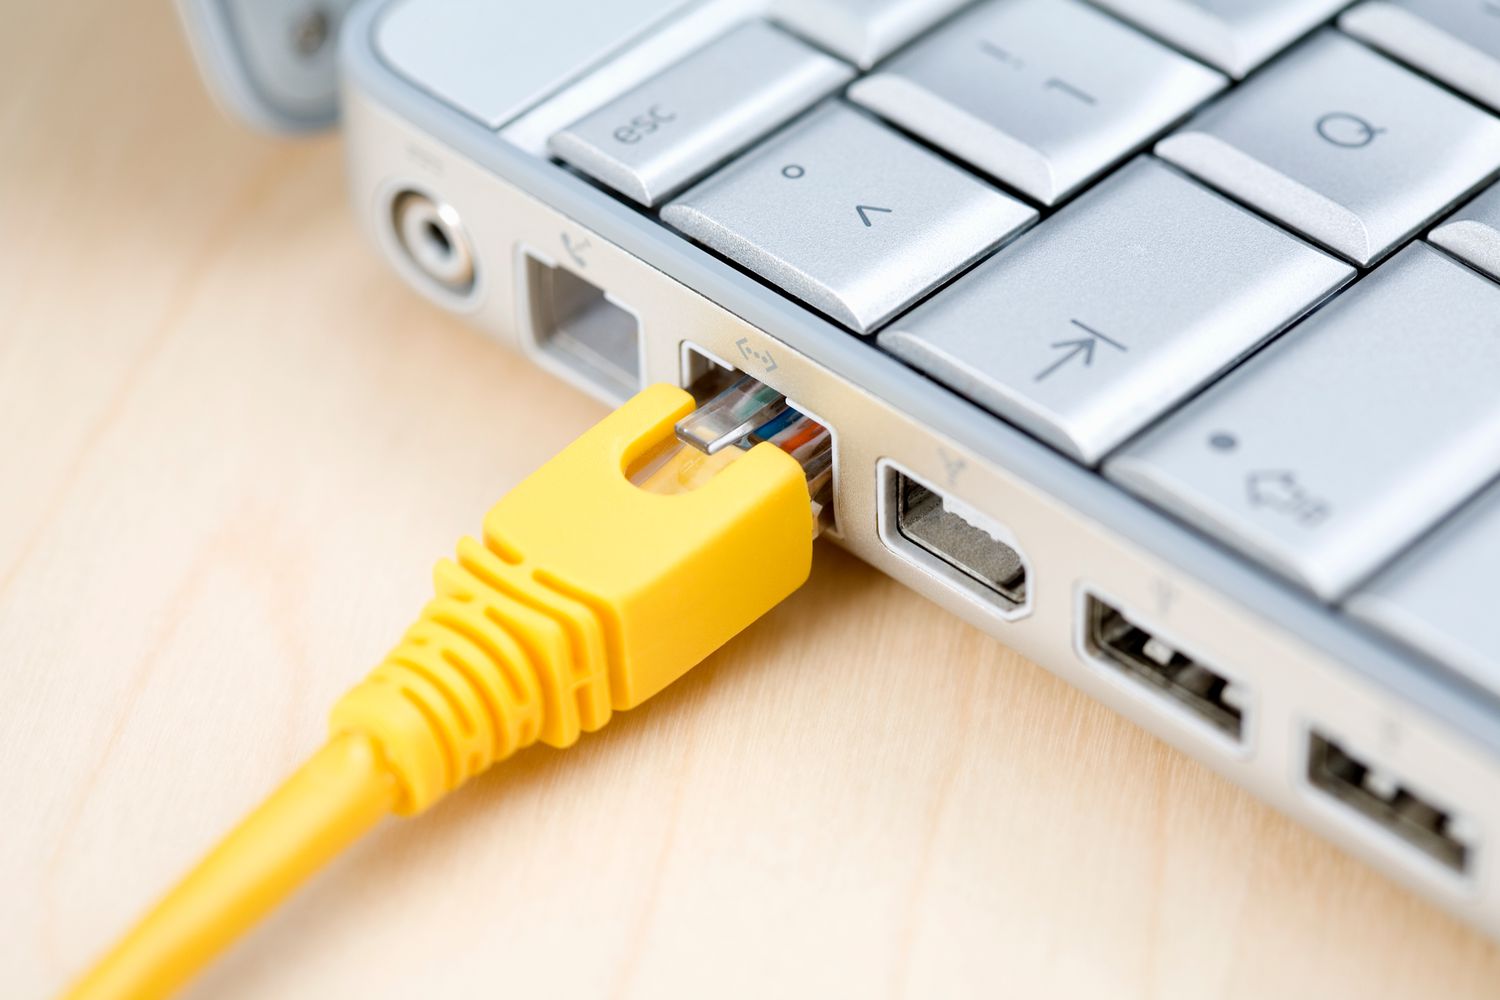
Step 2: Connect an Ethernet cable to your ultrabook
Now that you have determined whether your ultrabook has a built-in Ethernet port or requires an adapter, it’s time to connect an Ethernet cable to your ultrabook.
If your ultrabook has a built-in Ethernet port, locate the Ethernet port on the side or back of your device. It is usually a rectangular port with a small tab at the bottom. Once you have found the port, simply insert one end of the Ethernet cable into the port until it clicks into place. Ensure that the connection is secure and snug.
If your ultrabook requires an adapter, connect the USB-C end of the adapter to the USB-C Thunderbolt port on your ultrabook. Then, take the other end of the Ethernet cable and insert it into the Ethernet port on the adapter. Again, make sure the connection is secure.
An Ethernet cable, also known as a network cable or RJ-45 cable, is used to transmit data between devices over a LAN. It typically has a plug with eight copper connectors, which are inserted into the Ethernet port. These cables come in various lengths, so choose a cable that suits your needs, whether it’s connecting to a nearby router or a more distant networking device.
Once the Ethernet cable is securely connected to your ultrabook, the next step is to plug the other end of the cable into your router or switch. This will allow your ultrabook to establish a connection with the LAN and access the network resources.
In the following step, we will guide you through the process of plugging the Ethernet cable into your router or switch. So let’s move on to Step 3: Plug the other end of the Ethernet cable into your router or switch.
Step 3: Plug the other end of the Ethernet cable into your router or switch
After successfully connecting the Ethernet cable to your ultrabook, it’s time to establish a connection to the Local Area Network (LAN) by plugging the other end of the cable into your router or switch.
If you are connecting to a home network, locate your router – the central device that routes network traffic between your devices and the internet. It is usually located near the modem or in a specific networking area of your home. Take the other end of the Ethernet cable connected to your ultrabook and firmly insert it into one of the available Ethernet ports on the router. The ports are typically labeled with numbers or color-coded for easy identification.
If you are connecting to a larger network, such as in an office or educational institution, you may need to connect to a network switch instead of a router. A network switch connects multiple devices within the LAN, allowing them to communicate and share network resources. Find an available Ethernet port on the switch and insert the other end of the cable from your ultrabook into it.
Ensure that the connection between the Ethernet cable and the router or switch is secure. You should hear a click or feel a slight resistance when the cable is properly inserted. This will provide a stable and reliable connection between your ultrabook and the network device.
By plugging the other end of the Ethernet cable into your router or switch, you have established a physical connection between your ultrabook and the LAN. The next step is to configure the network settings on your ultrabook to enable network communication. We will discuss this in detail in the following step.
Now that your ultrabook is connected to the LAN through the Ethernet cable, let’s proceed to Step 4: Configure network settings on your ultrabook.
Step 4: Configure network settings on your ultrabook
Now that you have physically connected your ultrabook to the LAN, it’s time to configure the network settings to enable proper communication with the network.
To configure the network settings on your ultrabook, follow these steps:
- Open the Settings menu on your ultrabook. This can usually be done by clicking on the gear icon in the Start menu or by pressing the Windows key + I.
- Select the Network & Internet option from the Settings menu.
- In the Network & Internet settings, select the Ethernet tab from the left-hand menu.
- Under the Ethernet tab, you will see the option to change the network connection properties. Click on the Change adapter options link.
- A list of network adapters will appear. Locate the Ethernet adapter that corresponds to the connected cable. Right-click on the Ethernet adapter and select Properties from the context menu.
- In the Ethernet Properties window, select Internet Protocol Version 4 (TCP/IPv4) and click on the Properties button below.
- In the Internet Protocol Version 4 (TCP/IPv4) Properties, you can choose to obtain an IP address automatically (DHCP) or enter the IP address, subnet mask, default gateway, and DNS server manually.
- If you are using a home network or a small office network, it is recommended to select Obtain an IP address automatically and Obtain DNS server address automatically. This allows your ultrabook to acquire the necessary network settings automatically from the router or switch.
- Click the OK button to save the changes and close the Ethernet Properties window.
- Exit the Settings menu and restart your ultrabook to ensure the network settings take effect.
By configuring the network settings on your ultrabook, you are ensuring compatibility with the LAN and enabling communication between your ultrabook and the network devices. These settings play an essential role in establishing a successful LAN connection.
With the network settings configured, it’s time to test the LAN connection to ensure everything is working correctly. We will cover this in the next step: Step 5: Test the LAN connection.
Step 5: Test the LAN connection
After connecting your ultrabook to a LAN and configuring the network settings, it’s crucial to test the LAN connection to ensure that everything is working as expected.
To test the LAN connection on your ultrabook, you can follow these steps:
- Open a web browser, such as Google Chrome, Mozilla Firefox, or Microsoft Edge, on your ultrabook.
- Type in a website address, for example, “www.google.com”, in the address bar and press Enter.
- If the webpage successfully loads and you can access the internet, it indicates that your ultrabook is connected to the LAN and able to communicate with external networks.
- Try accessing other websites or online services to confirm that the LAN connection remains active and stable.
- If you encounter any issues or cannot access websites, double-check your network settings, including the Ethernet cable connections and the IP configuration settings.
- If necessary, you can also try restarting your ultrabook and the router or switch to refresh the network connection.
Testing the LAN connection ensures that your ultrabook is properly connected to the network and can access the internet and other online resources. If you can browse websites and use online services without any issues, it indicates a successful LAN connection.
If you encounter any difficulties during the testing process, don’t panic. In the next step, Step 6: Troubleshooting common issues, we will explore some common problems and troubleshooting tips to help you resolve any connectivity issues you may encounter.
Now that you have tested the LAN connection on your ultrabook, let’s move on to the final step: Step 6: Troubleshooting common issues.
Step 6: Troubleshooting common issues
While connecting your ultrabook to a LAN using an Ethernet cable is generally a straightforward process, there may be instances where you encounter some common connectivity issues. Here are some troubleshooting tips to help you overcome these issues:
1. Check cable connections: Ensure that the Ethernet cable is securely plugged into both your ultrabook and the router or switch. A loose or improperly connected cable can result in a weak or unstable connection. Try disconnecting and reconnecting the cable to ensure a proper connection.
2. Verify IP configuration: Double-check the IP configuration settings on your ultrabook. If you are manually entering the IP address, subnet mask, default gateway, or DNS server, ensure they are entered correctly. Alternatively, if you are using DHCP, make sure it is enabled and that your router or switch is properly configured to provide IP addresses to connected devices.
3. Restart network devices: Sometimes, restarting your ultrabook, router, and switch can help resolve connectivity issues. Power off all the devices, wait for a few seconds, and then power them back on. This can refresh the network connections and resolve any temporary glitches.
4. Update network drivers: Outdated network drivers on your ultrabook can cause connectivity problems. Check the website of your ultrabook’s manufacturer for any available driver updates. Download and install the latest drivers for the Ethernet adapter to ensure compatibility and optimal performance.
5. Disable firewall or antivirus software: In some cases, your firewall or antivirus software may block the network connection. Temporarily disable these software programs and test the LAN connection again. If the connection works with the firewall or antivirus disabled, you may need to adjust the settings to allow network access.
6. Try a different Ethernet cable or port: If possible, test the LAN connection with a different Ethernet cable to rule out any potential cable issues. Additionally, if you are using multiple Ethernet ports on your router or switch, try connecting to a different port to check if the issue lies with a specific port.
By following these troubleshooting tips, you can overcome common connectivity issues and ensure a stable LAN connection on your ultrabook. If the problem persists, it may be necessary to seek further assistance from your ultrabook’s manufacturer or a professional IT technician.
Congratulations! You have now successfully connected your ultrabook to a LAN using an Ethernet cable. Enjoy the benefits of a fast and reliable network connection for all your browsing, streaming, and work needs.
Conclusion
Connecting your ultrabook to a Local Area Network (LAN) using an Ethernet cable can greatly enhance your network connectivity. Whether you need a stable and reliable connection for transferring large files, streaming high-definition videos, or engaging in online gaming, a LAN connection provides the speed and reliability you need.
In this guide, we have walked you through the step-by-step process of connecting your ultrabook to a LAN. We covered important steps such as checking your ultrabook’s LAN port, connecting an Ethernet cable, plugging the cable into your router or switch, configuring network settings, testing the LAN connection, and troubleshooting common issues.
By following these steps, you have successfully established a LAN connection on your ultrabook, enabling you to enjoy a seamless and reliable network experience.
Remember, always check your ultrabook’s specifications to determine the availability of an Ethernet port or the need for an adapter. Ensure that the cable connections are secure and that you have configured the network settings correctly. If you encounter any issues, refer to the troubleshooting tips we provided to identify and resolve common connectivity problems.
Now, take advantage of your ultrabook’s capability to connect to a LAN and explore the possibilities it offers. Whether you’re working, gaming, or simply browsing the web, a LAN connection ensures a fast and stable network experience for all your needs.
Thank you for following this guide, and we hope you enjoy your enhanced network connectivity with your ultrabook!