Introduction
Having a wireless mouse can greatly enhance your computing experience, providing you with freedom of movement and eliminating the hassle of tangled cables. Logitech is a well-known and trusted brand when it comes to computer peripherals, and their wireless mice are no exception. If you recently purchased a Logitech wireless mouse and are wondering how to connect it to your computer, you’ve come to the right place.
In this guide, we will walk you through the step-by-step process of connecting your Logitech wireless mouse to your computer. Whether you are a tech-savvy individual or a beginner, these instructions will help you get your mouse up and running in no time.
Before we dive into the steps, it’s important to note that the process may vary slightly depending on the model of your Logitech mouse and the operating system you are using. However, the general steps outlined here should apply to most Logitech wireless mice.
So, without further ado, let’s get started on connecting your Logitech wireless mouse to your computer and experiencing the convenience and freedom it provides!
Step 1: Prepare the mouse and receiver
Before you begin the pairing process, it’s important to ensure that both the wireless mouse and the receiver are ready for setup. Here’s what you need to do:
- Remove any packaging or protective covers from both the wireless mouse and the receiver. Inspect them for any visible damages and ensure they are in good condition.
- Check if your Logitech wireless mouse requires batteries. If it does, insert the appropriate batteries into the battery compartment. Make sure to follow the correct polarity indicated by the labels inside the battery compartment.
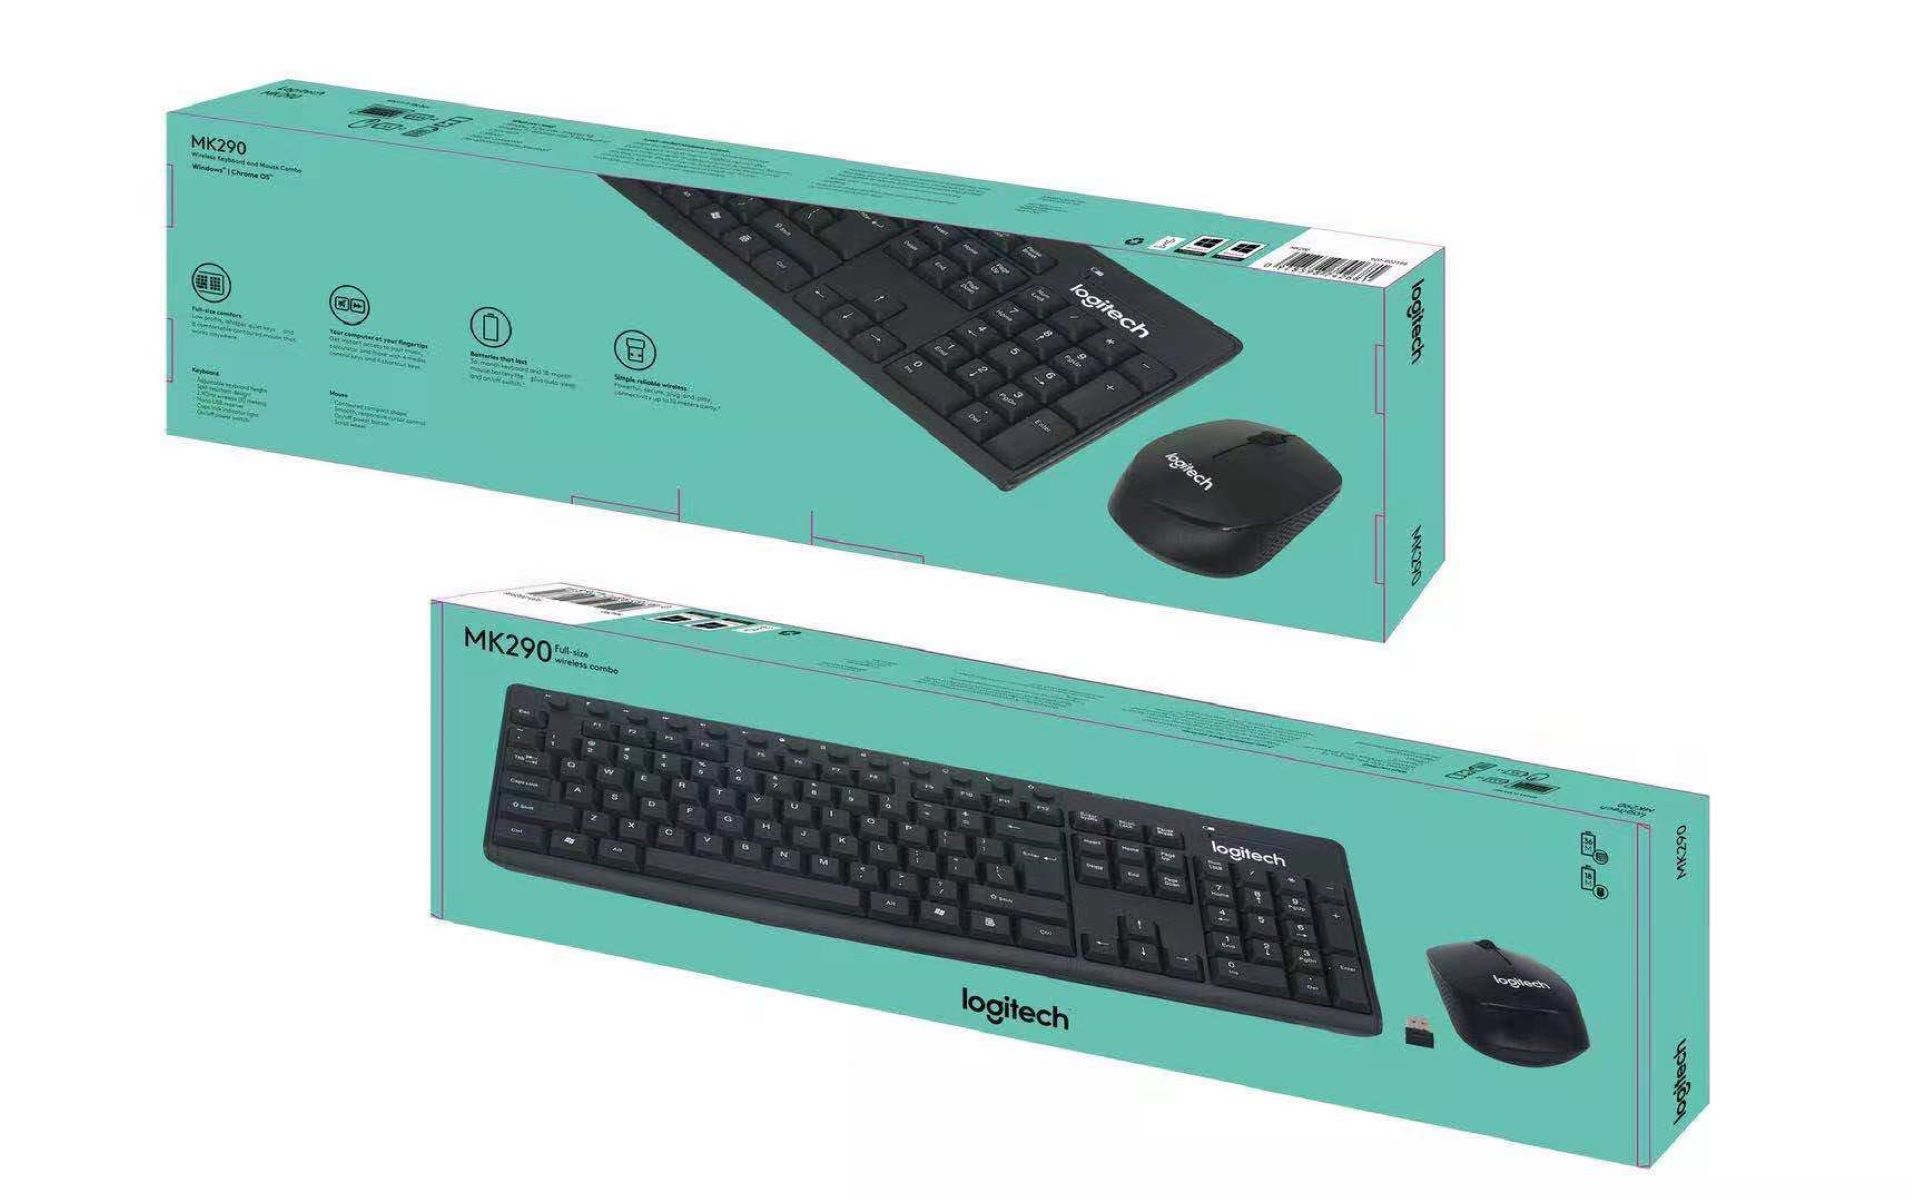
- Locate the USB receiver that came with your Logitech wireless mouse. It is usually a small dongle that you need to plug into your computer for the mouse to connect.
- If there is a protective cover on the USB receiver, remove it. This will allow for a proper connection between the receiver and your computer.
- Position the receiver in a convenient spot where it can receive signals from the mouse without any obstruction. Ideally, it should be within close proximity to your mouse and the computer’s USB ports.
By properly preparing both the wireless mouse and the receiver, you are laying the foundation for a successful connection. Once you have completed these steps, you are ready to move on to the next stage of the setup process.
Step 2: Insert the receiver into your computer
Now that you have prepared the mouse and receiver, it’s time to insert the receiver into your computer. Follow these steps:
- Locate an available USB port on your computer. This is where you will connect the receiver.
- Gently insert the USB receiver into the USB port. It should fit snugly without the need for excessive force. Take care not to damage the receiver or the USB port during this process.
- Once the receiver is inserted, you may see a notification on your computer indicating that a new device has been connected. This is a positive sign, indicating that your computer recognizes the receiver.
- If your receiver came with an extension cable, you can use it to position the receiver in a more convenient location. This can help improve the wireless connectivity between the mouse and the receiver.
Inserting the receiver into your computer is a crucial step in establishing a connection between your Logitech wireless mouse and your computer. It allows the two devices to communicate wirelessly, enabling you to control your computer cursor with the mouse.
Once you have successfully inserted the receiver into your computer, you are ready to move on to the next step of the setup process, which involves turning on the mouse.
Step 3: Turn on the mouse
Now that the receiver is connected to your computer, it’s time to turn on your Logitech wireless mouse. Follow these simple steps:
- Locate the power button on your Logitech wireless mouse. The location of the power button may vary depending on the model of your mouse. Refer to the user manual for specific instructions if needed.
- Press and hold the power button for a few seconds until you see an indication that the mouse is powered on. This may be in the form of LED lights, a blinking light, or a change in color on the mouse itself.
- Once the mouse is powered on, it will start searching for the receiver. This is indicated by a blinking light or another visual cue on the mouse.
- Make sure the mouse is within range of the receiver. Typically, the receiver has a range of a few feet, but it’s best to keep the mouse and receiver in close proximity for optimal connectivity.
Turning on the mouse is an important step, as it activates the wireless connection between the mouse and the receiver. It allows your computer to detect and communicate with the mouse, enabling you to control your cursor smoothly and effortlessly.
Once you have successfully turned on your Logitech wireless mouse, you are now ready to move on to the next step, which involves pairing the mouse with the receiver.
Step 4: Pair the mouse with the receiver
Once your Logitech wireless mouse is turned on, the next step is to pair it with the receiver. The pairing process establishes a secure and encrypted connection between the mouse and the receiver. Follow these steps to complete the pairing:
- On your computer, locate the pairing button on the receiver. This button is usually located on the bottom or side of the receiver.
- Press and hold the pairing button on the receiver for a few seconds until the LED light on the receiver starts blinking rapidly. This indicates that the receiver is in pairing mode.
- Now, locate the pairing button on the bottom of your Logitech wireless mouse. The location of the pairing button may vary depending on the model of your mouse. Refer to the user manual for specific instructions if needed.
- Press and hold the pairing button on the mouse for a few seconds until the LED light on the mouse starts blinking rapidly. This indicates that the mouse is in pairing mode and searching for the receiver.
- After a few seconds, the LED light on the mouse should become steady, indicating that the pairing process is complete. The mouse is now connected to the receiver and ready for use.
The pairing process may take a few moments, but once completed, the connection between your Logitech wireless mouse and the receiver will be established. This means that your mouse is now linked to your computer, allowing you to control your cursor wirelessly and enjoy the freedom of movement.
Now that you have successfully paired your Logitech wireless mouse with the receiver, you can proceed to the next step, which involves installing any necessary drivers.
Step 5: Install the necessary drivers
After pairing your Logitech wireless mouse with the receiver, it’s important to ensure that the necessary drivers are installed on your computer. These drivers allow your operating system to properly recognize and utilize the features of your mouse. Follow these steps to install the necessary drivers:
- Visit the official Logitech website or access the support section of their website.
- Search for the drivers or software specifically designed for your Logitech wireless mouse model.
- Download the appropriate drivers or software for your operating system. Ensure that you select the correct version for your computer’s operating system, such as Windows or macOS.
- Once the download is complete, locate the file and double-click to run the installation process.
- Follow the on-screen instructions to complete the driver installation. This may include accepting the terms of use, selecting the installation location, and restarting your computer if prompted.
By installing the necessary drivers, you ensure that your Logitech wireless mouse functions optimally and that you can access any additional features or customization options provided by Logitech. The drivers enable seamless integration between your mouse and your computer, enhancing your overall user experience.
Now that you have installed the necessary drivers, you can proceed to the final step, which involves customizing your mouse settings to suit your preferences.
Step 6: Customize mouse settings
Now that your Logitech wireless mouse is properly connected and the necessary drivers are installed, it’s time to customize the mouse settings to your liking. By adjusting the settings, you can personalize the mouse’s sensitivity, button functions, scrolling behavior, and more. Here’s how to customize your Logitech mouse settings:
- Access the Logitech software or control panel on your computer. This can usually be done by clicking on the Logitech icon in your system tray or by searching for Logitech in your computer’s Start menu.
- Locate the settings or preferences section dedicated to your wireless mouse. The name and layout of this section may vary depending on the Logitech software you are using.
- Explore the available customization options. These may include sensitivity adjustments, button mapping, scroll wheel settings, gesture customization, and more.
- Make the desired changes to the mouse settings, keeping in mind your personal preferences and usage habits. Experiment with different settings to find the configuration that suits you best.
- Once you have customized the mouse settings according to your preferences, save your changes and exit the settings or preferences section.
Customizing the mouse settings allows you to tailor the Logitech wireless mouse to your specific needs and preferences. Whether you prefer a faster or slower cursor movement, wish to assign specific functions to the mouse buttons, or want to tweak the scrolling behavior, customizing the settings ensures a more comfortable and efficient user experience.
With the mouse settings customized to your liking, you are now ready to enjoy the full capabilities of your Logitech wireless mouse. Take some time to familiarize yourself with the new settings and make any necessary adjustments as you continue to use the mouse in your daily activities.
Conclusion
Congratulations! You have successfully connected your Logitech wireless mouse to your computer. By following the steps outlined in this guide, you have established a wireless connection between the mouse and the receiver, installed the necessary drivers, and customized the mouse settings to suit your preferences.
Having a wireless mouse adds convenience and freedom to your computing experience. You can now enjoy the flexibility of controlling your cursor without the limitations of a tangled cable. Whether you’re working on important projects, browsing the web, or playing games, your Logitech wireless mouse will provide you with precise and responsive control.
Remember, the exact steps may vary slightly depending on the Logitech mouse model and your operating system. It’s always a good idea to consult the user manual or visit the Logitech website for specific instructions tailored to your wireless mouse.
We hope this guide has been helpful in successfully setting up your Logitech wireless mouse. If you have any further questions or encounter any difficulties, don’t hesitate to reach out to Logitech’s customer support for assistance. Now, enjoy the flexibility and comfort that comes with using your Logitech wireless mouse!


