Introduction
Are you looking for a convenient and hassle-free way to connect your Logitech Wireless Keyboard K380 to your device? Look no further! This step-by-step guide will walk you through the process of setting up and connecting your keyboard to various devices.
The Logitech Wireless Keyboard K380 is a versatile and compact keyboard that allows you to connect and switch between multiple devices with ease. Whether you want to connect it to your Windows computer, Mac, Android device, or iOS device, this guide has got you covered.
With its sleek design and comfortable typing experience, the Logitech Wireless Keyboard K380 is the perfect companion for both work and leisure. Whether you’re typing an email, writing a document, or simply browsing the web, this keyboard offers a seamless and enjoyable user experience.
So, if you’re ready to take your productivity to the next level and enjoy the convenience of a wireless keyboard, let’s dive into the steps for connecting your Logitech Wireless Keyboard K380 to your device.
Step 1: Unboxing the Logitech Wireless Keyboard K380
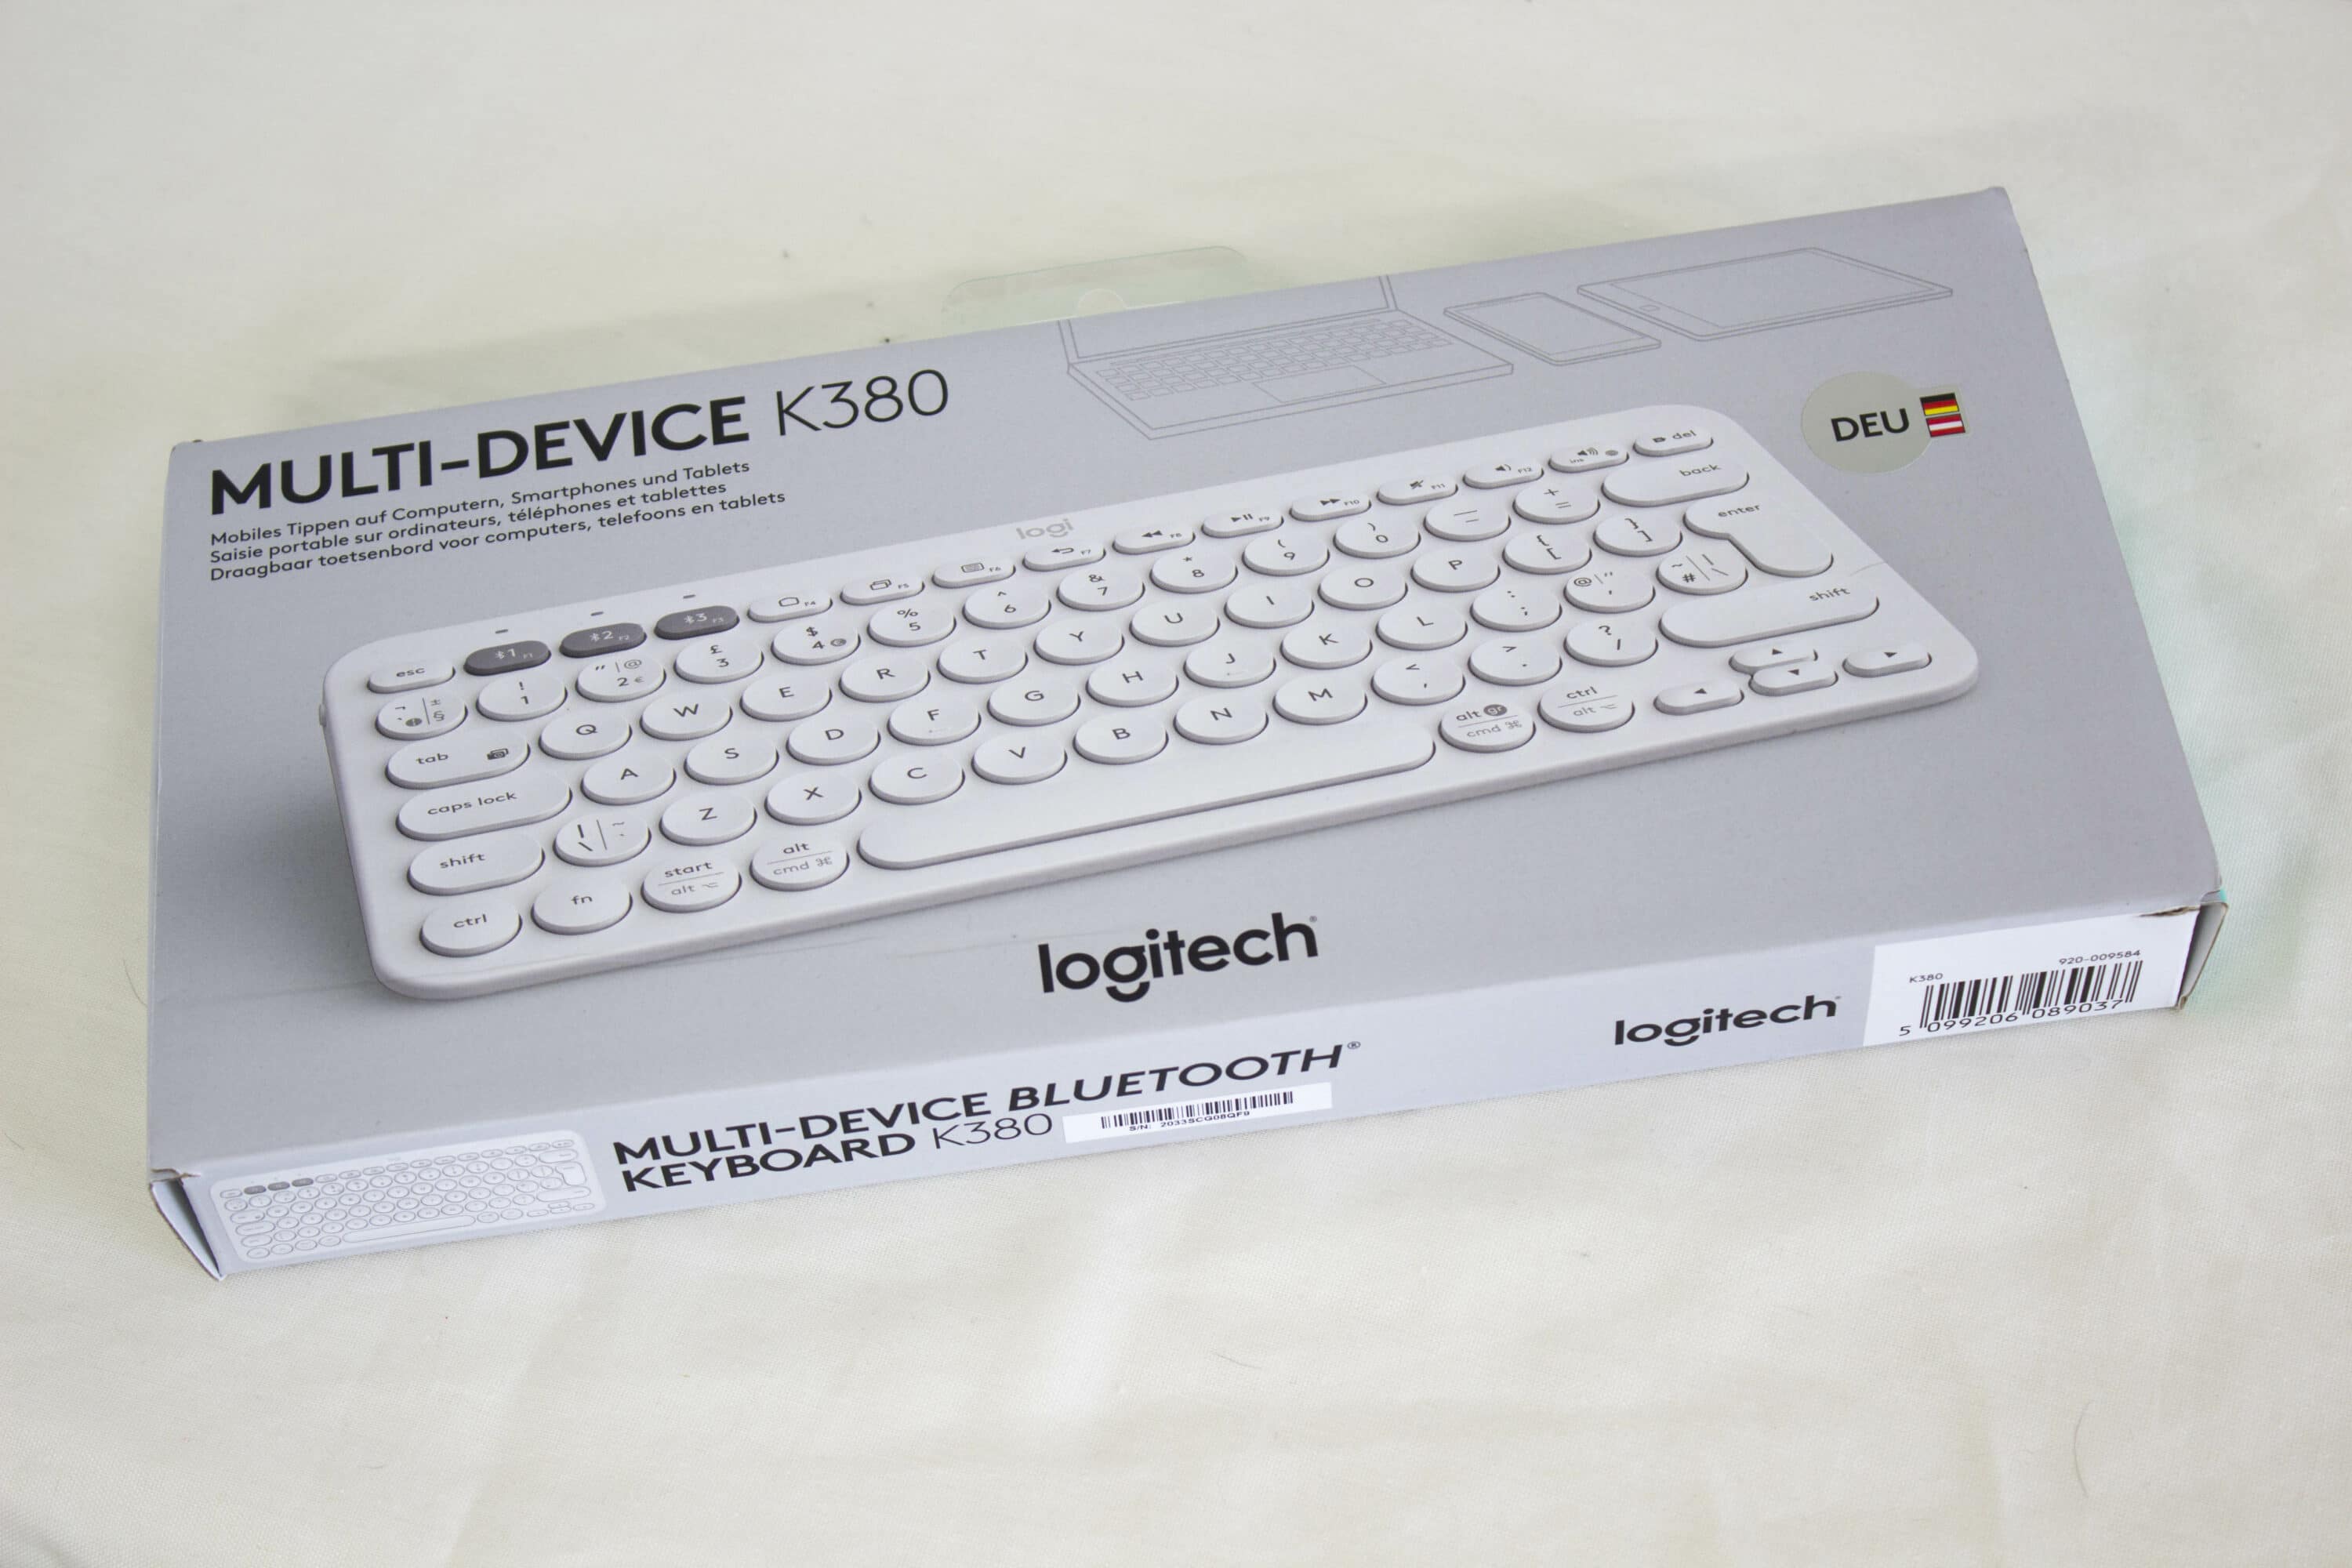
The first step in connecting your Logitech Wireless Keyboard K380 is unboxing it and familiarizing yourself with its components. Follow these simple steps to get started:
- Remove the Logitech Wireless Keyboard K380 from its packaging gently.
- Inspect the keyboard for any visible damage during transit. If you notice any significant damage, contact Logitech support for assistance.
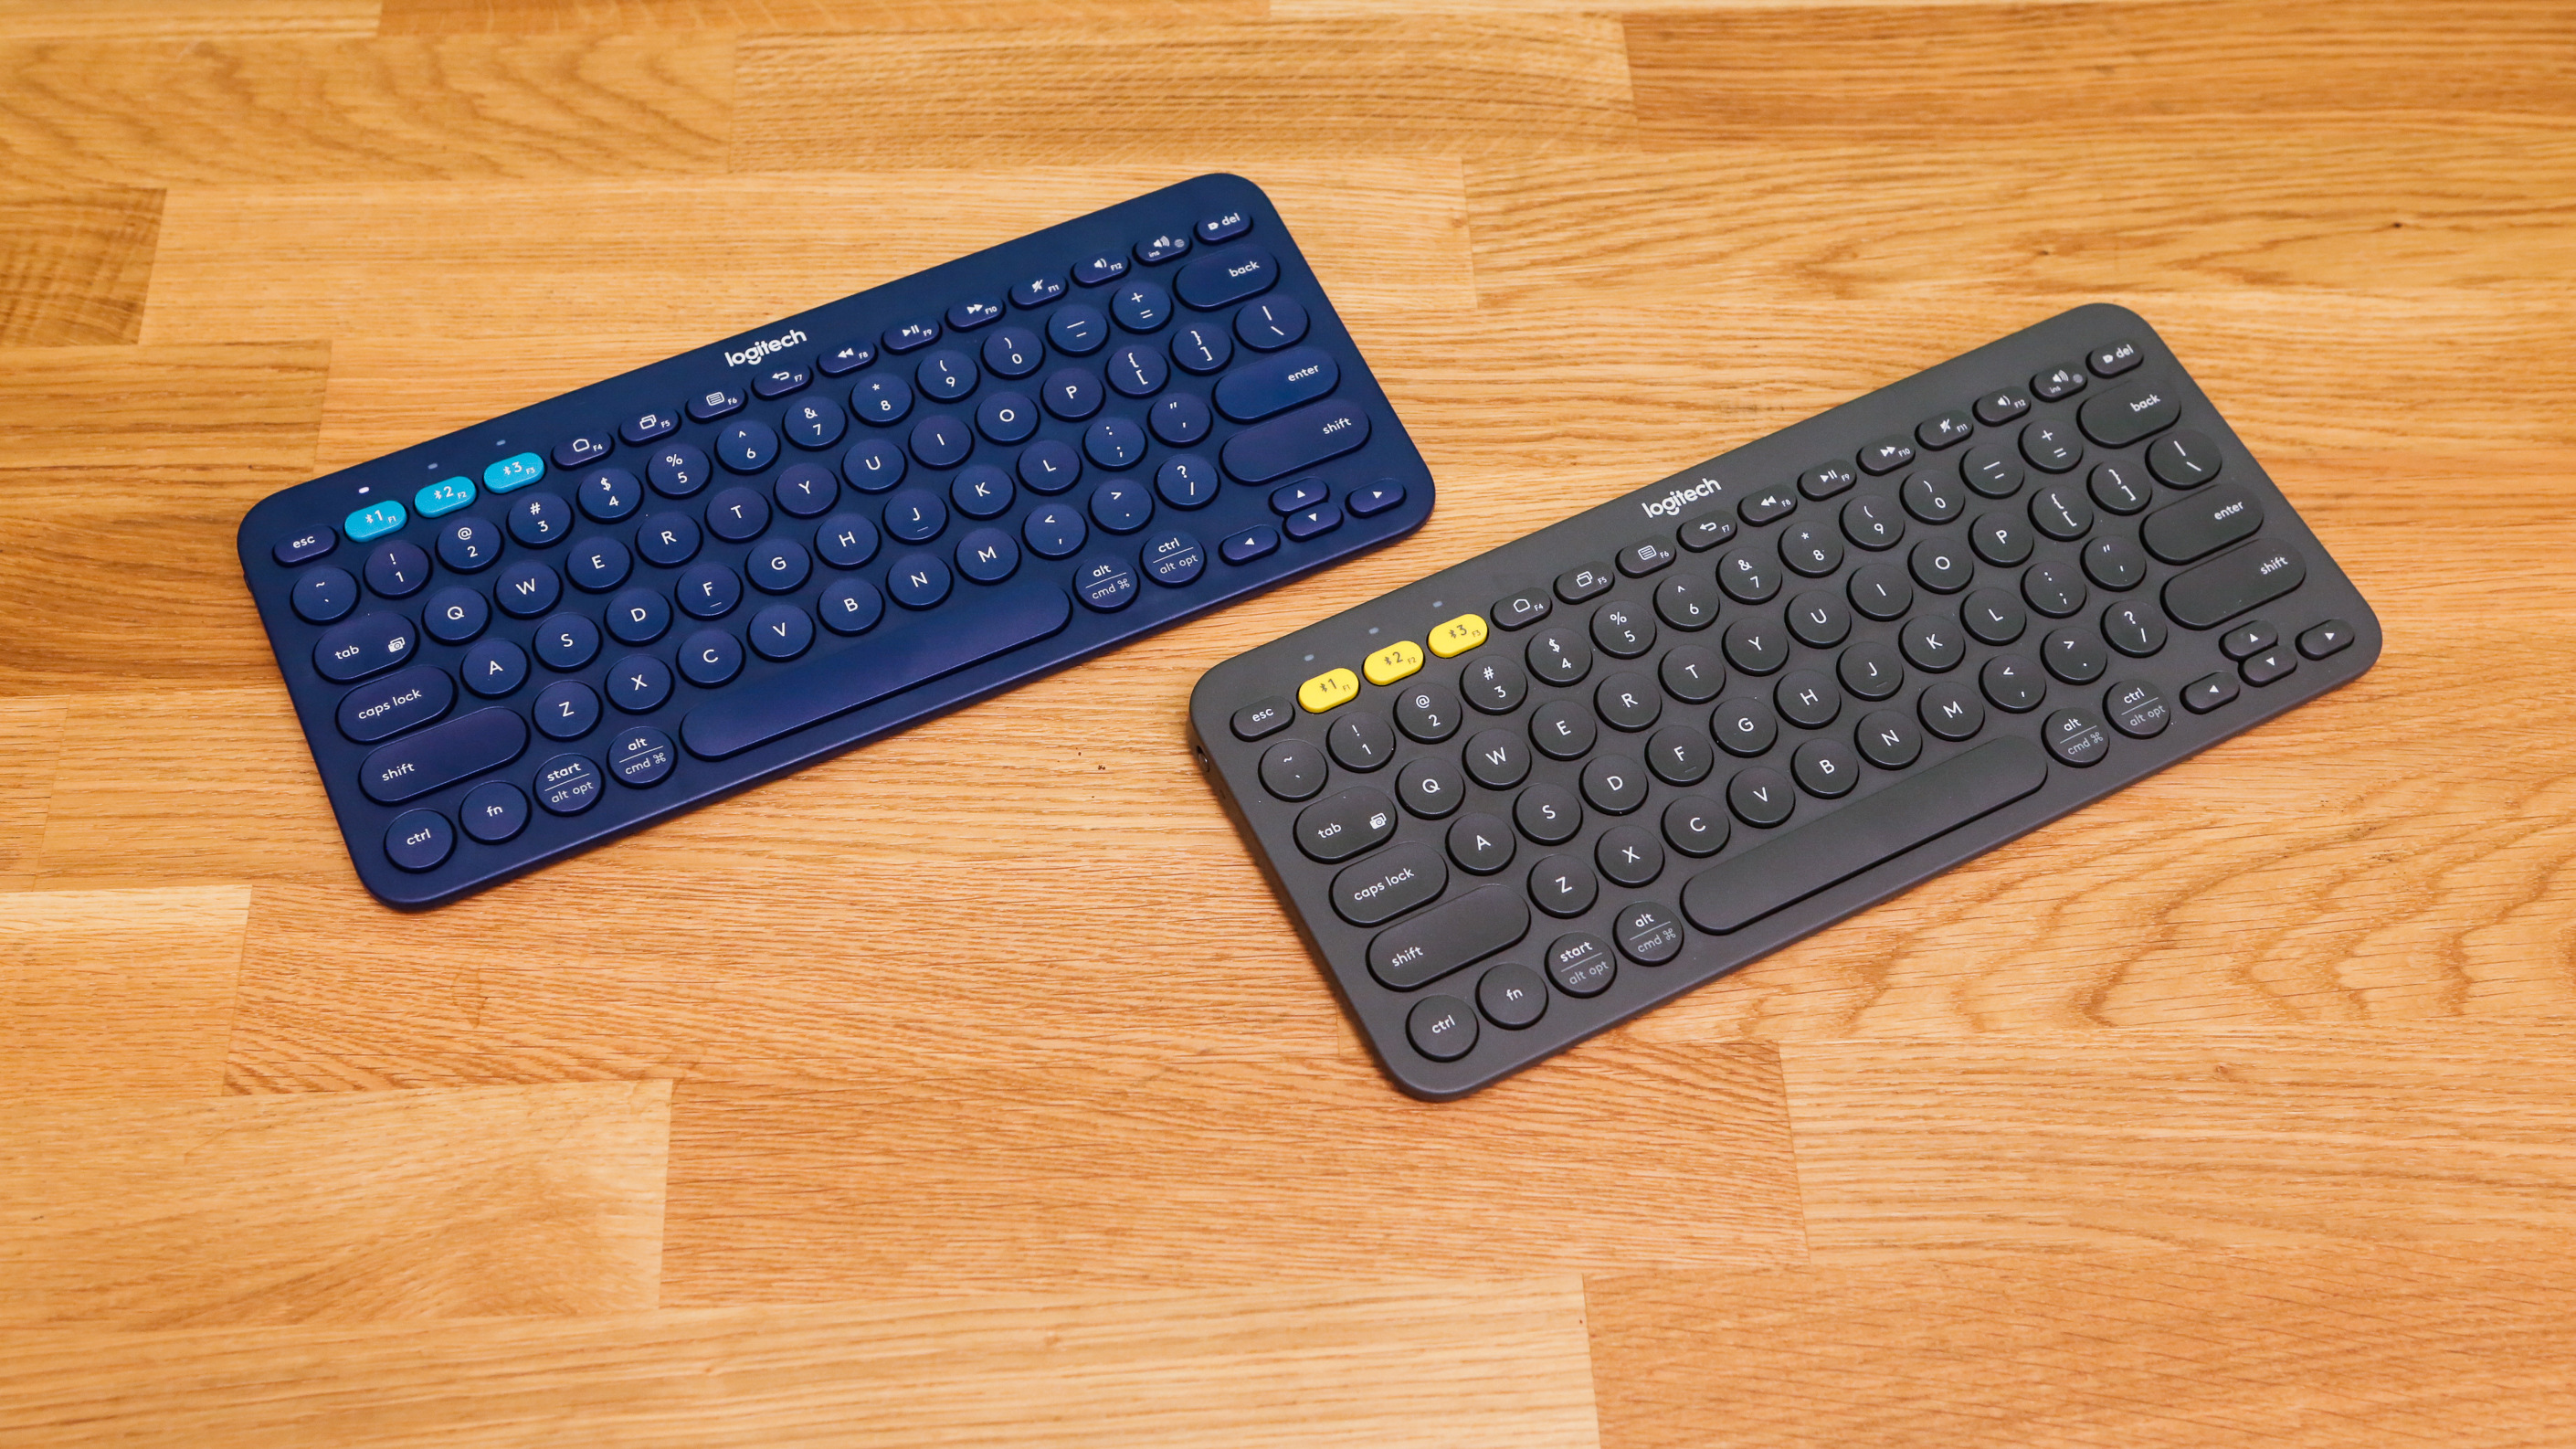
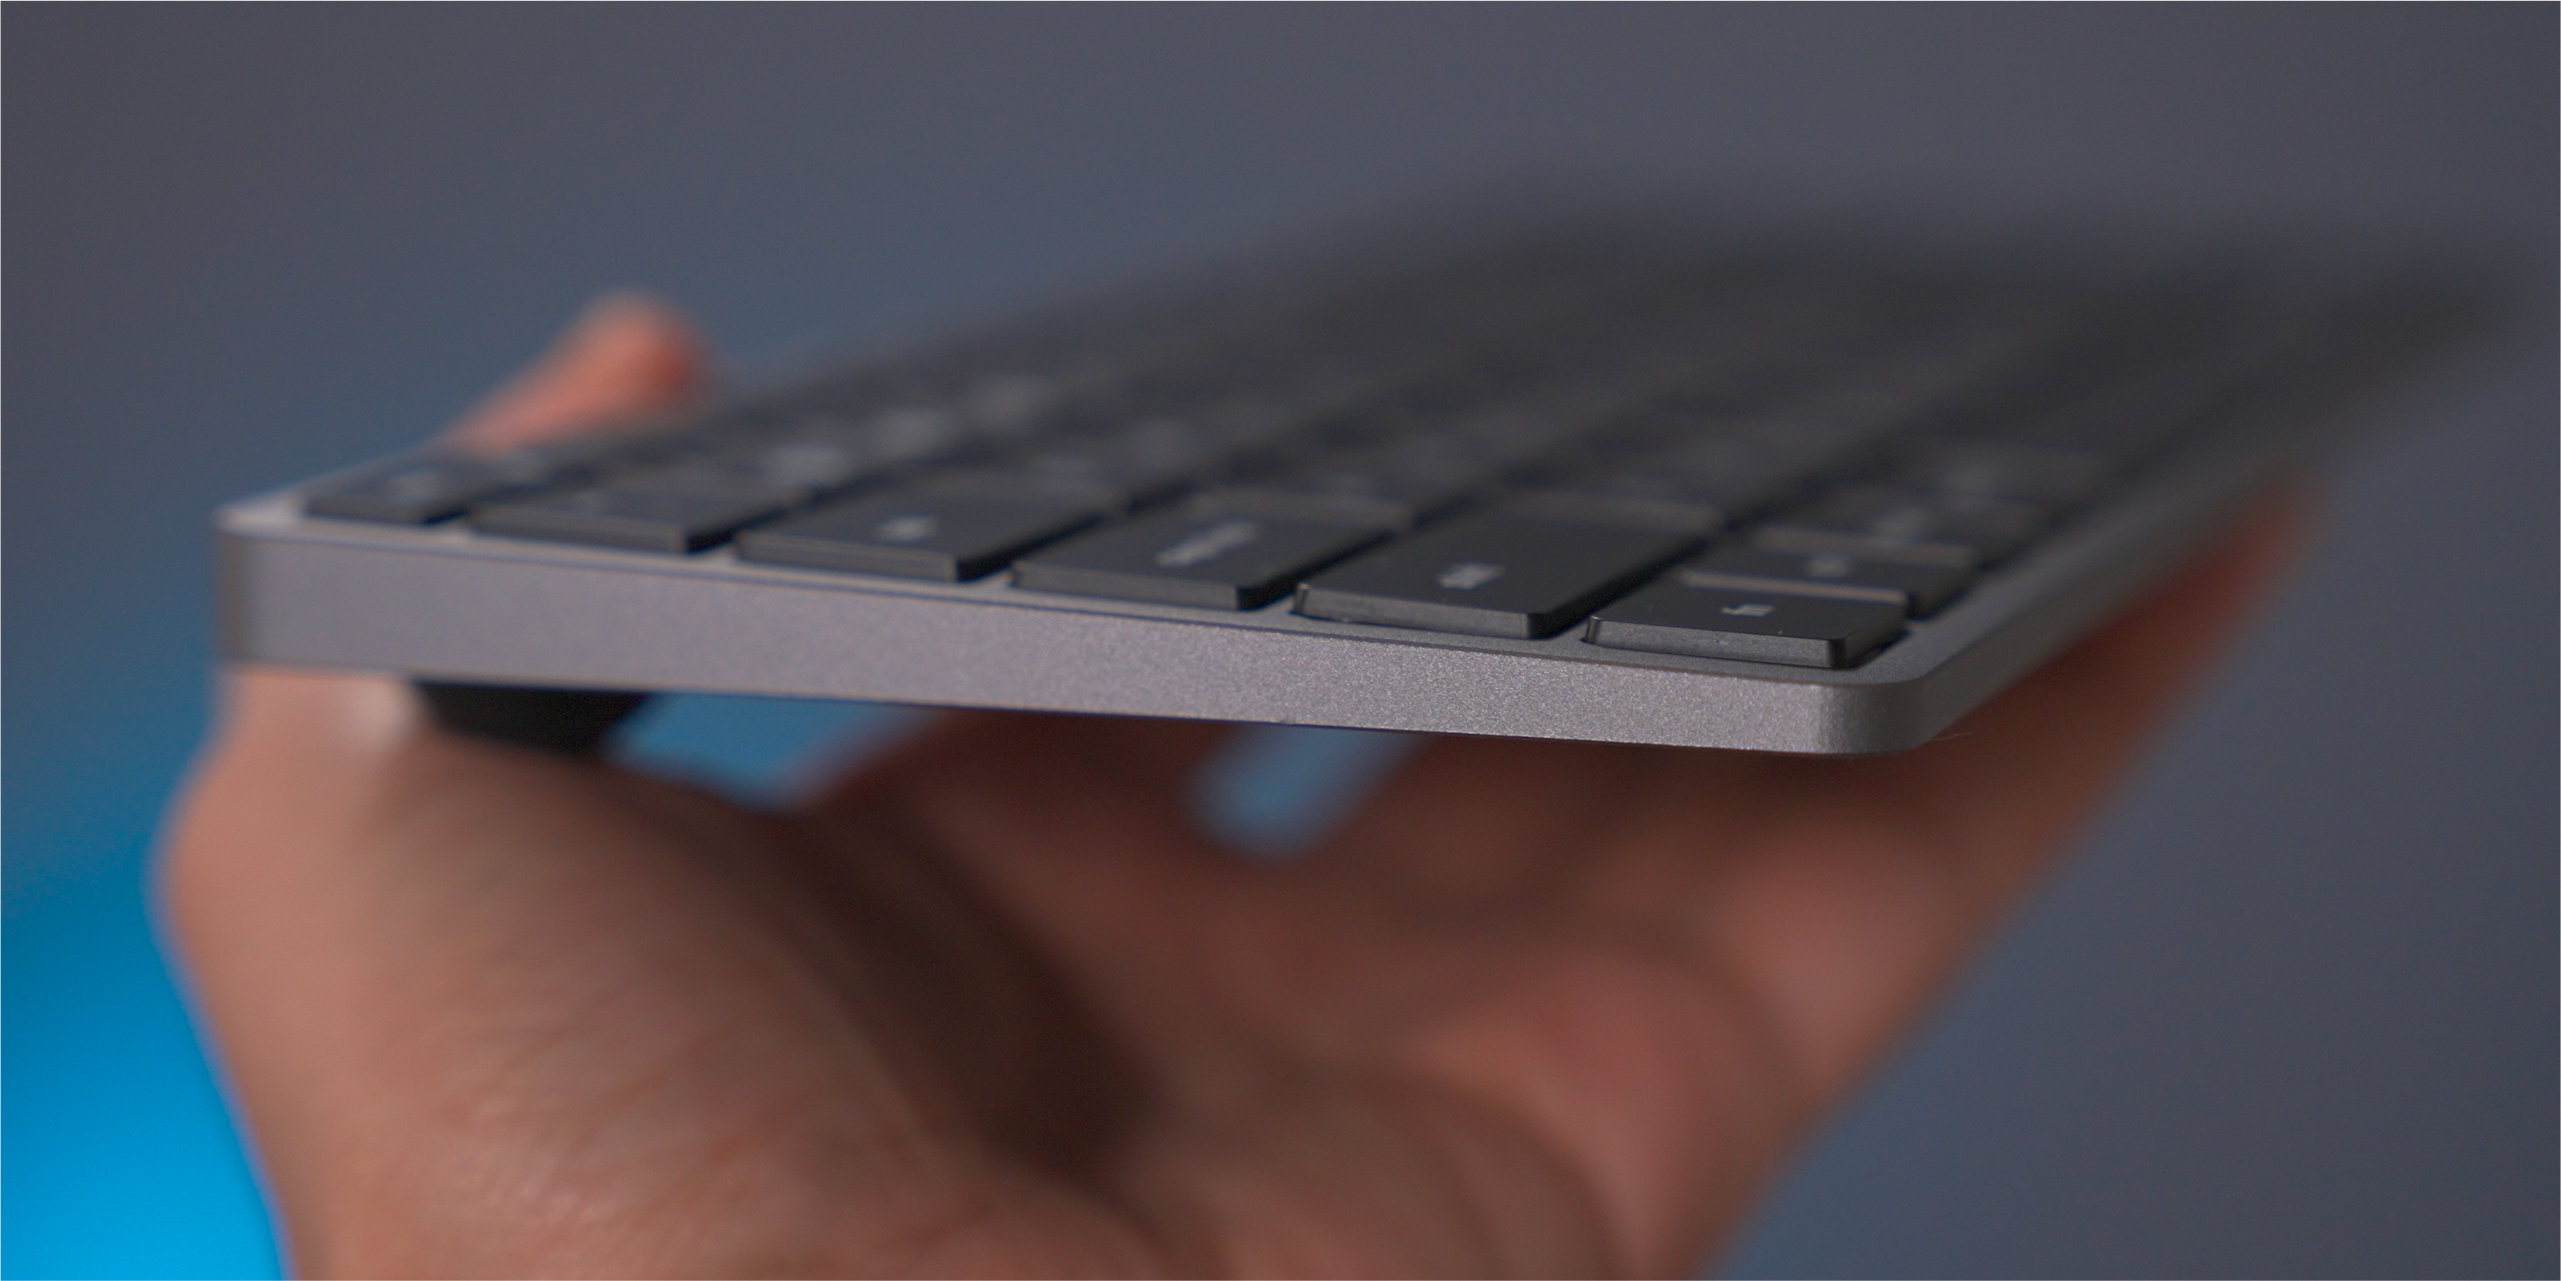
- Take a moment to appreciate the sleek and compact design of the keyboard. Notice its lightweight construction, making it portable and easy to carry.
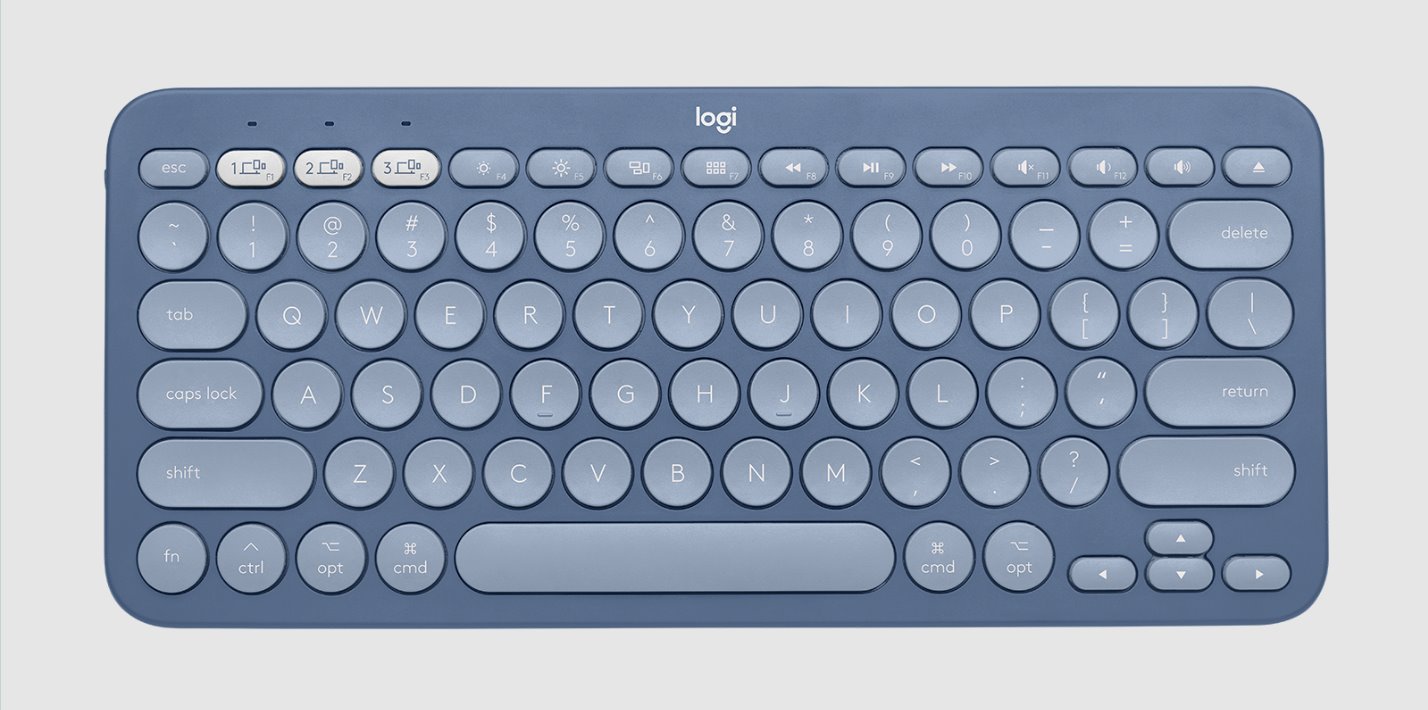
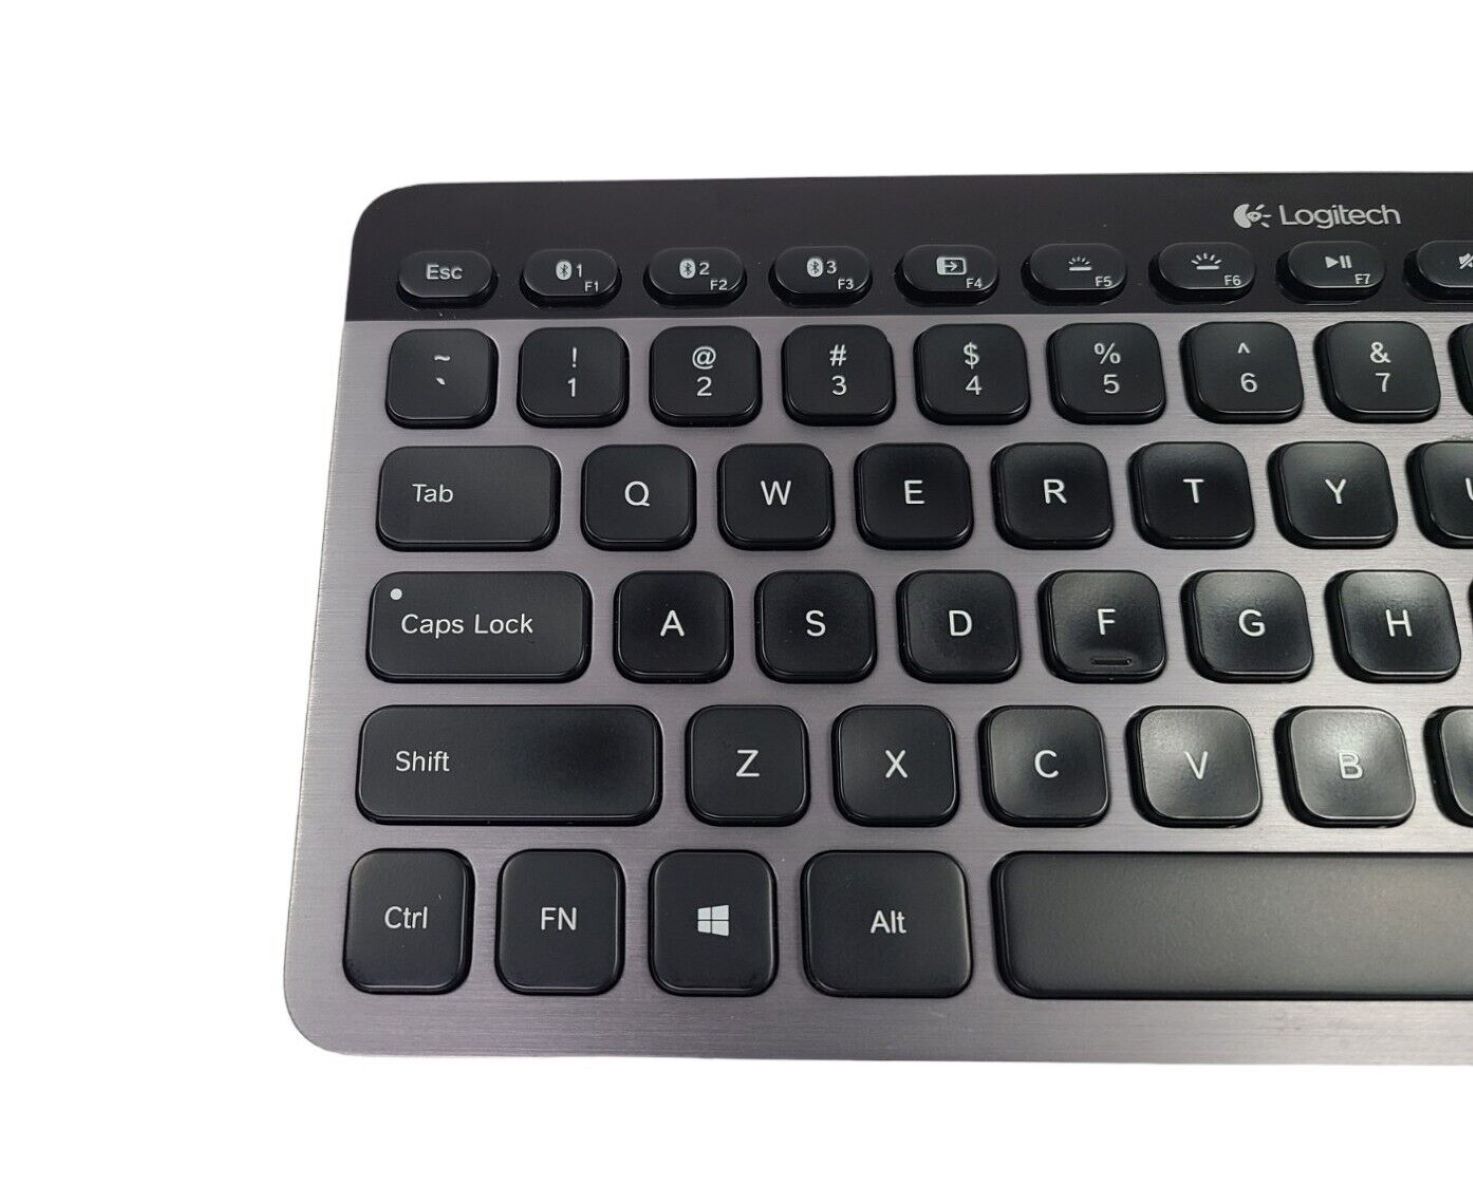
- Examine the top of the keyboard, where you will find the keys and various function buttons. Pay attention to the designated buttons for switching between devices.
- Flip the keyboard over to the bottom side and locate the battery compartment. This is where you will insert the batteries later in the setup process.
- Review the user manual and any included documentation to familiarize yourself with the keyboard’s features and functionalities.
By completing these steps, you are now ready to move on to the next phase of connecting your Logitech Wireless Keyboard K380: installing the batteries.
Step 2: Installing Batteries
Before you can start using your Logitech Wireless Keyboard K380, you need to install the batteries. Follow these steps to ensure a smooth installation process:
- Turn your Logitech Wireless Keyboard K380 upside down to access the battery compartment.
- Using your fingers or a small, flat tool, slide open the battery door. Be gentle to avoid causing any damage.
- Insert the appropriate batteries into the compartment following the polarity markings (+ and -) indicated.
- Close the battery door securely, ensuring it clicks into place.
- Take a moment to confirm that the batteries are properly installed and securely in place.
It’s important to note that Logitech recommends using alkaline batteries for optimum performance. However, you can also use other types of batteries if desired, such as lithium or rechargeable batteries.
By completing these steps, your Logitech Wireless Keyboard K380 is now powered and ready to be turned on and paired with your device. Proceed to the next step to learn how to turn on the keyboard.
Step 3: Turning On the Keyboard
Once you have installed the batteries in your Logitech Wireless Keyboard K380, it’s time to turn it on. Follow these simple steps to activate your keyboard:
- Locate the power switch on the top left corner of the keyboard. It is marked with the power symbol (circle with a vertical line).
- Slide the power switch to the “On” position. You may hear a brief beep or see an LED light indicator on the keyboard, indicating that it is powered on.
- Allow a few moments for the keyboard to initialize and establish a connection with the device.
It’s important to note that if you do not use the keyboard for an extended period, it may automatically enter sleep mode to conserve battery life. Simply press any key to wake it up and resume normal operation.
By successfully turning on your Logitech Wireless Keyboard K380, you are now ready to proceed to the next step: pairing the keyboard with your device. The pairing process may vary depending on the type of device you are using, so let’s move on to the specific instructions for each device in the following steps.
Step 4: Pairing the Keyboard with a Device
Now that your Logitech Wireless Keyboard K380 is powered on, it’s time to pair it with your specific device. Follow the instructions below based on the type of device you want to connect to:
For Windows Computers:
- Open the Bluetooth settings on your Windows computer.
- Ensure that Bluetooth is turned on and in discoverable mode.
- Press and hold the “Easy-Switch” button located at the top left corner of the keyboard.
- While holding the button, observe the LED light indicators on the keyboard.
- Once the LED starts blinking rapidly, release the “Easy-Switch” button.
- Your Windows computer should detect the Logitech Wireless Keyboard K380. When prompted, select the keyboard from the list of available devices to complete the pairing process.
For Mac Computers:
- Access the Bluetooth settings on your Mac computer.
- Ensure that Bluetooth is enabled and discoverable.
- Press and hold the “Easy-Switch” button on the keyboard.
- Observe the LED light indicators until the LED starts flashing rapidly.
- Release the “Easy-Switch” button.
- Your Mac computer should detect the Logitech Wireless Keyboard K380. Follow the on-screen instructions to complete the pairing process.
For Android Devices:
- Open the Bluetooth settings on your Android device.
- Ensure that Bluetooth is turned on and in discoverable mode.
- Press and hold the “Easy-Switch” button on the keyboard.
- Observe the LED light indicators until the LED starts flashing rapidly.
- Release the “Easy-Switch” button.
- Your Android device should detect the Logitech Wireless Keyboard K380. When prompted, select the keyboard from the list of available devices to complete the pairing process.
For iOS Devices:
- Access the Bluetooth settings on your iOS device.
- Make sure that Bluetooth is enabled and in discoverable mode.
- Press and hold the “Easy-Switch” button on the keyboard.
- Observe the LED light indicators until the LED starts flashing rapidly.
- Release the “Easy-Switch” button.
- Your iOS device should detect the Logitech Wireless Keyboard K380. Follow the on-screen prompts to complete the pairing process.
Once you have successfully paired your Logitech Wireless Keyboard K380 with your device, you are ready to enjoy seamless typing and navigation. Proceed to the next steps specific to your device for further connection instructions.
Step 5: Connecting the Keyboard to a Windows Computer
If you want to connect your Logitech Wireless Keyboard K380 to a Windows computer, follow these simple steps:
- Make sure your Logitech Wireless Keyboard K380 is turned on.
- Open the Bluetooth settings on your Windows computer. You can typically find this in the system tray or by searching for “Bluetooth” in the Start menu.
- Ensure that Bluetooth is turned on and in discoverable mode on your computer.
- Press and hold the “Easy-Switch” button located at the top left corner of the keyboard.
- While holding the button, observe the LED light indicators on the keyboard.
- Once the LED starts blinking rapidly, release the “Easy-Switch” button.
- Your Windows computer should detect the Logitech Wireless Keyboard K380. When prompted, select the keyboard from the list of available devices to complete the pairing process.
- After the pairing process is complete, your Logitech Wireless Keyboard K380 will be connected to your Windows computer. You can now start using it for typing and navigating.
Note that if you are prompted to enter a PIN, follow the on-screen instructions to complete the pairing without a PIN.
With your Logitech Wireless Keyboard K380 successfully connected to your Windows computer, you can now enjoy the convenience and comfort it offers during your work or leisure activities.
Step 6: Connecting the Keyboard to a Mac Computer
If you want to connect your Logitech Wireless Keyboard K380 to a Mac computer, follow these straightforward steps:
- Ensure that your Logitech Wireless Keyboard K380 is turned on.
- Access the Bluetooth settings on your Mac computer. You can do this by clicking on the Apple menu in the top-left corner of the screen and selecting “System Preferences,” then clicking on “Bluetooth.”
- Make sure that Bluetooth is enabled and in discoverable mode on your Mac.
- Press and hold the “Easy-Switch” button on the keyboard.
- Observe the LED light indicators until the LED starts flashing rapidly.
- Release the “Easy-Switch” button.
- Your Mac computer should detect the Logitech Wireless Keyboard K380. Follow the on-screen instructions to complete the pairing process.
- After successful pairing, your Logitech Wireless Keyboard K380 will be connected to your Mac computer. You can now enjoy using it for typing and navigation.
If prompted to enter a PIN, follow the on-screen instructions to complete the pairing without a PIN.
With your Logitech Wireless Keyboard K380 now connected to your Mac computer, you can experience the convenience and comfort it provides while working or engaging in various activities.
Step 7: Connecting the Keyboard to an Android Device
To connect your Logitech Wireless Keyboard K380 to an Android device, simply follow these steps:
- Ensure that your Logitech Wireless Keyboard K380 is turned on.
- Open the Bluetooth settings on your Android device. This can usually be found in the Settings app, under the “Connected devices” or “Bluetooth” section.
- Make sure Bluetooth is turned on and in discoverable mode on your Android device.
- Press and hold the “Easy-Switch” button on the keyboard.
- Observe the LED light indicators until the LED starts flashing rapidly.
- Release the “Easy-Switch” button.
- Your Android device should detect the Logitech Wireless Keyboard K380. When prompted, select the keyboard from the list of available devices to complete the pairing process.
- Once the pairing process is complete, your Logitech Wireless Keyboard K380 will be connected to your Android device. You can now use it for typing and navigation.
If prompted to enter a PIN, follow the on-screen instructions to complete the pairing without a PIN.
With your Logitech Wireless Keyboard K380 successfully connected to your Android device, you can enjoy the convenience and efficiency of typing on a physical keyboard for various tasks, such as writing emails, editing documents, or browsing the web.
Step 8: Connecting the Keyboard to an iOS Device
If you want to connect your Logitech Wireless Keyboard K380 to an iOS device, such as an iPhone or iPad, follow these simple steps:
- Ensure that your Logitech Wireless Keyboard K380 is turned on.
- Access the Bluetooth settings on your iOS device. You can find this in the Settings app, under the “Bluetooth” section.
- Turn on Bluetooth and make sure it is discoverable on your iOS device.
- Press and hold the “Easy-Switch” button on the keyboard.
- Observe the LED light indicators until the LED starts flashing rapidly.
- Release the “Easy-Switch” button.
- Your iOS device should detect the Logitech Wireless Keyboard K380. Follow the on-screen prompts to complete the pairing process.
- After successful pairing, your Logitech Wireless Keyboard K380 will be connected to your iOS device. You can now use it for typing and navigating with ease.
If prompted to enter a PIN, follow the on-screen instructions to complete the pairing without a PIN.
With your Logitech Wireless Keyboard K380 now connected to your iOS device, you can enjoy the convenience and enhanced typing experience for various tasks, such as writing emails, creating documents, or engaging in productive work on the go.
Step 9: Troubleshooting Tips
While connecting your Logitech Wireless Keyboard K380 to your device is usually a straightforward process, you may encounter some issues along the way. Here are some troubleshooting tips to help you resolve common problems:
- Ensure the keyboard is in pairing mode: Make sure the keyboard is in pairing mode by turning it off and on again, then trying to reconnect it to your device.
- Check the battery level: If the keyboard isn’t connecting, it could be due to low battery power. Replace the batteries or recharge them if necessary.
- Turn off and on Bluetooth: Toggle the Bluetooth off and on on your device to establish a fresh connection.
- Remove and reconnect the keyboard: Unpair the keyboard from your device’s Bluetooth settings and then reconnect it as if you were setting it up for the first time.
- Update device software: Ensure that your device’s operating system is up to date, as older software versions may have compatibility issues with the keyboard.
- Reset the keyboard: If all else fails, you can try resetting the Logitech Wireless Keyboard K380. Look for the reset button on the bottom of the keyboard, typically found near the battery compartment, and press it with a small, pointed object. Then, repeat the pairing process described earlier.
If you are still experiencing difficulties connecting your Logitech Wireless Keyboard K380, refer to the user manual or visit the Logitech support website for further assistance. They may have specific troubleshooting steps depending on your device and operating system.
Remember, patience and persistence are key when troubleshooting connectivity issues. With some troubleshooting steps and perseverance, you should be able to successfully connect your Logitech Wireless Keyboard K380 to your device.
Conclusion
Congratulations! You have successfully learned how to connect your Logitech Wireless Keyboard K380 to various devices, including Windows computers, Mac computers, Android devices, and iOS devices. By following the step-by-step instructions outlined in this guide, you can effortlessly enjoy the convenience and enhanced typing experience that this versatile keyboard offers.
Remember to start by unboxing the keyboard and installing the batteries properly. Then, power on the keyboard and pair it with your specific device using the easy-switch button. Depending on your device, follow the instructions provided to complete the pairing process.
In the event that you encounter any connectivity issues, don’t panic. Refer to the troubleshooting tips provided to resolve common problems. Remember to check the keyboard’s pairing mode, battery level, and Bluetooth settings on your device. If necessary, update your device’s software or perform a keyboard reset.
With your Logitech Wireless Keyboard K380 successfully connected, you can now enjoy a seamless and comfortable typing experience for all your work and leisure activities. Whether you’re typing an email, writing a document, or navigating through your device, this keyboard will enhance your productivity and efficiency.
We hope this guide has been helpful and that you feel confident in connecting your Logitech Wireless Keyboard K380 to your preferred device. If you have any further questions or encounter any difficulties, don’t hesitate to refer to the user manual or contact Logitech support for additional assistance.
Now, go ahead and enjoy the convenience and versatility of your Logitech Wireless Keyboard K380! Happy typing!


