Introduction
Welcome to the world of the Logitech MX Anywhere 3, a powerful and versatile wireless mouse that combines precision, comfort, and portability. Whether you’re a creative professional, a busy entrepreneur, or a student on the go, this cutting-edge mouse is designed to enhance your productivity and elevate your computing experience.
The Logitech MX Anywhere 3 offers an array of advanced features, including customizable buttons, hyper-fast scrolling, and seamless multi-device connectivity. With its compact size and long-lasting battery, you can take the MX Anywhere 3 with you wherever you go and enjoy exceptional performance on any surface.
In this comprehensive guide, we’ll walk you through the step-by-step process of setting up and using your Logitech MX Anywhere 3. From unboxing the mouse to customizing its settings, we’ll cover everything you need to know to make the most of this remarkable device.
Whether you’re a Mac user, a PC enthusiast, or a lover of both worlds, the Logitech MX Anywhere 3 is compatible with multiple operating systems. So, no matter what device you’re using, you can rest assured that this mouse will seamlessly integrate into your workflow.
So, let’s dive in and discover how to unleash the full potential of your Logitech MX Anywhere 3. By the end of this guide, you’ll be navigating through your digital tasks with precision, comfort, and style.
Step 1: Unpacking the Logitech MX Anywhere 3
Excitement fills the air as you open the box and unveil your brand new Logitech MX Anywhere 3. The sleek design and quality craftsmanship are immediately evident. To get started, follow these simple steps:
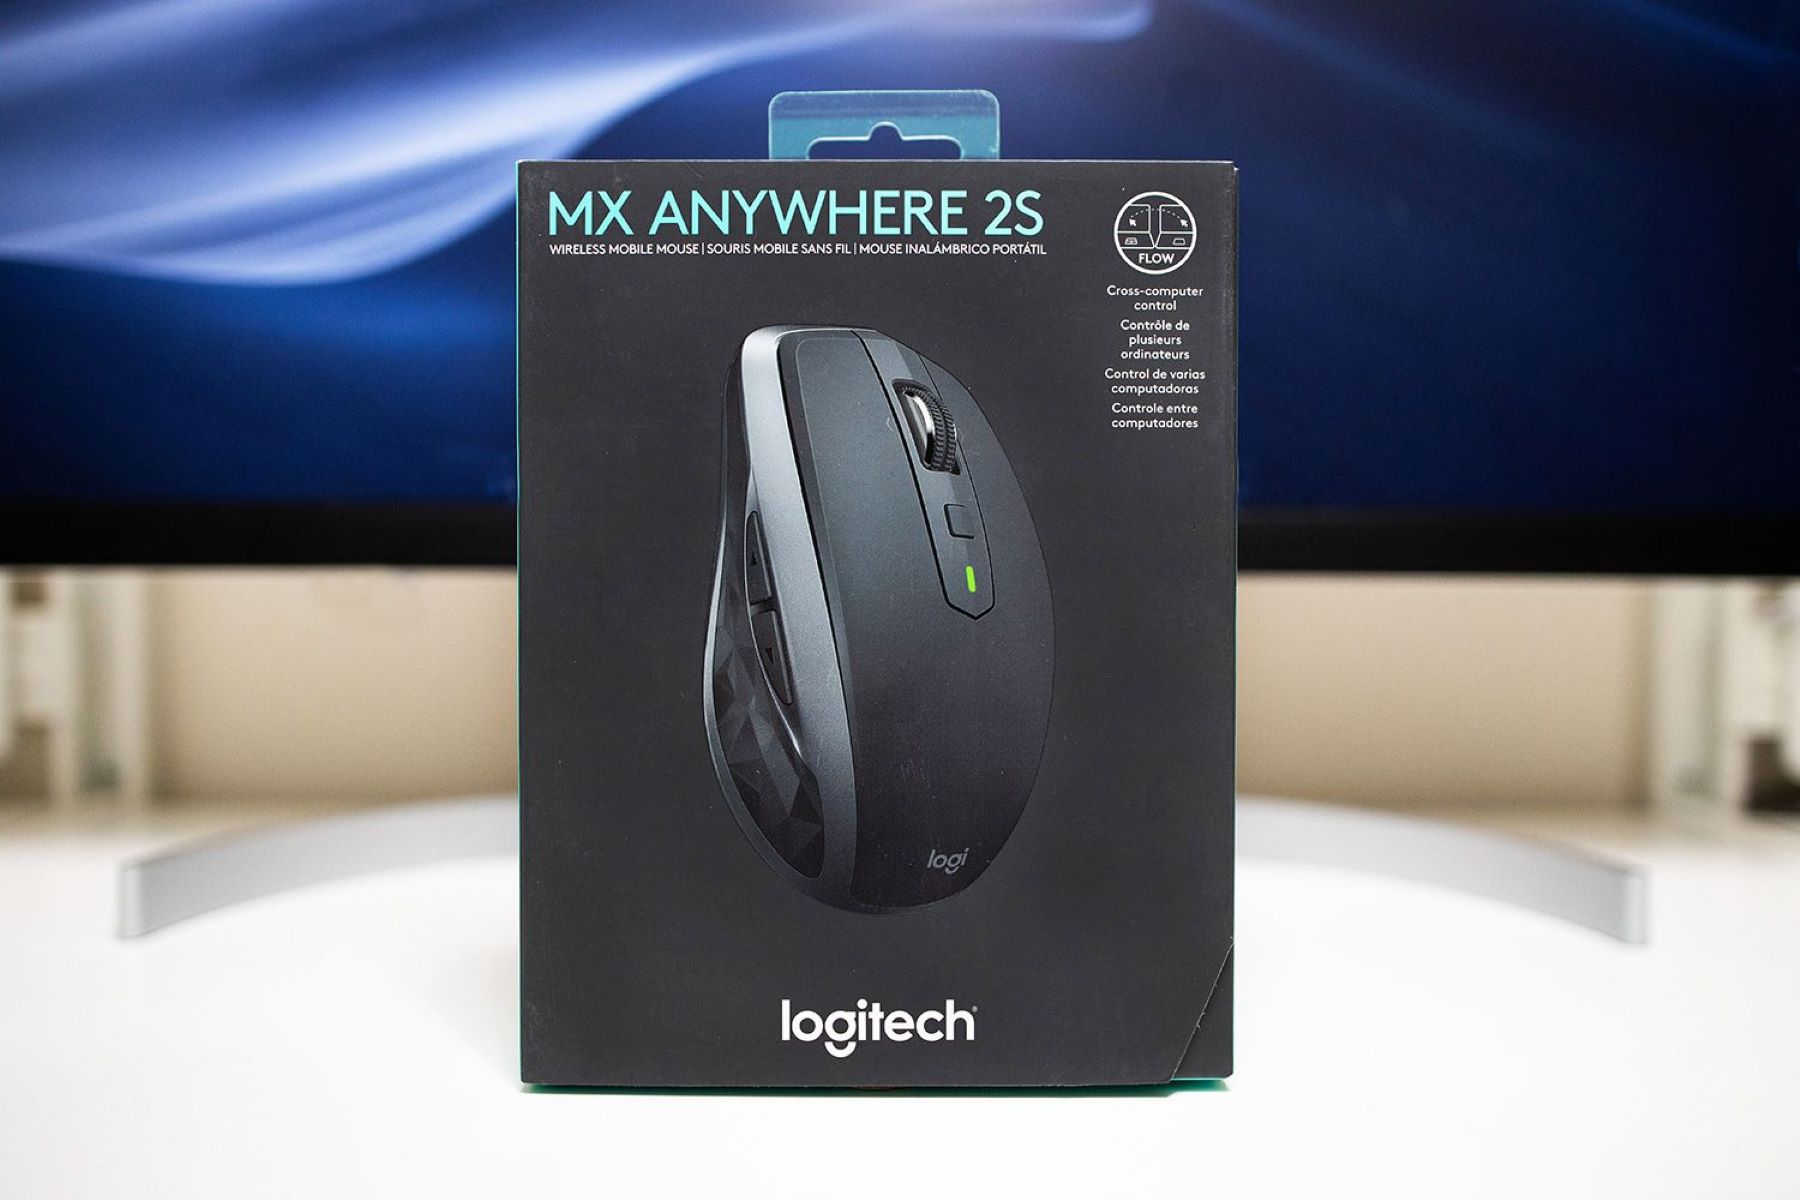
- Remove the Logitech MX Anywhere 3 from its packaging. Carefully lift the mouse and set it aside.
- Underneath the mouse, you’ll find the Unifying receiver if it was included with your purchase. This receiver allows you to connect the MX Anywhere 3 to your computer wirelessly. If you’re using a newer computer that has built-in Bluetooth capability, you may not need the receiver.
- Inspect the contents of the box to ensure that you have all the necessary accessories, which usually include a USB-C charging cable and any additional adapters that may be required.
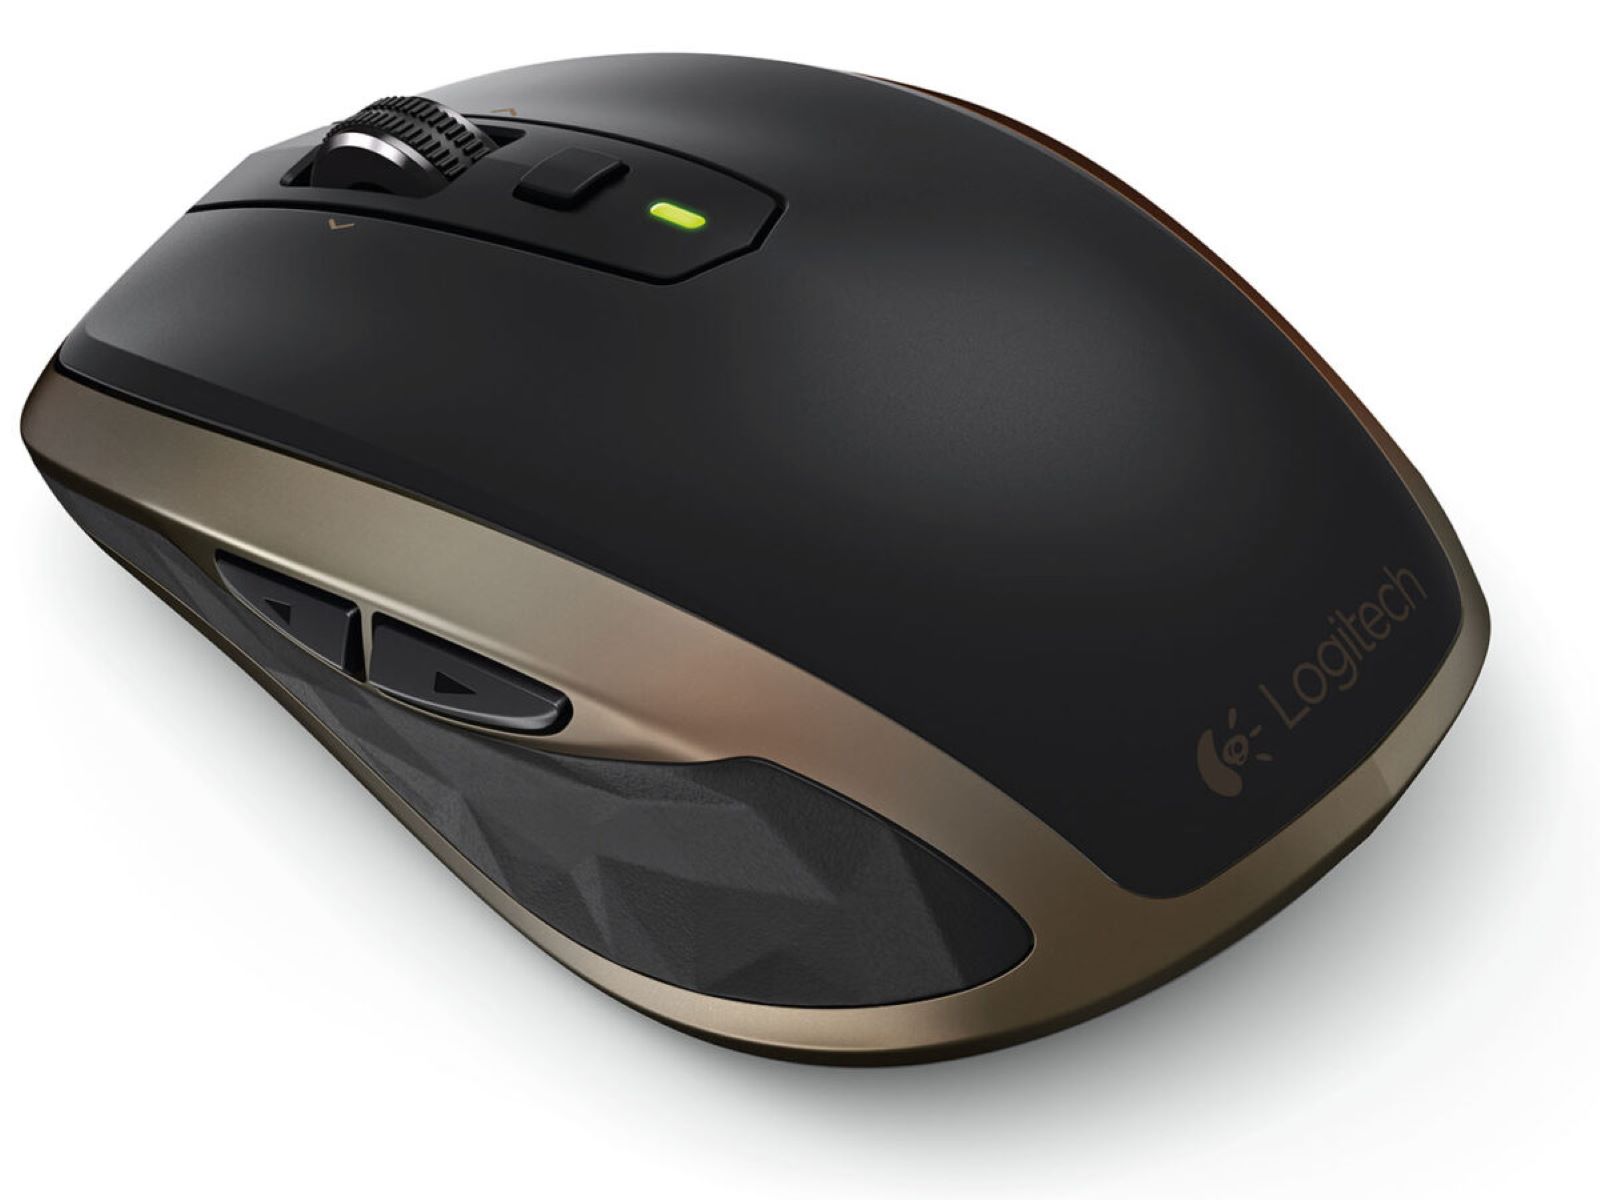
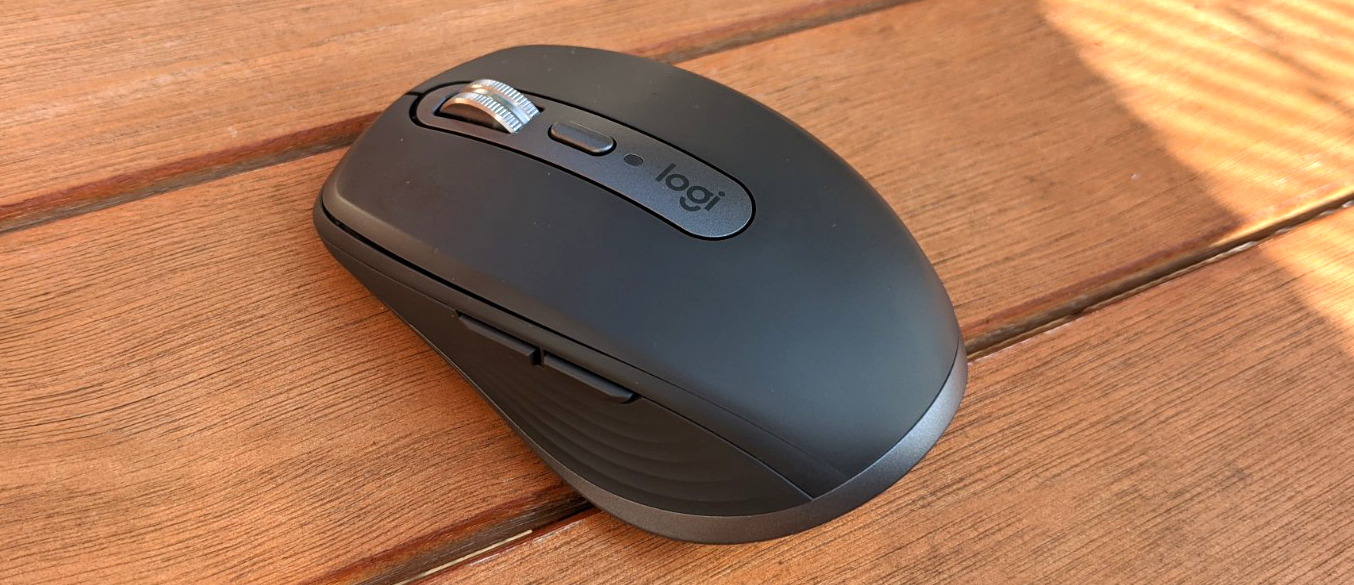
- Take a moment to appreciate the compact and ergonomic design of the Logitech MX Anywhere 3. Its smooth curves and textured grip ensure a comfortable and secure hold during extended use.
Once you’ve completed these steps, you’re ready to move on to the next exciting phase: installing the Logitech Options software.
Step 2: Installing the Logitech Options Software
To unlock the full potential of your Logitech MX Anywhere 3, you’ll need to install the Logitech Options software. This powerful software allows you to customize the mouse settings, assign functions to the buttons, and take advantage of advanced features. Follow these steps to install the Logitech Options software:
- Visit the official Logitech website and navigate to the MX Anywhere 3 product page.
- Locate the “Support” or “Downloads” section on the product page.
- Select your operating system from the available options, such as Windows or macOS.
- Click on the download link to start downloading the Logitech Options software.
- Once the download is complete, locate the installation file and double-click to launch the installation process.
- Follow the on-screen instructions to complete the installation. Make sure to read and accept the terms and conditions.
- After the installation is finished, launch the Logitech Options software.
- Connect the Logitech MX Anywhere 3 to your computer using the included USB-C charging cable or the Unifying receiver, if applicable.
- Wait for the software to detect the mouse and establish a connection.
Once the connection is established, you’ll be able to access the full range of customization options offered by the Logitech Options software. Get ready to personalize your mouse to suit your unique preferences and workflow.
Note that some features and functions may vary depending on your operating system and the version of the Logitech Options software. Make sure to keep your software up to date to take advantage of any enhancements or bug fixes released by Logitech.
Step 3: Turning on the Logitech MX Anywhere 3
Now that you have installed the Logitech Options software, it’s time to turn on your Logitech MX Anywhere 3 and ensure that it’s ready for use. Follow these simple steps:
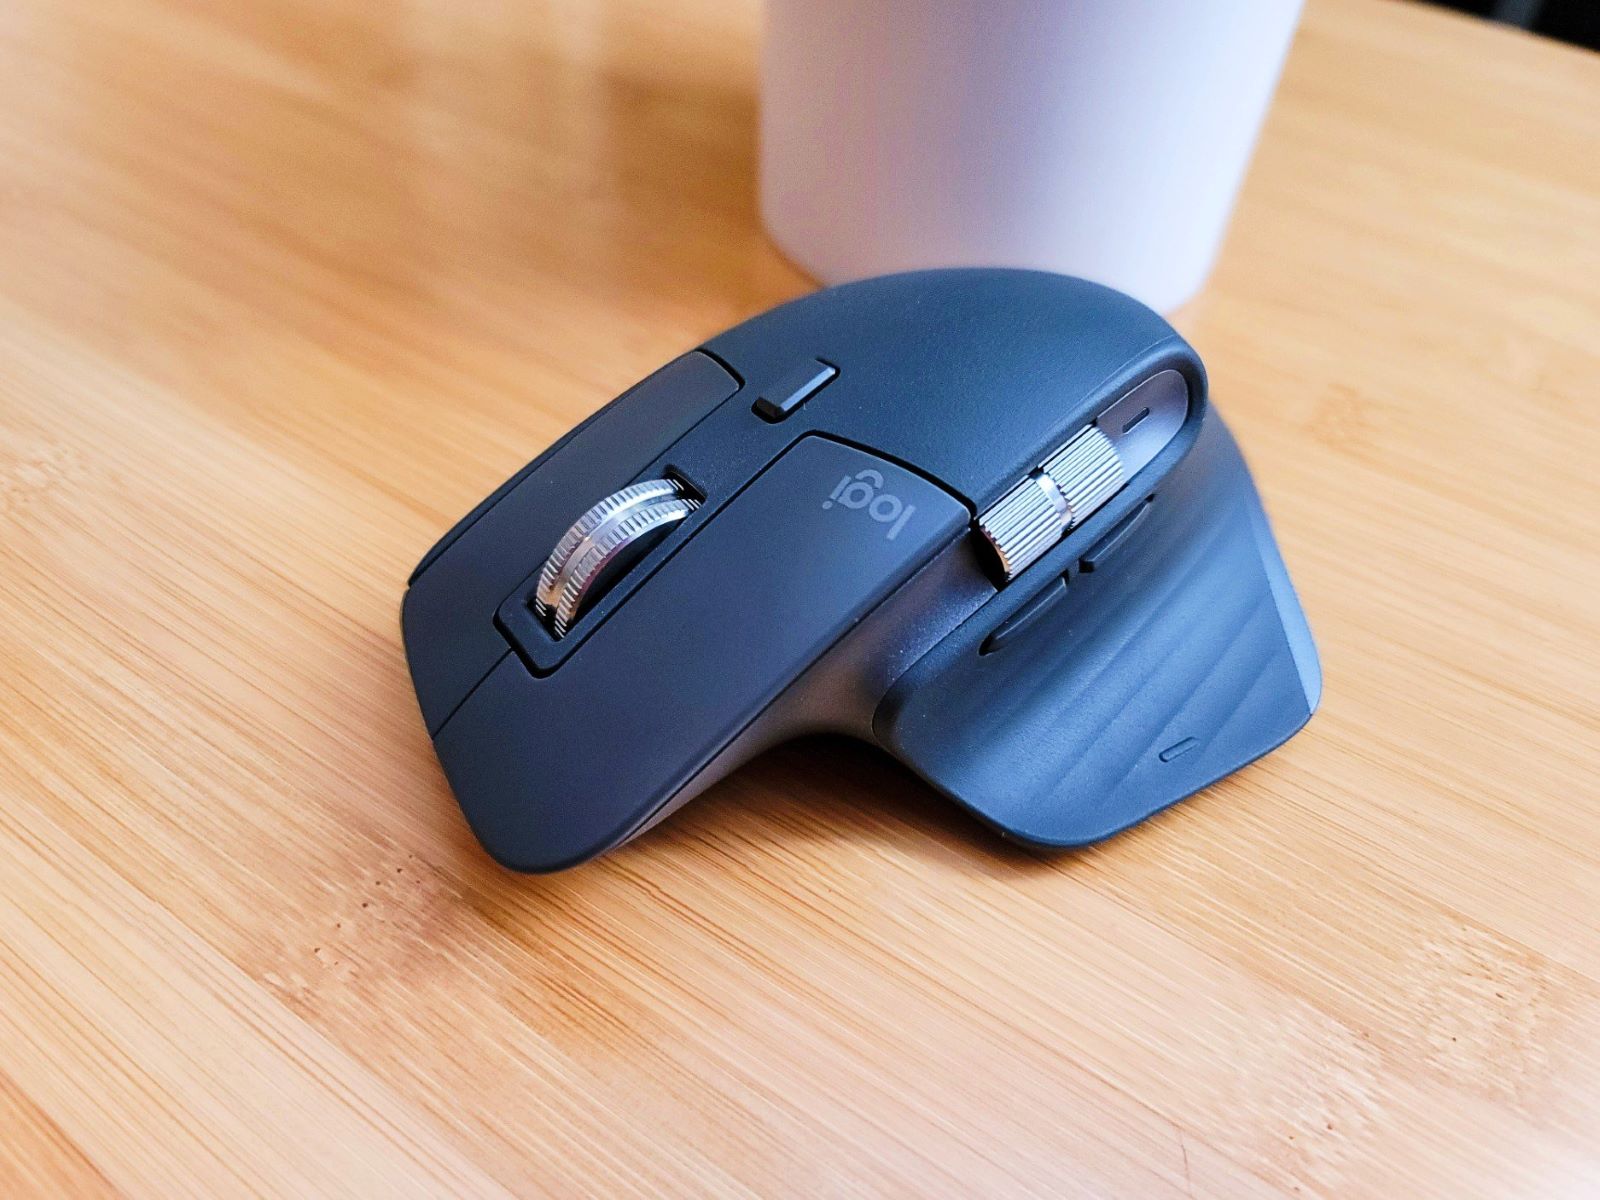
- Locate the power switch on the underside of the Logitech MX Anywhere 3.
- Slide the power switch to the “ON” position. You may notice a small LED light on the top of the mouse indicating that it’s powered on.
- Ensure that the battery is adequately charged. The Logitech MX Anywhere 3 has an impressive battery life and can last up to 70 days on a full charge, depending on usage.
- If the battery level is low, connect the mouse to your computer using the USB-C charging cable and allow it to charge for a while.
- Once the mouse is turned on and charged, it’s ready to connect to your computer and unleash its capabilities.
By following these steps, you’ll have your Logitech MX Anywhere 3 powered up and ready to go. Now it’s time to move on to the next step: pairing the mouse with your computer.
Step 4: Pairing the Logitech MX Anywhere 3 with your Computer
Now that your Logitech MX Anywhere 3 is turned on, it’s time to pair the mouse with your computer. Depending on your operating system and connectivity preferences, you can choose from two options: using the Unifying receiver or connecting via Bluetooth.
Pairing with the Unifying Receiver:
- If your Logitech MX Anywhere 3 came with a Unifying receiver, plug it into an available USB port on your computer.
- The Unifying receiver will automatically detect the mouse and establish a connection.
- Wait for your computer to install any necessary drivers for the mouse.
- Once the pairing is complete, you can start using your Logitech MX Anywhere 3.
Pairing via Bluetooth:
- Ensure that your computer’s Bluetooth is turned on and discoverable.
- On your Logitech MX Anywhere 3, press and hold the Easy-Switch button located on the bottom of the mouse until the LED light starts blinking.
- Go to your computer’s Bluetooth settings and search for available devices.
- Select the Logitech MX Anywhere 3 from the list of available devices.
- Follow any additional on-screen prompts, if needed, to complete the pairing process.
Once your Logitech MX Anywhere 3 is successfully paired with your computer, you can enjoy the freedom of wireless connectivity and start exploring the mouse’s features and customization options.
Remember, if you’re using multiple devices, such as a laptop and a desktop computer, you can pair and switch between them seamlessly using the Easy-Switch button on the Logitech MX Anywhere 3. Just press the button to toggle between the devices without the need for additional pairing.
Now that your Logitech MX Anywhere 3 is connected and ready to use, it’s time to move to the next step: customizing the mouse settings to match your preferences.
Step 5: Customizing the Mouse Settings
One of the key advantages of the Logitech MX Anywhere 3 is its customization options, allowing you to personalize the mouse settings to suit your needs and preferences. Follow these steps to customize the mouse settings:
- Launch the Logitech Options software on your computer, which you installed in the previous step.
- The software will detect your Logitech MX Anywhere 3 and display the available customization options.
- Explore the various tabs and menus to customize different aspects of the mouse, such as button assignments, scroll speed, pointer settings, and more.
- Click on each option to adjust the settings according to your preferences.
- Experiment with the different customization options to find the setup that works best for you.
- Take advantage of the specialized features of the Logitech MX Anywhere 3, such as gesture controls, application-specific settings, and advanced scrolling options.
- Save your customized settings to apply them to your Logitech MX Anywhere 3.
The Logitech Options software provides a user-friendly interface that makes it easy to customize your Logitech MX Anywhere 3. Whether you need to assign specific functions to the mouse buttons, adjust the tracking speed, or create custom profiles for different applications, the software offers a wide range of options to cater to your needs.
Don’t be afraid to explore and experiment with different settings to find the configuration that enhances your productivity and workflow. You can always go back and make adjustments as needed.
Now that you’ve customized the mouse settings, it’s time to put the Logitech MX Anywhere 3 to work. In the next step, we’ll delve into how to use the mouse effectively for your daily tasks.
Step 6: Using the Logitech MX Anywhere 3
With the Logitech MX Anywhere 3 customized to your liking, it’s time to experience the seamless functionality and exceptional performance of this versatile mouse. Let’s explore how you can make the most out of it:
1. Cursor Precision: The Logitech MX Anywhere 3 is equipped with a high-precision sensor that ensures smooth and accurate tracking on various surfaces, including glass. Enjoy precise cursor control whether you’re working on your desk, on the go, or even on unconventional surfaces.
2. Custom Button Assignments: Take advantage of the customizable buttons on the Logitech MX Anywhere 3 to streamline your workflow. Assign frequently used functions, shortcuts, or macros to the buttons for quick access. Whether it’s copying and pasting, activating multimedia controls, or launching applications, the possibilities are endless.
3. Hyper-Fast Scrolling: Need to navigate through long documents or web pages quickly? The hyper-fast scroll wheel on the Logitech MX Anywhere 3 allows you to effortlessly switch between precise click-to-click scrolling and rapid scrolling with just a flick of your finger. Say goodbye to endless scrolling and save valuable time.
4. Multi-Device Functionality: If you own multiple devices, such as a laptop, desktop, or tablet, the Logitech MX Anywhere 3 lets you seamlessly switch between them. With the Easy-Switch button, you can pair and toggle between up to three computers or devices effortlessly. Stay productive and eliminate the hassle of manual pairing.
5. Gestures and Application-Specific Settings: Explore the power of gestures by assigning them to specific mouse movements. Navigate back and forth between pages, switch between applications or virtual desktops, or perform other actions with a simple gesture. Additionally, create application-specific settings to optimize your workflow for different software.
6. Battery Life: The Logitech MX Anywhere 3 boasts an impressive battery life of up to 70 days on a full charge, depending on usage. Say goodbye to frequent battery replacements and focus on your work without interruptions. When the battery is low, conveniently recharge it using the included USB-C cable.
With these features and functionalities, the Logitech MX Anywhere 3 elevates your computing experience and empowers you to work efficiently and effortlessly.
Now that you’re familiar with using the Logitech MX Anywhere 3, let’s address any potential issues you may encounter and troubleshoot them in the next step.
Step 7: Troubleshooting Common Issues
While the Logitech MX Anywhere 3 is a reliable and high-performance mouse, you may occasionally encounter some issues. Don’t worry! Here are some common problems and their solutions to help you troubleshoot:
1. Connectivity Issues: If you’re experiencing connection problems, try the following steps:
- Ensure that your Logitech MX Anywhere 3 is turned on and in pairing mode.
- Verify that your computer’s Bluetooth or the Unifying receiver is properly connected and functioning.
- Move closer to your computer or unobstructed area to ensure a stronger wireless signal.
- Restart your computer and the Logitech Options software to refresh the connection.
2. Cursor Movement Problems: If the cursor isn’t moving smoothly or accurately, consider these solutions:
- Check if there are any dust or debris on the sensor and clean it using a soft, lint-free cloth.
- Ensure that you’re using the mouse on a suitable surface that allows proper tracking.
- Adjust the tracking speed and acceleration settings in the Logitech Options software to optimize cursor movement.
- Try using the mouse on a different computer or surface to determine if there’s a specific compatibility issue.
3. Battery Life Problems: If your Logitech MX Anywhere 3 is not holding a charge, try the following:
- Make sure that the mouse is properly connected and charging when using the USB-C cable.
- Check the battery level in the Logitech Options software or using the LED indicator on the mouse.
- Disable any unnecessary power-consuming features, such as excessive backlighting or unneeded gestures.
- If the issue persists, try contacting Logitech customer support for further assistance.
If you encounter any other issues or have trouble resolving them, consulting the Logitech MX Anywhere 3 user manual or reaching out to Logitech support can provide additional guidance specific to your situation.
By following these troubleshooting steps, you can overcome common problems and ensure a smooth and uninterrupted experience with your Logitech MX Anywhere 3 mouse.
Conclusion
Congratulations! You have now successfully set up, customized, and started using your Logitech MX Anywhere 3 mouse. With its precision, versatility, and advanced features, the MX Anywhere 3 elevates your productivity and enhances your computing experience.
Throughout this guide, we covered various steps, including unpacking the mouse, installing the Logitech Options software, turning on the MX Anywhere 3, pairing it with your computer, customizing the settings, using the mouse effectively, and troubleshooting common issues.
Remember to periodically check for software updates to ensure you have access to the latest features and improvements from Logitech. Additionally, take advantage of Logitech’s support resources, including user manuals and customer support, for any specific inquiries or technical assistance you may require.
Whether you’re a creative professional, a business executive, or a student, the Logitech MX Anywhere 3 offers a powerful and ergonomic solution for all your computing needs. Enjoy seamless multi-device connectivity, hyper-fast scrolling, and customizable features that align with your workflow.
Now, armed with your Logitech MX Anywhere 3, go forth and conquer your digital tasks with precision, comfort, and style. Make the most of this exceptional wireless mouse and unlock your full potential in the digital world.
Happy clicking and scrolling!