Introduction
Connecting your laptop to a Sony Bravia LED TV wirelessly can be a game-changer, allowing you to stream movies, play games, or even do presentations on a larger, more immersive screen. Gone are the days of crowding around a small laptop display – now you can enjoy your favorite content on a big screen without the hassle of cables.
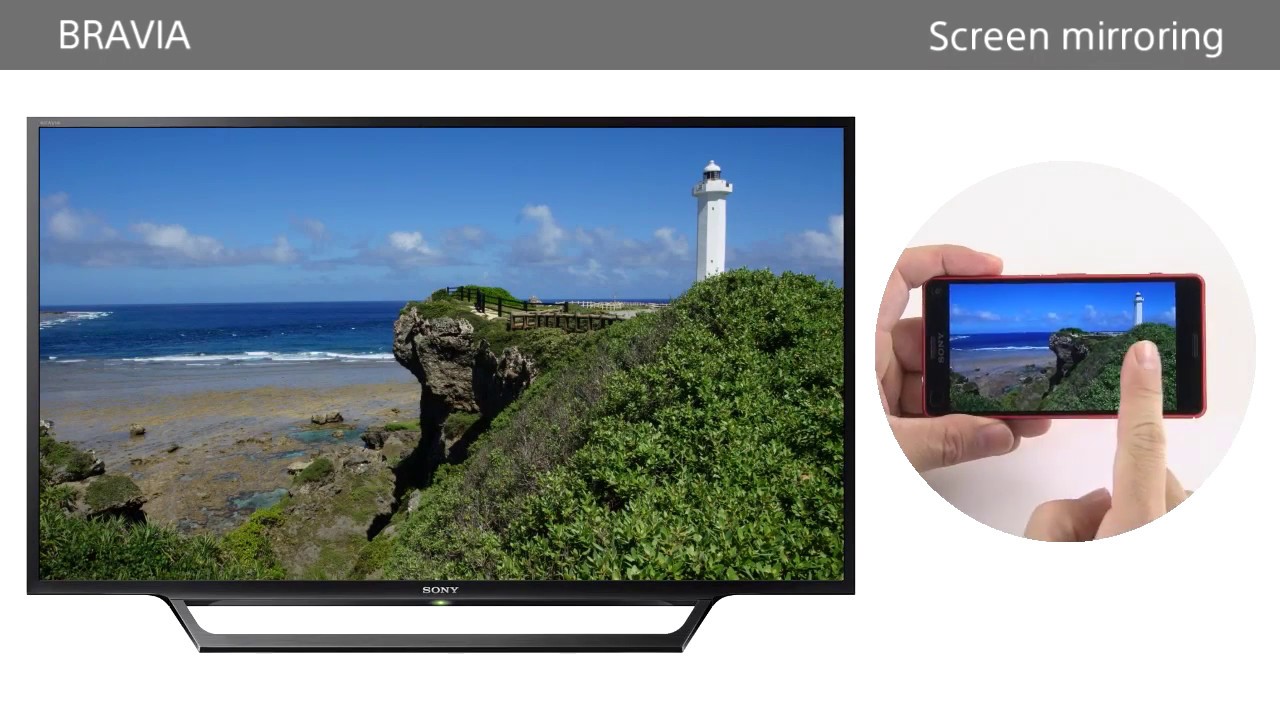
Wirelessly connecting your laptop to a Sony Bravia LED TV is made possible by using the screen mirroring feature. This feature allows you to mirror the contents of your laptop screen onto the TV, creating a seamless viewing experience. Whether you want to watch a movie with friends, showcase a presentation to clients, or simply enjoy browsing the internet on a bigger screen, connecting your laptop to a Sony Bravia TV wirelessly is a convenient and practical solution.
However, before diving into the steps of connecting your laptop to your Sony Bravia TV, it’s important to ensure compatibility. Not all laptops and Sony Bravia TVs support wireless connectivity, so you need to check if both devices have the necessary features. In this guide, we will walk you through the steps to connect your laptop to a Sony Bravia LED TV wirelessly, troubleshoot common issues, and make the most out of this convenient feature.
Step 1: Check Compatibility
The first step in connecting your laptop to a Sony Bravia LED TV wirelessly is to check the compatibility of both devices. Not all laptops and Sony Bravia TVs have built-in wireless connectivity features, so it’s crucial to ensure that your devices are compatible before proceeding.
Start by checking if your laptop supports screen mirroring or wireless display. Look for the screen mirroring or wireless display option in your laptop’s settings. This option may vary depending on the operating system (Windows, macOS, etc.) and the laptop model.
Next, verify if your Sony Bravia LED TV has screen mirroring capabilities. Consult the TV’s manual or visit the Sony support website to determine if your specific model supports screen mirroring. Look for features like “Miracast” or “Screen Mirroring” in the TV’s settings menu.
If both your laptop and Sony Bravia TV support screen mirroring, you’re good to go. However, if either device doesn’t have the necessary features, you may need to consider alternative methods for connecting your laptop to the TV, such as using an HDMI cable or a wireless display adapter.
It’s important to note that the compatibility of devices may also depend on the version of the operating system and software updates installed. Make sure to keep your laptop and TV up to date to ensure optimal compatibility and performance.
By checking the compatibility of your laptop and Sony Bravia LED TV, you can avoid frustration and ensure a seamless wireless connection experience. Once you’ve confirmed the compatibility of both devices, you can proceed to the next step of connecting them to the same Wi-Fi network.
Step 2: Connect Laptop and TV to the Same Wi-Fi Network
In order to establish a wireless connection between your laptop and Sony Bravia LED TV, it is essential that both devices are connected to the same Wi-Fi network. This allows them to communicate and share content seamlessly.
Start by turning on your Sony Bravia TV and navigating to the settings menu. Look for the Wi-Fi or Network option and select it. From there, choose your home Wi-Fi network from the list of available networks and enter the password if prompted. Once connected, make a note of the network name (SSID).
Now, move to your laptop and ensure that it is also connected to the same Wi-Fi network. Click on the network icon in the taskbar or go to the network settings in the Control Panel/System Preferences. Find the network name you noted from the TV and select it. Enter the password if required to establish the connection.
By connecting both the laptop and Sony Bravia TV to the same Wi-Fi network, you ensure that they are on the same communication channel. This step is crucial for the screen mirroring process to work, as it allows the devices to discover each other and establish a connection.
It’s worth noting that the wireless performance and signal strength of the network can affect the quality and stability of the screen mirroring process. For an optimal experience, ensure that both the laptop and TV are within a reasonable range of the Wi-Fi router and that there are no obstructions or interference hindering the signal.
Once both devices are connected to the same Wi-Fi network, you are one step closer to wirelessly connecting your laptop to the Sony Bravia TV. In the next step, we will guide you through enabling the screen mirroring feature on the TV.
Step 3: Enable Screen Mirroring on the Sony Bravia TV
After ensuring that your laptop and Sony Bravia TV are connected to the same Wi-Fi network, the next step is to enable the screen mirroring feature on the TV. This allows your TV to receive the mirrored display from your laptop wirelessly.
Turn on your Sony Bravia TV and grab your TV remote. Press the “Home” or “Menu” button to access the TV’s main settings menu. Look for the “Input” or “Source” option, then navigate to the list of available inputs. Locate and select the input source that corresponds to the HDMI port you connected your laptop to. It may be labeled as “HDMI 1” or “HDMI 2” depending on the port used.
Once you’ve selected the correct input, you will see a list of options on your TV screen. Look for the “Screen Mirroring” or “Miracast” option. Select it to enable the screen mirroring feature on your Sony Bravia TV.
Depending on the model of your Sony Bravia TV, the names and locations of these options may vary. If you can’t find the screen mirroring option in the main settings menu, refer to your TV’s manual or visit the Sony support website for specific instructions based on your model.
Enabling screen mirroring on your Sony Bravia TV makes it ready to receive content from your laptop wirelessly. Now, it’s time to move on to the next step and connect your laptop to the TV wirelessly.
Step 4: Connect Laptop to Sony Bravia TV Wirelessly
With the screen mirroring feature enabled on your Sony Bravia TV, it’s time to connect your laptop and establish the wireless connection. Follow these steps to connect your laptop to the Sony Bravia TV wirelessly:
- On your laptop, open the settings menu and navigate to the display or screen mirroring options. The location of these settings may vary depending on your operating system and device.
- Look for the option to connect to a wireless display or screen mirroring device. Select it to initiate the search for available devices.
- Your laptop will start scanning for nearby wireless display devices. Wait for the Sony Bravia TV to appear in the list of available devices. Once it appears, select it to begin the connection process.
- Enter the passcode or PIN if prompted on your laptop. This is usually displayed on the TV screen for you to enter on your laptop to confirm the connection.
- After entering the passcode, your laptop screen should now appear on the Sony Bravia TV screen. You have successfully connected your laptop to the Sony Bravia TV wirelessly.
Once the connection is established, you can now enjoy streaming videos, playing games, or giving presentations from your laptop on the big screen of the Sony Bravia TV. You can navigate through your laptop as usual, and the mirrored display will reflect your actions in real-time on the TV.
While connected, you might notice a slight delay between the laptop and TV screens, especially during fast-paced activities or video playback. This delay is normal and can vary depending on several factors, including the network speed and the performance capabilities of your laptop and TV.
To disconnect your laptop from the Sony Bravia TV, simply go back to the settings menu on your laptop and select the option to stop the wireless connection or turn off screen mirroring. Alternatively, you can turn off the TV or restart your laptop to automatically terminate the connection.
Now that your laptop is successfully connected to the Sony Bravia TV wirelessly, let’s move on to the final step where we’ll provide some troubleshooting tips to help you overcome common issues.
Step 5: Troubleshooting Tips
While connecting your laptop to a Sony Bravia TV wirelessly is a convenient method, you may encounter some issues along the way. Here are some troubleshooting tips to help you resolve common problems and ensure a smooth wireless connection:
- Check Wi-Fi Signal Strength: Poor Wi-Fi signal can affect the screen mirroring performance. Ensure that both your laptop and Sony Bravia TV are within a reasonable range of the Wi-Fi router, and try moving closer if signal strength is weak.
- Restart Devices: Sometimes, a simple restart of both your laptop and TV can resolve temporary connection issues. Turn off and unplug both devices for a few minutes before restarting them.
- Update Software: Keeping your laptop’s operating system, Wi-Fi drivers, and TV’s firmware up to date can resolve compatibility issues and provide performance improvements. Check for and install any available updates.
- Disable Firewall/Antivirus Software: In some cases, firewall or antivirus software on your laptop might interfere with the screen mirroring connection. Temporarily disable such software to see if it resolves the issue.
- Restart Wi-Fi Router: If other devices on the same Wi-Fi network are experiencing connectivity issues, consider restarting your Wi-Fi router. This can help refresh the network and resolve any network-related problems.
- Use Mirroring Apps or Software: If screen mirroring isn’t working on your laptop or TV, you can try using alternative mirroring apps or software that are compatible with your devices. These apps or software may provide additional features and better connectivity options.
If you’re still experiencing difficulties with the wireless connection after trying these troubleshooting tips, it’s recommended to consult the user manuals for your laptop and Sony Bravia TV or contact their respective support channels for further assistance.
By following these troubleshooting tips, you can overcome common issues and enjoy a seamless wireless connection between your laptop and Sony Bravia TV.
Conclusion
Wirelessly connecting your laptop to a Sony Bravia LED TV opens up a world of possibilities, allowing you to enjoy your favorite content on a larger screen without the hassle of cables. By following the steps outlined in this guide, you can successfully connect your laptop to your Sony Bravia TV and enjoy a seamless wireless experience.
First, ensure the compatibility of your laptop and Sony Bravia TV by checking if both devices support screen mirroring or wireless display. Next, connect your laptop and TV to the same Wi-Fi network to establish a communication channel between them. Enable the screen mirroring feature on your Sony Bravia TV and then proceed to connect your laptop to the TV wirelessly.
Throughout the process, remember to troubleshoot any common issues that may arise, such as poor Wi-Fi signal strength or outdated software. By following the troubleshooting tips provided in this guide, you can overcome these obstacles and achieve a stable and reliable wireless connection.
Once your laptop is successfully connected to your Sony Bravia TV, you can enjoy streaming movies, playing games, and giving presentations on the big screen, creating a more immersive and enjoyable experience. Remember to navigate through your laptop as usual, as the mirrored display on the TV will reflect your actions in real-time.
It’s important to note that the wireless performance may vary depending on various factors, such as network speed and the capabilities of your laptop and TV. However, with a strong and stable Wi-Fi connection, you can maximize the potential of your Sony Bravia TV and elevate your entertainment and productivity experiences.
Now that you have learned how to connect your laptop to a Sony Bravia LED TV wirelessly, go ahead and enjoy the seamless streaming, gaming, and presenting experience that awaits you. Embrace the freedom and convenience that wireless connectivity brings, and make the most out of your Sony Bravia TV and laptop combination.
Remember, whether you’re relaxing with a movie, sharing memories with friends, or showcasing your work to clients, connecting your laptop to a Sony Bravia TV wirelessly is a game-changer in enhancing your visual experience.