Introduction
Welcome to our guide on how to connect a keyboard to a monitor. In today’s digital age, having a functional and ergonomic workspace is essential for productivity. Many people prefer using a larger monitor for their computer setup, as it provides a more immersive and visually appealing experience. However, it can be a bit confusing when it comes to connecting peripherals like a keyboard to a monitor.
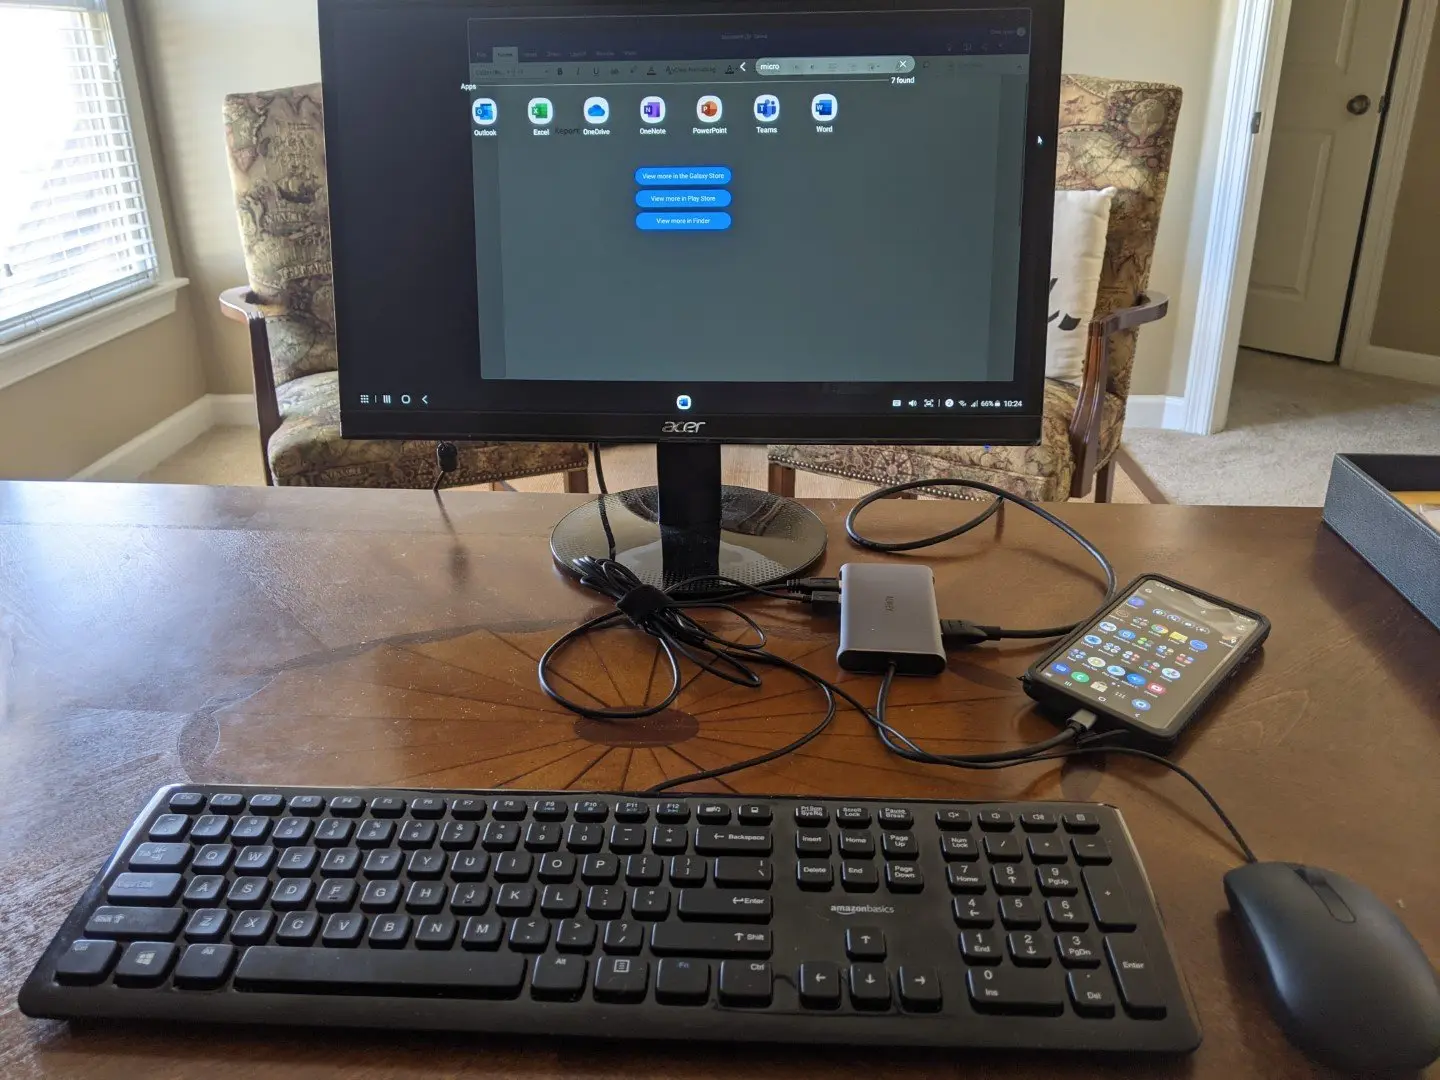
The good news is that most modern monitors come equipped with USB ports, which can be used to connect your keyboard. This eliminates the need for additional cables and clutter on your desk. In this guide, we will walk you through the steps to connect your keyboard to your monitor effortlessly.
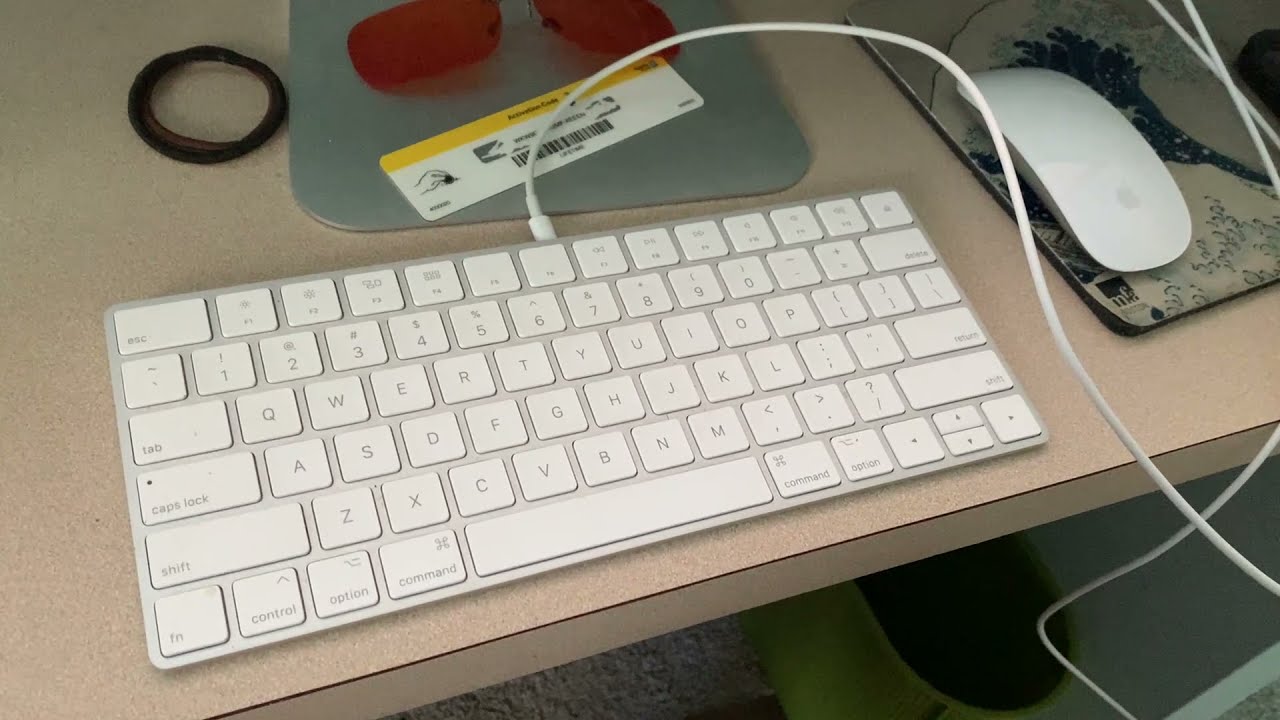
Before we dive into the instructions, it’s essential to ensure that your keyboard and monitor are compatible. Most keyboards nowadays use a USB connection, which makes it compatible with a wide range of monitors. However, some older keyboards may still use a PS/2 connection, which might not be supported by all monitors. Checking the compatibility will save you time and avoid any frustration.
In the following sections, we will take you through the step-by-step process, starting from checking the compatibility of your keyboard and monitor to troubleshooting any potential connection issues. By the end of this guide, you will have a functional and streamlined setup that allows you to maximize your productivity and enjoy a seamless computing experience.
Step 1: Check compatibility of your keyboard and monitor
Before you begin the process of connecting your keyboard to your monitor, it’s important to ensure that they are compatible. Most keyboards manufactured today use a USB connection, which is universally supported by monitors with USB ports. However, some older keyboards may still use a PS/2 connection, which might not be compatible with all monitors. Here’s how you can check the compatibility:
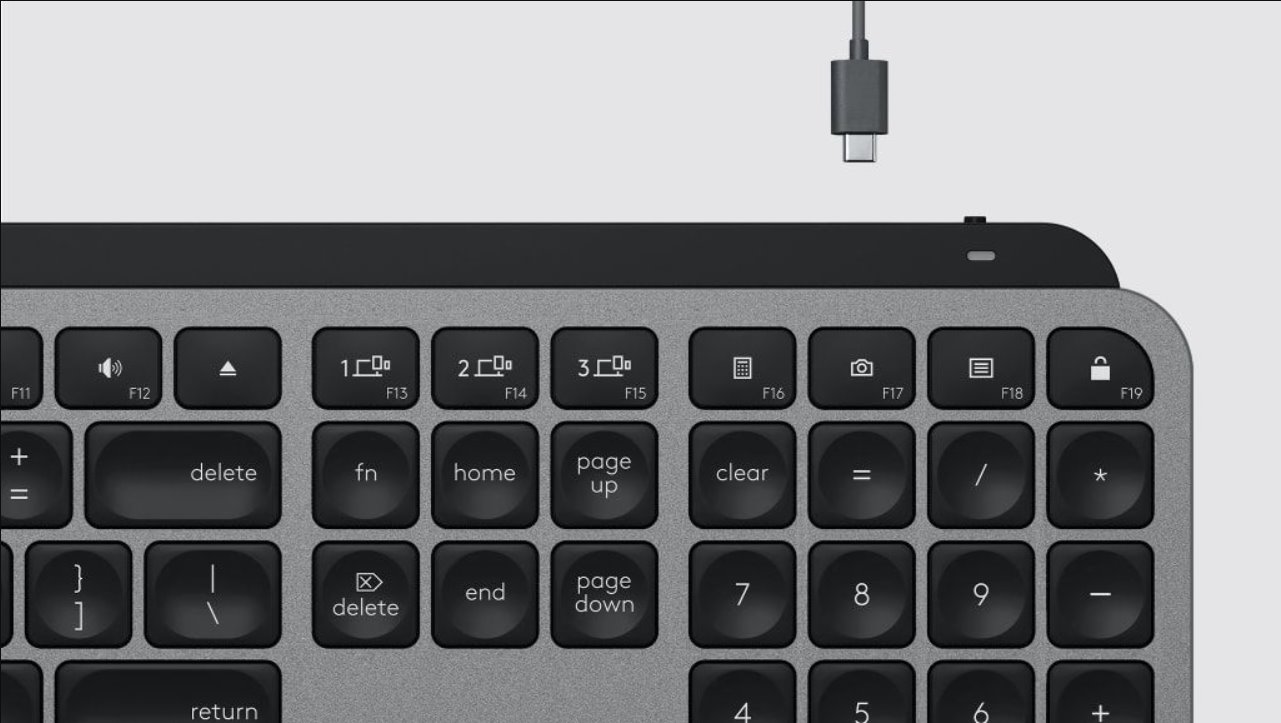
- Inspect the cable: Examine the cable that connects your keyboard to your computer. If it has a rectangular USB connector, it means that it is a USB keyboard and is compatible with most monitors. If it has a round connector, it is likely a PS/2 keyboard, which may require an adapter to connect to your monitor.
- Check the ports: Take a look at the ports on your monitor. If you see USB ports, it indicates that your monitor supports USB connections and is compatible with USB keyboards. If you don’t see any USB ports, it’s likely that your monitor doesn’t support USB keyboard connectivity.
- Check the manual: If you’re unsure about the compatibility, refer to the user manual of your keyboard and monitor. The manual should provide information regarding the types of connections supported.
By verifying the compatibility of your keyboard and monitor, you can ensure a seamless connection and avoid any unnecessary complications. If you find that your keyboard is not compatible with your monitor, you have a few options. You could invest in a USB keyboard that is compatible with your monitor, or you could use a USB-to-PS/2 adapter if your monitor only supports PS/2 connections.
Step 2: Locate the USB ports on your monitor
Once you have verified the compatibility of your keyboard and monitor, the next step is to locate the USB ports on your monitor. These ports will be used to connect your keyboard to the monitor. Here’s how you can find them:
- Examine the monitor edges: Carefully inspect the edges of your monitor. Look for small rectangular slots that are typically labeled with the USB icon. These slots indicate the presence of USB ports.
- Check the back panel: In some cases, the USB ports may be located on the back panel of the monitor. Look for a cluster of rectangular ports, and refer to the monitor’s user manual if you’re unsure.
- Consider USB hub: If your monitor does not have built-in USB ports, you may consider using a USB hub. A USB hub is a device that expands the number of USB ports available, allowing you to connect multiple peripherals, including your keyboard, to your computer.
Locating the USB ports on your monitor is crucial for establishing a proper connection with your keyboard. Once you have identified the USB ports, you can move on to the next step of the process and connect your keyboard.
Step 3: Connect the USB cable from the keyboard to the monitor
With the USB ports on your monitor identified, it’s time to connect the USB cable from your keyboard to the monitor. Follow these simple steps:
- Locate the USB cable: Find the USB cable that came with your keyboard. It should have a rectangular connector on one end, which will be inserted into the USB port on the monitor.
- Insert the USB cable: Take the USB cable and carefully insert the rectangular connector into one of the available USB ports on the monitor. Ensure that it is securely plugged in but avoid using excessive force.
- Secure the connection: Once the USB cable is inserted, give it a gentle tug to ensure that it is firmly connected to the monitor. A loose connection may cause intermittent keyboard functionality.
By connecting the USB cable from your keyboard to the monitor, you are establishing a direct link between the two devices. This enables the keyboard to transmit input commands to the monitor, enhancing the convenience and efficiency of your computing experience.
Note: If your monitor does not have USB ports, you may need to explore alternative solutions such as using a USB hub or connecting the keyboard directly to your computer’s USB ports.
Step 4: Enable USB connection on your monitor
After connecting the USB cable from your keyboard to the monitor, it’s crucial to enable the USB connection on your monitor to establish communication between the two devices. Here’s how you can do it:
- Access the monitor menu: Use the buttons or controls on your monitor to access the monitor settings menu. The location and method for accessing the menu may vary depending on the brand and model of your monitor. Refer to the user manual if you need assistance.
- Navigate to the USB settings: Within the monitor menu, look for an option related to USB settings. This setting may be labeled as USB connection or USB device detection.
- Enable USB connection: Once you have located the USB settings, select the option to enable the USB connection. This action will activate the USB ports on your monitor, allowing it to recognize and communicate with the connected keyboard.
Enabling the USB connection on your monitor is essential for the proper functioning of your keyboard. By activating this feature, you are ensuring that the monitor recognizes the keyboard as a connected device and allows it to transmit input commands to your computer.
If you encounter any difficulties or are unable to find the USB settings in the monitor menu, consult the user manual or contact the manufacturer’s support for further assistance.
Step 5: Test the connection and troubleshoot any issues
Once you have completed the previous steps, it’s time to test the connection between your keyboard and monitor. Here’s what you can do:
- Restart your computer: In some cases, a simple computer restart can help establish the connection between the keyboard and monitor. Restart your computer and check if the keyboard is recognized by the system.
- Test the keyboard functionality: Begin by typing on the keyboard to ensure that it is working properly. If the keyboard is not responsive or certain keys are not functioning, try reconnecting the USB cable or testing the keyboard on a different device.
- Check device manager: Open the device manager on your computer and look for any warnings or errors related to the keyboard. If there are any issues indicated, try updating the keyboard drivers or reinstalling them.
- Try a different USB port: If your monitor has multiple USB ports, try connecting the keyboard to a different port. Sometimes, the issue may be with a specific USB port rather than the connection itself.
- Reset monitor settings: If the keyboard is still not working, try resetting the settings on your monitor to default. This can be done through the monitor menu or by power cycling the monitor.
- Contact technical support: If you have followed all the troubleshooting steps and the keyboard is still not functioning, it may be necessary to contact technical support for further assistance. They can provide specific guidance based on your keyboard and monitor models.
By testing the connection and troubleshooting any issues that arise, you can ensure that your keyboard and monitor are functioning seamlessly. Remember to be patient and thorough during this process to identify and resolve any potential problems.
By following these steps, you should be able to connect your keyboard to your monitor successfully. Enjoy the convenience and efficiency of controlling your computer with an integrated setup, all while enjoying a clutter-free workspace!
Conclusion
Connecting your keyboard to your monitor is a simple and effective way to streamline your workspace and enhance your computing experience. By following the step-by-step process outlined in this guide, you can easily establish a connection and enjoy the convenience of controlling your computer through your monitor.
Remember to check the compatibility of your keyboard and monitor to ensure they are a match. Locate the USB ports on your monitor and connect the USB cable from your keyboard to the monitor. Enabling the USB connection on your monitor is a crucial step to establish communication between the two devices. Finally, test the connection and troubleshoot any issues that may arise to ensure everything is functioning as intended.
With a keyboard connected to your monitor, you can minimize cable clutter on your desk and create a more ergonomic workspace. This connection allows for a seamless integration between your keyboard and monitor, enabling efficient control and input for your computer tasks.
If you encounter any difficulties during the process, don’t hesitate to consult the user manual or reach out to technical support for assistance. They can provide you with additional guidance tailored to your specific keyboard and monitor models.
Now that you have successfully connected your keyboard to your monitor, you can enjoy a more streamlined and efficient workflow. Say goodbye to tangled cables and hello to a clutter-free workspace!