Introduction
Welcome to our guide on how to connect a wireless keyboard to your monitor. With the rise of modern technology, wireless peripherals have become increasingly popular, offering convenience and flexibility. A wireless keyboard allows you to navigate your computer without cumbersome wires getting in the way. Whether you are working on a desktop computer or using a monitor as a display for your laptop, connecting a wireless keyboard can help streamline your workflow and enhance your productivity.
In this article, we will provide you with a step-by-step guide on how to connect a wireless keyboard to your monitor. We will cover everything from checking compatibility to enabling Bluetooth and establishing a connection. By following these instructions, you will be able to enjoy the freedom and convenience of using a wireless keyboard with your monitor.
Please note that the specific steps may vary depending on the make and model of your wireless keyboard and monitor. However, this guide will serve as a general reference, providing you with the essential information you need to connect your wireless keyboard to your monitor.
So, without further ado, let’s dive into the details and get your wireless keyboard up and running with your monitor!
Step 1: Check Compatibility
Before you begin the process of connecting your wireless keyboard to your monitor, it is important to ensure that both devices are compatible. Not all wireless keyboards are compatible with all monitors, so it is essential to check for compatibility before proceeding.
Start by examining the specifications of your wireless keyboard and monitor. Look for compatibility indicators such as Bluetooth support or a USB receiver. If your keyboard uses Bluetooth technology, make sure that your monitor has Bluetooth capabilities as well. If your keyboard requires a USB receiver, check if your monitor has a USB port for connecting the receiver.
If you are unsure about the compatibility of your devices, consult the user manuals or visit the manufacturer’s website for more information. They will often provide compatibility details and any specific instructions for connecting the keyboard to a monitor. Additionally, you can search online forums or communities where users might have shared their experiences and compatibility information.
It is worth mentioning that some wireless keyboards are designed to work with specific operating systems. Ensure that your keyboard is compatible with the operating system of your computer or the firmware of your monitor. If there are any compatibility issues, you may need to consider a different wireless keyboard or seek alternative solutions.
Checking compatibility beforehand will save you time and frustration, ensuring that you can proceed with confidence in the subsequent steps. Once you have verified the compatibility between your wireless keyboard and monitor, you are ready to move on to the next step: inserting the batteries.
Step 2: Insert Batteries
Now that you have confirmed the compatibility of your wireless keyboard and monitor, it’s time to insert the batteries into your keyboard. Most wireless keyboards are powered by batteries, so having fresh batteries is essential for establishing a connection and ensuring optimal performance.
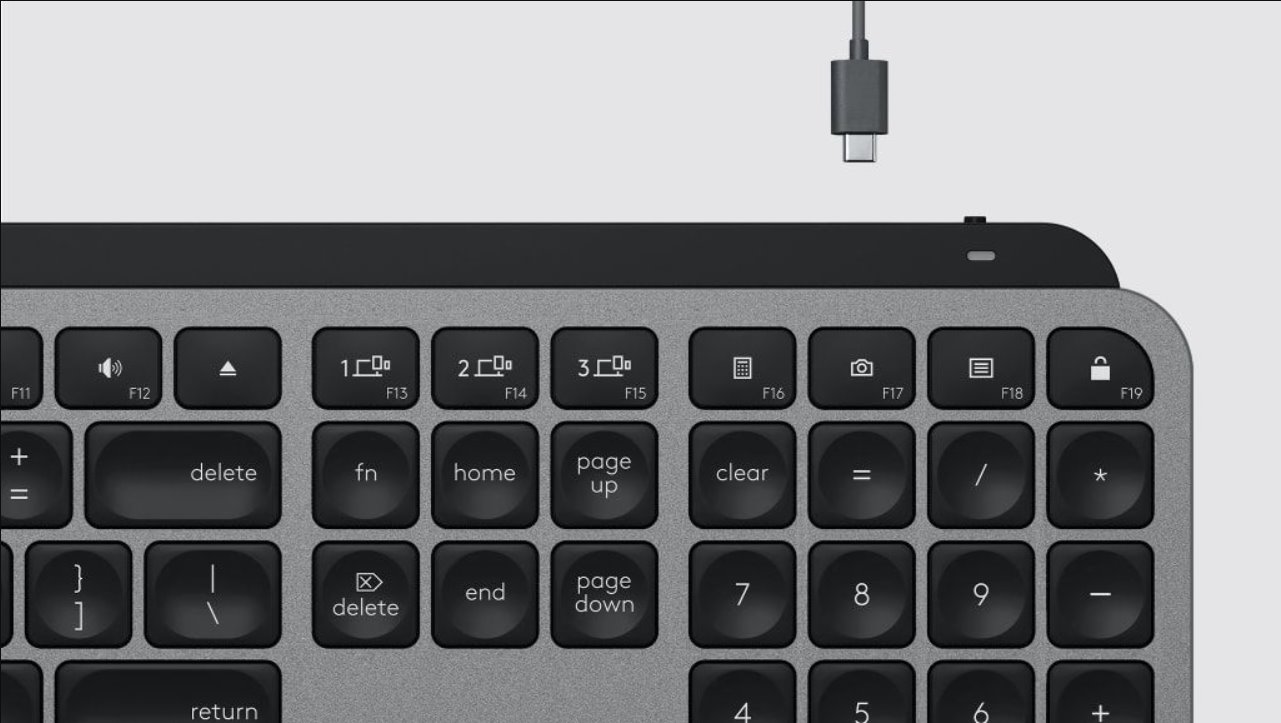
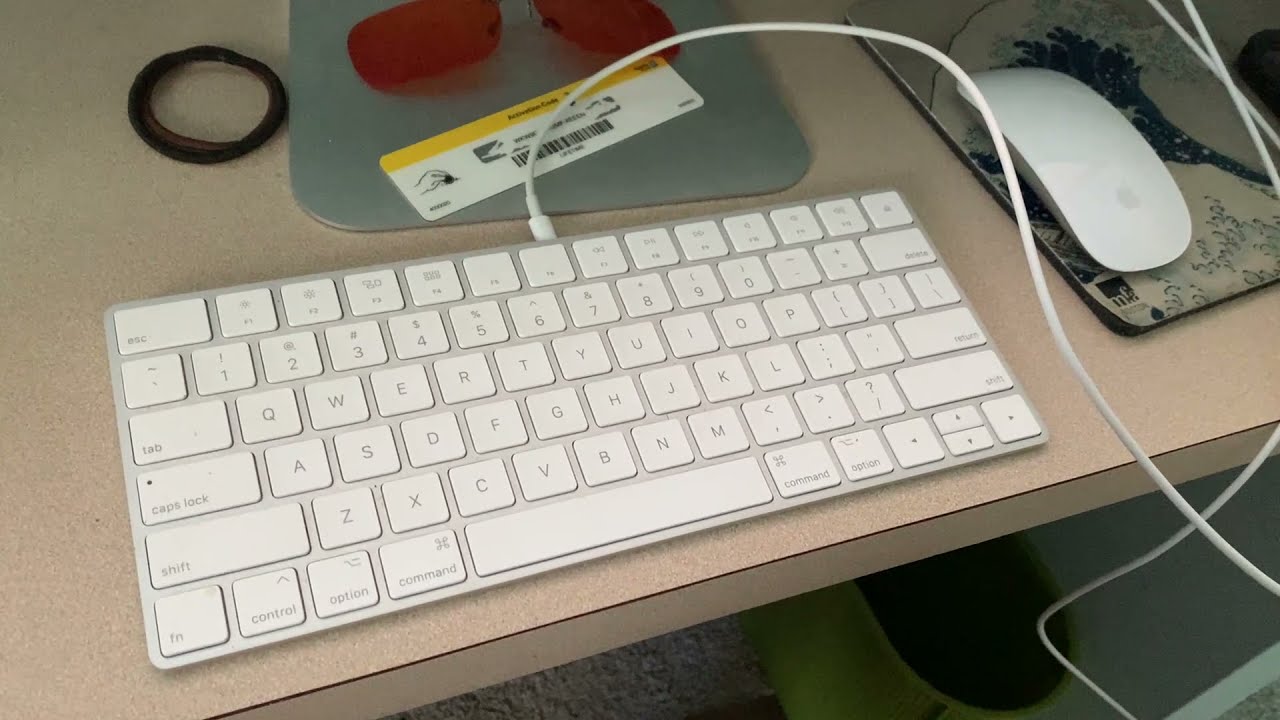
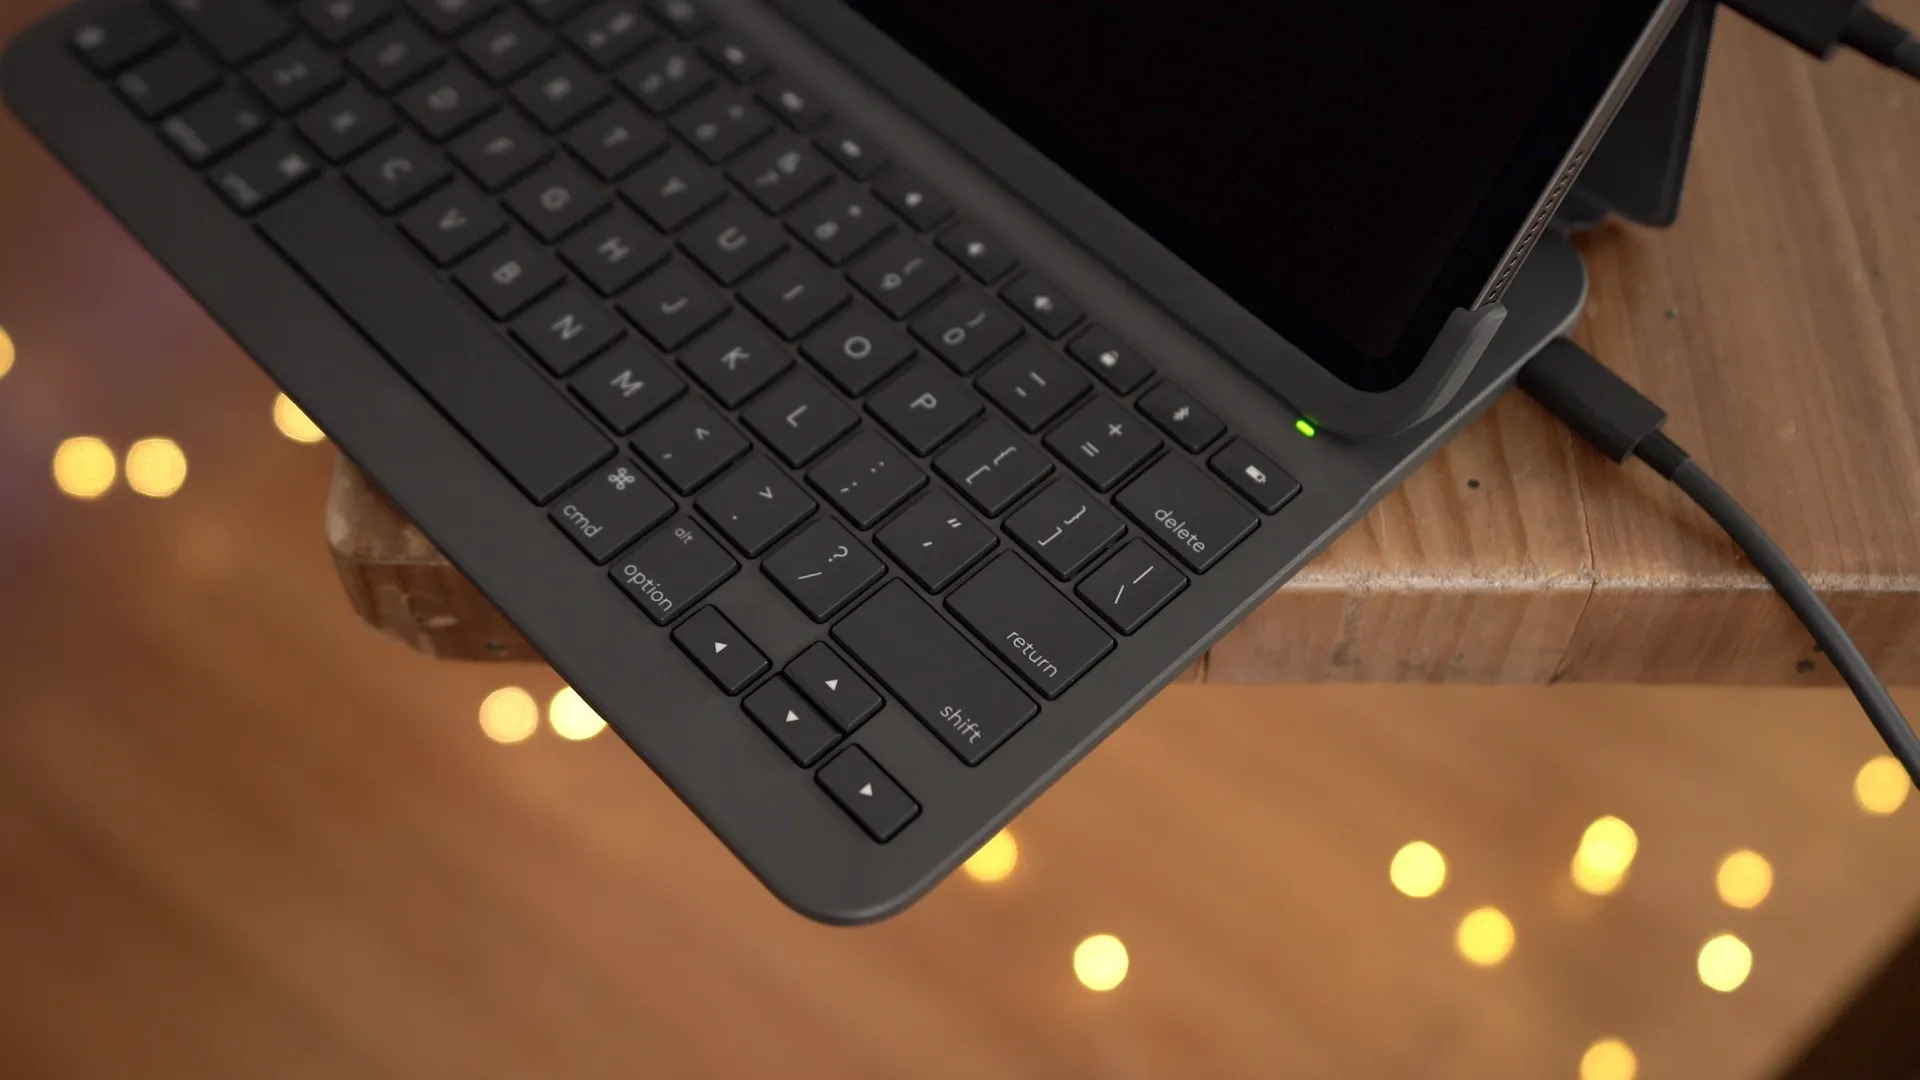
Begin by locating the battery compartment on your wireless keyboard. This is usually located on the underside of the keyboard or at the back. Look for a latch or release button to open the battery compartment.
Once you have access to the battery compartment, carefully insert the batteries according to the polarity markings. Pay attention to the correct positioning of the positive (+) and negative (-) ends of the batteries. Follow the instructions provided by the manufacturer if there are any specific guidelines.
It is recommended to use high-quality and long-lasting batteries to ensure a reliable power source for your wireless keyboard. Consider using alkaline or lithium batteries for better performance and longer battery life. Avoid using mismatched or expired batteries as they can affect the functionality of your keyboard.
After you have inserted the batteries, securely close the battery compartment. Ensure that it is properly latched or locked to prevent the batteries from falling out during use. Once the batteries are in place, your wireless keyboard will have the power it needs to establish a connection with your monitor.
With the batteries inserted, you are now ready to proceed to the next step: enabling the Bluetooth feature on your monitor (if applicable) or preparing your keyboard for pairing mode (if using a USB receiver). This will be covered in detail in the following step.
Step 3: Enable Bluetooth
If your wireless keyboard and monitor both support Bluetooth technology, you need to enable Bluetooth on your monitor before you can establish a connection. Enabling Bluetooth will allow your monitor to search for and detect your wireless keyboard.
To enable Bluetooth on your monitor, follow these steps:
- Access the settings menu on your monitor. The exact method may vary depending on the make and model of your monitor, but generally, you can find the settings button either on the monitor itself or through the on-screen display (OSD) menu.
- Navigate through the settings menu and look for the “Bluetooth” or “Wireless” option. Select it to access the Bluetooth settings.
- Within the Bluetooth settings, locate the “Enable” or “On” option and select it to turn on Bluetooth connectivity on your monitor.
Once Bluetooth is enabled on your monitor, it will be ready to search for nearby devices, including your wireless keyboard. Keep in mind that the specific steps to enable Bluetooth may differ based on the monitor’s manufacturer and the model you own. Refer to your monitor’s user manual or the manufacturer’s website for precise instructions if you encounter any difficulties.
If your monitor does not have built-in Bluetooth capabilities, don’t worry. You can still connect a wireless keyboard using a USB receiver. In this case, you can skip this step and proceed to the next step, which involves putting your keyboard in pairing mode. We will discuss this in detail in the following section.
Now that Bluetooth is enabled on your monitor, or you have confirmed the use of a USB receiver, you are ready for the next step: putting your wireless keyboard in pairing mode. This will be covered in detail in the next section.
Step 4: Put the Keyboard in Pairing Mode
If your wireless keyboard uses Bluetooth connectivity, you need to put it in pairing mode so that it can be discovered by your monitor. Pairing mode allows the keyboard to transmit a signal that your monitor can detect and establish a connection with.
To put your wireless keyboard in pairing mode, follow these general steps:
- Turn on your wireless keyboard by pressing the power button if it has one.
- Locate the Bluetooth or pairing button on your keyboard. This button is typically located on the back or side of the keyboard.
- Press and hold the Bluetooth or pairing button for a few seconds until the LED indicator on the keyboard starts blinking or flashing. This indicates that the keyboard is now in pairing mode.
Keep in mind that the specific button combination or process to put your keyboard in pairing mode may vary depending on the manufacturer and model. Refer to your keyboard’s user manual or the manufacturer’s website for precise instructions if you encounter any difficulties.
If your wireless keyboard uses a USB receiver for connectivity, you can skip this step since the pairing is done automatically through the USB connection. In this case, simply plug the USB receiver into an available USB port on your monitor.
Now that your wireless keyboard is in pairing mode or the USB receiver is connected, you are ready to proceed to the next step: connecting your wireless keyboard to your monitor. We will explore this process in detail in the following section.
Step 5: Connect the Keyboard to the Monitor
Now that you have enabled Bluetooth on your monitor or connected the USB receiver, it’s time to establish the connection between your wireless keyboard and the monitor.
Follow these steps to connect your wireless keyboard to the monitor:
- Make sure your wireless keyboard is turned on.
- On your monitor, navigate to the Bluetooth settings (if using Bluetooth connectivity) or the USB settings (if using a USB receiver).
- In the Bluetooth or USB settings, you should see a list of available devices. Look for your wireless keyboard in the list and select it.
- Follow any on-screen instructions that may appear to complete the pairing process. This could involve entering a passcode or confirming a pairing request on both the keyboard and the monitor.
After the pairing process is completed, your wireless keyboard should be connected to your monitor. The LED indicator on the keyboard may stop blinking or change color to indicate a successful connection.
If the connection is not established, try the following troubleshooting steps:
- Make sure the distance between the keyboard and the monitor is within the specified range for Bluetooth connectivity.
- Restart both your keyboard and the monitor and try the pairing process again.
- Double-check that both devices are in pairing mode or that the USB receiver is securely connected to the monitor.
- If all else fails, consult the user manual or contact the manufacturer’s customer support for further assistance.
Once your wireless keyboard is successfully connected to your monitor, you can start using it to navigate and input commands on your computer. Enjoy the convenience and freedom of a wire-free connection!
Step 6: Test the Connection
After connecting your wireless keyboard to your monitor, it is important to test the connection to ensure that everything is working as expected. Testing the connection will allow you to identify any issues and make adjustments if necessary.
Here are a few steps to help you test the connection between your wireless keyboard and monitor:
- Open a text editor, word processor, or any application that allows keyboard input on your computer.
- Type a few characters or words using your wireless keyboard. Make sure they appear correctly on the screen.
- Try different keys and keyboard shortcuts to verify that all the keys are functioning properly.
- Move the wireless keyboard around to different positions to check the range and make sure the connection remains stable.
If you encounter any issues during the testing process, consider the following steps for troubleshooting:
- Ensure that your keyboard is within the recommended range of your monitor for optimal wireless connectivity.
- Check the battery levels of your wireless keyboard. Replace the batteries if they are low.
- Restart your computer and repeat the connection process, as sometimes a simple restart can resolve connectivity issues.
- If using a USB receiver, try connecting it to a different USB port on your monitor to eliminate the possibility of a faulty port.
- Refer to the user manual or contact customer support for your specific wireless keyboard or monitor if you continue to experience connection problems.
Once you have confirmed that the connection is stable, and your wireless keyboard is working correctly, you are ready to enjoy the benefits of a wire-free computing experience.
Congratulations! You have successfully connected your wireless keyboard to your monitor and tested the connection. Now you can enjoy the convenience and freedom of a wireless keyboard setup for your computer tasks.
Conclusion
Connecting a wireless keyboard to your monitor can greatly enhance your computing experience by providing greater flexibility and convenience. Whether you are working on a desktop computer, using a monitor with your laptop, or simply want to declutter your workspace, a wireless keyboard offers the freedom to navigate and input commands without the constraints of cables.
In this guide, we have walked you through the process of connecting a wireless keyboard to your monitor. We started by checking compatibility between the devices and ensuring that they are suitable for each other. We then inserted the batteries into the keyboard and enabled Bluetooth on the monitor or connected a USB receiver.
We proceeded to put the keyboard in pairing mode and established the connection between the keyboard and the monitor. Finally, we tested the connection to ensure a smooth and functional wireless keyboard experience.
Remember, compatibility, battery life, and range are essential factors to consider when connecting a wireless keyboard to your monitor. Always consult the user manuals or manufacturer’s websites for specific instructions that may be applicable to your devices.
Now that you have successfully connected your wireless keyboard to your monitor, enjoy the freedom and efficiency it brings to your computer tasks. Embrace the seamless navigation and input capabilities that a wire-free setup provides, and experience a more comfortable and clutter-free workspace. Happy typing!