Introduction
Welcome to our guide on how to connect a keyboard to a monitor! In today’s technology-driven world, it’s common for people to use multiple devices simultaneously. However, connecting a keyboard directly to a monitor may not be as straightforward as it seems. Whether you’re setting up a home office, gaming station, or multimedia hub, having a properly connected keyboard to your monitor can greatly enhance your productivity and overall experience.
Before we dive into the steps, it’s important to note that not all monitors support direct keyboard connection. Some monitors come with built-in USB ports or dedicated keyboard ports, while others may require additional adapters or cables. It’s essential to check the compatibility of your monitor and keyboard before attempting to connect them.
This guide will provide you with step-by-step instructions on how to connect a keyboard to a monitor, ensuring that you can enjoy a seamless and efficient computing experience. So, without further ado, let’s get started!
Step 1: Check the Compatibility
Before you begin connecting your keyboard to a monitor, it’s crucial to verify the compatibility of both devices. Here are some steps to help you determine if your keyboard and monitor can be connected:
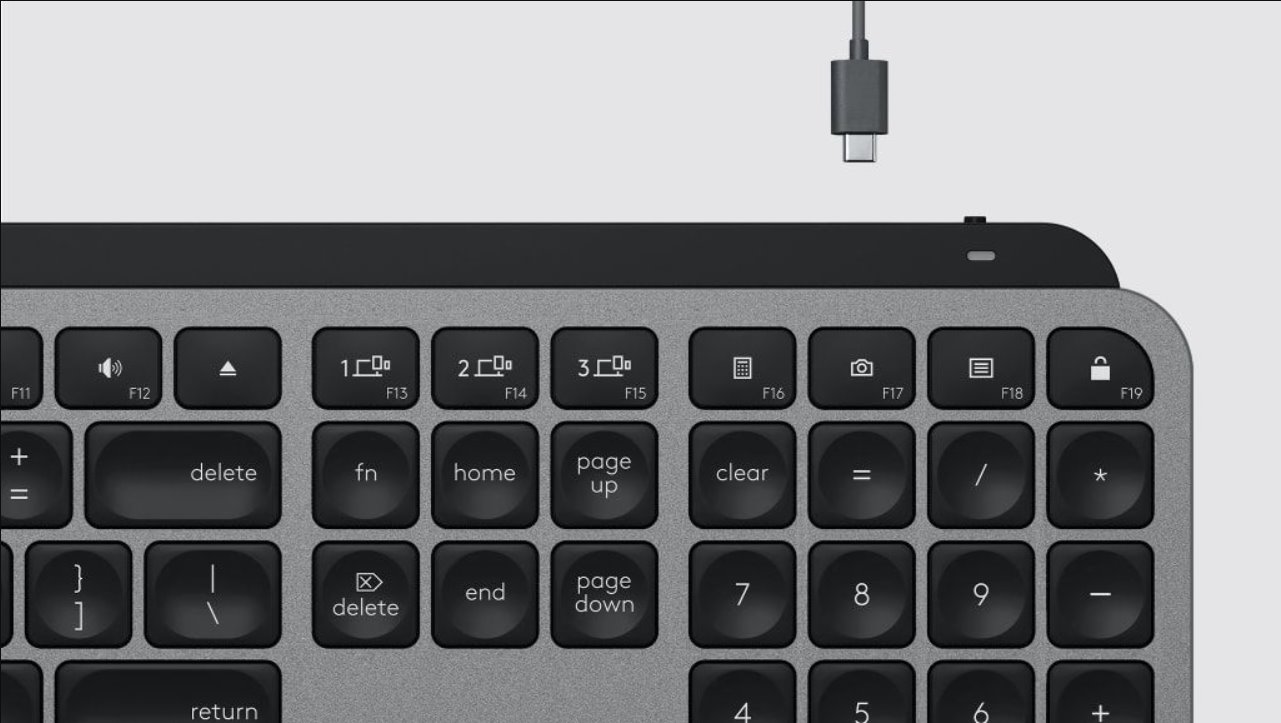
- Check the ports: Look for any dedicated keyboard ports, such as PS/2 ports, on the back of your monitor. If your monitor has USB ports, you may be able to connect a USB keyboard directly. Make sure to check the user manual or specifications of your monitor to confirm compatibility.
- Inspect the keyboard: Examine your keyboard for compatibility with your monitor. Keyboards that use USB connections are generally more compatible with monitors that have USB ports.
- Research: If your monitor or keyboard doesn’t have a direct compatibility solution, consider researching adapters or cables that may enable connection. Look for reputable brands and reviews to ensure compatibility and functionality.
Checking compatibility is essential to ensure that your keyboard and monitor will work together seamlessly. Once you’ve confirmed compatibility, you can proceed to the next step of the process.
Step 2: Connect the Keyboard to the Monitor
Now that you’ve determined the compatibility of your keyboard and monitor, it’s time to connect them. Here are the steps to follow:
- Turn off both devices: Before connecting any cables, make sure to turn off both your keyboard and monitor. This will prevent any potential damage or interference.
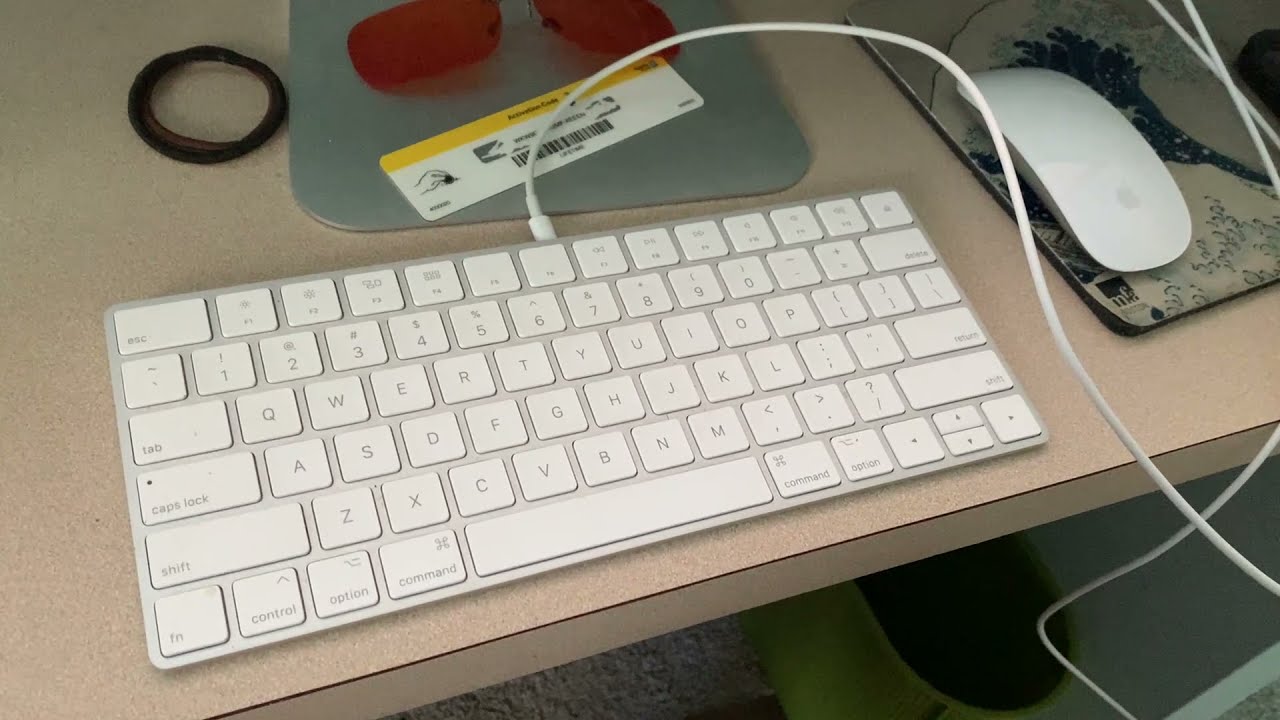
- Identify the appropriate ports: Locate the relevant ports on both your keyboard and monitor. If your monitor has a dedicated keyboard port, connect the keyboard to that port. Otherwise, use a USB cable to connect the keyboard to one of the USB ports on the monitor.
- Insert the cable: Gently insert the cable into the respective ports on the keyboard and monitor. Ensure a secure connection without applying excessive force.
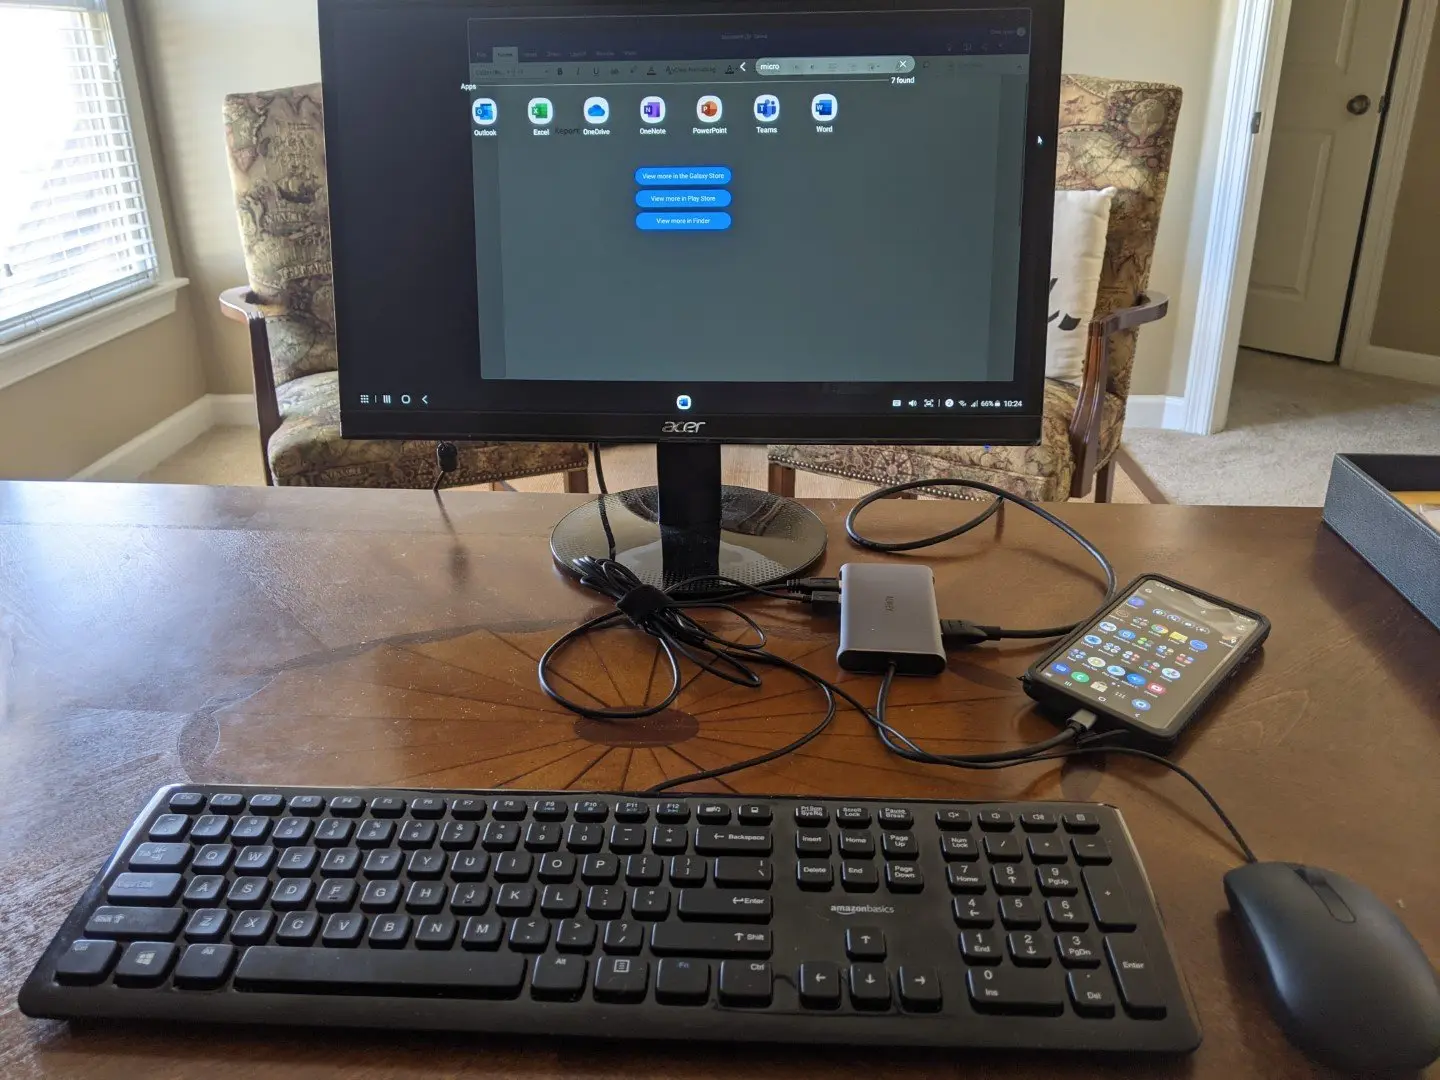
- Turn on the devices: Once the keyboard is connected to the monitor, turn on both devices and wait for them to boot up. They should detect each other automatically.
It’s worth noting that some keyboards may require additional drivers or software to be installed on your computer for full functionality. Check the manufacturer’s instructions or website for any necessary drivers.
Now that you’ve successfully connected the keyboard to the monitor, you can move on to the next step: testing the keyboard.
Step 3: Test the Keyboard
After connecting your keyboard to the monitor, it’s important to test its functionality to ensure a successful connection. Here’s how you can test your keyboard:
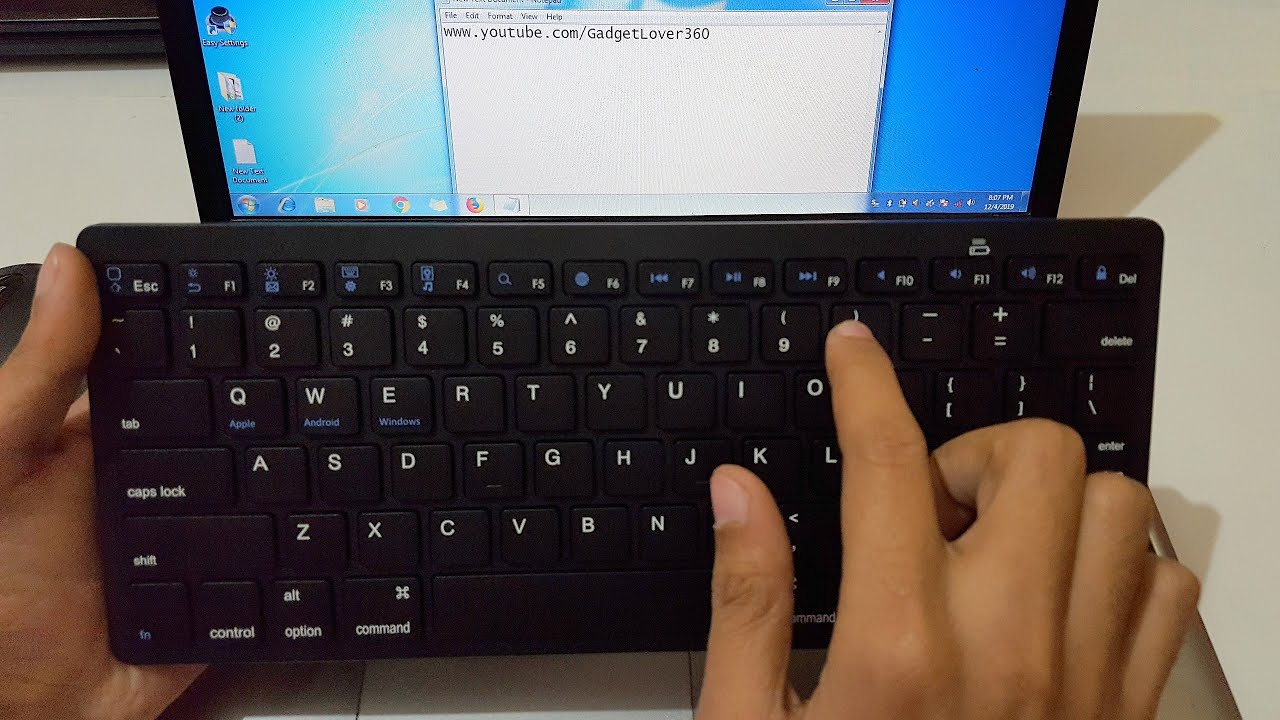
- Try typing: Open a document or text editor on your computer and type a few lines to check if the keyboard is working properly. Make sure all the keys on the keyboard are responsive.
- Test special function keys: If your keyboard has special function keys, such as media control or volume buttons, test them to see if they perform the desired actions on your monitor. Adjust the volume, play/pause music, or navigate through media to confirm their functionality.
- Check for lighting (if applicable): If your keyboard has backlighting or LED indicators, verify if they are functioning as expected. Adjust the lighting settings as per your preference.
- Test additional features: If your keyboard comes with any extra features, such as macro keys or customizable buttons, experiment with them to ensure they work as intended.
If you encounter any issues during the testing process, double-check the connections, restart your devices, and ensure that drivers are properly installed. If problems persist, consult the user manual or contact the manufacturer for troubleshooting assistance.
Once you’ve successfully tested the keyboard and confirmed its functionality, you’re all set to use your keyboard with your monitor for an improved computing experience!
Conclusion
Connecting a keyboard to a monitor can greatly enhance your productivity and convenience while working or gaming. By following the steps outlined in this guide, you can ensure a seamless and efficient connection between your keyboard and monitor.
First, remember to check the compatibility of your keyboard and monitor to determine if they can be directly connected or if additional adapters or cables are required. This step is crucial in avoiding any compatibility issues or headaches down the line.
Next, connect your keyboard to the monitor by identifying the appropriate ports and gently inserting the cable. Make sure to turn off both devices before making any connections to prevent any potential damage.
After connecting the keyboard, it’s essential to test its functionality. Try typing, explore the special function keys, and test any additional features or lighting that your keyboard may have. This will ensure that everything is working as intended and that you can fully enjoy your keyboard’s capabilities.
If you encounter any issues during the process, refer to the user manual or reach out to the manufacturer for support. They can provide guidance and troubleshooting tips to address any concerns you may have.
Now that you know how to connect a keyboard to a monitor, you’re ready to enhance your computing experience. Whether you’re using it for work, gaming, or multimedia purposes, having a connected keyboard will make your tasks more efficient and enjoyable.
So go ahead, follow the steps outlined in this guide, and start enjoying the benefits of a keyboard connected to your monitor today!