Introduction
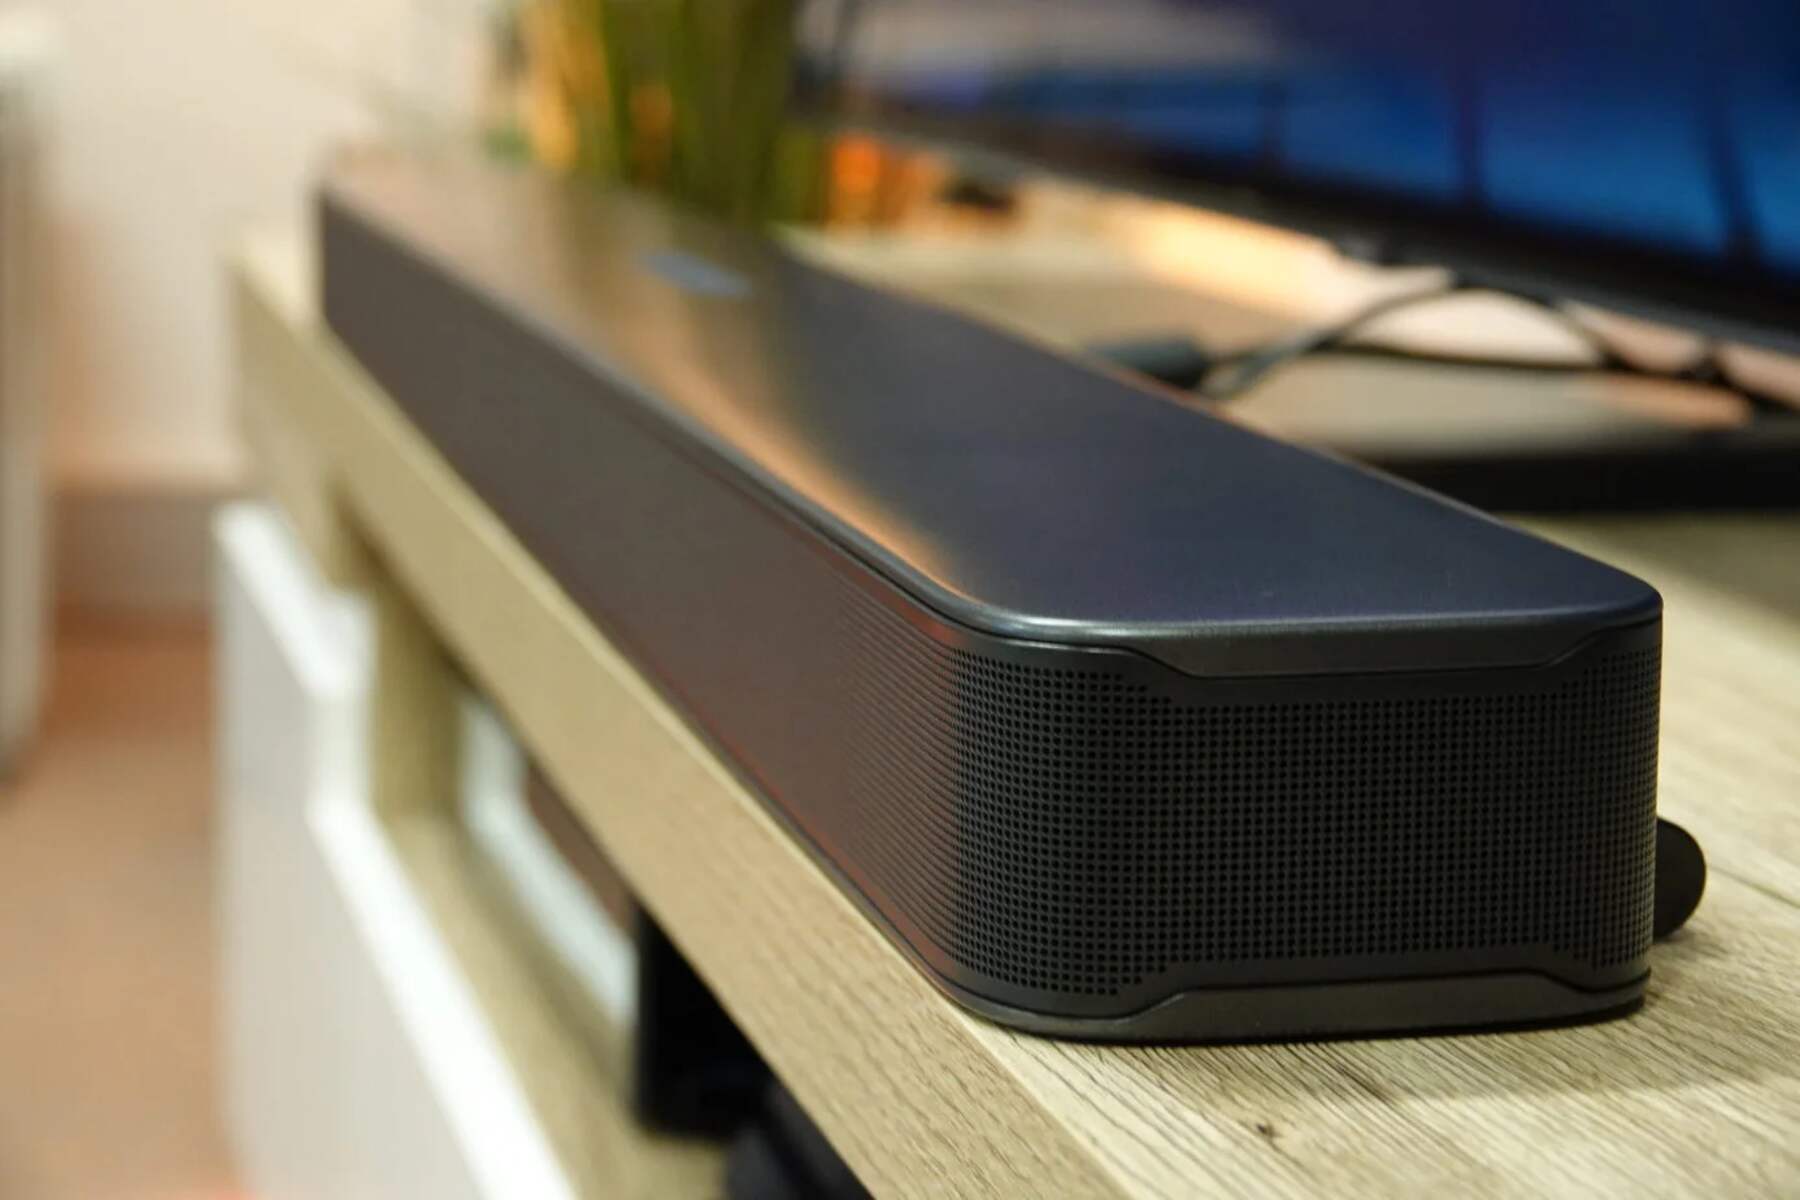
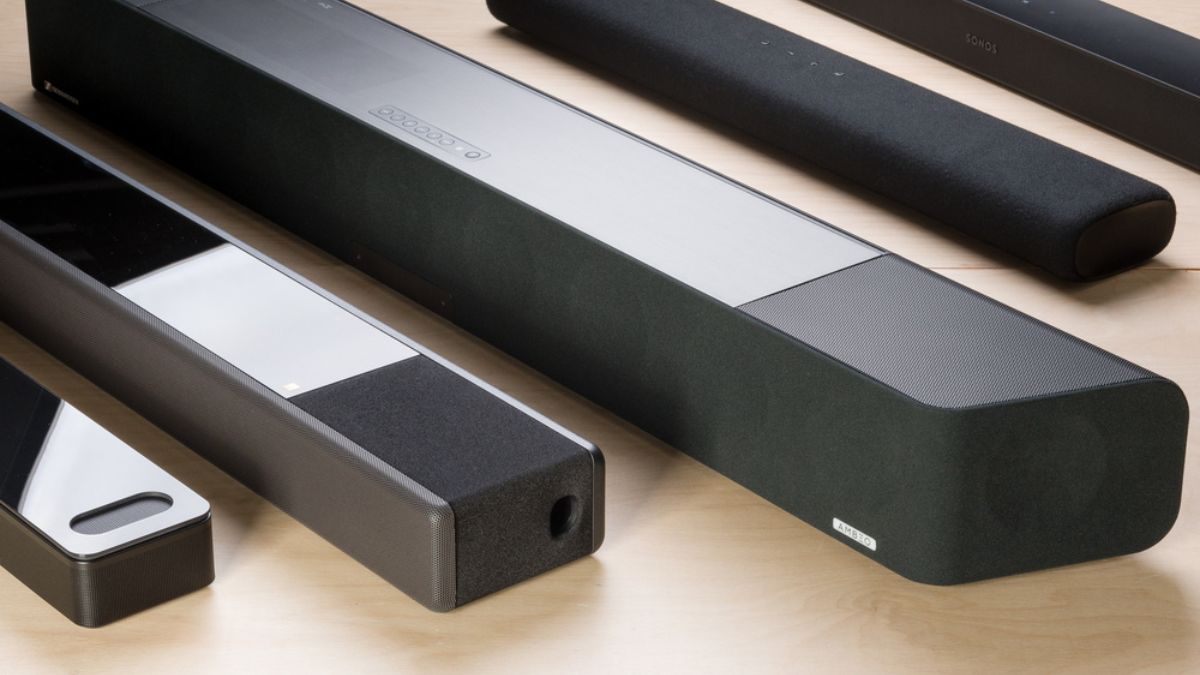
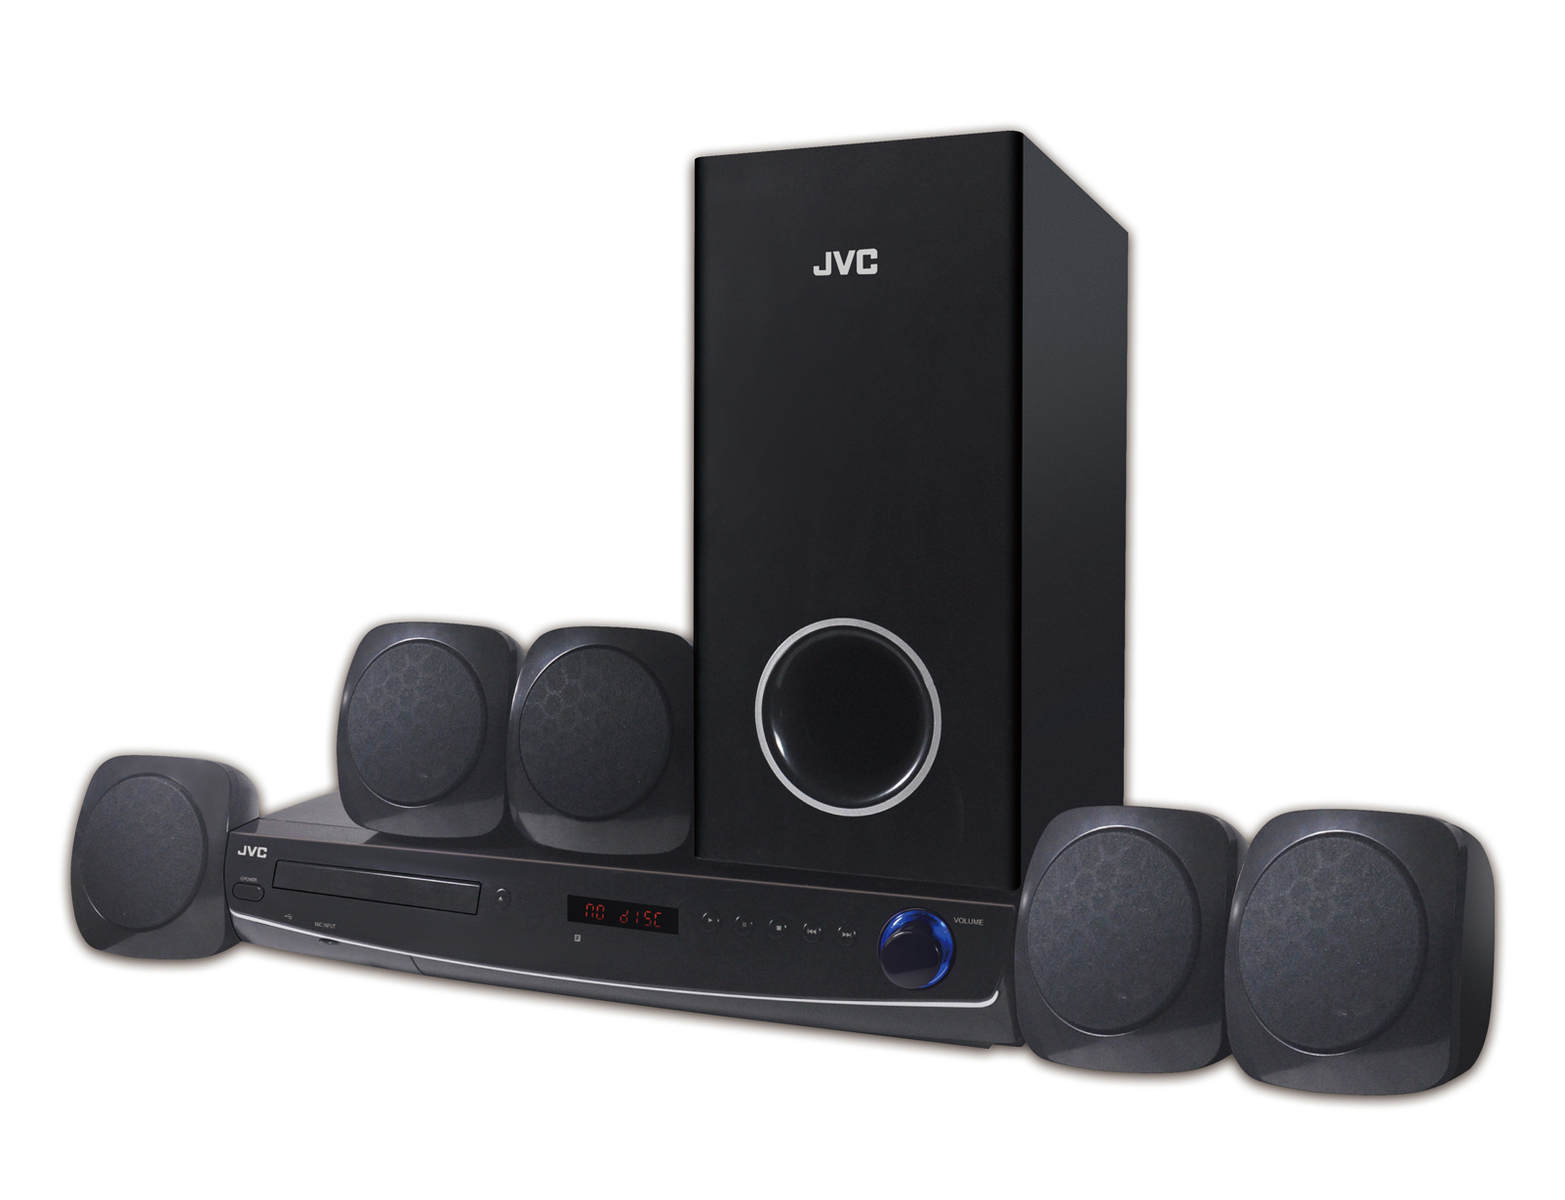
Welcome to our guide on how to connect a JBL soundbar to your TV using an HDMI connection. Whether you are a movie enthusiast or a passionate gamer, enhancing your audio experience can greatly elevate your entertainment sessions. A soundbar is a compact and convenient device that delivers immersive sound while saving space in your living room.
Connecting your JBL soundbar to your TV via HDMI offers a seamless and high-quality audio solution. HDMI (High-Definition Multimedia Interface) is a popular audio/video interface that transmits both high-quality audio and video signals over a single cable. This makes it an ideal choice for connecting your soundbar to your TV, as it ensures optimal audio performance and eliminates the need for additional cables.
In this guide, we will walk you through the step-by-step process of connecting your JBL soundbar to your TV using an HDMI cable. We will also provide tips and troubleshooting advice to ensure a smooth setup and optimal audio experience.
Before we dive into the steps, it is important to note that the specific instructions may vary depending on the model of your JBL soundbar and your TV. Therefore, we recommend consulting the user manuals for both devices for detailed instructions tailored to your specific setup.
Now, let’s get started with the first step: checking the compatibility between your JBL soundbar and your TV.
Step 1: Check the Soundbar and TV Compatibility
Before you begin the setup process, it’s important to ensure that your JBL soundbar and TV are compatible with each other. This will help you avoid any potential compatibility issues that may hinder the proper functioning of your audio system.
Firstly, check the input and output ports on both the soundbar and the TV. Most JBL soundbars come with HDMI input and output ports, which are necessary for connecting to your TV. Additionally, ensure that your TV also has HDMI ports available for connection.
Next, check the HDMI version supported by your soundbar and TV. The HDMI version affects the audio and video quality that can be transmitted. It is recommended to have both devices support at least HDMI 1.4 to ensure compatibility and optimal performance.
If your soundbar and TV have different HDMI versions, don’t worry. HDMI is backward compatible, which means you can connect a soundbar with a lower HDMI version to a TV with a higher HDMI version. However, keep in mind that the audio and video quality may be limited to the capabilities of the lower version.
Furthermore, check if both the soundbar and TV support the same audio formats. Common audio formats include Dolby Digital, DTS, and PCM. Make sure that both devices support the audio format you prefer for an enhanced sound experience.
If your JBL soundbar and TV pass the compatibility checks, you can proceed to the next step to gather the necessary cables and accessories for the connection. If not, you may need to consider alternative methods or consult the user manuals for further guidance.
Step 2: Gather the Necessary Cables and Accessories
Now that you have ensured the compatibility of your JBL soundbar and TV, it’s time to gather the necessary cables and accessories to successfully connect them via HDMI.
The primary cable you will need is an HDMI cable. Look for a high-quality HDMI cable that supports the HDMI version of your devices. It is recommended to use an HDMI 2.0 cable or higher to take advantage of the latest audio and video capabilities.
You will need to determine the length of the HDMI cable based on the distance between your JBL soundbar and TV. Make sure to choose a cable length that allows for flexibility and easy setup without excessively long or short cables.
In addition to the HDMI cable, you may also require a power cable for your JBL soundbar. Depending on the model, your soundbar may have a separate power source or be powered directly through the HDMI connection. Check the user manual of your soundbar to determine if a power cable is needed.
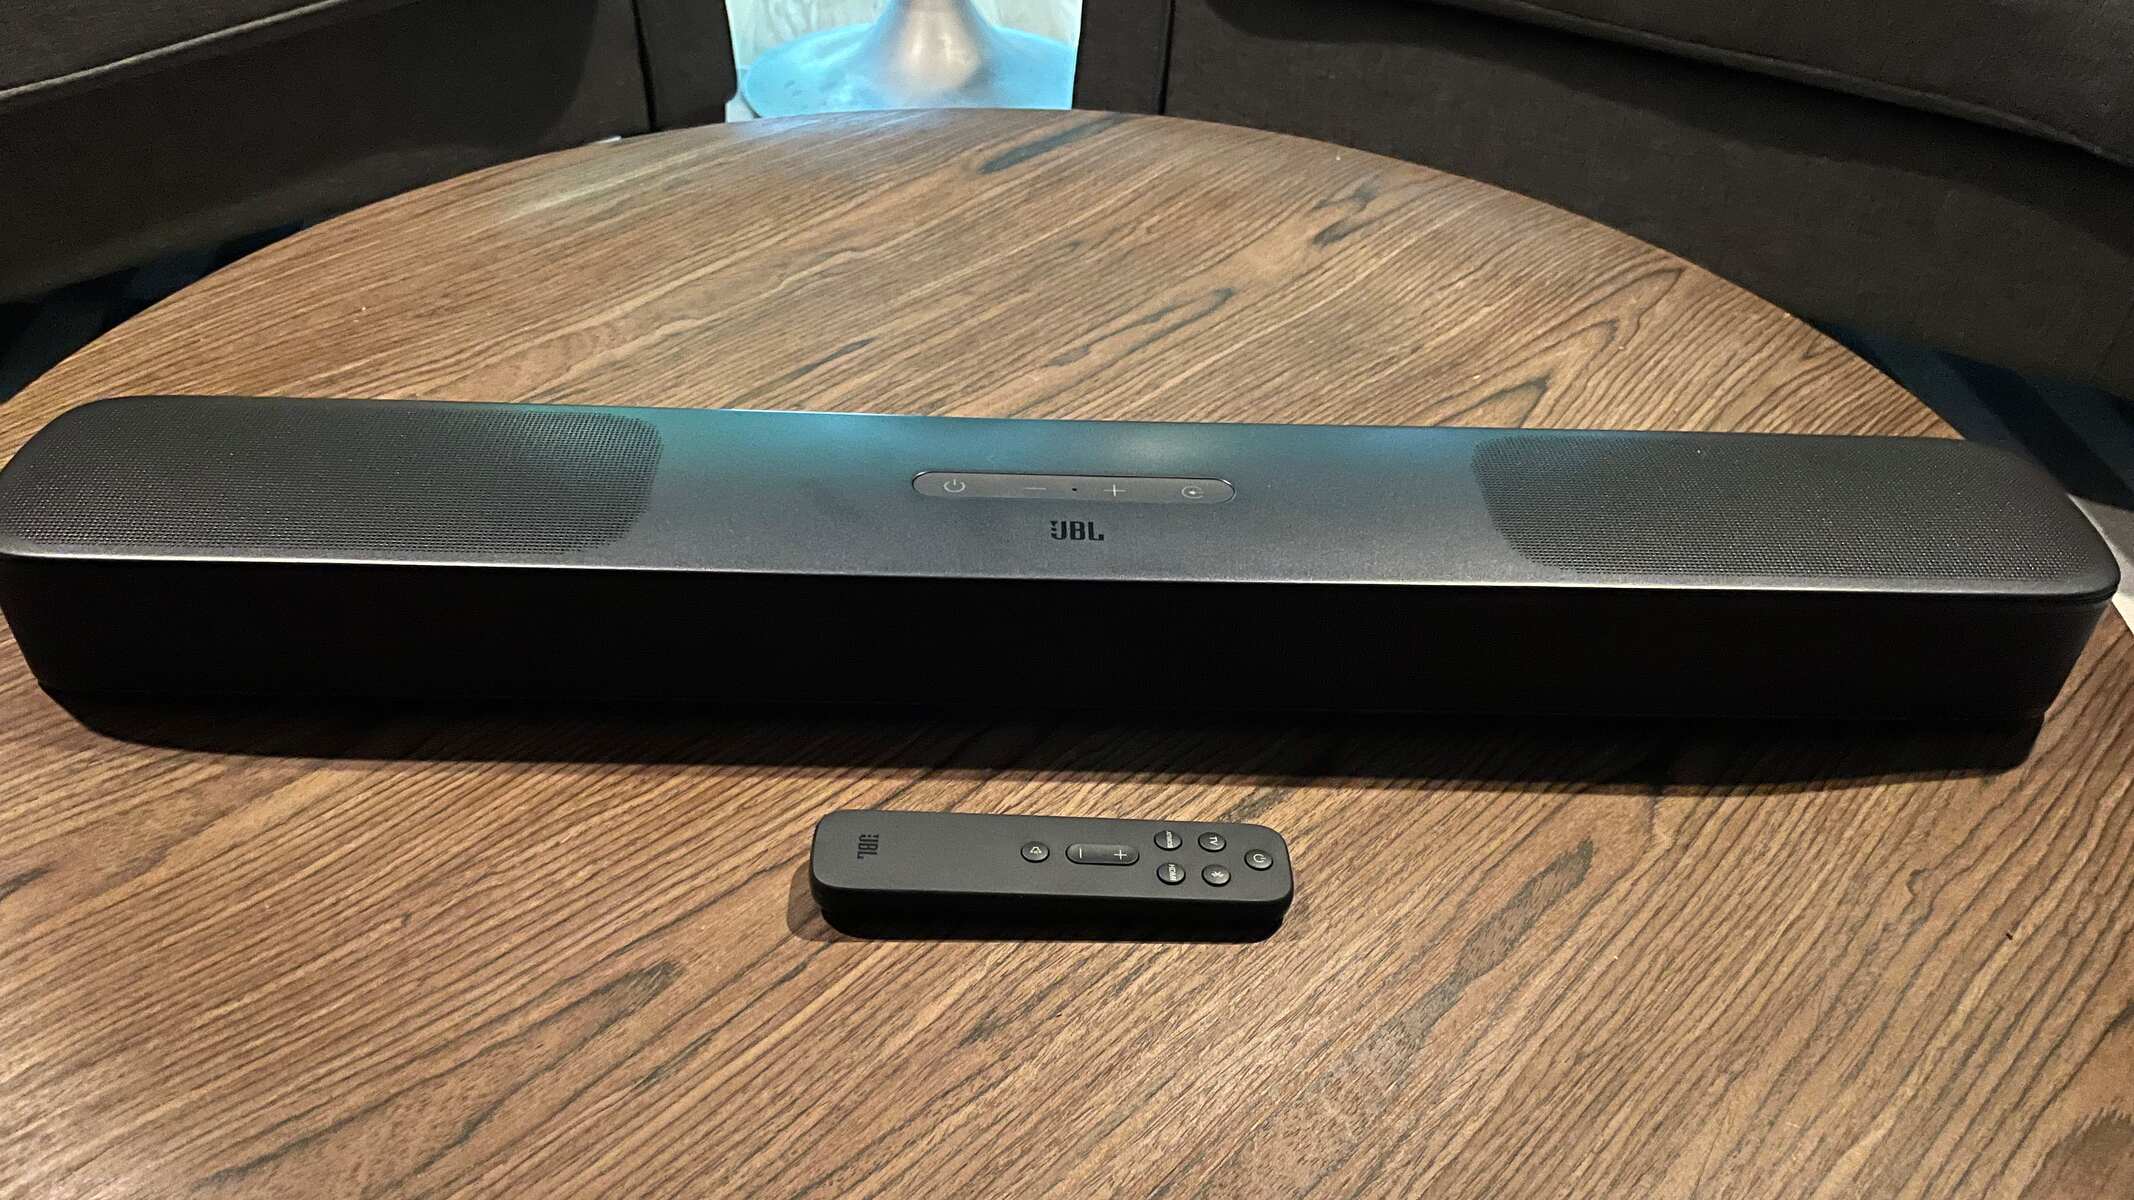
It’s a good idea to have a remote control for your soundbar readily available during the setup process. Most JBL soundbars come with their own remote control that allows you to adjust settings and control the audio output. If your soundbar doesn’t include a remote control, you can usually find compatible universal remote controls that can be programmed to work with multiple devices.
Once you have gathered the required cables and accessories, you are ready to move on to the next step: powering on the soundbar and TV.
Step 3: Power on the Soundbar and TV
Before connecting your JBL soundbar to your TV, it’s crucial to ensure that both devices are properly powered on and ready for the setup process.
Start by plugging in the power cable of your JBL soundbar to a power outlet. Ensure that the power source is stable and grounded to avoid any electrical issues. Once connected, turn on the power switch or press the power button on the soundbar.
Next, proceed to power on your TV. If your TV has a separate power button, press it to turn on the device. Alternatively, you can use the remote control that came with your TV to power it on.
Allow both the soundbar and TV a few moments to fully power on and boot up. During this time, it’s important to refrain from making any physical connections between the devices.
Having both the soundbar and TV powered on ensures that they are ready for the setup process and can communicate with each other effectively. It also ensures that any initial firmware or software updates are completed, which can sometimes be necessary for optimal performance.
Once both devices are powered on and ready, you are now ready to proceed to the next step: connecting the soundbar to the TV via HDMI.
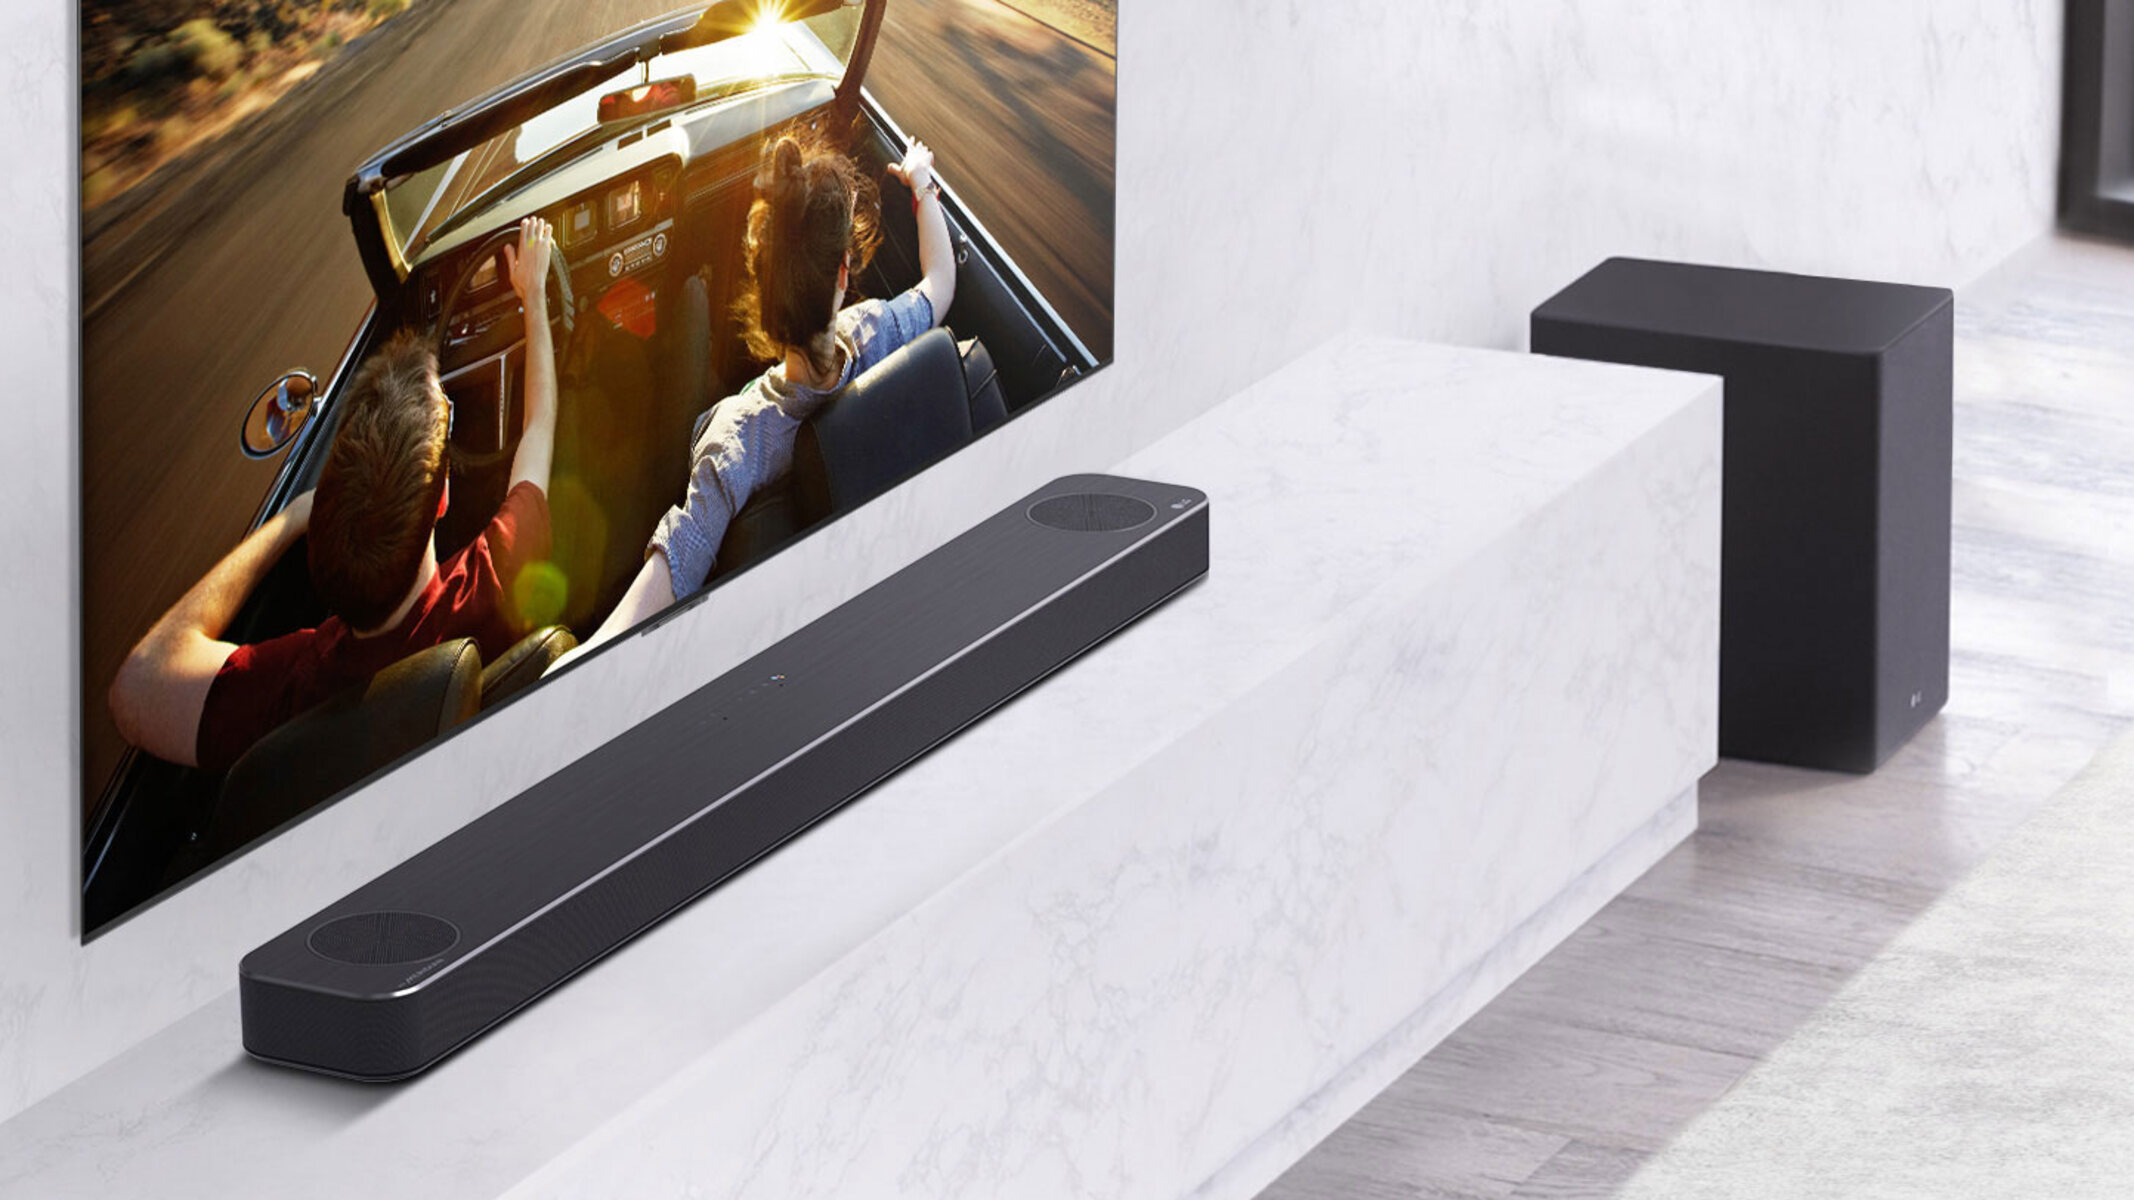
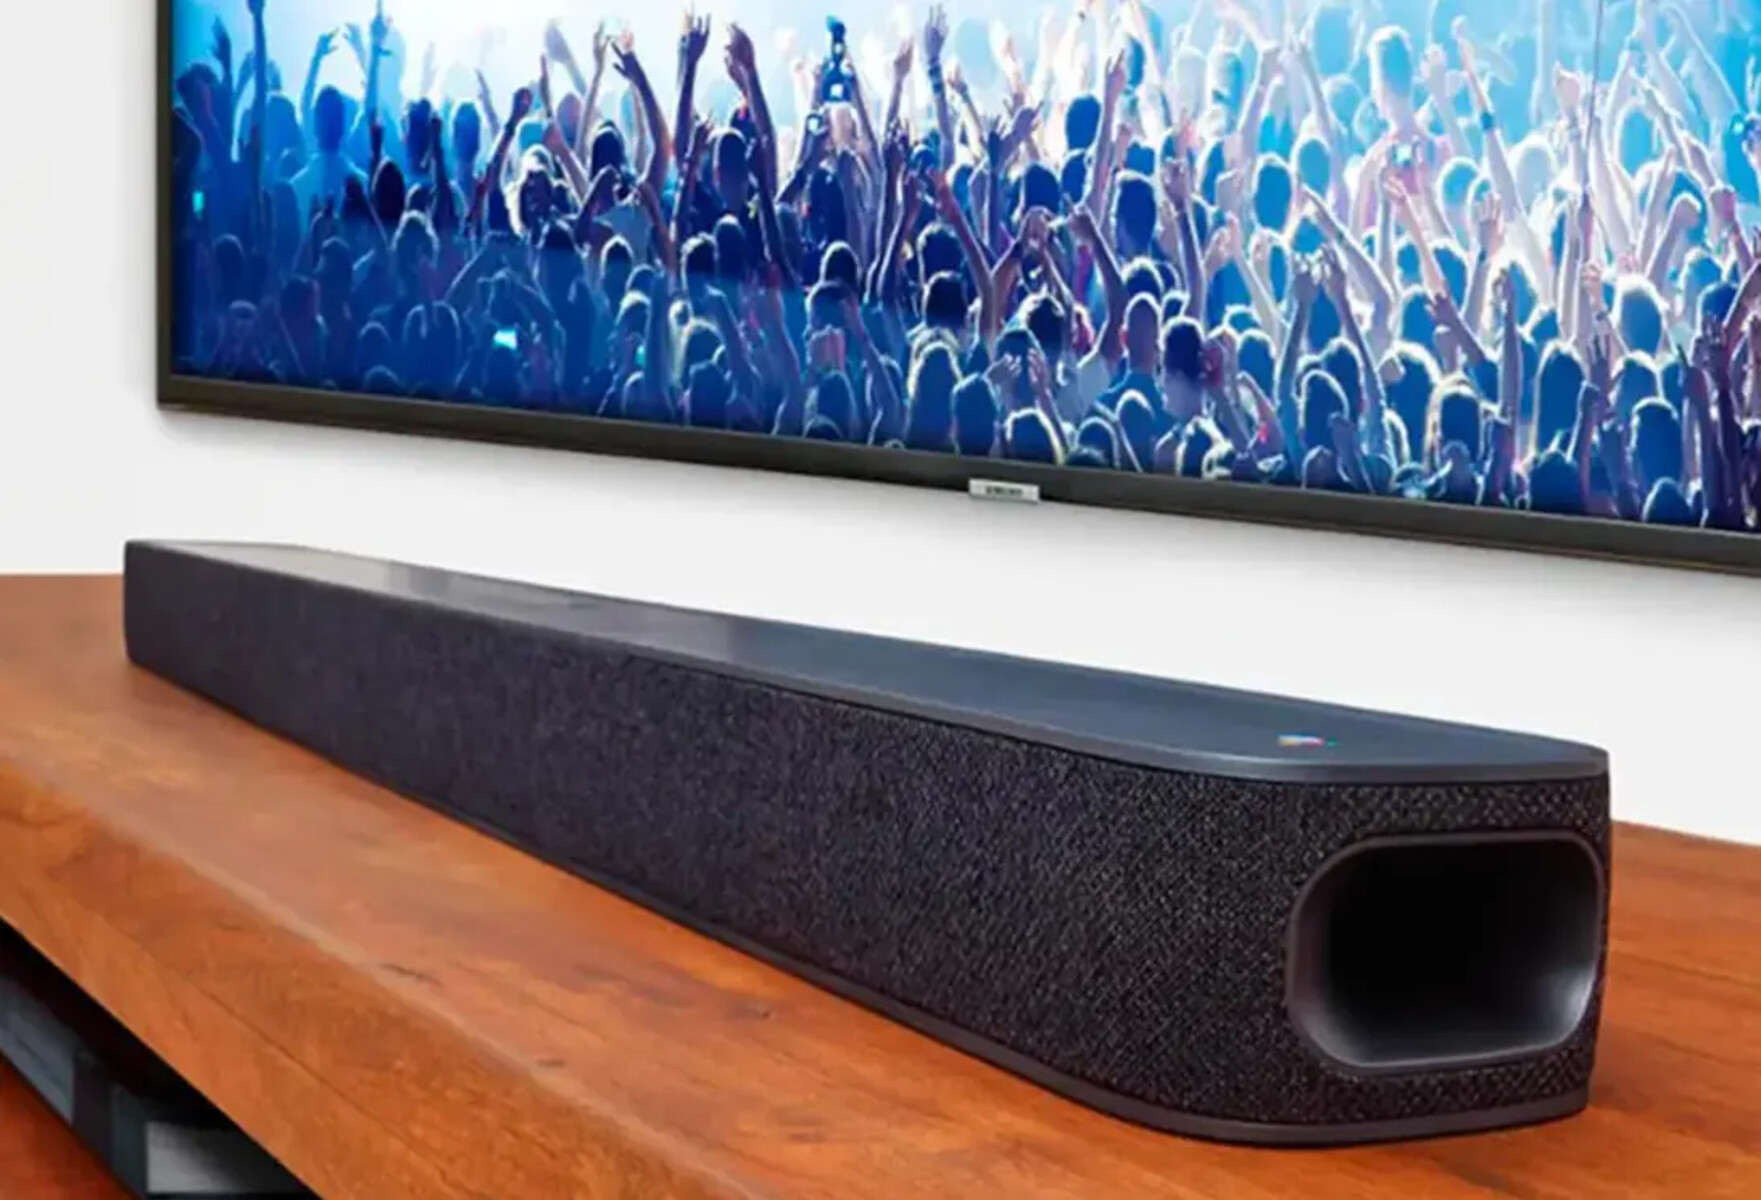
Step 4: Connect the Soundbar to the TV via HDMI
Now that your JBL soundbar and TV are powered on, it’s time to establish the connection between the two devices using an HDMI cable.
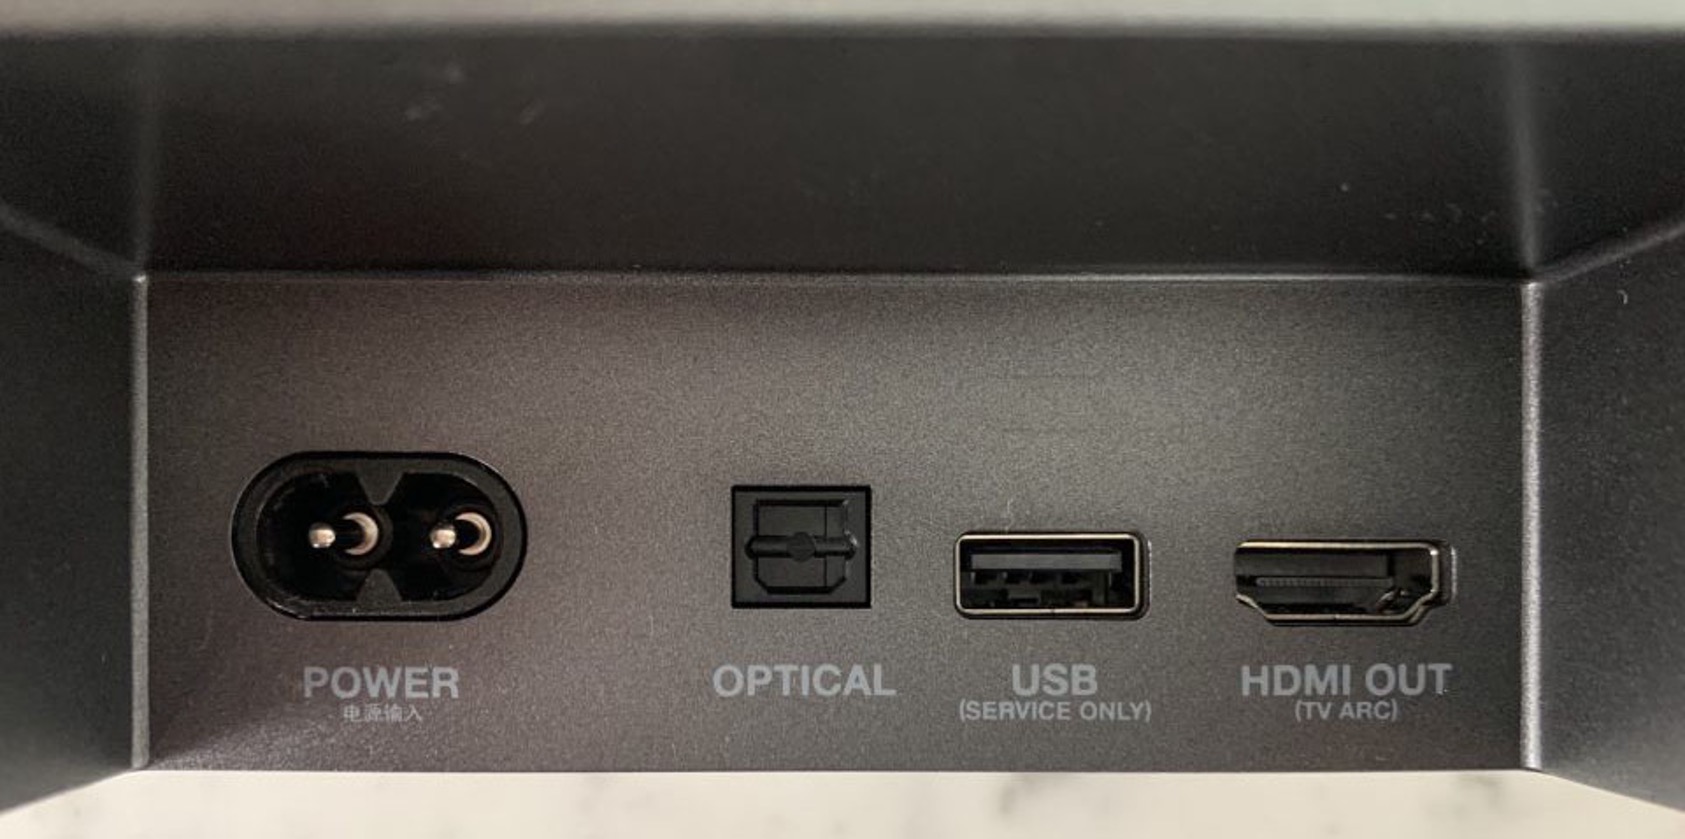
Locate the HDMI input port on your soundbar. It is typically labeled as “HDMI In” or “Input”. Insert one end of the HDMI cable into this port.
Next, find the HDMI output port on your TV. It is usually labeled as “HDMI Out” or “Output”. Connect the other end of the HDMI cable into this port.
Ensure that the HDMI cable is securely inserted into both the soundbar and TV, as a loose or inadequate connection may result in audio or video issues.
Once the HDMI cable is properly connected, take note of the HDMI input number on your TV. This number corresponds to the HDMI port you plugged the soundbar into. You will need to switch the TV’s input source to this HDMI input to hear the sound from your JBL soundbar.
Using your TV’s remote control, navigate to the input/source menu. Select the HDMI input that corresponds to the soundbar connection. This will redirect the audio from your TV speakers to the soundbar.
Some TVs may also give you the option to enable HDMI-CEC (Consumer Electronics Control) or a similar feature. This allows you to control the soundbar using your TV’s remote control. If available, enable this feature to enhance the overall user experience.
With the HDMI connection established and the input source set, you have successfully connected your JBL soundbar to your TV. However, there are a few more steps to ensure optimal audio performance. Let’s move on to the next step: adjusting the soundbar and TV settings.
Step 5: Adjust the Soundbar and TV Settings
After connecting your JBL soundbar to your TV via HDMI, it’s important to adjust the soundbar and TV settings to optimize the audio experience.
Start by setting the volume level on your TV to a moderate level. This will ensure that the soundbar’s volume adjustments can be made effectively without any distortion or extreme volume changes.
Next, use the remote control that came with your JBL soundbar to adjust its volume. Increase or decrease the volume level to your desired preference. Additionally, explore any other audio settings on the soundbar, such as equalizer settings or sound modes, to customize the sound output according to your preferences.
Check if your soundbar has any additional features, such as surround sound or virtual surround sound. These features can create a more immersive audio experience and enhance your movie-watching or gaming sessions.
If necessary, consult the user manual of your soundbar for detailed instructions on adjusting specific settings and features.
On your TV, you may also have the option to adjust audio settings. Navigate to the audio settings menu and explore different options such as equalizer presets, surround sound settings, or audio modes. Experiment with these settings to find the configuration that best suits your preferences.
Some TVs may have additional settings related to audio output. For example, you may be able to select between internal speakers, external speakers, or both. Make sure to set the audio output to external speakers or soundbar to ensure that the sound is routed through your JBL soundbar.
Once you have adjusted the soundbar and TV settings to your liking, you are ready to move on to the final step: testing the connection and enjoying the enhanced audio.
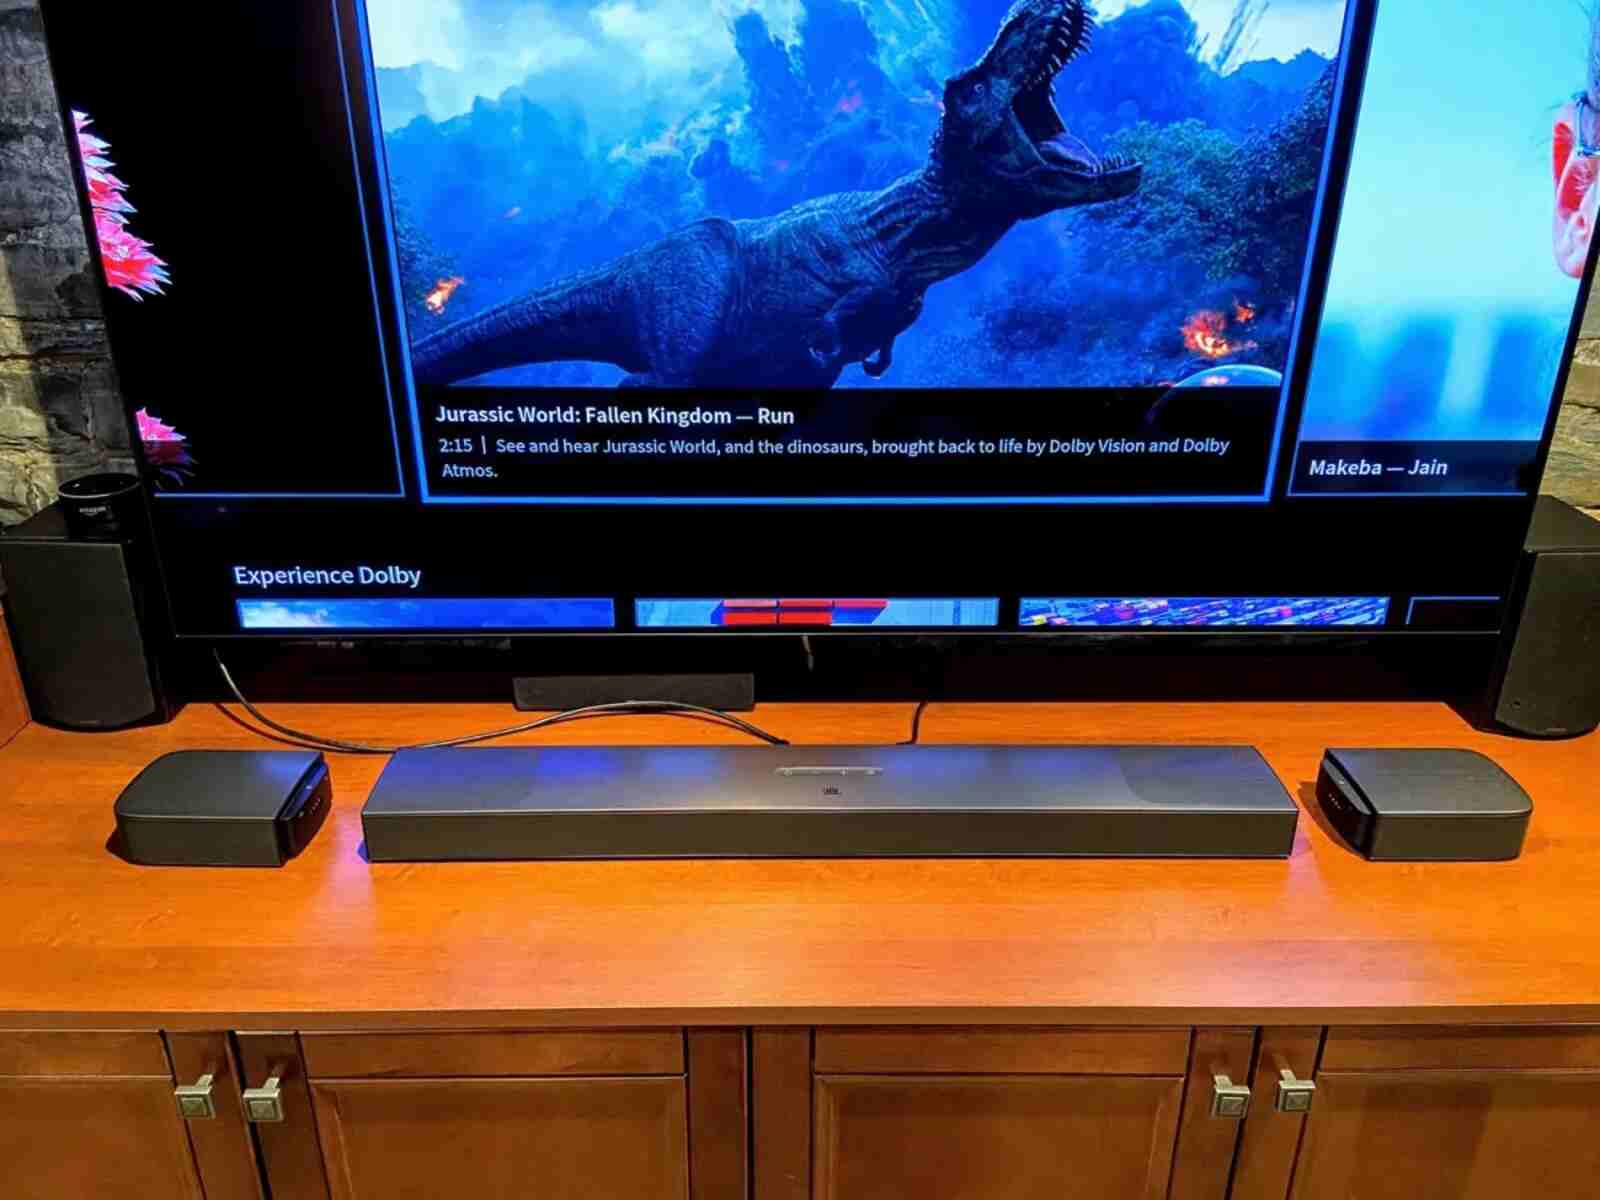
Step 6: Test the Connection and Enjoy Enhanced Audio
With your JBL soundbar connected to your TV and the settings adjusted, it’s time to test the connection and experience the enhanced audio performance.
Start by playing a piece of audio or video content on your TV. It could be a movie, TV show, music video, or any other media that allows you to assess the sound quality.
As the content plays, listen carefully to the audio output. Pay attention to the clarity, depth, and overall sound quality that the soundbar provides. You should notice a significant improvement compared to the TV’s built-in speakers.
If the sound doesn’t seem to be coming from the soundbar, ensure that the TV’s output is properly set to the connected HDMI input. Also, double-check the audio settings on both the soundbar and TV to make sure everything is correctly configured.
If you encounter any issues, such as no sound or distorted audio, try the following troubleshooting steps:
- Ensure that the HDMI cable is securely connected to both the soundbar and TV.
- Power off and unplug both the soundbar and TV. Then, plug them back in and power them on again.
- Verify that the HDMI input on your TV is set to the correct input source for the soundbar connection.
- Try using a different HDMI cable or testing the soundbar with another TV (if possible) to isolate the issue.
Once you have confirmed that the soundbar is working correctly and providing enhanced audio, sit back and enjoy your favorite movies, shows, or games with an immersive sound experience.
Remember to periodically check for software or firmware updates for both your soundbar and TV. Manufacturers often release updates that can improve performance, add new features, or resolve any compatibility issues.
Congratulations! You have successfully connected your JBL soundbar to your TV using an HDMI connection and are now enjoying a cinematic audio experience in the comfort of your own home.
Conclusion
Connecting your JBL soundbar to your TV using an HDMI cable is a straightforward process that can greatly enhance your audio experience while enjoying your favorite movies, shows, or games. Following the steps outlined in this guide, you can ensure a seamless setup and enjoy optimal sound quality.
Remember to check the compatibility between your JBL soundbar and TV, gather the necessary cables and accessories, and power on both devices before making the connection. Taking the time to adjust the soundbar and TV settings will allow you to customize the audio output to your preference and optimize the overall listening experience.
If you encounter any issues during the setup process or while testing the connection, consult the user manuals for your specific devices or try the troubleshooting steps provided.
By connecting your JBL soundbar to your TV, you can transform your home entertainment system into a theater-like experience, immersing yourself in stunning audio quality and enjoying every moment to the fullest.
We hope this guide has been helpful in assisting you in connecting your JBL soundbar to your TV. Now, go ahead and sit back, relax, and enjoy your audio-visual journey with enhanced sound quality!