Introduction
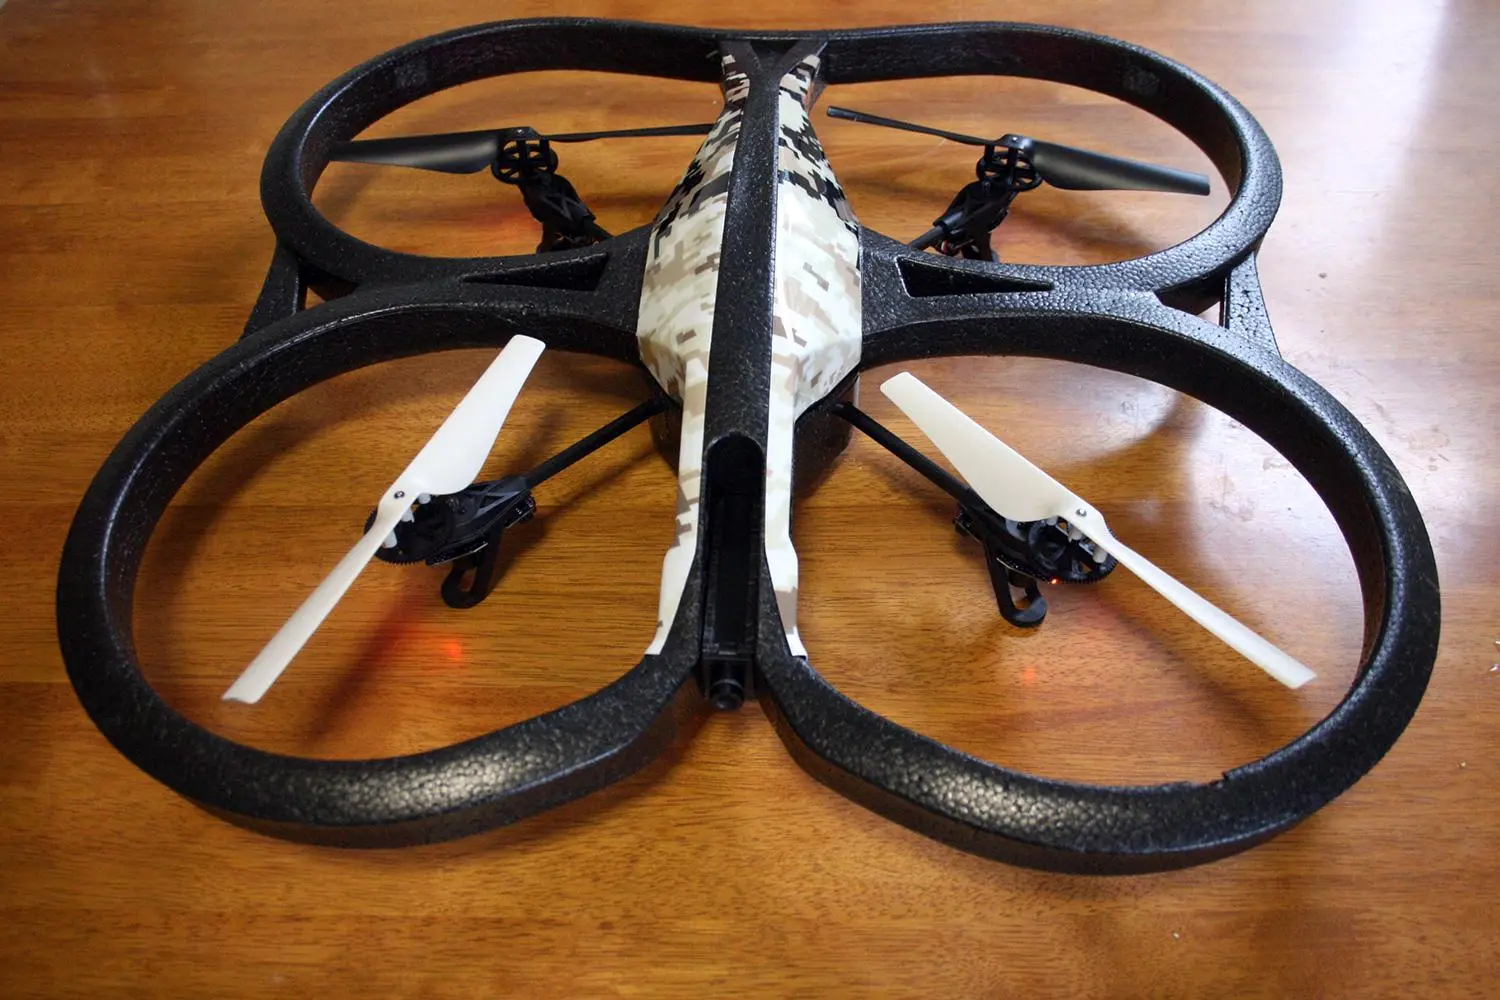
Welcome to this guide on how to connect the AR Drone to your iPhone! The AR Drone is a popular remote-controlled quadcopter that offers an immersive and enjoyable flying experience. By connecting it to your iPhone, you can not only control the drone but also access its advanced features and capabilities through a user-friendly app.
Whether you’re a drone enthusiast, a photography enthusiast, or simply someone who loves technology, connecting your AR Drone to your iPhone opens up a whole new world of possibilities. With the power of your iPhone in your hands, you can capture stunning aerial photos and videos, control the drone with precision, and even compete with other pilots in exciting multiplayer games.
In this guide, we’ll walk you through the step-by-step process of connecting your AR Drone to your iPhone. Don’t worry if you’re new to this; we’ll make sure to provide clear and detailed instructions to help you get started.
Before we dive into the steps, make sure you have your AR Drone and iPhone ready. Also, ensure that your iPhone is updated to the latest software version and has enough available storage space to install the required app. Let’s get started!
Step 1: Download the AR.FreeFlight app
The first step in connecting your AR Drone to your iPhone is to download the AR.FreeFlight app, which is the official app developed by Parrot for controlling their drones. This app is available for free on the App Store, so you can easily install it on your iPhone.
To download the AR.FreeFlight app, follow these simple steps:
- Open the App Store on your iPhone.
- Type “AR.FreeFlight” in the search bar and tap the search icon.
- Locate the AR.FreeFlight app from the search results and tap on it.
- Tap the “Get” button to start the download.
- Once the app is downloaded and installed, tap “Open” to launch it.
That’s it! You now have the AR.FreeFlight app installed on your iPhone and you’re ready to proceed to the next step.
The AR.FreeFlight app is designed to provide a seamless and intuitive experience for controlling your AR Drone. It offers a wide range of features, including a virtual joystick for precise control, customizable flight settings, live video streaming from the drone’s camera, and even augmented reality games that you can play with your drone.
Take some time to explore the app and familiarize yourself with its features. You can access the app anytime from your iPhone’s home screen, so it’s always just a tap away when you’re ready to fly your AR Drone.
Now that you have the AR.FreeFlight app installed, let’s move on to the next step of connecting your AR Drone to your iPhone.
Step 2: Connect to the AR Drone’s Wi-Fi network
Once you have the AR.FreeFlight app installed on your iPhone, the next step is to connect to the AR Drone’s Wi-Fi network. The AR Drone creates its own Wi-Fi network, which you need to connect to in order to establish a connection between your iPhone and the drone.
Follow these simple steps to connect to the AR Drone’s Wi-Fi network:
- Go to the Settings app on your iPhone.
- Select “Wi-Fi” from the list of available options.
- Look for the AR Drone’s Wi-Fi network in the list of available networks. It usually has a name like “AR_Drone_XXXXXX” (with XXXXXX being a combination of letters and numbers).
- Tap on the AR Drone’s Wi-Fi network to connect to it.
- Your iPhone will now connect to the AR Drone’s Wi-Fi network. Once the connection is established, you’ll see a checkmark next to the network name.
It’s important to note that when you connect to the AR Drone’s Wi-Fi network, your iPhone will no longer be connected to your regular Wi-Fi network. This means that you won’t have internet access while flying the drone. However, the AR.FreeFlight app provides all the functionality you need to control and interact with the drone.
Once you’re connected to the AR Drone’s Wi-Fi network, you’re ready to move on to the next step and launch the AR.FreeFlight app.
Pro tip: If you’re having trouble finding the AR Drone’s Wi-Fi network, make sure that the drone is powered on and in range of your iPhone. Also, double-check that you’re searching for Wi-Fi networks on your iPhone and not on another device. If you’re still unable to find the network, try restarting both the drone and your iPhone.
Step 3: Launch the AR.FreeFlight app
With your iPhone connected to the AR Drone’s Wi-Fi network, it’s time to launch the AR.FreeFlight app and prepare for an exciting flying experience.
Follow these steps to launch the AR.FreeFlight app:
- Locate the AR.FreeFlight app on your iPhone’s home screen and tap on it to open.
- Once the app launches, you’ll be greeted with a splash screen displaying the Parrot logo and the AR.FreeFlight app name.
- After a brief moment, the app’s main interface will appear, providing you with various options and controls to interact with your AR Drone.
The AR.FreeFlight app is designed to be user-friendly and intuitive, making it easy for both beginner and experienced pilots to navigate and control the drone. The main interface of the app typically includes a live video feed from the drone’s camera, virtual joysticks for controlling its movement, and buttons for accessing additional features and settings.
Take a moment to familiarize yourself with the app’s interface and layout. You can explore different menus and options to learn more about the available features, such as adjusting camera settings, accessing flight data, and even engaging in multiplayer challenges with other AR Drone owners.
When you’re ready to start flying, make sure you have a clear and open space to launch the drone. It’s important to fly in an area free from obstacles and people to ensure a safe and enjoyable experience. Once you’re prepared, it’s time to move on to the next step and establish a connection between your iPhone and the AR Drone.
Pro tip: If you encounter any issues launching the AR.FreeFlight app, try closing and reopening it. If the problem persists, ensure that your iPhone is updated to the latest software version. You can also try restarting both your iPhone and the drone to reset any connection issues.
Step 4: Follow the on-screen instructions to establish a connection
Now that the AR.FreeFlight app is open and you’re ready to fly your AR Drone, it’s time to establish a connection between your iPhone and the drone. The app will guide you through the process with on-screen instructions. Follow the steps below to establish the connection:
- On the main interface of the AR.FreeFlight app, look for a button or option that allows you to connect to the drone. This may vary depending on the version of the app, but it’s usually displayed prominently.
- Tap on the button or option to start the connection process.
- The app will search for available drones in the vicinity. Once it detects your AR Drone, select it from the list of available devices.
- Follow the on-screen instructions to complete the connection process, which may involve confirming the connection and entering a unique pairing code if prompted.
- After establishing the connection, you should see a confirmation message or icon indicating that your iPhone is connected to the AR Drone.
Once the connection is established, you’re ready to take control of your AR Drone using the AR.FreeFlight app. You can use the virtual joysticks on the screen to maneuver the drone, adjust the camera angle, and explore its various features.
Keep in mind that the specific instructions and options within the app may vary based on the model of AR Drone you’re using. However, the connection process should be relatively straightforward, and the app will provide clear guidance along the way.
It’s important to note that establishing a connection between your iPhone and the AR Drone ensures direct communication and control. The app acts as a bridge, allowing you to send commands and receive real-time feedback from the drone. This wireless connection enables you to explore the full potential of your AR Drone and enjoy an immersive flying experience with ease.
Pro tip: If you’re experiencing difficulty establishing a connection, make sure you’re in range of the drone and that it’s powered on. Double-check that your iPhone is connected to the AR Drone’s Wi-Fi network. You can also try restarting both your iPhone and the drone if the issue persists.
Step 5: Explore the AR Drone features on your iPhone
Now that you have successfully connected your AR Drone to your iPhone, it’s time to explore the exciting features and capabilities that the combination of these two powerful devices offers. The AR.FreeFlight app provides a host of functionalities that enhance your flying experience and allow you to unleash the full potential of your AR Drone.
Here are some key features you can explore and enjoy on your iPhone:
- Flight controls: The AR.FreeFlight app offers intuitive controls, including virtual joysticks, to pilot your drone with precision. You can smoothly navigate in various directions, adjust altitude, and perform aerial maneuvers.
- Camera control: Take advantage of the app’s camera control features to adjust the camera angle, capture stunning photos, and record high-quality videos from a unique aerial perspective.
- Livestreaming: Enjoy real-time video streaming from the drone’s camera directly to your iPhone, allowing you to see what the drone sees as you fly. This immersive experience adds to the excitement and helps you frame your shots perfectly.
- Flight data: Access detailed flight data such as battery level, altitude, speed, and distance from the app, keeping you informed about the drone’s performance and ensuring a safe and controlled flight operation.
- Augmented reality games: Engage in thrilling multiplayer games with other AR Drone pilots using the AR.FreeFlight app. Compete in challenges, embark on virtual aerial races, and demonstrate your piloting skills.
- Customizable settings: Personalize your drone’s flight characteristics, adjust sensitivity, and configure autonomous flight features to suit your preferences and achieve the desired flying experience.
Take your time to familiarize yourself with these features and experiment with their functionalities. The app’s interface is designed to be user-friendly, making it easy for you to explore and access the various options available.
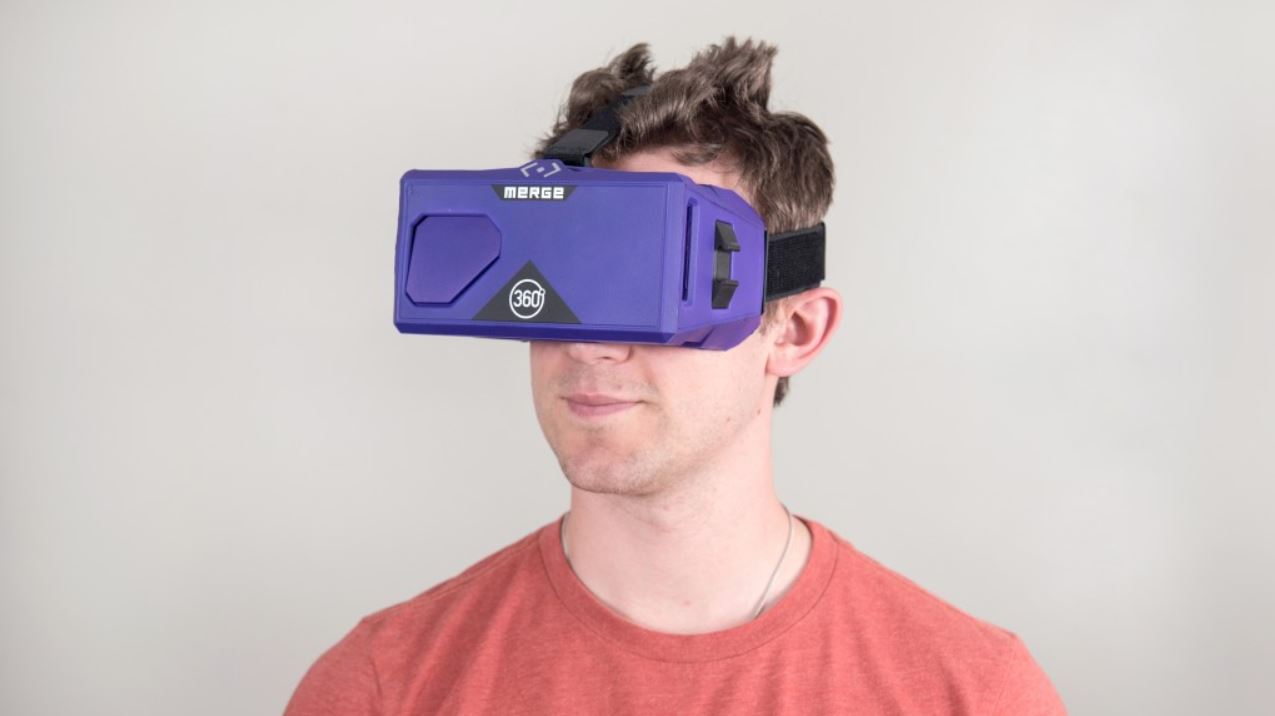
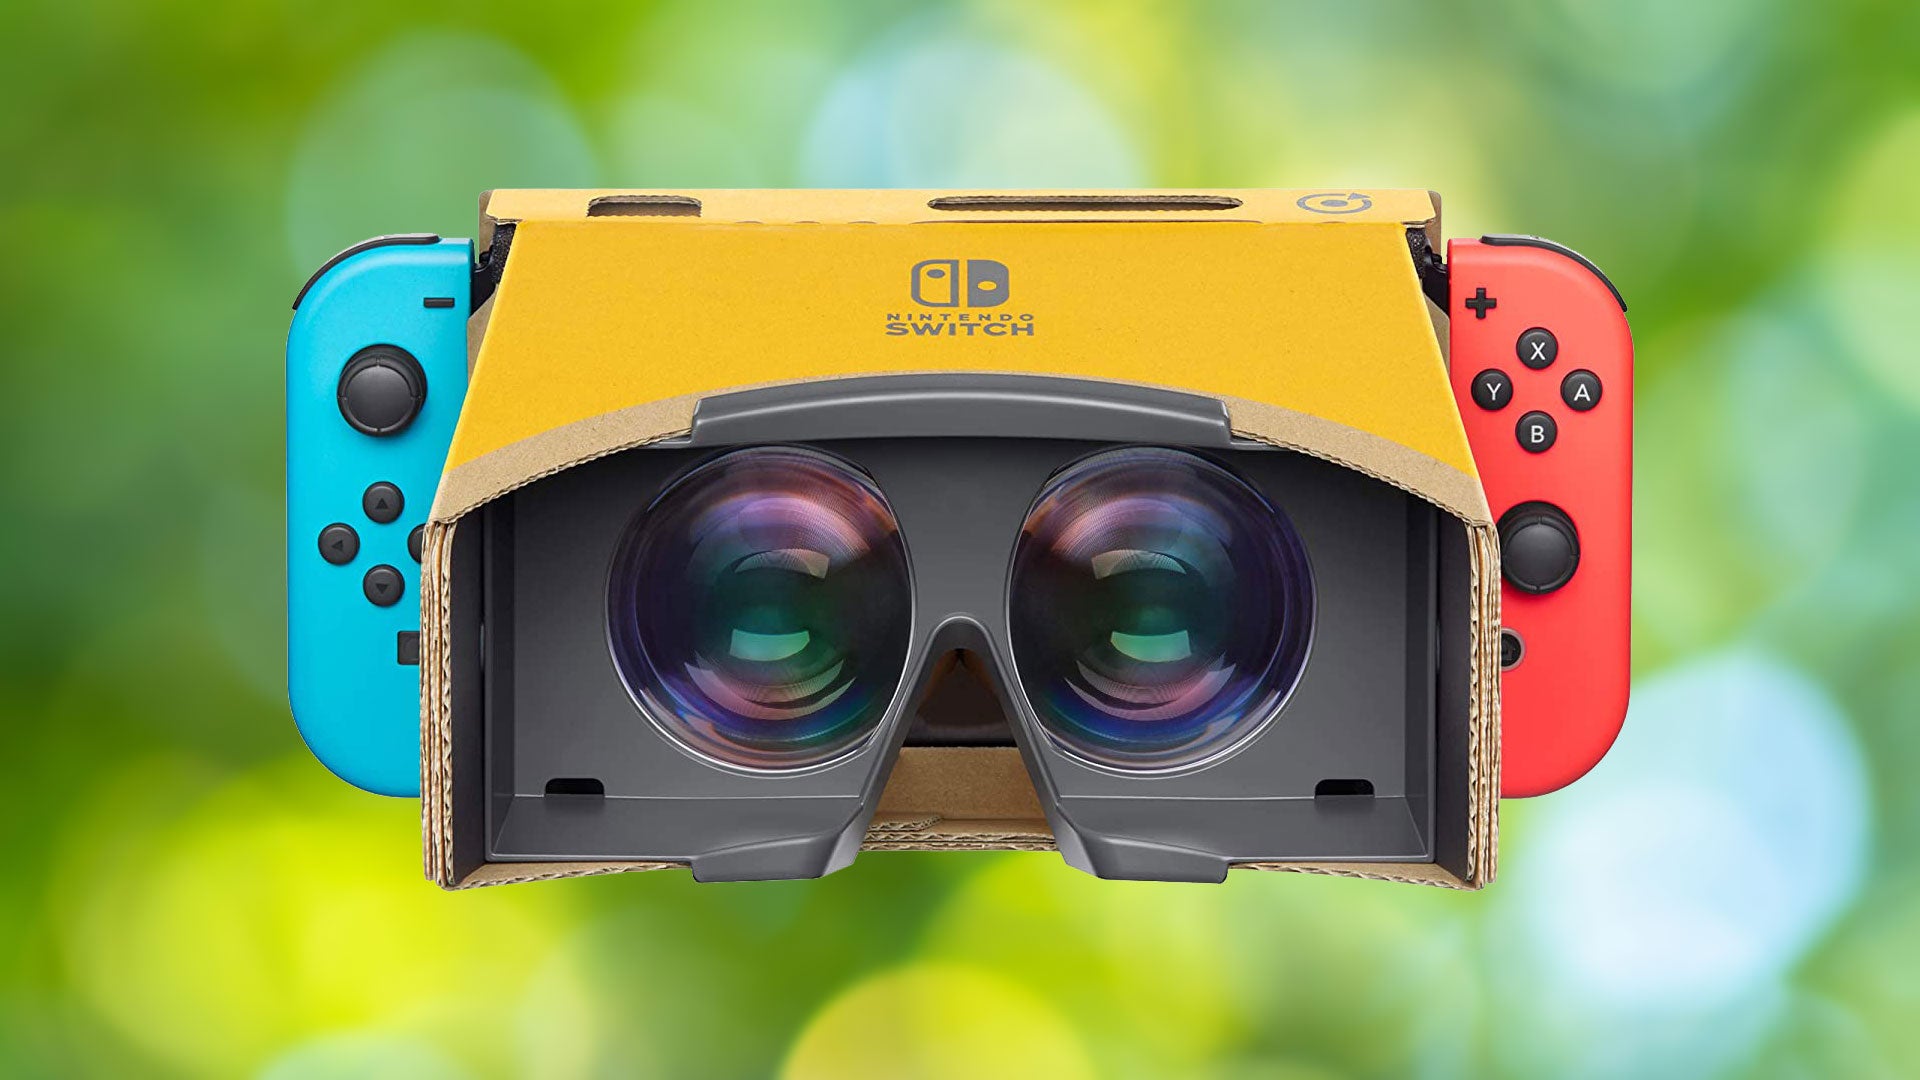
As you become more comfortable with the app and your AR Drone, consider further enhancing your experience by exploring additional accessories and add-ons available for your specific drone model. These include propeller guards for added protection, extra batteries for extended flight time, and even virtual reality goggles for an immersive first-person view experience.
Remember to always fly your AR Drone responsibly and within the legal regulations of your location. Respect the privacy and safety of others, and follow any specific guidelines provided by Parrot for your specific drone model.
Enjoy the incredible world of aerial exploration and creativity that your AR Drone and iPhone combination offers!
Conclusion
Congratulations! You have successfully learned how to connect your AR Drone to your iPhone, opening up a whole new world of possibilities for aerial exploration and fun. By following the step-by-step guide outlined in this article, you are now able to control your drone, access advanced features, and capture stunning photos and videos using your iPhone.
Connecting your AR Drone to your iPhone not only enhances your flying experience but also provides you with a user-friendly interface and access to a range of features. The AR.FreeFlight app serves as a bridge between your drone and iPhone, allowing you to control the drone with precision, adjust camera settings, stream live video, and even engage in multiplayer games with other drone pilots.
As you continue to explore the AR.FreeFlight app and your AR Drone, make sure to familiarize yourself with the features and settings available to you. Customize flight controls, adjust camera angles, and take advantage of autonomous flight features to create unique and breathtaking footage.
Always remember to fly responsibly and within the legal guidelines of your location. Respect the privacy and safety of others, and adhere to any specific regulations put forth by Parrot for your specific drone model.
Lastly, consider further enhancing your flying experience by exploring additional accessories and add-ons that are compatible with your AR Drone model. These additional tools and enhancements can take your aerial photography and videography to the next level.
Now that you’re armed with the knowledge of how to connect your AR Drone to your iPhone, it’s time to get out there and embark on exciting drone flights. Capture breathtaking imagery, explore new perspectives, and immerse yourself in the thrilling world of drone piloting with the power of your iPhone at your fingertips.


