Introduction
Connecting a drawing tablet to your PC opens up a whole new world of creativity and digital art. Whether you’re a professional artist or just starting out, a drawing tablet can revolutionize the way you work and bring your artistic vision to life. However, for many people, the process of connecting a drawing tablet to a PC can seem daunting and confusing.
But fear not! In this article, we will guide you through the steps to connect your drawing tablet to your PC seamlessly. We will walk you through the installation of necessary drivers, the physical connection of the tablet, adjusting the tablet settings, and testing the connection to ensure everything is working smoothly.
Before we jump into the step-by-step process, let’s briefly discuss the benefits of using a drawing tablet. Unlike traditional pen and paper, a drawing tablet allows for precise and pressure-sensitive input, enabling you to create smoother lines, varied brush strokes, and more accurate digital artwork. Additionally, drawing tablets often come bundled with powerful software that offers a wide range of tools and features to enhance your artistic capabilities.
Now that we have covered the basics, let’s dive into the detailed steps to connect your drawing tablet to your PC. Whether you have a Wacom, Huion, or any other brand of drawing tablet, the process will be similar. So, grab your tablet and let’s get started!
Step 1: Install the Drivers
The first step to connect your drawing tablet to your PC is to install the necessary drivers. Drivers are software programs that allow your PC to communicate with the tablet and ensure proper functionality. Most drawing tablets come with a CD or DVD that contains the required drivers. However, if your tablet didn’t come with any installation media, you can usually download the drivers from the manufacturer’s website.
To start the installation process, insert the CD or DVD into your computer’s disc drive. If the installation doesn’t start automatically, navigate to the disc drive in File Explorer and double-click on the setup file to launch the installation wizard. Follow the on-screen instructions to install the drivers. If you’re downloading the drivers from the manufacturer’s website, locate the appropriate driver file for your tablet model and download it. Once downloaded, double-click on the file to start the installation process and follow the prompts.
During the installation, you may be asked to restart your computer. It’s essential to complete this step to ensure that the drivers are properly installed and your drawing tablet functions correctly. After the restart, your tablet should be recognized by your PC.
It’s worth noting that some tablets, especially newer models, can be plug-and-play, meaning that they don’t require specific drivers to function. In these cases, your tablet should work as soon as you connect it to your PC. However, it’s still a good idea to visit the manufacturer’s website and download any available updates or additional software that can enhance your tablet’s features and performance.
By following this first step and installing the necessary drivers, you have set a strong foundation for connecting your drawing tablet to your PC. With the drivers in place, your tablet and PC will be able to communicate effectively, allowing you to make the most of your digital art experience.
Step 2: Connect the Drawing Tablet to the PC
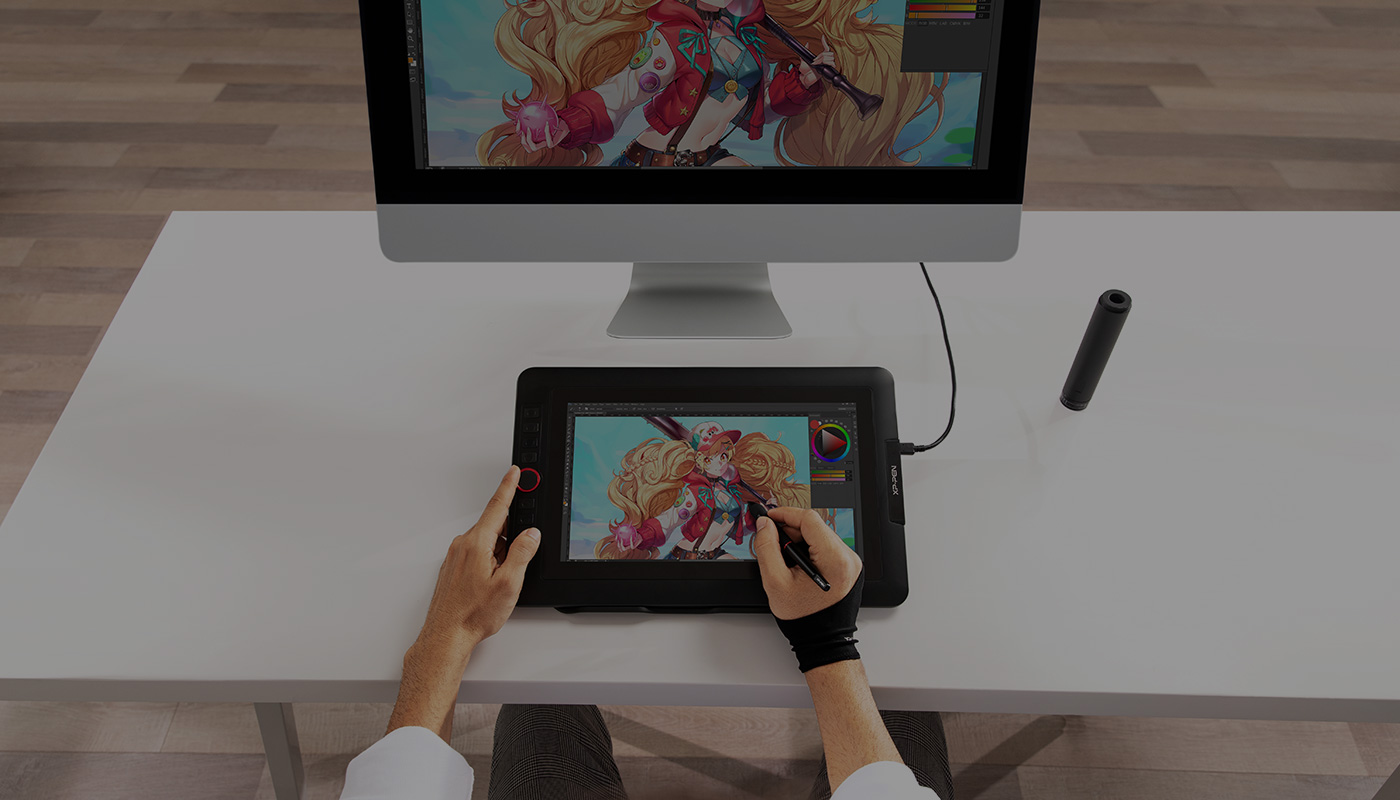
Now that you have installed the drivers for your drawing tablet, it’s time to physically connect it to your PC. The method of connection may vary depending on the type of tablet you have, but most drawing tablets connect via a USB cable. Follow these steps to establish the connection:
- Locate the USB port on your PC. These ports are typically located on the back or sides of the computer tower. If you are using a laptop, the USB ports can usually be found on the sides.
- Take the USB cable that came with your drawing tablet. Connect one end of the cable to the USB port on your PC.
- Connect the other end of the USB cable to the USB port on your drawing tablet. The USB port on your tablet is usually located on the side or bottom.
- If your tablet has a power button, turn it on. Some tablets are designed to turn on automatically when connected to a PC.
- Wait for your PC to recognize the tablet. You may see a notification on your PC screen that the device has been connected and is ready to use. In some cases, you may need to wait for the drivers to finish installing or restart your computer.
Once you have connected your drawing tablet to your PC and it has been recognized, you are one step closer to unleashing your artistic potential. It’s essential to ensure that the USB connection is secure and that the cable is not loose. A loose connection can result in intermittent connectivity issues or an unreliable drawing experience.
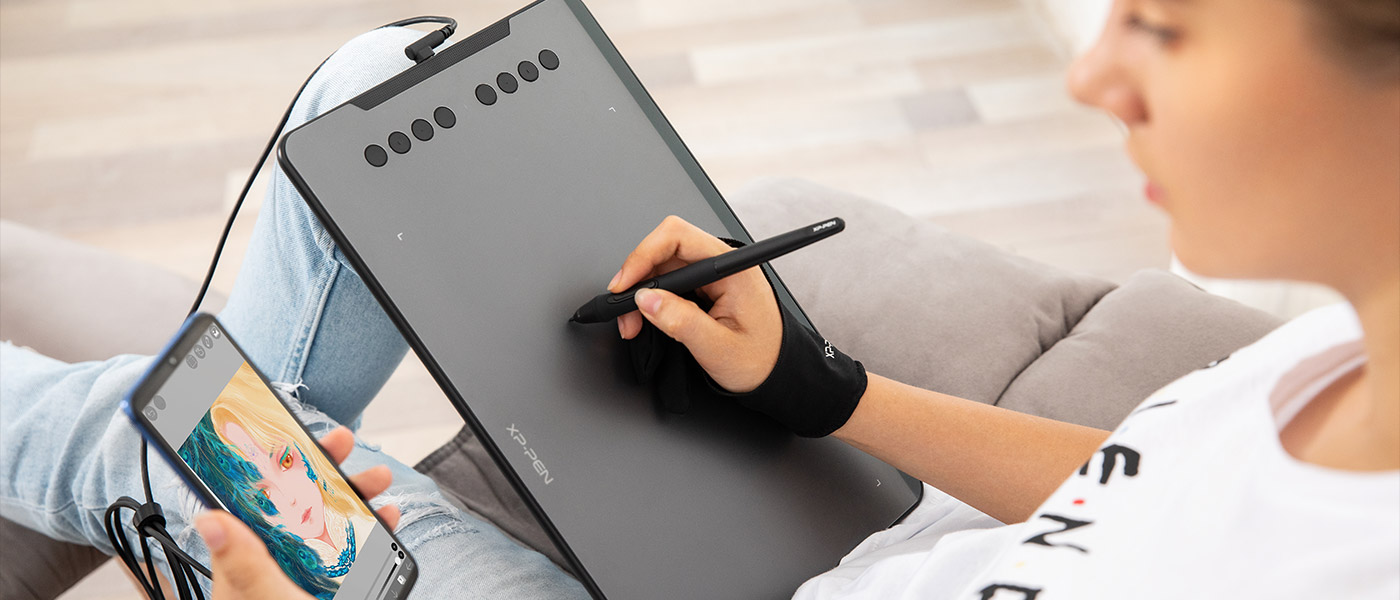
In some cases, your drawing tablet may come with additional connectivity options such as HDMI or wireless. If your tablet supports other connection methods, consult the manufacturer’s documentation for specific instructions on how to set them up. However, for most users, USB connectivity is the simplest and most common method.
In the next step, we will explore how to adjust the tablet settings to optimize your drawing experience.
Step 3: Adjust the Tablet Settings
After connecting your drawing tablet to your PC, it’s essential to customize the tablet settings to suit your preferences and optimize your drawing experience. The settings can vary depending on the brand and model of your tablet, but most drawing tablets come with software that allows you to make adjustments. Follow these steps to adjust the tablet settings:
- Open the software that came with your drawing tablet. Most manufacturers provide dedicated software that allows you to customize various aspects of your tablet.
- Explore the software and look for options related to pen pressure, sensitivity, buttons, and other settings. These settings can significantly impact your drawing experience, so it’s worth spending some time adjusting them to suit your needs.
- Adjust the pen pressure and sensitivity settings. These settings determine how your tablet responds to the pressure you apply with the pen. Experiment with different levels until you find a pressure and sensitivity that feels comfortable and natural for you.
- Customize the buttons on the tablet, if available. Many tablets come with programmable buttons that can be assigned to specific shortcuts or functions. Assigning frequently used commands to these buttons can boost your workflow and make the drawing process more efficient.
- Explore any other available settings to customize your tablet experience. This may include options for screen mapping, pen tilt settings, or display preferences.
- Once you have made your desired adjustments, save the settings and close the software. Your tablet is now calibrated to your preferences.
Be sure to refer to the manufacturer’s documentation or online resources for detailed instructions on adjusting the settings specific to your tablet model. Additionally, don’t hesitate to experiment and explore different settings to discover what works best for you. Every artist has unique preferences, so finding the perfect combination of settings can greatly enhance your drawing capabilities.
Now that you have customized the tablet settings, you are ready to put your drawing tablet to the test in the next step – testing the connection.
Step 4: Test the Connection
After connecting your drawing tablet to your PC and adjusting the settings, it’s crucial to test the connection to ensure that everything is functioning as expected. Testing the connection will help verify that the tablet is working properly and that your PC is accurately registering the input from the pen. Follow these steps to test the connection:
- Open your favorite drawing software. It could be Adobe Photoshop, Corel Painter, or any other software that supports drawing tablet input.
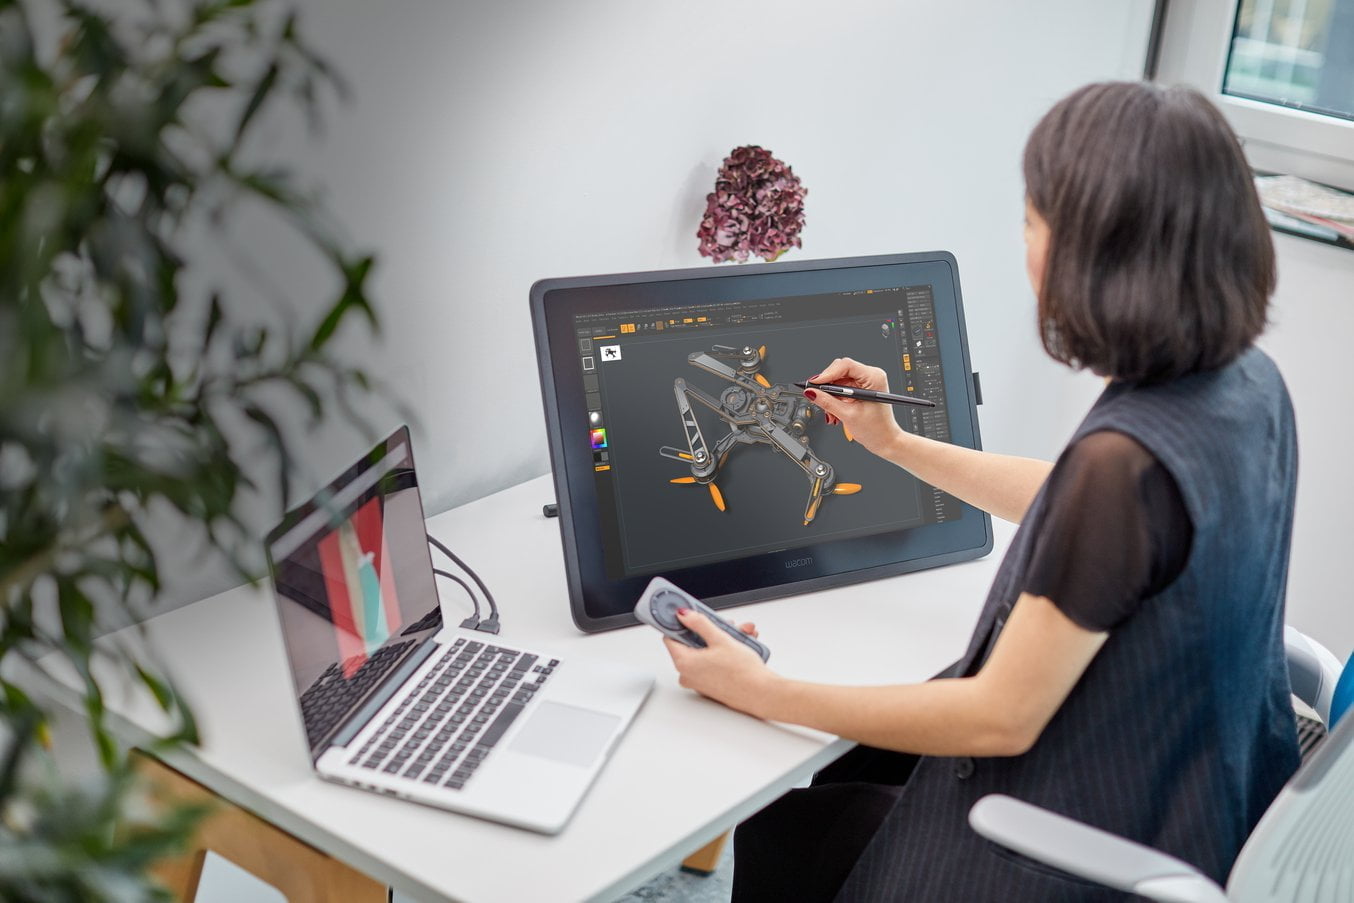
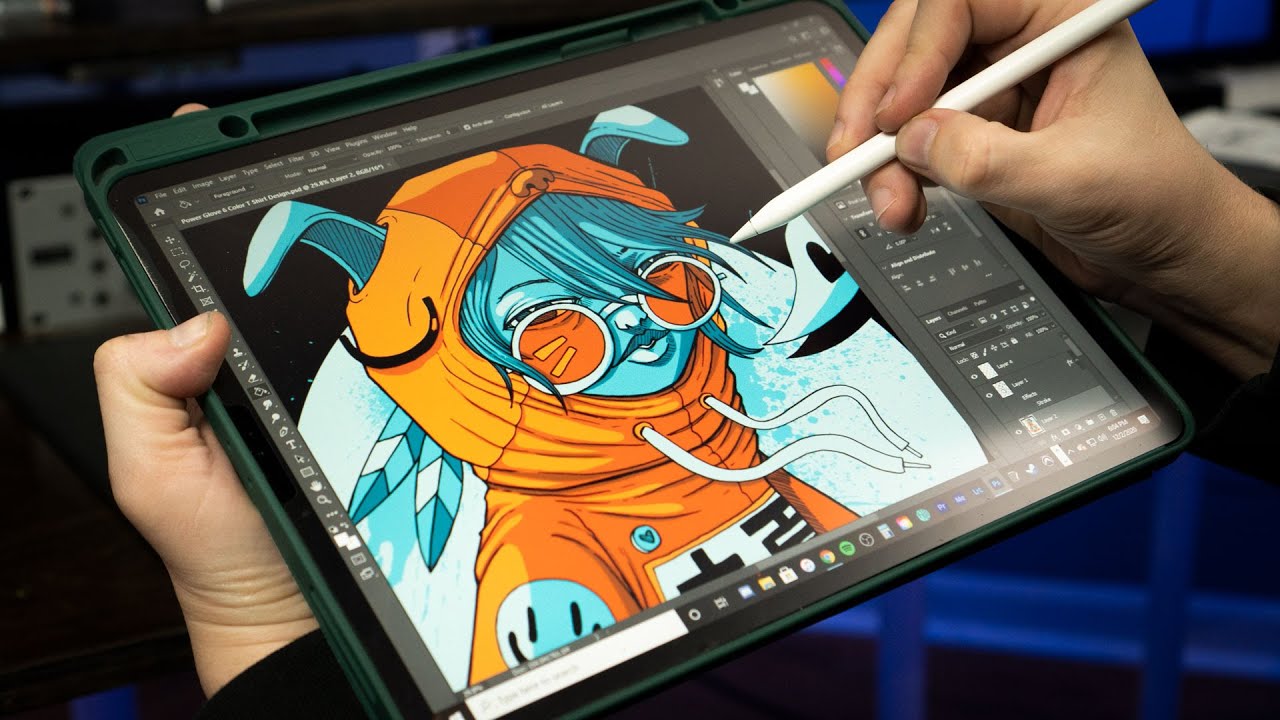
- Create a new canvas or open an existing artwork to test the tablet. Select the brush tool and start drawing with your pen on the canvas.
- Pay attention to the responsiveness and accuracy of the pen strokes. Does the software register the pressure you apply with the pen? Are the lines smooth and fluid, or do they appear jittery? Take note of any issues or inconsistencies.
- Experiment with the different pressure levels and brush settings to further test the tablet’s capabilities. Try applying gentle strokes, harder strokes, and shading to see how the tablet responds.
- If you encounter any issues, such as lag, unresponsiveness, or inaccurate strokes, double-check that the drivers are correctly installed and up to date. Also, ensure that you have adjusted the tablet settings as per your preferences.
- If necessary, consult the manufacturer’s website or support resources for troubleshooting guides or contact their customer support for assistance.
By thoroughly testing the connection between your drawing tablet and PC, you can identify any potential problems early on and address them accordingly. It’s important to have a smooth and reliable drawing experience to fully unleash your creativity and produce high-quality digital artwork.
Congratulations! You have now successfully connected your drawing tablet to your PC, adjusted the tablet settings, and tested the connection. You are all set to embark on your artistic journey and explore the endless possibilities that a drawing tablet offers. Happy creating!
Conclusion
Connecting a drawing tablet to your PC may seem intimidating at first, but by following the step-by-step process outlined in this article, you can easily establish a seamless connection that enhances your digital art experience. We started by installing the necessary drivers to allow your PC to communicate with the tablet effectively. Then, we moved on to physically connecting the tablet to the PC via a USB cable. Adjusting the tablet settings allowed you to customize the pressure sensitivity, button configurations, and other aspects to suit your artistic preferences.
Finally, we tested the connection by using drawing software and ensuring that the tablet responded accurately and exhibited the desired performance. By conducting this test, you could identify and resolve any issues promptly, further refining your setup for optimal usage.
Now, armed with your connected drawing tablet and the customized settings, you can let your creativity flow freely on the digital canvas. Whether you are a professional artist, aspiring digital illustrator, or simply looking to explore your artistic side, a drawing tablet provides you with a powerful and versatile tool to bring your imagination to life.
Remember, each drawing tablet may have specific requirements and features, so always refer to the manufacturer’s instructions and documentation for guidance tailored to your device. If you encounter any challenges or need further assistance, don’t hesitate to reach out to the manufacturer’s customer support or online community. They can provide valuable insights and troubleshooting tips to address any issues you may encounter along the way.
So, go ahead, connect your drawing tablet to your PC, unleash your artistic potential, and dive into a world of endless creativity and digital artistry. Happy drawing!


