Introduction
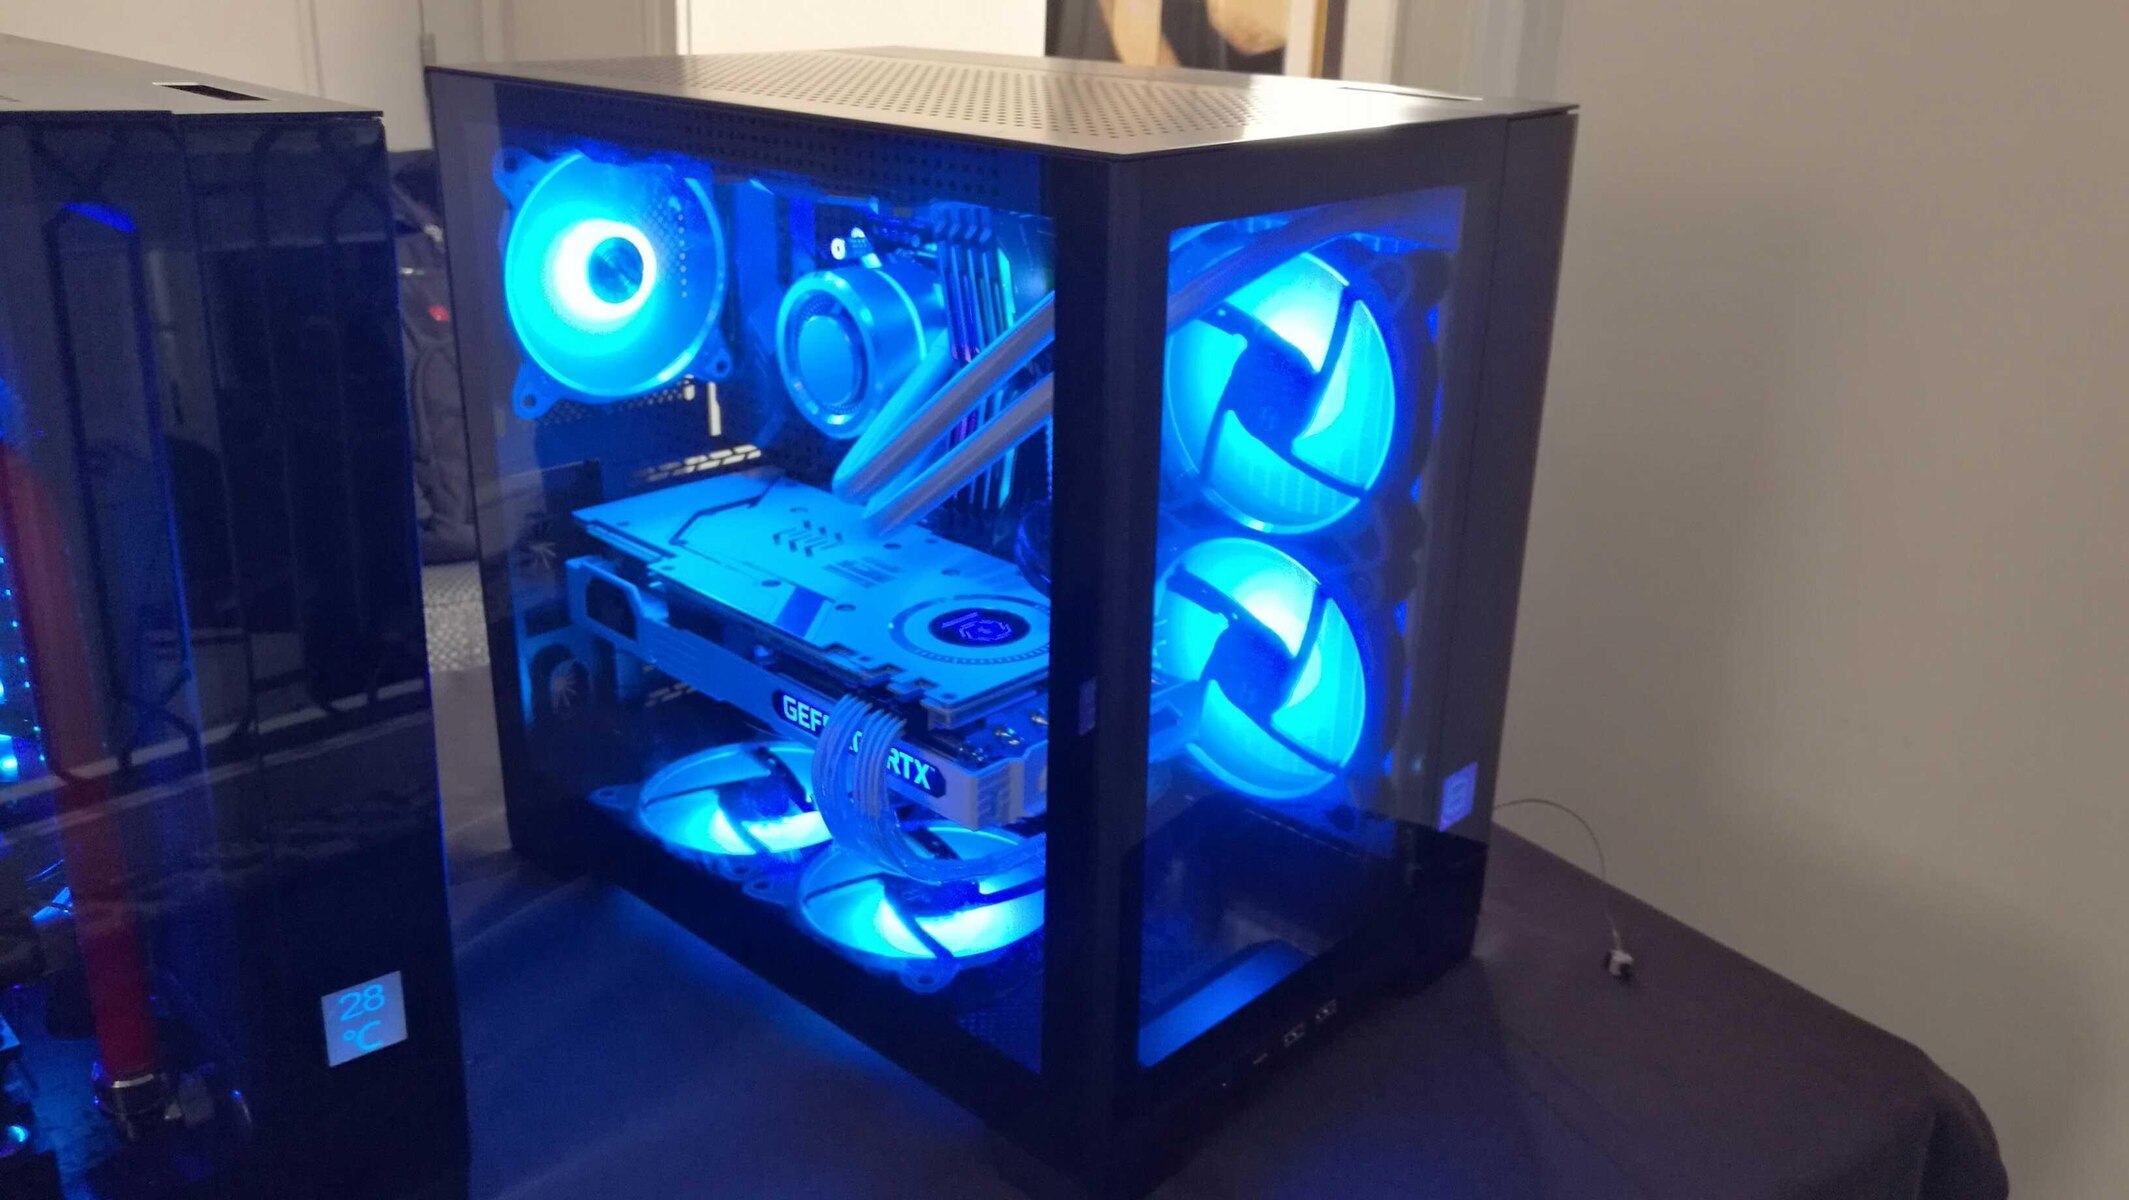
When it comes to keeping your computer cool and running efficiently, having a case fan is essential. These small but powerful fans help to circulate air and dissipate heat, preventing your computer from overheating. One common type of case fan is the 2-pin fan, which is known for its simplicity and easy installation process.
In this guide, we will walk you through the steps of connecting a 2-pin case fan to your computer’s power supply. Whether you are building a new computer or upgrading your existing system, this knowledge will come in handy.
Before we dive into the technical details, it’s important to note that having a basic understanding of computer hardware and some experience working with electronics will be helpful for this process. Additionally, ensure you have all the necessary tools and equipment ready before getting started.
Now, let’s explore the world of 2-pin case fans and learn how to effortlessly connect them to your computer’s power supply.
Understanding 2-Pin Case Fans
Before we proceed with connecting a 2-pin case fan, let’s take a moment to understand what exactly this type of fan is and how it works.
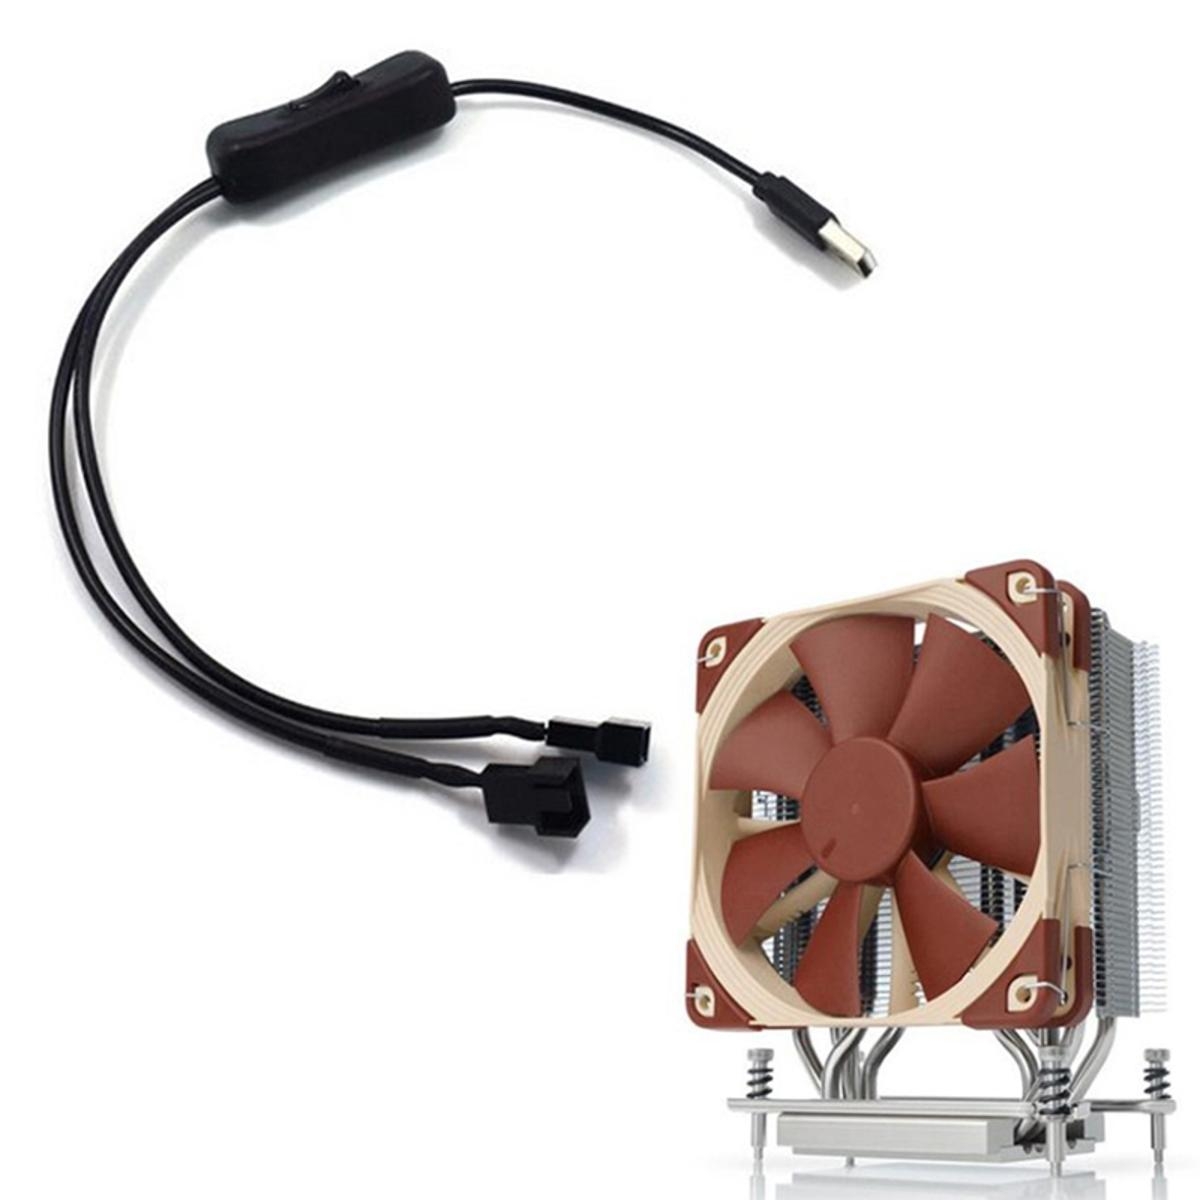
2-pin case fans are a popular choice among computer enthusiasts due to their simplicity and cost-effectiveness. As the name suggests, these fans have two pins for connecting to the power supply or motherboard.
Unlike their 3-pin or 4-pin counterparts, 2-pin fans do not have the ability to provide feedback or control the fan speed. They operate at a constant speed, usually determined by the voltage supplied to them.
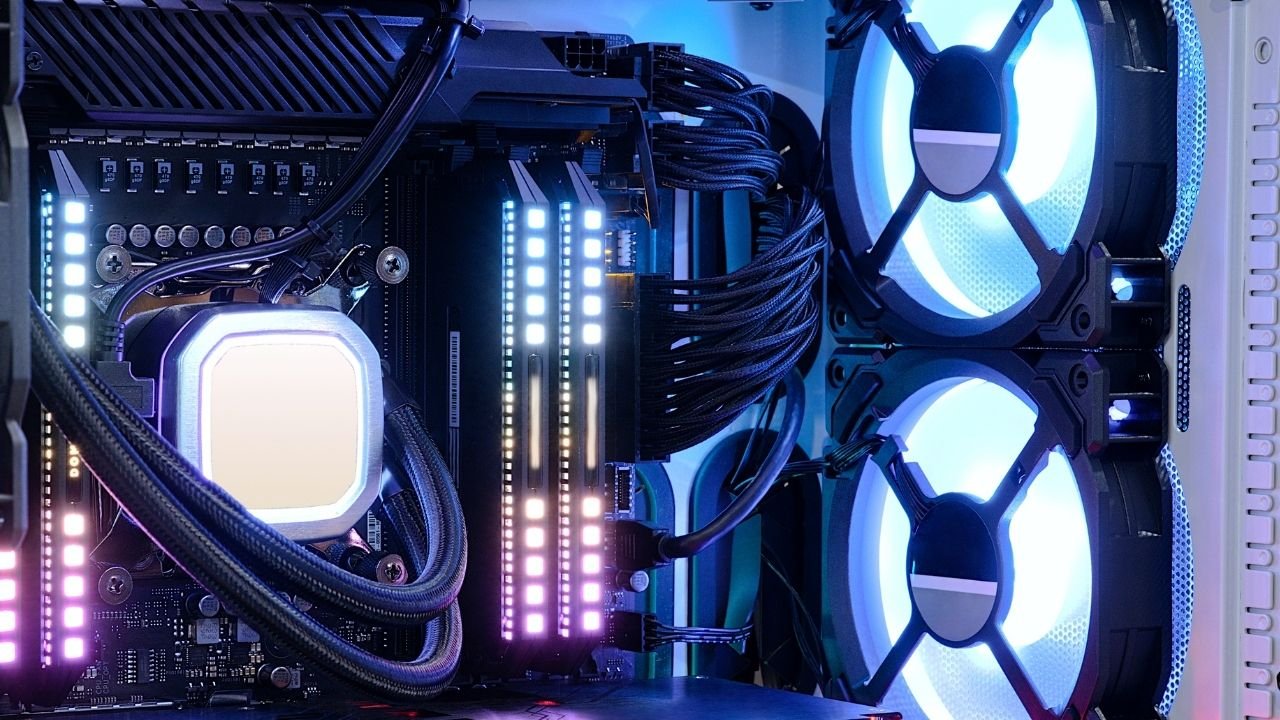
These fans are typically designed for basic cooling purposes, providing a steady airflow to keep the components inside your computer case cool. Although they may not offer advanced features like RPM monitoring or PWM control, they are reliable and easy to install.
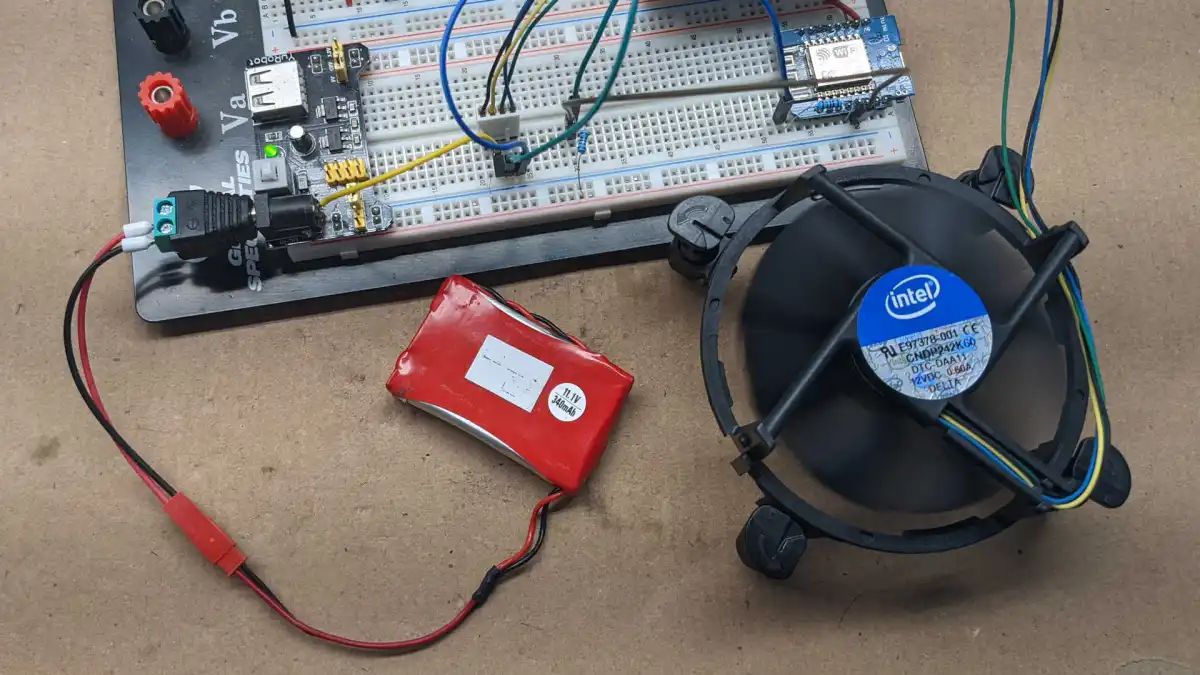
One important thing to note is the polarity of the wires. Pay close attention to the colors of the wires on your 2-pin fan – typically, black is the ground wire (negative) and red is the power wire (positive). Incorrectly connecting the wires may result in the fan not functioning or running at a higher speed than intended.
Now that we have a good understanding of what 2-pin case fans are, let’s gather the required tools and equipment and proceed with the connecting process.
Tools and Equipment Needed
Before you begin connecting your 2-pin case fan, it’s important to gather all the necessary tools and equipment. Having everything prepared beforehand will make the installation process smoother and more efficient.
Here’s a list of the tools and equipment you’ll need:
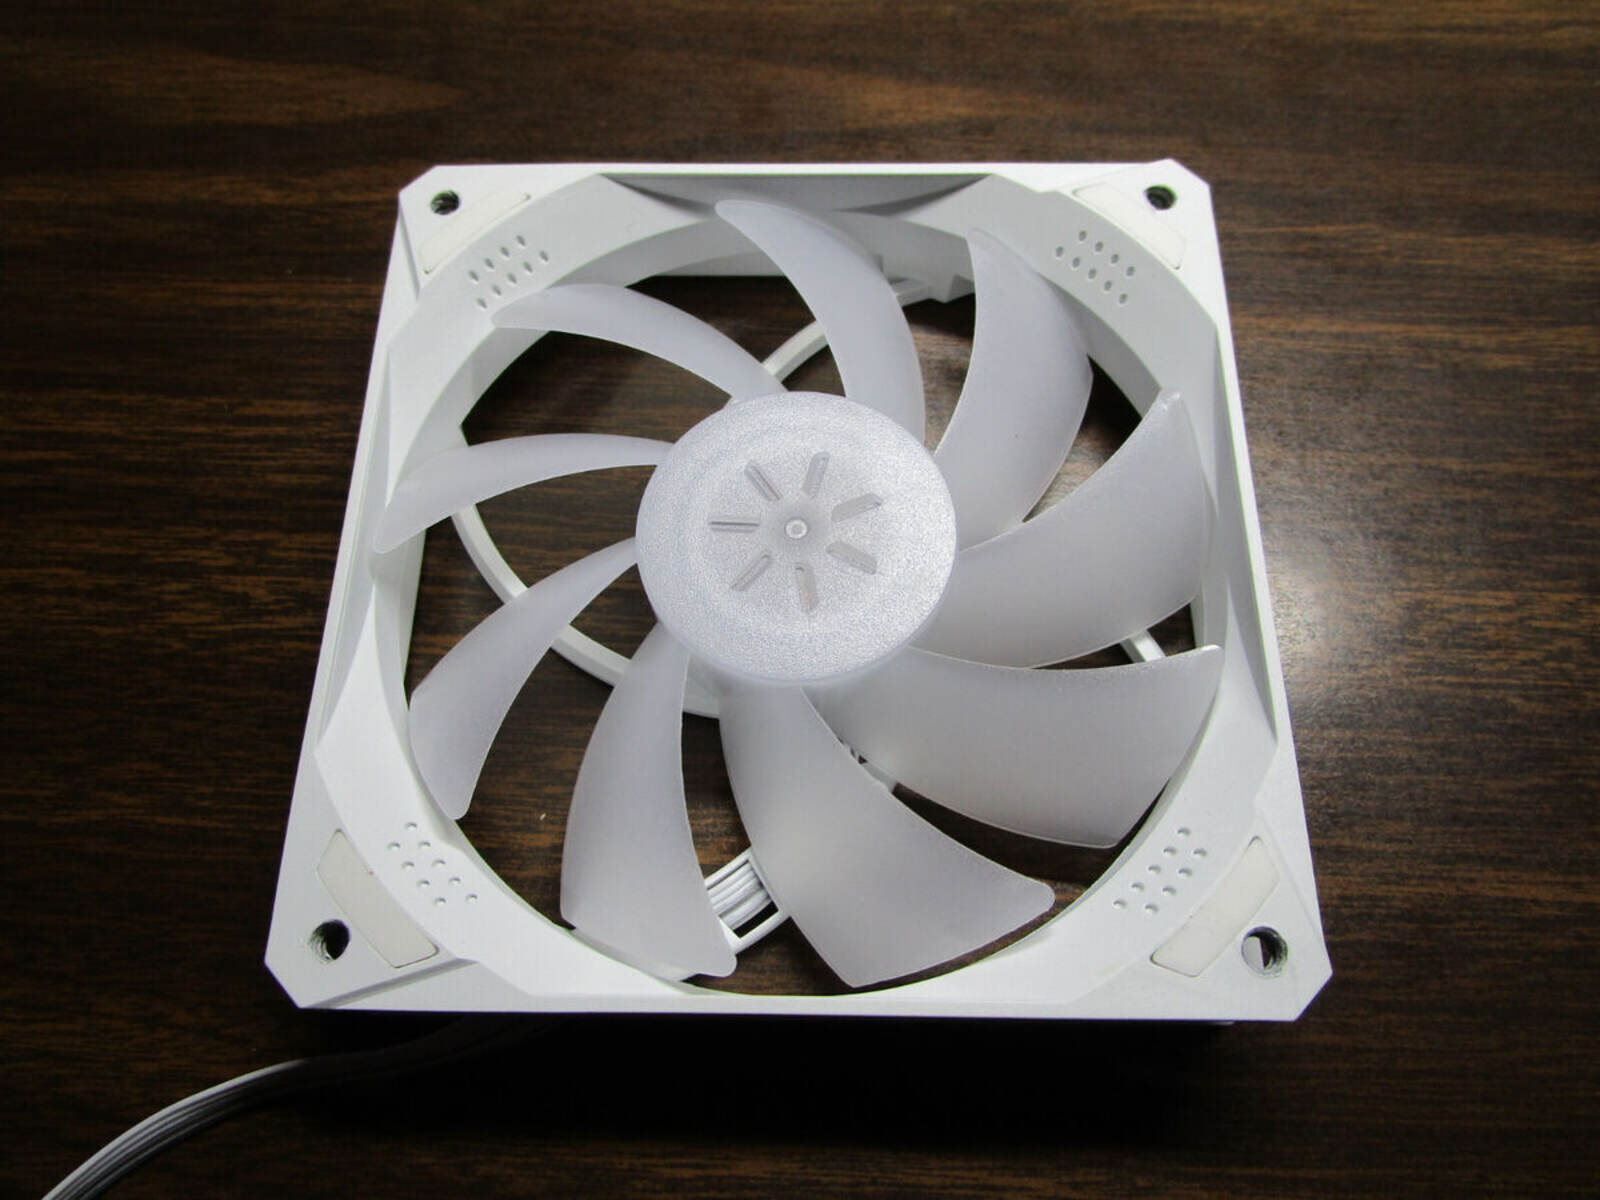
- A 2-pin case fan – Make sure you have a 2-pin case fan that is compatible with your computer’s power supply or motherboard.
- A screwdriver – Depending on your case, you may need a Philips or flathead screwdriver to remove the side panel or any mounting brackets.
- Cable ties or zip ties – These will come in handy for securing the fan cables and preventing them from getting tangled or interfering with other components.
- A power supply – Ensure that you have a compatible power supply that can provide sufficient power for the fan.
- A power connector or adapter – If your power supply does not have a compatible connector for the fan, you may need to purchase an adapter or connector to make the connection possible.
By having these tools and equipment ready, you’ll be well-prepared to successfully connect your 2-pin case fan to your computer’s power supply.
Step 1: Identifying the Pins
Before we can connect the 2-pin case fan to the power supply, we need to identify the pins on the fan and understand their functions. This will ensure that we make the correct connections and prevent any potential damage or malfunctions.
On a 2-pin case fan, you will typically find two wires – a black wire and a red wire. The black wire is the ground wire, which represents the negative (-) polarity, while the red wire is the power wire, representing the positive (+) polarity.
Locate the connector on the fan’s cable. You will notice that there are two small metal pins inside the connector. These pins correspond to the wires inside the fan’s cable.
Take a close look at the fan’s connector and observe any markings or labels that indicate the polarity of the pins. Some fans may have “+” or “-” symbols printed near the pins, while others may have color-coded connectors with black and red markings.
If there are no visible markings, you can refer to the fan’s documentation or manufacturer’s website to determine the pin configuration. It’s crucial to correctly identify the ground (black) and power (red) pins to ensure a proper and safe connection.
Once you have identified the pins, you’re ready to move on to the next step of preparing the connection between the fan and the power supply.
Step 2: Preparing the Connection
With the pins identified, we can now move on to preparing the connection between the 2-pin case fan and the power supply. This step involves making sure you have the necessary cables and adapters, as well as ensuring a secure and stable connection.
If your power supply has a compatible connector for the 2-pin fan, proceed to connect the fan directly to the power supply. However, if your power supply does not have a compatible connector, you may need to purchase an adapter or connector that can bridge the gap between the fan and the power supply.
Start by aligning the pins on the fan’s cable connector with the corresponding pins on the power supply connector or adapter. Ensure that the black wire lines up with the ground pin and the red wire aligns with the power pin. It’s important to make the correct connections to prevent any damage to your fan or computer.
Once aligned, gently push the connectors together until they are securely connected. You should feel a slight click or resistance, indicating that the pins are properly seated. Avoid applying excessive force, as this could damage the connectors or wires.
After the connection is made, check that it is stable and secure. Give the cables a light tug to ensure they are firmly attached. If necessary, use cable ties or zip ties to secure the fan’s cable to the case or other cables, minimizing the risk of accidental disconnection or tangling.
With the connection prepared and secured, we can now move on to the next step of connecting the fan to the power supply and confirming that the connection is successful.
Step 3: Connecting the Fan to Power Supply
Now that we have prepared the connection, it’s time to actually connect the 2-pin case fan to the power supply of your computer. This step involves carefully plugging the fan into the appropriate power source.
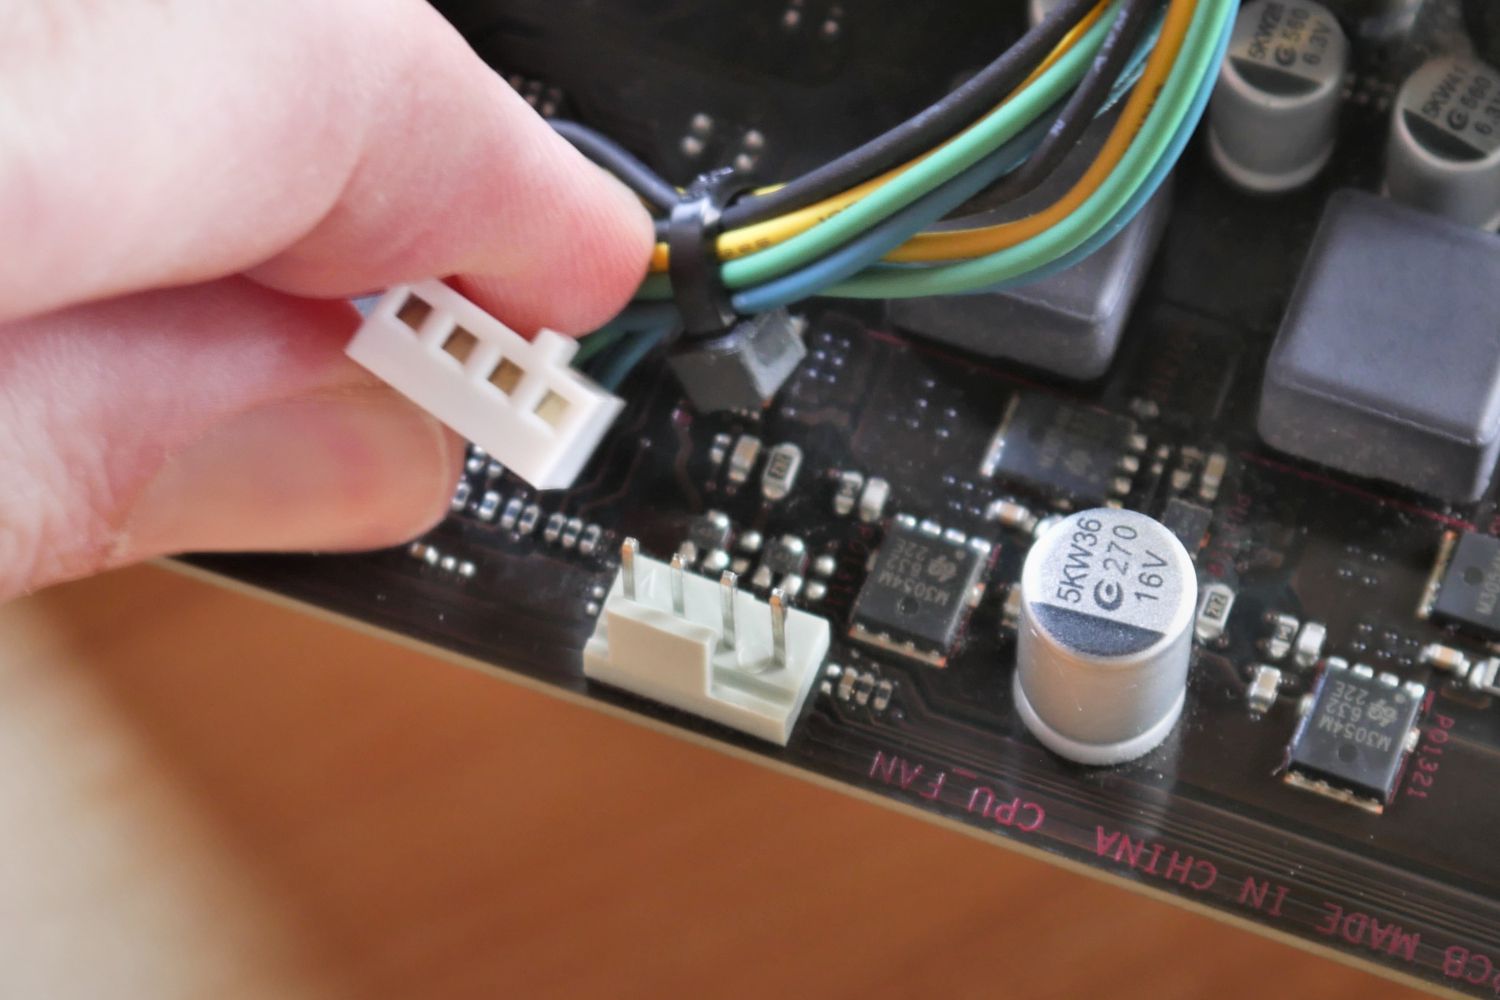
Locate the corresponding power connector on your power supply, which is usually located near the other cables and connectors. It may be labeled as “fan” or “peripheral”. Ensure that the connector matches the pin configuration of your 2-pin case fan.
Align the fan’s cable connector with the power supply connector, making sure that the black and red wires are correctly lined up with the ground and power pins, respectively.
Gently push the connectors together until they are securely connected. You should feel a slight click or resistance as the pins engage with each other. Avoid applying excessive force, as this could damage the connectors or wires.
Double-check the connection to ensure it is properly seated. Verify that the fan’s cable is securely plugged into the power supply connector, and there are no loose connections or exposed wires.
With the fan connected to the power supply, you can now proceed to the next step of confirming that the connection is successful and functioning as intended.
Step 4: Confirming the Connection
After connecting the 2-pin case fan to the power supply, it’s important to confirm that the connection is successful and that the fan is functioning properly. This step involves checking for power and observing the fan’s operation.
Before proceeding, ensure that your computer is turned off and unplugged from the power source. This will prevent any accidental damage to the fan or your computer’s components.
With the computer powered off and the fan connected, turn on your computer and monitor the fan’s operation. Look for signs of the fan spinning and generating airflow. You should be able to hear a slight whirring sound and feel air movement near the fan.
If the fan is not spinning or there are no signs of activity, double-check the connection. Ensure that the black wire is properly connected to the ground pin and the red wire is securely connected to the power pin. Also, make sure that the fan’s cable is fully seated in the power supply connector.
If everything appears to be properly connected, but the fan still does not function, there may be other issues at play. It is recommended to consult the fan’s manual or contact the manufacturer for troubleshooting assistance.
Once you have confirmed that the fan is operational and functioning as intended, you can proceed to the final step of securing the connection and ensuring long-term stability.
Step 5: Securing the Connection
Now that the connection between your 2-pin case fan and the power supply is confirmed, it’s important to secure the connection to ensure long-term stability and prevent any accidental disconnections.
Start by organizing the cables near the fan and power supply to minimize clutter and improve airflow. Use cable ties or zip ties to bundle and secure any excess cable length, keeping it neat and out of the way of other components.
When securing the fan’s cable, make sure not to tighten the ties too much, as this may strain the cable or cause damage. Allow for some flexibility while ensuring that the cables are held firmly in place.
If possible, route the cables along the edges of the case or through designated cable management channels. This will further improve airflow and prevent the cables from obstructing other components or fans in the system.
Inspect the connection between the fan’s cable and the power supply connector. Verify that the cables are firmly seated and there is no movement or play in the connection. If necessary, adjust the cable ties or connectors to ensure a secure and stable fit.
Lastly, close the case of your computer and secure any panels or brackets that were removed during the installation process. This will protect the internal components and ensure the proper functioning of all cooling systems.
By securing the connection and managing the cables effectively, you can ensure that the 2-pin case fan remains in place and functions optimally, providing efficient cooling for your computer system.
Conclusion
Connecting a 2-pin case fan to your computer’s power supply is a straightforward process that can greatly improve the cooling efficiency of your system. By following the steps outlined in this guide, you have learned how to identify the pins on the fan, prepare the connection, connect the fan to the power supply, confirm the connection, and secure it for long-term stability.
Understanding the basic principles of 2-pin case fans and having the right tools and equipment will enable you to successfully install and connect the fan without any complications. The constant speed operation of 2-pin fans may not offer advanced features, but they provide reliable cooling for your computer components.
Remember to double-check the polarity of the fan’s pins to ensure the proper connection to the power supply. Take your time to secure the cables and manage them effectively to avoid any potential issues or obstructions within your computer case.
By taking the necessary steps to connect and secure your 2-pin case fan, you can enjoy improved cooling performance, reduced risk of overheating, and increased longevity of your computer components.
Now that you have successfully connected your 2-pin case fan, sit back and enjoy the benefits of a cooler and more efficient computer system!