Introduction
When it comes to optimizing your computer’s performance, proper cooling is crucial. Case fans play a vital role in maintaining a stable temperature inside your computer case, preventing overheating and ensuring the longevity of your components. To effectively operate case fans, they need to be connected to the motherboard, which allows you to control and monitor their performance.
In this guide, we will walk you through the process of connecting case fans to your motherboard. We will cover the necessary tools, locating the appropriate fan header on the motherboard, identifying the fan connector type, and step-by-step instructions on connecting the fan. Whether you are a novice or an experienced PC builder, understanding how to connect case fans to the motherboard is an essential skill to have.
By connecting the case fans correctly, you can not only ensure optimal cooling but also have the ability to adjust their speed and performance according to your preferences. This level of control improves airflow, reduces noise, and enhances overall system stability. So, if you’re ready to take your computer’s cooling to the next level, let’s dive into the process of connecting case fans to your motherboard.
Understanding Case Fans and Motherboards
Before we delve into the process of connecting case fans to your motherboard, it’s important to have a basic understanding of these components.
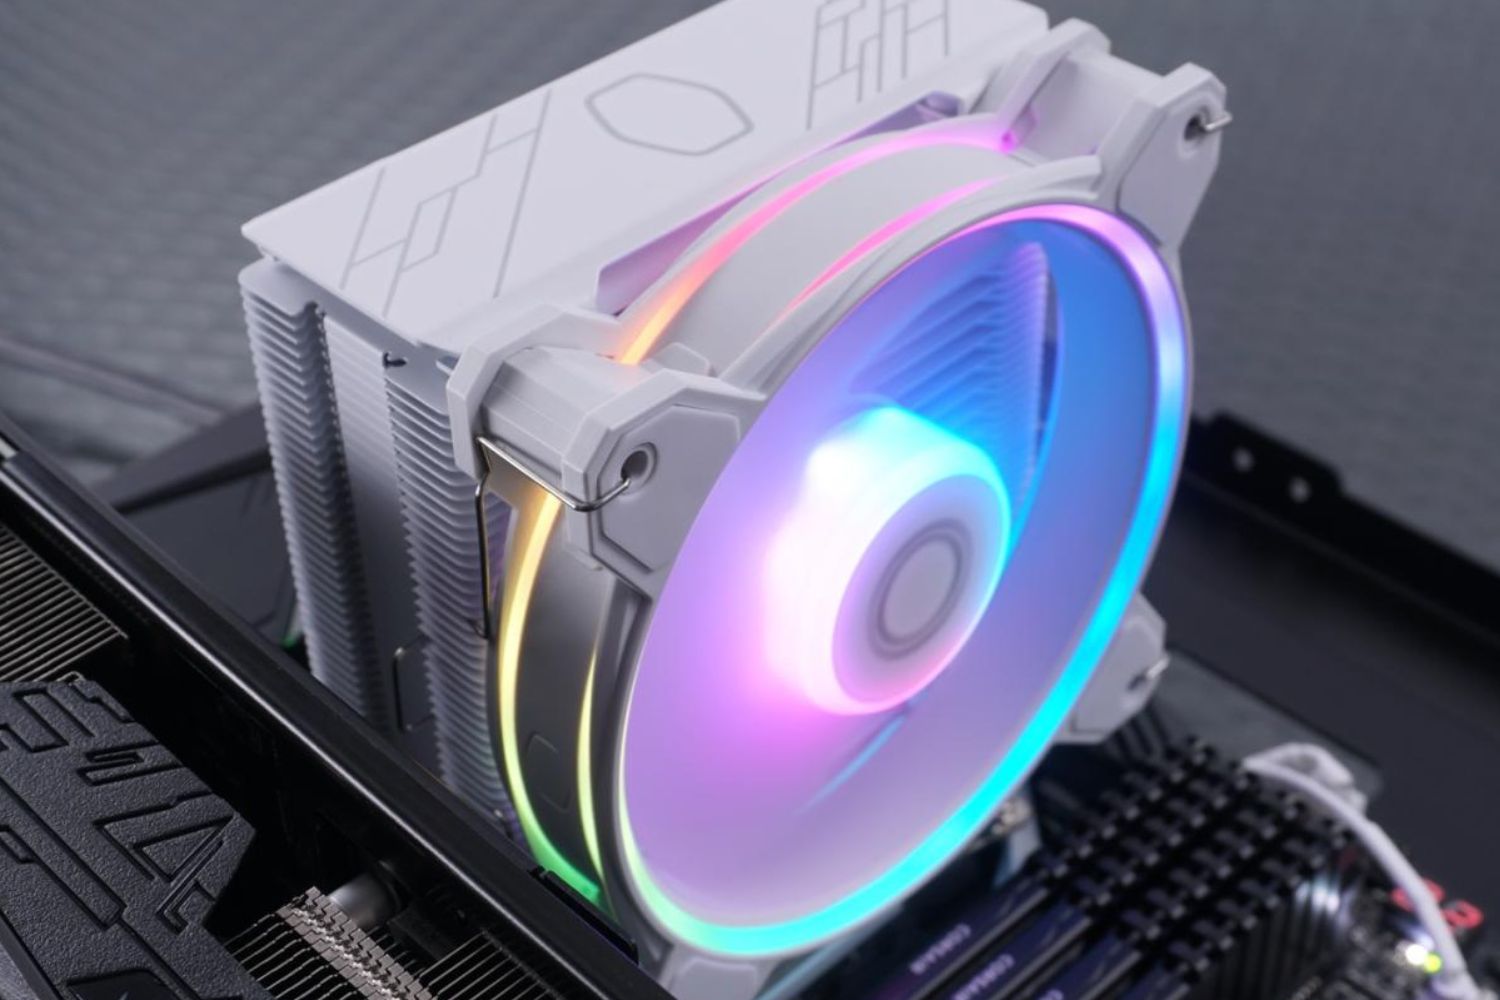
Case fans are typically small fans that are mounted inside the computer case. Their main function is to circulate air and dissipate heat generated by the components, such as the CPU, GPU, and power supply. Without proper airflow, these components can become overheated, leading to performance degradation and even potential damage.
Motherboards, on the other hand, are the main circuit boards that serve as the foundation of your computer. They hold and connect various hardware components, including the CPU, RAM, storage devices, and expansion cards. Most motherboards come equipped with fan headers, which are specifically designed to provide power and control to case fans.
When connecting case fans to the motherboard, you are essentially integrating the cooling system into the overall functionality of your computer. This enables you to regulate fan speeds and optimize cooling based on the system’s temperature and load. Some advanced motherboards even offer additional features, such as RGB lighting control for fans, allowing you to customize the aesthetics of your build.
It’s important to note that not all motherboards have the same number and type of fan headers. Therefore, it’s crucial to check your motherboard’s specifications to ensure compatibility before connecting case fans. Additionally, case fans come in different sizes and connector types, so it’s important to match them with the appropriate fan headers on your motherboard.
By understanding the role of case fans and the capabilities of your motherboard, you can effectively manage your computer’s cooling system, improve performance, and prolong the lifespan of your components. Now that we have a foundation of knowledge, let’s move on to the practical steps involved in connecting case fans to your motherboard.
Step 1: Gather the Necessary Tools
Before you start connecting case fans to your motherboard, it’s important to gather the necessary tools and equipment. Having these items on hand will ensure a smooth and efficient installation process. Here are the tools you’ll need:
- Screwdriver: Depending on your case and fan mounting options, you may need a Phillips or a flathead screwdriver to secure the fans in place.
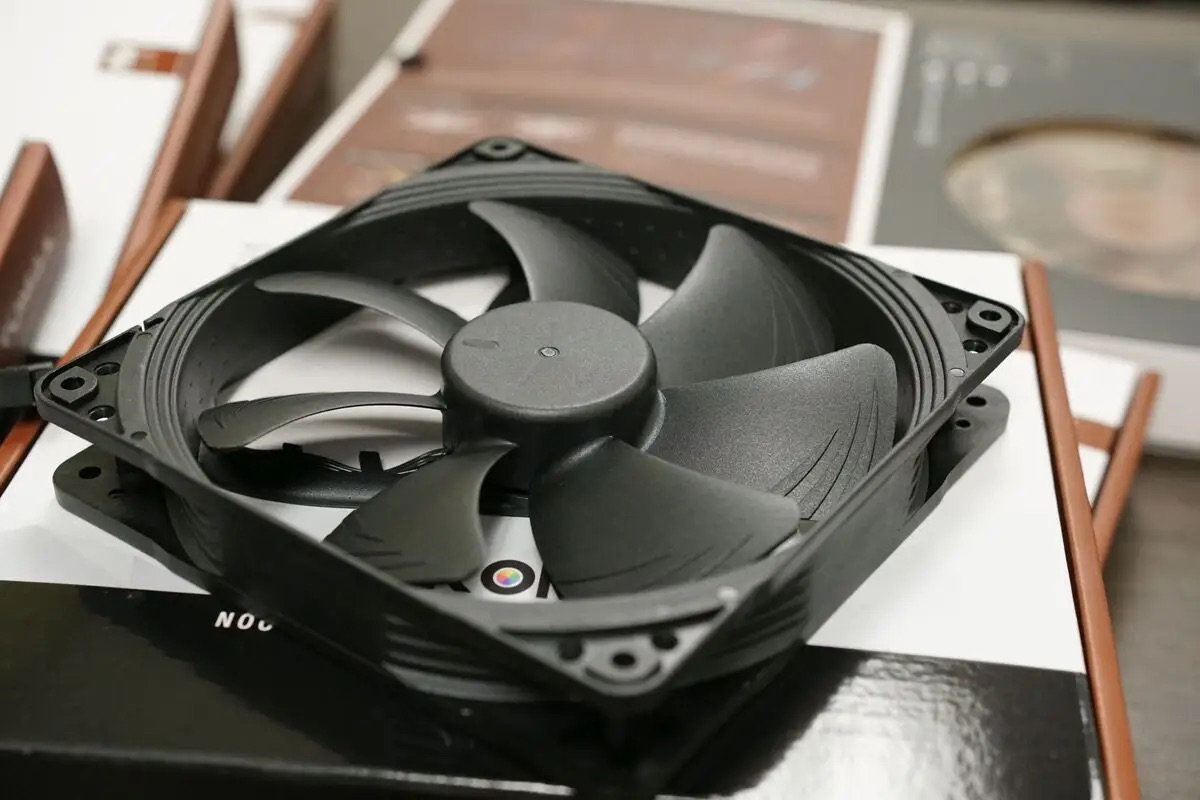
- Case Fan: Ensure you have the required number of case fans for your setup. Consider factors such as size, airflow, and noise levels when choosing the right case fans for your system.
- Thermal Paste: If you’re installing a CPU cooler that requires thermal paste, make sure you have a high-quality thermal paste to ensure proper heat transfer.
- Fan Splitters or Header Expansion: If you have more fans than available fan headers on your motherboard, you might need fan splitters or a header expansion solution to accommodate additional fans.
Having these tools and equipment ready will save you time during the installation process and ensure you have everything you need to connect your case fans to the motherboard.
Once you have all the necessary tools, it’s time to move on to the next step: locating the fan header on your motherboard. Let’s proceed to Step 2 to continue the process of connecting case fans to your motherboard.
Step 2: Locate the Fan Header on the Motherboard
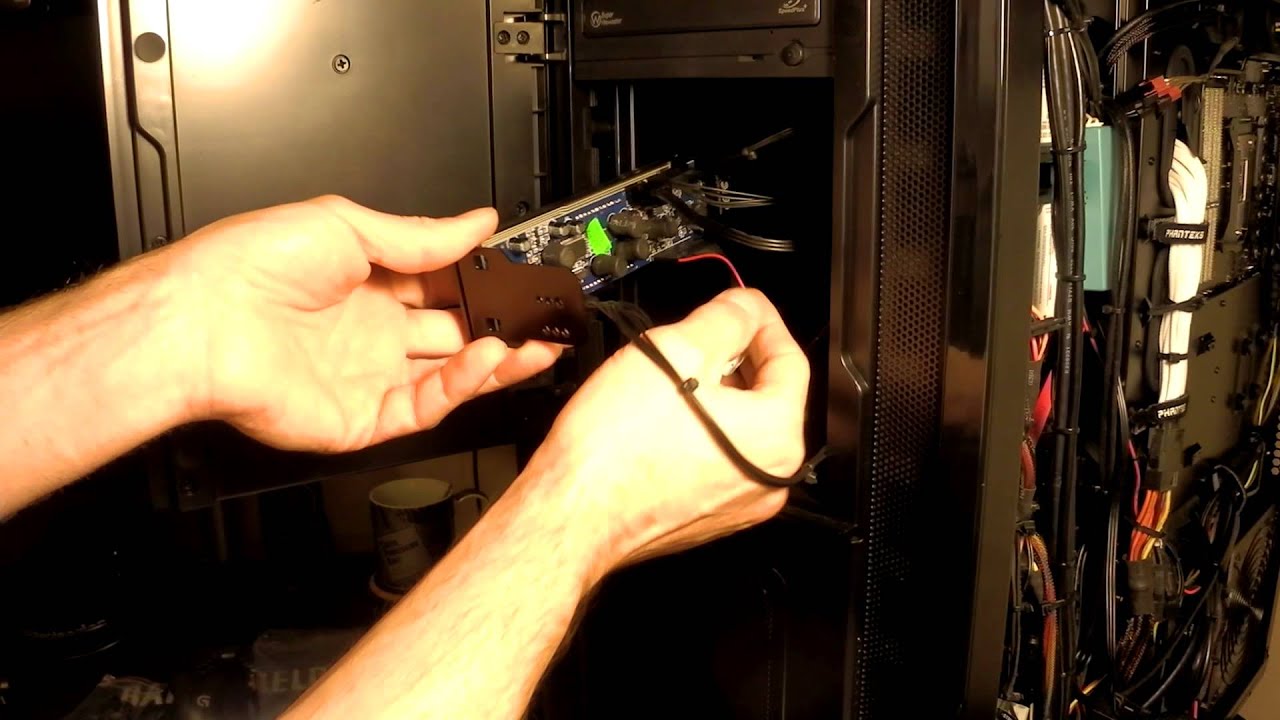
Now that you have gathered the necessary tools, the next step is to locate the fan header on your motherboard. The fan header is the connection point on the motherboard where you will plug in the case fan.
Depending on the layout and design of your motherboard, the fan header can be found in different locations. Typically, you can find them around the edges of the motherboard, near the CPU socket, or along the bottom edge. Consult your motherboard’s manual or manufacturer’s website for specific details on the location of the fan headers.
When locating the fan header, pay attention to its labeling or numbering. Motherboards usually label their fan headers with indicators such as “CHA_FAN,” “SYS_FAN,” or “CPU_FAN.” These labels allow you to identify the purpose and intended use of each fan header.
In some cases, motherboards may have different types of fan headers, such as 3-pin or 4-pin headers. It’s important to note the type of fan header you are working with as it can affect the speed control and functionality of the fan.
Take the time to identify the fan header on your motherboard and familiarize yourself with its location and type. This will make it easier to connect the case fan in the next steps. Once you have located the fan header, you are ready to move on to Step 3 and continue with the process of connecting your case fan to the motherboard.
Step 3: Identify the Type of Fan Header
Now that you have located the fan header on your motherboard, it’s important to identify the type of fan header you are working with. Most motherboards will have either 3-pin or 4-pin fan headers.
A 3-pin fan header is the most basic type and provides power and speed control for the connected fan. It uses three wires: one for ground, one for power, and one for monitoring the fan’s speed. While a 3-pin header still allows you to control the fan speed to some extent, it may offer limited functionality compared to a 4-pin header.
On the other hand, a 4-pin fan header, also known as a PWM (Pulse Width Modulation) header, offers more precise and advanced control over the fan’s speed. It features an additional pin, usually labeled as “PWM,” that allows for more efficient speed control. The PWM header adjusts the fan’s speed by varying the pulse width, resulting in better cooling performance and quieter operation.
Identifying the type of fan header on your motherboard is crucial as it determines the compatibility and functionality of the case fan you are connecting. If your motherboard only has 3-pin headers and the fan you are using has a 4-pin connector, don’t worry. 4-pin fans are backward compatible with 3-pin headers, but without the benefits of PWM speed control.
Take a moment to verify the type of fan header on your motherboard and ensure it matches the connector type of your case fan. This will ensure optimal compatibility and functionality when connecting the fans in the next step. Let’s move on to Step 4 to continue the process of connecting your case fan to the motherboard.
Step 4: Determine the Type of Fan Connector
After identifying the type of fan header on your motherboard, the next step is to determine the type of fan connector that corresponds to the case fan you are using. Fan connectors come in different shapes and sizes, so it’s important to ensure that they are compatible.
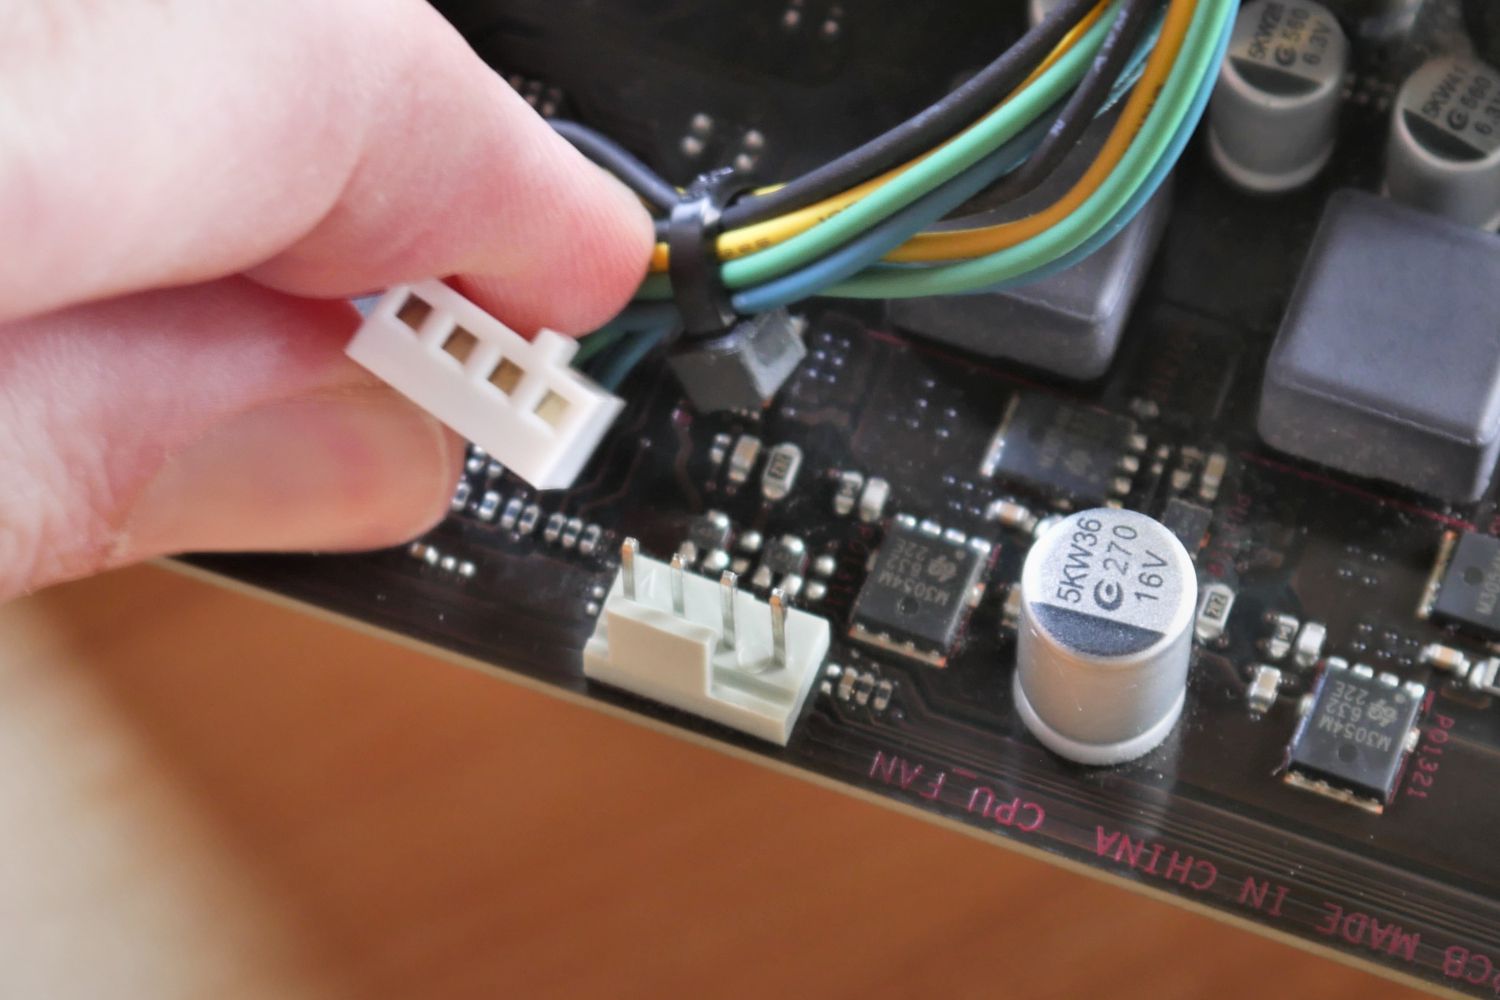
The most common types of fan connectors are 3-pin and 4-pin connectors. A 3-pin connector has three evenly spaced pins, while a 4-pin connector has an additional pin, usually located at one end of the connector. The pin configuration of the fan connector should match the corresponding fan header on your motherboard.
When connecting a 3-pin fan to a 3-pin header, align the pins of the fan connector with the holes on the fan header and push it in firmly. Make sure that the pins are properly inserted and make good contact with the header. This ensures a secure connection and allows for power delivery and fan speed control.
Similarly, when connecting a 4-pin fan to a 4-pin header, align the pins of the fan connector with the slots on the header and push it in until it clicks into place. The additional pin on the fan connector is designed to provide PWM control and offers more precise speed control for the fan.
If you’re working with a 4-pin fan but have a 3-pin header on your motherboard, don’t worry. You can still connect the fan by aligning the missing pin of the fan connector with the corresponding hole on the header. This allows for power delivery and basic speed control, although without the advanced PWM functionality.
Take a moment to examine the fan connector and the corresponding fan header on your motherboard. Ensure that they match in terms of pin configuration and secure the connection properly. With the type of fan connector determined, you are ready to move on to Step 5 and connect the case fan to the motherboard.
Step 5: Connect the Fan to the Motherboard
Now that you have identified the type of fan header and determined the type of fan connector, it’s time to connect the case fan to the motherboard. Follow these steps to ensure a secure and proper connection:
- Locate the fan header on your motherboard that matches the type of fan connector you have (3-pin or 4-pin).
-
Align the pins of the fan connector with the corresponding holes or slots on the fan header. Make sure they are properly aligned before proceeding.
- If you’re working with a 3-pin fan connector, ensure that the fan’s connector is snugly inserted into the 3-pin header.
- If you’re using a 4-pin fan connector, align the pins correctly and gently push down until the connector clicks into place.
- Once the connection is made, give the fan connector a slight tug to ensure it is securely attached to the fan header. This will prevent any accidental disconnection during use.
- If you are connecting multiple fans, repeat the process for each fan, making sure to connect them to the appropriate fan headers on the motherboard.
It’s important to note that some motherboards may have dedicated headers for specific purposes, such as CPU fan headers or chassis fan headers. Be sure to connect the appropriate fans to the corresponding headers to ensure optimal performance and control.
Once all the fans are connected to the motherboard, take a moment to double-check the connections. Ensure that all the fan connectors are securely plugged in and properly aligned. This will ensure that power is delivered to the fans and that they can be controlled through the motherboard’s settings.
With the fans successfully connected to the motherboard, you are now ready to proceed to Step 6, where we will discuss connecting additional fans if necessary.
Step 6: Repeat for Additional Fans
If you have multiple case fans in your setup, you will need to repeat the process of connecting them to the motherboard. Follow these steps to connect additional fans:
- Identify the fan headers on your motherboard that correspond to the remaining fans you want to connect.
- Ensure that you have enough available fan headers to accommodate the additional fans.
- Repeat steps 2 and 3 for each additional fan, matching the type of fan connector to the corresponding fan header on the motherboard.
- Insert each additional fan connector into the respective fan header, making sure they are securely attached and properly aligned.
By repeating these steps, you can connect multiple case fans to the motherboard, allowing for enhanced airflow and improved cooling throughout your system.
It’s important to note that depending on the number of available fan headers on your motherboard, you may need to use fan splitters or header expansion solutions to connect all of your case fans. Fan splitters allow you to connect multiple fans to a single fan header, effectively expanding the number of fans that can be controlled by a single header. Make sure to follow the manufacturer’s instructions and guidelines when using fan splitters or header expansion solutions.
Once all of your additional fans are connected to the appropriate fan headers, take a moment to verify the connections. Ensure that each fan is securely attached and properly aligned. This will ensure that your fans operate correctly and are under the control of the motherboard.
With all the fans successfully connected, you are now ready to move on to the next step: adjusting the fan settings in the BIOS. We will explore this step in detail in the following section.
Step 7: Adjust Fan Settings in BIOS
After connecting all the case fans to the motherboard, it’s important to adjust the fan settings in the BIOS to optimize their performance. The BIOS (Basic Input/Output System) is a firmware interface that allows you to configure various hardware settings on your computer.
Here are the steps to adjust the fan settings in the BIOS:
- Restart your computer and access the BIOS by pressing the designated key during the boot process. This key varies depending on your motherboard manufacturer (common keys include Delete, F2, or F12).
- Once inside the BIOS, navigate to the “Hardware Monitor” or “Fan Control” section. The exact location and wording may vary depending on your motherboard’s BIOS version.
- Within the “Hardware Monitor” or “Fan Control” section, you will find options to configure fan speed control. This can include options such as “Fan Speed Mode” or “Smart Fan Control”.
- Select the desired fan speed control mode. You may have options such as “Auto”, “Silent”, “Standard”, or “Full Speed”. Choose the mode that best suits your needs, balancing noise levels and cooling performance.
- Save the changes and exit the BIOS. The computer will restart with the adjusted fan settings.
Keep in mind that the options available in the BIOS may vary depending on your motherboard model and BIOS version. Some motherboards offer more advanced fan control options, allowing you to set custom fan curves based on temperature thresholds. Explore the available options in your BIOS to customize the fan settings to your liking.
Adjusting the fan settings in the BIOS ensures that your case fans work in synergy with your system’s cooling requirements. This allows for optimum cooling performance and helps maintain temperature levels within acceptable limits.
With Step 7 completed, you have successfully connected and adjusted the case fans to your motherboard. Your system is now ready to operate with improved cooling and stability.
Conclusion
Congratulations! You have successfully learned how to connect case fans to your motherboard. By following the steps outlined in this guide, you can ensure optimal cooling for your computer and prolong the lifespan of your components.
Throughout the process, we covered important aspects such as understanding case fans and motherboards, gathering the necessary tools, locating fan headers on the motherboard, identifying fan connector types, connecting the fans securely, and adjusting fan settings in the BIOS. These steps are essential for seamlessly integrating your case fans into your system and allowing for efficient cooling.
Remember to refer to your motherboard’s manual or manufacturer’s website for specific details about fan headers, connector types, and BIOS settings. Every motherboard may have slight variations, so it’s important to double-check the specifications and guidelines provided by the manufacturer.
By connecting case fans to the motherboard, you not only improve airflow and cooling efficiency within your computer case but also gain the ability to adjust fan speeds to suit your requirements. This ensures a balance between cooling performance, noise levels, and system stability.
Whether you are a novice PC builder or an experienced enthusiast, knowing how to connect case fans to your motherboard is an invaluable skill. With proper cooling in place, you can enjoy smoother operation, better performance, and increased longevity for your computer components.
Now that you have mastered the art of connecting case fans to your motherboard, you can confidently take on future PC building projects or upgrades with ease. Embrace the power of proper cooling and optimize your computer’s performance!