Introduction
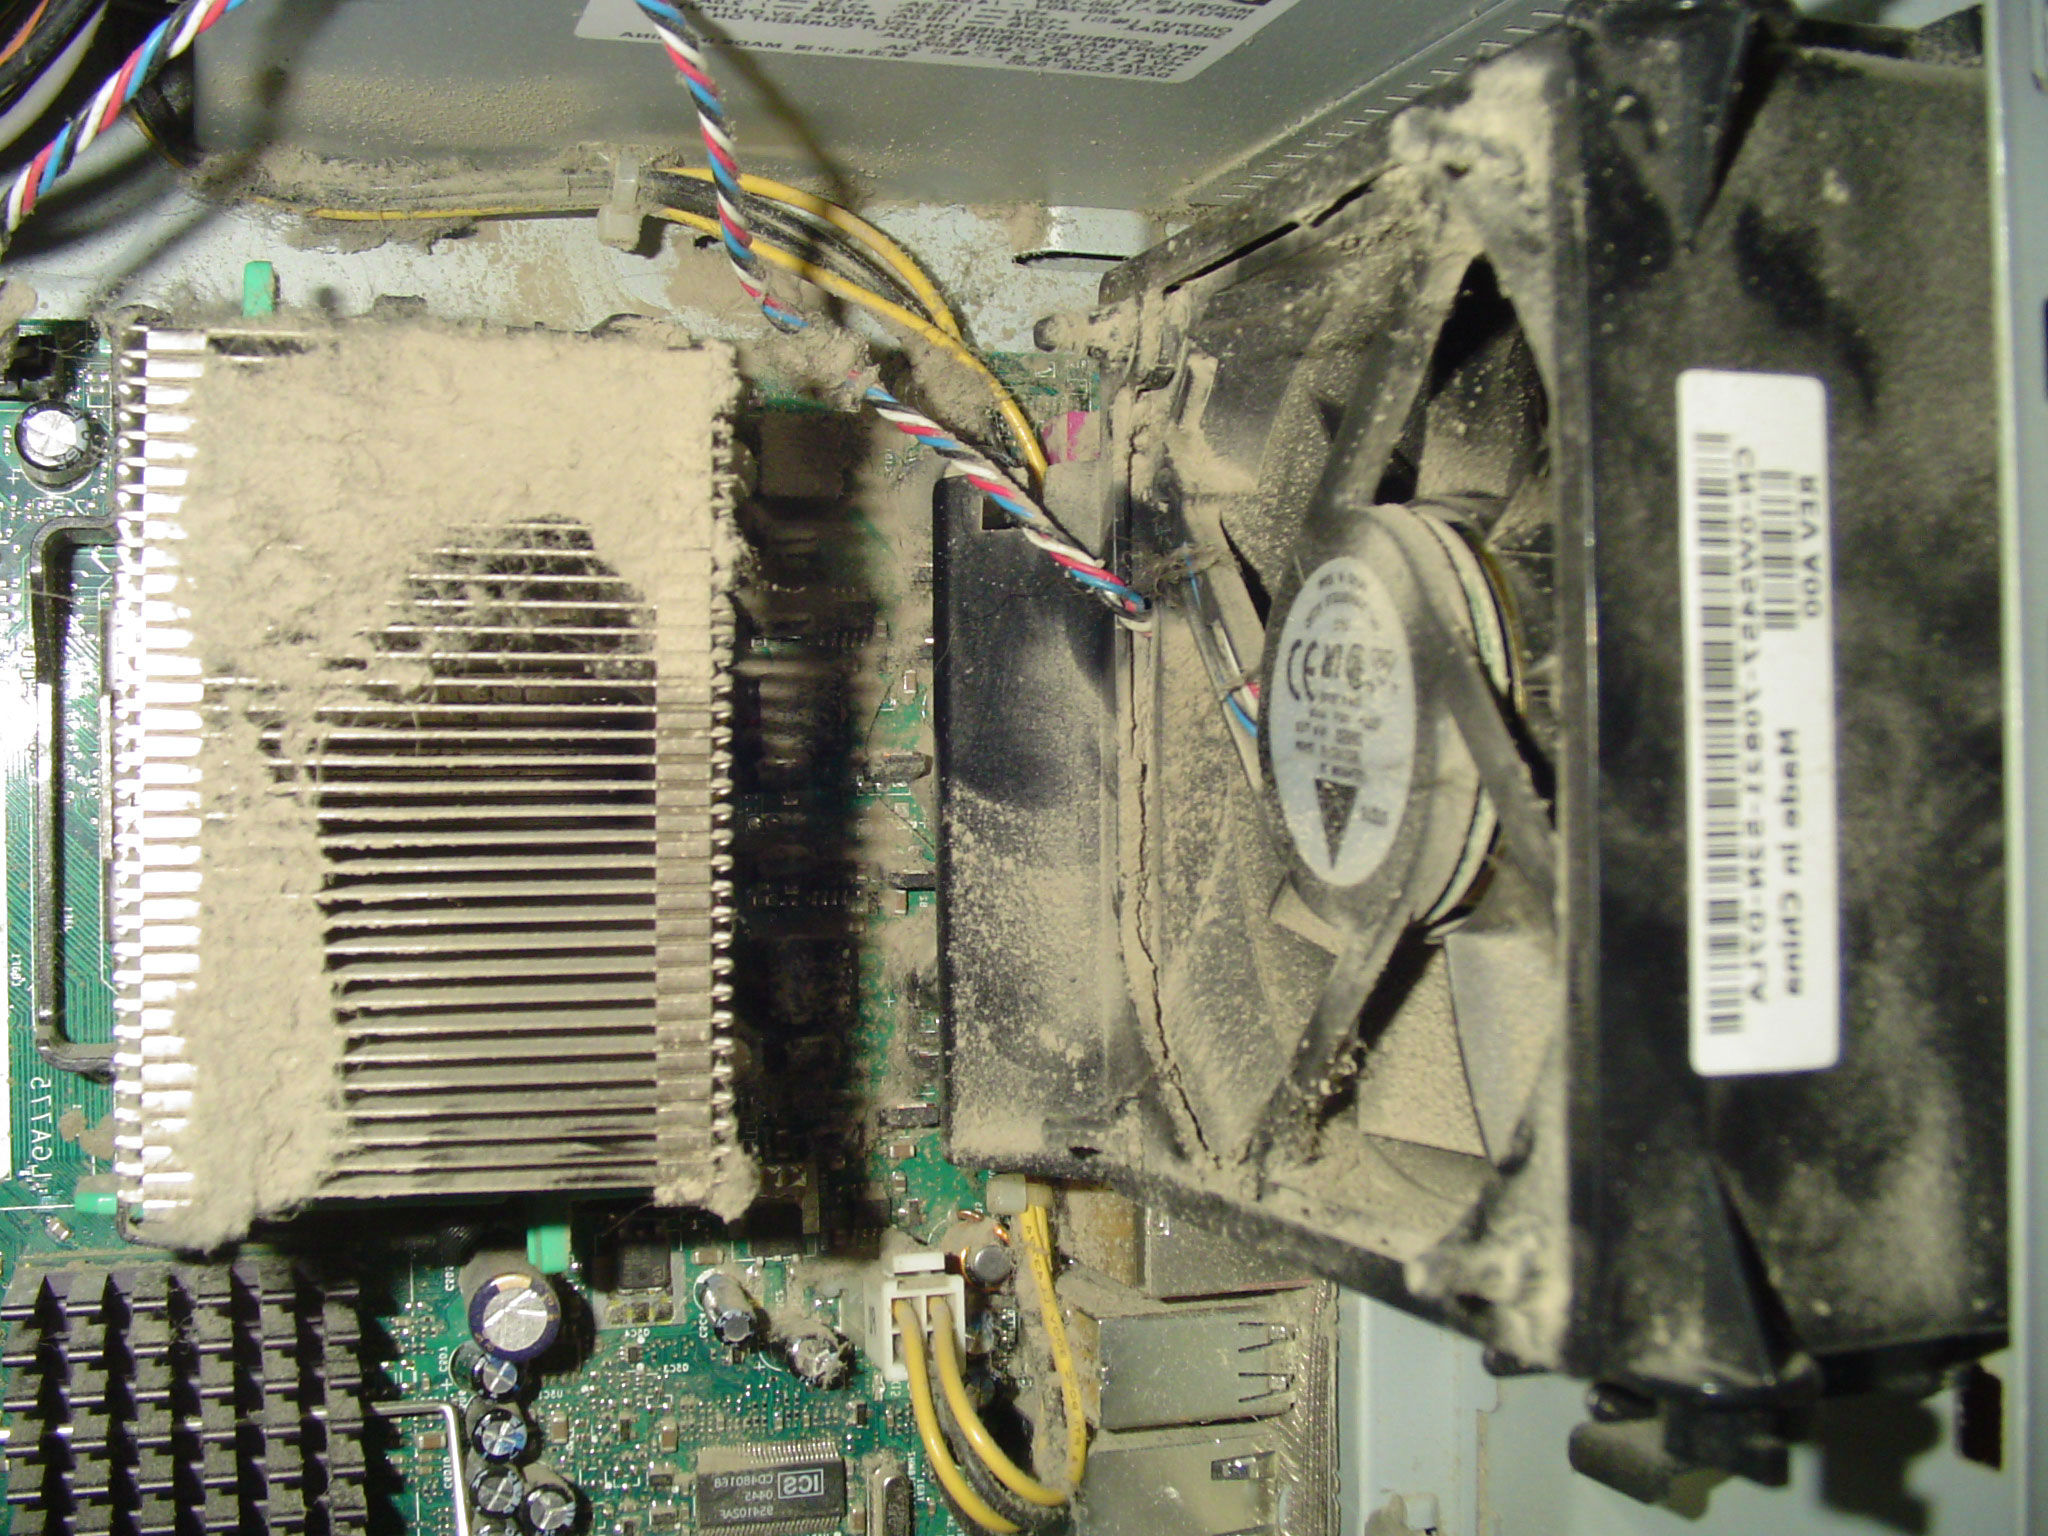
Keeping your PC clean and dust-free is essential for its optimal performance and longevity. Dust can accumulate inside your computer, clogging the fans, vents, and other components, leading to overheating and reduced functionality. Regularly cleaning the dust from your PC not only ensures efficient airflow but also prevents potential hardware failures.
Over time, dust particles can settle on sensitive electronic components, leading to heat buildup and increased power consumption. This can result in performance issues such as slow processing speeds, random shutdowns, and even permanent damage to your hardware. Additionally, a dusty PC can also cause allergies and respiratory problems in individuals who spend long hours in front of their computers.
In this guide, we will walk you through the step-by-step process of cleaning dust from your PC, helping you keep it in optimal condition. We will also provide valuable tips on preventing dust buildup, ensuring a clean and healthy computing environment. So, let’s dive in and learn how to give your PC a dust-free makeover.
Why is it important to clean dust from your PC?
Cleaning dust from your PC is crucial for several reasons. Let’s explore why it is important to keep your computer free from dust:
- Prevent overheating: Dust buildup can hinder the cooling system in your PC. The fans and heat sinks can become clogged, preventing proper airflow and causing the internal components to overheat. Overheating can not only slow down the performance of your computer but also pose a risk of permanent damage to your hardware.
- Extend the lifespan of your components: Excessive heat generated by dust accumulation can put unnecessary strain on the internal components of your PC, potentially shortening their lifespan. By keeping the dust levels in check, you can ensure that your hardware remains in good condition and operates optimally for years to come.
- Preserve performance: When dust obstructs the airflow in your PC, it can lead to poor performance. Your computer may become sluggish, freeze frequently, or take longer to complete simple tasks. Regularly cleaning the dust from your PC will help maintain its performance and ensure smooth operation, allowing you to work or play games without any interruptions.
- Prevent hardware failures: Dust can infiltrate various components of your PC, including the motherboard, graphics card, and hard drives. Over time, this accumulation can cause components to malfunction or fail completely. By removing dust regularly, you can prevent costly repairs or the need for premature component replacements.
- Keep your computer running quietly: Dust buildup in fans can cause them to become noisy or even fail. A clean PC will experience less strain on its cooling system, resulting in quieter operation. This will allow you to focus on your work or enjoy media without the distracting hum of loud fans.
By understanding the importance of cleaning the dust from your PC, you can ensure that your computer remains in optimal condition, providing you with reliable performance and extending its lifespan.
Tools and Materials Needed for Cleaning
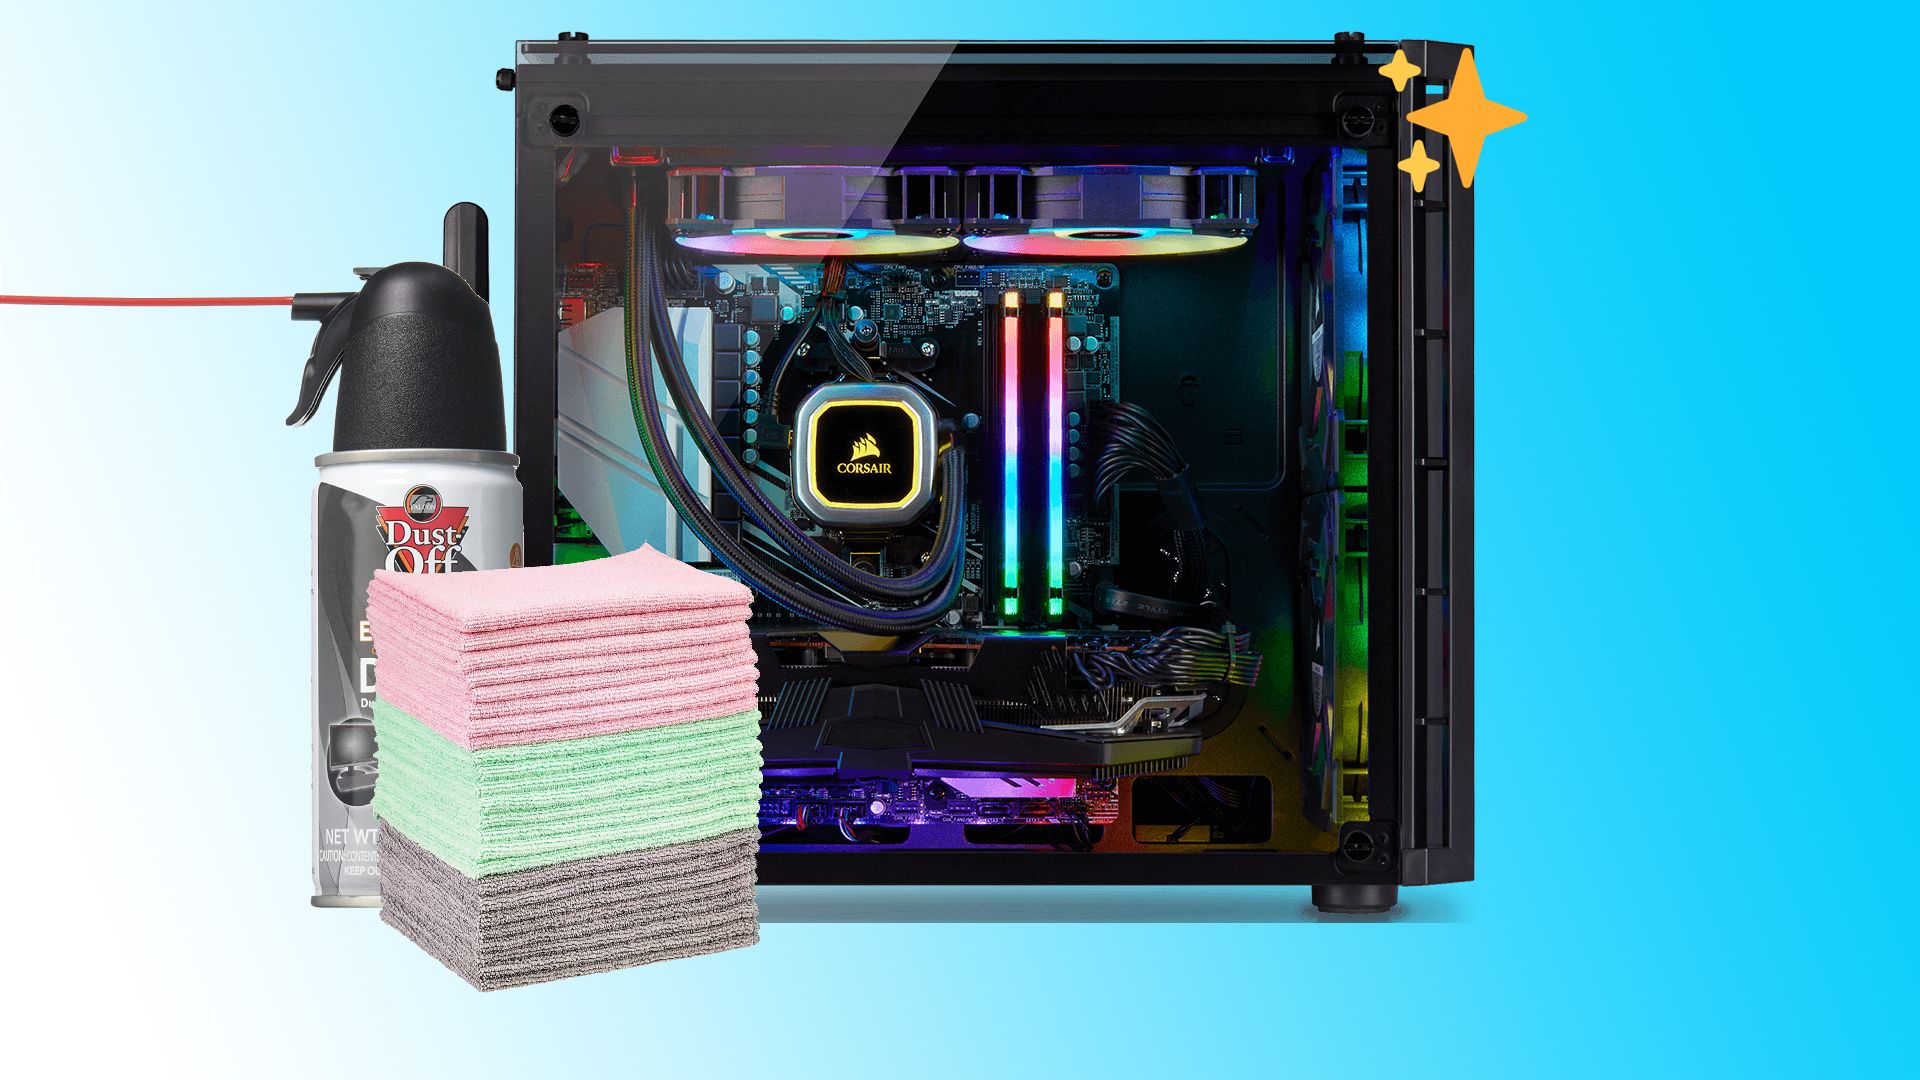
Before you begin cleaning the dust from your PC, it’s essential to gather the necessary tools and materials. Here are the items you will need:
- Compressed Air Canister: This is the primary tool for removing dust from your PC. Ensure that you purchase a canister specifically designed for cleaning electronics. The high-pressure air will effectively dislodge dust from hard-to-reach areas.
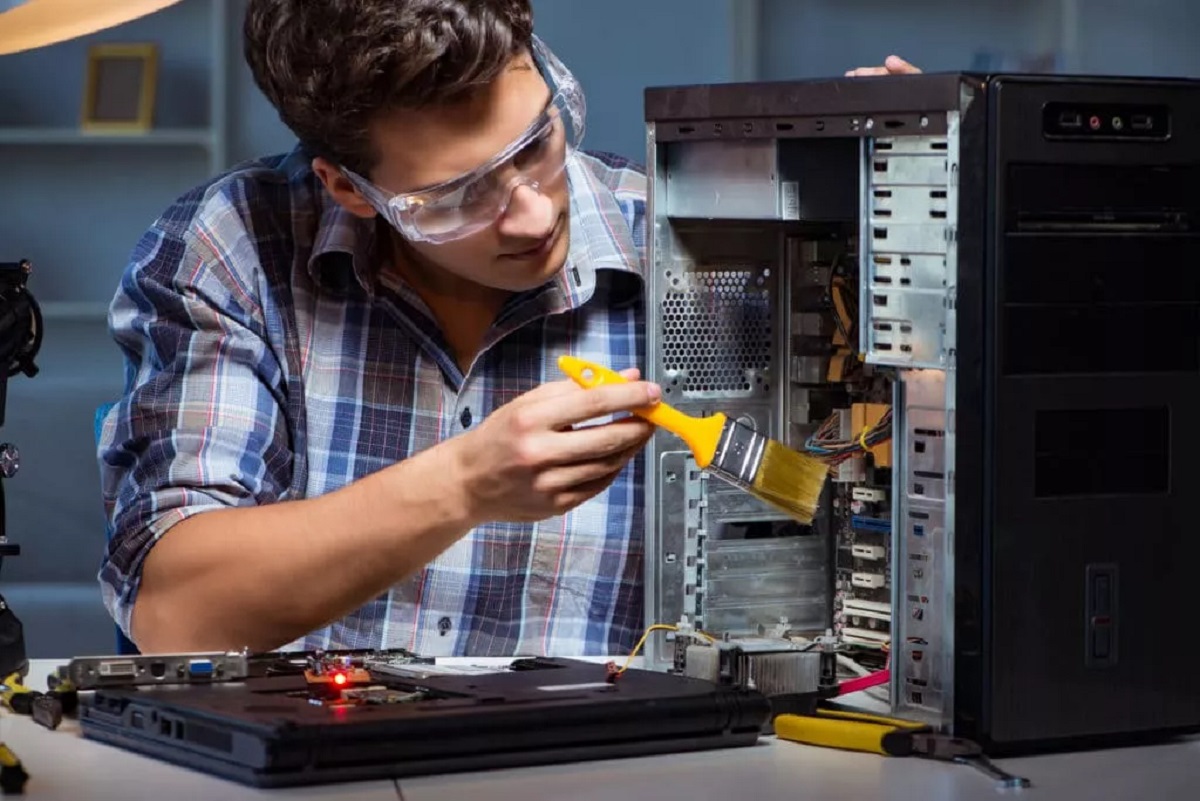
- Cleaning Brush: A soft-bristled brush or small paintbrush is useful for gently brushing away loose dust particles from delicate components, such as the motherboard or graphics card. Avoid using any brush with hard bristles that may cause scratches or damage.
- Microfiber Cloth: A lint-free microfiber cloth is ideal for wiping down the surfaces of your PC and removing any remaining dust particles. The soft material won’t scratch or leave residues on your computer’s exterior.
- Cotton Swabs: Cotton swabs are handy for cleaning small and intricate areas, such as the nooks and crannies around connectors or ports. They can also be used with a small amount of rubbing alcohol for gentle cleaning.
- Rubbing Alcohol: Isopropyl alcohol, with a concentration of 70% or higher, can be used with cotton swabs to remove stubborn dirt or grime. It evaporates quickly and leaves no residue, making it safe for use on electronic components.
- Antistatic Wrist Strap (Optional): If you are concerned about static electricity damaging your computer’s sensitive components, an antistatic wrist strap can be used to ground yourself. This is especially crucial when working inside the case or handling delicate parts.
- Plastic Cable Ties (Optional): Cable ties are useful for managing the cables inside your PC. Keeping them organized and out of the way will improve airflow and make future maintenance and cleaning easier.
Make sure you have these tools and materials ready before you start cleaning your PC, as they will help ensure a thorough and safe cleaning process.
Step-by-step Guide to Cleaning Dust from Your PC
Now that you have gathered the necessary tools and materials, let’s go through the step-by-step process of cleaning the dust from your PC:
- Prepare your workspace: Find a clean and well-lit area to work on your PC. It’s recommended to work on a non-static surface, such as a wooden table or an anti-static mat.
- Power off and unplug your computer: Shut down your PC and disconnect it from the power source. This is crucial to avoid any electrical accidents or damage while cleaning.
- Open the case: If your PC has a removable side panel, unscrew it and carefully remove it. Some cases may have release buttons or levers to open the panel. Refer to your PC’s manual for specific instructions.
- Ground yourself: If you have an antistatic wrist strap, wear it to prevent static electricity from damaging sensitive components. Alternatively, touch a grounded metal object to discharge any static electricity before touching the internal components.
- Use compressed air to blow out dust: Holding the canister upright, use short bursts of compressed air to blow away the dust from the inner components, fans, and heat sinks. Pay extra attention to areas with heavy dust accumulation.
- Brush away remaining dust: Use a soft-bristled brush or a clean paintbrush to gently brush away any stubborn dust particles from the motherboard, graphics card, and other hard-to-reach areas. Be careful not to apply too much pressure or touch any sensitive components.
- Clean connectors and ports: Use cotton swabs lightly moistened with rubbing alcohol to clean the connectors and ports. Gently swab the contacts to remove any dirt or residue, ensuring proper connectivity.
- Wipe down the case and external surfaces: Use a microfiber cloth to wipe down the case, front panel, and other external surfaces to remove any dust or fingerprints. This will give your PC a clean and polished appearance.
- Reassemble your PC: Carefully reattach the side panel and secure it with screws. Ensure that all connections are tight and secure.
- Power on your PC: Plug in your PC, reconnect all the cables, and power it on. Monitor the temperatures and fan speeds to ensure everything is functioning properly after cleaning.
By following these steps, you can effectively clean the dust from your PC and maintain its performance and longevity.
Tips for Preventing Dust Buildup in Your PC
Cleaning dust from your PC is important, but it’s equally crucial to take preventive measures to minimize dust buildup. Here are some tips to help you keep your PC dust-free:
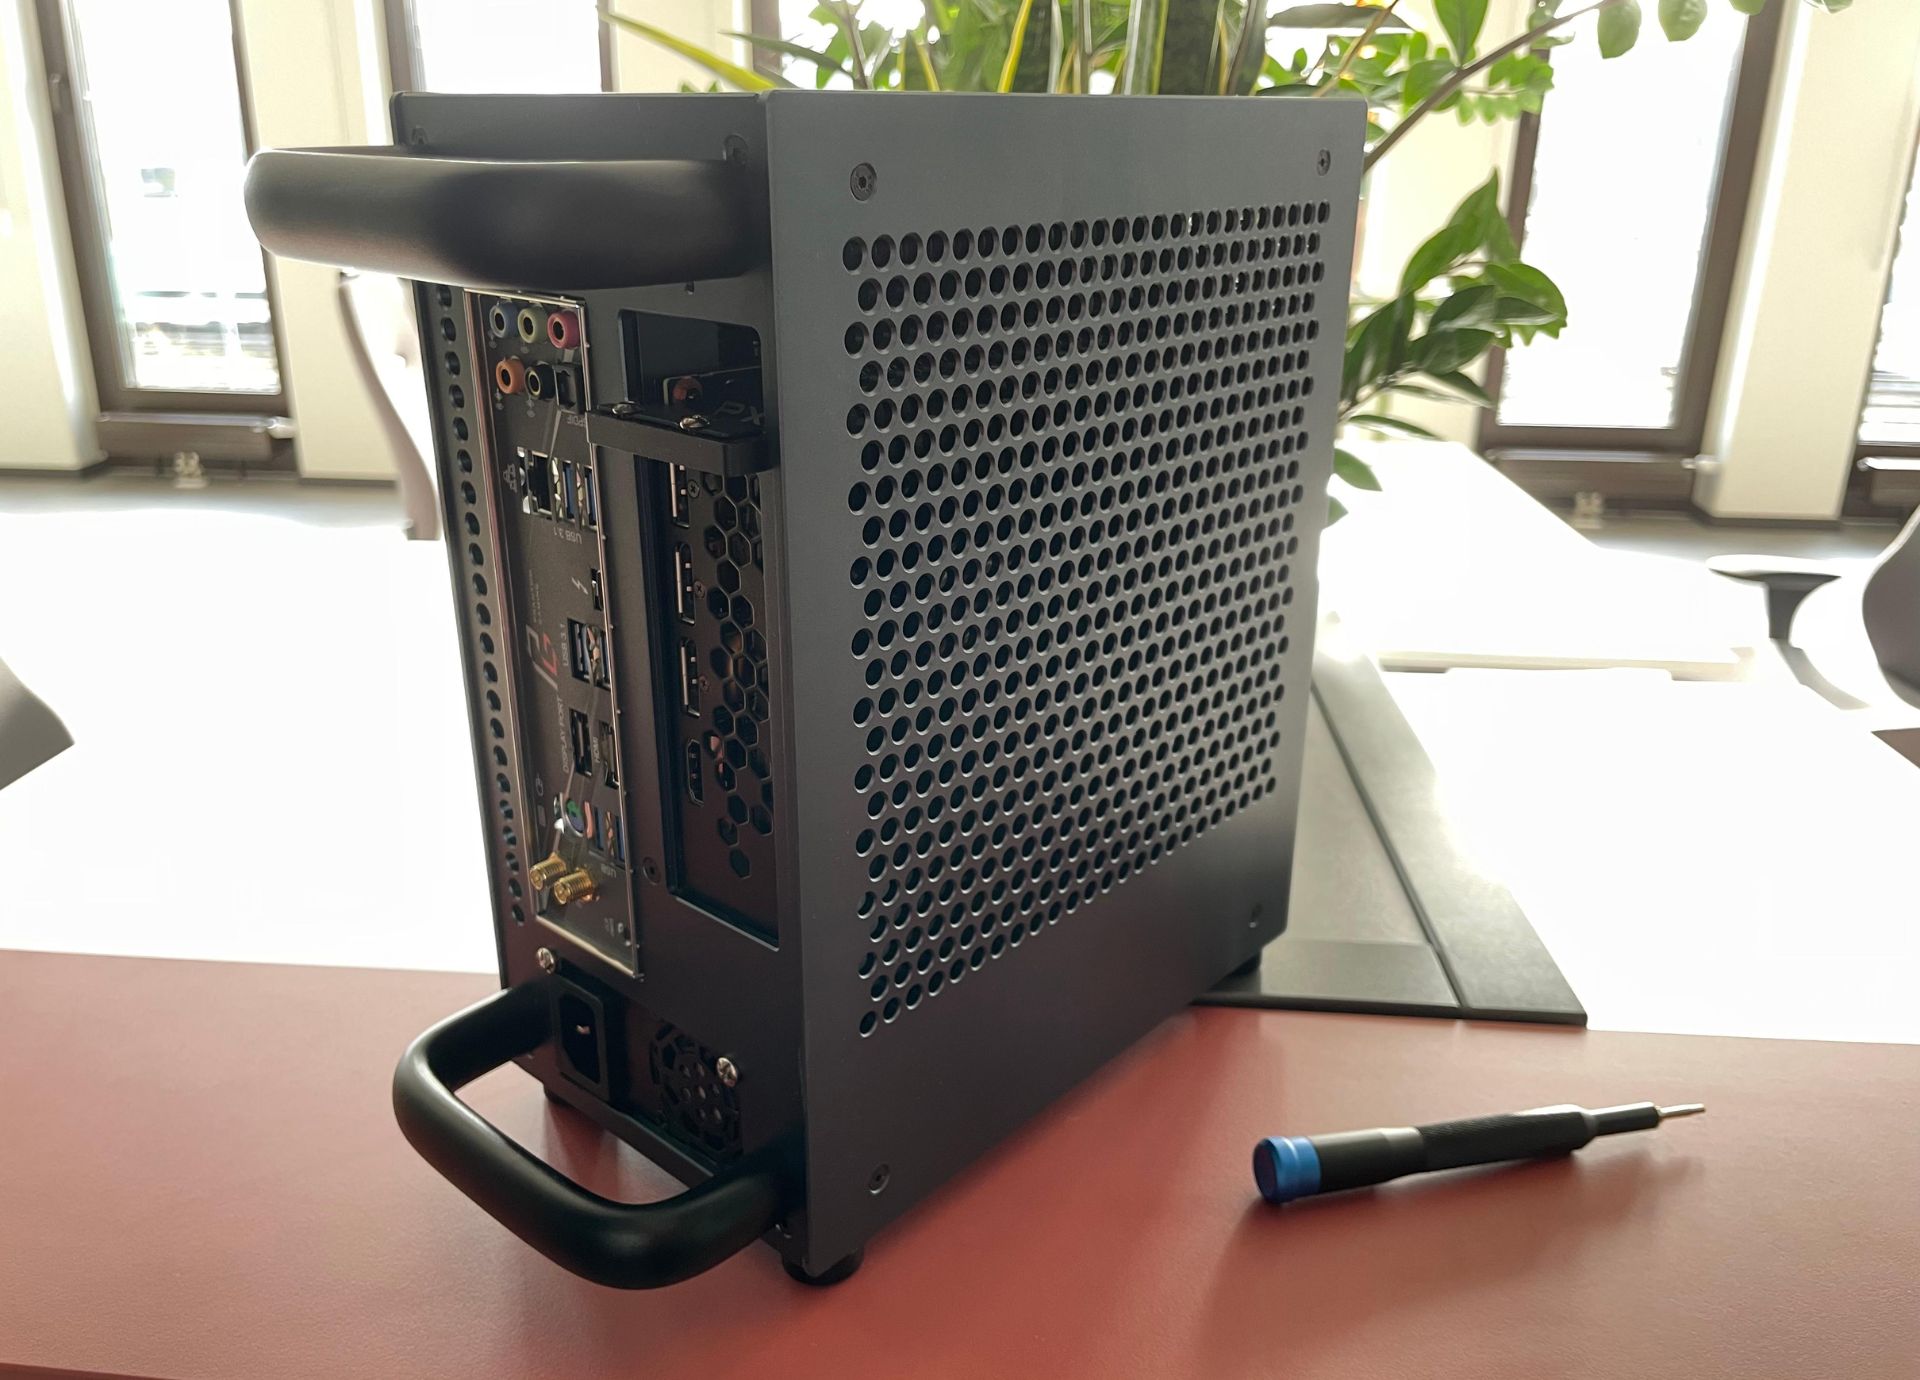
- Place your PC in a clean and well-ventilated area: Avoid placing your computer on the floor or in dusty environments. Position it on a desk or elevated surface away from carpeted areas to reduce the amount of dust that can enter the system.
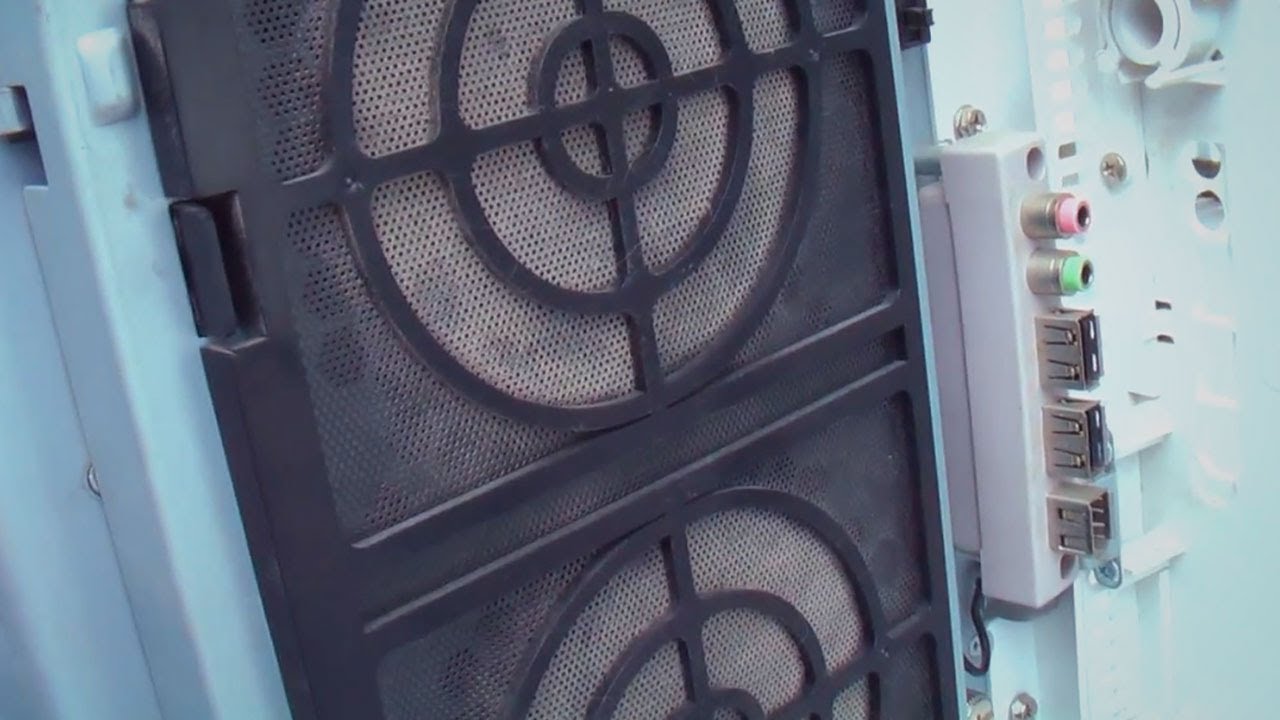
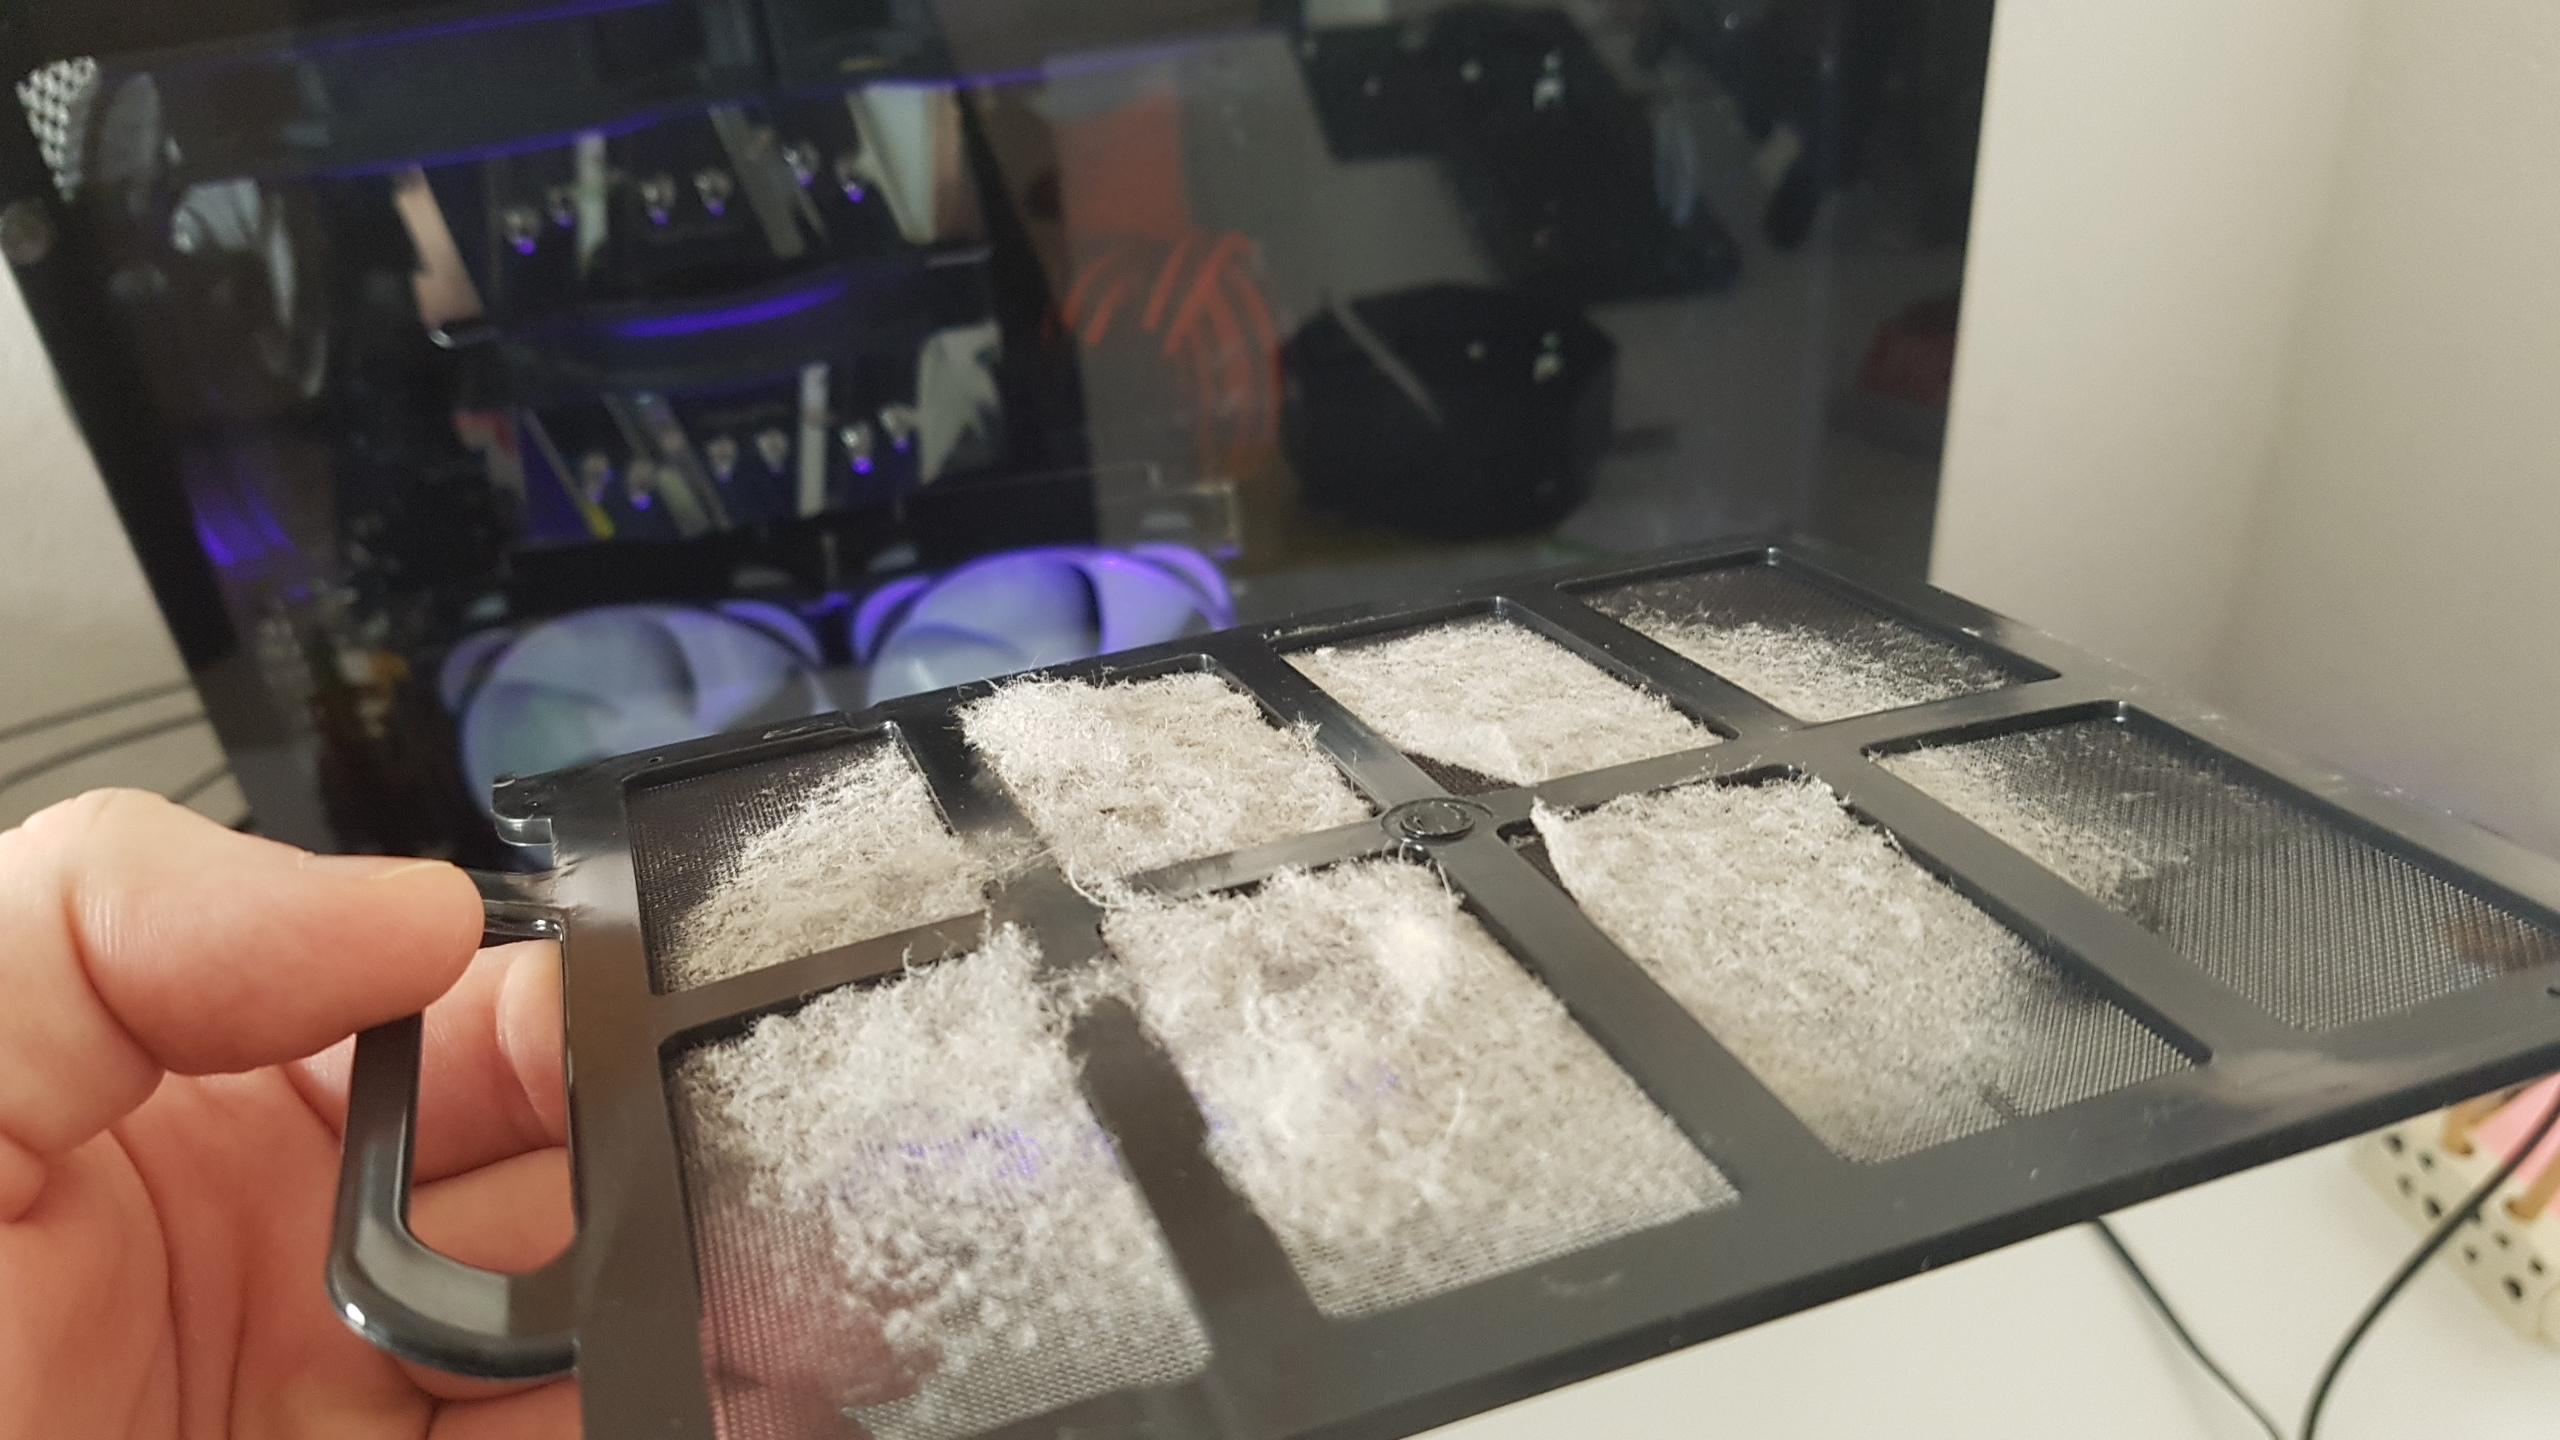
- Use dust filters: Install dust filters on the intake fans and ventilation holes of your PC case. These filters trap dust particles, preventing them from entering the system. Regularly clean or replace the filters to maintain their effectiveness.
- Maintain a clean workspace: Keep your work area clean and free from excessive dust. Regularly dust the area around your PC and use a vacuum cleaner or an air purifier to minimize airborne dust particles.
- Keep your PC elevated: Place your computer on a stand or use rubber “feet” to elevate it slightly off the surface. This helps to improve airflow underneath and reduces the amount of dust that can settle on the bottom of the case.
- Organize cables: Tangled and messy cables obstruct airflow and attract dust. Use cable ties or cable management solutions to keep your cables neatly organized and out of the way, promoting better airflow and easier cleaning.
- Regularly clean your surroundings: Dust other electronic devices and surfaces regularly in your workspace. When these items accumulate dust, they can become sources of additional dust that can enter your PC.
- Do not smoke near your PC: Smoking produces smoke particles and tar that can easily accumulate on the surfaces and fans of your PC, attracting dust. Avoid smoking near your computer to maintain a cleaner, dust-free environment.
- Consider positive pressure airflow: Arrange your PC fans to create positive pressure inside the case. This means having more intake fans than exhaust fans. Positive pressure helps to keep dust from entering through unfiltered openings in the case.
- Regularly schedule PC maintenance: Set a reminder to clean your PC every few months or as needed. Regular maintenance will help you stay on top of dust buildup and keep your computer running smoothly.
By implementing these tips and making dust prevention a part of your PC maintenance routine, you can significantly reduce the amount of dust that accumulates in your system and improve its overall performance and lifespan.
Conclusion
Regularly cleaning the dust from your PC is vital for optimal performance and longevity. Dust can cause overheating, reduced functionality, and even hardware failures. By following the step-by-step guide outlined in this article, you can effectively remove dust from your PC and ensure its proper operation.
Additionally, taking preventive measures can help minimize dust buildup in your computer. Placing your PC in a clean and well-ventilated area, using dust filters, keeping your workspace tidy, and organizing cables are all essential practices to reduce the amount of dust that enters your system.
Remember, a clean PC not only functions better but also lasts longer. By incorporating regular cleaning and maintenance into your computer care routine, you can maximize its lifespan, preserve its performance, and enjoy a dust-free computing environment.
So, take the time to clean your PC, implement preventive measures, and keep your computer running smoothly for years to come.