Calculate your battery by matching voltage (cell count) to motor thrust requirements, capacity to desired flight time via current draw, and discharge rate (C-rating) to peak current with a 20% safety margin—never just pick the biggest capacity available.
Why voltage and cell count must match your drone battery selection goals
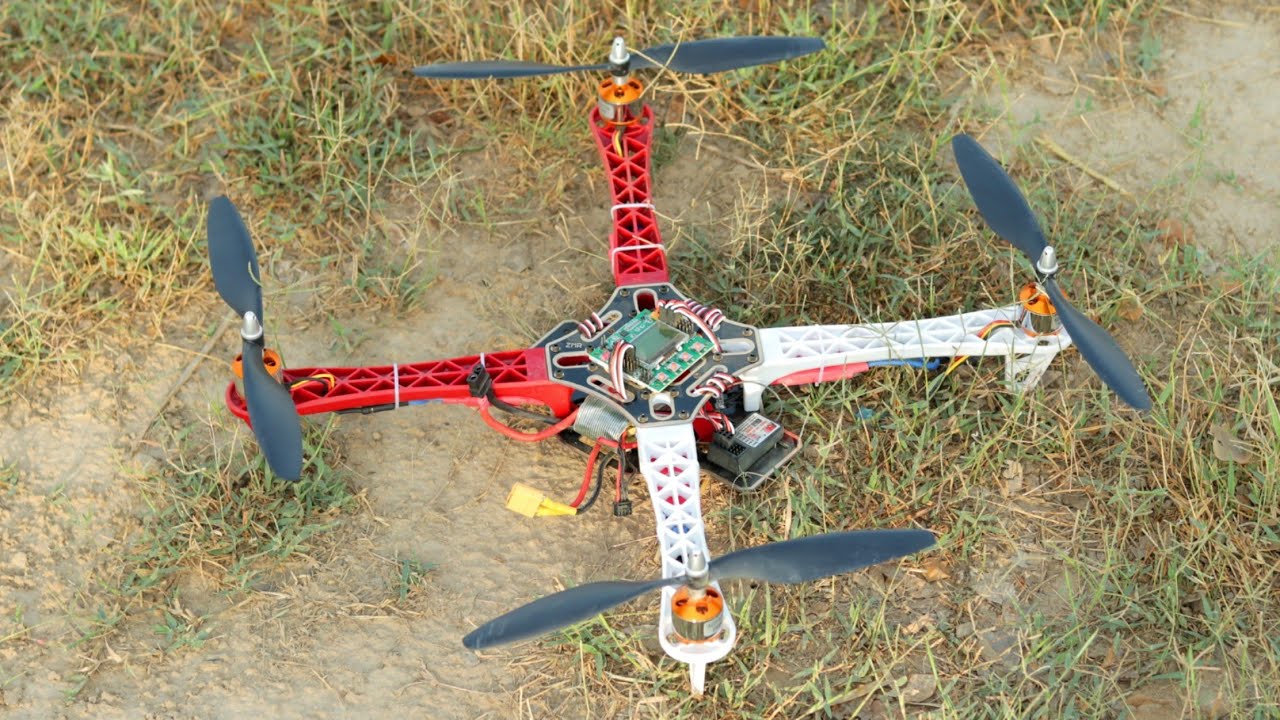
Your motors and propellers have specific thrust tables published by their manufacturers, and those tables are tied to input voltage. For a typical 2205 motor with a 5-inch prop, a 3S LiPo (11.1V) might produce a certain amount of thrust, while a 4S pack (14.8V) pushes that significantly higher. Weigh your complete drone, frame, motors, ESCs, Arduino, receiver, camera, then check the total thrust needed for a 2:1 thrust-to-weight ratio (the minimum for responsive flight). If your quad weighs 600 grams, you need at least 1200 grams total thrust, or 300 grams per motor. The 3S table shows that works at 8A per motor, so a 3S pack is correct. The failure case: using a 6S pack (22.2V) on ESCs rated for only 4S will burn them out instantly, because the MOSFETs and capacitors cannot handle the voltage spike. Always verify your ESC’s voltage rating (printed as “2-4S” or “3-6S”) and never exceed it. Once your build is flight-ready, you might apply these same weight and power calculations to a commercial platform when you order walmart drone delivery.
This direct method turns vague battery shopping into a precise engineering step for your custom Arduino drone, and it avoids the common trap of overloading your frame with a pack that looks big but actually hurts performance.
Calculating capacity for realistic flight time
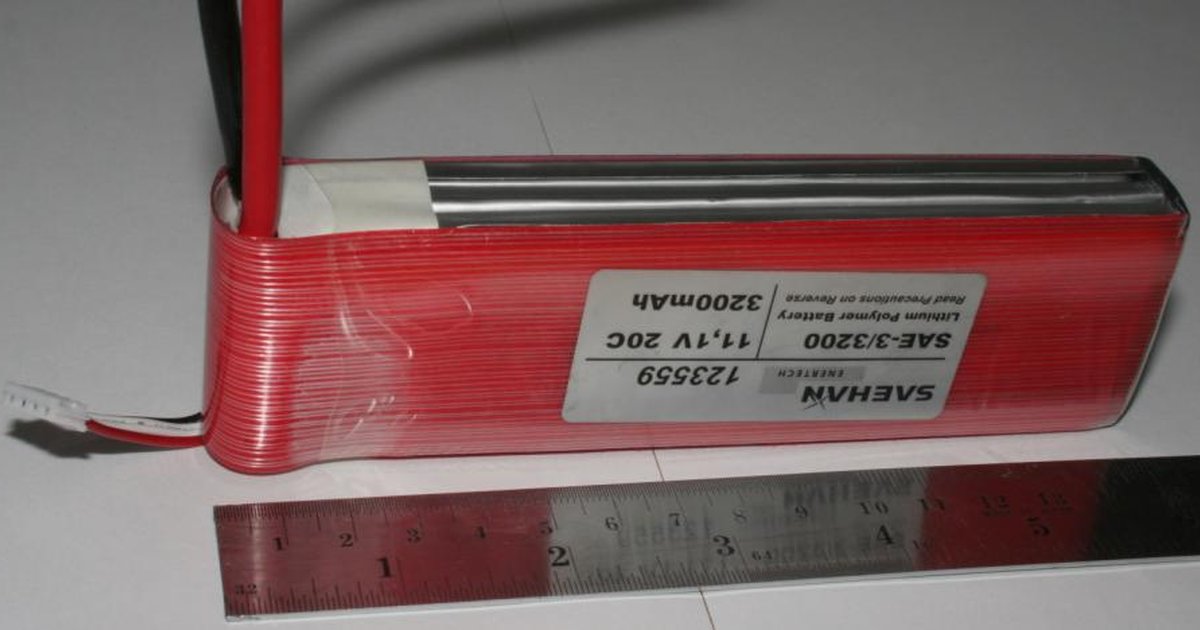
First, find your hover current draw. For a 600-gram quad with 3S motors at 8A each for full throttle, estimate the hover current draw based on your specific motor and propeller data. Convert desired flight time to hours: 10 minutes is 0.167 hours. Capacity in amp-hours equals current times time: 16A × 0.167h = 2.672 Ah, or 2672 mAh. A 3000 mAh 3S pack could be considered based on your calculated requirement. The mistake of simply choosing the largest capacity that fits the frame backfires because a 5000 mAh pack weighs roughly 400 grams, adding 67% more weight to your 600-gram drone. That extra weight forces higher throttle to hover, increasing current draw, which eats into the larger capacity, you end up with only 12-13 minutes instead of the expected 18, and the drone feels sluggish. Stick to the calculated value; a 3000 mAh pack at 250 grams keeps your thrust-to-weight ratio healthy.
Finding the minimum discharge rate without over-specifying
Discharge rate (C-rating) tells you how many amps the battery can safely deliver. Calculate peak current: your motors at full throttle draw 8A each, so 32A total. Add a 20% safety margin: 32A × 1.2 = 38.4A. Divide that by your capacity in amp-hours (3.0 Ah for a 3000 mAh pack): 38.4A / 3.0Ah = 12.8C. A 20C battery easily covers this. The common mistake of buying an excessively high C-rating, like a 100C pack, adds unnecessary weight and cost, with zero benefit because your motors never demand that current. To build a drone with Arduino, you integrate this battery math into your power distribution board wiring, ensuring the connector (XT60 or JST) also handles the peak current without melting. For a deeper dive into the entire process of buying, building and flying drones, this battery selection is just one critical piece of the puzzle.