Introduction
So, you’re a drone enthusiast who loves capturing breathtaking aerial footage. But what happens when your drone’s propellers get damaged or worn out? Don’t panic! Replacing the propellers is a simple task that can get your drone back up in the sky in no time.
In this article, we will guide you through the process of replacing drone propellers step by step. Whether you’re a seasoned drone pilot or a beginner, this guide will help you safely and effectively replace your drone’s propellers, ensuring optimal performance and stability.
Before we dive into the details, it’s important to mention that safety should always come first. When working with drones, make sure to follow the manufacturer’s guidelines and adhere to local regulations. Always fly in designated areas and be mindful of your surroundings.
Now that we’ve covered the importance of safety, let’s gather the necessary tools and get started with the propeller replacement process.
Safety Precautions
Before you begin replacing your drone propellers, it’s crucial to take some safety precautions to protect yourself and those around you. Here are some important guidelines to follow:
1. Power off the drone: Ensure that your drone is turned off before attempting any repairs. This will prevent any accidental propeller rotation and reduce the risk of injury.
2. Remove the battery: To further ensure your safety, detach the battery from the drone. This eliminates the possibility of the drone accidentally turning on during the replacement process.
3. Wear protective gear: Always wear safety goggles and gloves to shield your eyes and hands from potential harm. Tiny screws or other small parts may accidentally fall, and it’s better to be safe than sorry.
4. Work in a clear, open area: Find a well-lit workspace with ample room to maneuver your drone. This will allow you to have a clear view and minimize the risk of damaging your drone or injuring yourself.
5. Keep bystanders away: Ensure that there are no people or pets near your workspace. A stray propeller or a sudden drone activation can cause harm to those in close proximity.
6. Take your time: Rushing through the propeller replacement process can lead to mistakes or accidents. Be patient and meticulous in your work. Double-check each step to ensure a successful and safe replacement.
By following these safety precautions, you can minimize the risk of accidents and perform the propeller replacement with confidence. Your safety and the safety of those around you should always be the top priority.
Tools Needed
Before you begin replacing your drone propellers, it’s important to gather the necessary tools to ensure a smooth and successful replacement process. Here are the essential tools you’ll need:
- Screwdriver: A small precision screwdriver is typically required to remove and attach the propellers. Make sure to use the right size based on the type of screws used in your drone.
- Replacement Propellers: Purchase a set of propellers that are compatible with your specific drone model. You can find these online or at your local drone store. It’s always a good idea to have spare propellers on hand in case of emergencies.
- Soft Cloth: Use a soft cloth or microfiber cloth to wipe away any dust or debris from the propeller attachment points. This will help ensure a secure and stable connection.
- Tweezers: Sometimes, propellers can be tightly secured or hard to handle. Having a pair of tweezers can make it easier to grip and maneuver the propellers during the replacement.
- Propeller Guards (optional): If your drone has propeller guards, it’s recommended to remove them before replacing the propellers. This will give you better access and reduce the risk of damaging the guards during the process.
- Drone Manual: Always have your drone’s manual handy. It provides valuable information about the specific propeller replacement process for your drone model. Following the manufacturer’s instructions is crucial for a safe and successful replacement.
By gathering these tools before you start, you’ll have everything you need to replace your drone’s propellers effectively. Remember, using the right tools and following the correct procedures will help maintain the integrity of your drone and ensure its optimal performance.
Step 1: Remove the Damaged Propellers
The first step in replacing your drone propellers is to remove the damaged or worn-out ones. Follow these steps carefully:
- Power off the drone: Ensure that your drone is turned off to avoid any accidental rotation of the propellers.
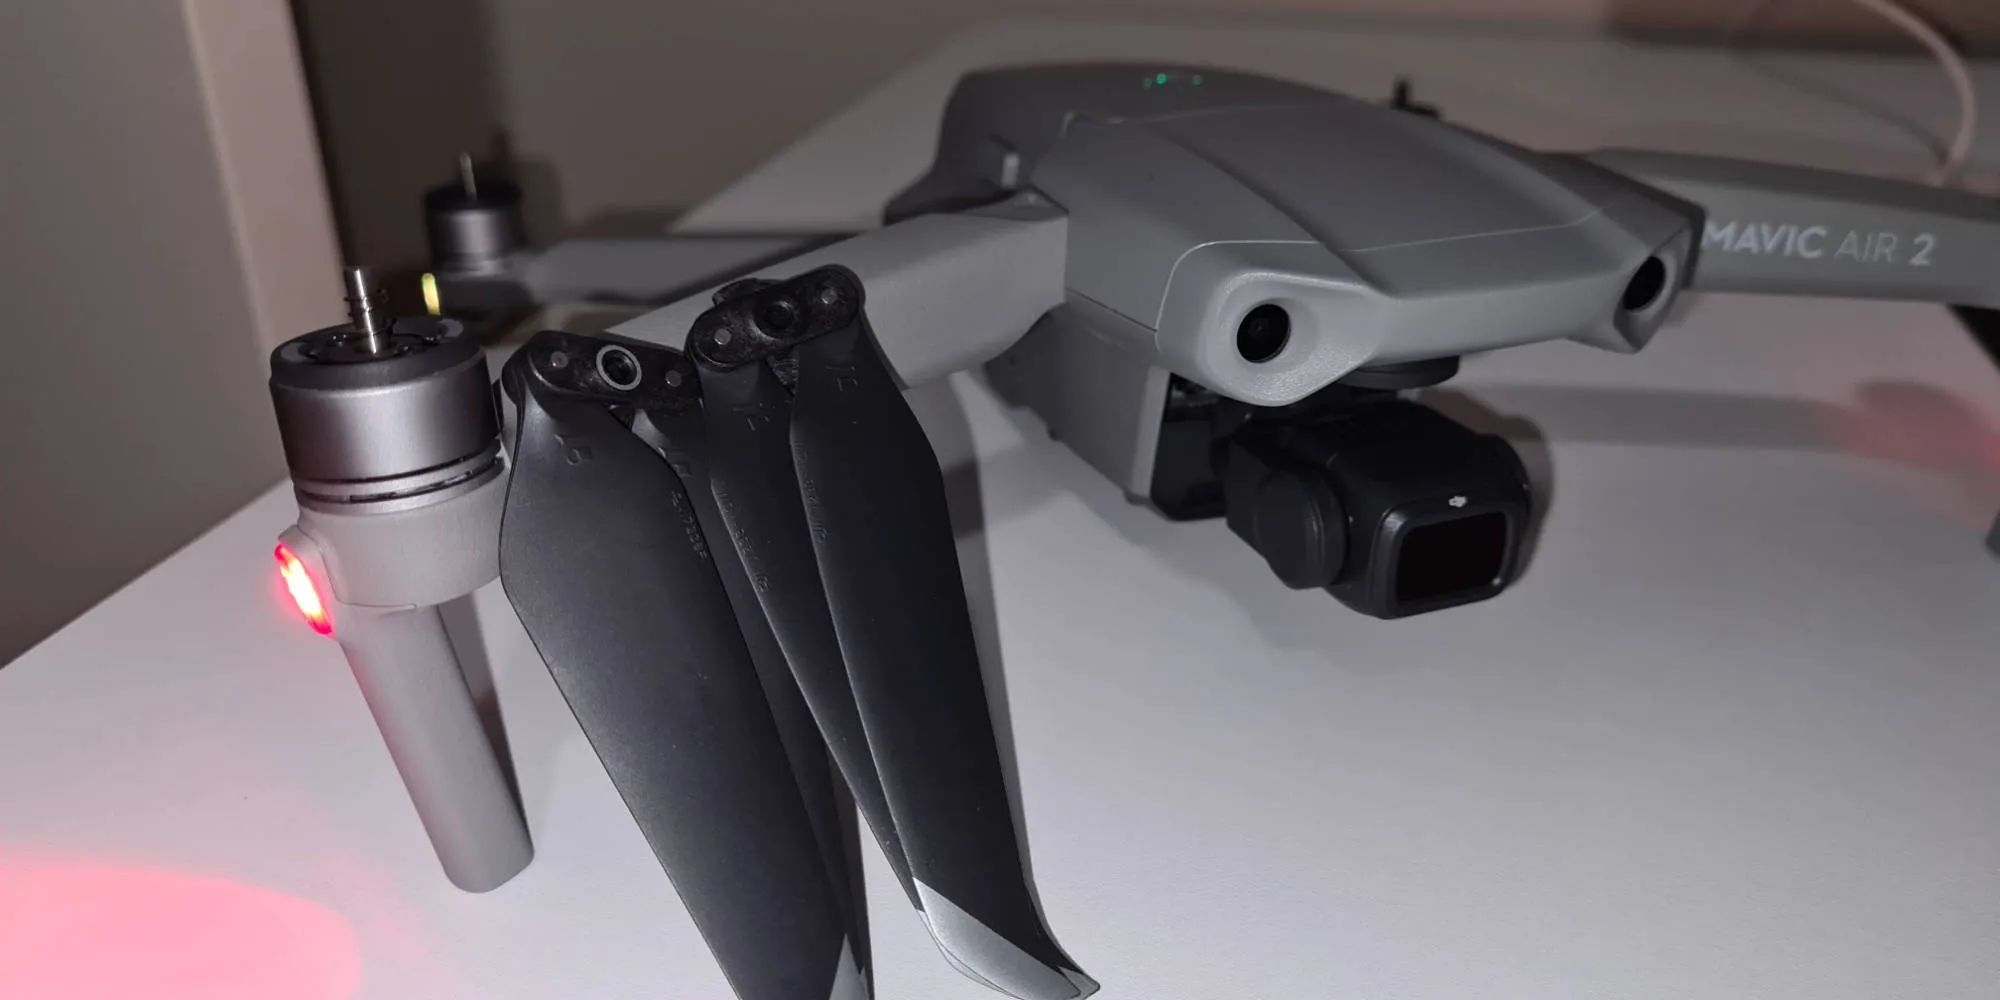
- Inspect the propellers: Take a close look at each propeller to identify any damage, such as cracks, bends, or missing pieces. It’s important to replace all damaged propellers for optimal flight performance.
- Locate the screws: Look for the screws securing the propellers to the drone’s motor. The number of screws may vary depending on your drone model, but there’s typically one screw per propeller.
- Use the screwdriver: Carefully use the screwdriver to loosen and remove the screws. Keep the screws in a safe place to prevent loss.
- Gently remove the propellers: Once the screws are removed, gently pull the damaged propellers away from the motor shaft. If they’re stuck, you can use the tweezers to carefully pry them off.
Repeat these steps for each damaged propeller until they are all safely removed from your drone. Take your time and be careful not to apply too much force, as you could accidentally damage other components of your drone. Once you’ve successfully removed the damaged propellers, it’s time to move on to the next step: determining the propeller type and direction.
Step 2: Determine Propeller Type and Direction
After removing the damaged propellers, the next step in replacing your drone propellers is to determine the type and direction of the new propellers. Follow these steps:
- Refer to the drone manual: Consult your drone’s manual to identify the specific propeller type and size recommended for your drone model. It will provide the necessary information to ensure compatibility and optimal performance.
- Examine the propeller markings: Look for markings or labels on the new propellers that indicate their type and rotation direction. This information is usually engraved or printed on the propeller blades.
- Identify the propeller rotation direction: Most propellers are marked with an “A” or “B” to indicate their appropriate rotation direction. Make sure to match each propeller with the correct motor to ensure proper functionality and stability during flight.
- Observe the propeller design: Pay attention to the design of the propellers, as they may have distinctive shapes or features. This can help you visually determine the correct orientation of the propellers on your drone.
By carefully identifying the type and direction of the new propellers, you can ensure that they are compatible with your drone and properly configured for optimal performance. Taking the time to determine these details will help avoid any potential issues during the propeller replacement process.
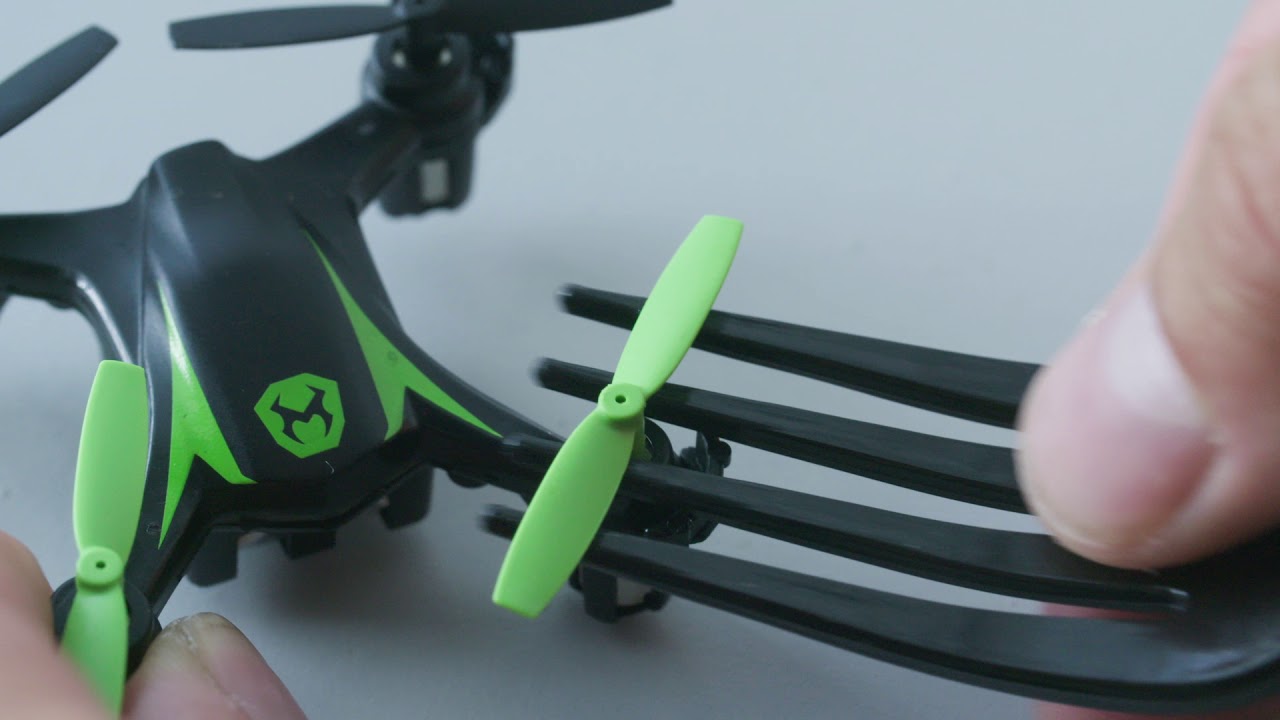
Step 3: Attach the New Propellers
With the damaged propellers removed and the propeller type and direction determined, it’s time to attach the new propellers to your drone. Follow these steps carefully:
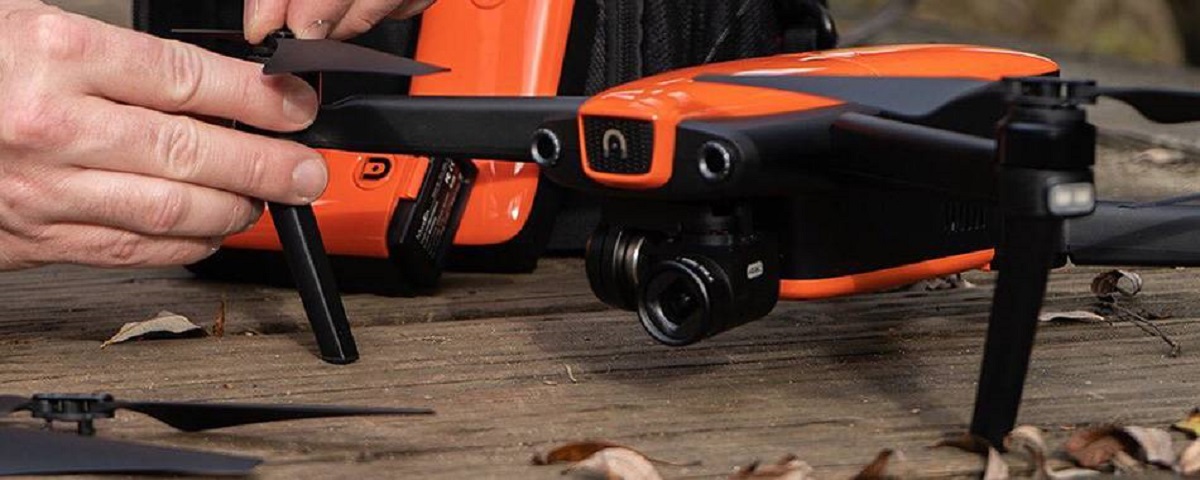
- Align the propeller with the motor shaft: Take one of the new propellers and align it with the corresponding motor shaft. Ensure that the propeller is facing in the correct rotation direction based on the markings or labels.
- Push the propeller onto the motor shaft: Gently push the propeller onto the motor shaft until it sits snugly. Make sure it is securely attached, but be cautious not to force it too hard to avoid damaging the drone or the propeller itself.
- Repeat for other propellers: Repeat the process for each new propeller, aligning and attaching them to their respective motor shafts. Take note of the correct rotation direction for each propeller to ensure proper flight performance.
It’s essential to ensure that the propellers are securely attached to the motor shafts before moving on to the next step. A loose propeller can lead to imbalance and affect the stability and performance of your drone. Take your time and double-check that each propeller is properly aligned and tightly attached.
Step 4: Tighten the Propellers
After attaching the new propellers, the next step in the propeller replacement process is to tighten them securely. Follow these steps to ensure a tight and stable connection:
- Locate the propeller screws: Find the screws that were removed earlier when you took off the damaged propellers. These screws will be used to secure the new propellers in place.
- Position the screwdriver: Insert the screwdriver into the screw socket on the propeller. Ensure that the screwdriver fits securely to avoid damaging the screw head.
- Tighten the screws: Gently tighten the screws, but be careful not to overtighten them. Over tightening can lead to damage or stripping of the screw threads.
- Repeat for other propellers: Repeat the process for each propeller, tightening the screws one by one. Pay attention to the propeller rotation direction and ensure that all propellers are securely fastened.
By tightening the screws properly, you ensure that the propellers are securely attached to the motor shafts, reducing the risk of them coming loose during flight. It’s important to strike a balance between tightening the screws enough to provide a secure connection and avoiding excessive force that can lead to damage.
Step 5: Test for Proper Installation
After replacing and tightening the propellers, it’s crucial to test the proper installation before taking your drone for a flight. Follow these steps to ensure everything is in order:
- Power on the drone: Turn on your drone and give it a few moments to initialize. Make sure all the necessary lights are functioning correctly.
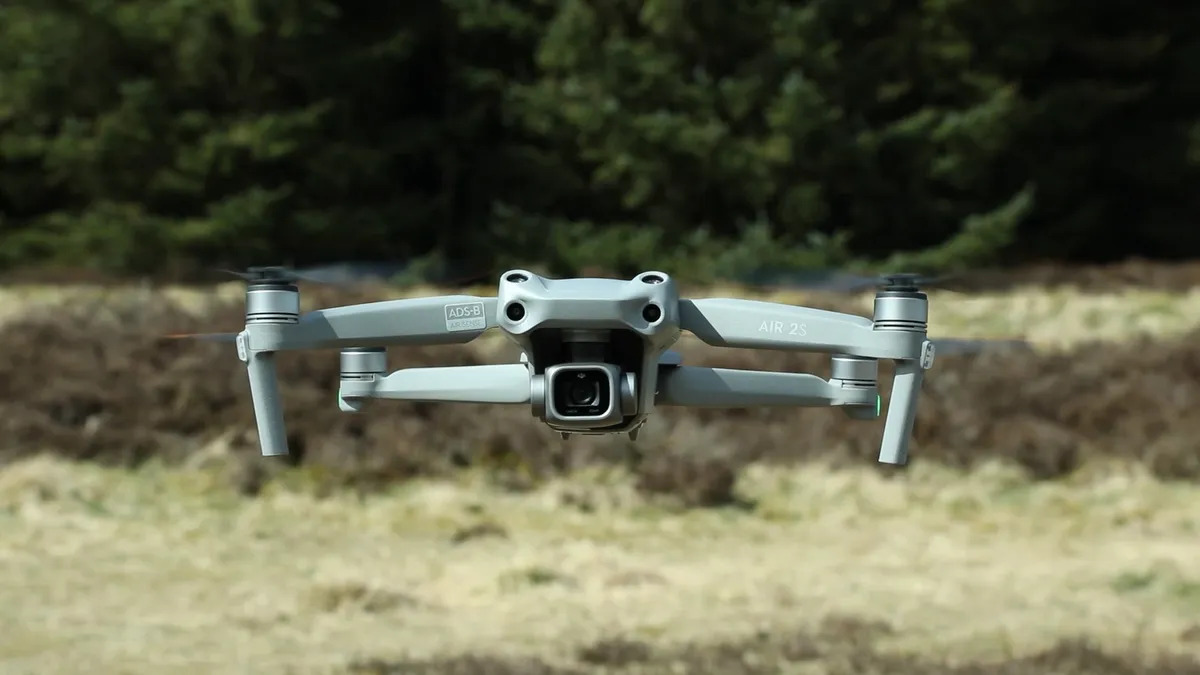
- Check for balanced rotation: Observe the rotation of each propeller carefully. Ensure that all propellers are spinning smoothly and with the intended rotation direction. Imbalanced rotation or inconsistent speeds could indicate an issue with the installation.
- Listen for unusual sounds: Pay attention to any unusual sounds coming from the drone. Grinding or scraping noises could be a sign that the propellers are not installed correctly.
- Perform a hover test: If your drone has a hovering mode, activate it and observe the drone’s stability. Ensure that it maintains a steady position without drifting or showing signs of instability. If your drone doesn’t have a hovering mode, perform a short test flight in a controlled and open area.
- Inspect for any issues: After the test, thoroughly inspect the propellers and their connections. Look for any signs of looseness, vibrations, or damage. If you notice any problems, immediately power off the drone and make the necessary adjustments or contact customer support.
Testing for proper installation is essential to ensure the safety and performance of your drone. By following these steps, you can identify any issues early on and address them before taking your drone for a full flight.
Conclusion
Replacing the propellers on your drone is a crucial maintenance task that ensures optimal flight performance and safety. By following the step-by-step guide outlined in this article, you can successfully replace your drone’s propellers without any hassle.
Remember to prioritize safety throughout the process by powering off your drone, wearing protective gear, and working in a clear and open area. Take your time to remove the damaged propellers, determine the propeller type and direction, attach the new propellers securely, tighten them properly, and test for proper installation.
Regularly inspecting and replacing damaged propellers is essential not only for optimal flight performance but also for the longevity of your drone. Damaged propellers can lead to imbalances, reduced stability, and even accidents. By staying proactive in maintaining your drone, you can continue to enjoy smooth and successful flights.
Always consult your drone’s manual for specific instructions and recommendations regarding propeller replacement. Every drone model may have unique requirements, so it’s essential to follow the manufacturer’s guidelines to ensure compatibility and safety.
With the knowledge and guidance provided in this article, you can confidently replace your drone’s propellers and get back to capturing stunning aerial imagery. So, grab your tools, follow the steps outlined, and get ready to take your drone to new heights!