Introduction
Welcome to the digital age where staying connected to the internet has become an essential part of our daily lives. Whether it’s for work, entertainment, or simply staying connected with friends and family, having a reliable and fast internet connection is crucial. If you’re an iPhone user, you may have noticed that there are different Wi-Fi frequencies or “GHz” available. Knowing the GHz of your Wi-Fi network can help you troubleshoot connectivity issues and optimize your browsing experience.
In this article, we will explore three different methods to check the Wi-Fi GHz on your iPhone. These methods are relatively simple and can be performed without any technical expertise. By the end of this article, you’ll be equipped with the knowledge to determine the frequency of your Wi-Fi network and ensure you’re connected to the best GHz option available.
Whether you’re using an iPhone for the first time or have been a long-time user, understanding the GHz of your Wi-Fi network can enhance your overall internet experience. So, let’s dive into the various methods you can use to check the Wi-Fi GHz on your iPhone.
Why check your Wi-Fi GHz on your iPhone?
Checking the Wi-Fi GHz on your iPhone can provide valuable insights into the performance and compatibility of your device with different wireless networks. Here are a few key reasons why it is important to check the Wi-Fi GHz on your iPhone:
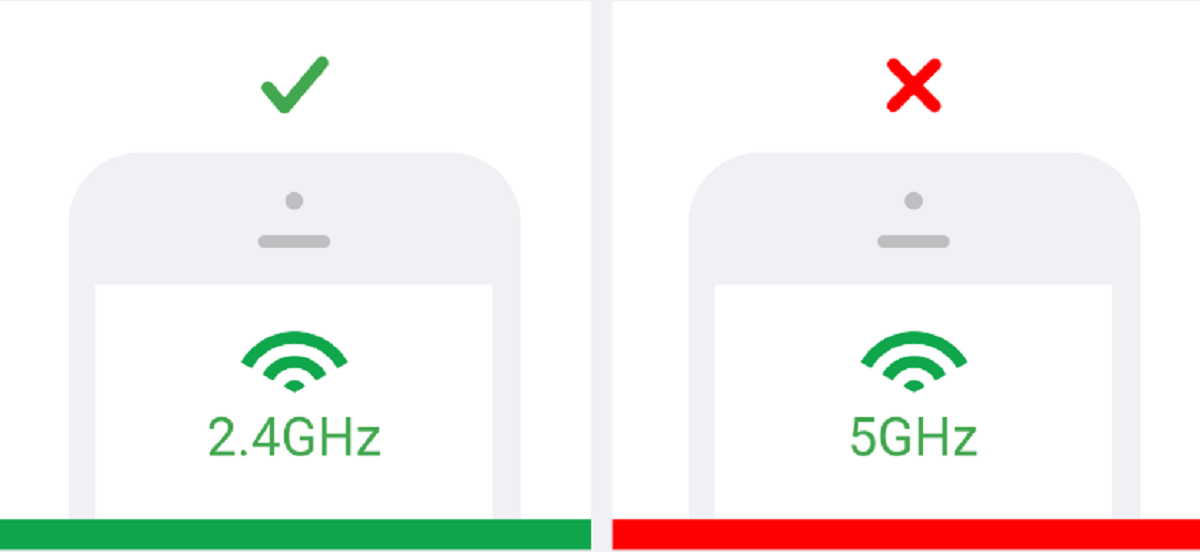
- Optimal performance: Wi-Fi networks operate on either 2.4 GHz or 5 GHz frequencies. The choice between these frequencies can significantly impact the speed and stability of your internet connection. By knowing which GHz your iPhone is connected to, you can ensure that you are utilizing the frequency that offers the best performance for your device.
- Compatibility with devices: Different devices have varying capabilities when it comes to connecting to Wi-Fi networks. While most modern devices can easily connect to both 2.4 GHz and 5 GHz networks, older devices may only be compatible with one frequency. By checking the Wi-Fi GHz on your iPhone, you can determine if your device is restricted to a specific frequency and take necessary steps to ensure compatibility with your network.
- Signal interference: The 2.4 GHz frequency is widely used by various devices including microwaves, cordless phones, and Bluetooth devices. This can lead to increased signal interference and slower internet speeds. By checking your Wi-Fi GHz, you can identify if you are connected to a crowded 2.4 GHz network and consider switching to the less congested 5 GHz frequency for better signal quality.
- Network optimization: In some cases, your internet service provider may offer separate networks for different GHz frequencies. They may have different network names (SSID) for 2.4 GHz and 5 GHz networks, allowing you to manually choose the frequency that provides the best performance. Checking your Wi-Fi GHz will help you identify which network your iPhone is connected to and make any necessary adjustments to optimize your network connection.
Now that you understand the importance of checking the Wi-Fi GHz on your iPhone, let’s move on to the methods you can use to accomplish this task.
Method #1: Checking through the Settings
The easiest way to check the Wi-Fi GHz on your iPhone is through the Settings. Follow these simple steps to determine the frequency of your Wi-Fi network:
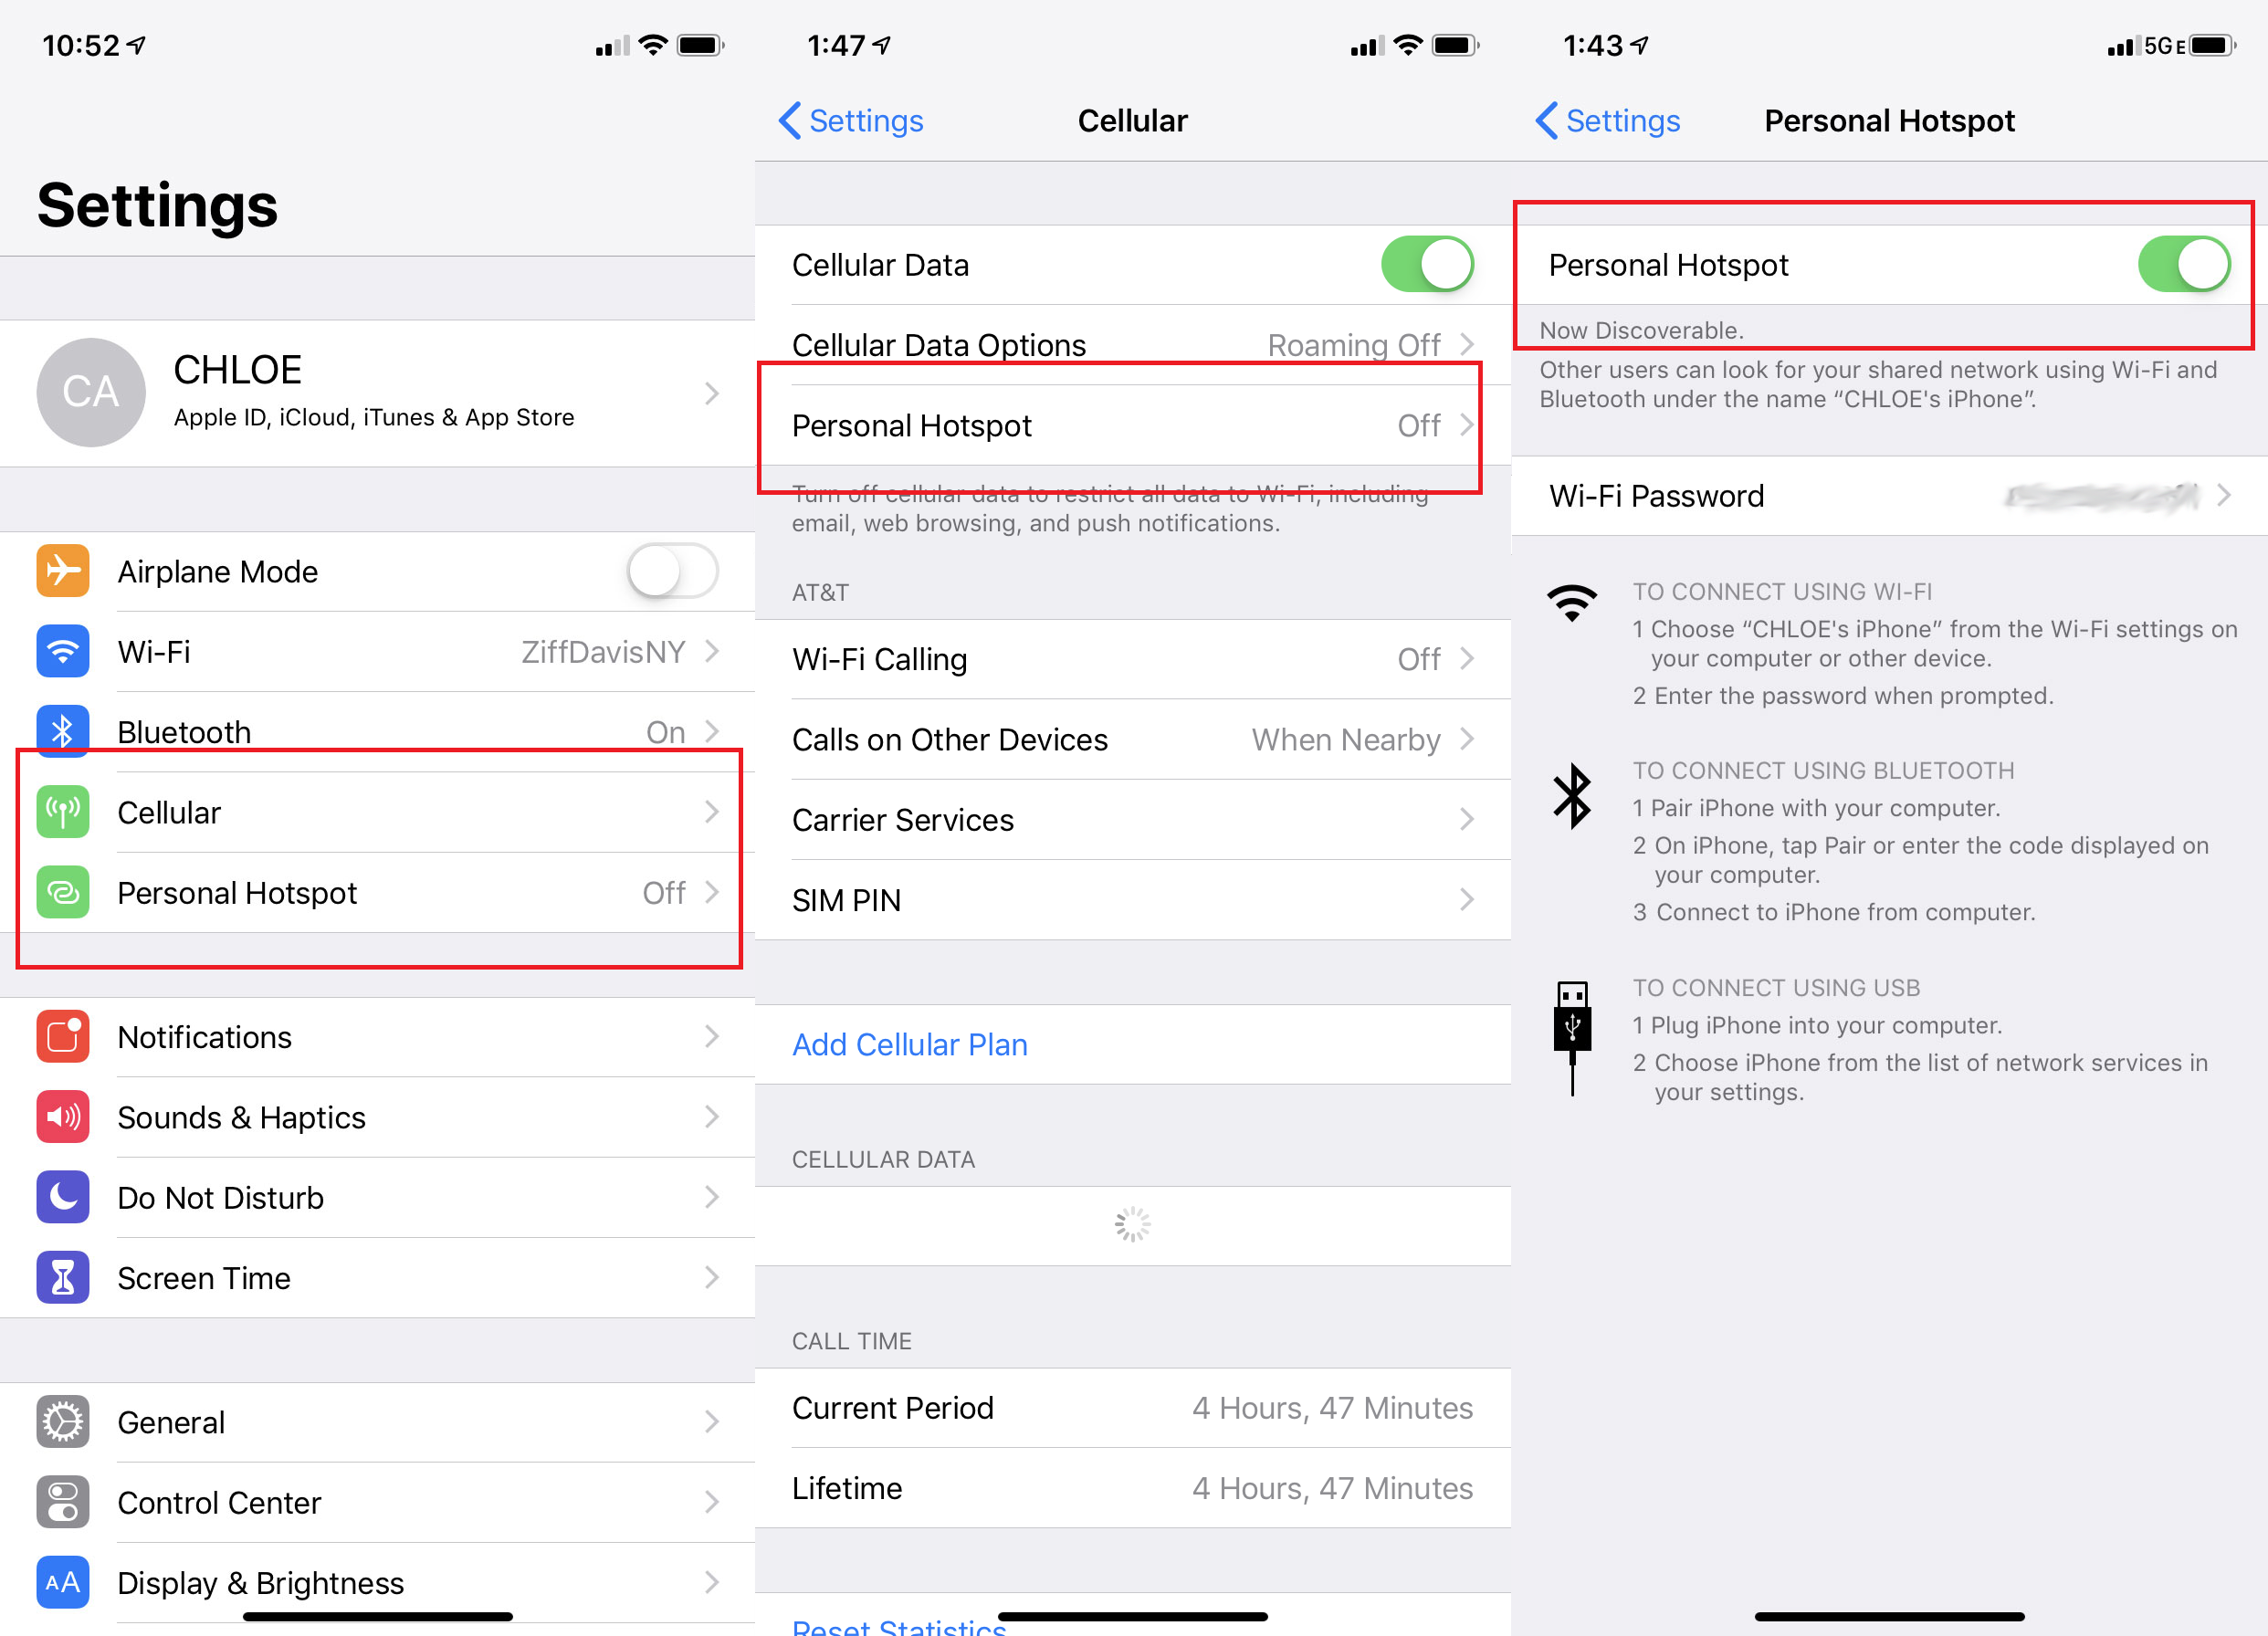
- Unlock your iPhone and open the “Settings” app. It can usually be found on the home screen or in the app drawer.
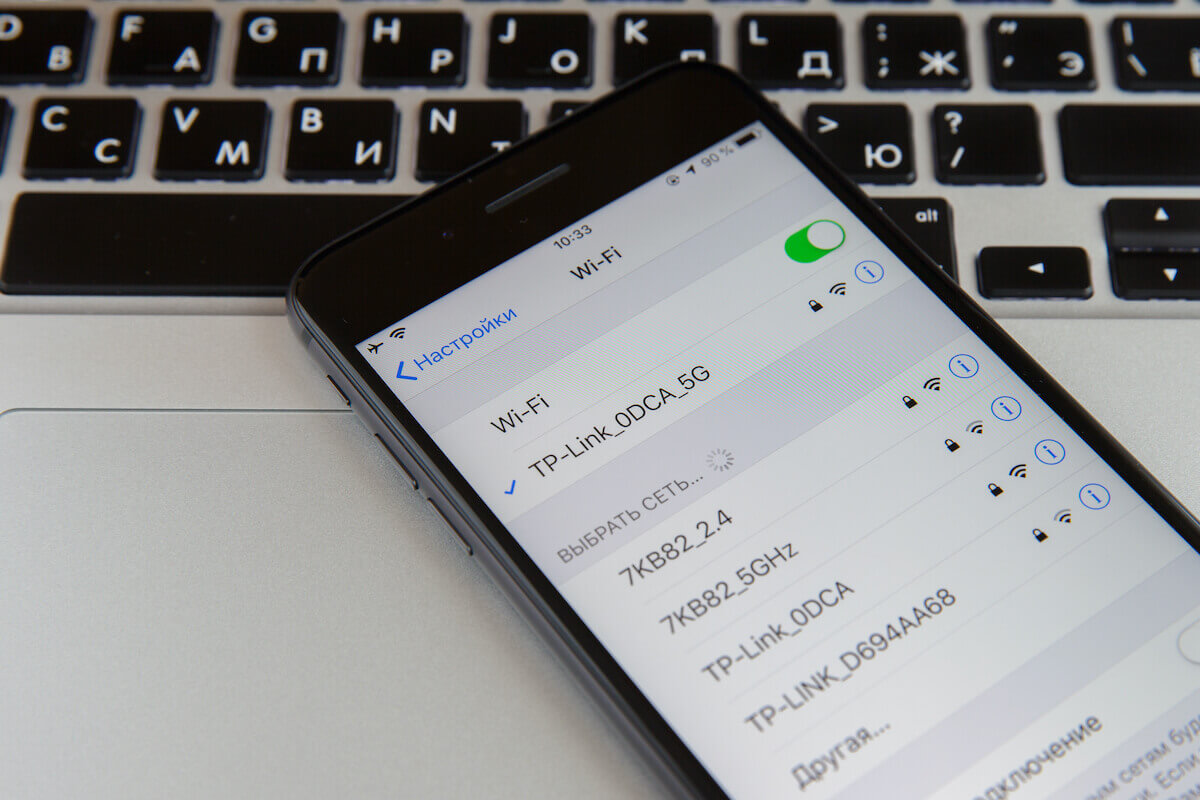
- Scroll down and tap on “Wi-Fi” to access the Wi-Fi settings.
- Under the “Choose a Network” section, you will see the name of the Wi-Fi network you are connected to, followed by an information (i) icon. Tap on the (i) icon next to your network.
- In the Wi-Fi network details, you will find information about the Wi-Fi GHz. Look for either “Frequency” or “Band” to determine the GHz. If it says “2.4 GHz” or “5 GHz,” it indicates the frequency your iPhone is currently connected to.
- You can also check if there is an option to switch to another network if your device is compatible with multiple frequencies. Some networks may have both 2.4 GHz and 5 GHz options available. If available, tap on the other network to switch frequencies.
This method allows you to quickly check the Wi-Fi GHz on your iPhone without the need for any additional apps or tools. Ensure that you have a stable internet connection to accurately view the Wi-Fi network information in the Settings.
Now that you know how to check the Wi-Fi GHz through the Settings, let’s move on to another method using the Control Center.
Method #2: Checking through the Control Center
Another convenient way to check the Wi-Fi GHz on your iPhone is by using the Control Center. Follow these steps to determine the frequency of your Wi-Fi network:
- Start by unlocking your iPhone and swiping down from the top-right corner (or from the bottom, depending on your iPhone model) to open the Control Center.
- Tap and hold the Wi-Fi icon in the top-left corner of the Control Center. This will open the Wi-Fi settings page.
- At the top of the Wi-Fi settings page, you will see the name of your connected network along with the Wi-Fi symbol. Tap on the network name to access more details.
- In the network details page, you will find information about the Wi-Fi GHz. Look for either “Frequency” or “Band” to determine the GHz. It will indicate either “2.4 GHz” or “5 GHz,” depending on your network’s frequency.
- If you have multiple Wi-Fi networks available, you can switch to a different frequency by tapping on another network listed in the available networks section.
This method allows for quick access to the Wi-Fi GHz information straight from the Control Center, without the need to navigate through the Settings app. It provides a convenient way to check the frequency of your Wi-Fi network and make any necessary adjustments.
Now that you have learned how to check the Wi-Fi GHz through the Control Center, let’s explore another option using third-party apps.
Method #3: Using a third-party app
If you prefer a more detailed and comprehensive approach, you can use a third-party app to check the Wi-Fi GHz on your iPhone. There are several apps available on the App Store that can provide you with this information. Here’s how you can use a third-party app:
- Open the App Store on your iPhone and search for “Wi-Fi Analyzer” or “Wi-Fi Scanner”. There are various free and paid apps to choose from, so read the reviews and select one that suits your needs.
- Install the app of your choice and open it once the installation is complete.
- The app will display a list of nearby Wi-Fi networks, along with detailed information about each network.
- Look for the Wi-Fi network you are connected to, and the app will show you the GHz frequency of that network.
- In addition to providing the Wi-Fi GHz, these apps often offer other useful features like signal strength analysis, channel information, and network performance testing.
Using a third-party app gives you more advanced tools and insights into your Wi-Fi network. It allows you to analyze the network environment, identify potential interference, and make informed decisions to improve your Wi-Fi signal and browsing experience.
Remember to choose a reliable and reputable app from the App Store and be cautious of granting unnecessary permissions that may compromise your privacy or security.
With the help of a third-party app, you can obtain detailed information about your Wi-Fi GHz and gain a deeper understanding of your network’s performance.
Now that you have learned different methods to check the Wi-Fi GHz on your iPhone let’s recap what we have covered so far.
Conclusion
Having a clear understanding of the Wi-Fi GHz on your iPhone is essential for optimizing your internet experience. It allows you to take advantage of the best frequency for your device and make necessary adjustments to ensure compatibility and performance. In this article, we explored three different methods to check the Wi-Fi GHz on your iPhone.
Firstly, we learned how to check the Wi-Fi GHz through the Settings. This method is simple and can be done without any additional apps or tools. By navigating to the Wi-Fi settings in the Settings app, you can easily identify the frequency of your current network.
Next, we explored checking the Wi-Fi GHz through the Control Center. Opening the Control Center and tapping on the Wi-Fi icon allows you to access the Wi-Fi settings page, where you can find the frequency information of your connected network.
Lastly, we discussed using a third-party app to check the Wi-Fi GHz. These apps provide in-depth details about nearby Wi-Fi networks, including the frequency of your currently connected network. Using a third-party app offers more advanced features for analyzing and optimizing your Wi-Fi signal.
Remember, checking the Wi-Fi GHz on your iPhone is important for optimizing performance, ensuring device compatibility, and addressing issues related to signal interference. By following the methods outlined in this article, you can easily determine the frequency of your Wi-Fi network and take appropriate actions to improve your internet experience.
Whether you choose to use the Settings, Control Center, or a third-party app, the choice is yours. Implementing these methods will empower you to make informed decisions about your Wi-Fi connection and optimize your browsing experience on your iPhone.
Now, armed with the knowledge of checking the Wi-Fi GHz on your iPhone, go ahead and enjoy a smooth and seamless online experience!