Introduction
Having a reliable and secure WiFi connection has become an essential requirement in our modern, interconnected world. However, there may be situations where you don’t have access to a traditional WiFi network, such as when you’re on the go or in a location without WiFi coverage. In these cases, creating a WiFi hotspot with your device can be a convenient solution.
A WiFi hotspot allows you to share your device’s internet connection with other devices, such as smartphones, tablets, or laptops. It acts as a virtual router, enabling these devices to connect to the internet using your device’s mobile data or wired internet connection. This can be incredibly useful, whether you’re traveling, working in a remote location, or simply need to provide internet access to multiple devices at a gathering.
In this guide, we will walk you through the steps to create a WiFi hotspot on your device. Whether you’re using a smartphone, tablet, or computer, the process is generally straightforward. We will also discuss some common troubleshooting tips to help you resolve any potential issues you may encounter while setting up your WiFi hotspot.
Step 1: Check if your device supports WiFi hotspot
Before you proceed with creating a WiFi hotspot on your device, it’s important to ensure that your device supports this feature. While most smartphones, tablets, and laptops support WiFi hotspot functionality, it’s always a good idea to double-check.
To check if your device supports WiFi hotspot, follow these steps:
- For Android devices: Open the Settings app and look for the “Wireless & Networks” or “Connections” section. Within this section, you should find an option for “Tethering & portable hotspot” or “Hotspot & tethering.” If you see these options, it means your device supports WiFi hotspot.
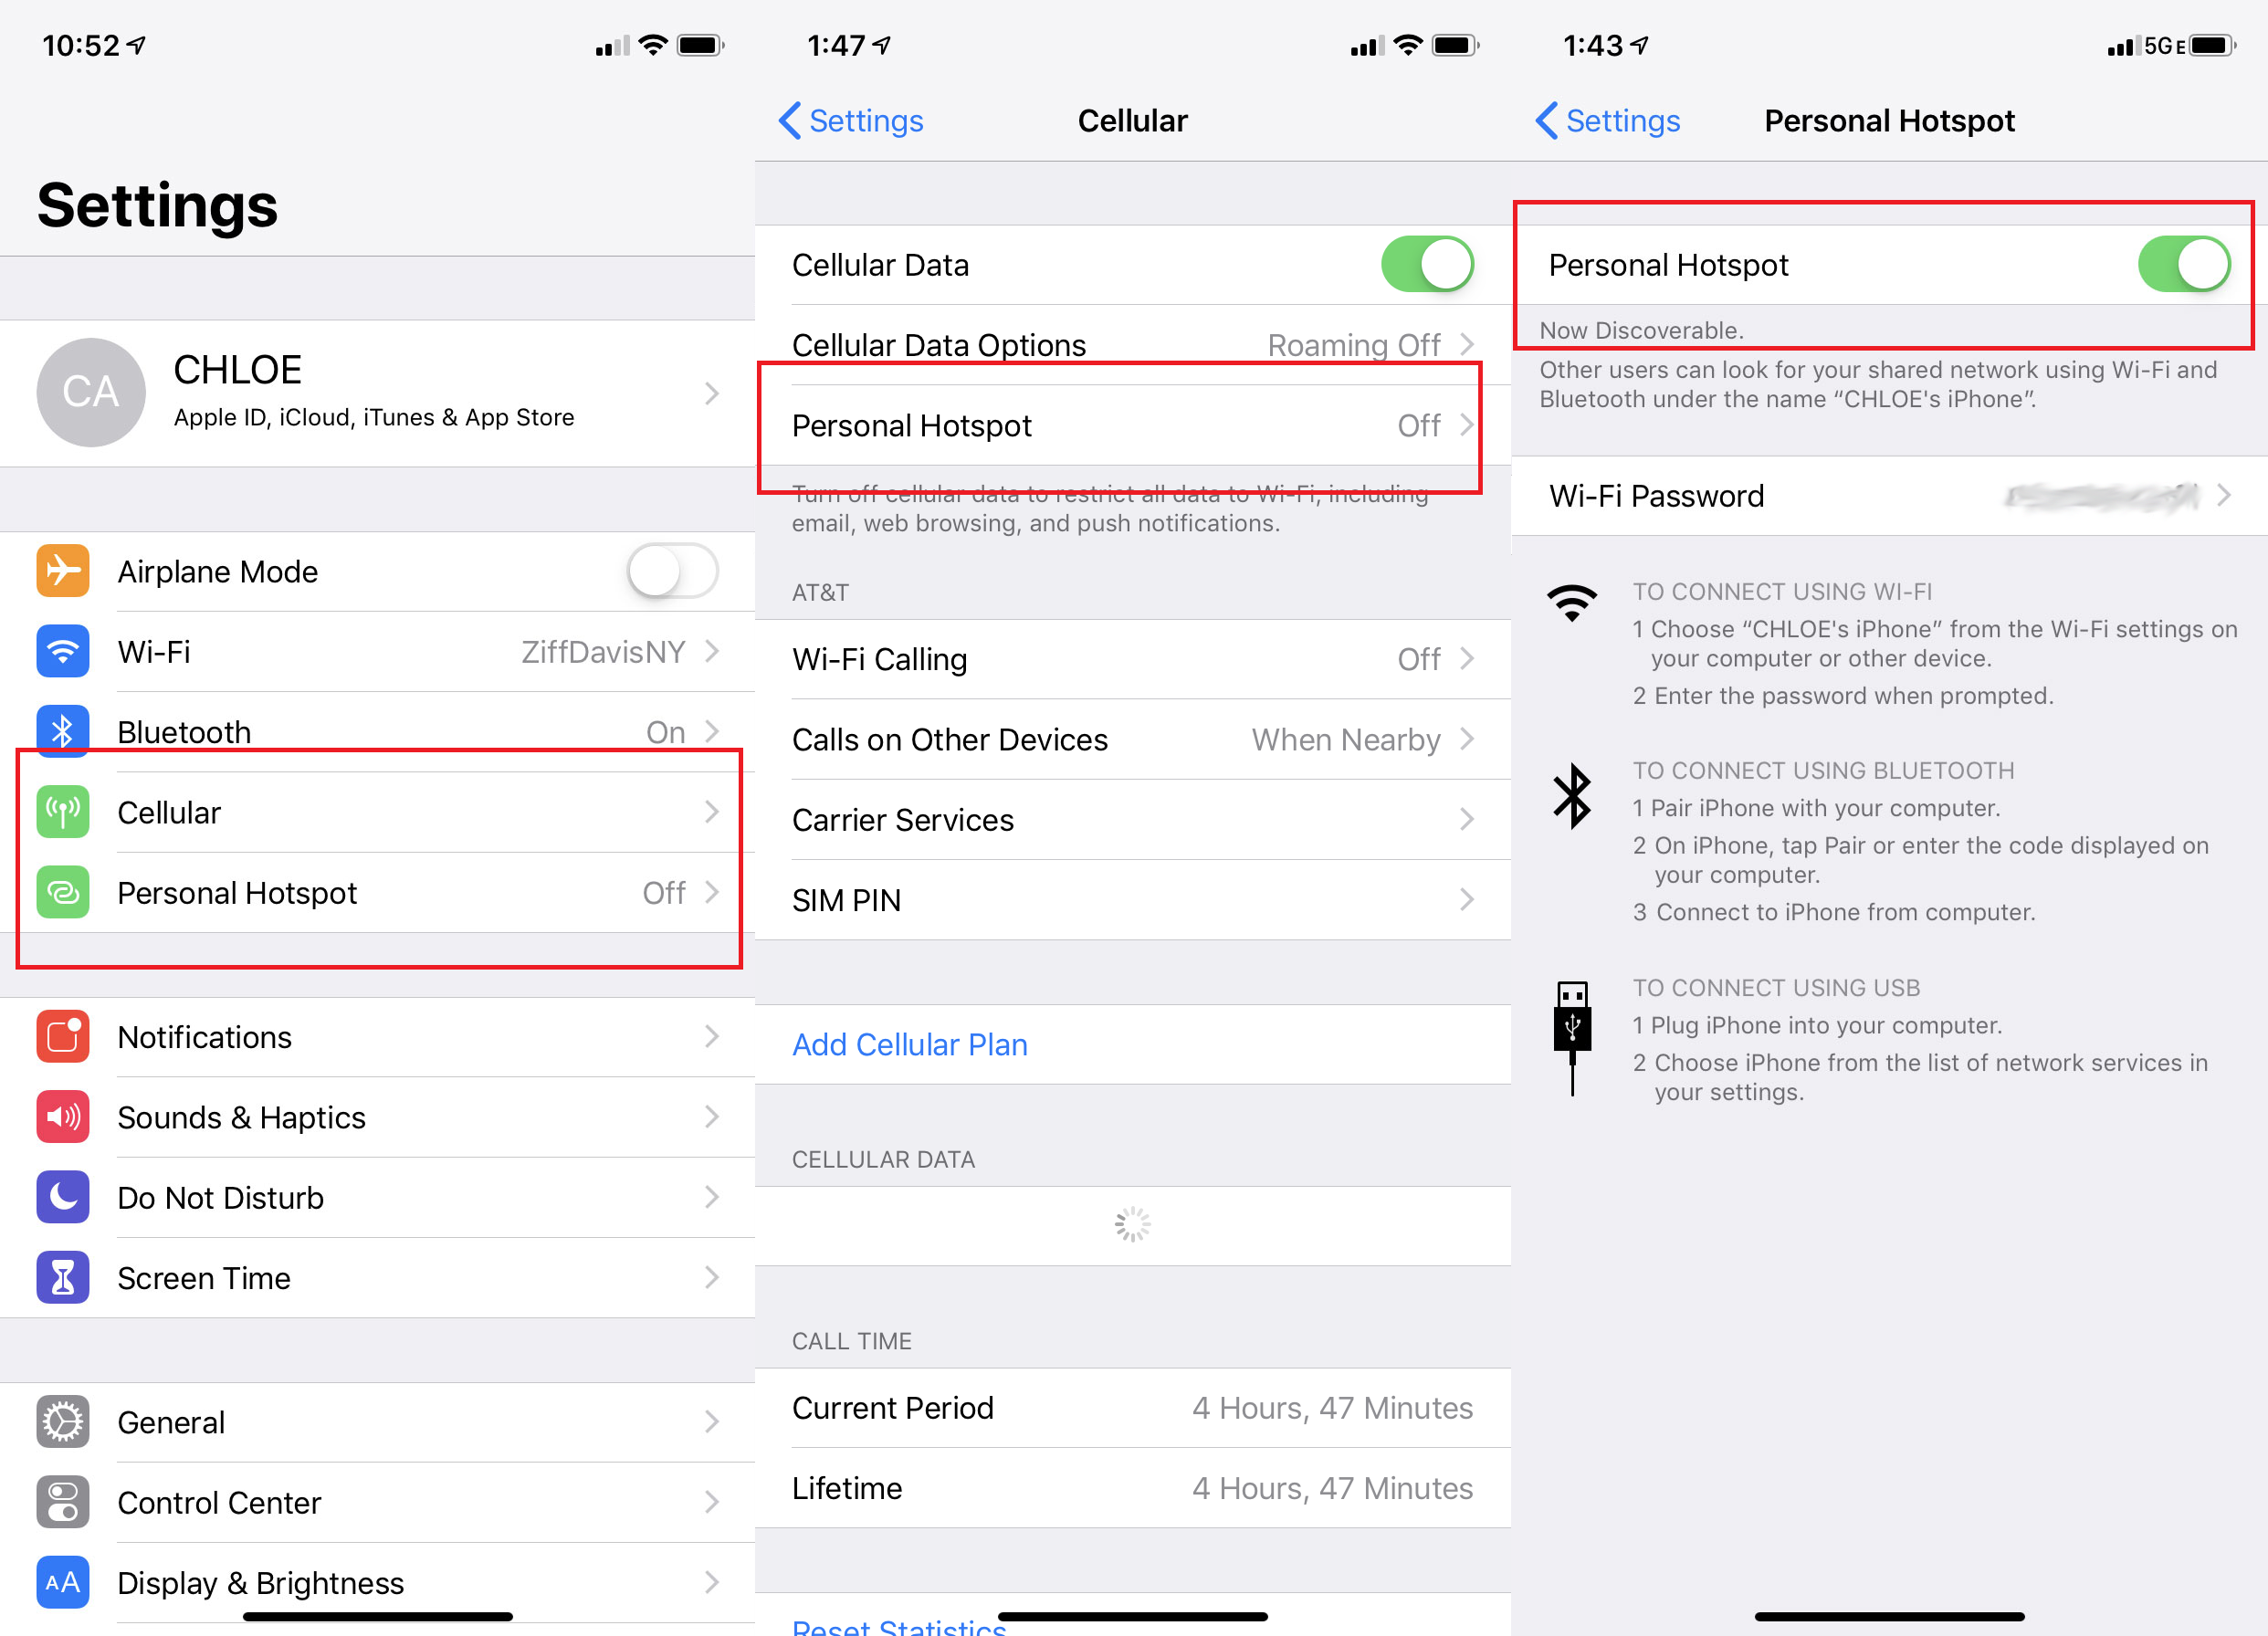
- For iOS devices: Go to the Settings app and look for the “Personal Hotspot” or “Internet Sharing” option. If you can find this option, it means your device supports WiFi hotspot.
- For Windows laptops: Click on the Start button and open the Settings app. Look for the “Network & Internet” section and click on it. Within this section, you should find an option for “Mobile hotspot” or “Mobile hotspot and tethering.” If you find these options, it means your device supports WiFi hotspot.
- For Mac laptops: Click on the Apple menu in the top-left corner of your screen and select “System Preferences.” Look for the “Sharing” icon and click on it. Within the Sharing preferences, you should find an option for “Internet Sharing.” If you can enable this option, it means your device supports WiFi hotspot.
If you’re unable to find any of the above options on your device, it’s possible that your device does not support WiFi hotspot. In such cases, you may need to explore alternative methods or consider using a different device that supports this feature.
Once you have confirmed that your device supports WiFi hotspot, you can proceed to the next step of enabling the WiFi hotspot feature on your device.
Step 2: Enable WiFi hotspot on your device
Once you have confirmed that your device supports WiFi hotspot functionality, you can proceed with enabling the feature. The process may vary slightly depending on the operating system of your device. Follow the instructions below based on the device you are using:
For Android devices:
- Open the Settings app on your Android device.
- Select the “Wireless & Networks” or “Connections” option.
- Look for the “Tethering & portable hotspot” or “Hotspot & tethering” option.
- Tap on “Portable Wi-Fi hotspot” or a similar option to enable it.
For iOS devices (iPhone or iPad):
- Go to the Settings app on your iOS device.
- Select the “Personal Hotspot” or “Internet Sharing” option.
- Toggle the switch to enable the Personal Hotspot feature.
For Windows laptops:
- Click on the Start button and open the Settings app.
- Select the “Network & Internet” option.
- Choose the “Mobile hotspot” or “Mobile hotspot and tethering” option.
- Toggle the switch to turn on the Mobile hotspot feature.
For Mac laptops:
- Click on the Apple menu in the top-left corner and select “System Preferences.”
- Click on the “Sharing” icon.
- Select the “Internet Sharing” option.
- Choose “Wi-Fi” from the “Share your connection from” dropdown menu.
- Enable the checkbox next to “Wi-Fi” to enable Internet Sharing.
After enabling the WiFi hotspot on your device, you may have the option to personalize the settings based on your preferences. These settings may include changing the hotspot name, setting up a password, or selecting the type of connection (e.g., 2.4GHz or 5GHz). Make the desired changes, if available, to customize your WiFi hotspot.
Once you have enabled and personalized the WiFi hotspot settings, you’re ready to move on to the next step of configuring the WiFi hotspot.
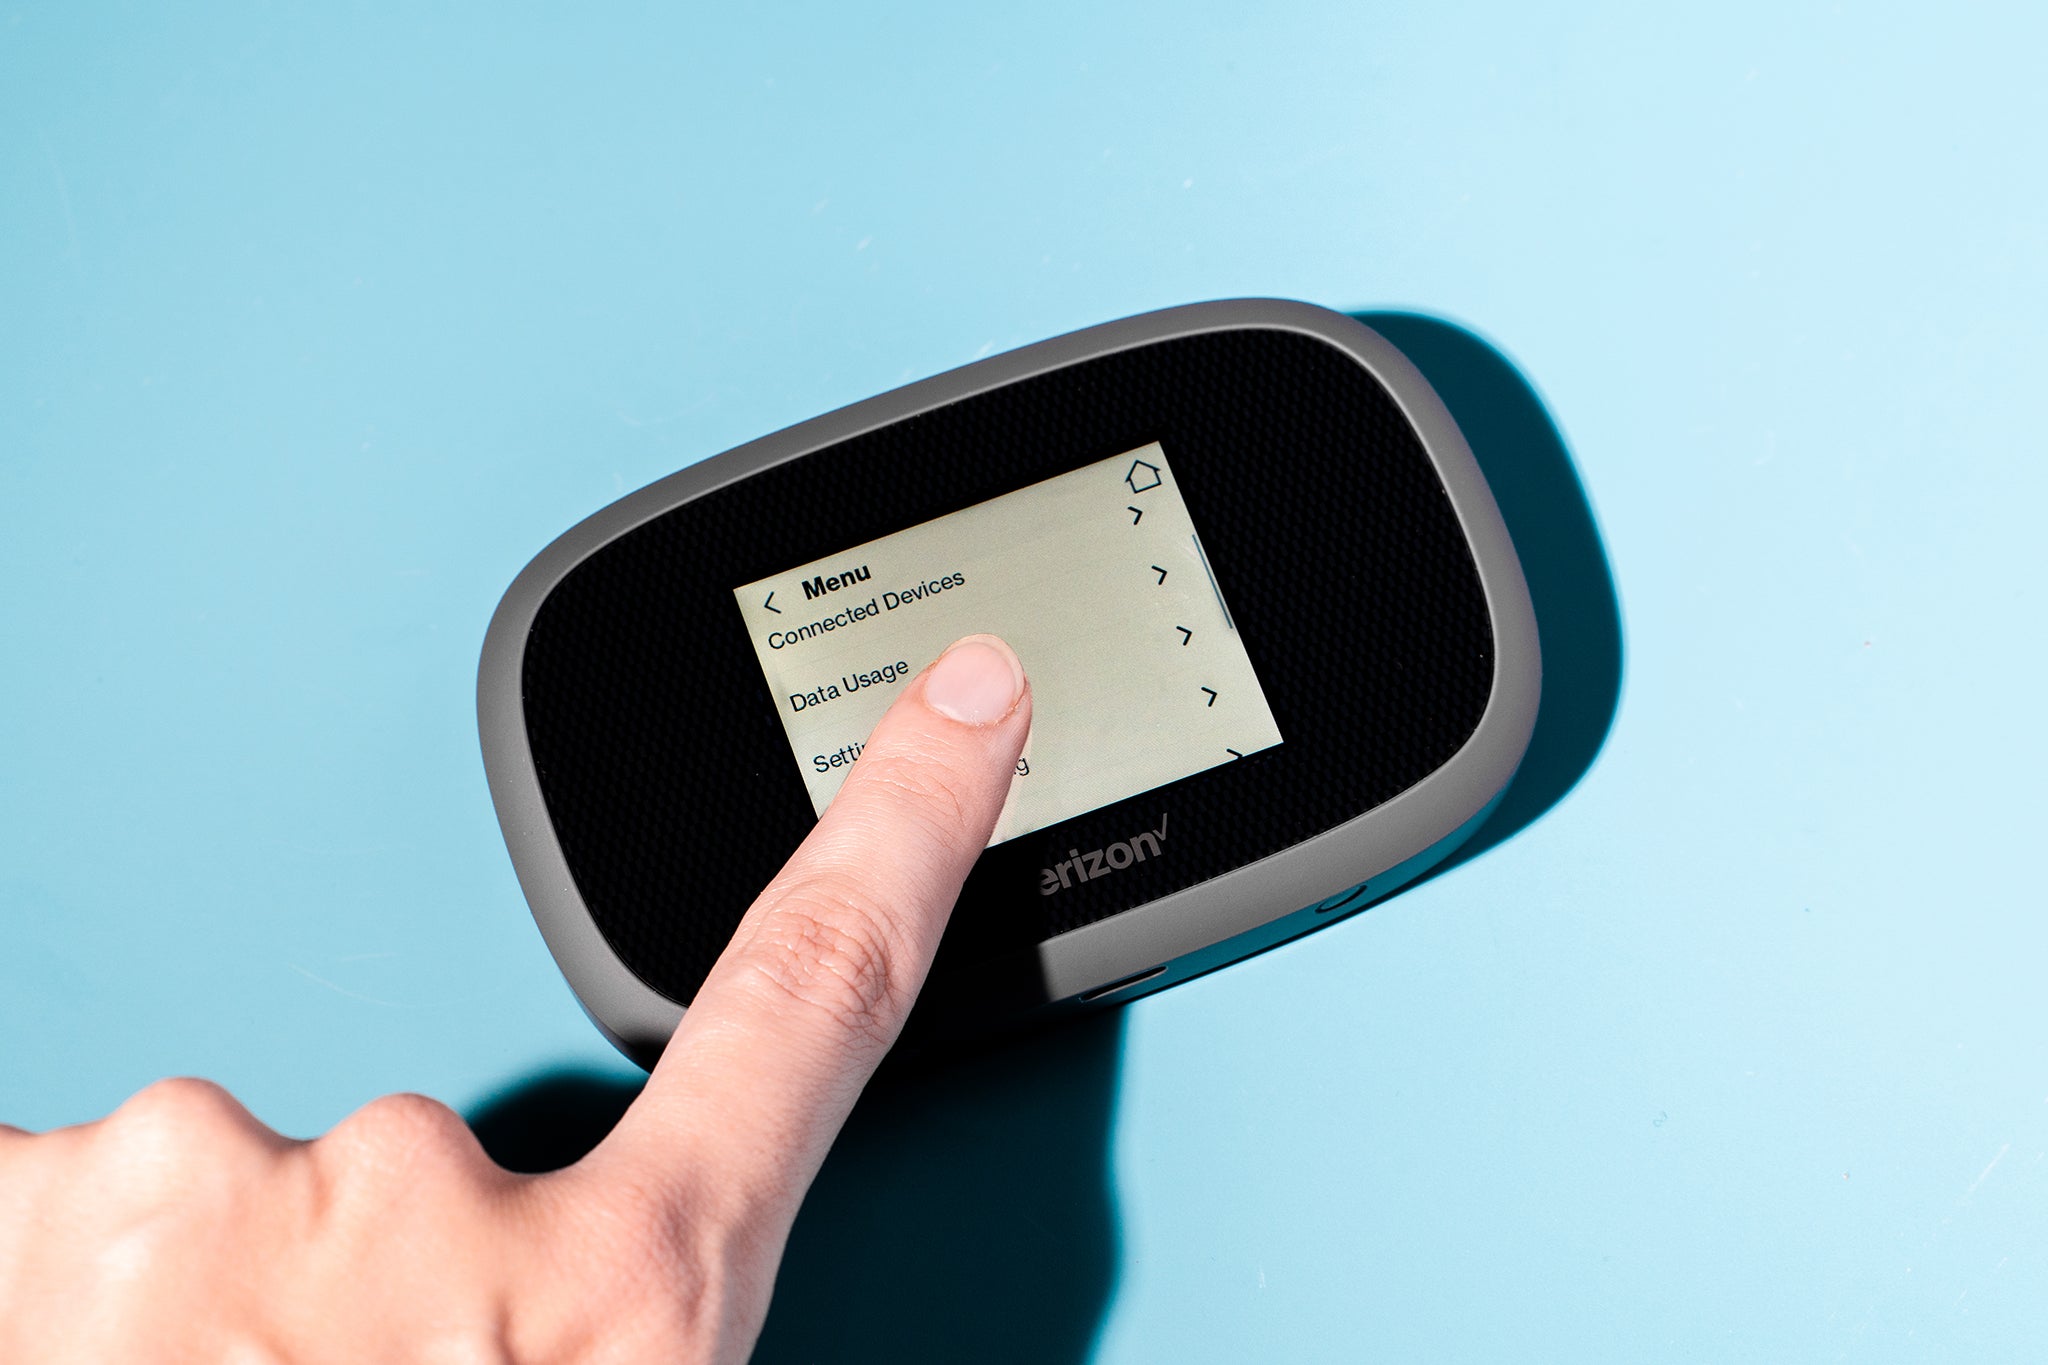
Step 3: Configure WiFi hotspot settings
Now that you have enabled the WiFi hotspot on your device, it’s time to configure the settings to ensure a secure and reliable connection. The configuration options may vary depending on the operating system of your device. Follow the instructions below based on the device you are using:
For Android devices:
- Open the Settings app on your Android device.
- Select the “Wireless & Networks” or “Connections” option.
- Tap on the “Tethering & portable hotspot” or “Hotspot & tethering” option.
- Tap on “Portable Wi-Fi hotspot” or a similar option to access the hotspot settings.
- Here, you can change the Network SSID (name), security settings, and password. It is recommended to choose a strong password to protect your hotspot.
For iOS devices (iPhone or iPad):
- Go to the Settings app on your iOS device.
- Select the “Personal Hotspot” or “Internet Sharing” option.
- Here, you can change the Wi-Fi password by tapping on “Wi-Fi Password” and entering a new password. It’s advisable to use a strong, secure password.
- You can also enable or disable the “Allow Others to Join” option to control who can connect to your WiFi hotspot.
For Windows laptops:
- Click on the Start button and open the Settings app.
- Select the “Network & Internet” option.
- Choose the “Mobile hotspot” or “Mobile hotspot and tethering” option.
- Click on “Edit” to change the Network name (SSID) and password.
- Once you’ve made the desired changes, click on “Save” to apply the settings.
For Mac laptops:
- Click on the Apple menu in the top-left corner and select “System Preferences.”
- Click on the “Sharing” icon.
- Select the “Internet Sharing” option.
- Click on the “Wi-Fi Options” button to configure the network name (SSID), channel, and password.
- Click on “OK” to save the changes and close the window.
After configuring the WiFi hotspot settings, your hotspot is now ready to be used. Remember to keep your hotspot secure by using a strong password and regularly checking the connected devices to ensure they are authorized.
With the WiFi hotspot fully configured, the next step is to connect devices to your hotspot and begin enjoying internet access on multiple devices simultaneously.
Step 4: Connect devices to your WiFi hotspot
Now that you have successfully created and configured your WiFi hotspot, it’s time to connect other devices to it and enjoy internet access. The process of connecting devices may vary slightly depending on the operating system and device you are using. Follow the instructions below based on the type of device you want to connect:
For smartphones and tablets:
- Open the Wi-Fi settings on your device.
- Scan for available networks and look for your WiFi hotspot’s network name (SSID).
- Select your WiFi hotspot from the list of available networks.
- Enter the password you set up for your WiFi hotspot.
- Once the correct password is entered, your smartphone or tablet will connect to the WiFi hotspot and gain internet access.
For laptops and computers:
- Open the Wi-Fi settings on your laptop or computer.
- Scan for available networks and look for your WiFi hotspot’s network name (SSID).
- Select your WiFi hotspot from the list of available networks.
- Enter the password you set up for your WiFi hotspot.
- After entering the correct password, your laptop or computer will connect to the WiFi hotspot and establish an internet connection.
Repeat these steps for each device you want to connect to your WiFi hotspot. Depending on the capabilities of your device and the number of connected devices, you may experience varying internet speeds or limitations in bandwidth.
It’s important to note that some devices may automatically connect to the WiFi hotspot once it’s in range, while others may require manual connection each time. Additionally, be mindful of the data consumption of your connected devices as it may affect your mobile data usage or internet speed.
With your devices successfully connected to the WiFi hotspot, you can now enjoy internet access across all connected devices simultaneously.
Should you encounter any issues or difficulties while connecting devices to your WiFi hotspot, refer to the troubleshooting section in the next step for possible solutions.
Step 5: Troubleshooting common WiFi hotspot issues
While setting up and using a WiFi hotspot is generally a straightforward process, you may encounter some common issues along the way. Here are a few troubleshooting tips to help you resolve common WiFi hotspot problems:
1. No Internet Connection: If connected devices are unable to access the internet through your WiFi hotspot, check that your device’s mobile data or wired internet connection is active and working properly. Additionally, ensure that your device’s internet settings allow for sharing the connection.
2. Weak Signal: If the signal strength of your WiFi hotspot is weak, try moving closer to your device or adjusting the positioning of your device. Obstructions such as physical barriers or interference from other electronic devices can impact signal strength.
3. Password Issues: If devices are unable to connect to your WiFi hotspot and are repeatedly asking for the password, ensure that you are entering the correct password. Double-check for any typos or errors. If necessary, change the password on your device and update the connected devices accordingly.
4. Incompatible Devices: Some devices may not support certain security protocols or frequencies used by your WiFi hotspot. In such cases, try changing the security settings or broadcasting the network on a different frequency (2.4GHz or 5GHz) to accommodate the incompatible devices.
5. Overheating: Continuous use of a WiFi hotspot can cause your device to overheat, leading to performance issues or even automatic shutdown. To prevent overheating, place your device in a well-ventilated area and avoid covering it with objects that may trap heat.
6. Limited Range: WiFi signals have a certain range limitation. If you are unable to connect to your WiFi hotspot from a distance or in certain areas, check if there are obstructions or interference sources nearby. Consider relocating your device or moving closer to improve the signal range.
If the troubleshooting tips mentioned above do not resolve the issue, you may need to seek further assistance. Contact your device manufacturer’s support team or refer to the user manual for specific troubleshooting steps related to your device.
By following these troubleshooting tips, you can quickly resolve common WiFi hotspot issues and ensure a smooth and reliable internet connection for all devices connected to your hotspot.
Conclusion
Creating a WiFi hotspot on your device can be a convenient way to share your internet connection with other devices and enjoy internet access on the go. By following the steps outlined in this guide, you can easily enable and configure a WiFi hotspot on your smartphone, tablet, or laptop.
We started by checking if your device supports WiFi hotspot functionality. Confirming device compatibility is essential before proceeding with the setup process. Next, we discussed how to enable the WiFi hotspot feature on different devices and personalize the settings according to your preferences.
Once the WiFi hotspot was enabled, we covered the process of connecting devices to the hotspot. By entering the correct password and following the appropriate steps for smartphones, tablets, laptops, or computers, you can establish a secure and reliable connection.
Lastly, we addressed common issues that may arise when using a WiFi hotspot and provided troubleshooting tips to help you overcome these challenges. From resolving internet connectivity problems to fixing weak signals and password issues, these troubleshooting tips can assist you in maintaining a smooth WiFi hotspot experience.
Remember to always prioritize security by using strong passwords for your WiFi hotspot, regularly monitoring connected devices, and adjusting security settings if necessary. Additionally, keep in mind that the range and performance of your WiFi hotspot can be affected by various factors, such as physical obstructions, nearby interference, and the capabilities of connected devices.
Now that you have a solid understanding of how to create and manage a WiFi hotspot, you can confidently stay connected wherever you go. Whether it’s for work, travel, or simply providing internet access to multiple devices, utilizing a WiFi hotspot can make your online experience more accessible and efficient.
So go ahead and transform your device into a portable WiFi hub, connecting yourself and others to the world of seamless internet connectivity.