Introduction
The Central Processing Unit (CPU) is the brain of your Mac, responsible for executing commands and performing calculations. Monitoring CPU usage can help you identify any performance issues, such as high system load or resource-intensive applications that may be slowing down your Mac. By keeping an eye on CPU usage, you can optimize your Mac’s performance and ensure smooth operation.
There are several methods to check Mac CPU usage, ranging from built-in utilities to third-party applications. In this article, we will explore these different methods and guide you through the steps to monitor and troubleshoot CPU usage effectively.
In the following sections, we will discuss how to check CPU usage using the Activity Monitor, Terminal commands, and third-party applications. Additionally, we will provide tips on troubleshooting high CPU usage to help you resolve any performance issues that may arise.
Before jumping into the various methods, it’s important to note that CPU usage is typically presented as a percentage, indicating how much of the CPU’s processing power is being utilized at a given time. A higher percentage indicates a greater workload on the CPU, which can impact system performance.
Understanding how to check CPU usage is especially useful for Mac users involved in resource-intensive tasks, such as video editing, gaming, or running virtual machines. By effectively monitoring CPU usage, you can ensure that your Mac is operating within its capacity and take necessary actions to optimize performance.
Checking CPU Usage using Activity Monitor
Activity Monitor is a built-in utility on Mac that provides a detailed view of the processes and system resources, including CPU usage. It allows you to monitor real-time CPU usage, identify resource-hungry applications, and efficiently manage system performance. Here’s how you can check CPU usage using Activity Monitor:
- Open Activity Monitor. You can find it in the Applications folder, or use Spotlight to search for it.
- In the Activity Monitor window, click on the “CPU” tab.
- You will now see a list of processes and their corresponding CPU usage percentages. The processes are sorted by the amount of CPU resources they are using, with the most resource-intensive process appearing at the top.
- To identify the processes using the most CPU resources, look for those with high CPU percentage values. If an application is using a significant amount of CPU, it may be causing a slowdown in your Mac’s performance.
- Click on the “% CPU” column to sort the processes in descending order of CPU usage. This will help you quickly identify the most resource-intensive processes.
- If you notice a process using an unusually high amount of CPU resources, you can select it and click on the “X” button at the top-left corner of the Activity Monitor window to force quit the process.
Checking CPU usage using Activity Monitor is a straightforward way to get an overview of the processes and applications that are consuming the most CPU resources on your Mac. By keeping an eye on CPU usage and identifying resource-intensive processes, you can optimize your Mac’s performance and make informed decisions on which applications to prioritize or quit.
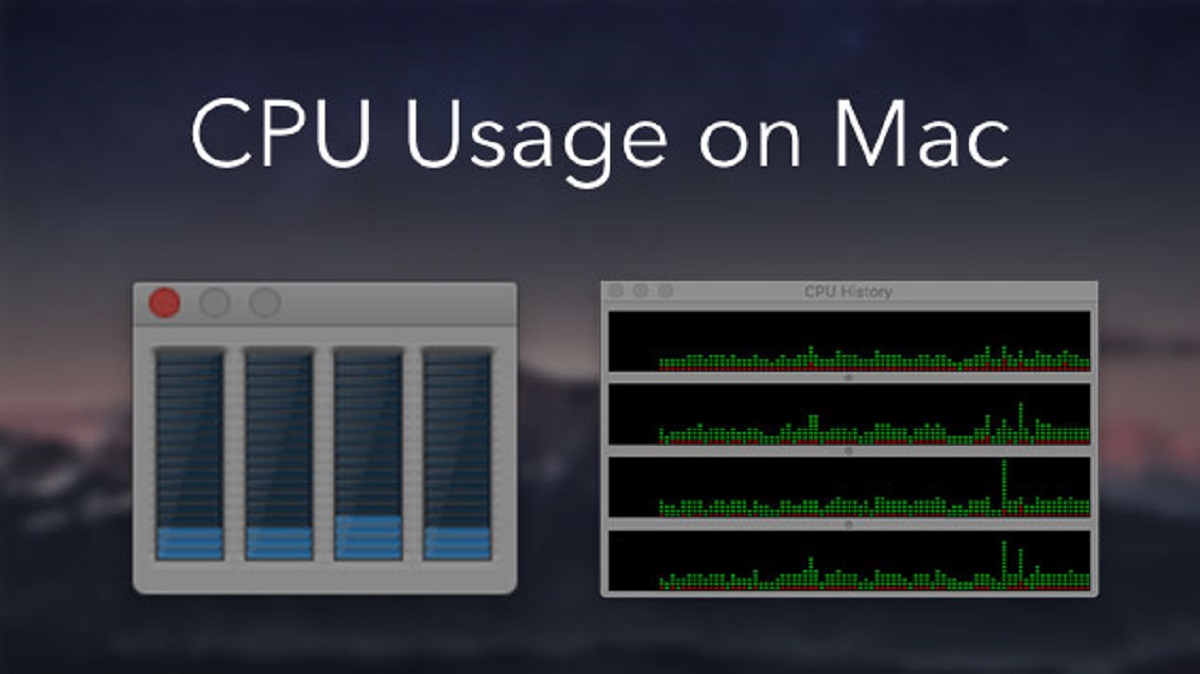
Furthermore, Activity Monitor also provides additional information, such as CPU history graphs, which allow you to track CPU usage over time. This can be useful in identifying patterns or trends in CPU usage and assessing the impact of changes or optimizations you make to your system.
Checking CPU Usage using Terminal Commands
If you prefer using the command line interface, you can check CPU usage on your Mac using Terminal commands. Terminal provides a more detailed and customizable view of system resources, including CPU usage. Here’s how you can check CPU usage using Terminal commands:
- Launch Terminal. You can find it in the Utilities folder within the Applications folder, or use Spotlight to search for it.
- Type the following command and press Enter:
top -o cpu - You will now see a live view of the running processes with CPU usage listed in percentage values. The process consuming the most CPU resources will be displayed at the top.
- By default, Terminal updates the CPU usage display every few seconds. You can adjust the refresh rate by adding a number after the “top” command, such as
top -o cpu -s 5to refresh every 5 seconds. - To exit the Terminal command, press
Control + C.
Using Terminal commands provides a more in-depth view of CPU usage on your Mac, allowing you to obtain real-time information about running processes. It can be particularly useful if you want to automate CPU monitoring or if you prefer a text-based interface.
Terminal commands also offer further options for customizing the CPU usage display. For example, you can toggle the display of specific CPU cores, sort processes by various criteria, and filter processes based on specific conditions. Exploring the available options and flags can provide you with a tailored monitoring experience that suits your needs.
While checking CPU usage using Terminal commands provides advanced control and customization, it may be more suitable for users with familiarity and comfort in using the command line interface. If you prefer a graphical representation or a more user-friendly experience, there are third-party applications available that simplify CPU monitoring on your Mac.
Checking CPU Usage using Third-Party Applications
In addition to the built-in utilities, there are several third-party applications available that offer more advanced features and a user-friendly interface for monitoring CPU usage on your Mac. These applications provide comprehensive insights into CPU performance, including real-time monitoring, historical data, and additional system resource monitoring. Here are a few popular third-party applications for checking CPU usage:
- iStat Menus: iStat Menus is a powerful system monitoring tool that provides extensive information about your Mac’s performance, including CPU usage. It displays CPU usage in the menu bar, allowing you to keep an eye on it at all times. iStat Menus also offers customizable graphs, notifications, and other system monitoring features.
- Activity Monitor: Activity Monitor is a versatile tool for monitoring various aspects of your Mac’s performance, including CPU usage. It provides detailed information and graphs for CPU usage, memory usage, disk activity, and more. Activity Monitor offers a user-friendly interface with customizable views and sorting options.
- MenuMeters: MenuMeters is a lightweight utility that adds CPU, memory, disk, and network usage meters to your Mac’s menu bar. It provides a simple and unobtrusive way to monitor CPU usage and other system resources. MenuMeters is highly customizable, allowing you to choose which meters to display and configure their appearance.
These are just a few examples of the many third-party applications available for checking CPU usage on your Mac. Each application offers its own set of features and interface, so you can choose the one that best suits your preferences and monitoring needs.
By using third-party applications, you can gain more control and insights into CPU usage, monitor additional system resources, and customize the display to your liking. These applications often provide more advanced monitoring options, such as historical data, notifications, and the ability to track CPU usage over time.
However, it’s important to note that third-party applications may come with a cost or offer a limited free version with optional upgrades. Before installing any third-party application, make sure to research and read reviews to ensure it suits your requirements and is compatible with your Mac’s operating system version.
Troubleshooting High CPU Usage
Experiencing high CPU usage can significantly impact your Mac’s performance and productivity. If you notice that your CPU usage is consistently high or spikes frequently, there are several troubleshooting steps you can take to identify and resolve the issue. Here are some tips for troubleshooting high CPU usage on your Mac:
- Identify resource-intensive applications: Use Activity Monitor or third-party applications to identify applications or processes that are consuming a significant amount of CPU resources. Once identified, you can close or quit these applications to reduce CPU load.
- Check for background processes: Some applications may continue running in the background even if they are not actively being used. Check for unnecessary background processes and disable or remove them to free up CPU resources.
- Update software: Ensure that your Mac’s operating system and applications are up to date. Software updates often include bug fixes and performance improvements that can help reduce CPU usage.
- Scan for malware: Malware or viruses can cause high CPU usage as they run in the background. Regularly scan your Mac with reputable antivirus software to detect and remove any malware that may be impacting performance.
- Manage startup items: Some applications may launch at startup and consume CPU resources continuously. Review your startup items and disable any unnecessary applications to reduce CPU usage.
- Close unnecessary processes: Make sure to close any unnecessary processes or tabs in web browsers, as they can consume significant CPU resources even when idle.
- Monitor CPU temperature: High CPU temperature can lead to increased fan speed, which in turn can impact CPU performance. Use temperature monitoring utilities to ensure that your Mac is operating within safe temperature ranges.
- Upgrade hardware: If your Mac consistently experiences high CPU usage due to resource-intensive tasks, such as video editing or gaming, consider upgrading hardware components like RAM or SSD to improve overall system performance.
By following these troubleshooting steps, you can effectively manage and reduce high CPU usage on your Mac, ensuring smoother performance and improved productivity.
If you continue to experience high CPU usage on your Mac despite these troubleshooting efforts, it may be helpful to seek guidance from Apple support or consult with a professional technician to further investigate and resolve the issue.
Conclusion
Monitoring CPU usage on your Mac is crucial for maintaining optimal performance and identifying potential issues that can impact your system’s speed and responsiveness. Whether you prefer using built-in utilities like Activity Monitor and Terminal commands or opt for third-party applications, there are various methods available to check CPU usage and gain insights into resource-intensive processes.
Activity Monitor offers a user-friendly interface and allows you to view real-time CPU usage, identify resource-hungry applications, and force quit processes if needed. Terminal commands provide a more detailed and customizable view of CPU usage, suitable for advanced users comfortable with the command line interface. And third-party applications offer additional features, customization options, and historical data to help you monitor and manage CPU usage effectively.
In addition to monitoring CPU usage, troubleshooting high CPU usage is vital for resolving performance issues. Identifying resource-intensive applications, managing startup items, updating software, and scanning for malware are a few steps that can help optimize CPU usage. If necessary, upgrading hardware components like RAM or SSD can further enhance your Mac’s performance.
By regularly monitoring CPU usage and taking appropriate troubleshooting measures, you can ensure that your Mac operates smoothly and efficiently, delivering optimal performance for your daily tasks and resource-intensive activities.
Remember, your Mac’s CPU is a vital component of its performance, and keeping it in check will contribute to a better overall computing experience. Whether you rely on built-in utilities or install third-party applications, finding the method that works best for you will empower you to optimize CPU usage and maximize the capabilities of your Mac.