Introduction
Knowing what CPU (Central Processing Unit) you have is important for various reasons, whether you are a casual computer user or a tech enthusiast. The CPU determines the performance and capabilities of your computer, so understanding its specifications can help you make informed decisions about upgrades, software compatibility, and troubleshooting.
Fortunately, checking the CPU on your computer is a relatively easy process. Each operating system, whether it’s Windows, Mac, or Linux, provides several methods to access this information. In this article, we will guide you through the steps to identify the CPU on your system, regardless of the platform you use.
By knowing your CPU model, you can determine important details such as the number of cores, clock speed, cache size, and architecture. This information is invaluable when it comes to optimizing performance, identifying compatibility requirements for software or games, and troubleshooting hardware-related issues.
The process of checking your CPU may also come in handy if you are planning to submit a support ticket to a software vendor or reach out to technical support for assistance. Furthermore, it can aid in determining whether your system meets the minimum requirements for certain software installations or upgrades.
Understanding your CPU specifications also plays a role in tasks such as video editing, gaming, and running resource-intensive applications. By identifying the capabilities and limitations of your CPU, you can make informed decisions about how to allocate system resources and optimize performance.
In the following sections, we will explore the methods to check your CPU on different operating systems, including Windows, Mac, and Linux. We will also provide guidance on accessing CPU information through command prompt/terminal and system tools like Task Manager, System Information, and System Profiler. By the end of this article, you will have a comprehensive understanding of how to identify the CPU on your computer, regardless of the operating system you use.
Checking the CPU on Windows
Windows provides several methods to check the CPU on your computer. Here are a few simple ways to access this information:
Method 1: Using Command Prompt
One way to check your CPU on Windows is by using the Command Prompt. Here’s how:
- Press the Windows key + R to open the Run dialog box.
- Type “cmd” and press Enter to open the Command Prompt.
- In the Command Prompt window, type “wmic cpu get name” (without quotes) and press Enter.
- Wait for a few moments, and you will see the name of your CPU displayed.
Method 2: Using System Information
Another method is to use the built-in System Information tool. Here’s what you need to do:
- Press the Windows key + R to open the Run dialog box.
- Type “msinfo32” and press Enter to open the System Information window.
- In the System Information window, under the System Summary section, you will find the Processor information, which includes the name of your CPU.
Method 3: Using Task Manager
If you prefer a more visual approach, you can use the Task Manager to check your CPU information. Follow these steps:
- Press Ctrl + Shift + Esc to open the Task Manager.
- In the Task Manager window, click on the “Performance” tab.
- Under the “CPU” section, you will find details about your CPU, such as the name, current utilization, and speed.
No matter which method you choose, you will be able to identify your CPU model and other relevant details. This information can be useful for troubleshooting, upgrading hardware, or determining software compatibility. Make note of the CPU specifications for future reference.
Now that you know how to check the CPU on Windows, let’s move on to the next section, where we will explore how to check the CPU on a Mac computer.
Checking the CPU on Mac
Mac provides several methods to check the CPU on your computer. Regardless of which version of macOS you are using, here are a few ways to access this information:
Method 1: Using System Profiler
One way to check your CPU on a Mac is by using the built-in System Profiler. Here’s how:
- Click on the Apple menu in the top-left corner of the screen and select “About This Mac”.
- In the window that appears, click on the “System Report” button.
- In the System Information window, under the Hardware section, click on “Processor” to see detailed information about your CPU, including the model, speed, and number of cores.
Method 2: Using Terminal
If you prefer a command-line approach, you can also use Terminal to check your CPU information on a Mac. Here’s what you need to do:
- Open the Terminal application. You can find it in the Utilities folder within the Applications folder.
- In the Terminal window, type “sysctl -n machdep.cpu.brand_string” (without quotes) and press Enter.
- You will see the name of your CPU displayed in the Terminal window.
Method 3: Using “About This Mac” Window
Another simple method is to use the “About This Mac” window. Here’s how:
- Click on the Apple menu in the top-left corner of the screen and select “About This Mac”.
- In the window that appears, click on the “Overview” tab.
- The name of your CPU will be displayed under the “Processor” section.
By using any of these methods, you will be able to identify your CPU model, clock speed, number of cores, and other relevant information. It can be helpful for troubleshooting, software compatibility, or making informed decisions about hardware upgrades.
Now that you know how to check the CPU on a Mac, let’s move on to the next section, where we will explore how to check the CPU on a Linux system.
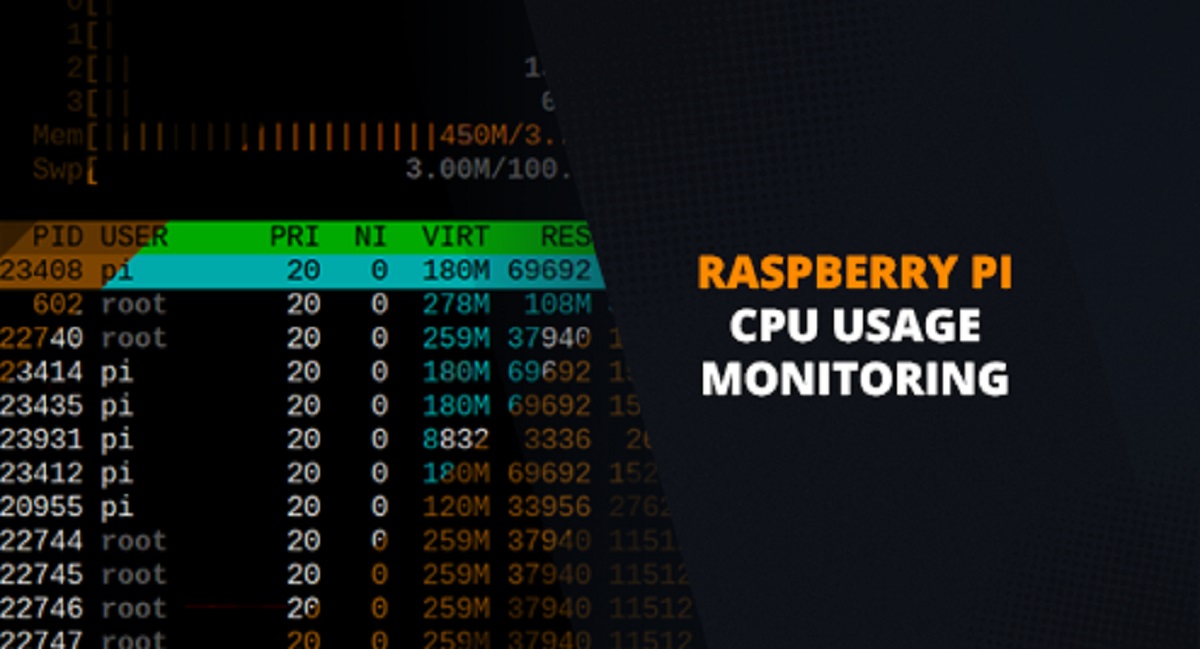
Checking the CPU on Linux
Linux offers various methods to check the CPU on your computer. Whether you are running Ubuntu, Fedora, or any other Linux distribution, here are a few ways to access this information:
Method 1: Using Command Line
One of the most commonly used methods to check the CPU on Linux is through the command line. Here’s how:
- Open the terminal application from the system menu or by pressing Ctrl + Alt + T.
- In the terminal, type “lscpu” and press Enter.
- A detailed output will be displayed, including information about the CPU architecture, model, clock speed, number of cores, and other relevant details.
Method 2: Using System Monitor
If you prefer a graphical interface, you can use the System Monitor application to check your CPU information on Linux. Follow these steps:
- Open the System Monitor application. You can usually find it in the system menu under the “Utilities” or “System” category.
- In the System Monitor window, click on the “Resources” tab.
- Under the “CPU” section, you will find details about your CPU, including the model, current utilization, and clock speed.
Method 3: Using CPU-Z
Another option is to use the CPU-Z tool, which is available for Linux as well. Here’s how you can use it:
- Install CPU-Z through the package manager of your Linux distribution. The package name may vary, so refer to the documentation specific to your distribution.
- Once installed, open CPU-Z from the applications menu.
- CPU-Z will provide a detailed overview of your CPU, including its model, architecture, clock speed, cache size, and more.
By using any of these methods, you can easily retrieve information about your CPU on a Linux system. Understanding your CPU specifications can be valuable for troubleshooting, optimizing performance, or ensuring software compatibility.
In the next section, we will explore how to check CPU specifications to gain a deeper understanding of your processor’s capabilities.
Using Command Prompt/ Terminal
Regardless of the operating system you are using, the Command Prompt (Windows) or Terminal (Mac and Linux) provides a powerful tool to check CPU information. Here’s how you can use these command-line interfaces to retrieve CPU details:
Windows:
1. Press the Windows key + R to open the Run dialog box.
2. Type “cmd” and press Enter to open the Command Prompt.
3. In the Command Prompt window, you can use various commands to access CPU information. For example:
- To get the CPU name, type “wmic cpu get name” and press Enter.
- To retrieve detailed CPU information, including architecture, clock speed, and number of cores, type “wmic cpu get /format: list” and press Enter.
Mac and Linux:
1. Open the Terminal application.
2. In the Terminal window, you can use commands specific to each OS to check CPU information. For example:
- To view CPU details on macOS, type “sysctl -n machdep.cpu.brand_string” and press Enter.
- To display CPU information on Linux, type “lscpu” and press Enter.
By using these command-line interfaces, you can obtain essential CPU information quickly and efficiently. The output will include details such as the CPU model, architecture, clock speed, cache size, and more, depending on the command used.
Using the Command Prompt or Terminal is particularly useful when you need to access CPU information remotely, automate tasks through scripts, or perform advanced troubleshooting. The command-line interface provides a flexible and powerful way to interact with your system’s CPU.
Now that you know how to use the Command Prompt or Terminal to get CPU information, let’s move on to exploring other built-in system tools that can help you retrieve CPU details.
Using System Information
The System Information tool, available on both Windows and Mac operating systems, provides a comprehensive overview of hardware components, including the CPU. Here’s how you can use this tool to check CPU information:
Windows:
1. Press the Windows key + R to open the Run dialog box.
2. Type “msinfo32” and press Enter to open the System Information window.
3. In the System Information window, navigate to the “System Summary” section on the left-hand side.
4. Under the System Summary, you will find information about your CPU, including the name, manufacturer, clock speed, and more.
Mac:
1. Click on the Apple menu in the top-left corner of the screen and select “About This Mac”.
2. In the window that appears, click on the “System Report” button.
3. In the System Information window, navigate to the “Hardware” section on the left-hand side.
4. Click on “Processor” to see detailed information about your CPU, including the model, speed, number of cores, and more.
The System Information tool provides a user-friendly interface to access extensive hardware information, making it a convenient option for checking CPU details. It offers a centralized location to retrieve precise information about the CPU model, clock speed, cache size, and other relevant specifications.
Whether you need to verify hardware compatibility, troubleshoot performance issues, or gather information for software and driver updates, using the System Information tool can save time and provide a comprehensive overview of your system’s CPU.
Now that you know how to use the System Information tool to check CPU information, let’s move on to other methods that allow you to retrieve CPU details through system-specific tools.
Using Task Manager
Task Manager is a built-in system utility available on Windows operating systems that provides real-time information about running processes, performance, and hardware components, including the CPU. Here’s how you can use Task Manager to check CPU information:
Windows:
1. Press Ctrl + Shift + Esc simultaneously to open the Task Manager.
2. By default, the Task Manager opens in the “Processes” tab. Click on the “Performance” tab at the top of the window.
3. In the Performance tab, you will see several sections displayed. Look for the “CPU” section.
4. Under the CPU section, you will find real-time information about your CPU, including the usage percentage for each core, the overall CPU utilization, and the clock speed.
Task Manager provides a visual representation of CPU usage, making it easy to monitor performance, identify potential bottlenecks, and understand which processes are consuming the most CPU resources.
In addition to real-time CPU information, Task Manager also offers options such as setting affinity for applications, ending or suspending processes, and analyzing resource usage for improved system management.
While Task Manager is a powerful tool for checking CPU details on Windows, it does not provide as much detailed information about the CPU in comparison to other methods mentioned earlier. However, it is still a useful resource for quickly assessing CPU usage and monitoring performance.
Now that you know how to use Task Manager to check CPU information, let’s move on to exploring other methods specific to different operating systems.
Using System Profiler
System Profiler is a built-in utility available on Mac systems that provides detailed information about the hardware and software components of your computer, including the CPU. Here’s how you can use System Profiler to check CPU information:
Mac:
1. Click on the Apple menu in the top-left corner of the screen and select “About This Mac”.
2. In the window that appears, click on the “System Report” button.
3. In the System Information window, navigate to the “Hardware” section on the left-hand side.
4. Click on “Processor” to see detailed information about your CPU, including the model, speed, number of cores, and more.
System Profiler provides a user-friendly interface to access comprehensive information about your CPU. It offers specific details about the CPU model, clock speed, cache size, and other relevant specifications. This data can be helpful for troubleshooting, optimizing performance, and ensuring software compatibility.
In addition to CPU information, System Profiler also provides information about other hardware components, software versions, network configurations, and more. It serves as a comprehensive hub for gathering system details on Mac computers.
Using System Profiler allows you to access precise and accurate CPU details without the need for third-party tools or commands. It is a convenient option for understanding the capabilities and specifications of your CPU.
Now that you know how to use System Profiler to check CPU information, let’s move on to the next section, where we will explore how to check CPU specifications for a deeper understanding of your processor’s capabilities.
Checking CPU Specifications
Checking the CPU specifications allows you to gather detailed information about your processor’s capabilities and performance. Here are some key aspects to consider when checking CPU specifications:
1. CPU Model: The CPU model refers to the specific processor you have, such as Intel Core i7 or AMD Ryzen 5. Identifying the model helps you understand the general performance level and generation of your CPU.
2. Clock Speed: The clock speed represents how fast the CPU can process instructions. It is measured in gigahertz (GHz). Higher clock speeds generally result in better performance, especially in single-threaded tasks.
3. Core Count: The core count indicates the number of processing units within the CPU. For example, a quad-core CPU has four cores. More cores allow for better multitasking and improved performance in parallel tasks.
4. Cache: The cache is a small, high-speed memory located within the CPU. It helps the processor quickly access frequently used data. CPU specifications often include information about the cache size, which is typically measured in megabytes (MB).
5. Architecture: The CPU architecture refers to the design and technology used in the processor. Different architectures, such as x86 or ARM, have unique features and compatibility requirements. Understanding the architecture can be crucial when installing software or operating systems.
6. TDP: TDP (Thermal Design Power) indicates the maximum amount of heat generated by the CPU under normal operating conditions. It helps determine the cooling requirements for the system and can be a factor to consider when building or upgrading a computer.
By checking CPU specifications, you can assess the capabilities and limitations of your processor. This information is particularly useful when troubleshooting software compatibility issues, upgrading components, or optimizing performance for specific tasks.
Remember that CPU specifications alone do not determine overall system performance. Other factors, such as RAM, graphics card, and storage, also contribute to the overall computing experience. However, understanding your CPU specifications is a crucial step in successfully managing and utilizing your computer’s resources.
Now that you know how to check CPU specifications, you can make informed decisions regarding software compatibility, upgrade options, and system optimization.
Conclusion
Knowing how to check the CPU on your computer is essential for understanding its capabilities, troubleshooting issues, and ensuring software compatibility. Whether you’re using Windows, Mac, or Linux, there are various methods available to access CPU information.
In this article, we explored different ways to check the CPU on each operating system. For Windows users, options include using the Command Prompt or Terminal, System Information, and Task Manager. Mac users can utilize System Profiler, Terminal, or the “About This Mac” window to retrieve CPU details. Linux users have options like the command line or tools like System Monitor and CPU-Z.
By accessing CPU information, you can gather important details such as the CPU model, clock speed, core count, cache size, architecture, and more. This information enables you to make informed decisions about system upgrades, software compatibility, and performance optimizations.
Remember to use the appropriate method for your operating system and choose the one that best suits your needs. Whether you prefer command-line interfaces or graphical tools, there is a method available for you to access the CPU information on your computer.
Additionally, we discussed the significance of checking CPU specifications. Understanding factors such as clock speed, core count, cache size, architecture, and TDP allows you to gauge the capabilities and performance of your CPU accurately. This knowledge is valuable when troubleshooting, optimizing performance, or assessing software compatibility.
By familiarizing yourself with your CPU’s specifications, you will have a stronger understanding of your computer’s capabilities and be better equipped to tackle any challenges that may arise.
Now that you have learned how to check CPU information on your computer, make sure to utilize these methods whenever necessary. Knowing your CPU can contribute to a more efficient and enjoyable computing experience.