Introduction
Welcome to this tutorial on how to charge your DJI Controller. Whether you are a professional drone pilot or an enthusiast, it is essential to know how to properly charge your DJI Controller to ensure uninterrupted flights and smooth operation of your drone. The DJI Controller is the central hub for controlling the drone’s flight and camera functions, and without a fully charged controller, you may face limitations in flying time and performance.
Charging your DJI Controller is a straightforward process, but it is crucial to follow the correct steps to ensure safety and maximize battery life. In this guide, we will walk you through the necessary steps to charge your DJI Controller effectively, as well as provide some tips and precautions to keep in mind.
By properly charging your DJI Controller, you can enjoy extended flight times, reliable control, and stress-free drone operations. So, let’s dive into the details and learn how to charge your DJI Controller properly.
Why it’s important to charge your DJI Controller
Charging your DJI Controller is a crucial aspect of maintaining the functionality and performance of your drone. Here are a few reasons why it’s important to keep your DJI Controller adequately charged:
- Flight time: A fully charged DJI Controller ensures that you have maximum flight time. When the battery level of your controller is low, it can restrict the drone’s ability to fly and significantly decrease the duration of each flight. By regularly charging your controller, you can enjoy extended flight sessions without interruptions.
- Control and responsiveness: The DJI Controller is responsible for sending commands to your drone and receiving flight data. If your controller’s battery is running low, there can be a delay in response time, affecting the drone’s maneuverability and overall control. A charged controller ensures real-time feedback, swift responsiveness, and seamless flying experience.
- Safe operations: Charging your DJI Controller is not only about the convenience of flying; it also plays a crucial role in ensuring safe operations. With a fully charged controller, you have better control over your drone, allowing you to navigate obstacles, avoid collisions, and land your drone safely. Furthermore, a charged controller minimizes the risk of unexpected shutdowns mid-flight, preventing potential accidents.
- Optimal performance: To get the most out of your drone’s features and capabilities, it’s essential to keep your DJI Controller charged. Many advanced features of the drone, such as camera controls, intelligent flight modes, and navigation functions, rely on the controller’s power. By maintaining a charged controller, you can take full advantage of these features and enjoy a seamless flying experience.
- Battery lifespan: Taking care of your DJI Controller’s battery is crucial for its long-term lifespan. Regularly charging your controller and avoiding complete discharges can help extend the overall battery life. DJI batteries are designed to be charged and discharged in a specific range, and keeping them within this range through regular charging helps maintain their efficiency and longevity.
Considering these reasons, it’s evident that charging your DJI Controller is not just a matter of convenience but also a critical factor in ensuring optimal performance, safety, and longevity of your drone. Now that we understand the importance of charging the controller, let’s delve into the process of charging it correctly.
How to charge your DJI Controller
Charging your DJI Controller is a simple process that can be completed in a few easy steps. Follow the instructions below to ensure a successful charging session:
- Step 1: Prepare the charging cable and power source
Before you begin, make sure you have the correct charging cable that came with your DJI Controller. Additionally, identify a suitable power source, such as a wall outlet or a USB power bank. - Step 2: Connect the charging cable to the DJI Controller
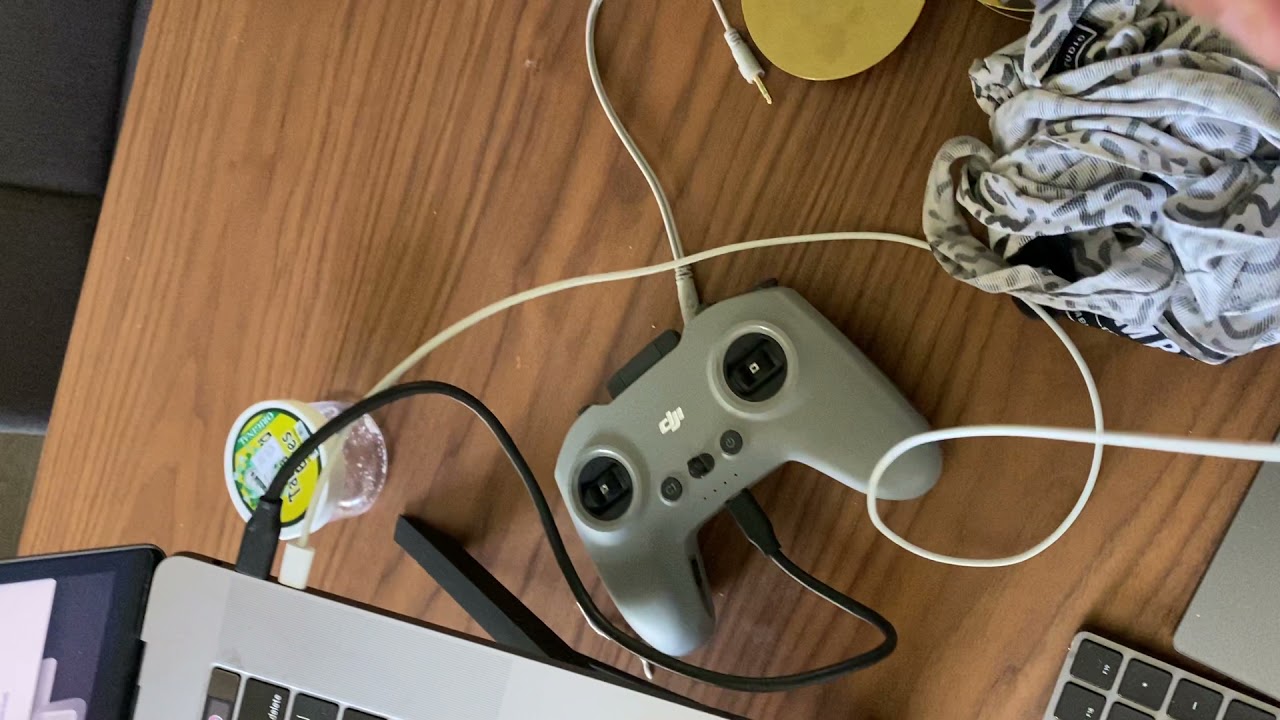
Locate the charging port on the DJI Controller and plug one end of the charging cable into it. Ensure that the connection is secure to prevent any accidental disconnections during charging. - Step 3: Plug the other end of the charging cable into a power source
Take the other end of the charging cable and plug it into the selected power source. If you are using a wall outlet, insert the cable into the adapter first and then plug it into the outlet. If using a USB power bank, connect the cable directly to it. - Step 4: Monitor the charging progress
Once the charging cable is connected, you should see an indication that the DJI Controller is charging. Some controllers have LED lights that show the charging status, while others may display a charging symbol on the screen. Keep an eye on this indicator to monitor the progress of the charging session. - Step 5: Disconnect the charging cable once fully charged
It is crucial to let the DJI Controller fully charge before removing the cable. This ensures that the battery is topped up and ready for your next flight. Once the controller reaches full charge, carefully unplug the charging cable from both the controller and the power source.
Following these steps will help you properly charge your DJI Controller and ensure you have enough power for your drone flights. Now that you know how to charge it, let’s move on to some additional tips and precautions to keep in mind.
Step 1: Prepare the charging cable and power source
Before you begin charging your DJI Controller, it’s important to gather the necessary equipment and identify the appropriate power source. Here’s what you need to do:
- Check your charging cable: Ensure that you have the correct charging cable that came with your DJI Controller. Different DJI drone models may have different charging ports, so using the compatible cable is essential for a secure and efficient connection.
- Inspect the charging cable: Before plugging in the cable, do a quick visual inspection to make sure there are no visible signs of damage or wear. Damaged cables can cause electrical issues or unreliable charging, so it’s important to use a cable in good condition.
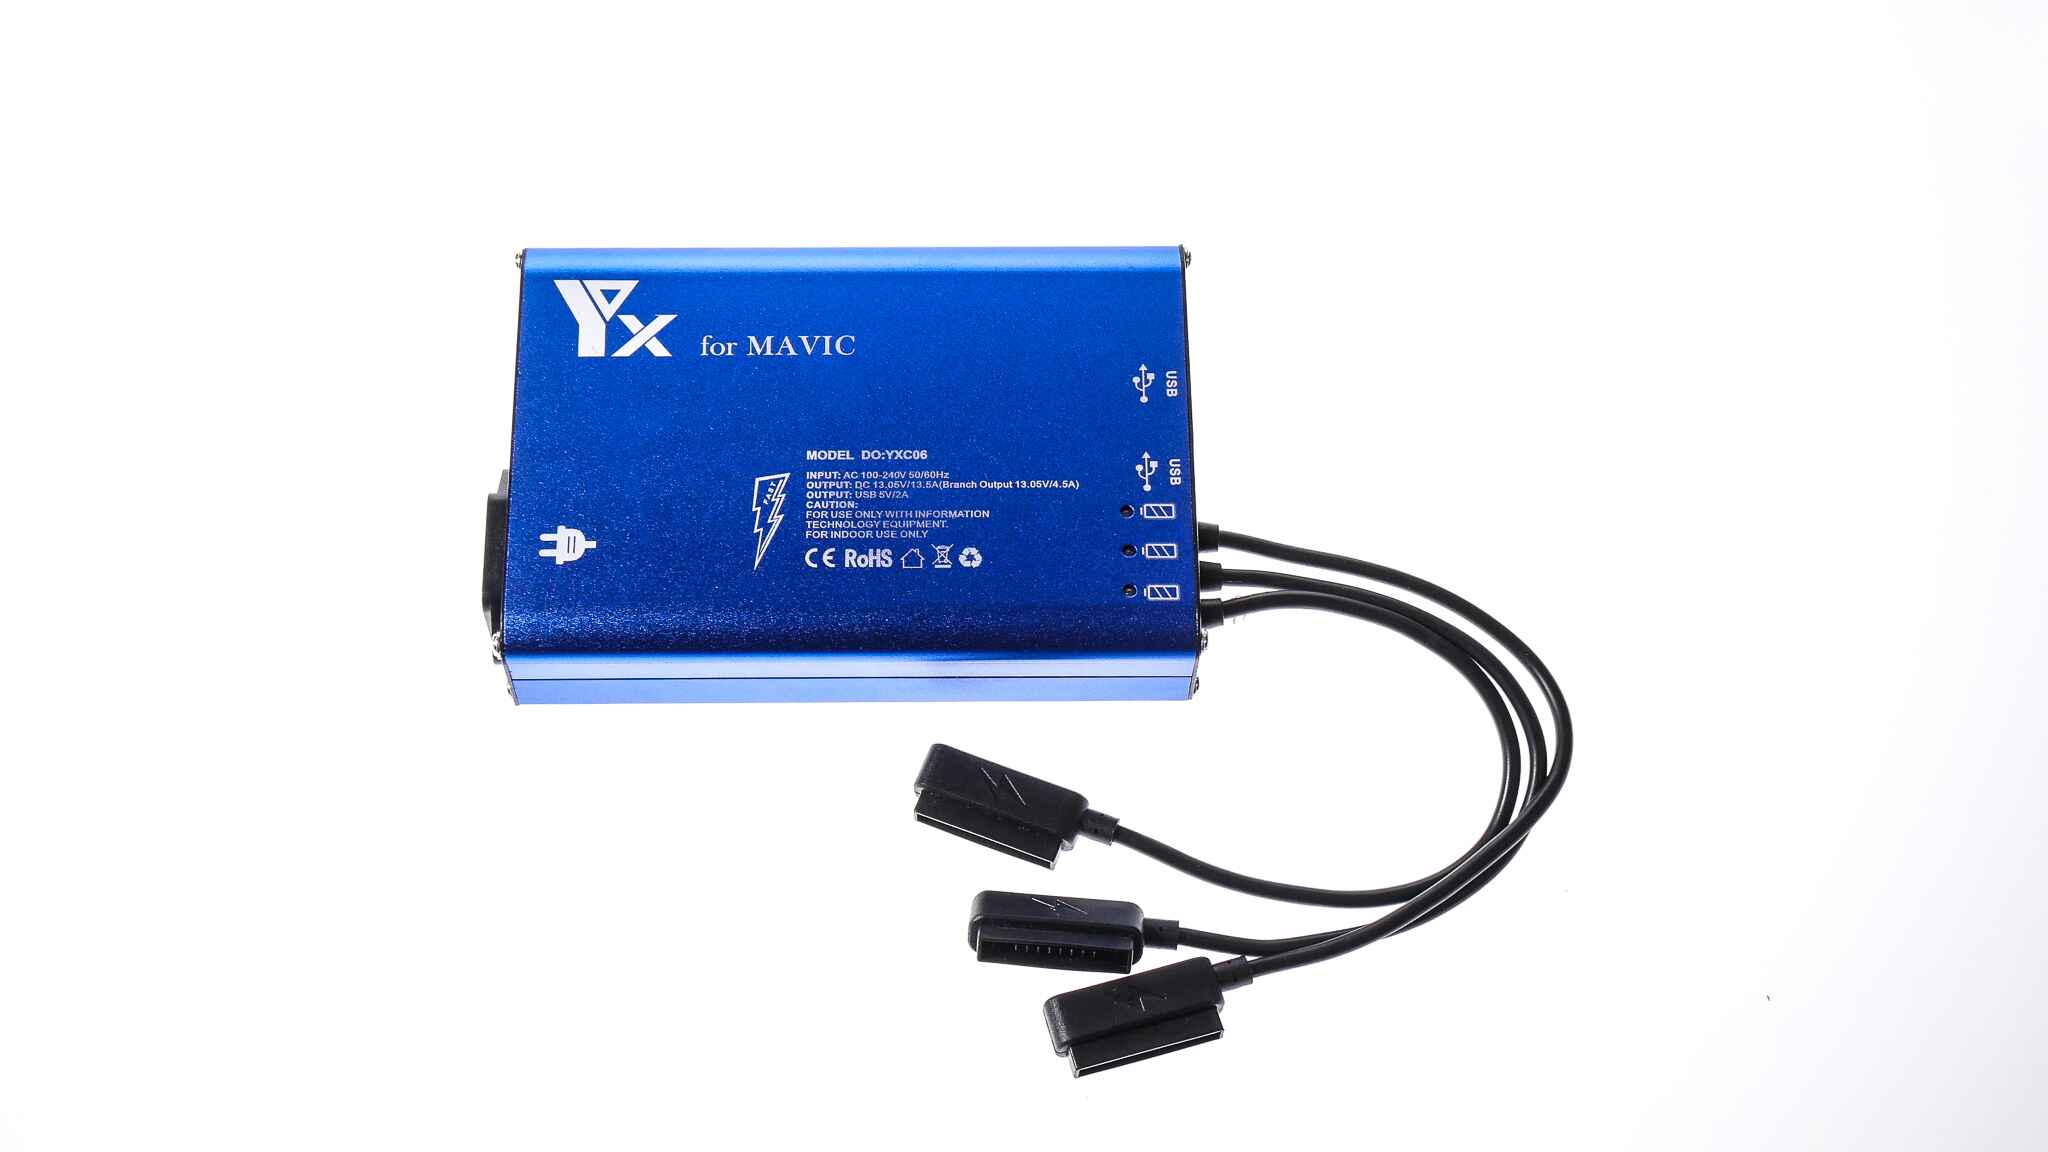
- Select a suitable power source: Depending on your preference and location, choose an appropriate power source for charging your DJI Controller. A wall outlet is a commonly used power source and provides a consistent and reliable flow of electricity. Alternatively, you can use a USB power bank, which gives you the flexibility of charging on the go.
- Ensure the power source is compatible: Confirm that the power source you choose is compatible with the charging cable. USB power banks are generally compatible with most DJI Controllers, but if you are using a wall outlet, make sure you have the correct adapter and voltage for your region.
- Position the power source: Place the power source close to a convenient charging area, ensuring that it is easily accessible. This will prevent any accidental tugging or pulling of the charging cable and minimize the risk of disconnections during the charging process.
By following these steps, you will be well-prepared to charge your DJI Controller without any complications. Now that you have prepared the necessary equipment and power source, it’s time to move on to the next step – connecting the charging cable to the DJI Controller.
Step 2: Connect the charging cable to the DJI Controller
After preparing the charging cable and power source, the next step is to connect the charging cable to your DJI Controller. Follow these instructions:
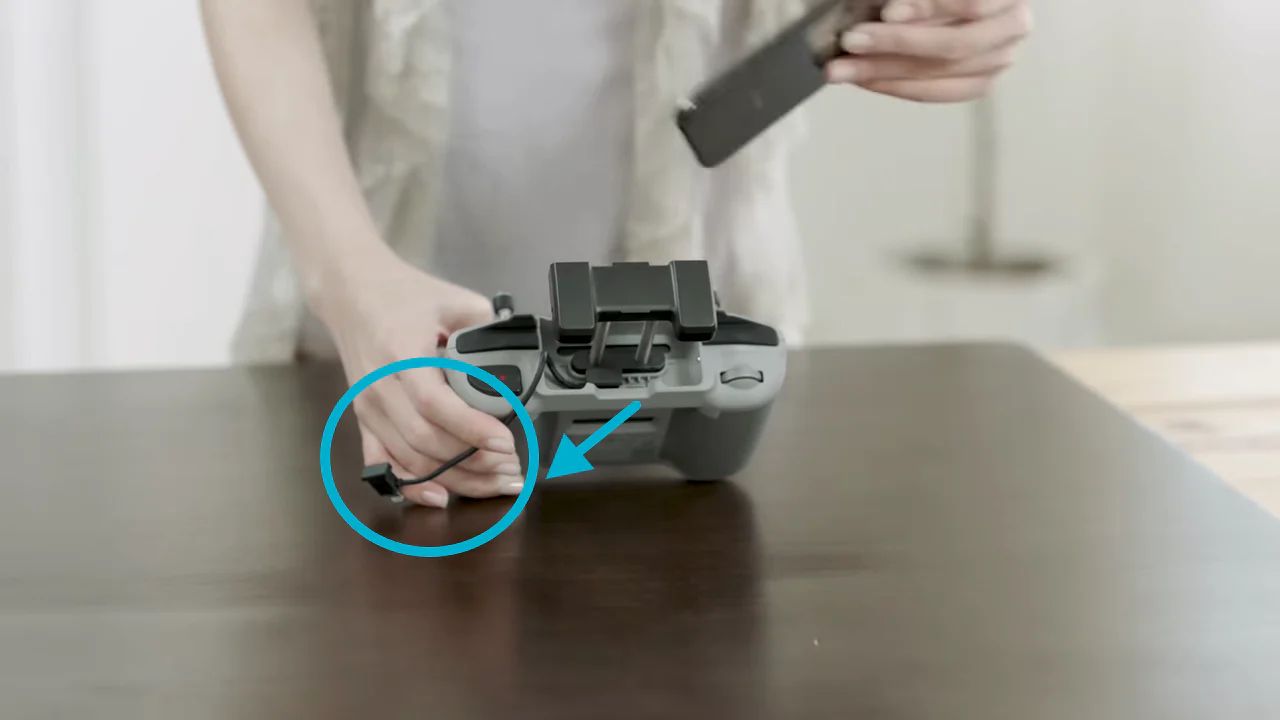
- Locate the charging port: Take a close look at your DJI Controller to find the charging port. The location of the charging port may vary depending on the specific model of your controller, but it’s usually located on the bottom or back panel.
- Inspect the charging port: Before plugging in the charging cable, ensure that the charging port is clean and free from any debris. In case you notice any dust or dirt, gently clean the charging port using a soft, lint-free cloth to maintain a proper connection.
- Align the charging cable: Take the charging cable and align the connector with the charging port on the DJI Controller. The cable’s connector is designed to fit snugly into the port, so make sure it is properly aligned before inserting it.
- Insert the charging cable: Once aligned, gently insert the charging cable’s connector into the charging port. Apply even pressure and ensure that the connection is secure, but do not force the cable. A proper connection will ensure efficient charging and prevent any accidental disconnections.
- Verify the connection: After inserting the charging cable, give it a gentle tug to ensure it is firmly connected to the DJI Controller. If there is any movement or looseness, double-check the alignment and reconnect if necessary.
By following these steps, you will successfully connect the charging cable to your DJI Controller, establishing a secure and reliable connection for charging. Now that you have connected the cable, it’s time to move on to the next step – plugging the other end of the charging cable into a power source.
Step 3: Plug the other end of the charging cable into a power source
Now that you have connected the charging cable to your DJI Controller, the next step is to plug the other end of the cable into a power source. Here’s how:
- Select a suitable power source: Based on your preference and availability, choose a power source that is compatible with the charging cable. Common options include a wall outlet or a USB power bank.
- If using a wall outlet: If you have opted for a wall outlet as the power source, ensure that you have the correct adapter for your region. Plug the charging cable’s other end into the adapter, then insert the adapter into the wall outlet securely.
- If using a USB power bank: If using a USB power bank, simply connect the charging cable’s other end directly into the USB port of the power bank. Ensure a snug and secure connection to prevent any accidental disconnections during charging.
- Verify the power source connection: Once the charging cable is connected to the power source, do a quick check to confirm that the connection is secure. Ensure that there is no visible movement or looseness in the connection.
- Power on the power source: Depending on the power source you are using, turn on the wall outlet or activate the power bank to initiate the flow of electricity. This will start the charging process for your DJI Controller.
It is crucial to use a reliable power source and ensure a secure connection to facilitate proper charging of your DJI Controller. By following these steps, you will have successfully plugged the other end of the charging cable into a power source. The next step is to monitor the charging progress, which we will cover in the next section.
Step 4: Monitor the charging progress
Once you have connected your DJI Controller to a power source, it is important to monitor the charging progress to ensure that the battery is being replenished effectively. Here are the steps to follow:
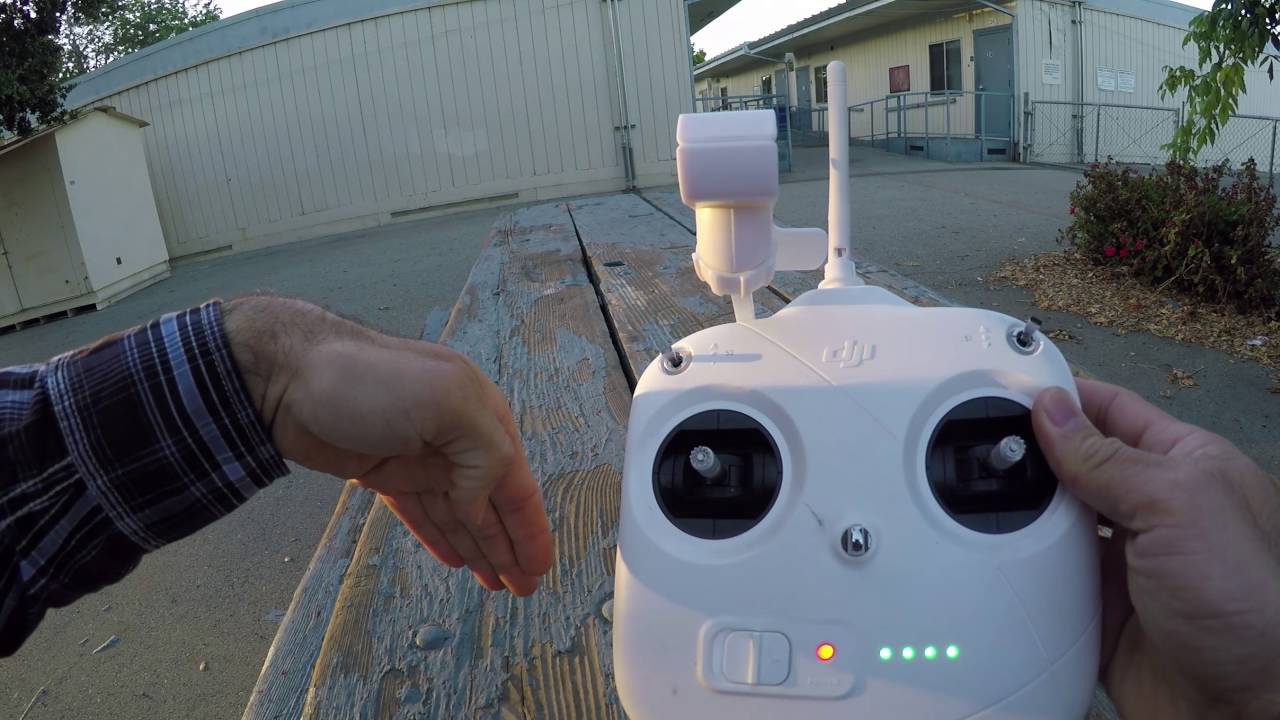
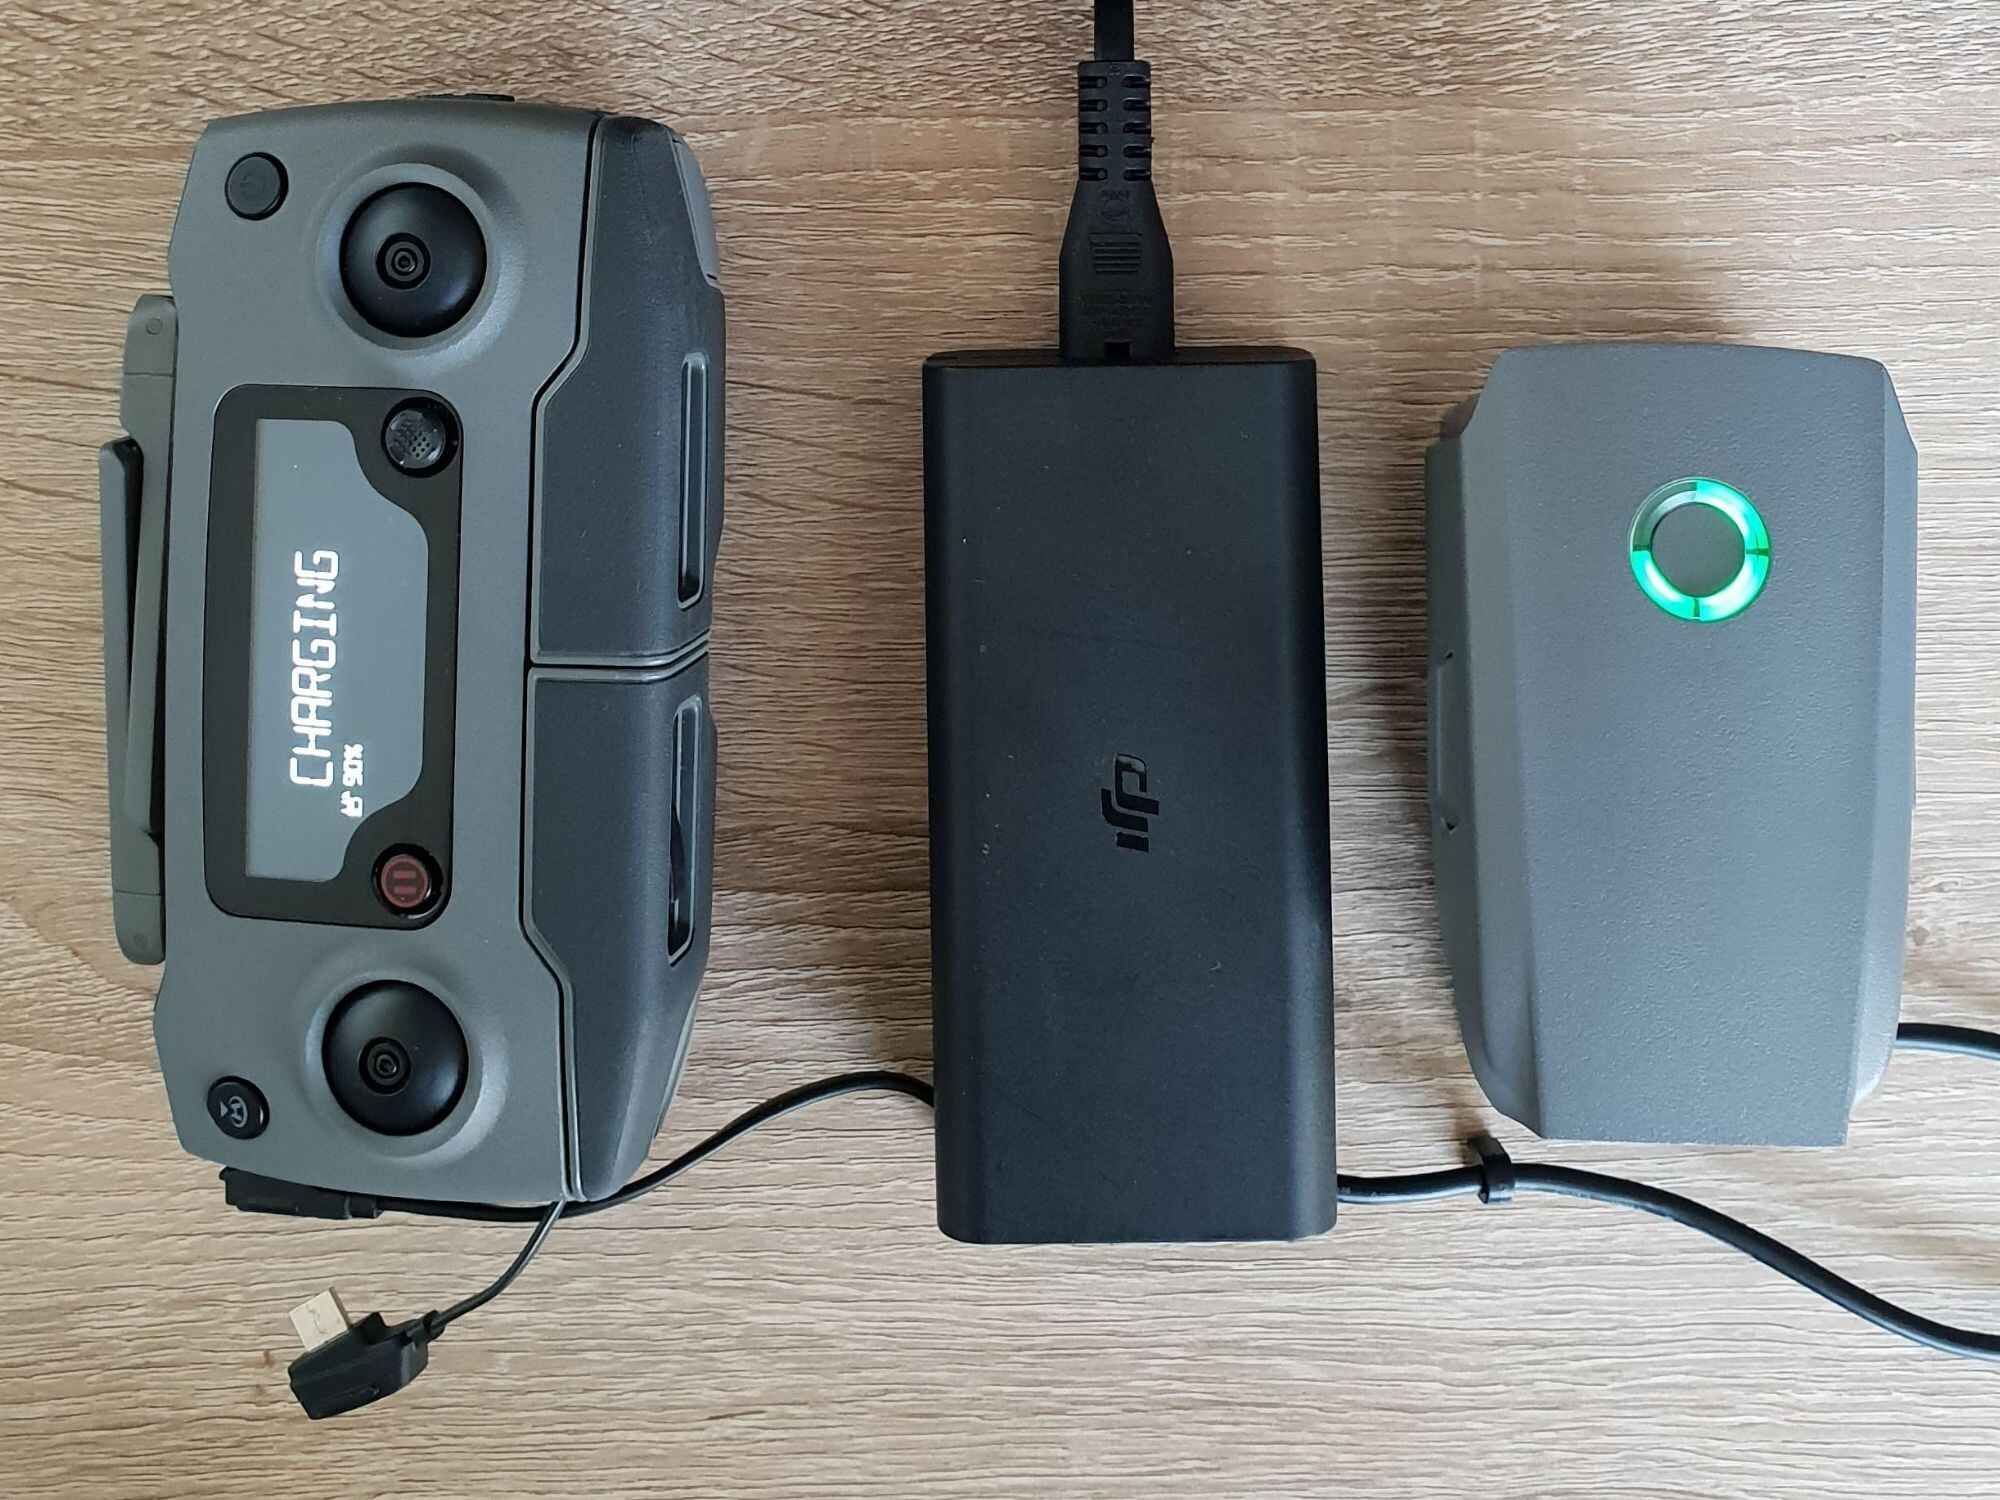
- Observe the charging indicators: The DJI Controller may have built-in LED lights or a display screen that indicates the charging status. If your controller has LED lights, they may change color or blink in a specific pattern to indicate the charging progress. On the other hand, if your controller has a display screen, it may show a charging symbol or a percentage indicating the current battery level.
- Refer to the user manual: To accurately understand the charging indicators specific to your DJI Controller model, refer to the user manual or documentation provided by DJI. The manual will explain what each indicator means and how to interpret the charging progress.
- Allow sufficient charging time: It is important to allow enough time for the DJI Controller to charge fully. The charging time can vary depending on the controller and the remaining battery level. Refer to the user manual to get an estimate of the charging time required.
- Do not interrupt the charging process: While monitoring the charging progress, it is crucial to avoid interrupting the charging process. Avoid disconnecting the charging cable prematurely or turning off the power source before the controller is fully charged. Interruptions can lead to incomplete charging cycles and affect the overall battery performance.
- Be patient: Charging time can vary, so it’s essential to be patient during the process. Avoid becoming anxious or impatient if the charging progress seems slow. Remember to allow sufficient time for the battery to reach its maximum capacity.
By monitoring the charging progress and following these steps, you can ensure that your DJI Controller is charging as expected. Once the controller has reached full charge, it’s time to proceed to the next step – disconnecting the charging cable.
Step 5: Disconnect the charging cable once fully charged
Once your DJI Controller has reached its full charge, it’s important to disconnect the charging cable properly to avoid any potential issues. Follow these steps to safely disconnect the charging cable:
- Check the charging indicators: Ensure that the charging indicators on your DJI Controller indicate a full charge. This can be displayed as a solid LED light or a 100% battery level indication on the screen. Confirming a full charge gives you the assurance that the battery is adequately replenished.
- Power off the power source: If you are using a wall outlet, unplug the adapter from the outlet. If you are using a USB power bank, turn it off or disconnect it from the charging cable. This ensures the flow of electricity to the DJI Controller is stopped.
- Gently remove the charging cable: With the power source turned off, carefully remove the charging cable from both the DJI Controller’s charging port and the power source. Avoid pulling or yanking on the cable, as this can damage the connector or the charging port.
- Inspect the charging cable: After disconnecting the charging cable, inspect it for any signs of damage or wear. If you notice any frayed wires or damage, replace the cable to avoid any potential hazards during future charging sessions.
- Store the charging cable: Once the charging cable is disconnected and inspected, store it properly in a safe and organized manner. Coiling the cable neatly and securing it can help prevent tangling or damage, ensuring its longevity.
By following these steps and disconnecting the charging cable once your DJI Controller is fully charged, you can ensure that your controller is ready for your next drone flight. Remember to always charge your DJI Controller before each flight to ensure optimal performance and a hassle-free flying experience.
Tips and precautions for charging your DJI Controller
As you charge your DJI Controller, it’s important to keep in mind some valuable tips and precautions to ensure safe and optimal charging. Here are some useful guidelines to follow:
- Use original charging cables: Always use the charging cable that came with your DJI Controller or purchase authorized replacement cables. Using unauthorized or third-party cables may not provide the correct voltage and current, which can result in unreliable charging or even damage to your controller.
- Avoid overcharging: Once your DJI Controller reaches full charge, it’s advisable to disconnect it from the power source. Overcharging can degrade the battery’s performance and reduce its overall lifespan. Regularly check the charging indicators and disconnect the controller promptly to prevent overcharging.
- Charge in a safe and well-ventilated area: Choose a secure location for charging your DJI Controller. Avoid placing it near flammable objects or in areas prone to high temperatures. Additionally, ensure proper ventilation during the charging process to dissipate any heat generated by the charging process.
- Avoid charging in extreme environments: It’s best to charge your DJI Controller in an environment with moderate temperatures. Extreme cold or hot temperatures can affect both the charging process and the battery’s performance. Avoid charging your controller in temperatures outside the recommended range specified in the user manual.
- Disconnect during firmware updates: When performing firmware updates on your DJI Controller, it’s recommended to disconnect the charging cable. Firmware updates require stability and uninterrupted power supply, so it’s best to separate it from the charging process to avoid any potential issues.
- Regularly inspect the charging port: Periodically check the charging port on your DJI Controller for any debris or damage. Keeping the charging port clean and in good condition ensures a reliable and secure connection during the charging process.
- Ensure proper storage of the DJI Controller: When not in use, store your DJI Controller in a cool, dry place. Extreme temperatures, high humidity, or direct sunlight exposure can affect the battery’s performance and overall lifespan. Properly storing your controller helps maintain its longevity.
- Follow manufacturer guidelines: Lastly, always refer to the user manual or documentation provided by DJI for specific instructions and precautions related to charging your DJI Controller. The manufacturer’s guidelines offer valuable insights and recommendations specific to your controller model.
By following these tips and precautions, you can ensure safe and efficient charging of your DJI Controller and prolong its overall lifespan. Now that you are equipped with these guidelines, you can confidently charge your DJI Controller and enjoy uninterrupted drone flights.
Conclusion
Charging your DJI Controller is a vital aspect of maintaining the functionality and performance of your drone. By following the correct steps and implementing the tips and precautions outlined in this guide, you can ensure safe and efficient charging for your DJI Controller.
Throughout this tutorial, we have covered each step of the charging process, including preparing the charging cable and power source, connecting the charging cable to the DJI Controller, plugging the cable into a power source, monitoring the charging progress, and safely disconnecting the cable once fully charged. By adhering to these steps, you can properly charge and maintain your DJI Controller’s battery, resulting in extended flight times, optimal performance, and enhanced control over your drone.
Additionally, we have provided valuable tips and precautions to keep in mind while charging your DJI Controller, such as using original charging cables, avoiding overcharging, charging in a safe environment, and following manufacturer guidelines. These guidelines will help ensure safe charging practices and contribute to the longevity of your DJI Controller.
Remember, proper charging is not only essential for the convenience and reliability of your drone operations but also for the safety of your flights. Keeping your DJI Controller fully charged allows you to enjoy extended flight times, responsive controls, and the full range of features and functionalities offered by your drone.
By familiarizing yourself with the charging process and implementing the tips and precautions, you can confidently charge your DJI Controller and embark on captivating drone adventures with peace of mind.