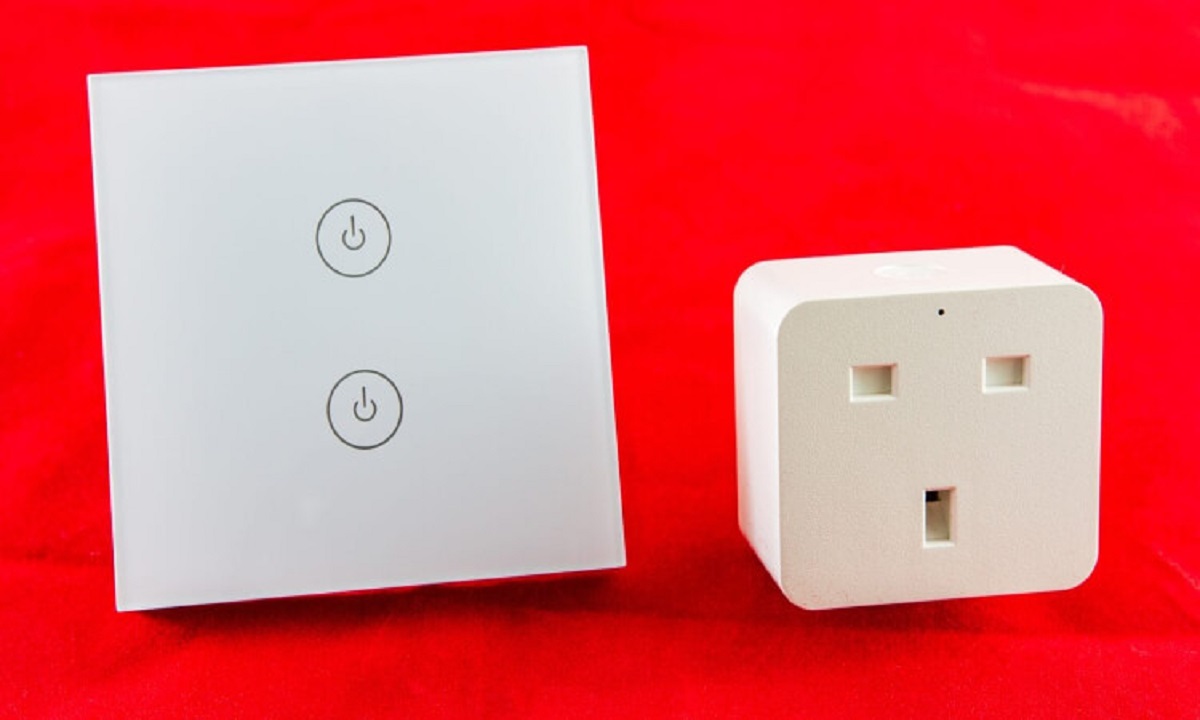
Introduction
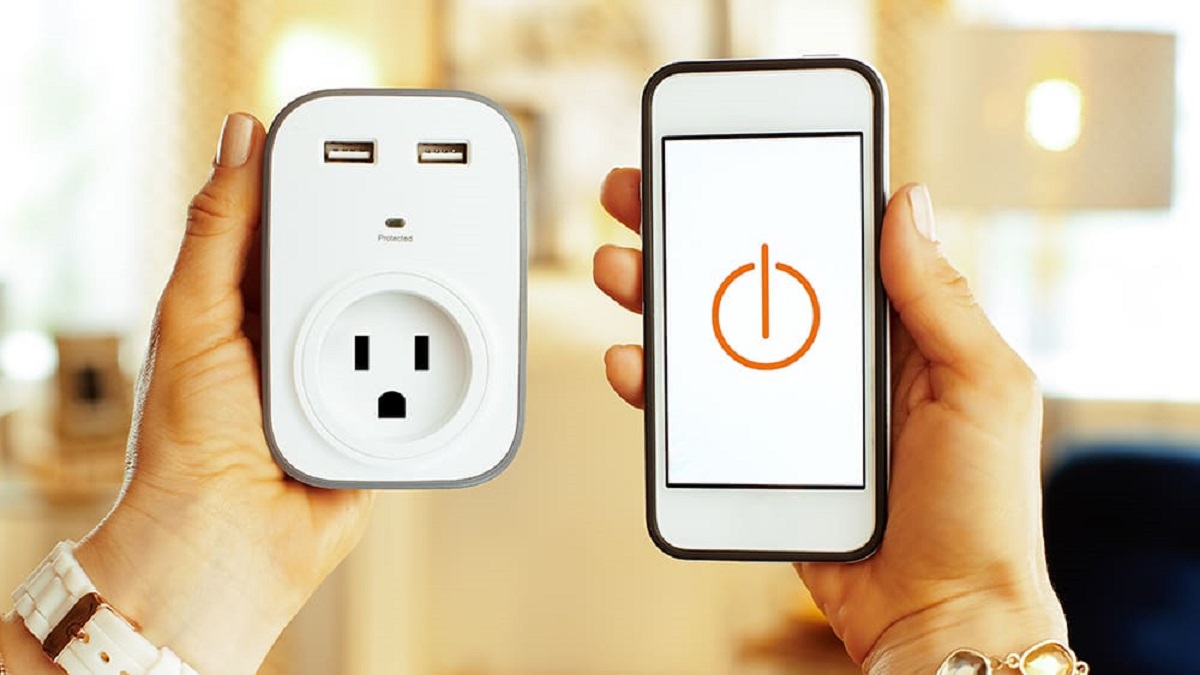
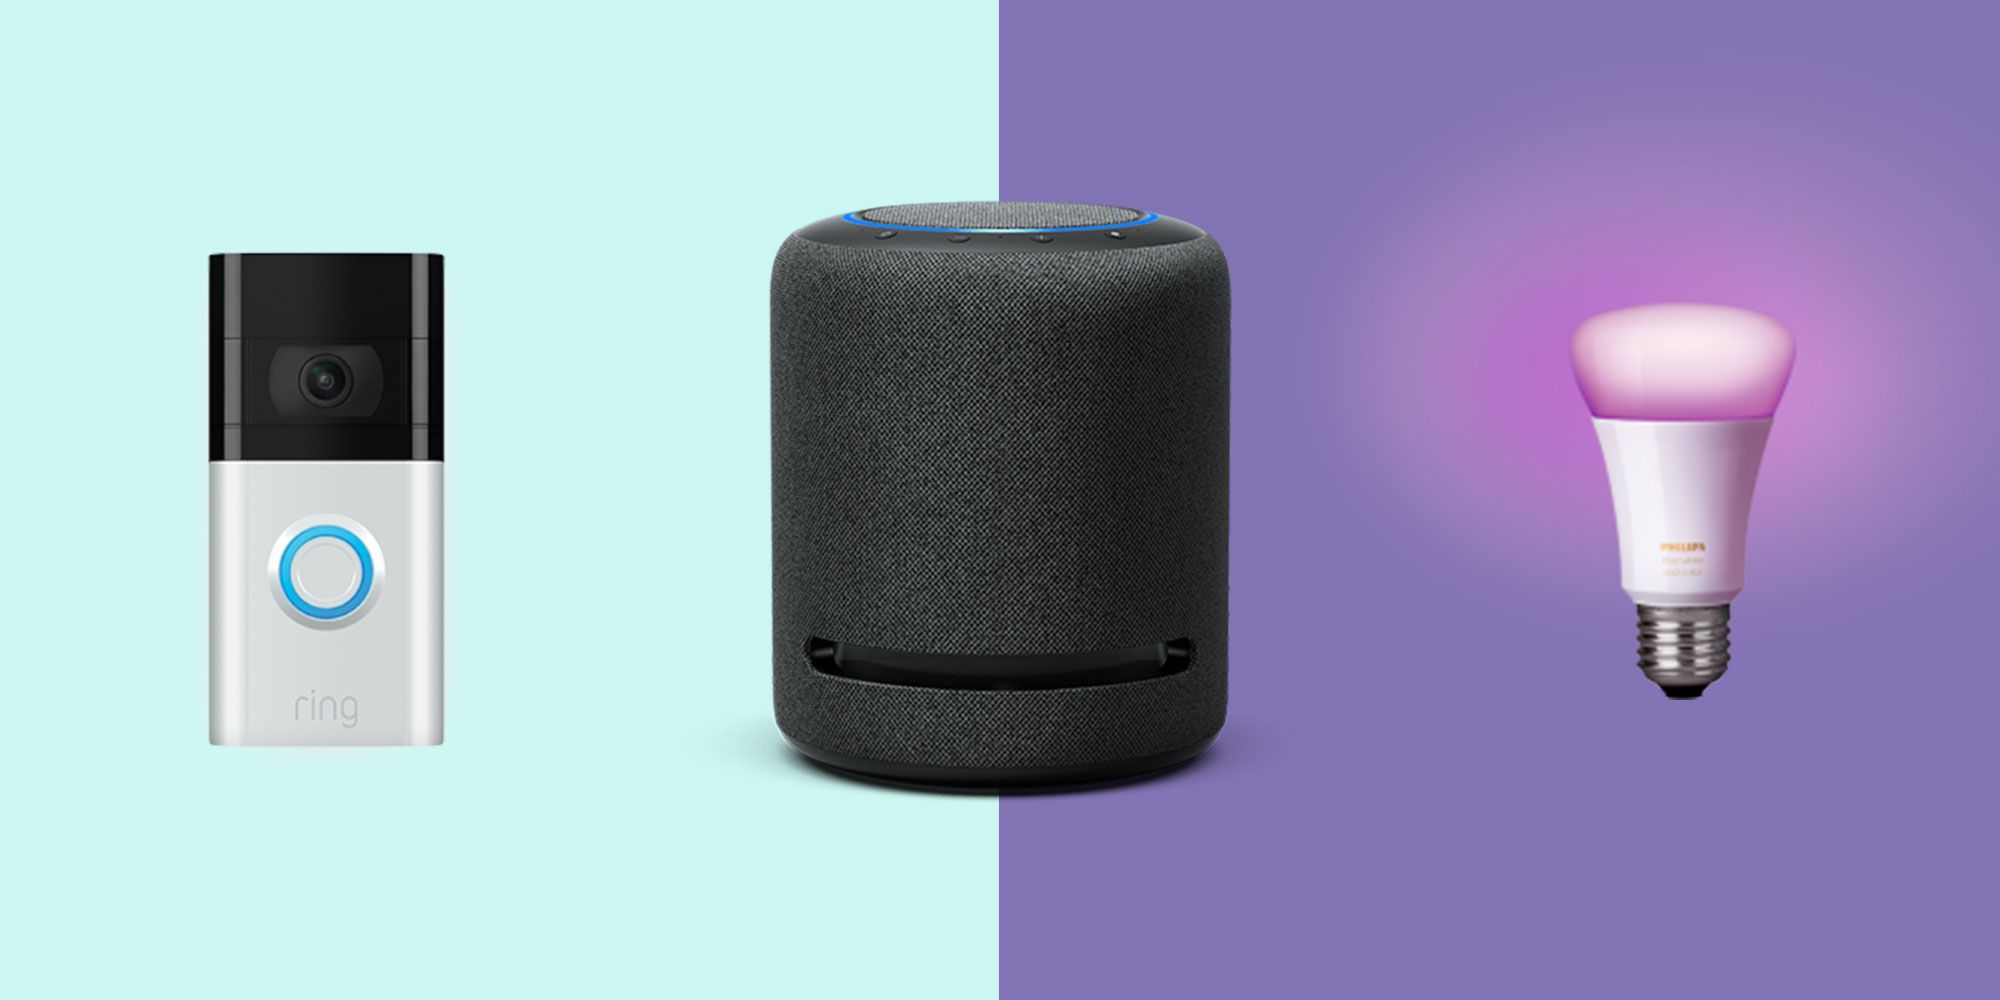
Welcome to the world of smart home automation! As technology continues to advance, more and more devices are becoming “smart,” allowing us to control them remotely with just a few taps on our smartphones or through voice commands. One such device that has gained popularity in recent years is the smart plug.
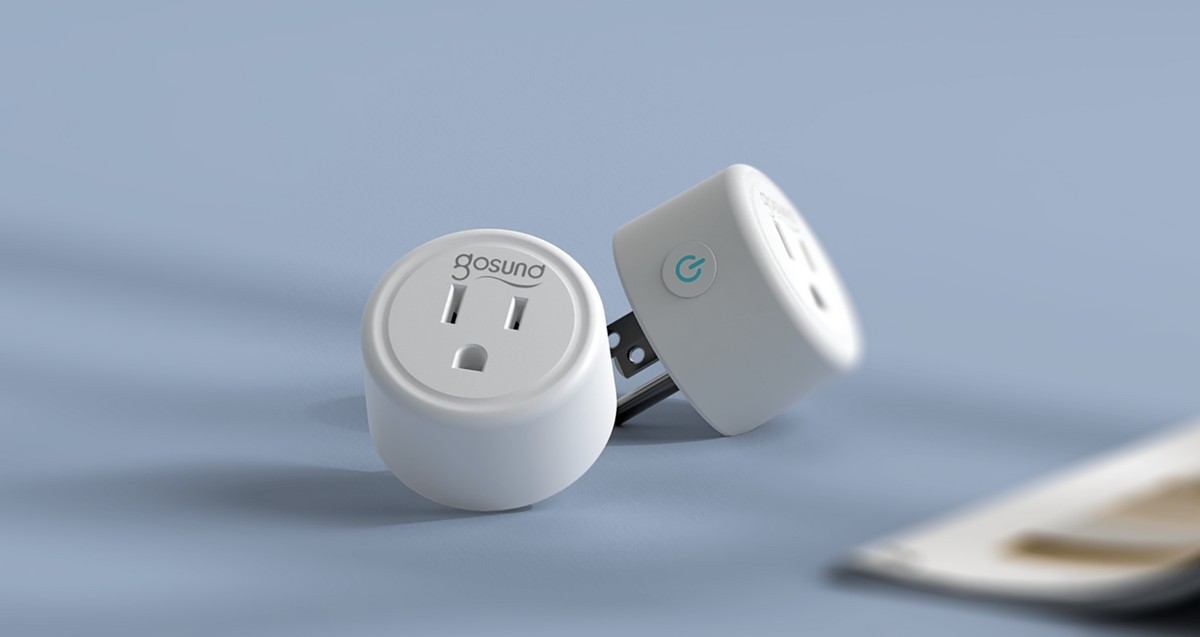
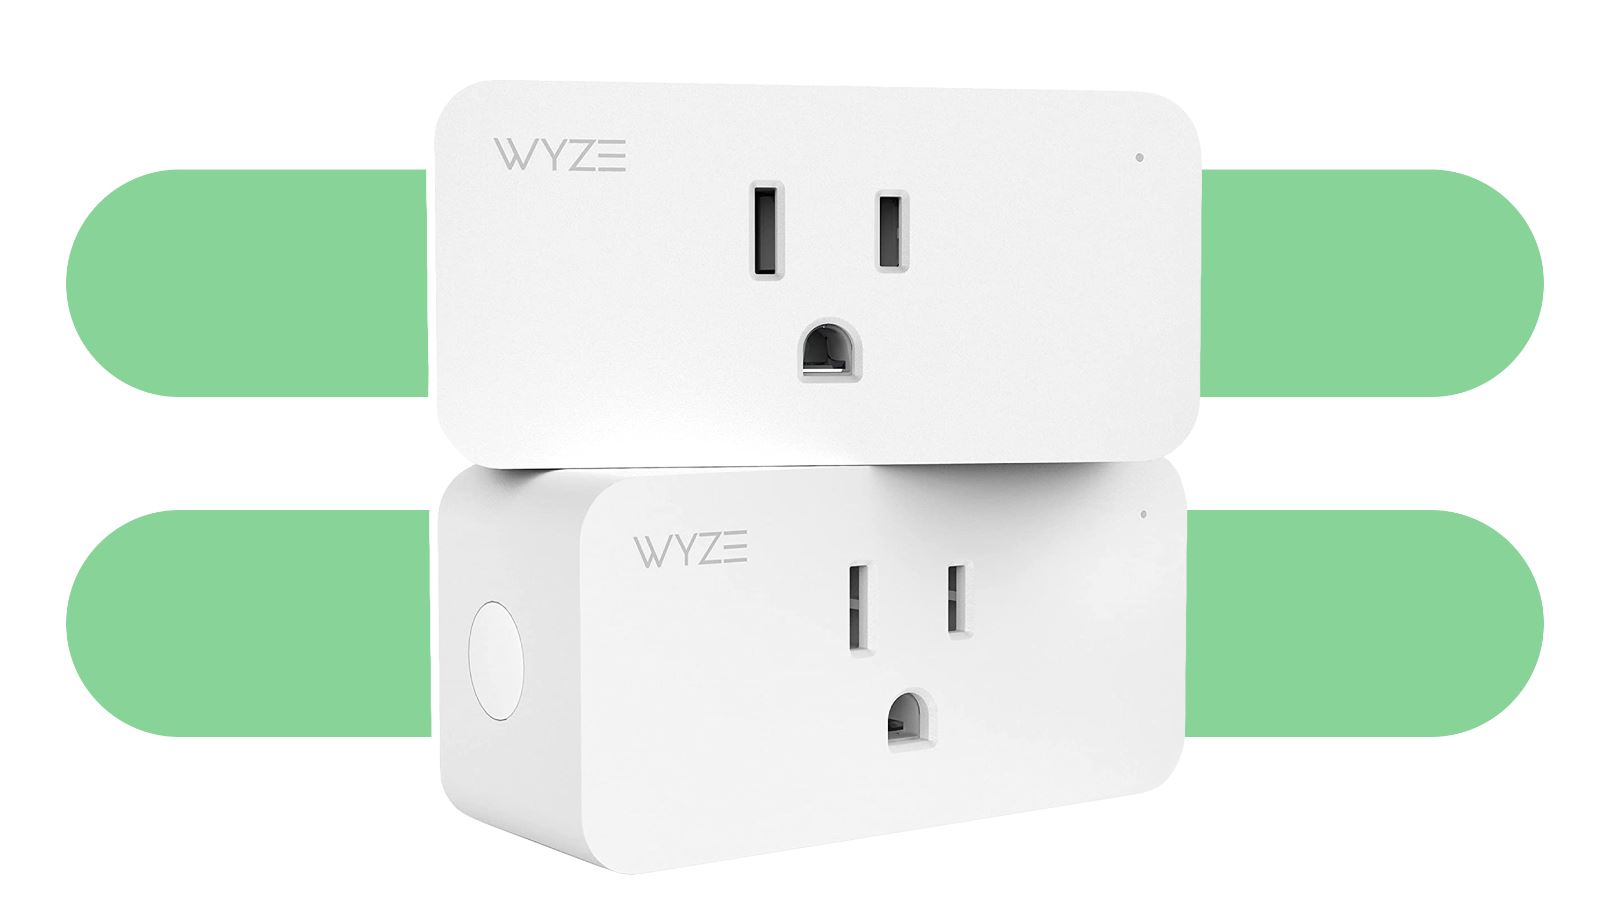
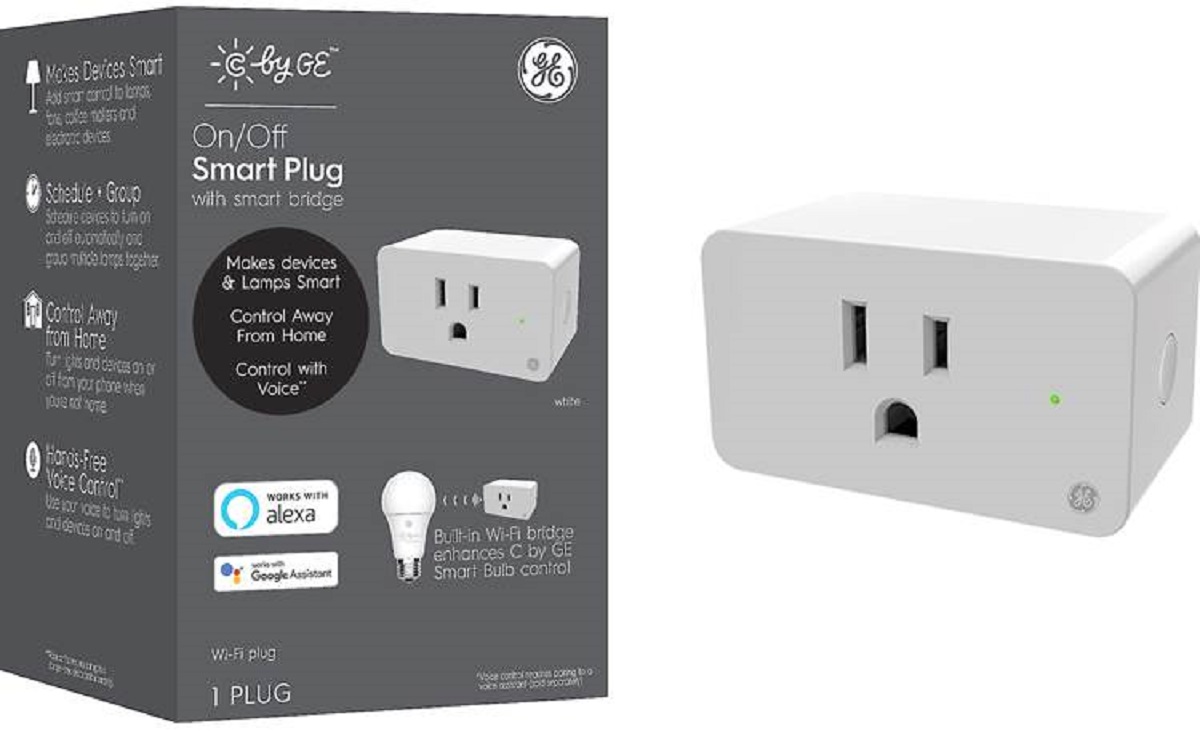
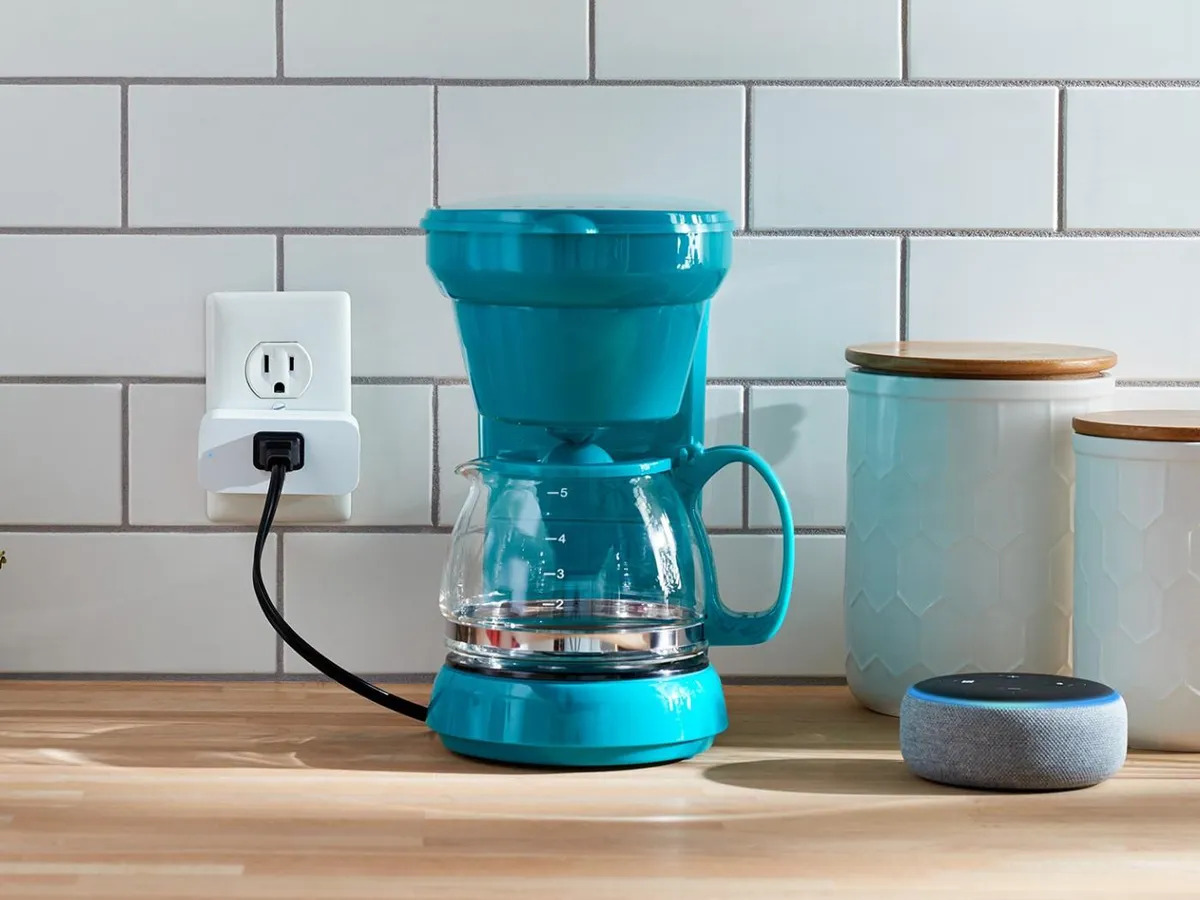
With a smart plug, you can turn your regular household appliances, such as lamps, coffee makers, or even your TV, into smart devices. These handy gadgets offer convenience and energy efficiency by allowing you to control and schedule them from anywhere, even when you’re not at home.
One crucial factor in getting your smart plug up and running is its Wi-Fi connectivity. Smart plugs rely on your home Wi-Fi network to communicate with your smartphone or smart home hub. However, there may be instances when you need to change the Wi-Fi network your smart plug is connected to.
In this guide, we will walk you through the step-by-step process of changing the Wi-Fi network on your smart plug. Whether you’ve recently switched to a new router, moved to a new home, or want to connect your smart plug to a different network for any reason, we’ve got you covered.
Before we dive into the process, it’s essential to note that different smart plug brands and models may have slightly different instructions for changing the Wi-Fi network. However, the general steps we’ll outline should be applicable to most smart plugs on the market.
So, if you’re ready to take control of your smart plug’s Wi-Fi connection, let’s get started!
Understanding Wi-Fi connectivity for smart plugs
Before we begin the process of changing the Wi-Fi network on your smart plug, it’s crucial to understand how these devices connect to your home network.
Smart plugs rely on Wi-Fi connectivity to communicate with your smartphone or smart home hub. When you set up a smart plug for the first time, you’ll need to connect it to your Wi-Fi network so that it can establish a stable and secure connection.
Once connected, the smart plug uses your home’s Wi-Fi network to send and receive commands, allowing you to control the plugged-in device remotely. This means that as long as you have an internet connection on your smartphone, you can turn on or off the smart plug, set schedules or timers, and even monitor energy usage from anywhere in the world.
It’s important to note that smart plugs only support 2.4GHz Wi-Fi networks. If you have a dual-band router that broadcasts both 2.4GHz and 5GHz networks, ensure that your smartphone is connected to the 2.4GHz network during the setup process. This will ensure a seamless connection between your smart plug and your smartphone.
Additionally, it’s worth mentioning that smart plugs typically require a dedicated mobile app or a smart home hub to control and manage their functions. The app or hub acts as a bridge between your smartphone and the smart plug, allowing you to send commands and receive feedback.
Now that we have a good understanding of how smart plugs utilize Wi-Fi connectivity, let’s move on to the step-by-step process of changing the Wi-Fi network on your smart plug. Remember, the exact steps may vary slightly depending on the manufacturer and model of your smart plug.
Step 1: Powering off the smart plug
The first step in changing the Wi-Fi network on your smart plug is to power it off. This ensures that the device is in a reset state and ready to connect to a new network.
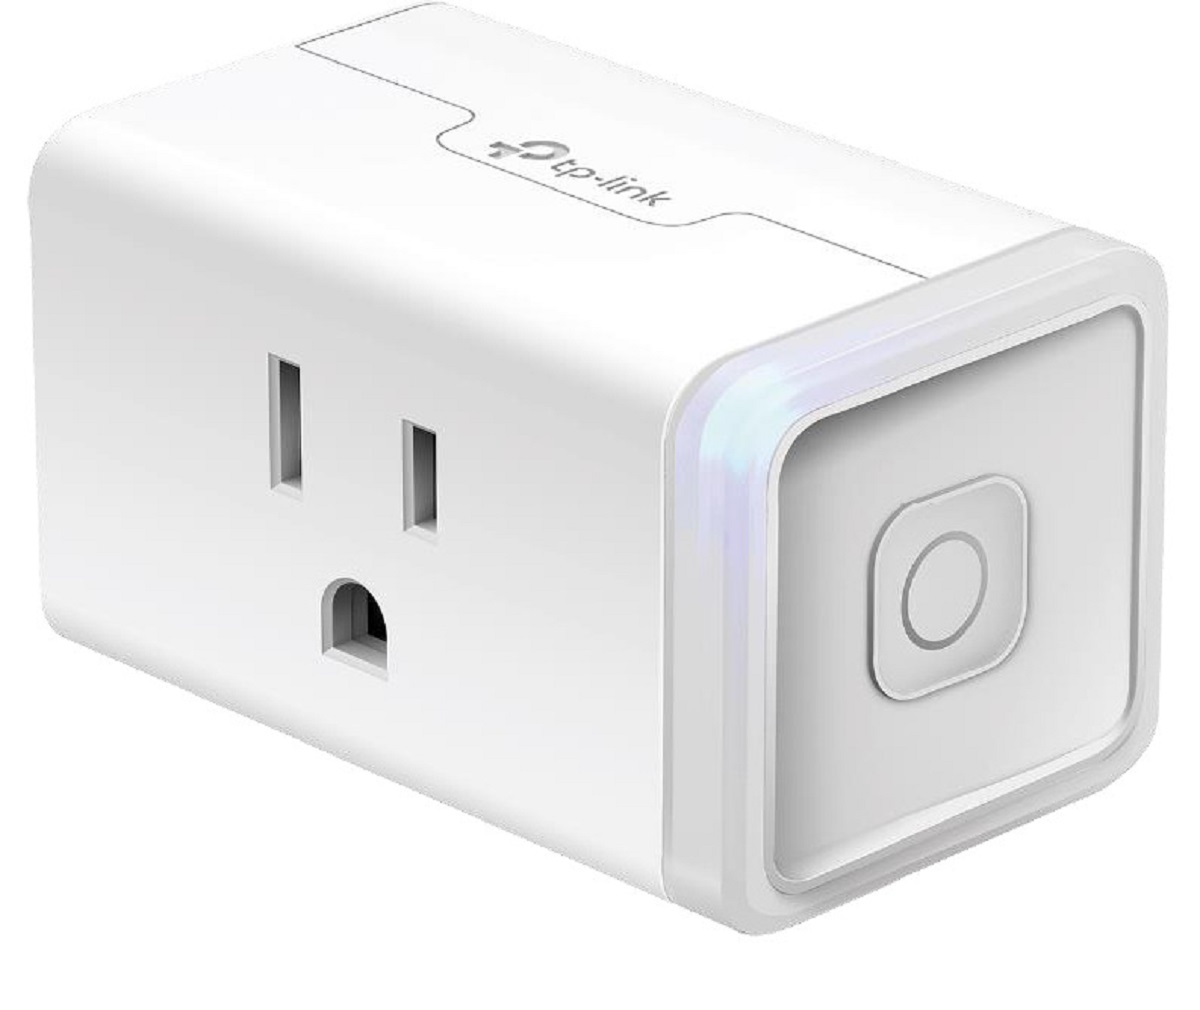
To power off the smart plug, locate the power button or switch on the device itself. It is usually located on the side or bottom of the plug. Press or slide the button/switch to turn off the power. You may also have the option to power off the smart plug using its dedicated mobile app or smart home hub.
Make sure to wait for a few seconds to ensure that the smart plug is completely powered off before proceeding to the next step.
It’s worth noting that some smart plugs may not have a physical power button or switch. In such cases, you can unplug the smart plug from the electrical outlet to power it off.
By powering off the smart plug, you’re preparing it for the next step, which involves resetting it to its factory settings. This reset is necessary to remove the previous Wi-Fi network information and enable the smart plug to connect to a new network.
Now that you’ve powered off the smart plug, let’s move on to the next step: resetting the device.
Step 2: Resetting the smart plug
After powering off the smart plug, the next step is to reset it to its factory settings. Resetting the smart plug removes any previous Wi-Fi network information and prepares it to connect to a new network.
The method to reset your smart plug may vary depending on the brand and model. However, most smart plugs have a dedicated reset button or a combination of button presses to initiate the reset process. To reset the smart plug, follow these general steps:
- Locate the reset button on the smart plug. It is usually a small pinhole or a button labeled “Reset.”
- Using a paperclip or a similar tool, press and hold the reset button for about 10 to 15 seconds.
- Release the reset button once the smart plug’s LED indicator starts flashing or the status changes.
If the LED indicator on your smart plug doesn’t flash or the status doesn’t change after releasing the reset button, try repeating the process or consult the user manual that came with your device for specific instructions.
It’s important to note that resetting the smart plug will remove any custom settings, schedules, or timers associated with it. After the reset, the smart plug will be in a “fresh” state, ready to be connected to a new Wi-Fi network.
With the smart plug reset, we can now proceed to the next step: connecting it to the new Wi-Fi network.
Step 3: Connecting to the new Wi-Fi network
With the smart plug reset to its factory settings, it’s time to connect it to the new Wi-Fi network. Follow these steps to establish a connection:
- Open the dedicated mobile app for your smart plug or the smart home hub that controls it. If you haven’t installed the app yet, download and install it from the respective app store.
- Ensure that your smartphone is connected to the same Wi-Fi network that you want to connect the smart plug to. This is important for the initial setup process.
- In the app, navigate to the section or menu where you can add a new device.
- Select the option to add a new device or smart plug.
- Follow the on-screen instructions to put the smart plug in setup mode. This usually involves pressing and holding the power or setup button on the smart plug until the LED indicator starts flashing or changes color.
- Once the smart plug is in setup mode, the app will detect it and guide you through the Wi-Fi network connection process.
- Select the Wi-Fi network you want to connect the smart plug to from the list of available networks.
- Enter the Wi-Fi network password when prompted.
- Wait for the app to establish a connection between the smart plug and the new Wi-Fi network. This may take a few moments.
Once the smart plug successfully connects to the new Wi-Fi network, the LED indicator on the device may stop flashing or change color to indicate a stable connection. Additionally, the app may display a confirmation message or prompt you to assign a name or location to the smart plug for easier identification.
With the smart plug connected to the new Wi-Fi network, you can now move on to the next step, which involves configuring the device according to your preferences.
Step 4: Configuring the smart plug
After successfully connecting your smart plug to the new Wi-Fi network, the next step is to configure its settings according to your preferences. Configuration options may vary depending on the brand and model of your smart plug, but here are some common settings you might encounter:
- Name: Assign a name to your smart plug that relates to the device it is powering. For example, if it controls a lamp, you could name it “Living Room Lamp.”
- Location: Specify the location of the smart plug within your home. This can help you easily identify and control multiple smart plugs if you have them in different rooms.
- Schedules and timers: Set up specific schedules or timers to automatically turn the smart plug on or off at desired times. This can help you save energy and create a convenient automated routine.
- Power monitoring: Some smart plugs have the ability to monitor energy usage. You may have the option to view real-time or historical data on how much power the plugged-in device is consuming.
- Voice assistant integration: If you use a voice assistant like Amazon Alexa or Google Assistant, you can connect your smart plug to enable hands-free control through voice commands.
Explore the app or smart home hub’s settings to configure these options. The interface should provide intuitive ways to customize your smart plug’s settings according to your needs. You may also have the option to customize additional features, such as LED brightness or notifications.
Take some time to experiment with the configurations and familiarize yourself with the app or hub’s features. This will help you make the most of your smart plug’s capabilities and tailor its functions to suit your lifestyle.
Once you’ve configured the smart plug to your satisfaction, it’s time to verify the new Wi-Fi connection to ensure everything is working correctly. Let’s move on to the next step.
Step 5: Verifying the new Wi-Fi connection
After configuring the settings of your smart plug, it’s essential to verify the new Wi-Fi connection to ensure that it is functioning correctly. Follow these steps to verify the connection:
- Ensure that the smart plug is plugged into an electrical outlet and turned on.
- Open the dedicated mobile app or smart home hub that controls the smart plug.
- Navigate to the section or menu where you can view and control your connected devices.
- Locate the smart plug in the list of devices and select it.
- Check the status of the smart plug to ensure that it is connected and responsive. The app should display the current state of the smart plug, such as “On” or “Off.”
- Attempt to control the smart plug through the app. For example, turn it on or off and verify that the plugged-in device responds accordingly.
- If the smart plug is equipped with power monitoring, check if the app displays accurate energy usage data for the connected device.
- For voice assistant integration, test the voice commands associated with the smart plug to ensure that it responds correctly.
If everything is working as expected, congratulations! You have successfully changed the Wi-Fi network on your smart plug. You can now enjoy the convenience and control it offers for your plugged-in devices.
If, for some reason, the connection is not working or experiencing issues, double-check the Wi-Fi network settings, password, and the proximity of the smart plug to the router. Ensure that you have a stable and reliable internet connection.
If you encounter persistent issues, consult the user manual, the support resources provided by the manufacturer, or reach out to their customer support for assistance in troubleshooting and resolving the connectivity issue.
With the new Wi-Fi connection verified and confirmed, you can now fully embrace the benefits of your smart plug and enjoy the convenience it brings to your everyday life.
Troubleshooting common issues
While setting up and changing the Wi-Fi network on your smart plug, you may encounter some common issues. Here are a few troubleshooting steps to help resolve them:
- Connection failure: If the smart plug fails to connect to the new Wi-Fi network, ensure that you have entered the correct Wi-Fi password. Double-check the password and try again. Also, make sure that the smart plug is within range of your home router. If the problem persists, restart the smart plug and the router, and try the setup process again.
- Interference: Wireless interference from other devices or obstacles in your home can disrupt the Wi-Fi connection of the smart plug. Try relocating the smart plug closer to the router or away from other electronic devices that may cause interference, such as microwaves or cordless phones.
- App or firmware updates: Check if there are any available updates for the smart plug’s mobile app or firmware. Keeping the app and firmware up to date can help resolve compatibility issues and improve overall performance.
- Router settings: Some routers have specific settings or features that can affect the connection of smart home devices. Ensure that the router’s firewall or access control settings do not block the smart plug’s communication. Refer to the router’s user manual or support documentation for guidance on adjusting these settings.
- Resetting process: If the smart plug is not resetting properly, make sure you are following the correct reset procedure outlined in the user manual. Press and hold the reset button for the recommended duration and check if the LED indicator responds accordingly.
- Device compatibility: Confirm that your smart plug is compatible with your home network and smartphone. Check if the smart plug supports the Wi-Fi frequency (2.4GHz) used by your router and if there are any device compatibility limitations mentioned in the user manual or manufacturer’s website.
- Mobile app issues: If you experience issues with the dedicated mobile app, try closing and reopening the app, clearing its cache, or reinstalling it. You can also try using a different smartphone or device to see if the problem persists.
If you have followed these troubleshooting steps and are still facing issues with your smart plug’s Wi-Fi connection, it is advisable to reach out to the manufacturer’s customer support for further assistance. They can provide specific guidance based on the make and model of your smart plug.
Remember, troubleshooting may vary depending on the individual circumstances, so it’s always helpful to consult the user manual or online resources specific to your smart plug for additional troubleshooting advice.
Conclusion
Changing the Wi-Fi network on your smart plug can provide you with the flexibility to adapt to new network setups or resolve connectivity issues. By following the step-by-step process outlined in this guide, you can successfully connect your smart plug to a new Wi-Fi network and continue enjoying the convenience and control it offers.
Remember to power off the smart plug and perform a reset before connecting it to the new Wi-Fi network. Take the time to configure the settings according to your preferences, such as assigning a name and location, setting up schedules or timers, and integrating it with voice assistants if desired.
After verifying the new Wi-Fi connection, it’s essential to troubleshoot any common issues that may arise. By following simple troubleshooting steps, you can address most connectivity problems and ensure a seamless experience with your smart plug.
If you encounter persistent issues or have specific questions related to your smart plug’s setup or connectivity, don’t hesitate to consult the user manual, manufacturer’s website, or reach out to their customer support for assistance.
With your smart plug successfully connected to the new Wi-Fi network, you can now enjoy the convenience of controlling your plugged-in devices remotely, setting up automation routines, and optimizing energy usage according to your preferences. Embrace the power of smart home automation and make your life simpler and more efficient.


