Introduction
Welcome to the world of smart home automation! With the increasing popularity of smart devices, it’s no surprise that smart plugs have become a must-have gadget for many homeowners. One such smart plug is the Gosund Smart Plug, which offers convenience and control over your electrical devices.
If you’re new to programming smart plugs or just getting started with the Gosund brand, this guide is here to help you. In this article, we will walk you through the step-by-step process of programming your Gosund Smart Plug, so you can effortlessly automate your home and simplify your daily routines.
With the Gosund Smart Plug, you can easily control your devices remotely, set schedules and timers, and even monitor your energy usage. Whether you want to turn on the lights before you arrive home, make sure your coffee is ready in the morning, or simply have the ability to control your devices with a voice command, the Gosund Smart Plug has got you covered.
Before we dive into the programming process, it’s important to note that the steps outlined in this guide are specific to the Gosund Smart Plug. While the general process of setting up a smart plug may be similar across different brands, it’s always a good idea to refer to the manufacturer’s instructions for your specific device.
So, without further ado, let’s get started on setting up and programming your Gosund Smart Plug to make your daily life more convenient and efficient.
Step 1: Setting Up the Gosund Smart Plug
The first step in programming your Gosund Smart Plug is to set it up correctly. Follow these instructions to ensure a smooth setup process:
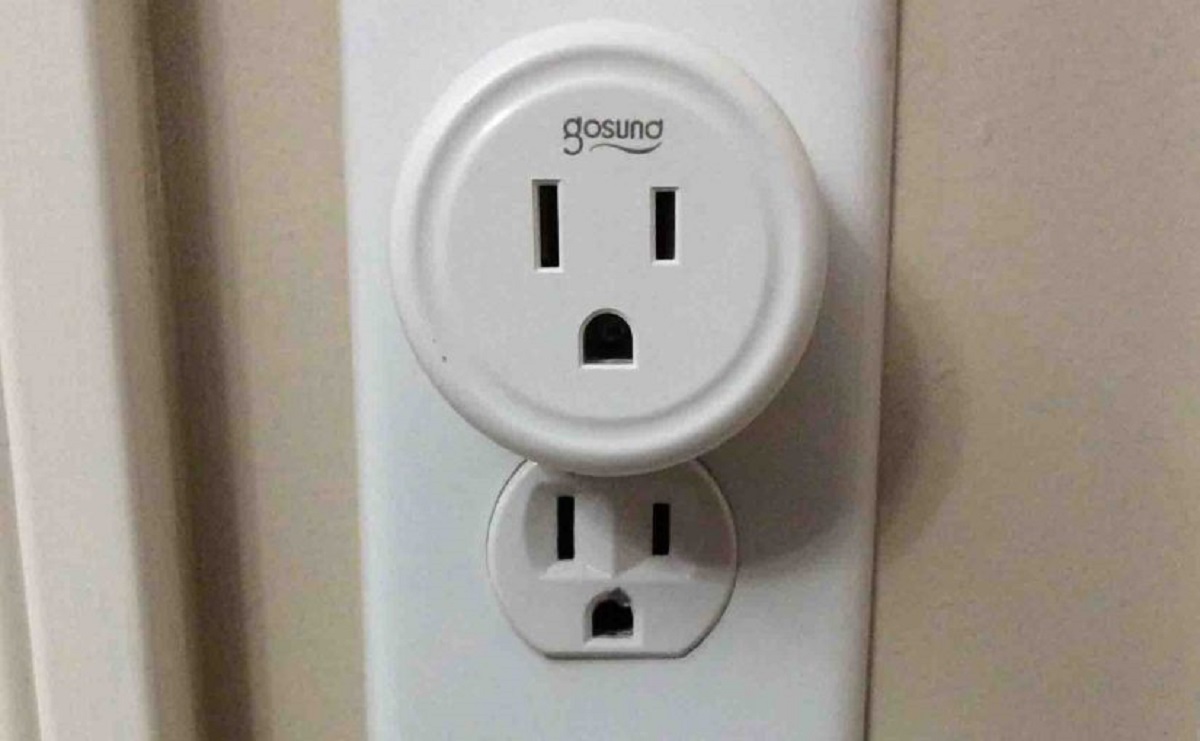
- Plug in the Smart Plug: Start by plugging your Gosund Smart Plug into a power outlet. Ensure that the outlet is easily accessible and compatible with the smart plug.
- Download the Gosund Smart Life App: Next, go to the App Store or Google Play Store on your smartphone and search for the “Gosund Smart Life” app. Download and install the app onto your device. This app will serve as the control center for your smart plug.
- Create a Gosund Smart Life account: Open the Gosund Smart Life app and create an account if you don’t already have one. This account is necessary to connect and control your Gosund Smart Plug.
- Connect your smartphone to your Wi-Fi: Ensure that your smartphone is connected to your home Wi-Fi network. This step is important as it allows your smartphone to communicate with the Gosund Smart Plug.
- Launch the Gosund Smart Life app: Open the app and sign in to your Gosund Smart Life account.
- Click on the “+” icon: Look for the “+” icon on the top right corner of the app’s main screen and tap on it. This action will prompt the app to search for new devices.
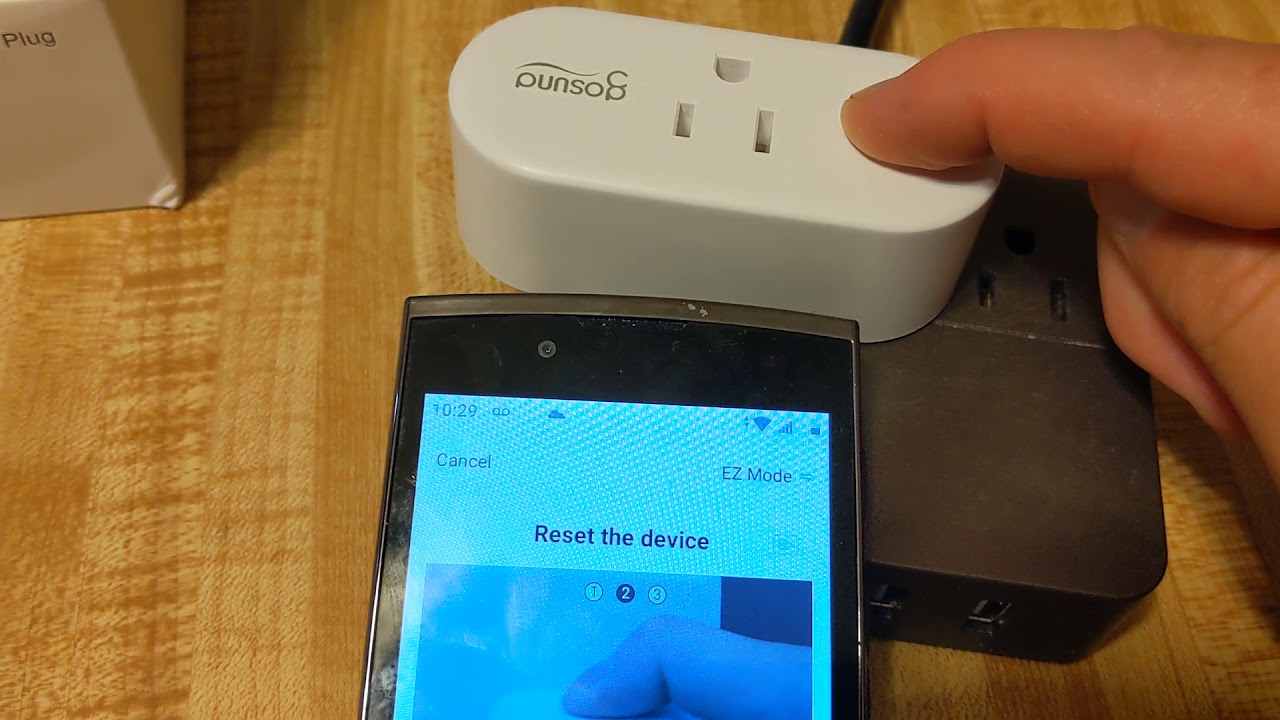
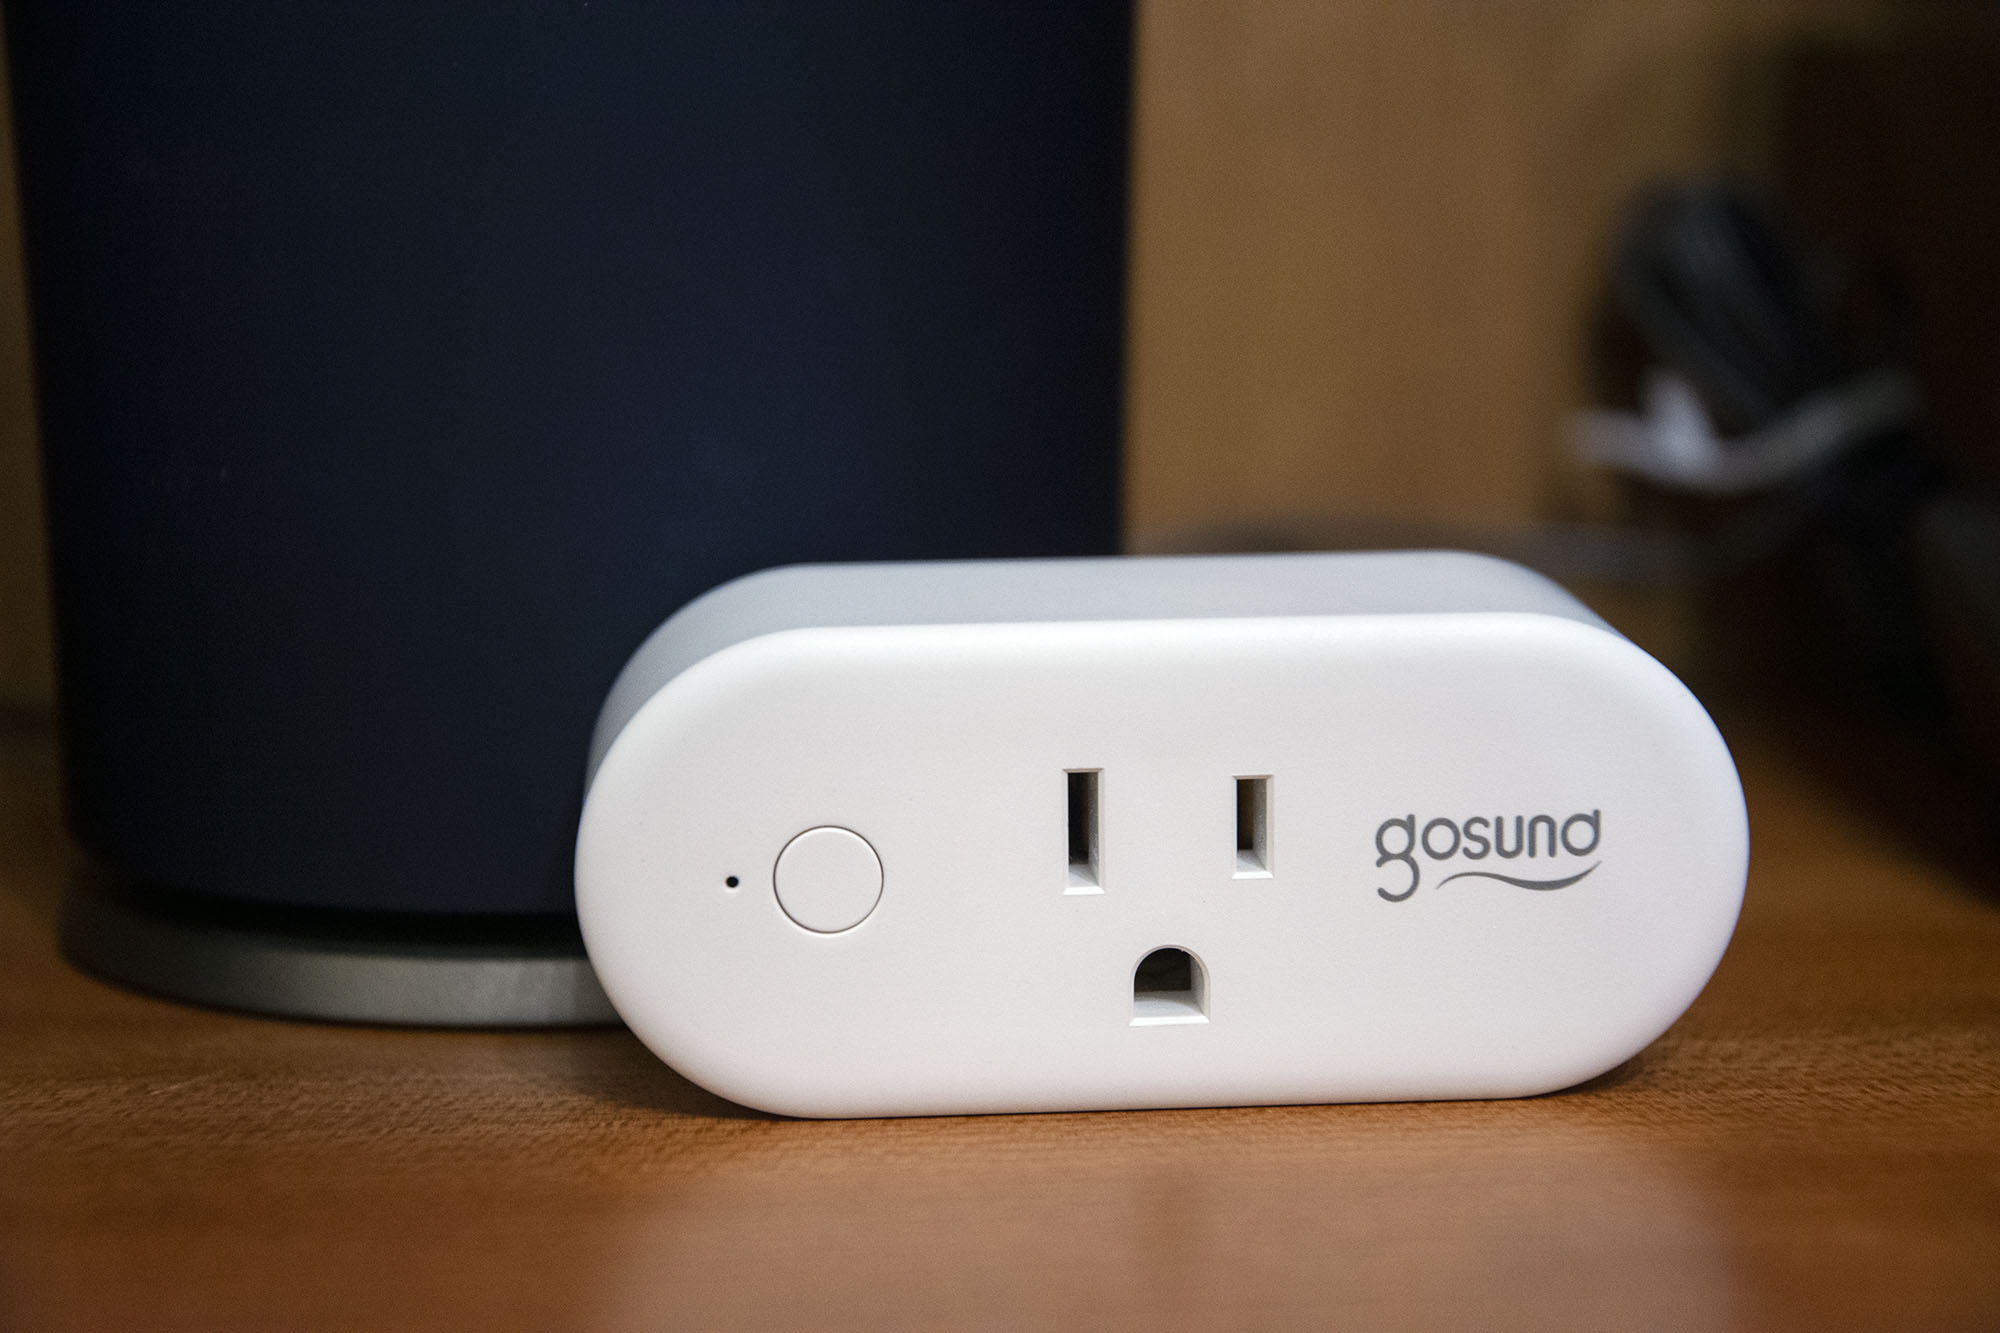
- Put the Gosund Smart Plug into pairing mode: To enable pairing mode, press and hold the power button of the smart plug for 5 seconds until the LED indicator starts flashing rapidly.
- Complete the pairing process: The Gosund Smart Plug should now appear on the app’s device discovery screen. Follow the on-screen prompts to complete the pairing process. You may be asked to enter your Wi-Fi network credentials during this step.
- Verify successful pairing: Once the pairing process is complete, you should see a confirmation message indicating that the Gosund Smart Plug is successfully connected to your Wi-Fi network.
With these steps, you have successfully set up your Gosund Smart Plug and prepared it for programming. In the next section, we will explore how to download and install the Gosund Smart Plug app to your smartphone.
Step 2: Downloading and Installing the Gosund Smart Plug App
Now that you have set up your Gosund Smart Plug, the next step is to download and install the Gosund Smart Plug app on your smartphone. This app will allow you to control and program your smart plug with ease. Follow these instructions to get started:
- Open the App Store or Google Play Store: Depending on whether you use an iOS or Android device, open the respective app store on your smartphone.
- Search for “Gosund Smart Plug” app: In the search bar of the app store, enter “Gosund Smart Plug” and look for the official app by Gosund. It should have a logo similar to the one on your smart plug’s packaging.
- Click on the download/install button: Once you have found the app, tap on the download or install button to begin the installation process. The app will be automatically downloaded and installed on your smartphone.
- Open the Gosund Smart Plug app: Once the installation is complete, locate the Gosund Smart Plug app on your smartphone’s home screen and tap on it to launch the app.
- Create or log in to your Gosund account: Upon opening the app, you may be prompted to create a new account or log in to an existing Gosund account. Follow the on-screen instructions to complete this step.
- Grant necessary permissions: In order for the app to function properly, it may require certain permissions such as accessing your Wi-Fi network or device location. Allow these permissions when prompted.
- Sign in to your Gosund account: Once the permissions are granted, sign in to the Gosund Smart Plug app using your account credentials that you created or logged in with.
- Verify device connectivity: After signing in, the app will automatically search for your Gosund Smart Plug. Make sure your smartphone is connected to the same Wi-Fi network as your smart plug for successful device connectivity.
With the Gosund Smart Plug app installed on your smartphone, you are now ready to connect and program your smart plug. In the next section, we will guide you through the process of connecting the smart plug to your Wi-Fi network.
Step 3: Connecting the Smart Plug to your Wi-Fi Network
Now that you have downloaded and installed the Gosund Smart Plug app, it’s time to connect your smart plug to your Wi-Fi network. This step is crucial to ensure seamless communication between your smartphone and the smart plug. Follow these steps to connect your Gosund Smart Plug to your Wi-Fi:
- Open the Gosund Smart Plug app: Locate the app on your smartphone’s home screen and tap on it to open.
- Access the device settings: Look for the settings or gear icon within the app’s interface, usually located in the top right or left corner. Tap on it to access the device settings.
- Select “Add Device” or similar: In the settings menu, you should find an option such as “Add Device” or “Setup New Device.” Tap on it to initiate the device connection process.
- Enter pairing mode: Follow the on-screen instructions to put your Gosund Smart Plug into pairing mode. This typically involves pressing and holding the power button on the plug until the LED starts flashing rapidly.
- Connect to the smart plug’s Wi-Fi: Once your smart plug is in pairing mode, go to your smartphone’s Wi-Fi settings. Look for a network name similar to “Gosund_XXXX” or “Smart_Plug_XXXX” (XXXX refers to a unique identifier).
- Select the smart plug’s network: Tap on the network name of your smart plug to connect your smartphone to its Wi-Fi network.
- Return to the Gosund Smart Plug app: After connecting to the smart plug’s Wi-Fi network, return to the Gosund Smart Plug app. It should detect the connection and prompt you to proceed with the setup process.
- Enter your Wi-Fi network credentials: Follow the app’s instructions to enter the SSID (network name) and password for your home Wi-Fi network. This will allow the smart plug to connect to your Wi-Fi.
- Wait for the setup to complete: The Gosund Smart Plug app will now attempt to connect your smart plug to your Wi-Fi network. This process may take a few moments, so be patient and ensure that your smartphone remains connected to the smart plug’s Wi-Fi network throughout the setup.
- Verify successful connection: Once the setup process is complete, you should receive a confirmation message indicating a successful connection between your Gosund Smart Plug and your Wi-Fi network. You can now control and program your smart plug through the app.
With your smart plug successfully connected to your Wi-Fi network, you have laid the foundation for controlling and automating your devices. In the next step, we will guide you through the process of adding your Gosund Smart Plug to the Gosund Smart Plug app.
Step 4: Adding the Gosund Smart Plug to the App
Now that your Gosund Smart Plug is connected to your Wi-Fi network, it’s time to add it to the Gosund Smart Plug app. This step ensures that you can control and monitor your smart plug directly from your smartphone. Follow these steps to add the plug to the app:
- Open the Gosund Smart Plug app: Locate the app on your smartphone’s home screen and tap on it to open it.
- Access the device settings: Look for the settings or gear icon within the app’s interface, usually located in the top right or left corner. Tap on it to access the device settings.
- Select “Add Device” or similar: In the settings menu, you should find an option such as “Add Device” or “Setup New Device.” Tap on it to initiate the device connection process.
- Choose “Plug” as the device type: From the list of available device types, select “Plug” or any other option that represents a smart plug.
- Select the Gosund Smart Plug: The app will now scan for available devices. Once it detects your Gosund Smart Plug, tap on it to select it.
- Confirm the connection: A confirmation screen will appear, showing the name and details of your Gosund Smart Plug. Double-check to ensure it matches the physical plug you’re setting up. If everything looks correct, tap on “Confirm” or “Next” to proceed.
- Choose a name for your smart plug: On the next screen, you have the option to assign a name to your smart plug. This name will help you identify and control the plug easily. Enter a descriptive name or choose from the suggested options.
- Connect the smart plug to your home network: Follow the on-screen instructions to select your home Wi-Fi network and enter the Wi-Fi password. This will allow the smart plug to connect to your Wi-Fi network for remote control and automation.
- Wait for the setup to complete: The Gosund Smart Plug app will now attempt to connect your smart plug to your Wi-Fi network. This process may take a few moments, so be patient and ensure that your smartphone remains connected to the same Wi-Fi network.
- Verify successful addition: Once the setup process is complete, you should see a confirmation message stating that your Gosund Smart Plug has been successfully added to the app. Congratulations! You can now control and customize the settings of your smart plug.
With your Gosund Smart Plug successfully added to the app, you have gained full control over its functionality. In the next step, we will explore how to program schedules and timers for your smart plug, allowing you to automate your devices for added convenience and energy efficiency.
Step 5: Programming Schedule and Timer for the Smart Plug
One of the key features of the Gosund Smart Plug is the ability to program schedules and timers. This allows you to automate the operation of your devices, making your home more energy-efficient and convenient. Follow these steps to program schedules and timers for your smart plug:
- Open the Gosund Smart Plug app: Locate the app on your smartphone’s home screen and tap on it to open it.
- Access the device settings: Look for the settings or gear icon within the app’s interface and tap on it to access the device settings for your Gosund Smart Plug.
- Choose the smart plug to program: From the list of devices associated with your account, select the Gosund Smart Plug you want to program.
- Enable the scheduling feature: In the device settings, look for an option such as “Scheduling” or “Timer.” Tap on it to access the scheduling feature for your smart plug.
- Create a new schedule or timer: Depending on your desired automation, you can choose to create a schedule or a timer. Select the option that suits your needs.
- Set the desired time: Specify the start and end time for the schedule or the desired duration for the timer. You may also have the option to select specific days of the week for recurring schedules.
- Select the device action: Choose whether you want to turn the device on or off during the scheduled time or when the timer expires.
- Save and activate the schedule or timer: Once you have configured the settings, save the schedule or timer and activate it. The smart plug will now automatically follow the programmed schedule or timer.
- Modify or delete schedules or timers: If you need to make changes to existing schedules or timers, you can do so by accessing the scheduling feature in the Gosund Smart Plug app. You can modify the timing, device action, or delete the schedule altogether.
- Enjoy the benefits of automation: With your schedules and timers programmed, you can sit back and enjoy the benefits of automation. Your devices will turn on and off based on the set schedule or timer, providing you with convenience and energy savings.
With the scheduling and timer feature of the Gosund Smart Plug, you can effortlessly automate your devices and create a more efficient and convenient living environment. In the next step, we will discuss some common troubleshooting techniques to help you resolve any issues that may arise.
Step 6: Troubleshooting Common Issues
While the Gosund Smart Plug is designed to provide a seamless experience, you may encounter some common issues during setup or usage. Don’t worry, as there are usually simple solutions to troubleshoot these problems. Here are some common issues you may encounter and their possible solutions:
- No Wi-Fi Connection: If your smart plug is not connecting to your Wi-Fi network, ensure that you have entered the correct Wi-Fi credentials and that your smartphone is connected to the same network. You may also try restarting your router and then attempting the setup process again.
- Intermittent Connectivity: If you’re experiencing intermittent or unstable connectivity with your Gosund Smart Plug, check the signal strength of your Wi-Fi network. Try moving your router closer to the smart plug or use a Wi-Fi extender to improve the signal strength in that area.
- Device Not Responding: If your smart plug is not responding to commands from the app, check if the device is correctly plugged in and turned on. You can also try restarting the plug by unplugging it from the power outlet and plugging it back in.
- App Crashing or Malfunctioning: If you’re experiencing issues with the Gosund Smart Plug app, first ensure that you have the latest version of the app installed on your smartphone. If the issue persists, try closing the app and reopening it or restarting your smartphone.
- Connection Dropping: If your smart plug frequently loses connection to the Wi-Fi network, try moving it closer to the router or using a Wi-Fi extender for better signal reception. Additionally, avoid placing the smart plug in areas with high interference from other electronic devices.
- Inability to Add the Smart Plug: If you’re unable to add your Gosund Smart Plug to the app, double-check that you have followed the setup instructions correctly. Make sure your smartphone is connected to the smart plug’s Wi-Fi network during the pairing process and that you have entered the correct Wi-Fi credentials.
- Resetting the Smart Plug: If all else fails, you can try resetting your Gosund Smart Plug to its factory settings. To do this, press and hold the power button on the plug for around 10 seconds until the LED indicator starts flashing rapidly. Then, perform the setup process again from the beginning.
If you continue to experience difficulties with your Gosund Smart Plug, it is advisable to consult the user manual or contact the Gosund customer support team for further assistance. They will be able to provide specific troubleshooting steps or offer guidance to resolve any issues you may encounter.
Remember, troubleshooting common issues is a normal part of the setup and usage process. Don’t get discouraged, as with a little patience and troubleshooting, you’ll be able to enjoy the full benefits of your Gosund Smart Plug.
Conclusion
Congratulations! You have successfully learned how to program your Gosund Smart Plug and integrate it into your smart home ecosystem. By following the step-by-step guide outlined in this article, you have gained the ability to control and automate your electrical devices, making your daily life more convenient and energy-efficient.
We started by setting up the Gosund Smart Plug, ensuring it was properly plugged in and connected to your Wi-Fi network. Then, we proceeded to download and install the Gosund Smart Plug app, which serves as the control center for your smart plug. Next, we guided you through connecting the smart plug to your Wi-Fi network, establishing a seamless connection between your smartphone and the smart plug.
Afterwards, we explored the process of adding the Gosund Smart Plug to the app, allowing you to control it directly from your smartphone. Then, we delved into programming schedules and timers for your smart plug, enabling you to automate the operation of your devices based on your preferences and daily routines.
Finally, we discussed common troubleshooting techniques to help you overcome any issues you may encounter along the way. Whether it’s connection problems, device unresponsiveness, or app malfunctions, the troubleshooting steps provided can help you resolve these issues effectively.
With the Gosund Smart Plug, you now have the power to transform your home into a smart and efficient space. Enjoy the convenience of controlling your devices remotely, optimizing energy usage, and simplifying your daily routines. Whether you’re turning on the lights before you arrive home or scheduling your coffee machine to brew a fresh cup in the morning, the Gosund Smart Plug makes it all possible.
Remember, if you ever need assistance or have questions about your Gosund Smart Plug, refer to the user manual or reach out to the Gosund customer support team for expert guidance.
Now, go ahead and unleash the full potential of your Gosund Smart Plug, and enjoy the benefits of a smarter and more connected home!