Introduction
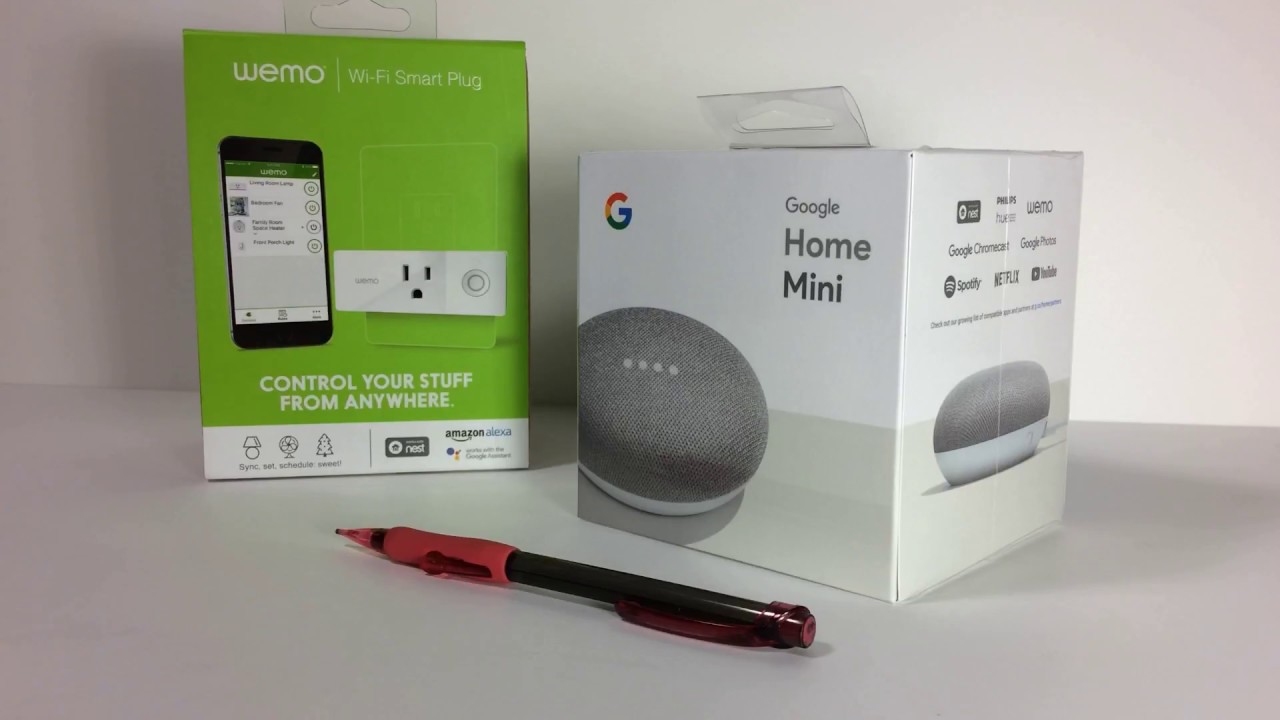
Welcome to the world of smart home automation! With the help of the Gosund Smart Plug and Google Home, you can easily control your devices with just your voice. Whether you want to turn off the lights, set the temperature, or brew a cup of coffee, this guide will show you how to set up your Gosund Smart Plug with Google Home.
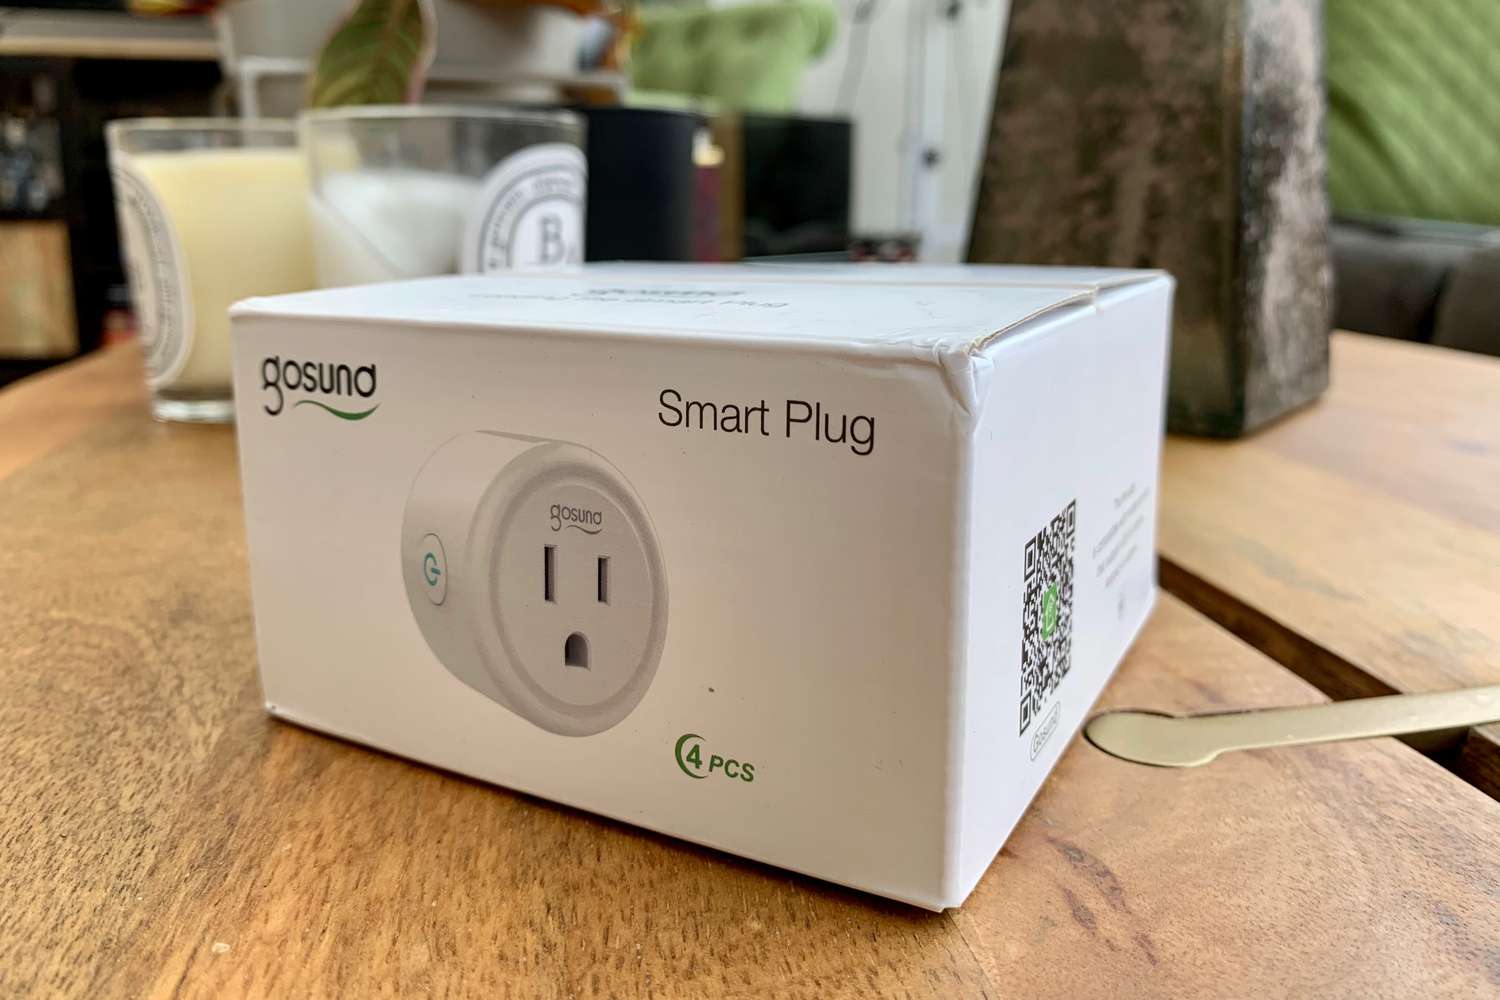
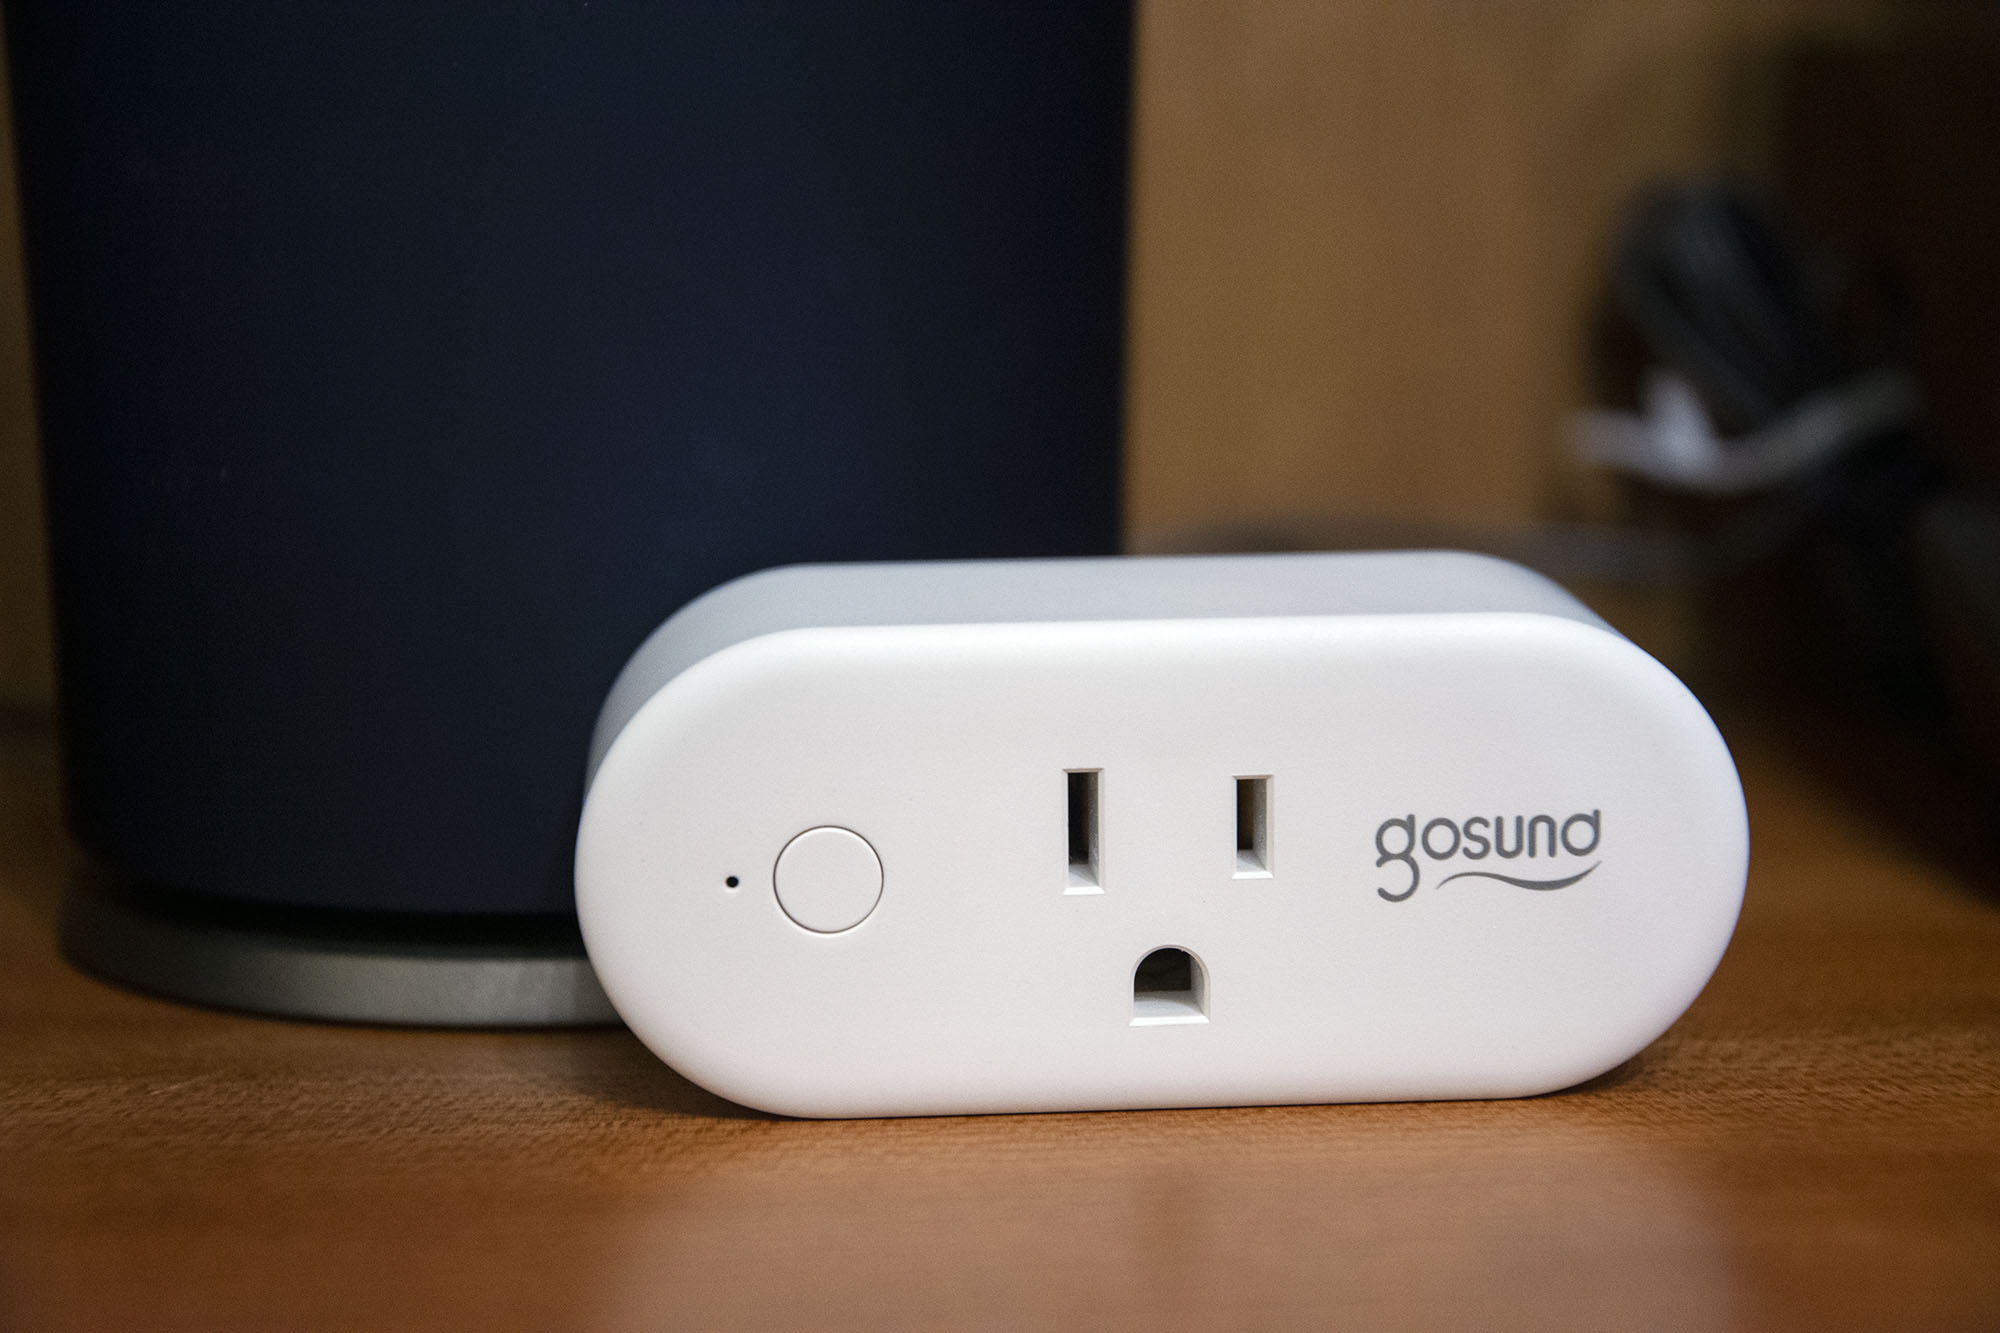
Gosund Smart Plug offers a convenient and affordable way to make your home smarter. By simply plugging your devices into the smart plug, you can control them remotely with the Gosund App or by using voice commands through Google Home.
In this step-by-step guide, we will walk you through the process of installing the Gosund Smart Plug, setting it up in the Gosund App, and connecting it to Google Home. We will also cover troubleshooting tips to help you overcome any potential obstacles along the way.
So, whether you’re a smart home enthusiast or new to the world of home automation, let’s dive in and get your Gosund Smart Plug up and running with Google Home!
Step 1: Install the Gosund Smart Plug
Before you can start enjoying the convenience of controlling your devices with the Gosund Smart Plug and Google Home, you need to install the smart plug itself. Here’s a step-by-step guide to help you through the installation process:
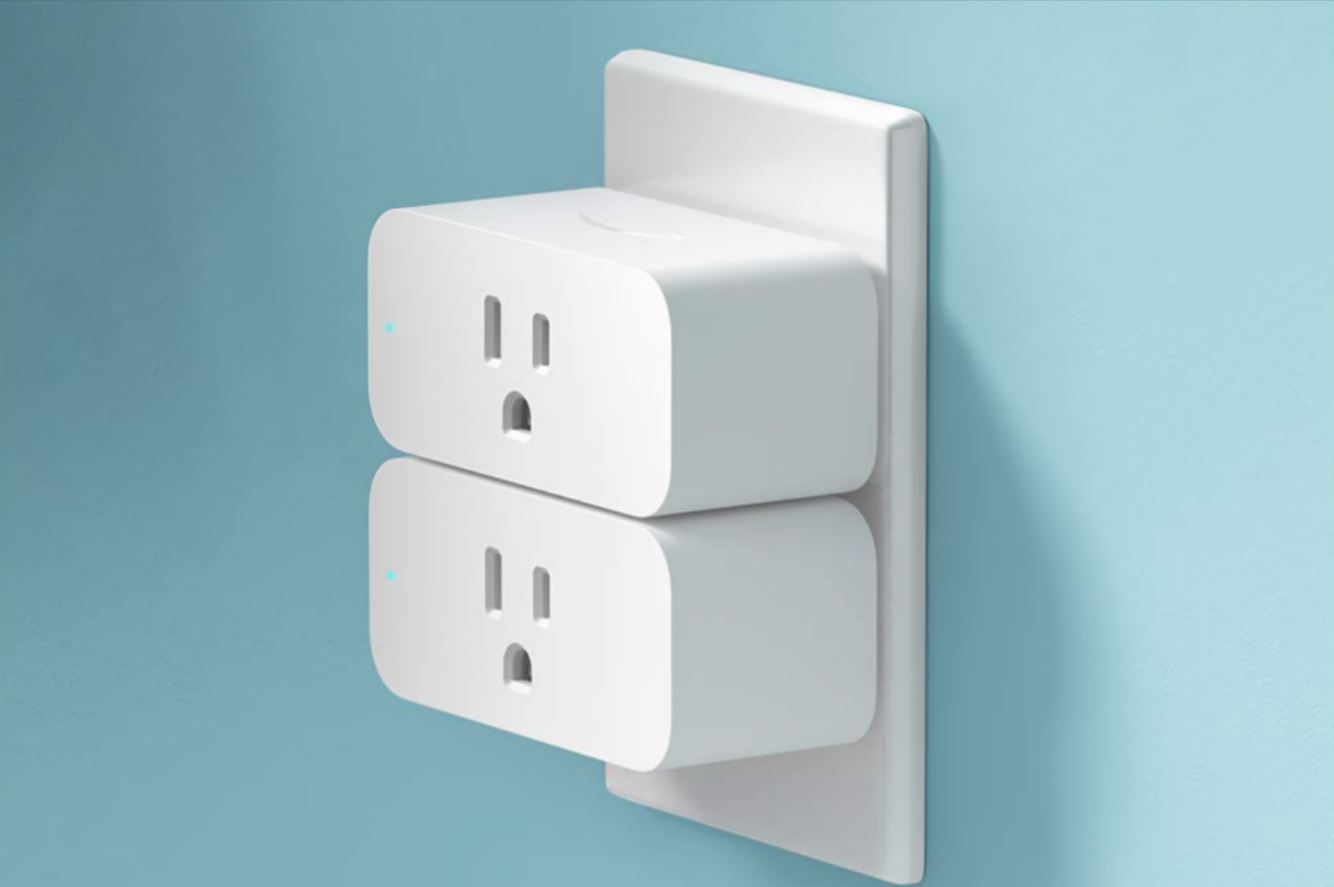
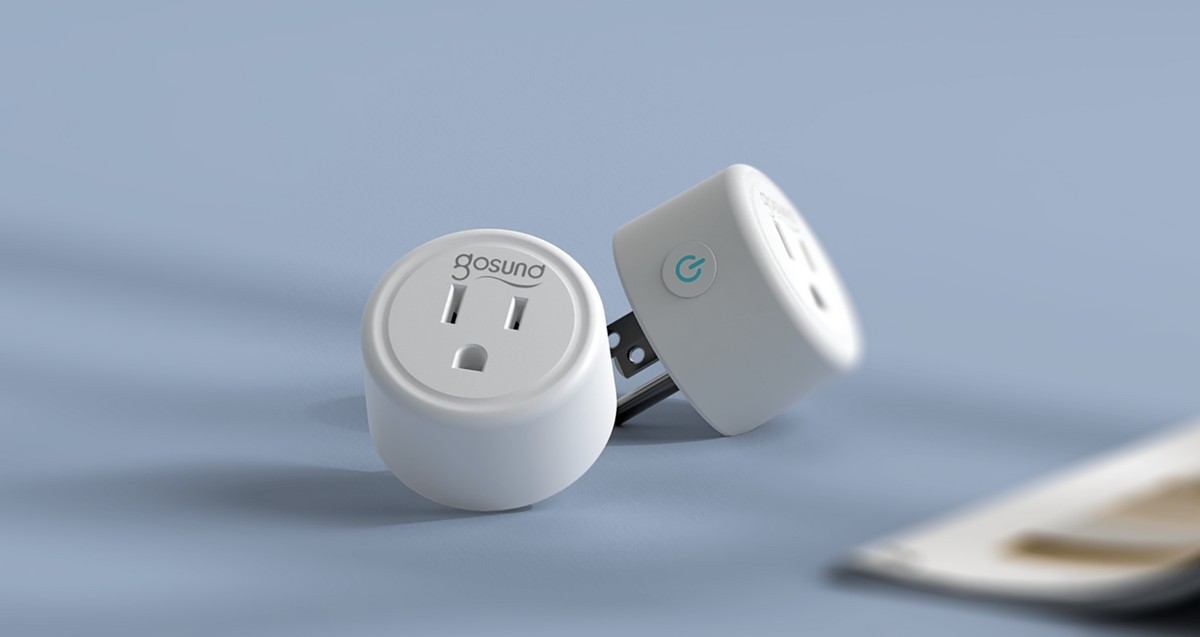
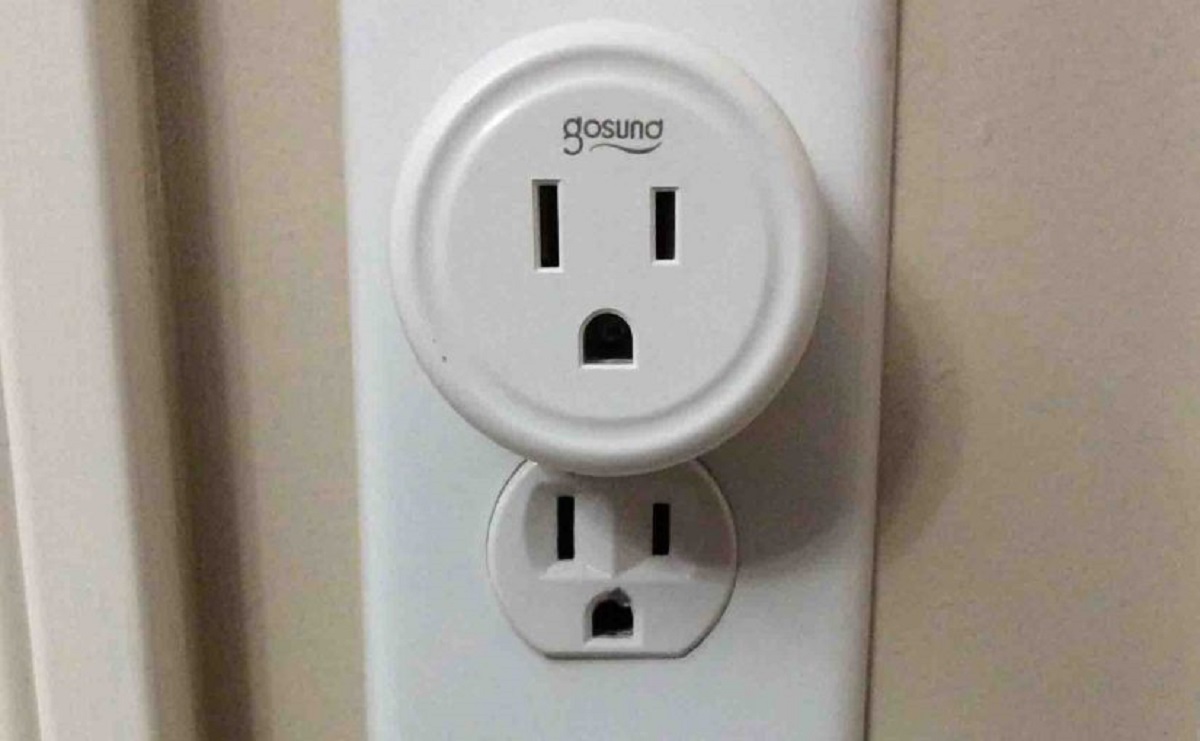
- First, locate an available power outlet near the device you wish to control. It could be a lamp, a fan, or any other compatible appliance.
- Next, plug the Gosund Smart Plug into the power outlet. Ensure that the plug is securely connected and that it fits snugly into the socket.
- Make sure the device you want to control is turned off or in the standby mode.
- Once the Smart Plug is connected to the power source, you’ll find a power button or a switch on the side of the device. Press it to power on the Smart Plug.
- Wait a few seconds for the Smart Plug to initialize. You’ll see a light indicator on the device, typically blinking or turning solid when it’s ready for setup.
- With the installation complete, you can now move on to the next steps and start connecting the Gosund Smart Plug to your Wi-Fi network.
Installing the Gosund Smart Plug is a simple process that only takes a few moments to complete. Once you have successfully installed the device, you’ll be one step closer to enjoying the benefits of a smart home ecosystem. Now, it’s time to move on to the next step: downloading the Gosund App.
Step 2: Download the Gosund App
In order to set up and control your Gosund Smart Plug, you’ll need to download and install the Gosund App on your smartphone or tablet. The Gosund App is available for both iOS and Android devices and can be found in the respective app stores.
Follow these steps to download the Gosund App:
- Open the App Store (for iOS) or the Google Play Store (for Android) on your device.
- Tap on the search bar and type in “Gosund App”.
- Look for the official Gosund App and tap on it to open the app page.
- Tap the “Install” (for iOS) or “Download” (for Android) button to start downloading the app.
- Wait for the app to download and install on your device. This may take a few moments depending on your internet connection speed.
- Once the app is installed, tap on the app icon to open it.
Great! You now have the Gosund App successfully installed on your device. In the next step, we’ll guide you through the process of connecting your Gosund Smart Plug to your Wi-Fi network.
Step 3: Connect the Smart Plug to Wi-Fi
Now that you have the Gosund App installed on your device, it’s time to connect your Gosund Smart Plug to your Wi-Fi network. This will allow you to control the smart plug remotely and integrate it with Google Home. Follow these steps to connect your Smart Plug to Wi-Fi:
- Open the Gosund App on your device.
- Sign in to your Gosund account. If you don’t have an account, you’ll need to create one.
- Once logged in, tap the “Add Device” button in the app. It may be labeled differently, but it should be easy to identify.
- Choose “Electrical Outlet” or “Smart Plug” from the list of device options.
- Next, make sure your Gosund Smart Plug is in the pairing mode. This can usually be done by pressing and holding the power button for a few seconds until the light on the plug starts flashing rapidly.
- In the Gosund App, select your Wi-Fi network from the available networks list.
- Enter your Wi-Fi network password and wait for the app to establish a connection with the Smart Plug.
- Once the connection is successful, you will see a confirmation message in the app.
It is important to note that the steps described above may vary slightly depending on the version of the Gosund App you are using. However, the general process remains the same. Following these steps will ensure a successful Wi-Fi connection for your Gosund Smart Plug.
Now that your Smart Plug is connected to Wi-Fi, the next step is to set it up within the Gosund App. This will allow you to control the plug directly from the app before integrating it with Google Home.
Step 4: Set Up the Gosund Smart Plug in the Gosund App
After successfully connecting your Gosund Smart Plug to your Wi-Fi network, the next step is to set it up within the Gosund App. This will enable you to control the smart plug directly from the app. Follow these steps to complete the setup:
- Open the Gosund App on your device and make sure you are logged in.
- Select the “Devices” tab at the bottom of the screen.
- Tap on the “Add Device” button or the plus (+) symbol.
- Choose the type of device you want to set up. In this case, select “Electrical Outlet” or “Smart Plug”.
- Follow the on-screen instructions to complete the device setup. This may involve naming the device, assigning it to a specific room, or setting up schedules or timers.
- Once the setup process is complete, you will see the Gosund Smart Plug listed in the app’s device section.
During the setup process, you can customize the settings for your Gosund Smart Plug, such as creating schedules for turning the plugged-in devices on or off at specific times. You can also assign the smart plug to a specific room within your home, making it easier to manage multiple devices.
By setting up your Gosund Smart Plug in the Gosund App, you can now control the plug directly from the app. But why stop there? Let’s continue to the next step and integrate the smart plug with Google Home for voice control and automation.
Step 5: Link Google Home to the Gosund App
In this step, we will show you how to link Google Home to the Gosund App to enable voice control and automation of your Gosund Smart Plug. By integrating the two platforms, you will be able to control your devices using simple voice commands. Follow these steps to link Google Home to the Gosund App:
- Open the Google Home app on your device.
- Tap on the “+” icon or “Add” button to add a new device.
- Select “Set Up Device” from the options.
- Choose “Have something already set up?” or “Works with Google” from the list.
- Look for and select the “Gosund” option.
- Sign in to your Gosund account using the same credentials you used in the Gosund App.
- Authorize Google Home to access your Gosund devices.
- Wait for Google Home to scan for and import your Gosund Smart Plug.
- Once the device is successfully imported, give it a unique name for easy identification.
Now that your Google Home and Gosund App are linked, you can start using voice commands to control your devices. For example, you can say “Hey Google, turn on the living room lamp” or “Hey Google, turn off the kitchen fan.”
With the integration complete, you can also set up routines and automation within the Google Home app. This allows you to create custom commands or schedules for your Gosund Smart Plug and other connected devices, making your smart home experience even more convenient and streamlined.
Now that you have successfully linked Google Home to the Gosund App, let’s move on to the next step and add the Gosund Smart Plug to your Google Home device.
Step 6: Add the Gosund Smart Plug to Google Home
Now that you have linked Google Home to the Gosund App, it’s time to add your Gosund Smart Plug to your Google Home device. This will enable seamless control of your smart plug using voice commands and the Google Home app. Follow these steps to add the Gosund Smart Plug to Google Home:
- Open the Google Home app on your device.
- Tap on the “+” icon or “Add” button to add a new device.
- Select “Set Up Device” from the options.
- Choose “Have something already set up?” or “Works with Google” from the list.
- Scroll through the list and look for “Gosund”. Tap on it to proceed.
- Sign in to your Gosund account if prompted.
- Authorize Google Home to access your Gosund devices.
- Wait for Google Home to scan for and import your Gosund Smart Plug.
- Once the device is successfully imported, give it a unique name for easy identification within your Google Home ecosystem.
Once you have added the Gosund Smart Plug to your Google Home, you will be able to control it using voice commands. For example, you can say “Hey Google, turn on the bedroom lamp” or “Hey Google, turn off the living room fan”. Additionally, you can control the smart plug using the Google Home app on your smartphone or tablet.
With the Gosund Smart Plug successfully added to Google Home, you now have seamless control of your devices and can enjoy the added convenience of voice-activated automation. Let’s move on to the next step to learn how to control the Gosund Smart Plug with Google Home.
Step 7: Control the Gosund Smart Plug with Google Home
Now that you have successfully linked and added the Gosund Smart Plug to your Google Home, it’s time to explore how to control the smart plug using voice commands and the Google Home app. Here are a few ways to control the Gosund Smart Plug with Google Home:
1. Voice Commands:
Using your Google Home device, simply say “Hey Google” followed by your command. For example:
- “Hey Google, turn on/off [device name].”
- “Hey Google, set the [device name] to [percentage] brightness.”
- “Hey Google, increase/decrease the [device name] temperature.”
2. Google Home App:
You can also control the Gosund Smart Plug using the Google Home app on your smartphone or tablet. Open the app, find the device in your list of devices, and tap on it to access the controls. From there, you can turn the device on or off, adjust brightness or temperature, and set schedules or timers.
3. Routines and Automations:
Take advantage of customizable routines and automations within the Google Home app to create a seamless and personalized smart home experience. You can create routines to perform multiple actions with a single command, or automate your devices based on specific triggers or schedules.
By using voice commands, the Google Home app, and leveraging the power of routines and automations, you have full control over your Gosund Smart Plug and can effortlessly manage your devices in your smart home ecosystem.
Now that you know how to control the Gosund Smart Plug with Google Home, let’s move on to the final step: troubleshooting tips to help you overcome any potential issues you may encounter.
Step 8: Troubleshooting Tips
While setting up and using your Gosund Smart Plug with Google Home is usually a seamless experience, you may encounter some issues along the way. Here are a few troubleshooting tips to help you resolve common problems:
1. Check Wi-Fi Connection:
Ensure that your Wi-Fi network is working properly and that your Gosund Smart Plug is within range of the Wi-Fi router. If the connection is weak or unstable, it may cause issues with controlling the smart plug.
2. Restart Devices:
Try restarting your Gosund Smart Plug, Google Home device, and smartphone or tablet. Sometimes a simple restart can resolve any temporary glitches or connectivity issues.
3. Reset the Smart Plug:
If you are still having issues, you may need to reset the Gosund Smart Plug. Refer to the manufacturer’s instructions on how to reset the device. Typically, this involves pressing and holding the power button for a certain period of time.
4. Check Firmware Updates:
Ensure that the Gosund Smart Plug and Google Home app are up to date with the latest firmware or software updates. New updates often include bug fixes and improvements that can resolve compatibility issues.
5. Double-check Account Integration:
Make sure your Gosund account is properly linked and authorized within the Google Home app. Sometimes, a reauthorization is needed to establish a secure connection between the two platforms.
6. Contact Customer Support:
If you have tried the above troubleshooting steps and are still facing issues, don’t hesitate to reach out to Gosund’s customer support. They can provide personalized assistance and help troubleshoot any specific problems you may be experiencing.
Remember that troubleshooting steps may vary depending on your specific setup and devices. It’s always a good idea to consult the user manuals or official support documentation for more detailed instructions.
By following these troubleshooting tips, you should be able to overcome common issues and ensure a smooth and hassle-free experience when using your Gosund Smart Plug with Google Home.
Conclusion
Congratulations! You have successfully set up your Gosund Smart Plug with Google Home, bringing the convenience of voice control and automation to your home. By following the step-by-step guide, you have learned how to install the smart plug, download the Gosund App, connect the plug to your Wi-Fi network, and integrate it with Google Home.
With your Gosund Smart Plug connected to Google Home, you now have the power to control your devices with just your voice. Whether you want to turn on the lights, adjust the temperature, or schedule your coffee maker to start brewing, the possibilities are endless.
Remember to explore the customization options offered by the Gosund App and the Google Home app. Create routines, set schedules, and explore automation features to streamline your smart home experience even further. With a few simple voice commands or a tap on your smartphone, you can effortlessly manage all your connected devices.
If you encounter any issues along the way, refer back to the troubleshooting tips provided in this guide. Wi-Fi connectivity, firmware updates, and account integration are common areas to check when troubleshooting any connectivity issues.
Enjoy the benefits of a smart home ecosystem powered by the Gosund Smart Plug and Google Home. Embrace the convenience, energy efficiency, and modernity that home automation brings to your daily life. Sit back, relax, and let your voice command your surroundings.
Thank you for following this guide, and we hope you found it helpful in setting up your Gosund Smart Plug with Google Home. Embrace the power of smart living and enjoy the seamless control of your devices!