Introduction
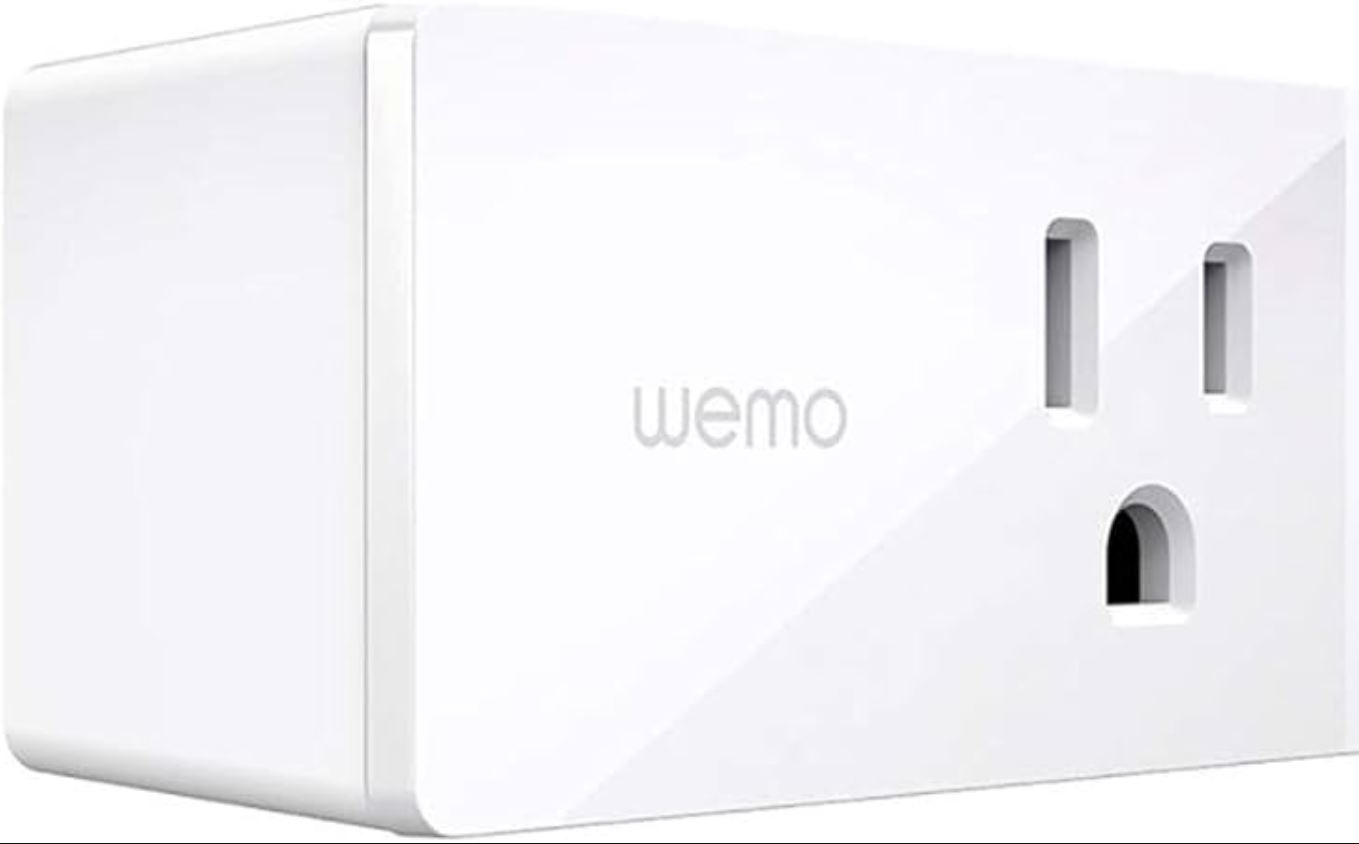
The Wemo Smart Plug is an innovative device that allows you to control your electrical devices from anywhere using your smartphone or voice commands. With its seamless integration with popular voice assistants like Amazon Alexa and Google Assistant, the Wemo Smart Plug offers a convenient and efficient way to automate your home.
In this article, we will guide you through the step-by-step process of installing the Wemo Smart Plug. Whether you’re a tech-savvy individual or a beginner, this comprehensive guide will walk you through the setup process, ensuring that you can start enjoying the benefits of a smart home in no time.
The Wemo Smart Plug is an ideal solution for those looking to turn traditional devices into smart devices without the need for complex installations or rewiring. With its sleek design and user-friendly interface, the Wemo Smart Plug seamlessly blends into any home decor while offering a wide range of features.
By the end of this guide, you will have a clear understanding of how to unbox and set up the Wemo Smart Plug, connect it to your Wi-Fi network, and control it using the Wemo app. Additionally, we will explore how to integrate the Wemo Smart Plug with popular voice assistants, giving you the ability to control your devices with simple voice commands.
So, gather your Wemo Smart Plug and get ready to transform your home into a smart, connected space. Let’s dive into the step-by-step installation process and discover the endless possibilities the Wemo Smart Plug has to offer.
Step 1: Unboxing the Wemo Smart Plug
Before we begin setting up your Wemo Smart Plug, the first step is to unbox the device and familiarize yourself with its components. Here’s what you’ll find inside the box:
1. Wemo Smart Plug: This is the main device that you will be setting up and connecting to your electrical devices.
2. User Manual: The user manual provides detailed instructions on how to set up and use the Wemo Smart Plug. Take some time to review it.
3. Power Cable: The power cable is used to connect the Wemo Smart Plug to a power source.
Now, let’s proceed with unboxing the Wemo Smart Plug. Carefully remove all the components from the packaging. Take a moment to inspect the device for any visible damage. If you notice any issues, contact the manufacturer for support or to arrange a replacement.
Once you have ensured that the device is in good condition, set aside the user manual for reference during the setup process. Familiarizing yourself with the user manual will help you understand the various features and functions of the Wemo Smart Plug.
Now that you have unboxed the Wemo Smart Plug and reviewed the user manual, you’re ready to move on to the next step: connecting the Wemo Smart Plug to power.
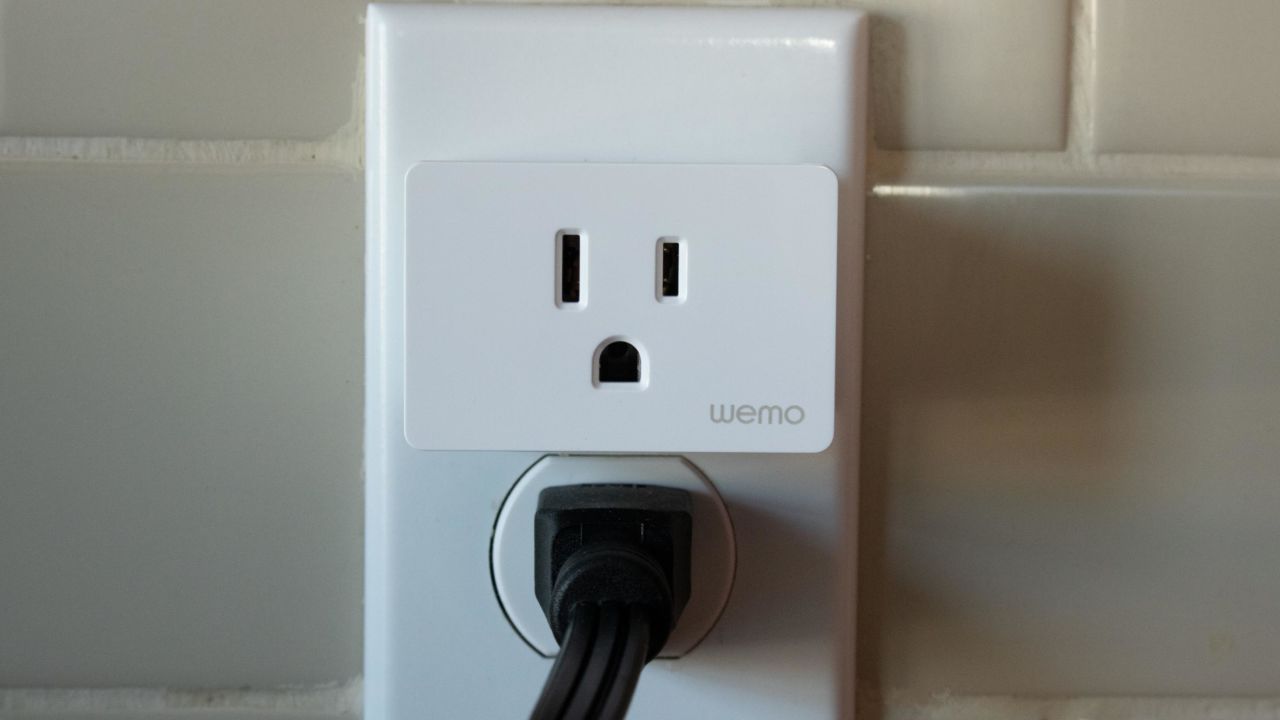
Step 2: Connecting the Wemo Smart Plug to Power
Now that you have unboxed the Wemo Smart Plug, it’s time to connect it to a power source. Follow these simple steps to ensure a proper connection:
1. Locate an electrical outlet: Choose a convenient location near the device you want to control. Ensure that the outlet is easily accessible and not blocked by furniture or other objects.
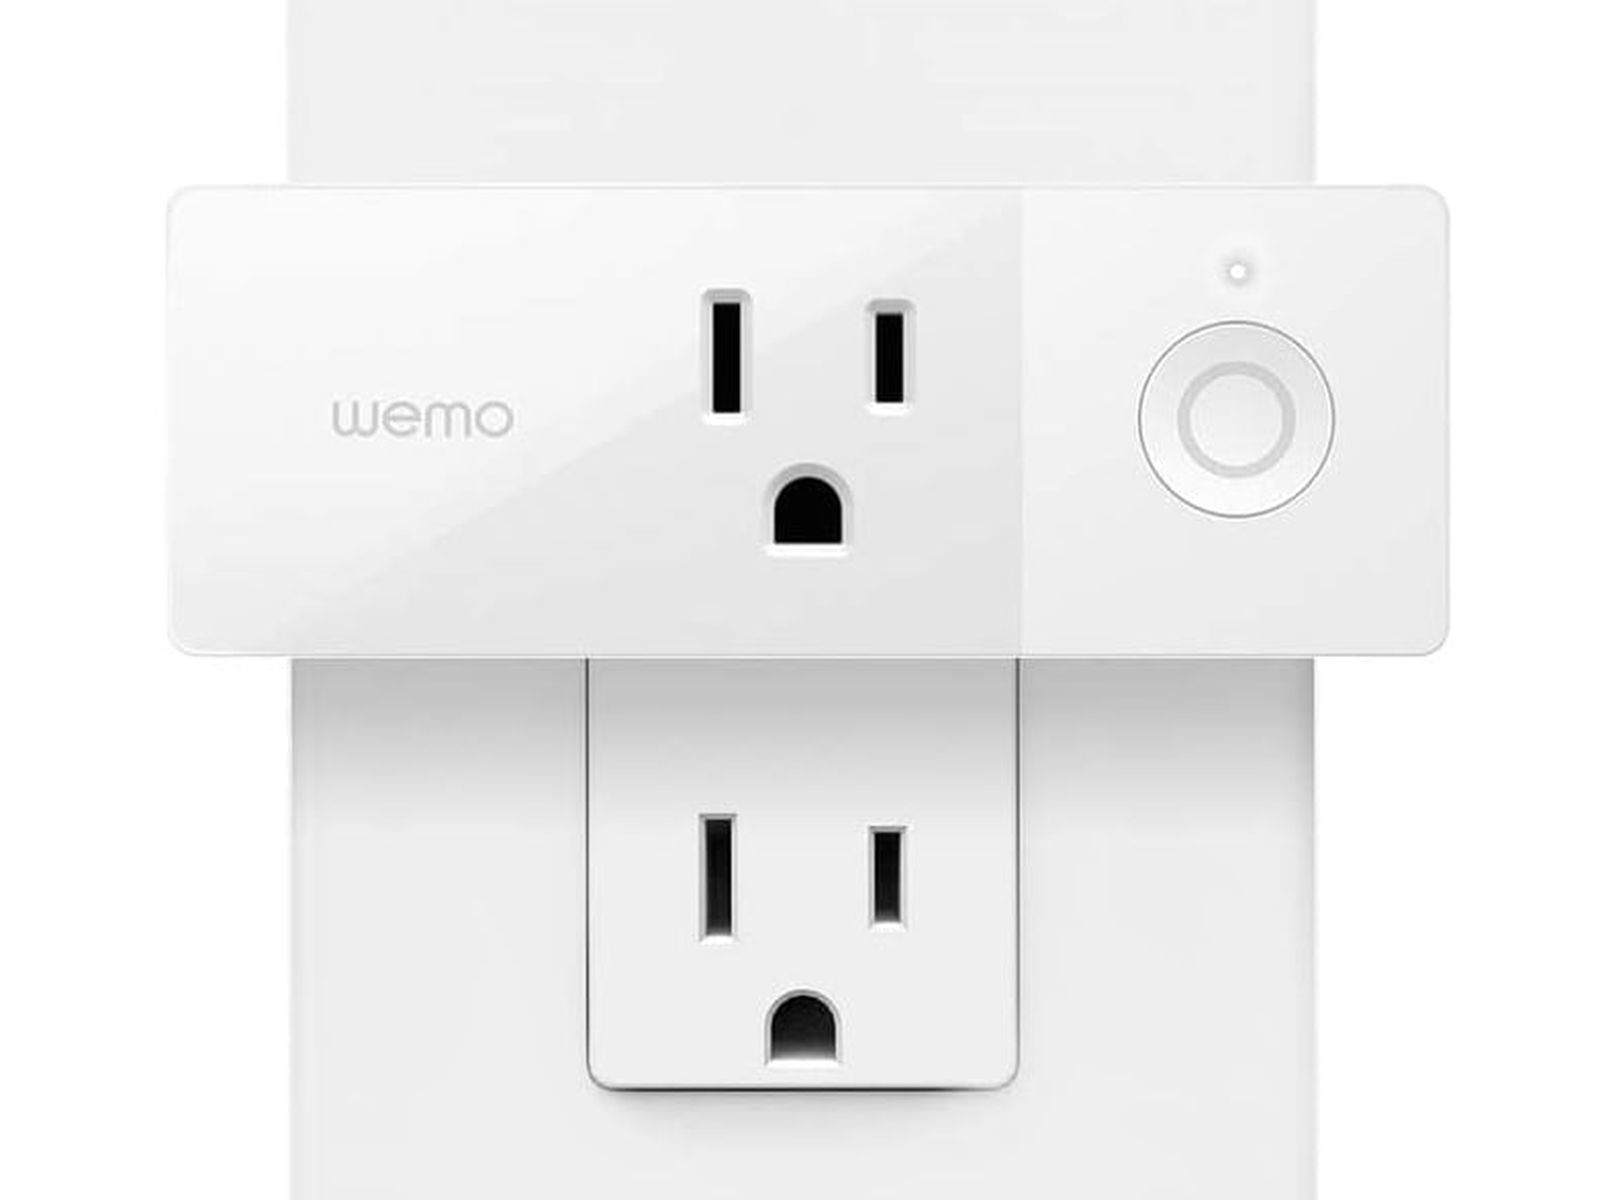
2. Plug in the Wemo Smart Plug: Take the power cable that came with the device and insert one end into the power port on the Wemo Smart Plug. Then, plug the other end into the electrical outlet.
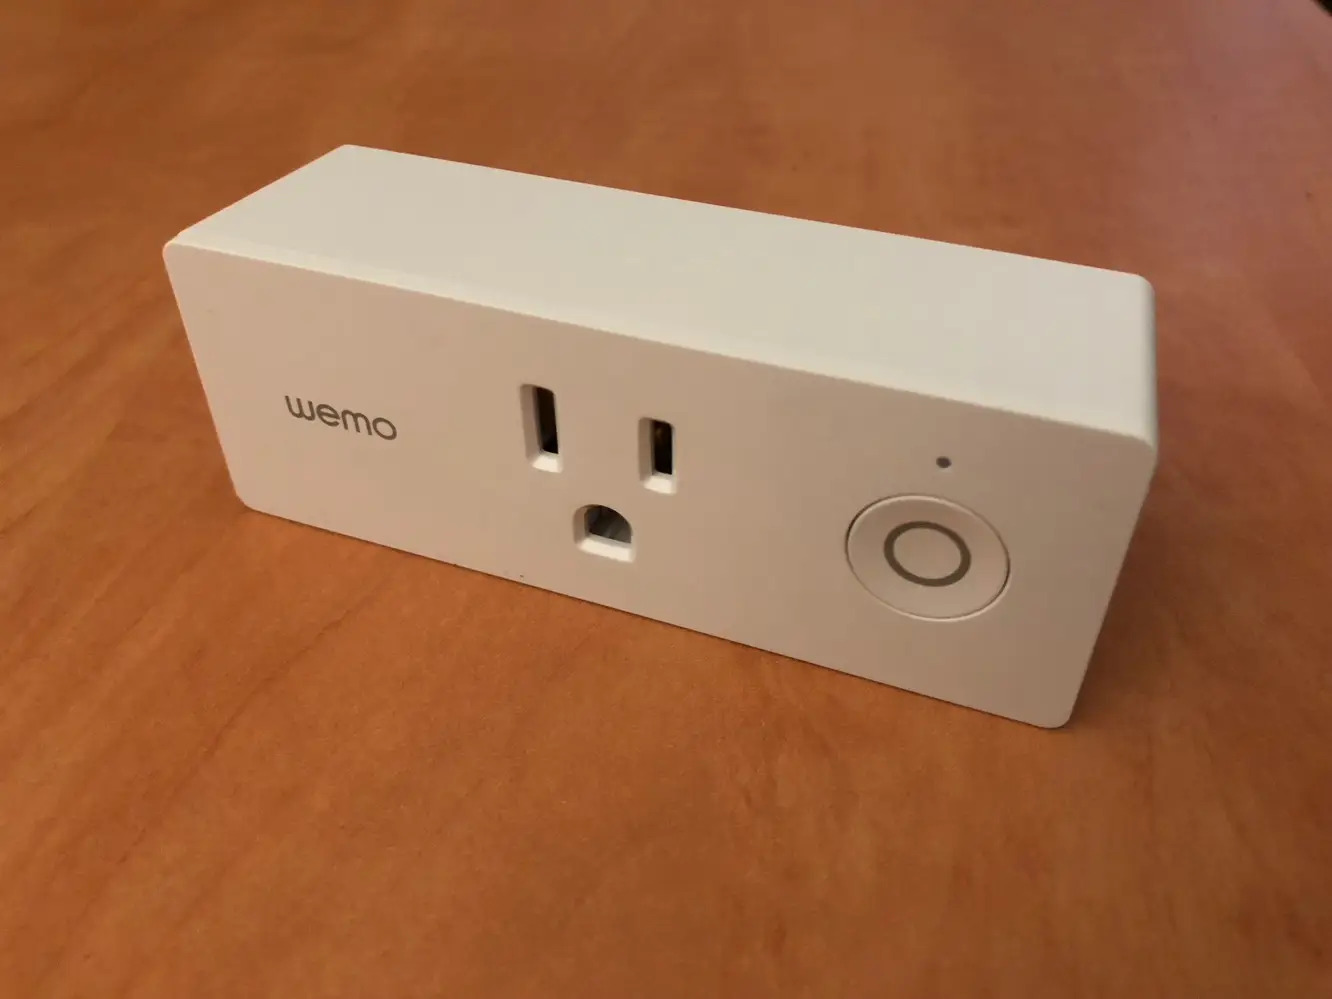
3. Power on the Wemo Smart Plug: Look for the power button on the side or front of the Wemo Smart Plug. Press and hold the power button for a few seconds until the LED indicator starts flashing. This indicates that the device is in setup mode.
4. Check the LED indicator: Once the LED indicator starts flashing, it means that the Wemo Smart Plug is ready to be connected to your Wi-Fi network.
It’s important to note that the LED indicator may have different colors or patterns, depending on the specific model of the Wemo Smart Plug. Refer to the user manual for more information on the LED indicator status.
By following these steps, you have successfully connected the Wemo Smart Plug to a power source. The next step is to download the Wemo app on your smartphone or tablet to continue with the setup process. In the next section, we will guide you through the process of downloading the Wemo app.
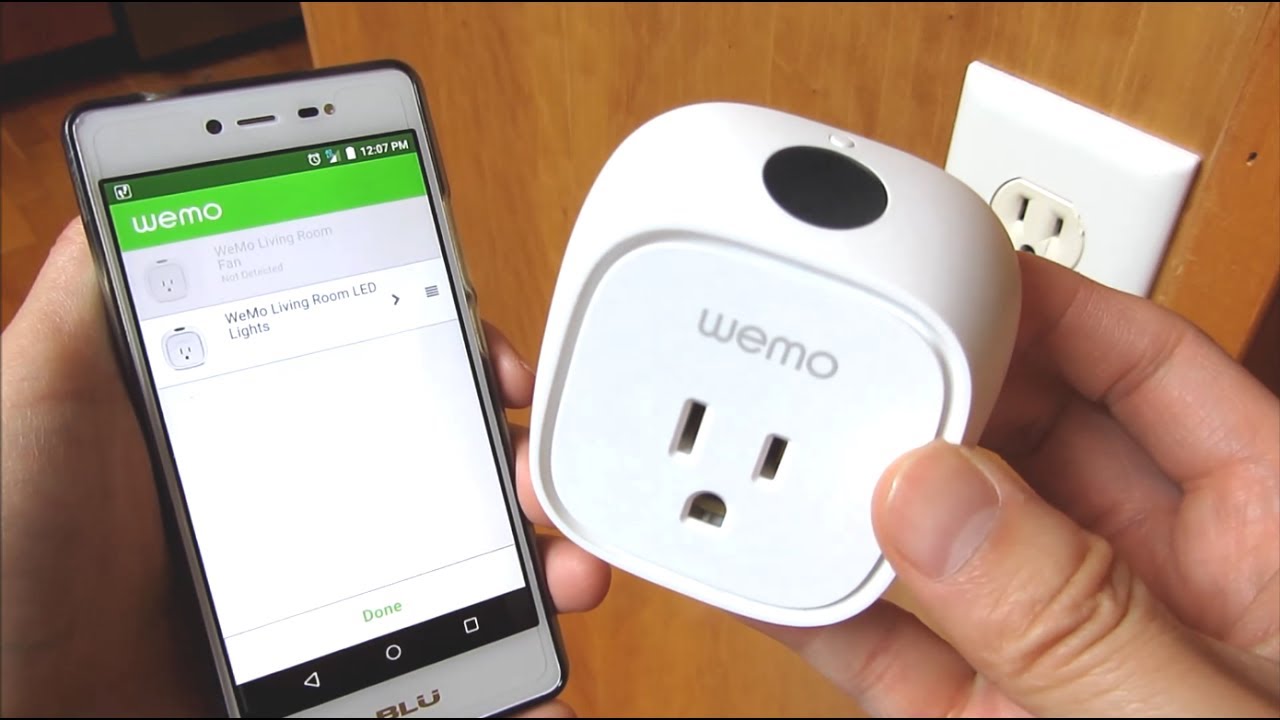
Step 3: Downloading the Wemo App
To control and set up your Wemo Smart Plug, you will need to download the Wemo app, available for both iOS and Android devices. The Wemo app provides a user-friendly interface that allows you to connect and manage your Wemo devices effortlessly. Follow these steps to download and install the Wemo app:
1. Open your device’s app store: Locate the app store on your smartphone or tablet. On iOS devices, it’s the App Store, while on Android devices, it’s the Google Play Store.
2. Search for the Wemo app: Once you have opened the app store, use the search bar to find the Wemo app. Simply type in “Wemo” and look for the official Wemo app developed by Belkin International.
3. Download and install the app: When you find the Wemo app, tap on the “Download” or “Install” button. The app will begin downloading and installing automatically. Make sure you have a stable internet connection to ensure a smooth installation process.
4. Launch the Wemo app: After the installation is complete, locate the Wemo app on your device’s home screen or app drawer. Tap on the app icon to launch it.
Now that you have successfully downloaded the Wemo app, you are one step closer to setting up and controlling your Wemo Smart Plug. In the next section, we will guide you through the process of connecting the Wemo Smart Plug to your Wi-Fi network.
Step 4: Connecting the Wemo Smart Plug to Wi-Fi
Connecting your Wemo Smart Plug to your Wi-Fi network is an essential step in the setup process. Follow these steps to ensure a successful connection:
1. Launch the Wemo app: Open the Wemo app on your smartphone or tablet. If prompted, sign in or create a Wemo account.
2. Add a new device: In the Wemo app, tap on the “+” icon or the “Add a Device” button to add a new device to your account.
3. Put the Wemo Smart Plug in setup mode: To enter setup mode, press and hold the physical reset button on the Wemo Smart Plug until the LED indicator starts to blink rapidly. This indicates that the device is ready to be connected to your Wi-Fi network.
4. Connect your smartphone to the Wemo setup network: Access your device’s Wi-Fi settings and look for the Wemo setup network. It should be named something like “Wemo.Setup.XXX”. Connect to this network.
5. Return to the Wemo app: After connecting your device to the Wemo setup network, go back to the Wemo app. It should automatically detect the available Wemo devices.
6. Select your Wi-Fi network: In the Wemo app, choose your Wi-Fi network from the list of available networks. Enter the password for your Wi-Fi network when prompted.
7. Wait for the connection: The Wemo app will now attempt to connect the Wemo Smart Plug to your Wi-Fi network. This process may take a few moments. Ensure that your smartphone or tablet remains connected to the Wemo setup network during this time.
8. Confirmation message: Once the Wemo Smart Plug has successfully connected to your Wi-Fi network, you will receive a confirmation message in the Wemo app.
Congratulations! You have now successfully connected your Wemo Smart Plug to your Wi-Fi network. In the next section, we will guide you through the process of setting up the Wemo Smart Plug and exploring its various features through the Wemo app.
Step 5: Setting up the Wemo Smart Plug
Now that you have connected your Wemo Smart Plug to your Wi-Fi network, it’s time to set it up and explore its various features through the Wemo app. Follow these steps to complete the setup process:
1. Launch the Wemo app: Open the Wemo app on your smartphone or tablet. If you had closed the app, make sure to relaunch it.
2. Verify the device connection: In the Wemo app, you should see the newly connected Wemo Smart Plug listed. Tap on the device to proceed.
3. Assign a name to the device: To easily identify your Wemo Smart Plug, assign it a unique name. This can be something like “Living Room Lamp” or “Bedroom Fan.” Choose a name that reflects the device connected to the Wemo Smart Plug.
4. Assign a room to the device (optional): If you have multiple Wemo devices in different rooms, you can assign your Wemo Smart Plug to a specific room in the app. This will help you organize and control devices more efficiently.
5. Configure device settings: The Wemo app offers various settings and options for your Wemo Smart Plug. Some common settings include scheduling, timers, and power consumption tracking. Explore the different options and customize the settings according to your preferences.
6. Test the device control: Once you have set up the Wemo Smart Plug, it’s time to test its functionality. Tap on the device in the Wemo app to turn it on or off. Make sure that the connected device responds to the command.
7. Repeat for additional devices (if applicable): If you have multiple Wemo Smart Plugs, repeat the above steps for each device.
By following these steps, you have successfully set up your Wemo Smart Plug and configured it through the Wemo app. You can now control and automate your connected devices conveniently from anywhere using your smartphone or tablet. In the next section, we will explore how to control the Wemo Smart Plug using the Wemo app.
Step 6: Controlling the Wemo Smart Plug with the Wemo App
Once you have set up your Wemo Smart Plug, you can easily control your connected devices using the intuitive Wemo app. Follow these steps to control your Wemo Smart Plug:
1. Launch the Wemo app: Open the Wemo app on your smartphone or tablet.
2. Access your device: In the app, find the Wemo Smart Plug you want to control and tap on it.
3. Control on/off: On the device screen, you will find a power button or toggle switch. Tap on it to turn the device connected to the Wemo Smart Plug on or off.
4. Adjust settings: In addition to controlling on/off, the Wemo app allows you to adjust various settings for your Wemo Smart Plug. This includes scheduling, timers, and power consumption tracking. Explore the different options and customize the settings to suit your needs.
5. Group devices (optional): If you have multiple Wemo Smart Plugs, you can create device groups in the Wemo app. This allows you to control multiple devices simultaneously with a single command.
6. Enable remote access: To control your Wemo Smart Plug when you’re away from home, ensure that remote access is enabled in the Wemo app settings. This will allow you to control your devices from anywhere using an internet connection.
7. Voice control integration: If you have a compatible voice assistant such as Amazon Alexa or Google Assistant, you can integrate it with the Wemo app for hands-free control. Follow the instructions in the Wemo app to set up voice control.
With the Wemo app, controlling your Wemo Smart Plug has never been easier. You can turn devices on or off with a simple tap, adjust settings according to your preferences, and even control multiple devices at once. Enjoy the convenience and flexibility of controlling your devices from anywhere in your home or even when you’re away.
In the next section, we will explore how to integrate the Wemo Smart Plug with popular voice assistants, giving you voice control capabilities for your connected devices.
Step 7: Integrating the Wemo Smart Plug with Voice Assistants
One of the great benefits of the Wemo Smart Plug is its compatibility with popular voice assistants like Amazon Alexa and Google Assistant. Integrating your Wemo Smart Plug with a voice assistant allows you to control your devices using simple voice commands. Follow these steps to integrate your Wemo Smart Plug with a voice assistant:
1. Launch the voice assistant app: Open the app for your preferred voice assistant, such as the Alexa app for Amazon Alexa or the Google Home app for Google Assistant.
2. Enable the Wemo skill or action: In the voice assistant app, search for the Wemo skill or action and enable it. Follow the prompts to link your Wemo account with the voice assistant.
3. Discover devices: In the voice assistant app, use the device discovery feature to find and connect your Wemo Smart Plug. This process may take a few moments as the voice assistant scans for available devices on your network.
4. Assign names and groups: Once the voice assistant has discovered your Wemo Smart Plug, you can assign it a unique name and add it to a specific group if desired. This makes it easier to control multiple devices at once using voice commands.
5. Test voice control: With the integration complete, you can now test voice control. Use simple commands such as “Hey Google, turn on the living room lamp” or “Alexa, turn off the bedroom fan” to control your Wemo Smart Plug using your voice.
6. Explore additional voice commands: Both Amazon Alexa and Google Assistant offer a wide range of supported voice commands. Take some time to explore the various commands and features that are available for your voice assistant. This can include setting timers, creating routines, and adjusting device settings.
By integrating your Wemo Smart Plug with a voice assistant, you can enjoy hands-free control of your devices. Whether you’re at home or away, simply use your voice to control your Wemo Smart Plug and the devices connected to it.
Now that you have successfully integrated your Wemo Smart Plug with a voice assistant, you can enjoy the convenience and simplicity of controlling your devices using voice commands. In the next section, we will summarize the key steps of the installation process and provide some final tips for optimizing your Wemo Smart Plug experience.
Conclusion
Congratulations! You have successfully completed the installation process for your Wemo Smart Plug. By following the step-by-step instructions in this guide, you have transformed your regular electrical devices into smart, connected devices that can be controlled with ease.
Throughout this guide, you unboxed the Wemo Smart Plug, connected it to power, downloaded the Wemo app, connected it to your Wi-Fi network, set up the device, and explored various control options, including voice control with popular voice assistants.
With the Wemo app, you have the power to control your devices from anywhere using your smartphone or tablet. Whether you want to turn on the lights before you arrive home, schedule a device to turn on and off at specific times, or simply have the convenience of voice control, the Wemo Smart Plug offers endless possibilities.
As you continue to use your Wemo Smart Plug, consider exploring advanced features like creating scenes, setting up automation rules, or even integrating with other smart home devices. The versatility of the Wemo ecosystem allows you to customize and optimize your smart home experience according to your preferences.
Remember, the Wemo app offers regular updates, so make sure to keep it up to date for the latest features and enhancements. In case you encounter any issues or have questions, consult the user manual or visit the official Wemo support website for troubleshooting assistance.
The Wemo Smart Plug is not only a convenient and effortless way to control your devices but also a step towards creating a more energy-efficient home. With the ability to monitor power consumption and set schedules, you can be more mindful of your energy usage and potentially save on your utility bills.
We hope this guide has been helpful in setting up and maximizing your Wemo Smart Plug experience. Enjoy the convenience, control, and automation that your smart devices bring to your daily life.
Now that your smart plug is up and running, go ahead and explore the possibilities of a smarter, more connected home!