Introduction
Welcome to the comprehensive guide on how to connect your Gosund Smart Plug to a new Wi-Fi network. Gosund Smart Plugs are innovative devices that allow you to control your appliances remotely and enhance the convenience and energy efficiency of your home. Whether you want to turn off the lights, brew a cup of coffee, or schedule your appliances to turn on and off automatically, Gosund Smart Plugs offer a seamless and user-friendly experience.
However, to enjoy all the benefits these smart plugs have to offer, you need to connect them to your home Wi-Fi network. This may seem like a daunting task, especially if you are new to smart home technology. But fear not! In this step-by-step guide, we will walk you through the process of connecting your Gosund Smart Plug to a new Wi-Fi network with ease.
Before we dive into the steps, make sure you have your Gosund Smart Plug and smartphone handy. Additionally, ensure that you have a stable Wi-Fi connection and that you have downloaded the Gosund app from your device’s app store. Once you have everything ready, let’s get started on setting up and connecting your Gosund Smart Plug to your new Wi-Fi network.
Step 1: Prepare Your Gosund Smart Plug
Before you can connect your Gosund Smart Plug to a new Wi-Fi network, it’s important to ensure that you have properly prepared the device. This will ensure a smooth and successful setup process. Here are the key steps to follow:
- Unbox Your Gosund Smart Plug: Start by unboxing your Gosund Smart Plug and identifying all the components. Typically, you will find the smart plug itself and an instruction manual inside the package. Familiarize yourself with the different parts of the device.
- Read the Instruction Manual: Take some time to read through the instruction manual provided with your Gosund Smart Plug. This will give you a deeper understanding of the device’s features, specifications, and any specific instructions for setup.
- Check Device Compatibility: Ensure that your Gosund Smart Plug is compatible with your home’s electrical system and the appliances you intend to connect to it. Refer to the instruction manual or the Gosund website for information on compatibility.
- Prepare Wi-Fi Network Details: Note down the name (SSID) and password of the new Wi-Fi network you want to connect your Gosund Smart Plug to. Having this information readily available will save you time during the setup process.
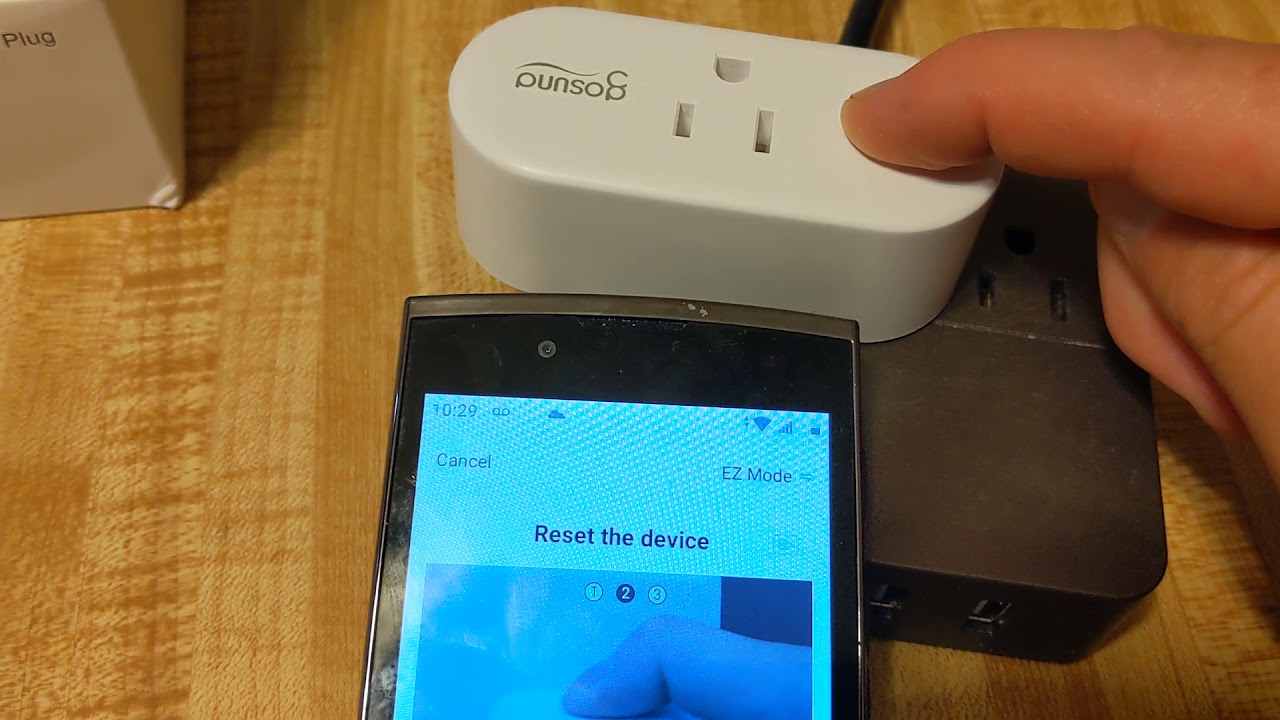
- Reset the Smart Plug if Needed: If you have previously connected your Gosund Smart Plug to a different Wi-Fi network or are facing connectivity issues, you may need to reset the device. Look for a reset button or follow the instructions in the manual to perform a factory reset.
By properly preparing your Gosund Smart Plug, you will ensure that you have all the necessary information and that the device is ready for setup. Once you have completed these steps, you can proceed to the next phase of connecting your smart plug to your new Wi-Fi network.
Step 2: Download and Install the Gosund App
In order to set up and connect your Gosund Smart Plug to a new Wi-Fi network, you will need to download and install the Gosund app on your smartphone or tablet. The app is available for both iOS and Android devices and can be easily found in the respective app stores. Here’s how you can get started:
- Open your device’s app store: Launch the app store on your smartphone or tablet. On iOS devices, this is the App Store, while on Android devices, it’s the Google Play Store.
- Search for the Gosund app: In the app store’s search bar, type in “Gosund” and tap on the search button. Look for the official Gosund app from Gosund Technology Co., Ltd. It should have a green icon with the Gosund logo.
- Select and install the app: Once you have found the Gosund app, tap on it to access the details page. Verify that it is the official app from Gosund and read through the description and reviews, if available. Then, tap on the “Install” or “Get” button to download and install the app on your device.
- Open the Gosund app: After the installation is complete, locate the Gosund app on your device’s home screen or app drawer. Tap on the app icon to open it.
- Create a new Gosund account: Upon opening the app, you may be prompted to create a new Gosund account. Follow the on-screen instructions to provide the necessary details and set up your account. If you already have a Gosund account, you can sign in using your existing credentials.
By downloading and installing the Gosund app on your device, you are taking the essential step towards connecting your Gosund Smart Plug to your new Wi-Fi network. The app serves as the central hub for managing and controlling your smart plug, allowing you to easily set preferences, create schedules, and access advanced features.
Step 3: Connect Your Gosund Smart Plug to Power
With the Gosund app downloaded and installed on your smartphone, it’s time to connect your Gosund Smart Plug to a power source. This step will ensure that your smart plug is ready for setup and configuration. Follow these simple steps to connect your smart plug to power:
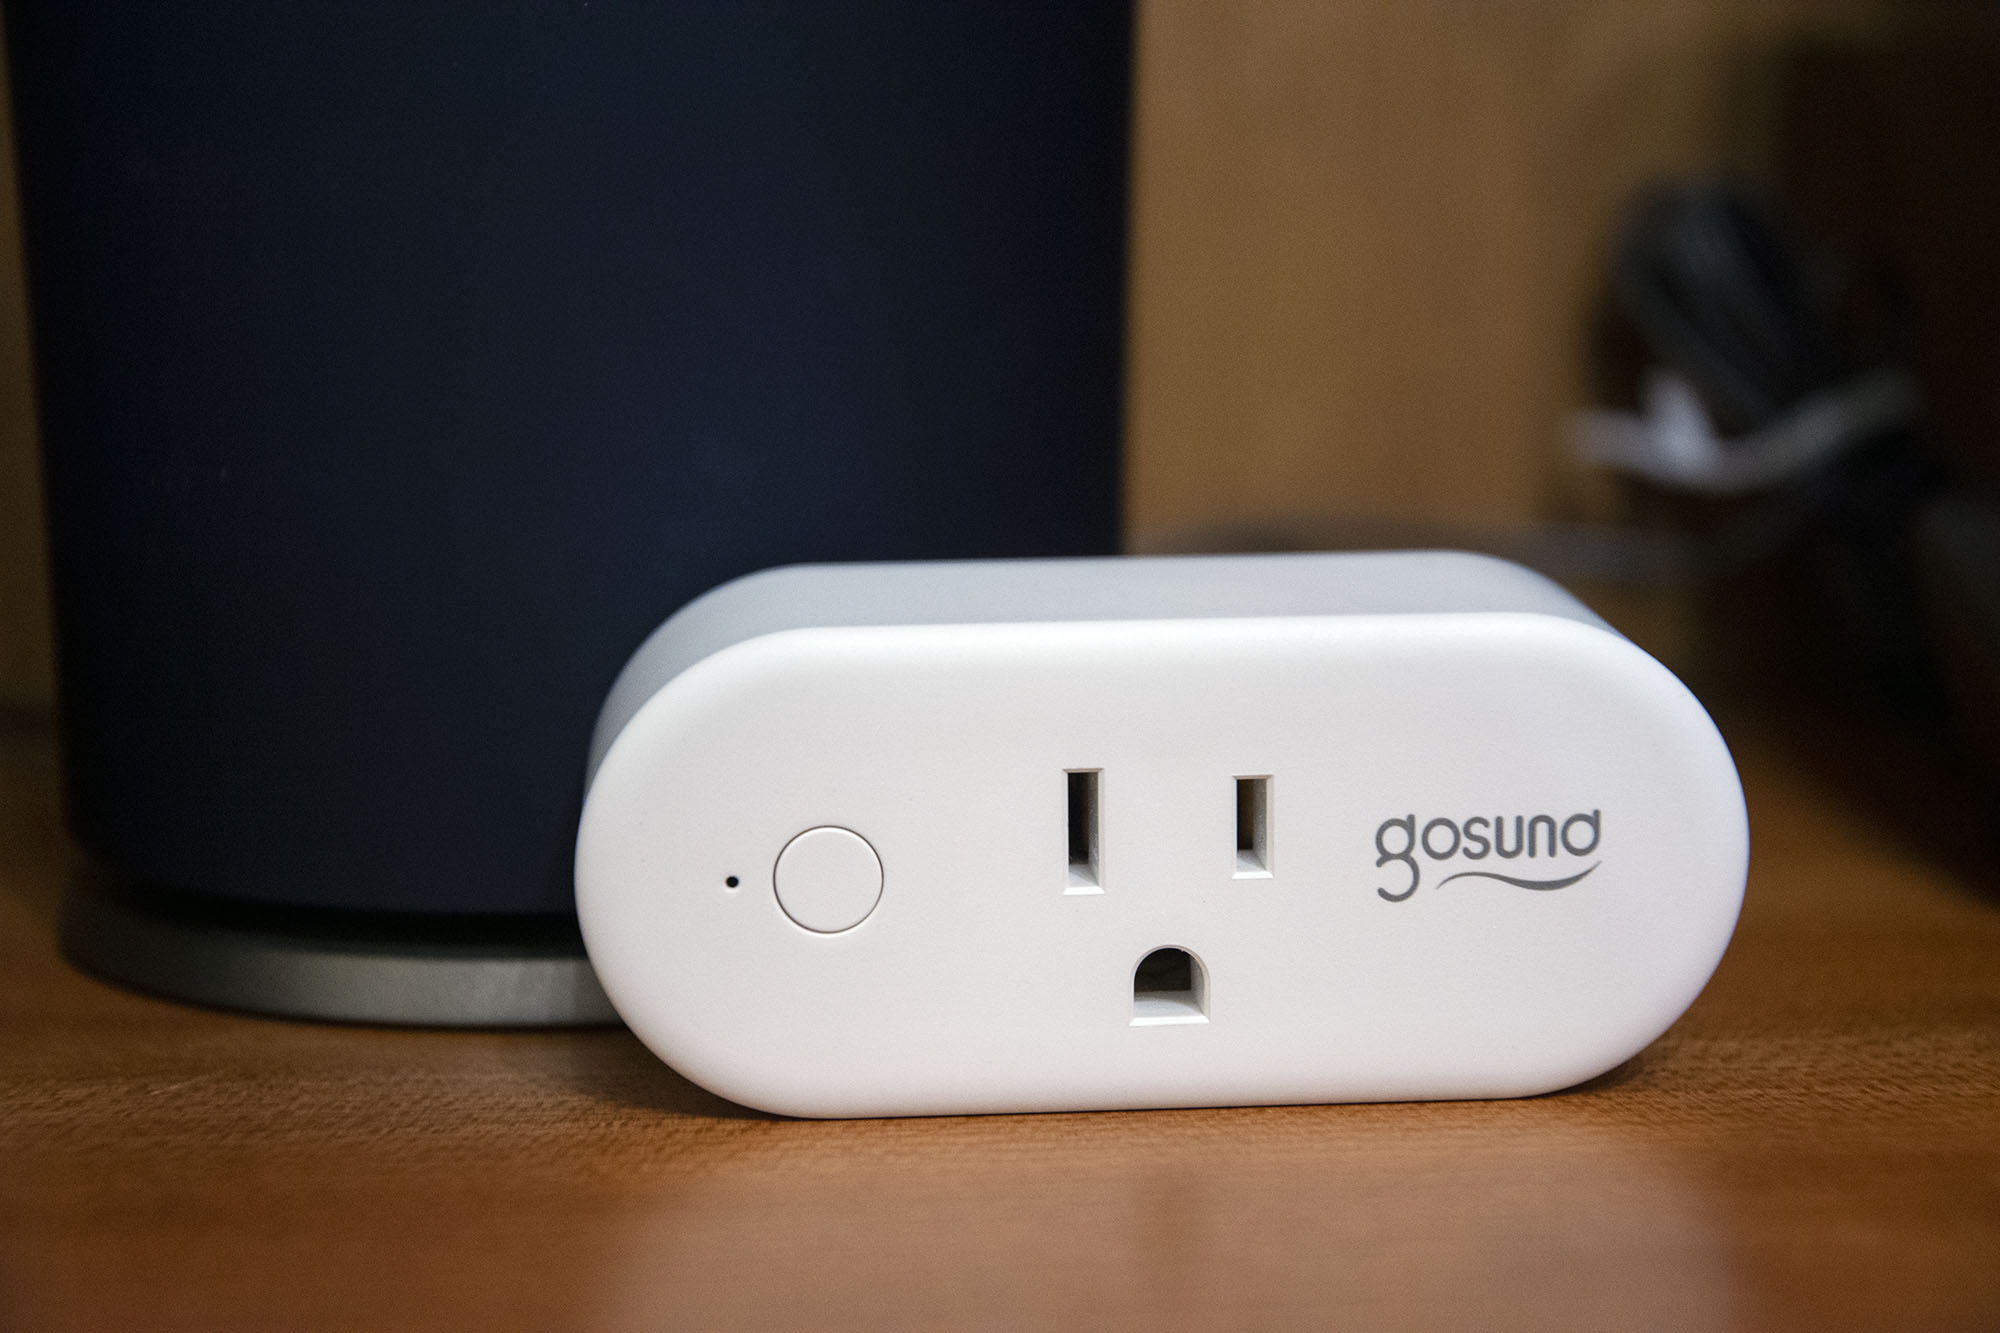
- Locate an Electrical Outlet: Choose a suitable electrical outlet where you intend to plug in your Gosund Smart Plug. Ensure that the outlet is easily accessible and within range of your Wi-Fi network for optimal connectivity.
- Insert the Smart Plug: Take the Gosund Smart Plug and insert it into the chosen electrical outlet. Make sure that the plug is fully inserted and securely connected to the outlet. You should see the LED indicator light on the smart plug turn on.
- Power On the Smart Plug: Once the Gosund Smart Plug is connected to the electrical outlet, press the power button on the plug to turn it on. The LED indicator light should start blinking, indicating that the smart plug is in pairing mode.
By connecting your Gosund Smart Plug to a power source, you are ensuring that the device is powered on and ready for configuration. The blinking LED light signals that the smart plug is in pairing mode and actively searching for a Wi-Fi network to connect to.
Step 4: Connect Your Smartphone to the Gosund Smart Plug
Once your Gosund Smart Plug is powered on and in pairing mode, it’s time to establish a connection between your smartphone and the smart plug. By connecting your device to the smart plug, you will be able to control and manage it conveniently through the Gosund app. Follow these steps to connect your smartphone to the Gosund Smart Plug:
- Open the Gosund App: Launch the Gosund app on your smartphone. If you haven’t already logged in, enter your Gosund account credentials or create a new account if prompted.
- Tap the “+” Icon: Look for the “+” icon or “Add Device” button in the app’s interface. This button is typically located in the top-right corner or at the bottom of the screen.
- Select “Socket (Wi-Fi)” Option: From the list of available device types, choose the “Socket (Wi-Fi)” or “Smart Plug” option. This will initiate the setup process specifically for the Gosund Smart Plug.
- Enter Pairing Mode: Follow the on-screen instructions to enter the pairing mode on your smart plug. This may involve pressing and holding the device’s physical button or following a specific sequence of actions. Refer to the Gosund app or the device’s manual for guidance.
- Connect to Smart Plug’s Wi-Fi Network: Once your smart plug is in pairing mode, go to your smartphone’s Wi-Fi settings. Look for a network named something like “Gosund_XXXX” or “SmartPlug_XXXX”. Tap on this network to connect to it.
- Return to Gosund App: Once you are connected to the smart plug’s Wi-Fi network, return to the Gosund app. You should see a message indicating that your device has successfully connected and is ready for the next step.
- Connect to Home Wi-Fi Network: In the app, select your home Wi-Fi network from the available options. Enter the network password when prompted. This will enable your smart plug to connect to your home Wi-Fi network for long-term usage.
- Wait for Successful Connection: The Gosund app will attempt to connect the smart plug to your home Wi-Fi network. Wait for the app to confirm that the connection has been established successfully.
- Test the Connection: To ensure that your smartphone is successfully connected to the Gosund Smart Plug, try turning the plug on or off using the app’s interface. If the plug responds accordingly, it means the connection has been successfully established.
By connecting your smartphone to the Gosund Smart Plug, you are enabling seamless control and management of the device through the Gosund app. This connection will allow you to remotely control your appliances, set schedules, and monitor energy usage, all from the convenience of your smartphone.
Step 5: Connect the Gosund Smart Plug to Your New Wi-Fi Network
With your smartphone successfully connected to the Gosund Smart Plug, it’s time to connect the smart plug to your new Wi-Fi network. This step is crucial as it allows the smart plug to communicate with your home network and the Gosund app. Follow these steps to connect the Gosund Smart Plug to your new Wi-Fi network:
- Open the Gosund App: Launch the Gosund app on your smartphone and ensure that you are logged in to your Gosund account.
- Select the Smart Plug: Find the smart plug you want to connect to your new Wi-Fi network in the Gosund app’s device list. Tap on the plug to select it.
- Access the Device Settings: Tap on the settings icon or the gear icon typically located on the top-right corner of the screen. This will open the device settings for the selected smart plug.
- Choose “Wi-Fi Settings”: Look for the option labeled “Wi-Fi Settings” or “Network Settings” within the device settings. Tap on it to access the Wi-Fi configuration for the smart plug.
- Select Your New Wi-Fi Network: From the list of available Wi-Fi networks, choose your new network. This is the network you want your smart plug to connect to.
- Enter Wi-Fi Network Password: If prompted, enter the password for your new Wi-Fi network. This is necessary to establish a secure connection between the smart plug and your home network.
- Confirm the Connection: Once you have entered the network password, the Gosund app will attempt to establish a connection between your smart plug and the new Wi-Fi network. Wait for the app to confirm a successful connection.
- Wait for the Setup Completion: The Gosund app will finalize the setup process and configure the smart plug to work with your new Wi-Fi network. This may take a few moments, so be patient.
- Test the Connection: To ensure that your smart plug is successfully connected to the new Wi-Fi network, test the connection by turning the plug on or off using the Gosund app’s interface. If the plug responds accordingly, it means the connection has been successfully established.
By connecting the Gosund Smart Plug to your new Wi-Fi network, you are enabling seamless communication between the plug, your home network, and the Gosund app. This allows you to control and manage your devices with ease, regardless of your location or the time of day.
Step 6: Test Your Gosund Smart Plug Connection
Now that you have successfully connected your Gosund Smart Plug to your new Wi-Fi network, it’s important to test the connection to ensure everything is working as expected. This step will help you verify that your smart plug is properly connected and can be controlled through the Gosund app. Follow these simple steps to test your Gosund Smart Plug connection:
- Open the Gosund App: Launch the Gosund app on your smartphone and log in to your Gosund account if necessary.
- Locate the Smart Plug: Find the smart plug you want to test in the Gosund app’s device list. If you have multiple smart plugs, make sure you select the correct one.
- Turn the Smart Plug On: Tap on the power button or switch within the app’s interface to turn the smart plug on. You should see the device turn on and any connected appliances or devices start functioning.
- Turn the Smart Plug Off: Tap on the power button or switch again to turn the smart plug off. Verify that the device powers off and any connected appliances or devices stop functioning.
- Test Scheduling and Automation: If you have set up any schedules or automation rules for the smart plug, observe if they are working correctly. Check if the smart plug turns on or off according to the specified schedule or trigger. Make any necessary adjustments if needed.
- Check Remote Access: If you are away from home, ensure that you can still control the smart plug remotely through the Gosund app. Connect to a different network or use your mobile data to test this feature.
By testing your Gosund Smart Plug connection, you can ensure that it is functioning properly and that you have complete control over your connected devices. If you encounter any issues during the testing process, refer to the app’s troubleshooting guide or contact Gosund’s customer support for assistance.
Conclusion
Congratulations! You have successfully connected your Gosund Smart Plug to your new Wi-Fi network and can now enjoy the convenience and control it offers. By following the step-by-step guide outlined in this article, you have learned how to prepare your Gosund Smart Plug, download and install the Gosund app, connect the smart plug to power, pair your smartphone with the smart plug, connect it to your new Wi-Fi network, and test the connection.
With the Gosund Smart Plug and app, you can now remotely control your connected devices, set schedules, and automate your home for enhanced comfort and energy efficiency. The ability to turn appliances on or off with a simple tap on your smartphone provides convenience and peace of mind, especially when you are away from home.
Remember to keep your Gosund Smart Plug and app updated with the latest firmware and software versions to ensure optimal performance and security. Don’t hesitate to explore the advanced features offered by the Gosund app and experiment with different automation settings to further customize your smart home experience.
If you encounter any issues or have further questions, consult the Gosund app’s user guide or reach out to Gosund’s customer support for assistance. They will be able to provide additional guidance and troubleshooting tips to help you make the most of your Gosund Smart Plug.
Enjoy the convenience, energy savings, and control that your Gosund Smart Plug brings to your smart home setup!