Introduction
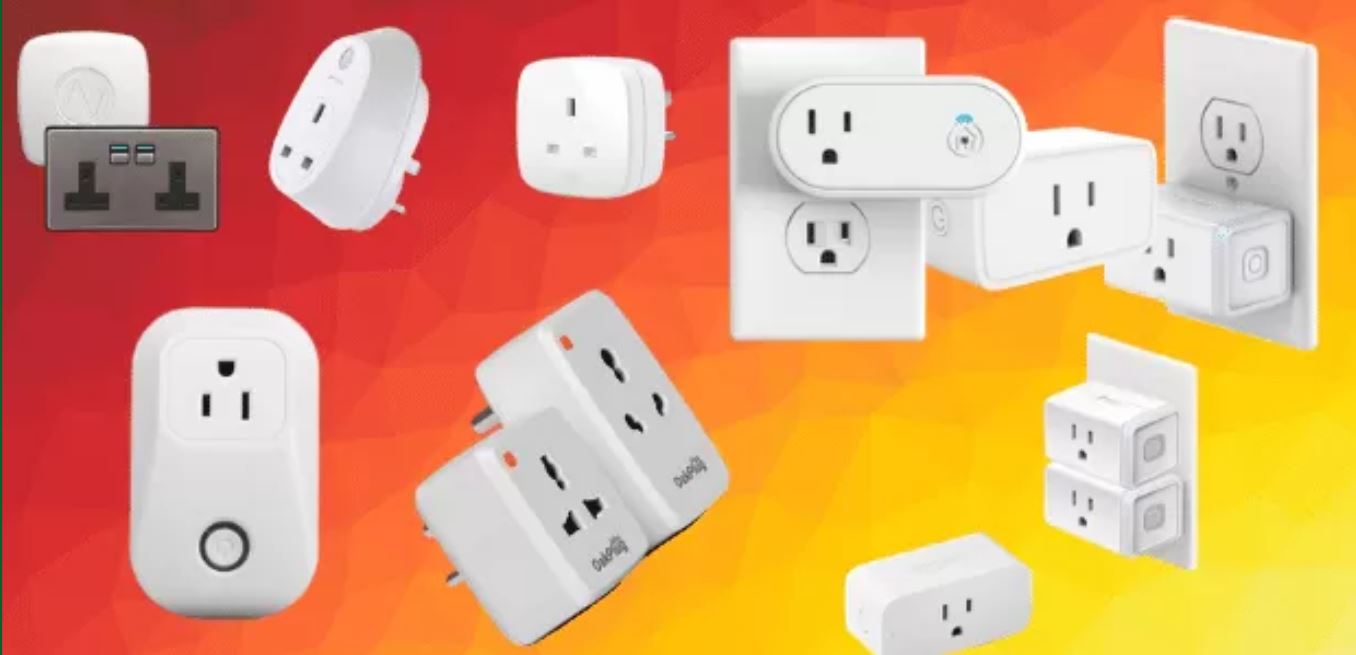
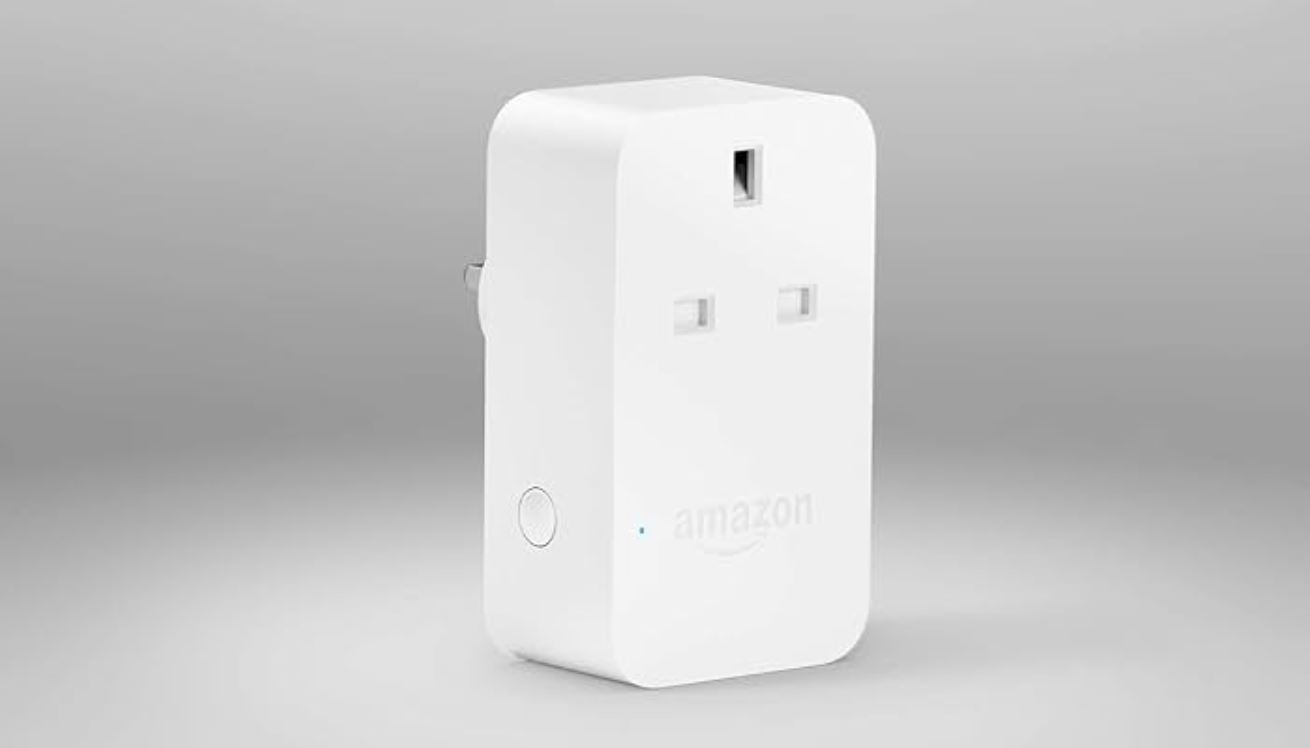
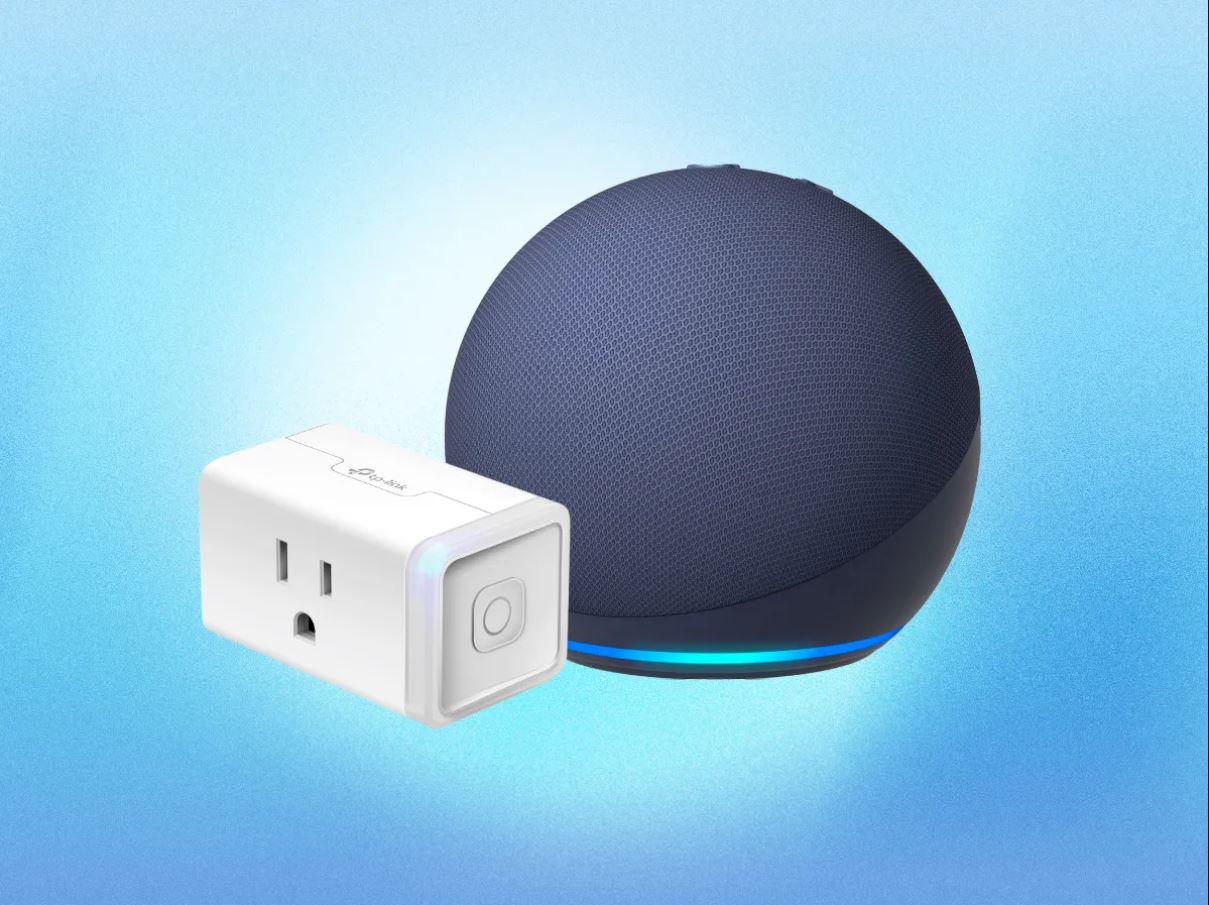
Welcome to our guide on how to schedule your Amazon Smart Plug to turn on and off. The Amazon Smart Plug is a convenient device that allows you to control electrical appliances with just your voice or through the Alexa app. With its scheduling feature, you can automate your daily routines, making your life easier and more efficient.
Imagine waking up in the morning and having your coffee machine already brewing a fresh cup of coffee. Or coming home from work to a well-lit house with your favorite music playing in the background. By scheduling your Amazon Smart Plug, you can enjoy these luxuries and more, all without lifting a finger.
In this guide, we will walk you through the process of setting up the Amazon Smart Plug, connecting it to the Alexa app, and creating schedules and routines to control your devices. We will also provide troubleshooting tips for any issues you may encounter along the way.
Whether you’re a tech enthusiast looking to automate your home or just someone who wants to simplify their daily tasks, scheduling your Amazon Smart Plug can significantly enhance your lifestyle. So, let’s get started and unlock the full potential of your Smart Plug!
Setting up the Amazon Smart Plug
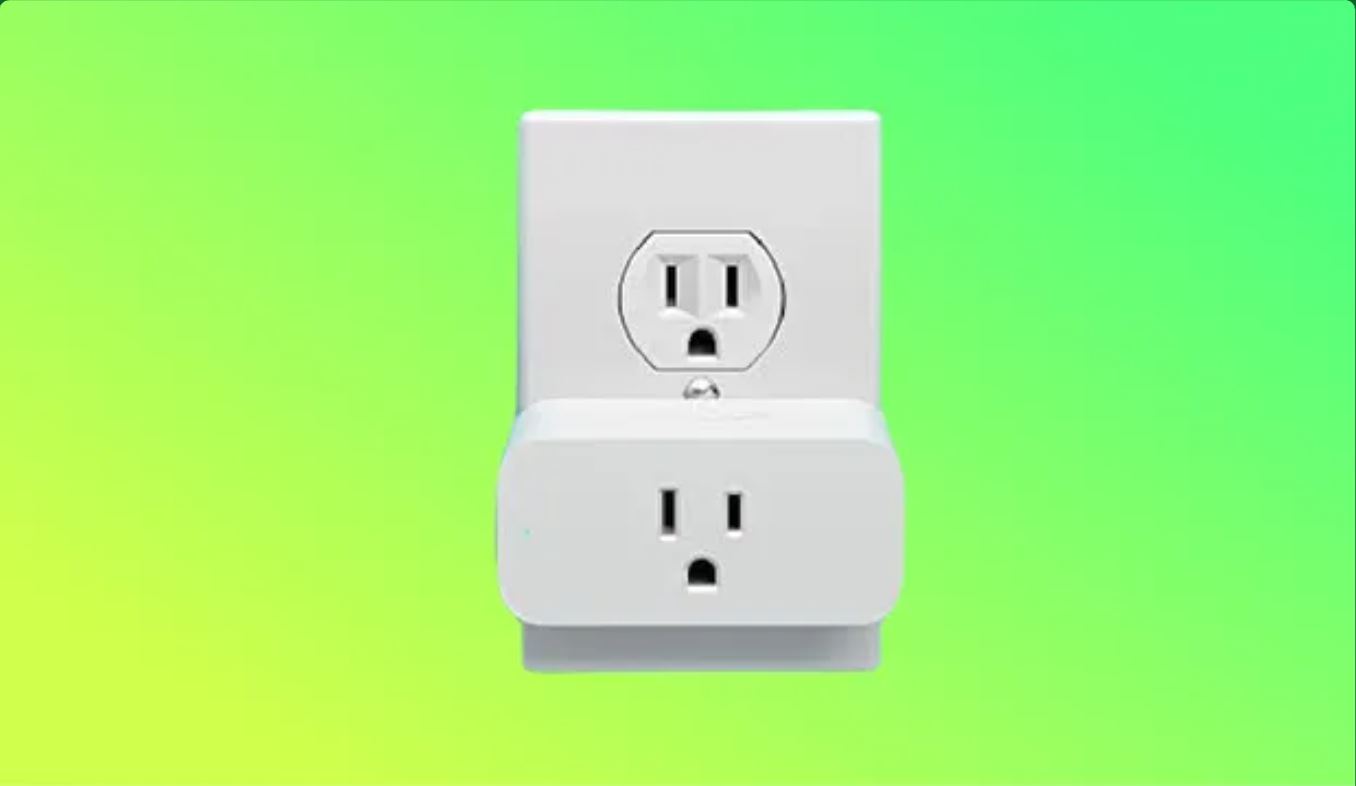
Before you can start scheduling your Amazon Smart Plug, you first need to set it up. Follow these steps to get started:
- Start by plugging your Amazon Smart Plug into a power outlet.
- Ensure that your Amazon Smart Plug is within range of your Wi-Fi network. It should be placed in an area where the Wi-Fi signal is strong and stable.
- Download and install the latest version of the Alexa app on your smartphone or tablet. The Alexa app is available for both iOS and Android.
- Launch the Alexa app and sign in with your Amazon account.
- In the app, tap on the “Devices” tab located in the bottom-right corner of the screen.
- Tap the “+” icon in the top-right corner of the screen to add a new device.
- Select “Plug” from the list of available devices.
- Follow the on-screen instructions to connect your Amazon Smart Plug to your Wi-Fi network. Make sure to enter the correct Wi-Fi credentials.
- Once the setup process is complete, you’ll see a confirmation message in the Alexa app, indicating that your Amazon Smart Plug is successfully set up and connected.
With the initial setup complete, you can now move on to connecting your Amazon Smart Plug to the Alexa app. This will enable you to control your devices and schedule them to turn on and off at specific times.
Stay tuned for the next section, where we will guide you through the process of connecting your Amazon Smart Plug to the Alexa app.
How to Connect the Amazon Smart Plug to the Alexa App
Now that you have set up your Amazon Smart Plug, it’s time to connect it to the Alexa app. Follow these steps:
- Open the Alexa app on your smartphone or tablet and ensure you are logged in with your Amazon account.
- Tap on the “Devices” tab at the bottom-right corner of the screen.
- Tap the “+” icon in the top-right corner to add a new device.
- Choose the “Plug” option from the list of available devices.
- The app will search for any new devices nearby. Once your Amazon Smart Plug is detected, select it from the list.
- Follow the on-screen prompts to connect your Amazon Smart Plug to your Alexa app. This usually involves confirming your Wi-Fi network and entering your Wi-Fi credentials.
- Once your Amazon Smart Plug is connected to the Alexa app, you can assign it a name and room for easy identification. For example, you can name it “Living Room Lamp” and assign it to the “Living Room” room.
- After assigning a name and room, tap on “Done” to complete the setup process.
With the Amazon Smart Plug successfully connected to the Alexa app, you can now control it using your voice commands or through the app’s interface. You can test it out by saying something like, “Alexa, turn on the Living Room Lamp.”
In the next section, we will discuss how to set up routines in the Alexa app. Routines allow you to automate multiple actions and schedules with a single voice command or by a specific trigger.
Setting up Routines in the Alexa App
Now that your Amazon Smart Plug is connected to the Alexa app, you can take advantage of the powerful routines feature. Routines allow you to automate multiple actions and schedules with a single voice command or by a specific trigger. Here’s how to set up routines in the Alexa app:
- Open the Alexa app on your smartphone or tablet and navigate to the “Routines” tab, usually located at the bottom of the screen.
- Tap on the “+” icon or the “Create Routine” button to start creating a new routine.
- Give your routine a name that reflects the actions you want it to perform. For example, you can name it “Good Morning” for a routine that turns on the lights and plays your favorite music in the morning.
- Choose the trigger that will activate the routine. You can select options like voice command, schedule, or device status change.
- If you select a voice command as the trigger, you can enter the specific phrase you want to use to activate the routine. For example, “Alexa, good morning.”
- Select the actions you want the routine to perform. This can include controlling your Amazon Smart Plug, adjusting lights, playing music, and more.
- If you want to include the Amazon Smart Plug in your routine, tap on the “Smart Home” option and select the Plug. You can then specify whether you want it to turn on or off.
- Continue adding actions to the routine until you’ve set up all the desired tasks.
- Once you’re done, tap on “Save” to save the routine.
With the routine set up, you can now activate it by saying the trigger phrase or according to the chosen schedule or device status change. For example, if you set up a routine to turn on the lights and play music at 7:00 AM, the routine will automatically execute at the specified time.
In the next section, we will discuss how to create a schedule for your Amazon Smart Plug, allowing you to control when it turns on and off.
Creating a Schedule for the Amazon Smart Plug
One of the key features of the Amazon Smart Plug is the ability to create schedules for your devices. This allows you to set specific times for your Amazon Smart Plug to turn on and off, providing you with greater control and convenience. Here’s how you can create a schedule for your Amazon Smart Plug:
- Open the Alexa app on your smartphone or tablet and navigate to the “Devices” tab.
- Find and select the Amazon Smart Plug you want to create a schedule for.
- Tap on “Schedule” to access the scheduling options.
- Tap on the “+” icon or the “Add Schedule” button to create a new schedule.
- Specify whether you want the device to turn on or off at the scheduled time.
- Select the days of the week you want the schedule to repeat. You can choose individual days or select options like weekdays or weekends.
- Set the desired time for the device to turn on or off. You can choose the exact time or set it to sunrise or sunset based on your location.
- After setting the time, tap on “Save” to save the schedule. Repeat these steps to create additional schedules if needed.
Once the schedule is set up, your Amazon Smart Plug will automatically turn on or off at the specified times. For example, you can create a schedule for your coffee machine to turn on every morning at 7:00 AM, ensuring a freshly brewed cup of coffee is waiting for you.
Keep in mind that you can create multiple schedules for different times and days based on your preferences and needs. This provides you with the flexibility to customize and automate your daily routines according to your lifestyle.
In the next section, we will address common troubleshooting issues that you may encounter when scheduling your Amazon Smart Plug.
Troubleshooting Common Issues with Scheduling the Amazon Smart Plug
While scheduling your Amazon Smart Plug can greatly enhance your experience and convenience, there may be times when you encounter common issues. Here are some troubleshooting tips to help you resolve these issues:
1. Wi-Fi connectivity: Ensure that your Amazon Smart Plug has a strong and stable Wi-Fi connection. If the plug is too far from your router or there are obstructions blocking the Wi-Fi signal, it may have trouble connecting or maintaining a connection. Try moving the plug closer to your router or using a Wi-Fi extender if needed.
2. Device not responding: If your Amazon Smart Plug is not responding to the scheduled commands, check if it’s properly connected to the power source. Ensure that the power outlet is working and that the plug is securely inserted. If necessary, unplug and reconnect the device to reset its connection.
3. Incorrect time or time zone: Make sure that the time and time zone settings on your Alexa app are accurate. If these settings are incorrect, it may affect the scheduling of your Amazon Smart Plug. Adjust the time and time zone accordingly in the app’s settings.
4. Updating software: To ensure optimal performance and compatibility, keep your Alexa app and Amazon Smart Plug software updated. Check for any available updates in the respective app stores and install them if necessary.
5. Schedule conflicts: If you have multiple schedules set up for your Amazon Smart Plug, ensure that there are no conflicting schedules. Overlapping schedules may cause unexpected behavior or prevent certain actions from executing properly. Review your schedules and adjust them accordingly to avoid conflicts.
6. Power outages or interruptions: In the event of a power outage or interruption, the schedules for your Amazon Smart Plug may be affected. Once power is restored, the plug should resume its scheduled actions. However, if you notice any discrepancies, you may need to check and update your schedules if necessary.
By following these troubleshooting tips, you can address common issues that may arise when scheduling your Amazon Smart Plug. However, if you continue to experience difficulties, refer to the product documentation or reach out to Amazon support for further assistance.
With this troubleshooting information, you should now be well-equipped to schedule your Amazon Smart Plug and overcome any potential obstacles that may come your way.
Conclusion
Congratulations! You have learned how to schedule your Amazon Smart Plug and harness the full potential of this convenient device. By following the steps outlined in this guide, you can easily set up your Smart Plug, connect it to the Alexa app, and create schedules and routines to automate your daily tasks.
With the ability to control your devices with just your voice or through the app, you can enjoy a seamless and convenient living experience. Imagine waking up to a perfectly brewed cup of coffee or coming home to a well-lit and welcoming ambiance, all thanks to the scheduling feature of the Amazon Smart Plug.
Remember to troubleshoot any issues that may arise, such as Wi-Fi connectivity, device responsiveness, incorrect time settings, or power interruptions. By addressing these common problems, you can ensure that your scheduling runs smoothly and without any hiccups.
So go ahead, take advantage of the scheduling capabilities of the Amazon Smart Plug and simplify your life. Whether you want to control your lights, coffee machines, or any other electrical appliance, scheduling offers the convenience and flexibility you desire.
Start enjoying the benefits of automation and efficiency with your Amazon Smart Plug. Create schedules to fit your lifestyle, save energy, and make your daily routines hassle-free.
Thank you for choosing our guide and becoming a pro at scheduling your Amazon Smart Plug! Now it’s time to sit back, relax, and let the power of automation take care of your everyday tasks.