Introduction
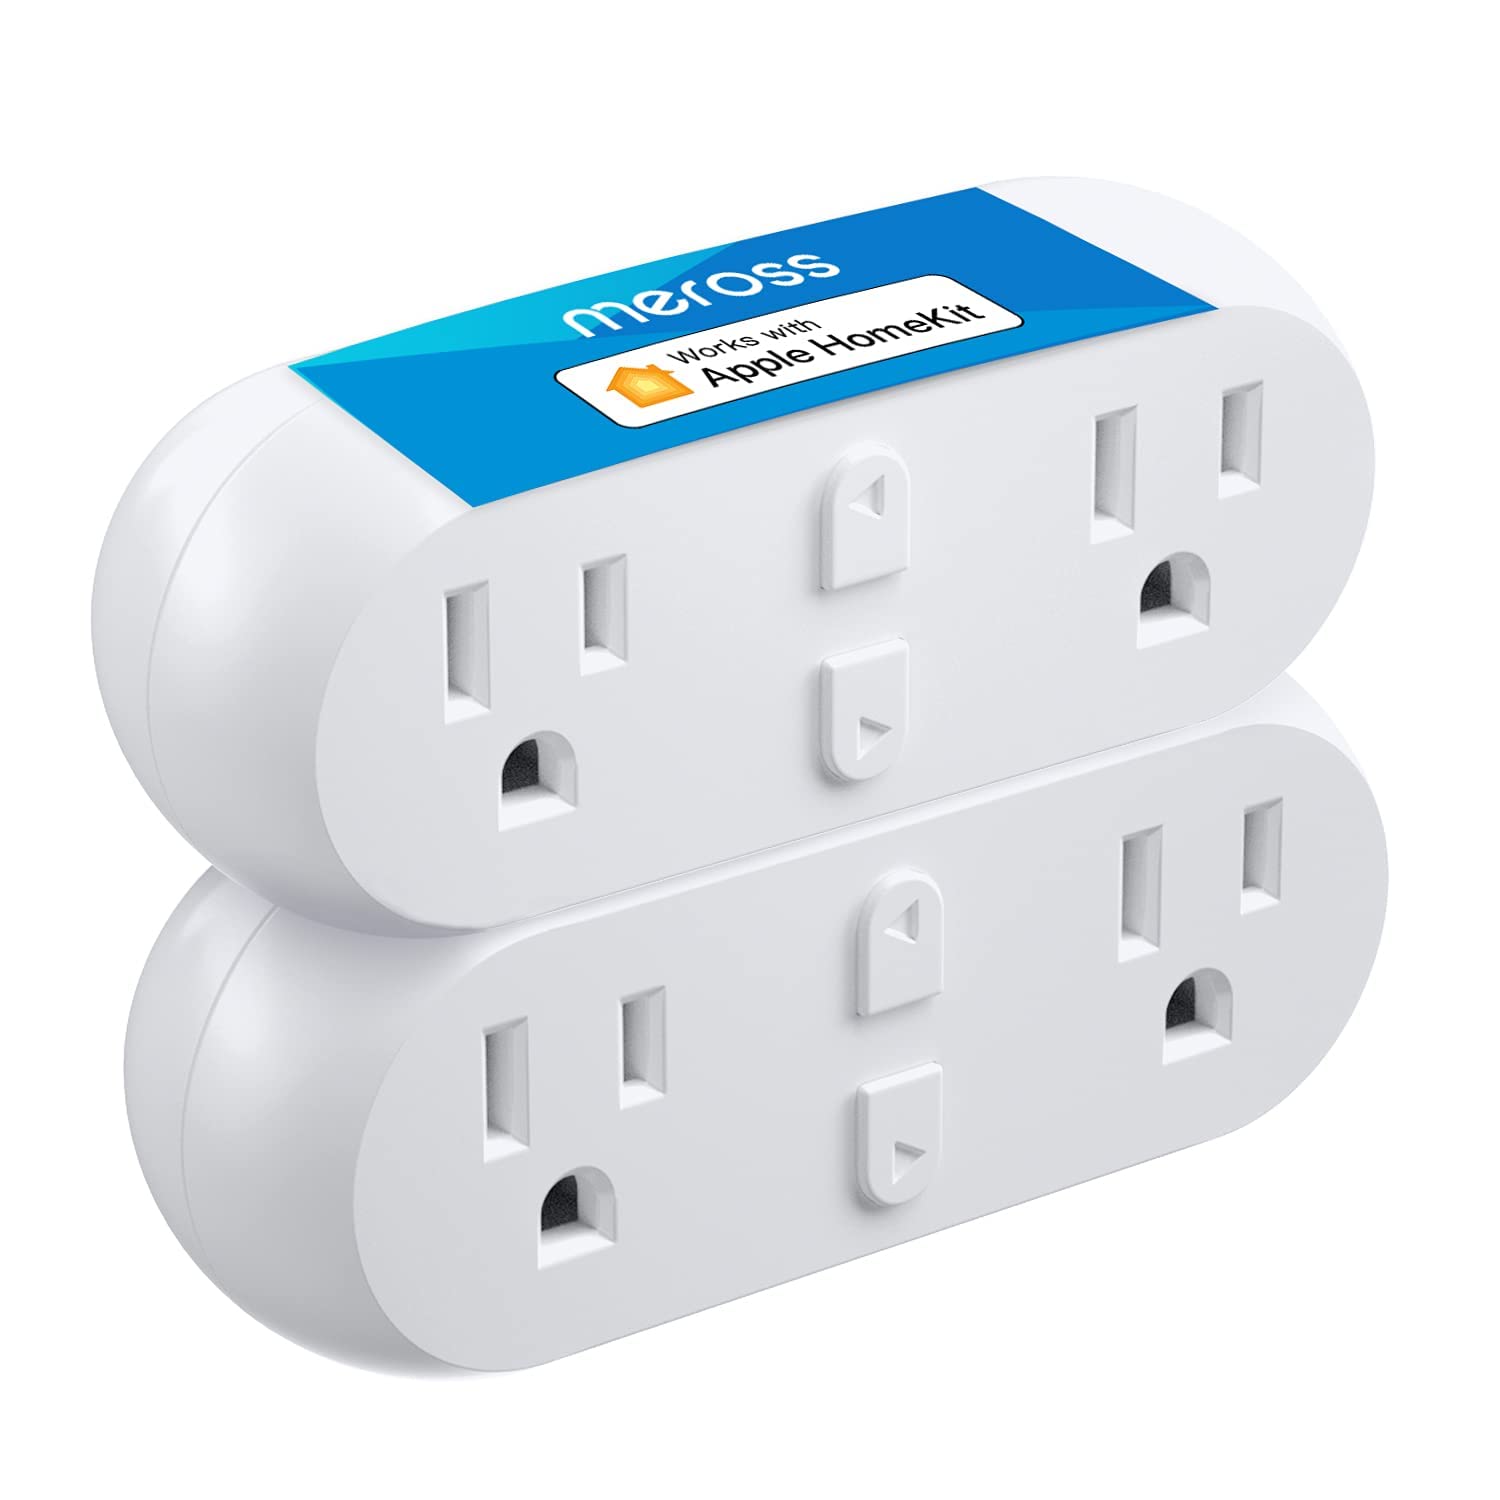
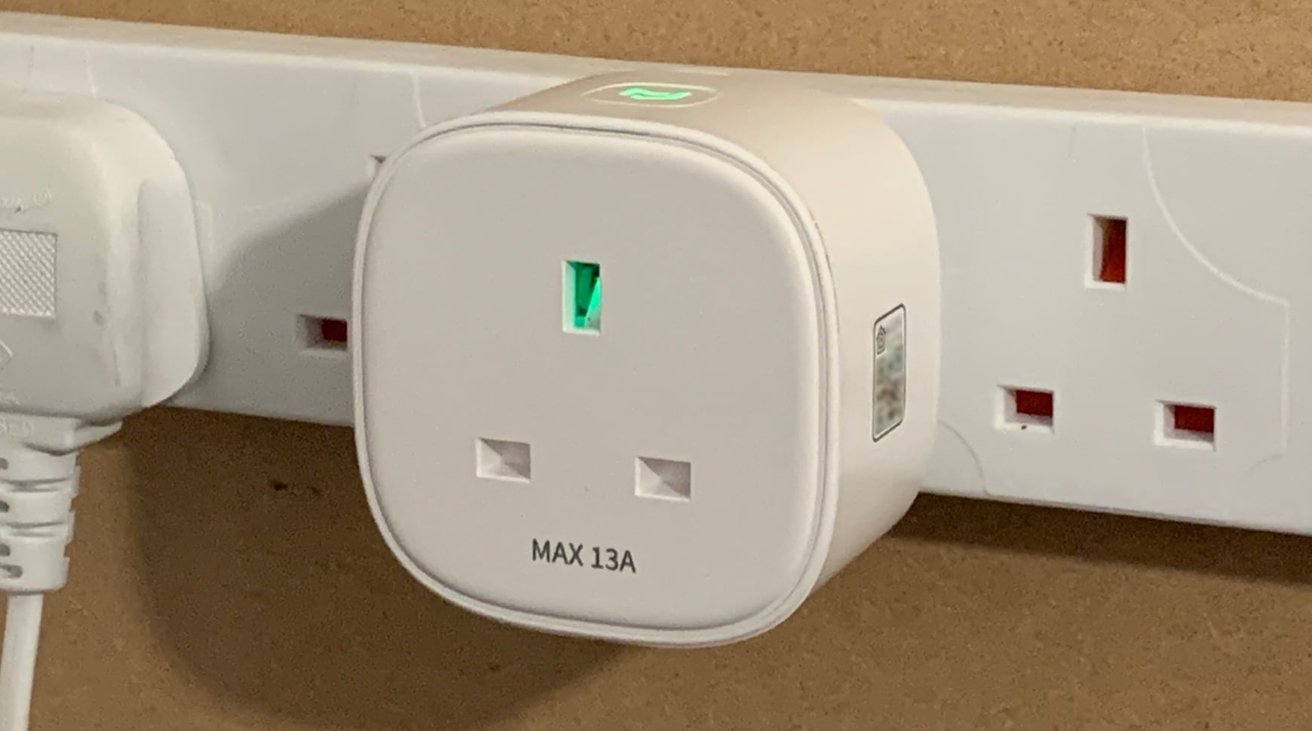
Welcome to the ultimate guide on how to set up your Meross Smart Plug with Alexa! Smart plugs are a great way to conveniently control your electrical devices using a voice assistant like Alexa. With the Meross Smart Plug, you can effortlessly turn on and off your appliances, set timers, and even create customized schedules.
By following the step-by-step instructions outlined in this guide, you’ll be able to seamlessly integrate your Meross Smart Plug with your Alexa-enabled device, giving you the power to control your devices with just a few simple voice commands. Whether you want to turn on your coffee maker in the morning or switch off your bedroom lamp at night, this guide will show you how to make it happen.
To get started, you’ll need to have a Meross Smart Plug and an Alexa-enabled device such as an Echo Dot or Echo Show. You’ll also need to ensure that you have a stable Wi-Fi connection and the Meross app installed on your smartphone or tablet. With these prerequisites in place, let’s dive into the step-by-step process of setting up your Meross Smart Plug with Alexa.
Step 1: Downloading the Meross App
The first step in setting up your Meross Smart Plug with Alexa is to download the Meross app on your smartphone or tablet. The Meross app is available for both iOS and Android devices, and you can find it on the App Store or Google Play Store.
To download the app, open the respective app store on your device and search for “Meross.” Once you find the app, tap on the “Download” or “Install” button to begin the installation process. The app is free to download and install, so you won’t need to worry about any additional charges.
Once the app is successfully installed on your device, locate the Meross app icon on your home screen or app drawer and tap on it to open the app.
Upon opening the Meross app, you’ll be prompted to either create a new account or log in if you already have an existing account. If this is your first time using the Meross app, tap on the “Sign Up” or “Register” option to create a new account.
Follow the on-screen prompts to enter your email address, create a password, and complete the registration process. Make sure to choose a secure password that you’ll easily remember. Once you’ve successfully registered, you’ll be logged into the Meross app and ready to begin the setup process for your Meross Smart Plug.
Step 2: Creating a Meross Account
In order to start using your Meross Smart Plug, you will need to create a Meross account. Follow these simple steps to create your account:
- Open the Meross app on your smartphone or tablet.
- If you haven’t already done so, tap on the “Sign Up” or “Register” option.
- Enter your email address and create a password for your Meross account. Make sure to choose a strong password that includes a combination of letters, numbers, and special characters.
- After entering your email address and password, tap on the “Register” or “Create Account” button.
- You will receive a confirmation email to verify your account. Check your email inbox and click on the verification link provided in the email.
- Once your account is verified, you will be able to log in to the Meross app using your newly created credentials.
It’s important to note that creating a Meross account is necessary for managing and controlling your Meross Smart Plug. Your account allows you to access all the features and settings within the app, as well as remotely control your smart plug even when you’re away from home.
By creating an account, you can also benefit from additional features like setting up schedules, monitoring energy usage, and receiving notifications about the status of your devices. Having a Meross account ensures a seamless and personalized experience with your smart plug.
With your Meross account created and your email verified, you’re now ready to move on to the next step: Adding the Meross Smart Plug to the app.
Step 3: Adding the Meross Smart Plug to the App
Once you have successfully created your Meross account, the next step is to add your Meross Smart Plug to the app. Here’s how you can do it:
- Ensure that your Meross Smart Plug is properly connected to a power source.
- Open the Meross app on your smartphone or tablet.
- Log in to your Meross account using your registered email address and password.
- Tap on the “Add Device” or “+” icon, typically located in the top right corner of the app’s home screen.
- On the “Add Device” screen, select “Plug” or “Smart Plug” from the available options.
- Follow the on-screen instructions to put your Meross Smart Plug into pairing mode. This typically involves pressing and holding the power button or a reset button on the smart plug.
- Once the smart plug is in pairing mode, the Meross app will automatically detect the device.
- Confirm that the device shown on the screen is your Meross Smart Plug. You can usually verify this by checking the device’s name or model number.
- Tap on the device to select it, and then tap on the “Next” button.
- Wait for the app to establish a connection with your Meross Smart Plug. This process may take a few moments.
- Once the connection is established, you will receive a notification or confirmation message indicating a successful pairing.
With the Meross Smart Plug successfully added to the app, you are now ready to connect it to your Wi-Fi network. Follow the next step to configure the Wi-Fi settings for your smart plug.
Step 4: Connecting the Meross Smart Plug to Wi-Fi
After adding your Meross Smart Plug to the app, the next step is to connect it to your Wi-Fi network. Here’s how you can do it:
- In the Meross app, select the device that you added in the previous step.
- Tap on the “Wi-Fi Settings” or “Network” option for the device.
- On the Wi-Fi settings screen, you will see a list of available Wi-Fi networks. Select your desired network from the list.
- If your network is password-protected, enter the Wi-Fi password when prompted.
- Tap on the “Connect” or “Join” button to connect the Meross Smart Plug to your Wi-Fi network.
- Wait for the connection to be established between the smart plug and your Wi-Fi network. This process may take a few moments.
- Once the connection is successful, you will receive a confirmation message on the app.
It’s important to note that during the Wi-Fi setup process, it’s recommended to keep your smartphone or tablet close to the Meross Smart Plug to ensure a stable and uninterrupted connection. Also, make sure that your Wi-Fi network is reliable and has a strong signal to ensure optimal performance of your smart plug.
After successfully connecting the Meross Smart Plug to your Wi-Fi network, the next step is to enable the Meross Skill on Alexa. Follow the next step to continue the setup process.
Step 5: Enabling the Meross Skill on Alexa
To fully integrate your Meross Smart Plug with Alexa, you need to enable the Meross Skill in the Alexa app. Here’s how you can do it:
- Open the Alexa app on your smartphone or tablet.
- Tap on the “Menu” icon in the top left corner of the app’s home screen.
- Select “Skills & Games” from the menu options.
- In the search bar at the top, type “Meross” and hit enter.
- From the list of search results, locate and select the “Meross” Skill.
- On the Skill’s page, tap on the “Enable” button to enable the Meross Skill for your Alexa device.
- You might be prompted to log in to your Meross account using your registered email address and password. Enter the required information to proceed.
- Follow the on-screen instructions to complete the setup process for the Meross Skill in the Alexa app.
- After the Meross Skill is successfully enabled, you will receive a confirmation message.
Enabling the Meross Skill allows Alexa to communicate with your Meross Smart Plug, giving you voice control over your connected devices. With the Skill enabled, you can now move on to the next step of discovering devices on Alexa.
Note: Make sure that your Alexa-enabled device is connected to the same Wi-Fi network as your Meross Smart Plug for seamless communication.
Step 6: Discovering Devices on Alexa
Once you have enabled the Meross Skill on the Alexa app, the next step is to discover the devices connected to your Meross account. Here’s how you can do it:
- Open the Alexa app on your smartphone or tablet.
- Tap on the “Devices” tab at the bottom of the app’s home screen.
- Tap on the “+” icon in the top right corner to add a new device.
- Select “Add Device” from the available options.
- On the Add Device screen, select “Plug” or “Smart Plug” from the list of device categories.
- The Alexa app will start searching for new devices. This process may take a few moments.
- Once the devices are discovered, they will appear on the screen. Select the Meross Smart Plug that you want to add to Alexa.
- Tap on the “Next” or “Done” button to complete the device setup process.
After discovering and adding the Meross Smart Plug to Alexa, you can now control it using voice commands. The Meross Smart Plug will be listed under your devices in the Alexa app, and you can customize its settings and assign it to specific groups or rooms as per your preference.
Now that you have successfully discovered your Meross Smart Plug on Alexa, it’s time to move on to the next step and link the smart plug to Alexa for seamless control.
Step 7: Linking the Meross Smart Plug to Alexa
Linking your Meross Smart Plug to Alexa allows you to control it through voice commands. Follow these steps to link your smart plug to Alexa:
- Open the Alexa app on your smartphone or tablet.
- Navigate to the “Devices” tab at the bottom of the app’s home screen.
- Tap on the “+” icon in the top right corner to add a new device.
- Select “Add Device” from the available options.
- Choose “Other” as the device type.
- Tap on “Discover Devices” or “Discover” to start searching for new devices.
- Once the search is complete, your Meross Smart Plug should appear in the list of available devices.
- Select the Meross Smart Plug and follow the on-screen instructions to link it to Alexa.
- After successfully linking the smart plug, you will receive a confirmation message.
Once your Meross Smart Plug is linked to Alexa, you can use voice commands to control it. For example, you can say “Alexa, turn on/off [device name]” or “Alexa, set [device name] to 50%.” Alexa will relay your command to the smart plug, allowing you to effortlessly control your connected device using just your voice.
With the Meross Smart Plug now linked to Alexa, you can enjoy the convenience of hands-free control over your appliances and devices. From lamps to fans to coffee makers, you have the power to control them all with simple voice commands.
Now that you have successfully linked your Meross Smart Plug to Alexa, you are ready to move on to the next step and assign a name to your smart plug for easy identification.
Step 8: Assigning a Name to the Meross Smart Plug
Assigning a name to your Meross Smart Plug helps you easily identify and control it using voice commands. Follow these steps to give your smart plug a personalized name:
- Open the Alexa app on your smartphone or tablet.
- Navigate to the “Devices” tab at the bottom of the app’s home screen.
- Scroll down and tap on the Meross Smart Plug listed under your devices.
- On the device details screen, tap on the settings cog icon in the top right corner.
- Select “Edit Name” or “Device Name” from the available options.
- Enter the desired name for your Meross Smart Plug using the on-screen keyboard.
- Tap on “Save” or “Apply” to confirm the new name.
It’s recommended to choose a unique and descriptive name for your smart plug that reflects the connected device. For example, if you have a lamp connected to the smart plug, you could name it “Living Room Lamp” or “Bedside Lamp.”
Once you have assigned a name to your smart plug, you can use it in voice commands to control the specific device. For instance, you can say “Alexa, turn on Living Room Lamp” or “Alexa, set Bedside Lamp to 50%.”
By giving your Meross Smart Plug a customized name, you can effortlessly control your devices with ease and precision, enhancing the overall smart home experience.
Now that you have successfully assigned a name to your Meross Smart Plug, you can move on to the final step: controlling the smart plug with Alexa voice commands.
Step 9: Controlling the Meross Smart Plug with Alexa Voice Commands
Controlling your Meross Smart Plug with Alexa voice commands is the final step in the setup process. Once your smart plug is linked and named, you can use voice commands to conveniently operate your connected devices. Here’s how you can control the Meross Smart Plug with Alexa:
- Ensure that your Alexa-enabled device is within range and connected to the same Wi-Fi network as your Meross Smart Plug.
- Start by saying the “wake” word to activate Alexa. The default wake word is “Alexa,” but you can customize it to “Echo,” “Computer,” or “Amazon.”
- To turn on the Meross Smart Plug, say “Alexa, turn on [device name].” For example, “Alexa, turn on Living Room Lamp.”
- To turn off the Meross Smart Plug, say “Alexa, turn off [device name].” For example, “Alexa, turn off Living Room Lamp.”
- If your smart plug supports dimming or adjusting the brightness, you can say “Alexa, set [device name] to [desired percentage].” For example, “Alexa, set Living Room Lamp to 50%.”
- Other available voice commands include “Alexa, increase brightness of [device name],” “Alexa, decrease brightness of [device name],” or “Alexa, set [device name] to maximum/minimum.”
With Alexa voice commands, you have the freedom to control your Meross Smart Plug hands-free, adding convenience and automation to your daily life. Whether you want to turn on the lights, power on a coffee maker, or control any other connected device, Alexa and the Meross Smart Plug work seamlessly together to make it happen.
Remember to use the specific name you assigned to your Meross Smart Plug when giving voice commands. This ensures that Alexa understands which device to control.
Now that you have successfully set up and linked your Meross Smart Plug with Alexa, you can enjoy the convenience and control of managing your devices through voice commands.
That concludes the step-by-step guide on how to set up and control your Meross Smart Plug with Alexa. Enjoy the benefits of a smart home setup and effortless control over your devices!
Conclusion
Setting up your Meross Smart Plug with Alexa opens up a world of convenience and control in your smart home. By following the step-by-step guide outlined in this article, you have successfully integrated your Meross Smart Plug with Alexa, allowing you to effortlessly control your devices through voice commands.
From downloading the Meross app and creating an account, to adding the smart plug to the app and connecting it to your Wi-Fi network, each step has brought you closer to a seamless smart home experience. Enabling the Meross Skill on Alexa and discovering and linking the smart plug are key steps in ensuring smooth communication between your Meross Smart Plug and your Alexa-enabled device.
Assigning a personalized name to your Meross Smart Plug makes it easier to identify and control specific devices through voice commands. Finally, with the Meross Smart Plug successfully connected to Alexa, you have the power to control your devices hands-free, using simple voice commands.
By integrating your Meross Smart Plug with Alexa, you can enjoy the convenience of remotely controlling your devices, setting schedules, and creating customized routines. Whether you’re turning on the lights, managing your appliances, or controlling other devices, the combination of Meross and Alexa provides a seamless and intuitive smart home experience.
Now that you have completed the setup process and learned how to control your Meross Smart Plug with Alexa, you can sit back, relax, and enjoy the convenience and control of your smart home ecosystem. Embrace the possibilities, automate your daily routines, and make life easier with the power of voice control.
Remember, as technology continues to advance, there may be updates or new features available for your Meross Smart Plug and Alexa integration. Stay up to date with the latest firmware updates and explore new functionalities to make the most of your smart home setup.
Enjoy the benefits of a connected home, enhance your lifestyle, and take advantage of the endless possibilities that come with integrating your Meross Smart Plug with Alexa.


