Introduction
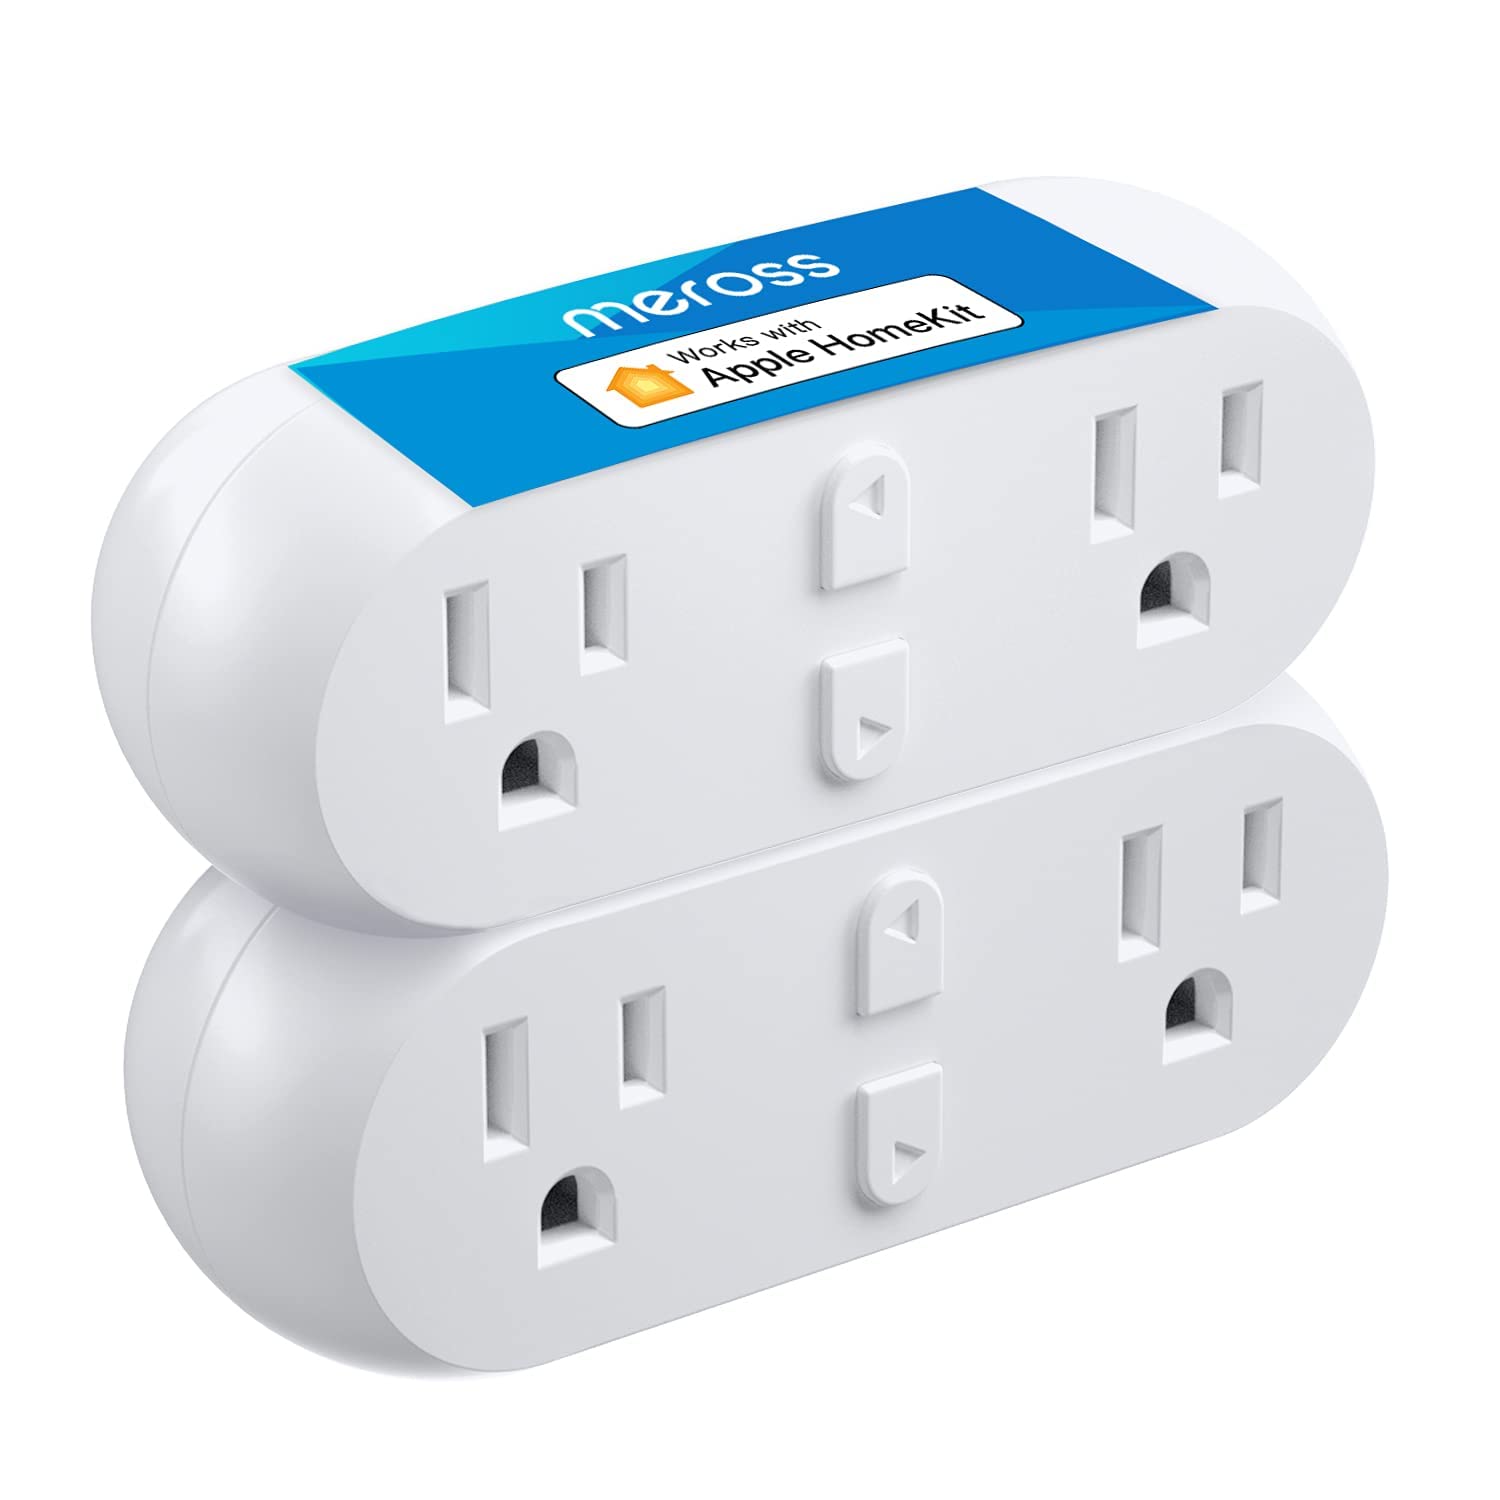
The Meross Smart Plug is a versatile and user-friendly device that allows you to control your electronic appliances and devices remotely. Whether you want to turn on the lights before you arrive home, schedule your coffee maker to start brewing in the morning, or simply control your devices with voice commands via a smart assistant, the Meross Smart Plug provides a convenient and efficient solution.
In this guide, we will walk you through the step-by-step process of setting up and connecting your Meross Smart Plug, as well as configuring it to work seamlessly with your home Wi-Fi network. By the end of this article, you will have all the knowledge you need to take full advantage of this smart plug and enjoy the convenience and control it offers.
Before we dive into the setup process, it’s essential to note that the Meross Smart Plug is compatible with a wide range of devices, including lamps, fans, heaters, TVs, and other appliances. It supports both iOS and Android operating systems, making it accessible to the majority of smartphone users.
Now, let’s get started with the first step: setting up the Meross Smart Plug.
Step 1: Setting up the Meross Smart Plug
To begin using your Meross Smart Plug, you’ll first need to set it up properly. Follow these steps to get started:
- Unbox the Meross Smart Plug and find a suitable location near an electrical outlet. Ensure that the device is within range of your home Wi-Fi network.
- Plug the Meross Smart Plug into the desired electrical outlet. Make sure the outlet is functioning correctly by testing it with another device.
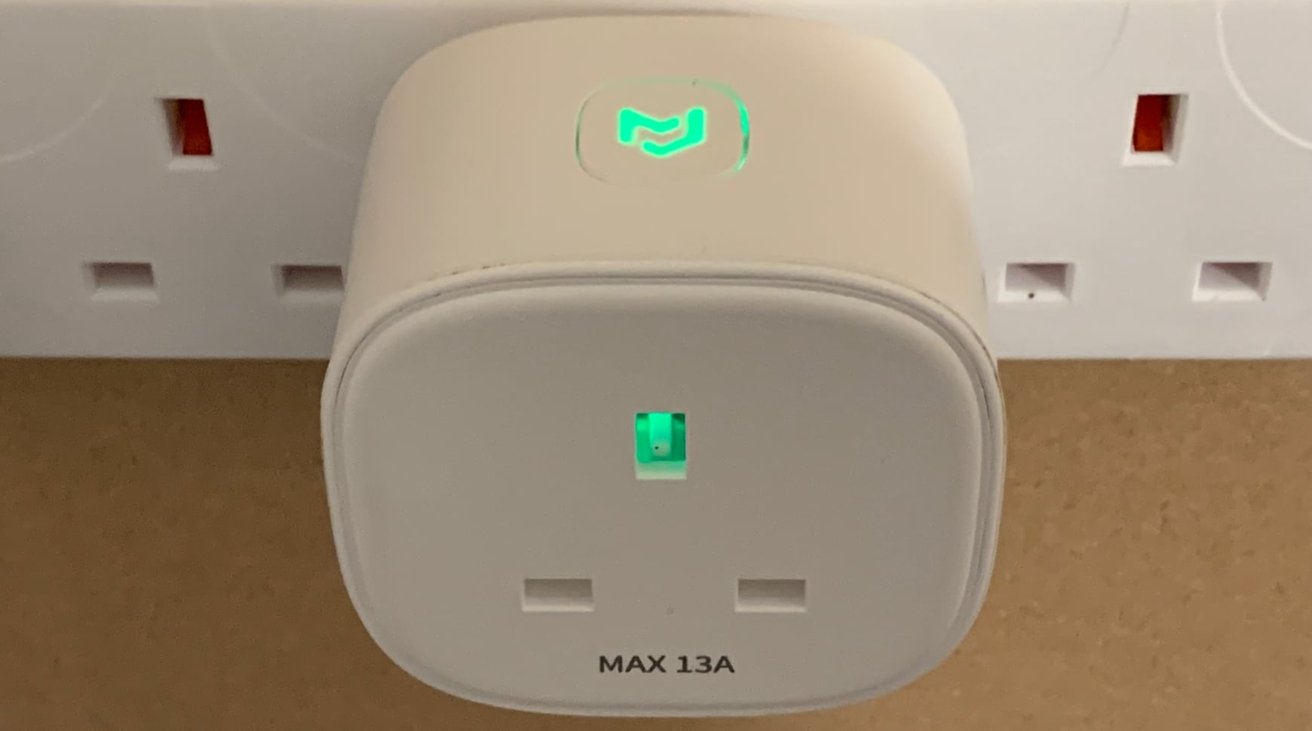
- Locate the power button or switch on the smart plug and turn it on. You should see a light indicator or LED on the plug, indicating that it is ready for the setup process.
- If your smart plug has a physical button, press and hold it until the LED starts blinking rapidly. This indicates that the plug is in pairing mode.
- If your smart plug does not have a physical button, you can typically initiate the pairing mode by using the Meross app. Open the app on your smartphone or tablet, and follow the instructions to enable the pairing mode for your specific model of smart plug.
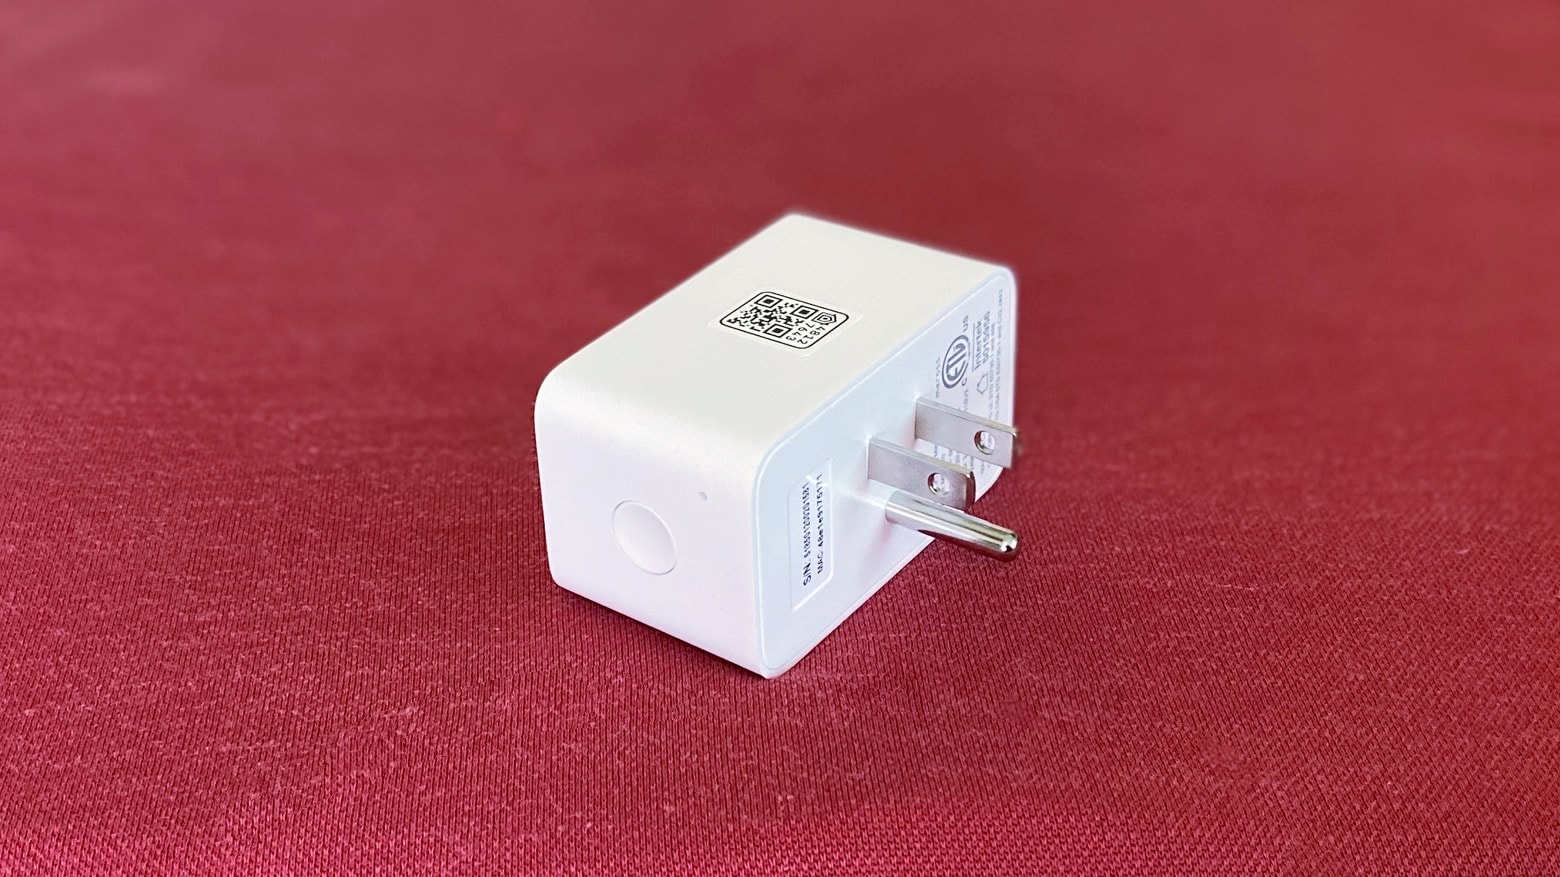
- Once the smart plug is in pairing mode, launch the Wi-Fi settings on your smartphone or tablet. Look for a Wi-Fi network with a name similar to “Meross Smart Plug” or “Meross Plug-XXXX” (XXXX represents a unique identifier).
- Connect your smartphone or tablet to the Wi-Fi network associated with the smart plug. This allows you to configure the device and connect it to your home Wi-Fi network.
- Return to the Meross app on your smartphone or tablet. Follow the prompts to connect the smart plug to your home Wi-Fi network. You may be required to enter the login credentials for your network.
- Wait for the app to complete the setup process. It will validate the connection with the smart plug and confirm when the process is successful.
- Once the setup is complete, you can now control the Meross Smart Plug using the app or your preferred voice assistant, such as Amazon Alexa or Google Assistant.
Following these steps will ensure that your Meross Smart Plug is correctly set up and ready to use. In the next section, we will guide you through the process of downloading the Meross app onto your smartphone or tablet.
Step 2: Downloading the Meross App
To control your Meross Smart Plug and access its features, you’ll need to download the Meross app onto your smartphone or tablet. Follow these steps to install the app:
- Open the app store on your device. If you have an iPhone or iPad, access the App Store. For Android users, visit the Google Play Store.
- In the search bar of the app store, type “Meross” and search for the official Meross app.
- Once you find the app, tap on it to open the app’s page.
- Review the app’s details and read the user reviews to ensure it meets your requirements.
- Tap the “Download” or “Install” button to start the installation process.
- Wait for the app to download and install on your device. The duration may vary depending on your internet connection speed.
- Once the app is installed, locate the Meross app icon on your home screen or app drawer and tap on it to launch the app.
- If prompted, grant any necessary permissions to the app, such as access to your device’s location or notifications.
- Proceed to create an account in the app by following the provided instructions. If you already have an account, you can log in using your existing credentials.
- Once logged in, the app will guide you through the initial setup process, including connecting to your Wi-Fi network and discovering the Meross Smart Plug.
- After completing the setup process, the app will display the main control interface, allowing you to control and manage your Meross Smart Plug with ease.
Congratulations! You have successfully downloaded and installed the Meross app on your smartphone or tablet. In the next section, we will cover how to connect your Meross Smart Plug to your Wi-Fi network.
Step 3: Connecting the Meross Smart Plug to Wi-Fi
Now that you have the Meross app installed on your smartphone or tablet, it’s time to connect your Meross Smart Plug to your home Wi-Fi network. Follow the steps below to proceed:
- Open the Meross app on your device and log in using your account credentials.
- If prompted, ensure that your location services and Wi-Fi are enabled on your device to allow the app to detect nearby Meross devices.
- Tap on the “Add Device” or “Add+” button within the app to initiate the device discovery process.
- In the device list, select the “Smart Plug” category or look for the specific model of your Meross Smart Plug.
- Follow the on-screen instructions to put your Meross Smart Plug into pairing mode. This is usually done by pressing and holding the physical button on the plug until the LED starts blinking rapidly.
- The app will automatically start scanning for available devices. Once it detects your Meross Smart Plug, it will display it on the screen.
- Select the detected device from the list and confirm the pairing process.
- Next, the app will prompt you to connect the Meross Smart Plug to your home Wi-Fi network. Select your network from the list of available Wi-Fi networks.
- Enter the password for your Wi-Fi network when prompted. Make sure to enter the correct password to establish a successful connection.
- Wait for the app to establish a connection between the Meross Smart Plug and your Wi-Fi network. This may take a few moments.
- Once the connection is established, the app will display a confirmation message, indicating that your Meross Smart Plug is now connected to your Wi-Fi network.
By following these steps, you have successfully connected your Meross Smart Plug to your home Wi-Fi network. In the next section, we will explain how to add the Meross Smart Plug to the Meross app.
Step 4: Adding the Meross Smart Plug to the App
Now that your Meross Smart Plug is connected to your home Wi-Fi network, it’s time to add it to the Meross app for seamless control and management. Follow these steps to complete the process:
- Open the Meross app on your smartphone or tablet.
- Ensure that you are logged in to your Meross account.
- On the app’s main interface, tap on the “Add Device” or “Add+” button.
- In the device list, select the “Smart Plug” category or find the specific model of your Meross Smart Plug.
- The app will start searching for any Meross Smart Plugs connected to your Wi-Fi network.
- Wait for the app to detect your Meross Smart Plug. Once found, it will appear in the device list.
- Select your Meross Smart Plug from the list and confirm the pairing process.
- Assign a name and location for your Meross Smart Plug to easily identify it within the app.
- You can choose to add the smart plug to a specific room or create a new room within the app for better organization.
- Complete the setup process by following any additional instructions provided by the app.
- Once the setup is complete, the Meross Smart Plug will be added to your app’s device list, and you can start controlling it using the app’s interface.
You have successfully added your Meross Smart Plug to the Meross app. In the next section, we will explore how to configure the Meross Smart Plug according to your preferences.
Step 5: Configuring the Meross Smart Plug
Now that your Meross Smart Plug is added to the app, it’s time to configure it according to your preferences. Follow these steps to customize the settings of your Meross Smart Plug:
- Open the Meross app on your smartphone or tablet.
- Ensure that you are logged in to your Meross account.
- From the app’s main interface, locate and select your Meross Smart Plug in the device list.
- The app will display detailed information and options for your smart plug.
- Explore the available settings to customize your Meross Smart Plug functionalities. These settings may include scheduling, timers, energy usage monitoring, and more.
- To set up schedules, tap on the “Schedule” or “Timer” option in the app. Follow the prompts to create a schedule for when you want the smart plug to turn on or off automatically.
- For energy usage monitoring, find and select the “Energy” or “Statistics” option. Here, you can view real-time and historical energy consumption data for your plugged-in devices.
- Depending on the model of your Meross Smart Plug, you may have additional options and settings available. Take your time to explore and configure them as desired.
- Once you have configured the settings to your liking, tap the “Save” or “Apply” button to save the changes.
- Your Meross Smart Plug is now configured and ready to use based on your preferences.
By following these steps, you have successfully configured your Meross Smart Plug according to your needs. In the next section, we will dive into how to control your Meross Smart Plug using the app and other methods.
Step 6: Controlling the Meross Smart Plug
Now that your Meross Smart Plug is set up and configured, it’s time to start controlling it. The Meross app provides you with various methods to control your smart plug, including manual control, scheduling, and voice control. Follow these steps to control your Meross Smart Plug:
- Open the Meross app on your smartphone or tablet.
- Ensure that you are logged in to your Meross account.
- From the app’s main interface, locate and select your Meross Smart Plug in the device list.
- The app will display the current status of your smart plug, whether it’s on or off.
- To manually control the plug, simply tap the power button icon within the app to turn it on or off.
- If you have set up schedules or timers, the smart plug will automatically turn on or off based on the configured settings.
- To control the Meross Smart Plug using voice commands, ensure that your device with the Meross app is connected to a compatible voice assistant, such as Amazon Alexa or Google Assistant.
- Once connected, you can use voice commands such as “Hey Google, turn on the living room lamp” or “Alexa, turn off the smart plug in the kitchen.”
- The voice assistant will send the command to the Meross app, which will then control the smart plug accordingly.
- Additionally, you may have the option to integrate your Meross Smart Plug with other smart home systems or devices, such as IFTTT (If This Then That) or Apple HomeKit, for more advanced control and automation options.
With these steps, you now have the knowledge to control your Meross Smart Plug using the Meross app, schedules, timers, and voice commands. Enjoy the convenience and flexibility of easily managing your plugged-in devices with just a few taps or voice commands.
Conclusion
Congratulations! You have successfully learned how to connect, set up, and control your Meross Smart Plug. This user-friendly device provides a convenient way to remotely control your electronic appliances and devices, enhancing your daily life with automation and convenience.
Throughout this guide, you have learned the essential steps to get started with your Meross Smart Plug. From setting it up and connecting it to your home Wi-Fi network to configuring it according to your preferences and controlling it using the Meross app, scheduling, timers, and even voice commands, you now have full control over your plugged-in devices.
Remember to explore the numerous features and settings available in the Meross app, such as energy monitoring, creating custom schedules, and integrating the smart plug with other smart home systems. With these additional functionalities, you can further enhance your smart home experience and take advantage of the wealth of possibilities that the Meross Smart Plug offers.
Enjoy the convenience, energy-saving benefits, and peace of mind that come with having control over your devices from anywhere, at any time. Whether you’re at home or on the go, the Meross Smart Plug will be your reliable companion for a more efficient and effortless lifestyle.
Thank you for reading this guide! We hope it has been helpful in assisting you with the setup and usage of your Meross Smart Plug. Embrace the power of smart technology and enjoy the benefits it brings to your everyday life.