Introduction
Welcome to the world of smart home technology, where you can control various devices with just a few simple voice commands. One of the most convenient devices that you can integrate into your smart home setup is a smart plug. With a smart plug, you can turn your regular appliances into smart devices that can be controlled remotely using your voice or through a mobile app.
In this guide, we will show you how to set up a smart plug with Alexa, the popular voice assistant developed by Amazon. By combining the power of Alexa with a smart plug, you can experience a new level of convenience and automation in your daily life.
Imagine being able to turn on your coffee maker, control your lights, or even start your air conditioner without getting up from your couch. With a smart plug and Alexa, all of this becomes possible with just a simple voice command.
But before we delve into the setup process, let’s explore some of the benefits that come with setting up a smart plug with Alexa.
The Benefits of Setting Up Smart Plug with Alexa
Setting up a smart plug with Alexa offers a multitude of benefits that enhance both convenience and efficiency in your daily life. Here are some key advantages:
1. Voice Control: With Alexa, you can control your smart plug and connected devices using simple voice commands. Whether you want to turn on the lights, switch off the TV, or adjust the thermostat, you can do it all without lifting a finger.
2. Remote Access: Using the Alexa app on your smartphone or tablet, you can control your smart plug from anywhere. Forgot to turn off the iron before leaving home? No problem. Simply open the app and power it off remotely.
3. Scheduled Automation: Alexa allows you to create schedules for your smart plug, enabling you to automate the operation of connected devices. You can program your coffee maker to start brewing in the morning or turn on the porch lights as it gets dark, all without manual intervention.
4. Energy Savings: By intelligently controlling your appliances, smart plugs help you save energy. You can easily set timers or turn off devices when they’re not in use, reducing your electricity bills and reducing your carbon footprint.
5. Integration with Smart Home Ecosystem: Alexa is compatible with a wide range of smart home devices and platforms. By setting up a smart plug with Alexa, you can integrate it seamlessly with other smart devices in your home, such as smart bulbs, thermostats, or security systems.
6. Convenience without Smart Devices: Even if you don’t have smart devices, setting up a smart plug with Alexa gives you a taste of smart home convenience. You can use voice commands to control regular appliances and make them more accessible and hands-free.
These are just a few of the benefits that come with setting up a smart plug with Alexa. Now that you understand the advantages, let’s move on to the prerequisites for setting up your smart plug with Alexa.
Prerequisites for Setting Up Smart Plug with Alexa
Before you start setting up your smart plug with Alexa, there are a few prerequisites you need to consider:
1. Wi-Fi Connection: Make sure you have a stable and reliable Wi-Fi network in your home. Both the smart plug and Alexa device need to be connected to the same Wi-Fi network for seamless communication.
2. Alexa Device: You will need an Alexa-enabled device, such as an Amazon Echo or Echo Dot, to control your smart plug. Ensure that your Alexa device is properly set up and connected to your Wi-Fi network.
3. Smart Plug Compatibility: Ensure that the smart plug you purchase is compatible with Alexa. Most smart plugs on the market today offer Alexa integration, but it’s always good to double-check before making a purchase.
4. Smartphone or Tablet: You will need a smartphone or tablet with the Alexa app installed. The app allows you to configure and control your smart plug, as well as access additional features and settings.
5. Manufacturer Instructions: Always refer to the manufacturer’s instructions that come with your smart plug for specific setup requirements. Different smart plugs may have slightly different setup processes, so it’s important to follow the instructions provided.
6. Credentials: Make sure you have the necessary login credentials for your smart plug and Alexa account. This includes your Wi-Fi network name and password, as well as any account information required to link your devices.
By ensuring that you have these prerequisites in place, you can proceed with confidence to set up your smart plug with Alexa. In the next section, we will guide you through the step-by-step process of setting up your smart plug.
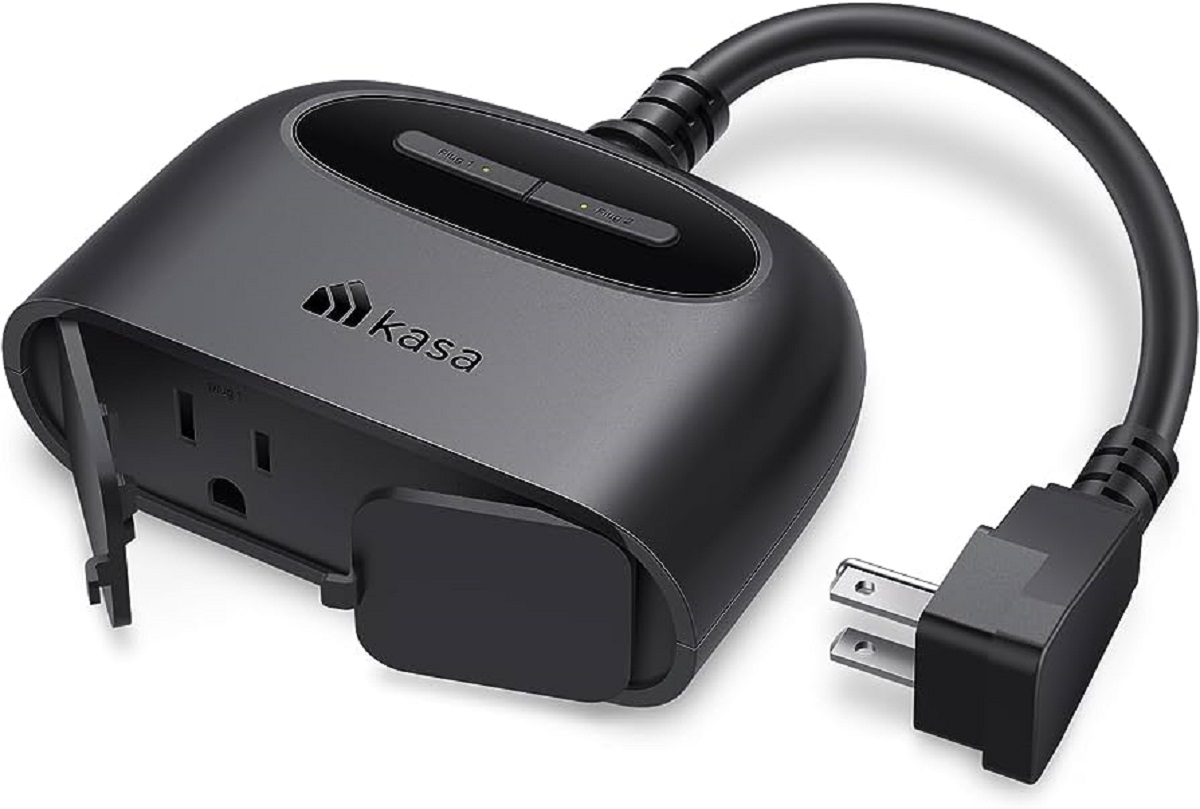
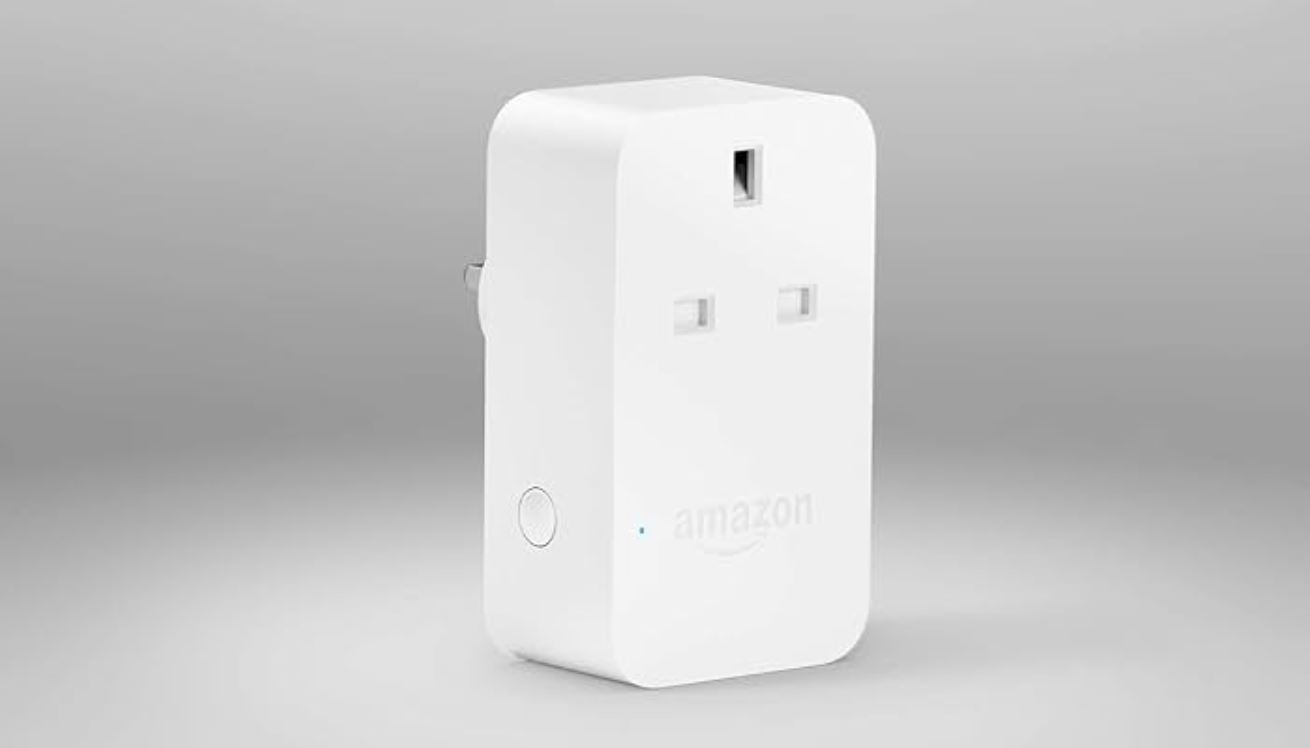
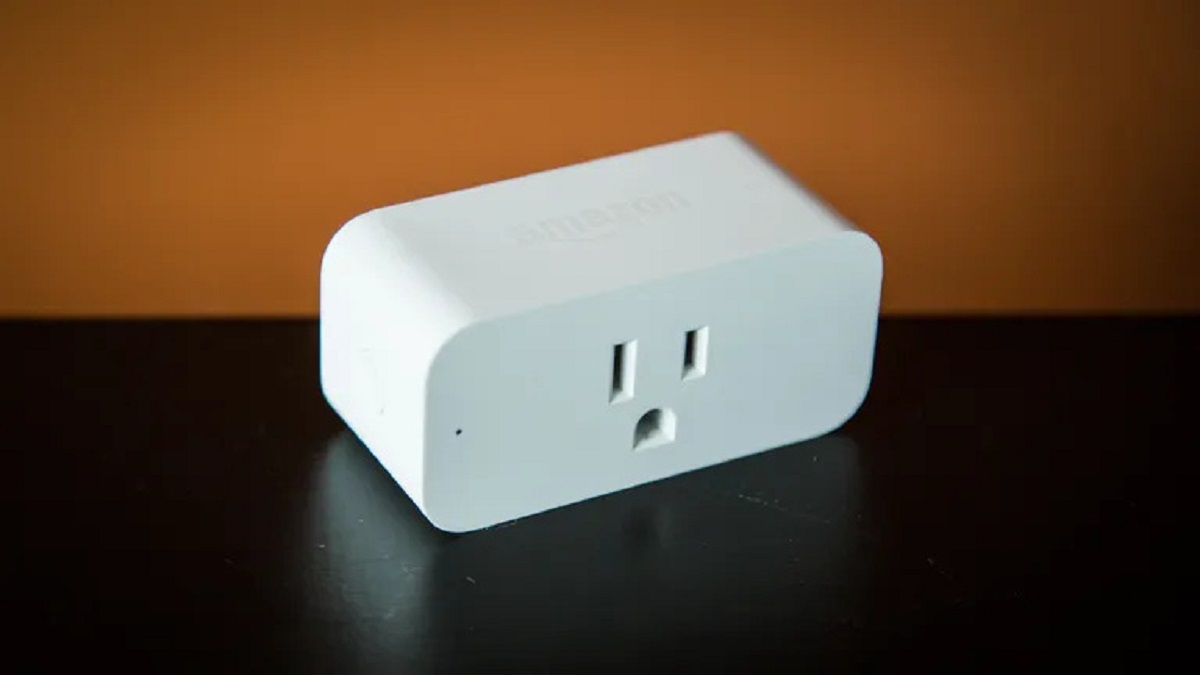
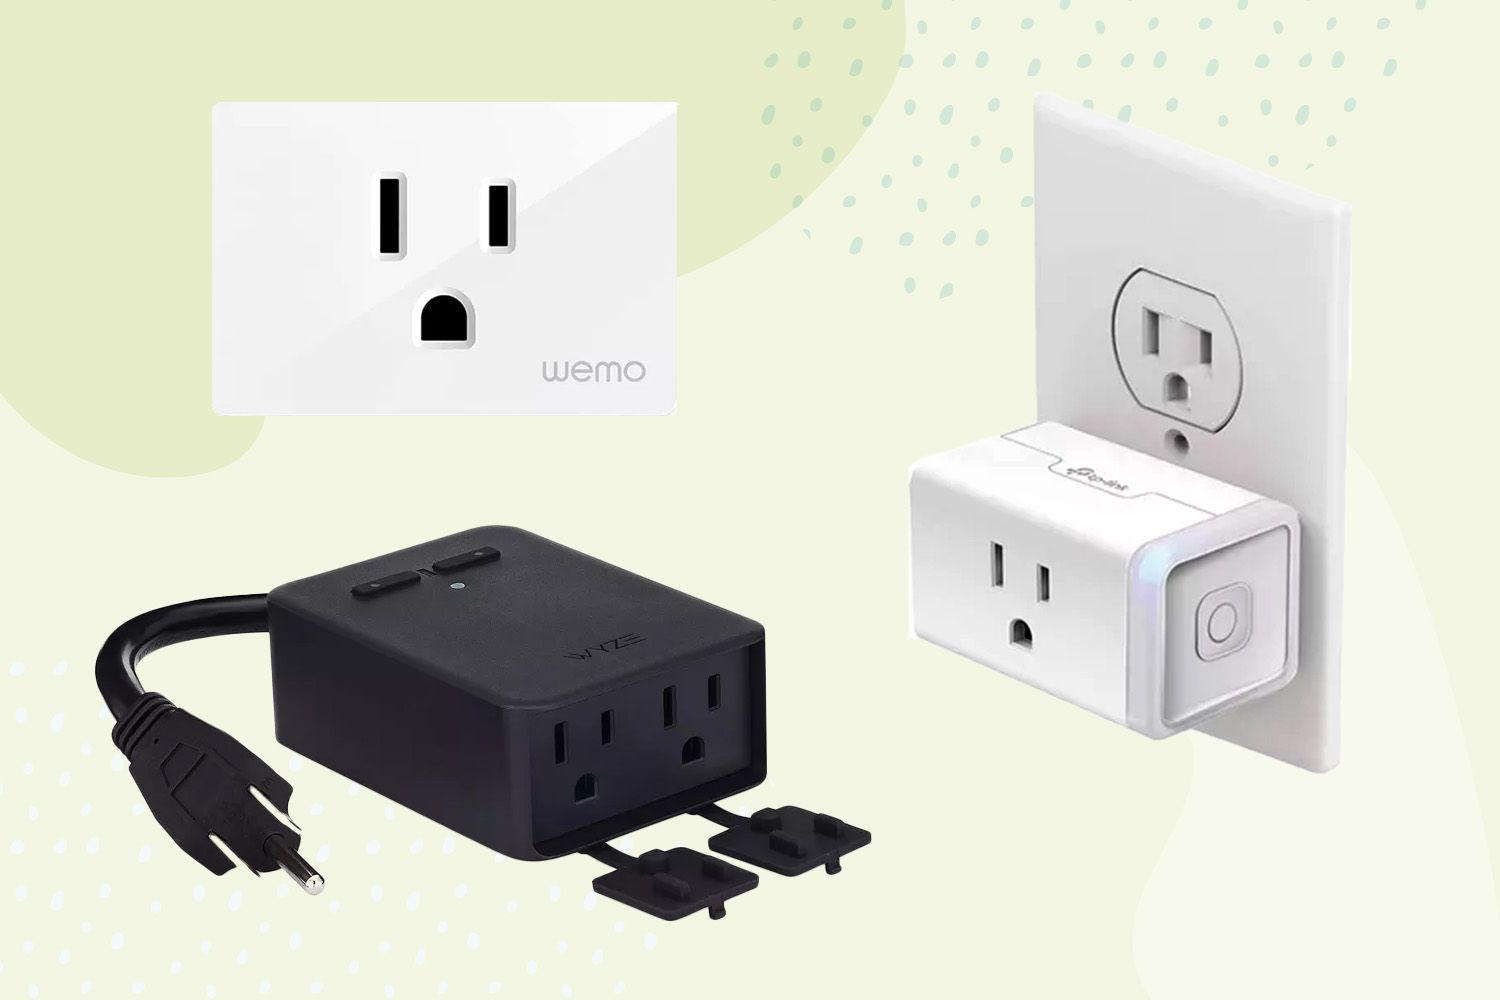
Step 1: Check Compatibility and Purchase a Smart Plug
The first step in setting up a smart plug with Alexa is to check compatibility and purchase a suitable smart plug. Here’s what you need to do:
1. Check Compatibility: Ensure that the smart plug you choose is compatible with Alexa. Most smart plugs these days offer compatibility with Alexa, but it’s always a good idea to double-check the product details or consult the manufacturer’s website.
2. Research and Compare: Take some time to research different smart plug options available on the market. Compare their features, customer reviews, and pricing to find the best one that suits your needs and budget.
3. Consider Additional Features: While the primary purpose of a smart plug is to control devices remotely, some smart plugs offer additional features such as energy monitoring, USB charging ports, or voice assistants integrated into the plug itself. Consider if any of these features are important to you.
4. Purchase the Smart Plug: Once you have identified a compatible smart plug that meets your requirements, proceed with the purchase. You can find smart plugs at various electronics stores, online marketplaces, or directly from the manufacturer’s website.
5. Check Accessories: Some smart plugs may require additional accessories, such as a bridge or hub, to function properly. Check if any additional components are needed for your chosen smart plug and ensure that you have them before proceeding with the setup.
6. Read User Manual: Before starting the setup process, read through the user manual or setup guide that comes with the smart plug. Familiarize yourself with any specific instructions or requirements provided by the manufacturer.
By thoroughly checking compatibility and purchasing a smart plug that suits your needs, you are ready to move on to the next step: setting up the smart plug itself. In the following steps, we will guide you through the entire setup process, from connecting the plug to configuring it with Alexa.
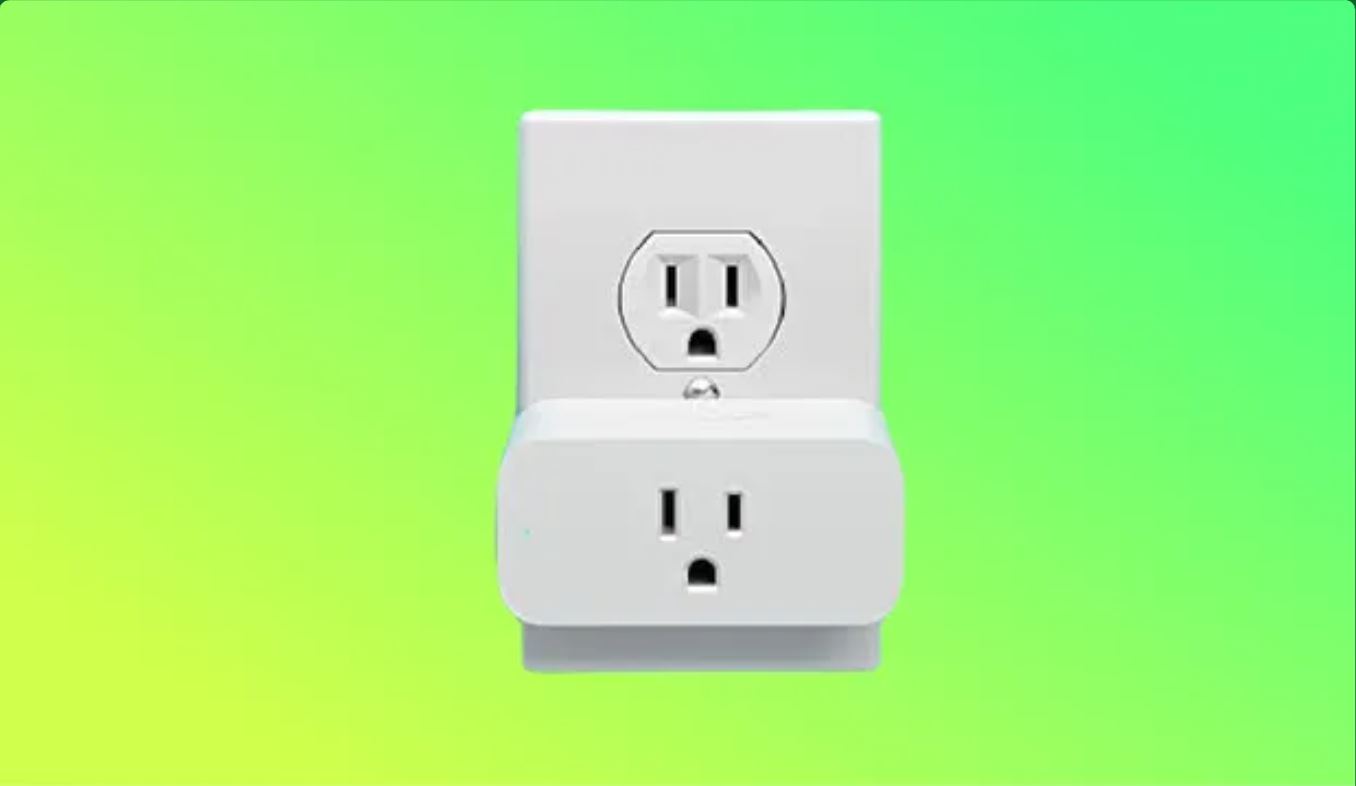
Step 2: Set Up the Smart Plug
Once you have purchased your smart plug, it’s time to set it up and get it ready for integration with Alexa. Follow these steps to set up your smart plug:
1. Unbox and Inspect: Begin by unboxing the smart plug and inspecting it for any physical damage. Ensure that all the necessary components are included, such as the plug itself, user manual, and any additional accessories that may be required.
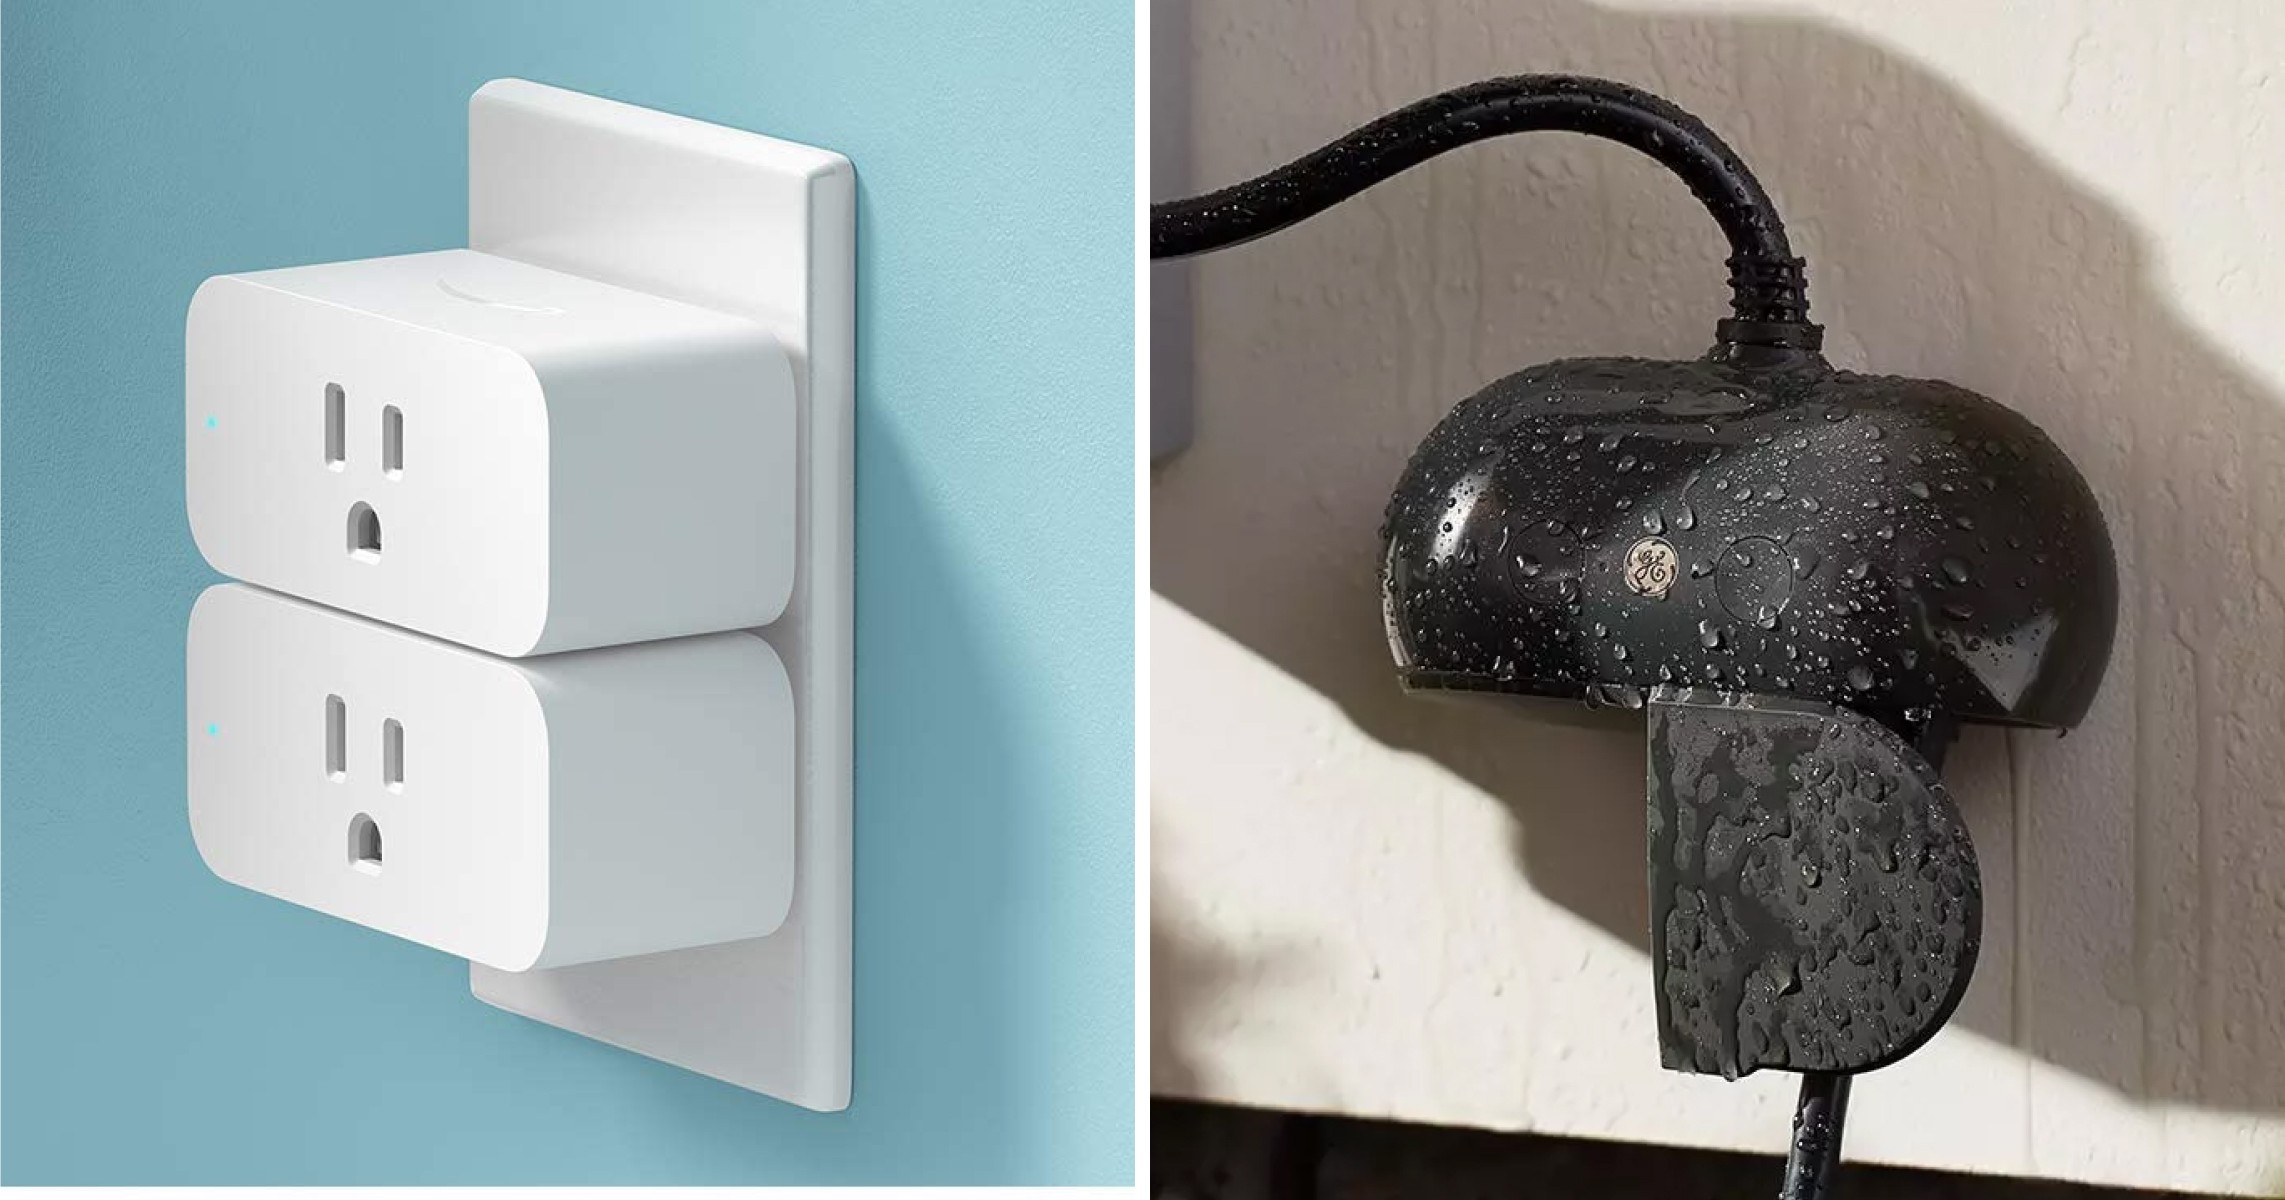
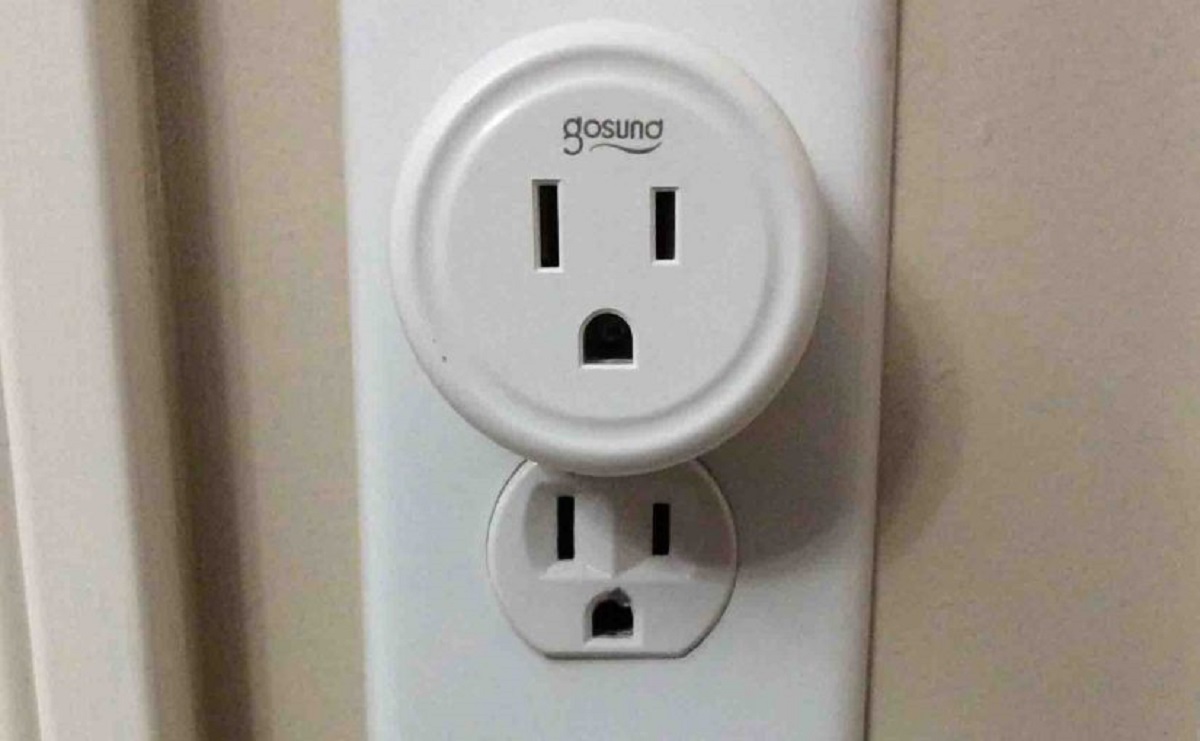
2. Find a Suitable Outlet: Choose a suitable electrical outlet to plug in your smart plug. Ensure that the outlet is within reach of your Wi-Fi router or has a strong signal to ensure smooth connectivity.
3. Install the Mobile App: Most smart plugs require a mobile app for setup and control. Search for the app specific to your smart plug in your device’s app store and download it. Follow the app’s instructions for installation.
4. Create an Account: Launch the mobile app and follow the on-screen instructions to create an account if required. You may need to provide a valid email address and password to proceed with the setup process.
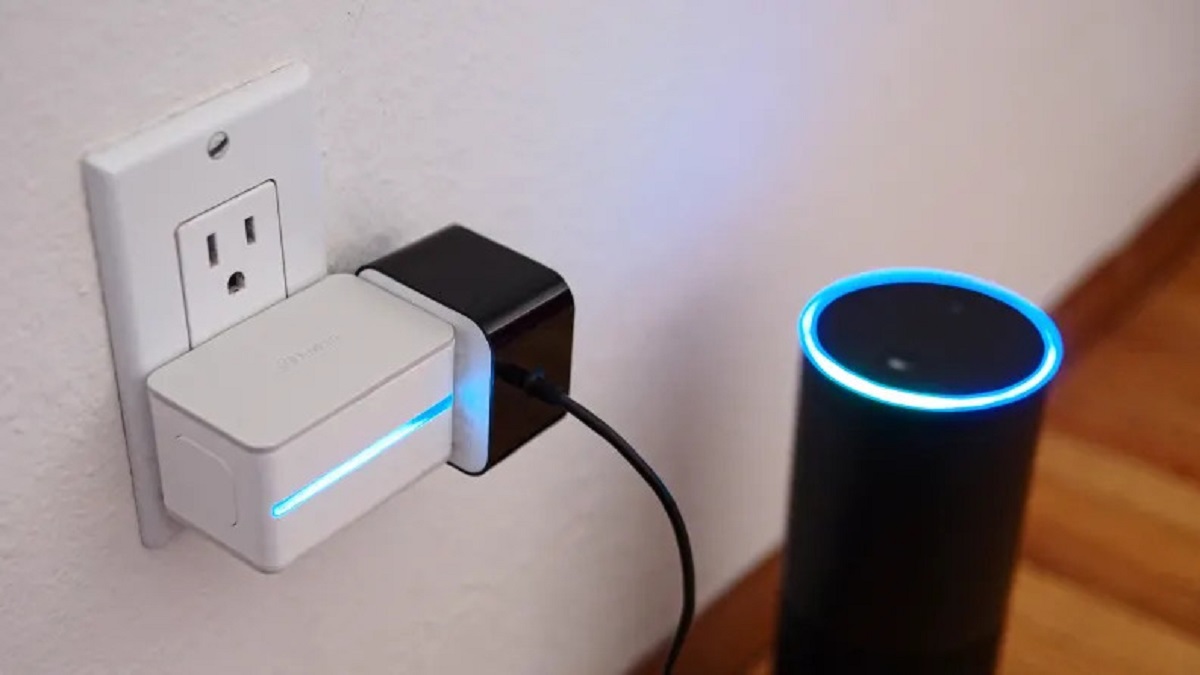
5. Connect the Smart Plug: Plug the smart plug into the electrical outlet. Ensure that the plug is receiving power by checking for any indicator lights or displays on the device.
6. Connect to Wi-Fi: Using the mobile app, navigate to the Wi-Fi settings and select the option to connect the smart plug to your Wi-Fi network. Follow the prompts to enter your Wi-Fi network name (SSID) and password.
7. Pair the Smart Plug: Once you have successfully connected the smart plug to your Wi-Fi network, the app will guide you through the process of pairing the smart plug with your mobile device. This allows for seamless communication and control.
8. Test the Smart Plug: With the setup complete, test the smart plug by turning it on and off using the mobile app. Ensure that the plug responds promptly and functions as expected.
Once you have successfully set up your smart plug, it’s time to move on to the next step: setting up your Alexa device to control the plug. In the following steps, we will guide you through the process of integrating the smart plug with Alexa for voice control and automation.
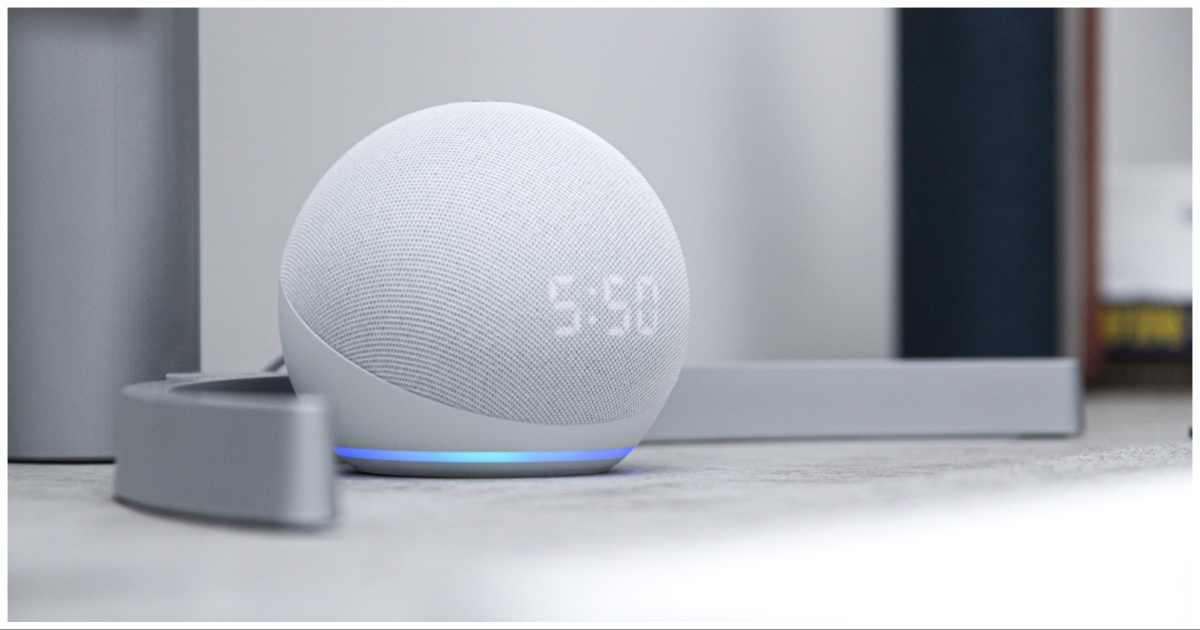
Step 3: Set Up Your Alexa Device
Before you can control your smart plug with Alexa, you need to set up your Alexa-enabled device. Whether you have an Amazon Echo, Echo Dot, or any other Alexa-enabled device, follow these steps to get it ready for integration:
1. Plug in your Alexa Device: Connect your Alexa device to a power source and wait for it to power on. Make sure it’s connected to the same Wi-Fi network as your smart plug.
2. Download Alexa App: Search for the Amazon Alexa app on your smartphone or tablet’s app store and download it. This app is crucial for setting up and managing your Alexa device.
3. Launch the Alexa App: Open the Alexa app on your mobile device and sign in with your Amazon account. If you don’t have an Amazon account, you can create one for free.
4. Set Up Your Alexa Device: In the Alexa app, go to the settings and select “Add Device” or “Set Up a New Device.” Follow the on-screen instructions to configure your Alexa device. This typically involves selecting your device model and connecting it to your Wi-Fi network.
5. Update Firmware: Once your Alexa device is set up, it may prompt you to update its firmware. It’s essential to keep your device up to date to ensure compatibility with the latest features and improvements.
6. Customize Settings: After the initial setup, personalize your Alexa device by adjusting settings such as the device name, language, and voice preferences. These settings can be accessed through the Alexa app’s settings menu.
7. Complete Voice Training: Alexa allows you to train its voice recognition to better understand your commands. Follow the voice training prompts in the Alexa app to enable more accurate voice control.
Once you have set up your Alexa device, it’s time to proceed to the next step: connecting your smart plug to Alexa. In the following steps, we will guide you through the process of linking the smart plug to your Alexa device for seamless control using voice commands.
Step 4: Connect the Smart Plug with Alexa
Now that you have your smart plug and Alexa device set up, it’s time to connect them together. Follow these steps to link your smart plug to Alexa:
1. Launch the Alexa App: Open the Alexa app on your smartphone or tablet and sign in with your Amazon account if you haven’t already done so.
2. Tap on “Devices”: In the lower-right corner of the Alexa app, tap on the “Devices” tab. This is where you manage and control all your connected devices.
3. Tap on “Plugs”: In the “Devices” tab, tap on “Plugs” to view and manage your connected smart plugs.
4. Tap on “Add Device”: On the “Plugs” page, tap on the “+” icon or the “Add Device” button to initiate the device discovery process.
5. Choose Device Type: In the “Add Device” screen, select the appropriate device type for your smart plug. It may be listed as “Smart Plug,” “Outlet,” or a similar option. Follow the on-screen instructions if there are any specific device setup requirements.
6. Enable Skill: If prompted, you may need to enable the specific skill or app associated with your smart plug brand. This allows Alexa to communicate and control your smart plug effectively.
7. Discover Devices: Alexa will now begin searching for available smart plugs. Make sure your smart plug is in the discovery or pairing mode, as specified by the manufacturer. Wait for a few seconds while Alexa searches for your smart plug.
8. Connect the Smart Plug: Once Alexa discovers your smart plug, it will be listed in the Alexa app. Select your smart plug from the list and follow any additional instructions to complete the connection process.
9. Test the Connection: After successfully linking your smart plug with Alexa, test the connection by using a voice command to turn the plug on or off. For example, say “Alexa, turn on [smart plug name]” and confirm that the plug responds accordingly.
Congratulations! You have successfully connected your smart plug with Alexa. In the next step, we will guide you on how to name and organize your smart plug devices for easy management and control.
Step 5: Name and Organize Smart Plug Devices
Now that your smart plug is connected to Alexa, it’s time to name and organize your smart plug devices for easy management and control. Follow these steps to name and organize your smart plug devices:
1. Open the Alexa App: Launch the Alexa app on your smartphone or tablet and sign in with your Amazon account if you haven’t already done so.
2. Tap on “Devices”: At the bottom of the Alexa app, tap on the “Devices” tab to access your connected devices.
3. Select “Plugs”: On the “Devices” page, tap on the “Plugs” option to view and manage your connected smart plugs.
4. Choose a Smart Plug: Tap on the specific smart plug device that you want to name and organize. This will bring up the settings and options for that particular smart plug.
5. Tap on “Edit Name”: In the smart plug settings, look for the option to “Edit Name” or “Rename” the device. Tap on it to proceed.
6. Enter a Descriptive Name: Enter a name for your smart plug device that will help you easily identify and control it. For example, if it’s connected to your living room lamp, you can name it “Living Room Lamp.”
7. Group Devices (Optional): To further organize your smart plug devices, you have the option to create groups. Tap on “Create Group” in the smart plug settings and follow the prompts to group multiple smart plugs together.
8. Assign Room (Optional): Another way to organize your smart plug devices is by assigning them to specific rooms. In the smart plug settings, look for the option to “Assign Room” and select the appropriate room from the list.
9. Save and Confirm: After naming and organizing your smart plug device, tap on “Save” or “Confirm” to apply the changes. The new name and organization settings will now be reflected in the Alexa app.
Repeat these steps for each smart plug device that you want to name and organize. This will help you easily locate and control your smart plugs using voice commands or the Alexa app.
Now that your smart plug devices are named and organized, the next step is to test and control them with Alexa. In the following step, we will guide you through testing and controlling your smart plug devices using Alexa voice commands.
Step 6: Test and Control Smart Plug with Alexa
With your smart plug devices named and organized, it’s time to test and control them using Alexa voice commands. Follow these steps to test and control your smart plug devices:
1. Wake Up Alexa: To activate Alexa, say the wake word (usually “Alexa,” “Echo,” or “Computer,” depending on your device) followed by your request.
2. State Your Command: Give a voice command to Alexa to control your smart plug device. For example, say “Alexa, turn on [smart plug name]” to turn on the specified smart plug.
3. Test Individual Devices: Test each of your smart plug devices by giving specific voice commands. For example, say “Alexa, turn off [smart plug name]” to turn off a specific smart plug.
4. Control Groups (Optional): If you have created groups of smart plug devices, you can control them simultaneously. For example, say “Alexa, turn off [group name]” to turn off all the smart plugs in a particular group.
5. Adjust Brightness or Settings (If Applicable): If your smart plug supports adjustable brightness or other settings, you can give specific voice commands to adjust them. For example, say “Alexa, set the brightness of [smart plug name] to 50%.”
6. Test Automation and Schedules: If you have set up any automation or schedules for your smart plug devices, test them by observing if the devices turn on or off as programmed.
7. Monitor Energy Consumption (If Applicable): If your smart plug has energy monitoring capabilities, use Alexa to check the energy consumption of your connected devices. Ask Alexa for the energy usage of a specific smart plug or group.
By testing and controlling your smart plug devices with Alexa, you can experience the convenience of voice-controlled automation in your smart home setup. Enjoy the ease of turning devices on and off, adjusting settings, and monitoring energy usage without lifting a finger.
If you encounter any issues or have difficulty controlling your smart plug devices with Alexa, proceed to the next section where we will cover troubleshooting common issues and solutions.
Troubleshooting Common Issues with Smart Plug and Alexa
While setting up and using your smart plug with Alexa is generally a smooth process, you may encounter some common issues along the way. Here are some troubleshooting tips for resolving common issues:
1. Device Connectivity: If your smart plug is not connecting to your Wi-Fi network or Alexa device, ensure that the plug is within range of your Wi-Fi router. Also, check if there are any obstructions or interference that might be affecting the signal. Restarting the smart plug and your Wi-Fi router can also help resolve connectivity issues.
2. Compatibility Issues: If you’re experiencing compatibility issues between your smart plug and Alexa, check if the device is indeed compatible with Alexa. Review the manufacturer’s instructions and firmware updates to ensure compatibility. It’s also worth confirming that the skill for the smart plug is enabled in the Alexa app.
3. Voice Recognition Problems: If Alexa is having trouble recognizing your voice commands accurately, check if you’re using the correct wake word and speaking clearly. Train Alexa’s voice recognition feature through the app to improve accuracy. Also, make sure there are no background noises or distance issues between you and the Alexa device.
4. Device Naming: If Alexa is having trouble recognizing the names of your smart plug devices, try choosing simpler and more distinct names. Avoid using similar or confusing names for different devices, as it can cause confusion for Alexa in understanding your commands.
5. Firmware Updates: Check if there are any firmware updates available for your smart plug. Outdated firmware can lead to compatibility and performance issues. Follow the manufacturer’s instructions to update the firmware and ensure that you have the latest version.
6. Resetting the Devices: If all else fails, try resetting both your smart plug and Alexa device. Refer to the user manual or manufacturer’s instructions for the specific reset process. Then, go through the setup process again to reconnect the devices and try controlling your smart plug with Alexa once more.
If you’re unable to resolve the issue or need further assistance, reach out to the smart plug manufacturer’s customer support or consult their online troubleshooting resources for more specific guidance.
By troubleshooting common issues, you can ensure a seamless and efficient smart home experience with your smart plug and Alexa. Now that you’re familiar with troubleshooting, you’re ready to enjoy the convenience and control that comes with integrating smart plug devices into your Alexa-powered smart home setup.
Conclusion
Setting up a smart plug with Alexa opens up a world of convenience and control in your smart home. By following the steps outlined in this guide, you can seamlessly integrate your smart plug into your Alexa-powered ecosystem and enjoy the benefits of voice-controlled automation.
From turning on and off appliances with a simple voice command to scheduling and automating your devices, smart plugs offer a new level of convenience and energy efficiency. With Alexa, you have the power to control your smart plugs from anywhere using your smartphone or through voice commands effortlessly.
Remember to check compatibility and purchase a compatible smart plug, set up your Alexa device, and follow the step-by-step instructions to connect your smart plug to Alexa. Name and organize your devices for easy management and control, and troubleshoot any common issues that may arise along the way.
With your smart plug devices successfully integrated with Alexa, you can experience a truly connected and intelligent home environment. Command your devices with your voice, create personalized schedules, and enjoy the convenience of remote access and energy savings.
Should you encounter any challenges during the setup or usage process, consult the manufacturer’s instructions or contact their customer support for assistance. With their guidance, you’ll be able to effectively troubleshoot and resolve any issues that may arise.
Now that you have the knowledge and tools to set up and control your smart plug with Alexa, go forth and embrace the future of smart home technology. Enjoy the convenience, efficiency, and control that comes with integrating your smart plug devices into your voice-activated smart home ecosystem.