Introduction
Welcome to the world of smart home technology, where everyday appliances can be controlled with just a tap of your finger. One such device that has gained popularity in recent years is the smart plug. But what exactly is a smart plug, and how can it be used with your coffee maker?
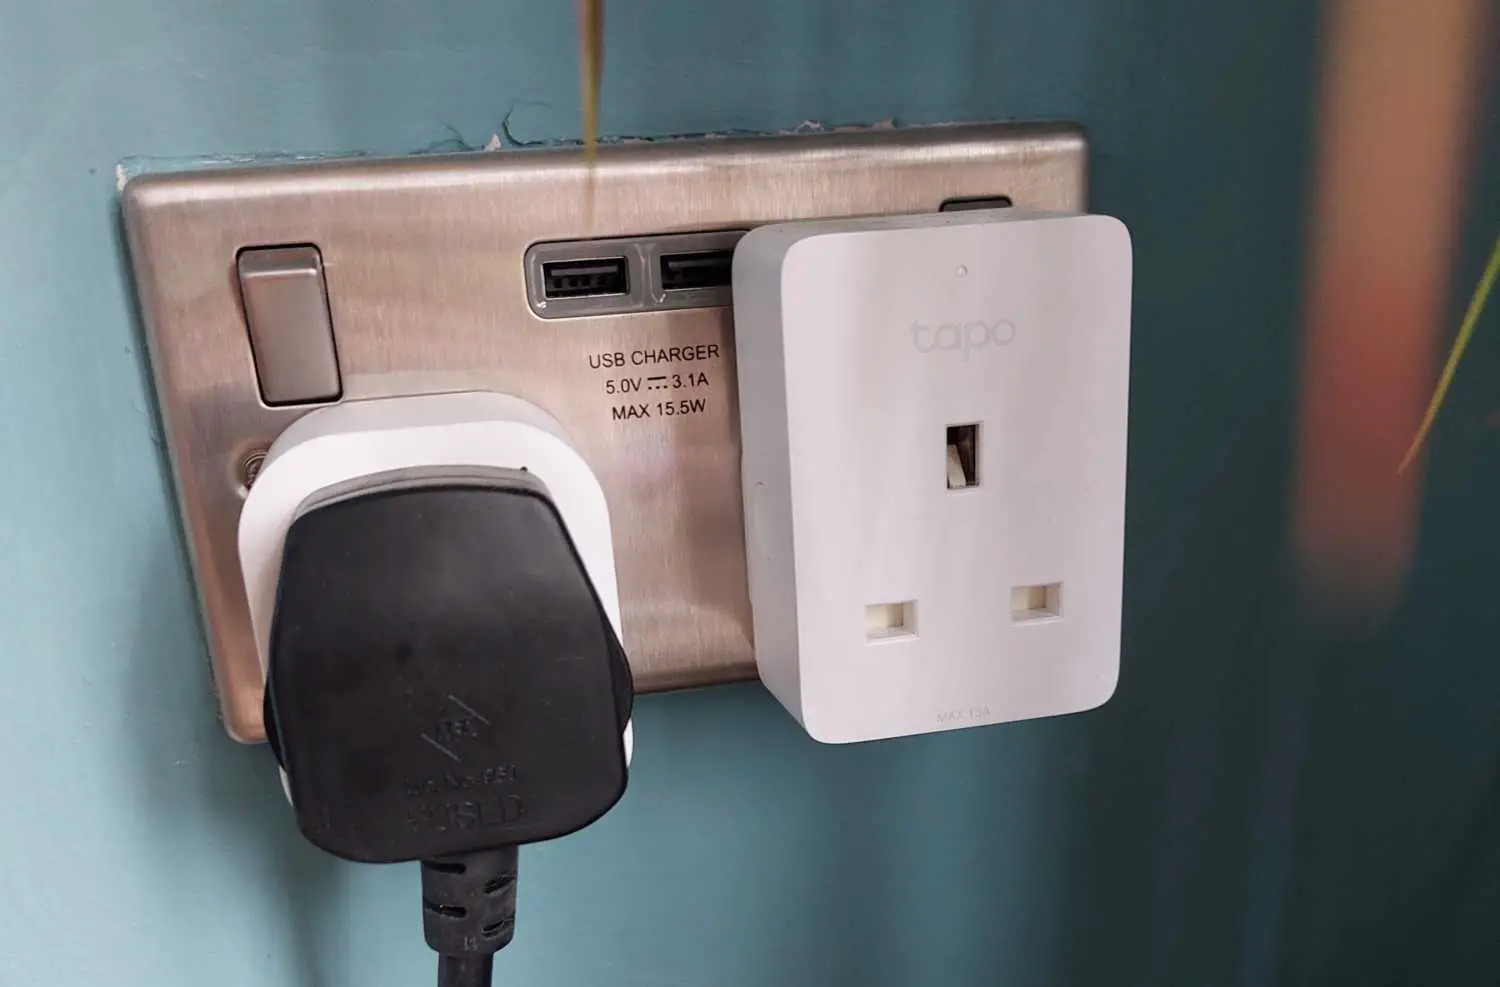
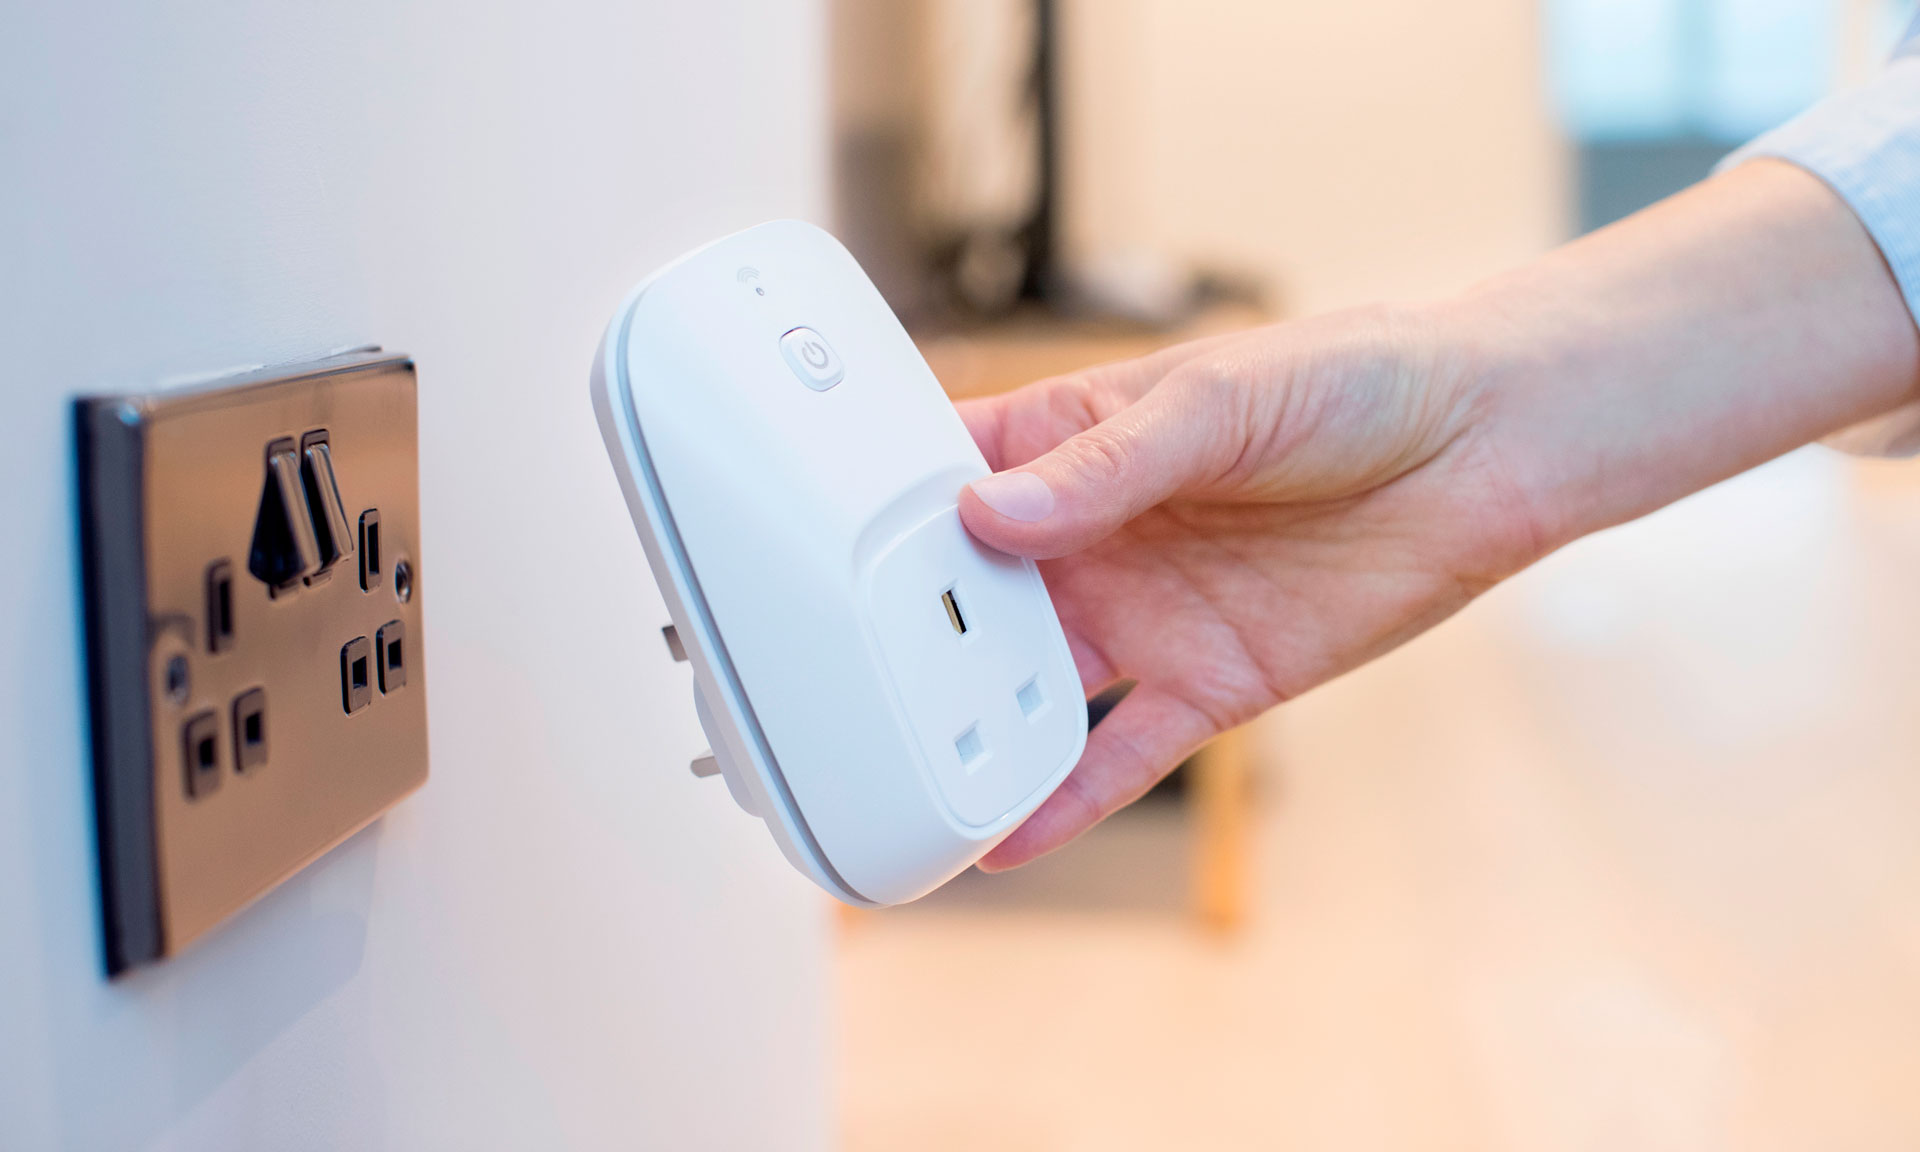
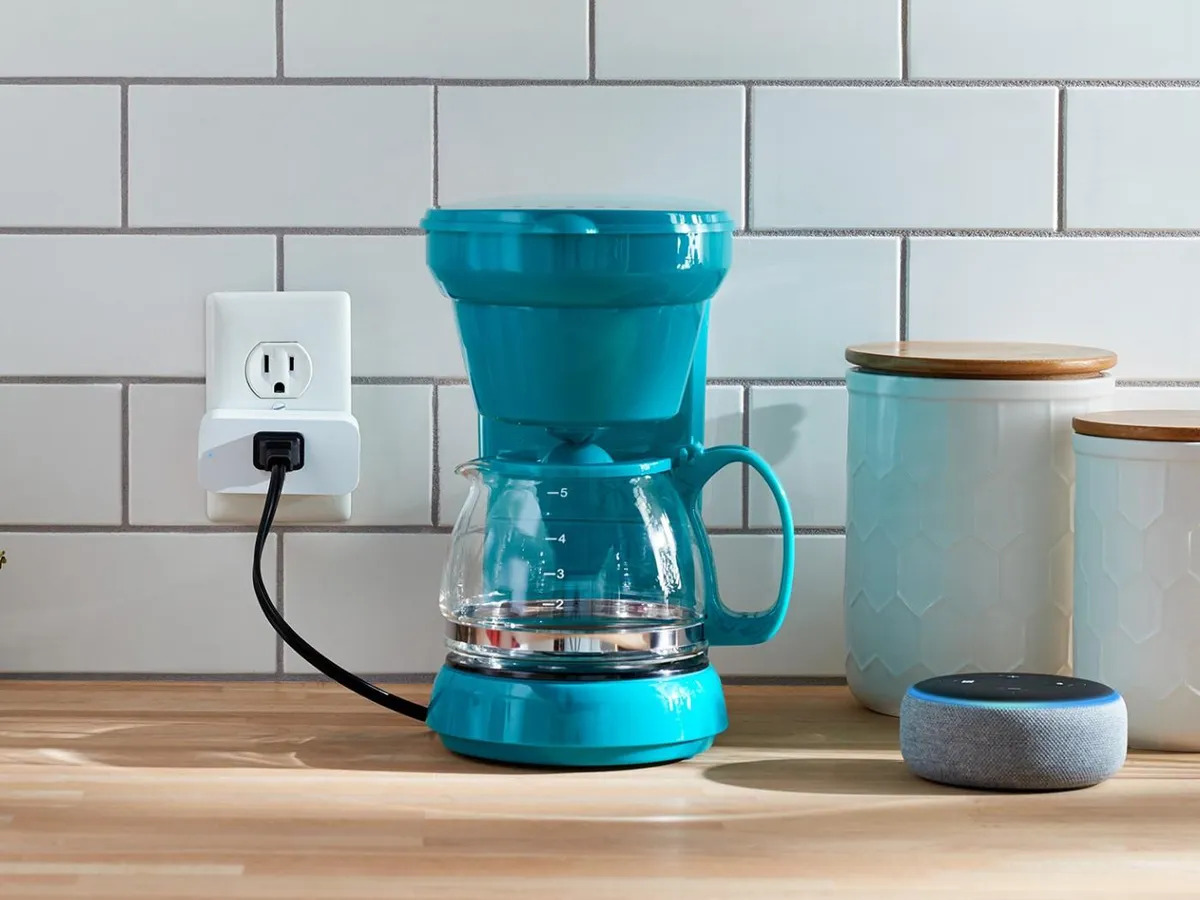
A smart plug is a device that connects to your electrical outlet and allows you to control the power supply to any device that is plugged into it. It acts as a bridge between your regular household appliances and your smartphone or smart home assistant, such as Amazon Alexa or Google Assistant. Using the accompanying app, you can turn appliances on or off, set timers and schedules, and even monitor energy usage.
So, why would you want to use a smart plug with your coffee maker? The answer is simple – convenience. Imagine waking up to the aroma of freshly brewed coffee without having to stumble to the kitchen and fumble with buttons. With a smart plug, you can schedule your coffee maker to start brewing automatically at a specific time, ensuring that your morning cup of joe is ready and waiting for you.
But the benefits of using a smart plug with your coffee maker go beyond just convenience. It can also help you save energy and reduce your electricity bills. Often, we forget to turn off appliances when we leave the house, leading to unnecessary energy consumption. With a smart plug, you can remotely turn off your coffee maker, ensuring that it doesn’t continue drawing power when not in use.
Additionally, a smart plug can offer peace of mind by providing remote control over your coffee maker. Have you ever experienced that nagging feeling of wondering if you accidentally left your coffee maker on after leaving the house? With a smart plug, you can check its status and turn it off remotely, eliminating any unnecessary worries.
In this guide, we will walk you through the steps of setting up and using a smart plug with your coffee maker. By the end, you’ll be able to enjoy the convenience, energy savings, and peace of mind that comes with integrating your coffee maker into your smart home system.
What is a Smart Plug?
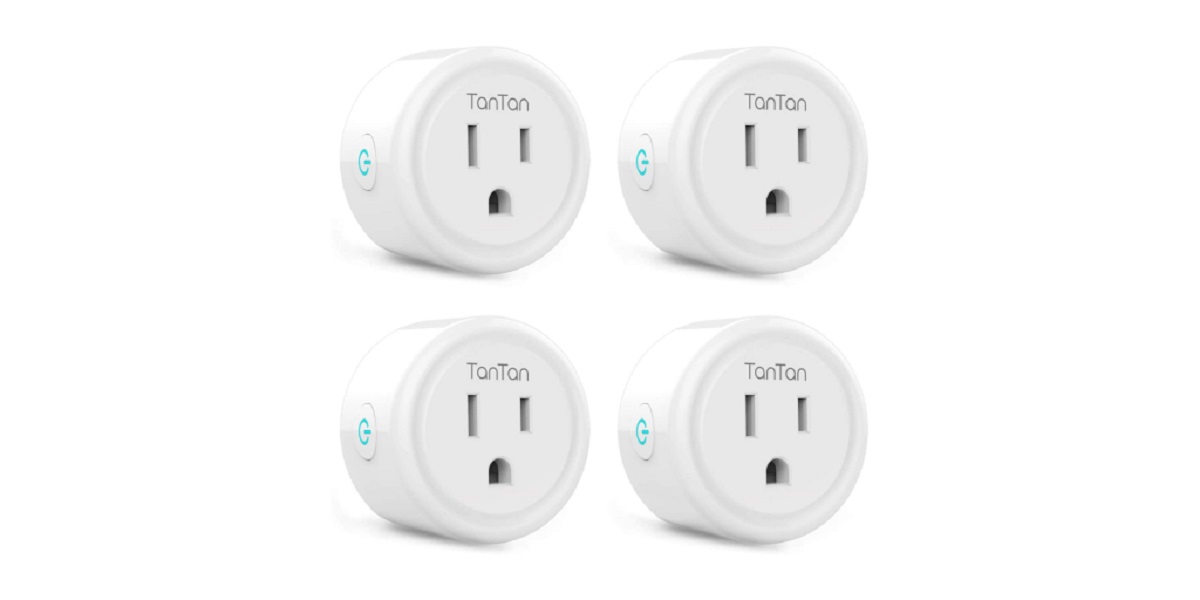
A smart plug is a small device that can transform any regular electrical outlet into a smart outlet. It allows you to control the power supply to an appliance that is plugged into it through your smartphone or smart home assistant. This technology brings convenience and automation to your home, giving you the ability to control your devices from anywhere at any time.
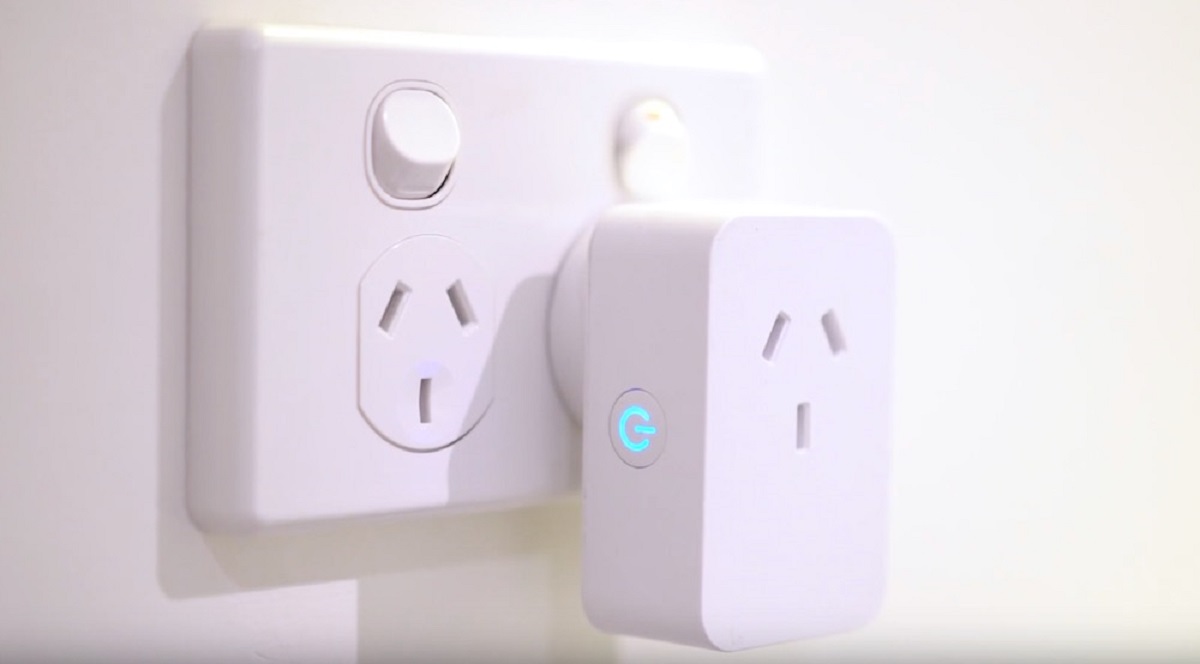
Smart plugs are designed to be user-friendly and easy to set up. They typically connect to your home’s Wi-Fi network, allowing you to control them through a dedicated smartphone app. Some smart plugs are also compatible with popular voice assistants like Amazon Alexa and Google Assistant, allowing you to control your devices with voice commands.
Once set up, a smart plug gives you complete control over your appliances. You can turn devices on or off remotely, create schedules and timers, monitor energy usage, and even set up automation routines. With the right app and compatible devices, you can create a truly smart home ecosystem that responds to your needs and lifestyle.
Smart plugs are incredibly versatile and can be used with a wide range of devices, including lamps, fans, heaters, air conditioners, and of course, coffee makers. They offer an affordable and convenient solution for making your existing appliances smart without the need for expensive upgrades or replacements.
One of the key advantages of using a smart plug is its ability to help you save energy and reduce electricity bills. With the ability to remotely control your devices, you can ensure that they are not drawing power when not in use. This can be particularly useful for appliances like coffee makers, which often get left on by accident.
Another benefit of smart plugs is their compatibility with other smart home devices and services. For example, you can integrate a smart plug with a home security system to create the illusion that someone is home by turning lights on and off at specific times. This can be a great deterrent for potential burglars.
In summary, a smart plug is a simple yet powerful device that turns a regular outlet into a smart outlet. It provides convenient control over your appliances, allows for energy-saving capabilities, and enables integration with other smart home devices. By using a smart plug with your coffee maker, you can bring automation and ease-of-use to your morning routine.
Benefits of Using a Smart Plug with a Coffee Maker
Using a smart plug with your coffee maker offers a range of benefits that can enhance your daily coffee-drinking experience. Let’s explore some of the advantages:
1. Convenience: With a smart plug, you can start brewing your coffee without even getting out of bed. Set up a timer or a schedule through the smart plug app, and your coffee maker will automatically activate at your desired time. Wake up to the rich aroma of freshly brewed coffee every morning without any effort.
2. Energy Savings: We all forget to turn off appliances from time to time, leading to unnecessary energy consumption. By using a smart plug with your coffee maker, you can remotely turn it off after brewing, ensuring that it doesn’t consume power while you’re away or not using it. This helps reduce your energy bills and supports eco-friendly living.
3. Customization: Smart plugs allow you to personalize your coffee brewing experience. Adjust the settings of your coffee maker directly from the app, such as the strength of your brew or even the type of coffee beans used. Experiment with different settings and find your perfect cup of coffee with ease.
4. Remote Control: Forgot to turn off your coffee maker before leaving the house? No worries! With a smart plug, you can check the status of your coffee maker through the app and turn it off remotely. This provides you peace of mind and eliminates any concerns about potential safety hazards.
5. Safety: Smart plugs often come with built-in safety features such as overload protection and fire-resistant materials. This provides an additional layer of protection when using appliances like coffee makers, giving you peace of mind while enjoying your favorite hot beverage.
6. Integration with Smart Home Systems: Smart plugs can be seamlessly integrated with other smart home devices and systems. You can create automation routines to have your coffee maker start brewing as soon as you wake up, or link it to voice assistants like Amazon Alexa or Google Assistant for hands-free control. The possibilities are vast and can greatly enhance your smart home experience.
By using a smart plug with your coffee maker, you can elevate your coffee-brewing routine to a whole new level. It offers convenience, energy savings, customization options, remote control, and integration with other smart home devices. So sit back, relax, and enjoy your perfectly timed and effortless cup of coffee every day.
Getting Started with a Smart Plug
Ready to bring the convenience of a smart plug into your coffee-making routine? Follow these steps to get started:
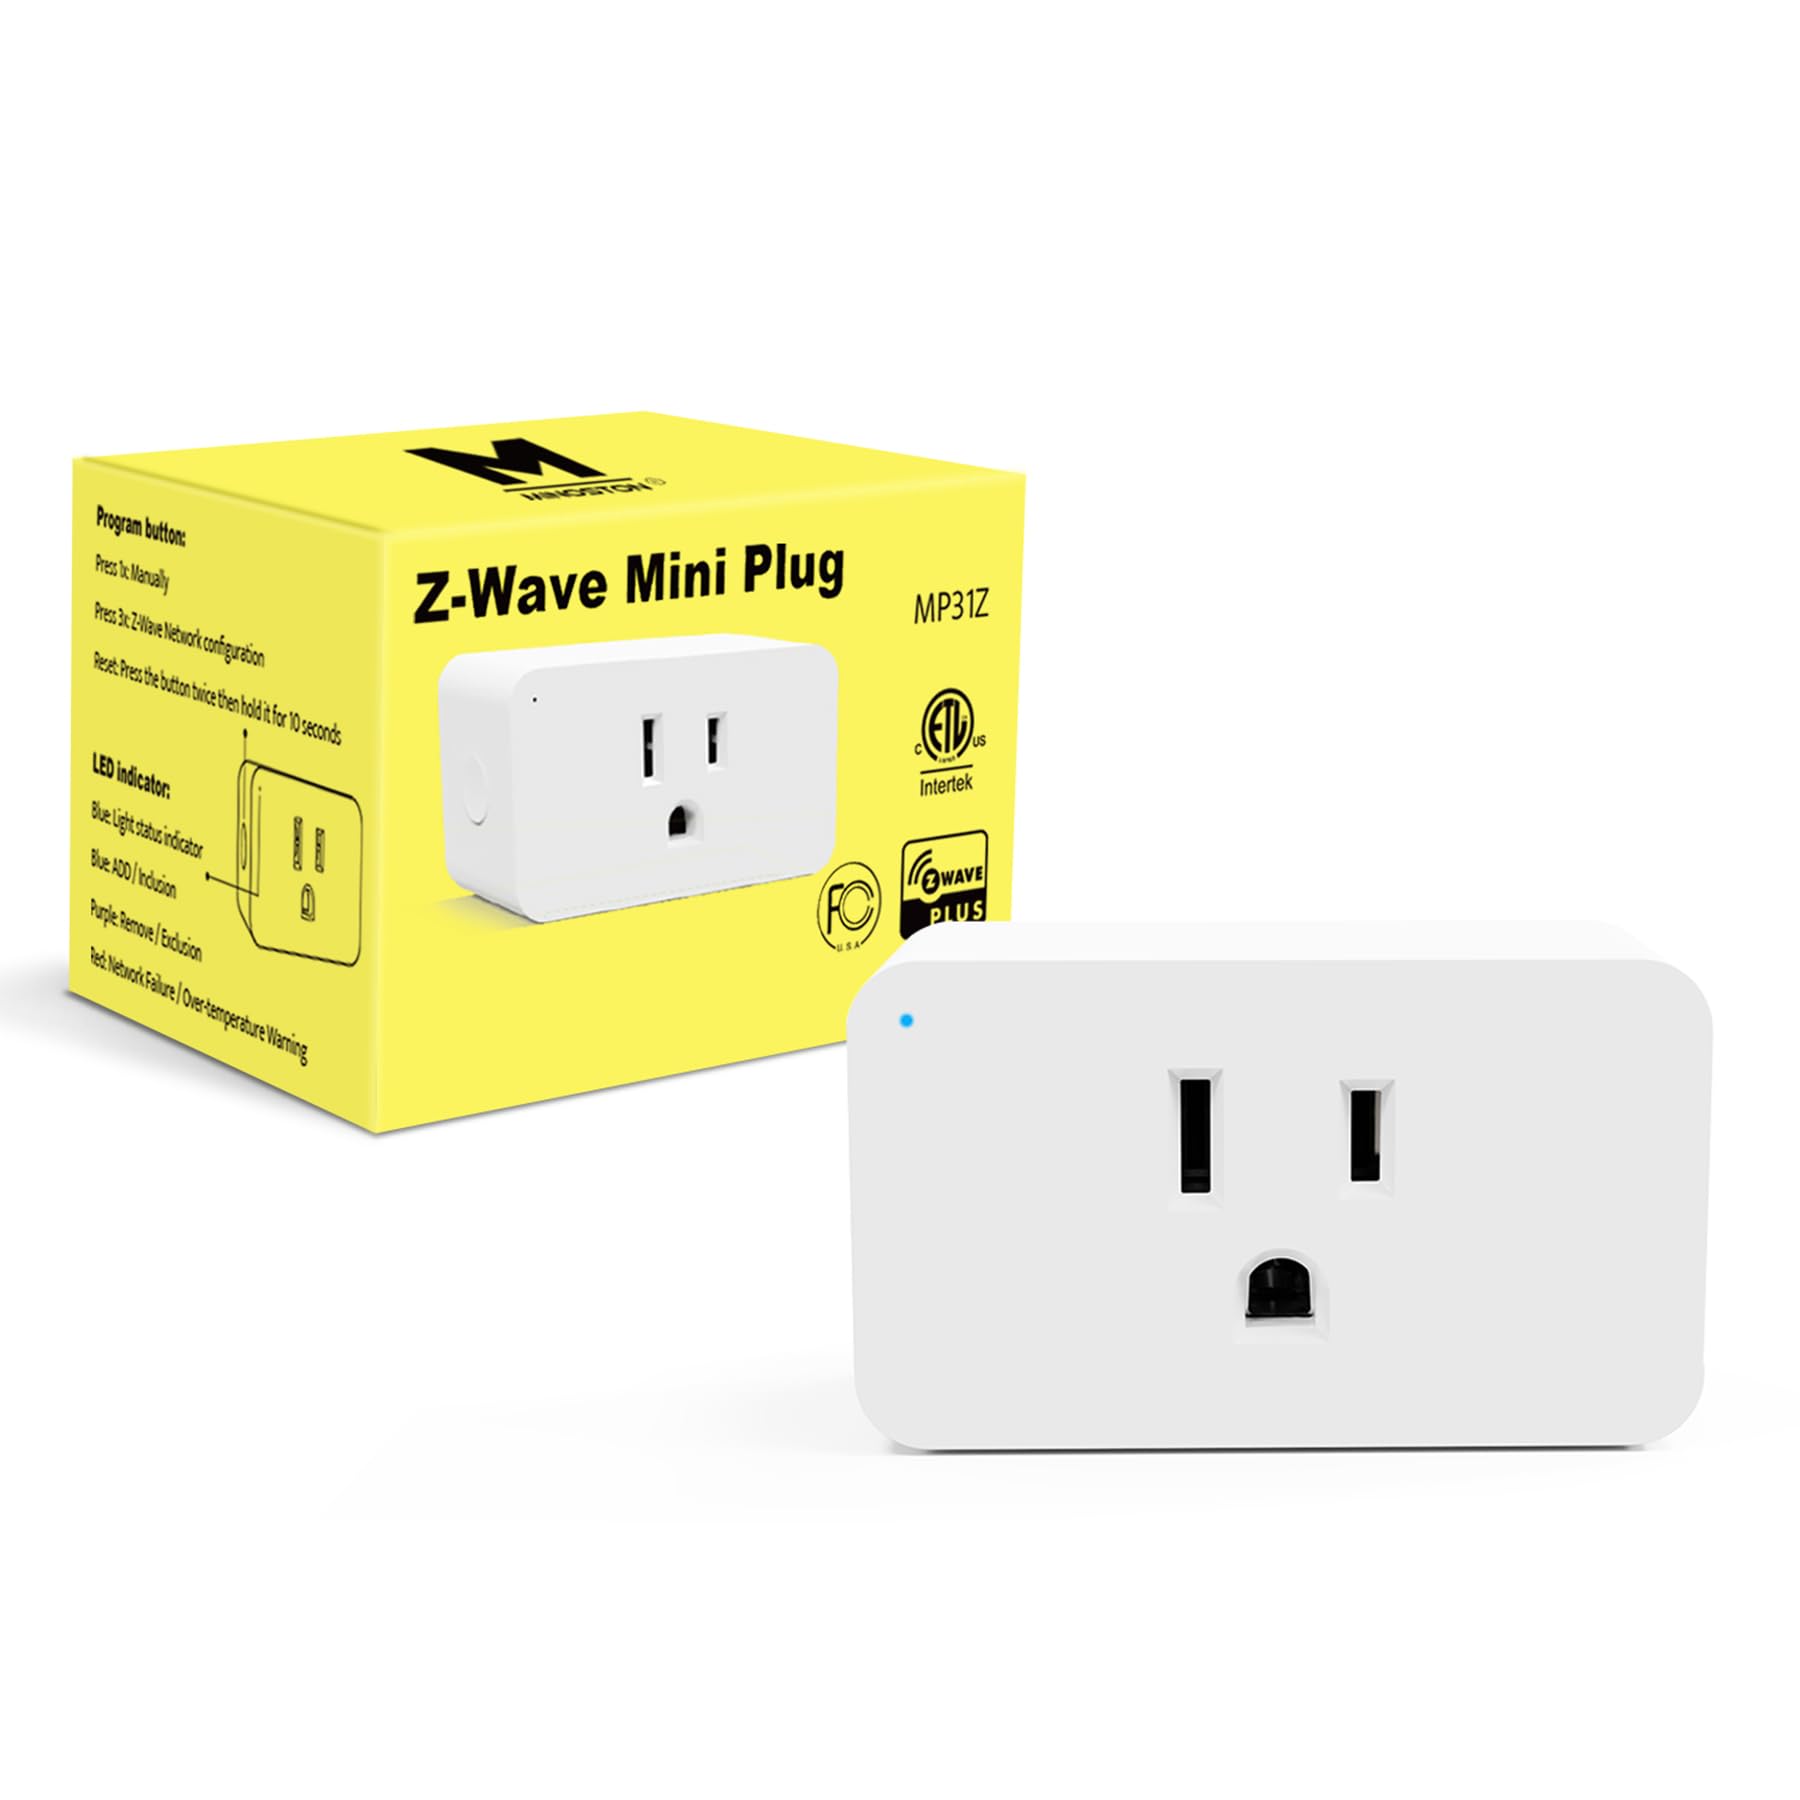
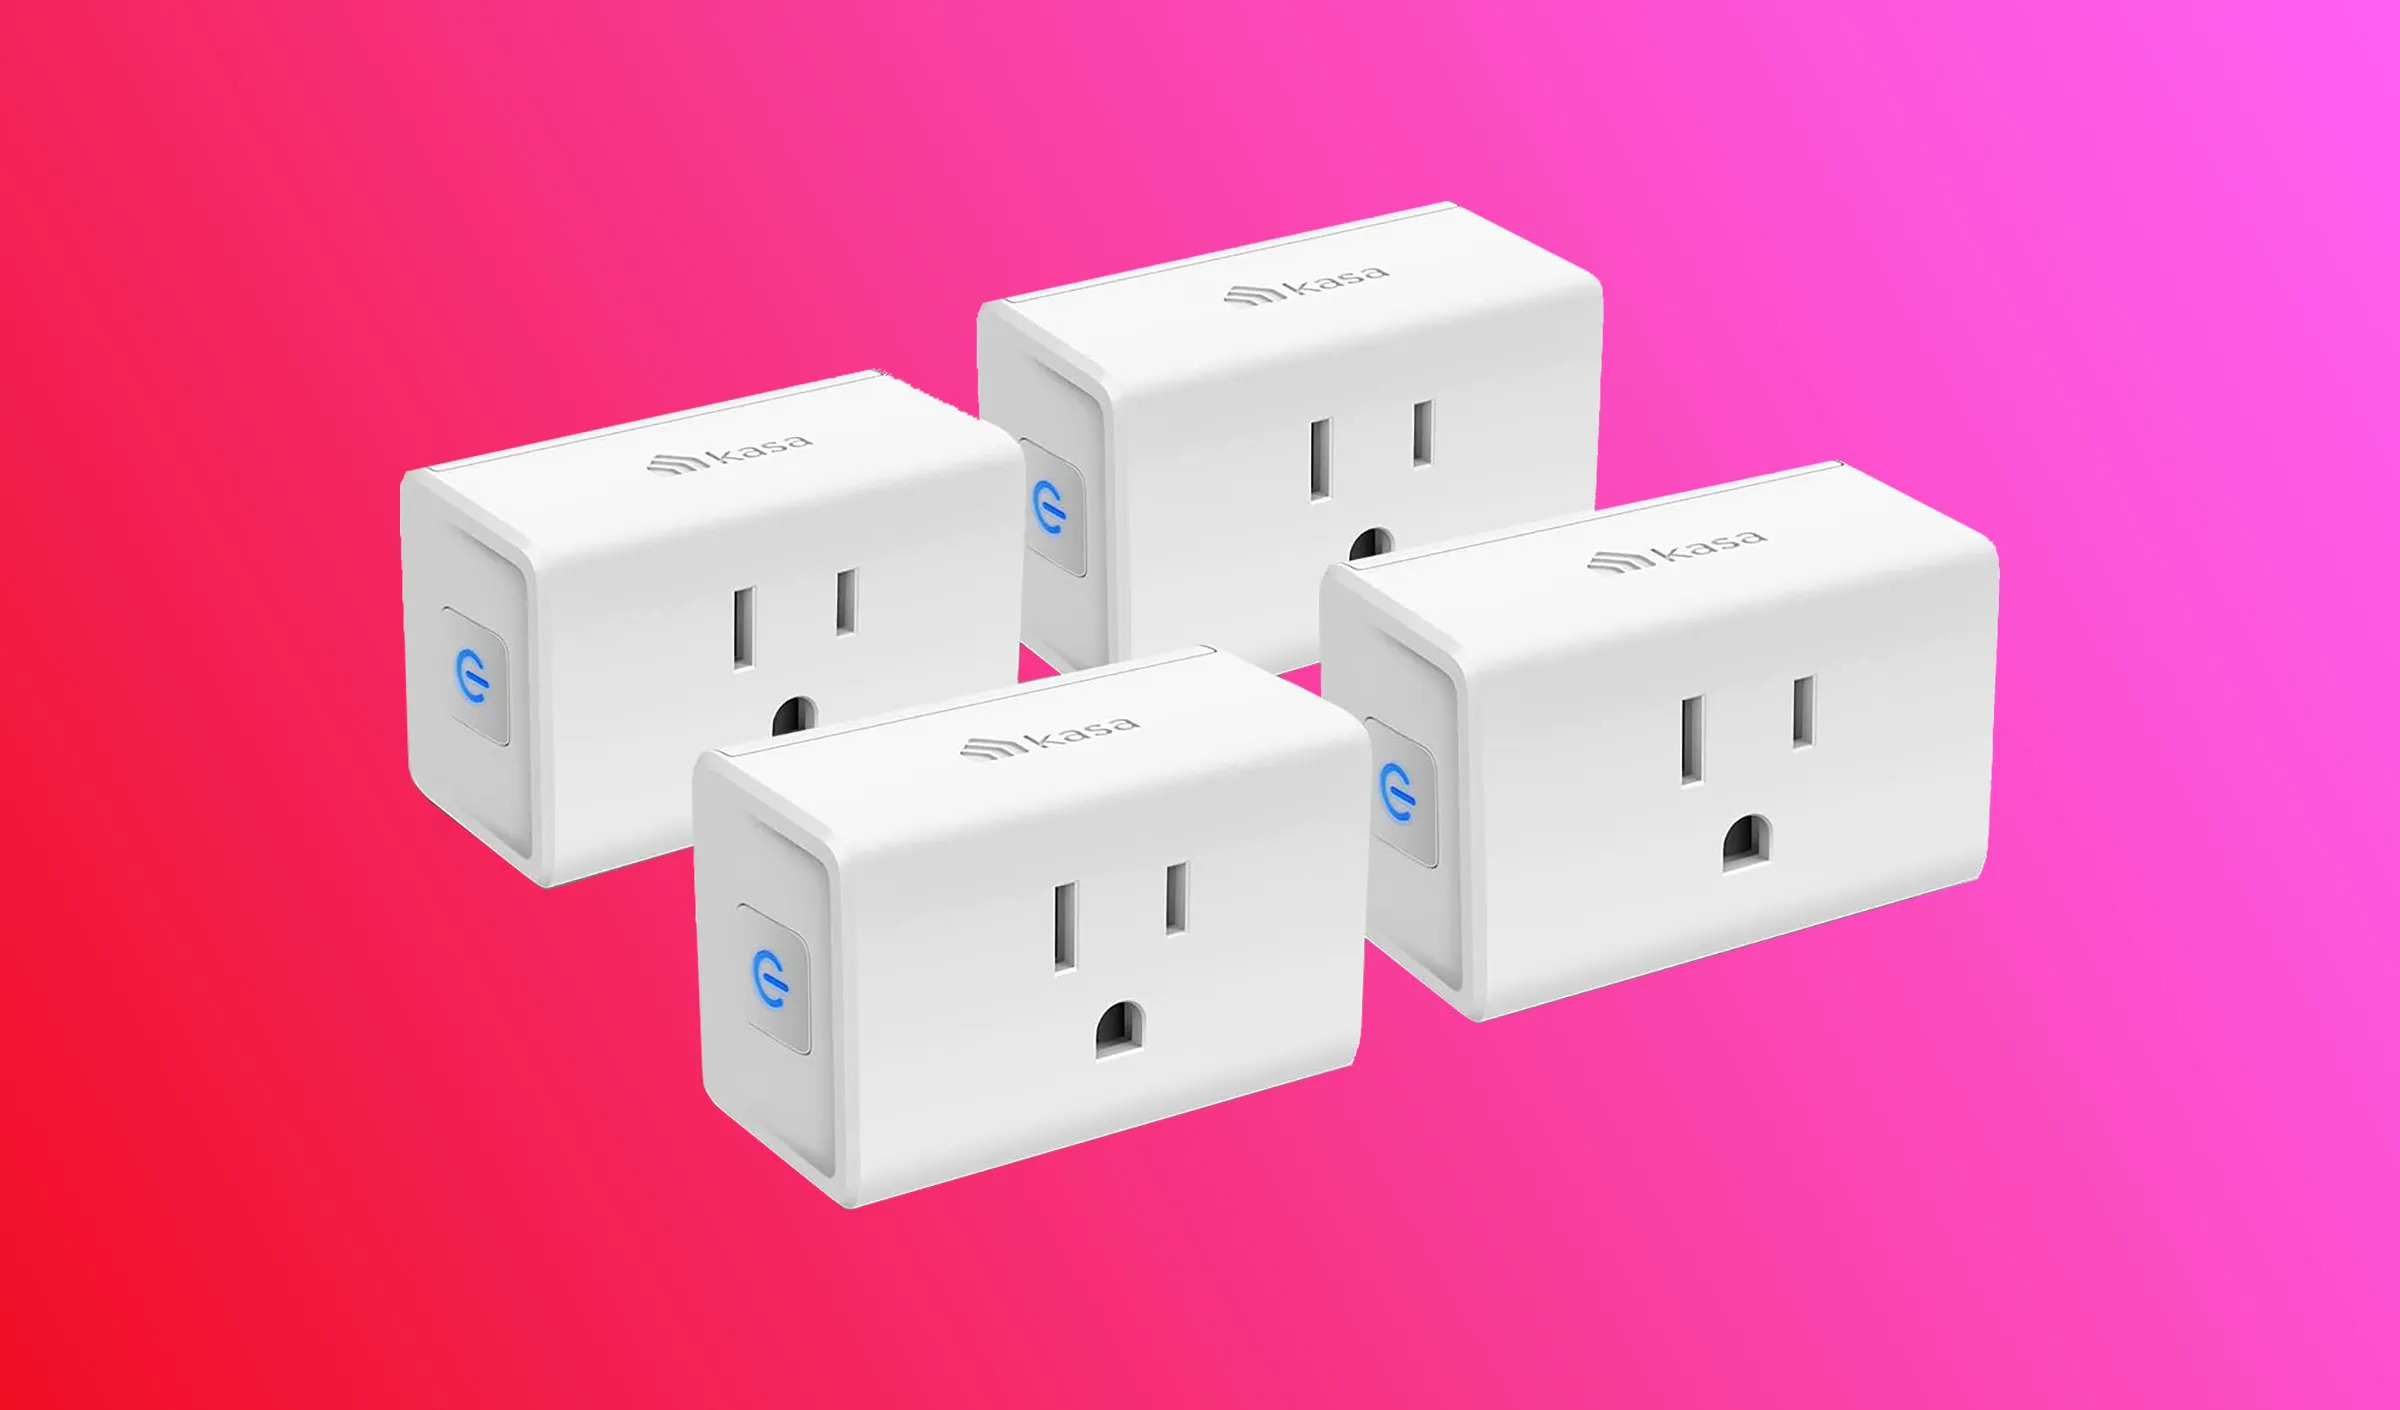
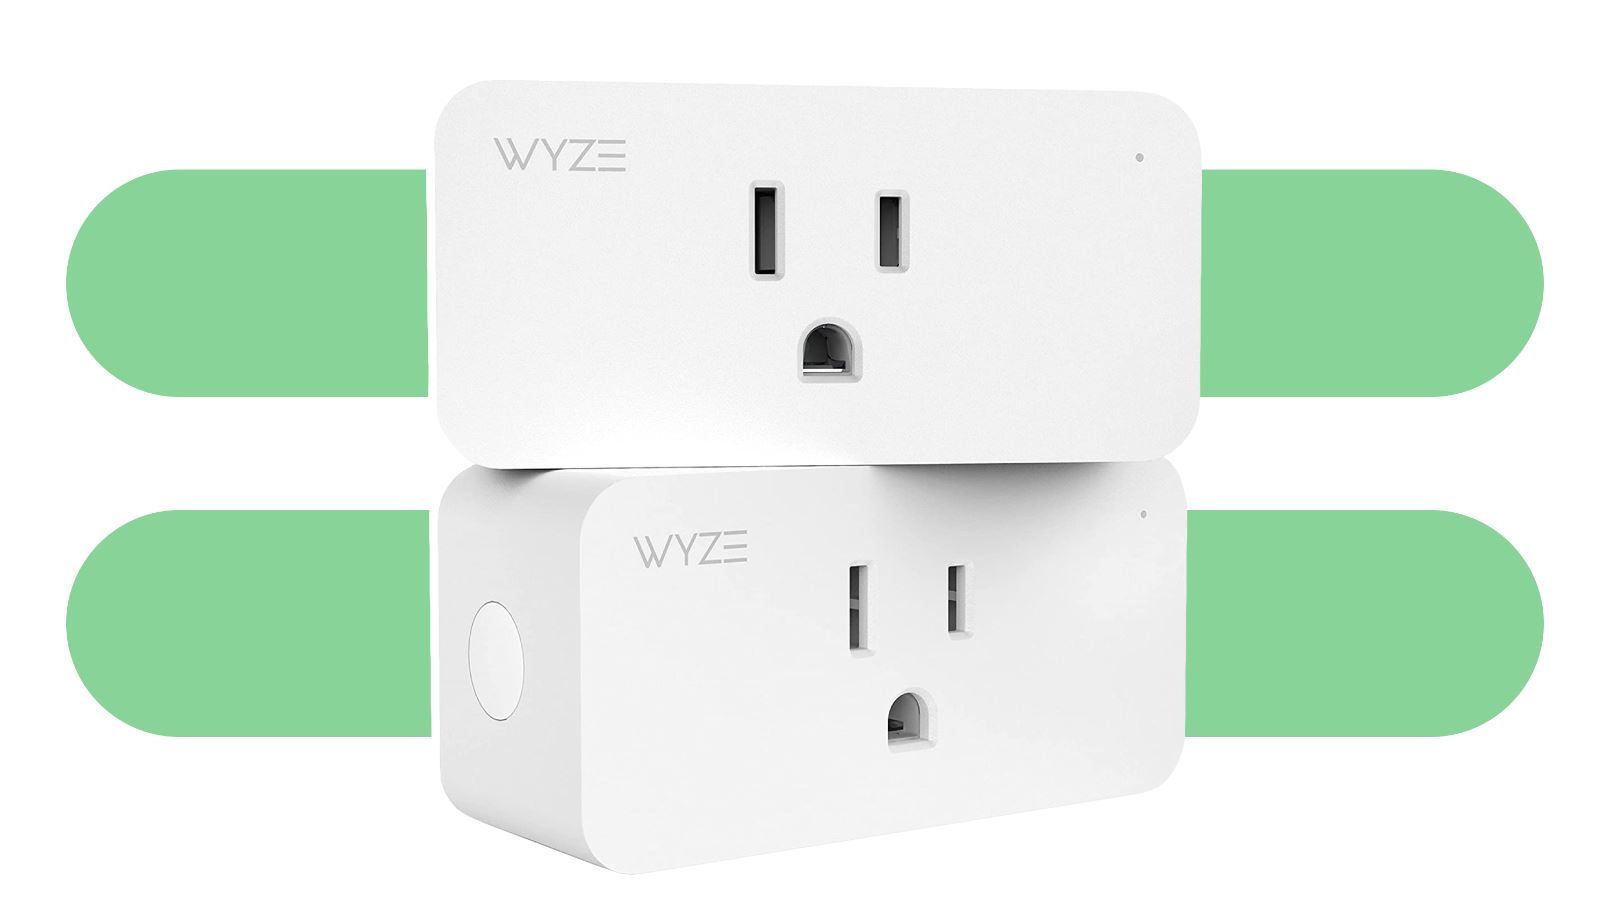
1. Choose the Right Smart Plug: There are various smart plugs available on the market, so it’s important to choose one that fits your needs. Consider factors such as compatibility with your coffee maker, the smart home ecosystem you’re using, and any specific features you require, such as energy monitoring or voice control.
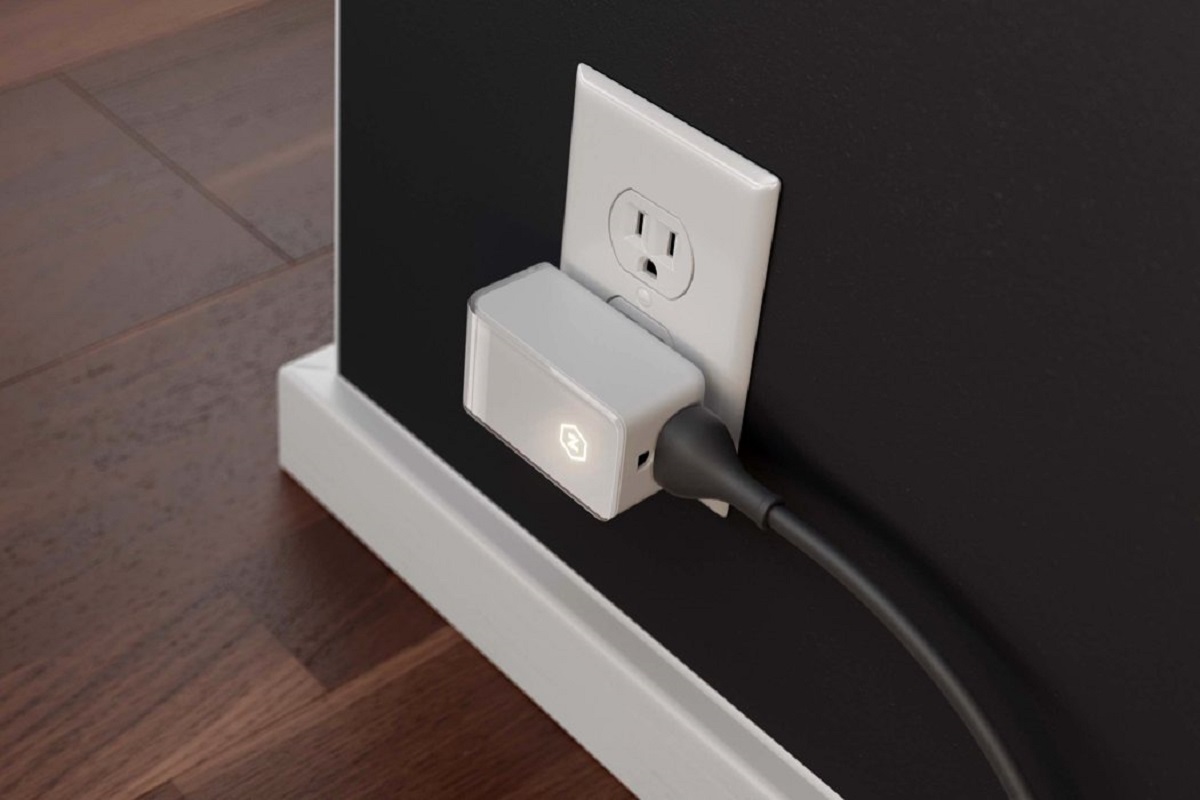
2. Plug in the Smart Plug: Find an accessible electrical outlet near your coffee maker and plug in the smart plug. Make sure it’s securely inserted and has a stable connection to the power source.
3. Connect the Smart Plug to Wi-Fi: Most smart plugs require a Wi-Fi connection to function properly. Follow the manufacturer’s instructions to connect the smart plug to your home Wi-Fi network. This typically involves using the dedicated app and entering your Wi-Fi credentials.
4. Download and Set up the Smart Plug App: Search for the smart plug’s app in your device’s app store and download it. Once installed, open the app and create an account if necessary. Follow the app’s instructions to set up the smart plug and connect it to your account.
5. Add the Smart Plug to the App: Within the app, follow the steps to add the smart plug to your list of devices. This usually involves scanning a QR code or using the app’s device discovery feature to detect and pair the smart plug.
6. Set up Schedules and Timers: Take advantage of the scheduling feature in your smart plug app. Create a schedule for your coffee maker to automatically turn on and off at specific times. This ensures that your coffee is ready when you need it, without any manual intervention.
7. Plug in the Coffee Maker: Connect your coffee maker to the smart plug by plugging it into the outlet on the smart plug itself. Make sure the coffee maker is in the off position before proceeding, as the smart plug will control its power supply.
8. Control the Coffee Maker with the Smart Plug: Open the smart plug app or use your voice assistant to control your coffee maker. You can manually turn it on and off, adjust the settings, or activate it based on the preset schedules or timers you’ve set up.
Remember to consult the user manual of both the smart plug and your coffee maker for any specific instructions or guidelines related to their usage or compatibility. By following these steps, you’ll be well on your way to enjoying the convenience of a smart plug in your coffee-making routine.
Step-by-Step Guide: Using a Smart Plug with a Coffee Maker
Ready to make your coffee maker smarter and more convenient to use? Follow this step-by-step guide to seamlessly integrate your coffee maker with a smart plug:
- Plug in the Smart Plug: Find a nearby electrical outlet and plug in the smart plug.
- Connect the Smart Plug to Wi-Fi: Use the manufacturer’s instructions to connect the smart plug to your Wi-Fi network. Typically, this involves using the smart plug app to scan for available networks, selecting your home network, and entering the Wi-Fi password.
- Download and Set up the Smart Plug App: Download the smart plug app from the app store. Once installed, open the app and create an account if prompted. Make sure your smartphone is connected to the same Wi-Fi network as the smart plug.
- Add the Smart Plug to the App: Within the app, follow the instructions to add the smart plug to your account. This usually involves pressing a button on the smart plug or scanning a QR code. Once added, the smart plug should appear in the app’s device list.
- Set up Schedules and Timers: Explore the features of the app to set up schedules and timers for your coffee maker. You can specify the times you want the coffee maker to turn on and off automatically. This allows you to wake up to freshly brewed coffee or have it ready for you when you come home.
- Plug in the Coffee Maker: Connect your coffee maker to the smart plug by plugging it into the outlet on the smart plug itself. Ensure that the coffee maker is in the off position.
- Control the Coffee Maker with the Smart Plug: Open the smart plug app or use voice commands if your smart plug is compatible with voice assistants like Amazon Alexa or Google Assistant. With the app or voice commands, you can turn your coffee maker on or off, adjust settings, and activate schedules or timers.
- Enjoy the Convenience: Sit back and let your smart plug handle the coffee-making process. Experience the convenience of having your coffee ready without manual intervention or the need to be physically present.
Remember to follow safety precautions and guidelines for both the smart plug and your coffee maker. Always consult the user manual for specific instructions and recommendations.
By following this step-by-step guide, you can easily incorporate your coffee maker into your smart home system and enjoy the benefits of automated coffee brewing.
Plug in the Smart Plug
The first step in using a smart plug with your coffee maker is to physically plug in the device. Follow these instructions to ensure a proper connection:
a) Find a Suitable Outlet: Locate a nearby electrical outlet that is easily accessible and within a reasonable distance from your coffee maker. Make sure the outlet is in good working condition and capable of supplying the required voltage.
b) Position the Smart Plug: Inspect your smart plug and identify the prongs that will be inserted into the outlet. Orient the smart plug appropriately, ensuring that the prongs align with the slots in the outlet.
c) Plug in the Smart Plug: Gently insert the prongs of the smart plug into the outlet, applying even pressure. Push the smart plug all the way in until it is fully seated in the outlet. Ensure that the connection is secure and stable.
d) Verify the Power Indicator: Once the smart plug is plugged in, check for a power indicator light on the device. This light indicates that the smart plug is receiving power from the outlet. The location and color of the power indicator light may vary depending on the brand and model of the smart plug.
e) Position the Smart Plug: Depending on the design of the smart plug, you may need to adjust its position to ensure it does not obstruct nearby outlets or other devices. Keep in mind that some smart plugs are bulky and may cover adjacent outlets, so plan accordingly.
f) Test the Smart Plug Connection: To verify the successful connection of the smart plug, you can test it by temporarily plugging in a different electronic device, such as a lamp or a phone charger. If the device powers on or charges, it confirms that the smart plug is functioning correctly and receiving power from the outlet.
By properly plugging in the smart plug, you have completed the first step in integrating it with your coffee maker. You are now ready to move on to the next steps of connecting the smart plug to Wi-Fi, downloading the accompanying app, and controlling your coffee maker with ease.
Connect the Smart Plug to Wi-Fi
Once you have successfully plugged in the smart plug, the next step is to connect it to your Wi-Fi network. This allows you to control the smart plug and your coffee maker remotely using your smartphone or smart home assistant. Follow these steps to connect the smart plug to Wi-Fi:
a) Prepare your Wi-Fi Network Details: Make sure you have the necessary information for your Wi-Fi network. You will typically need the Wi-Fi network name (SSID) and the password. Note that the smart plug may only be compatible with certain Wi-Fi frequencies (2.4GHz or 5GHz), so check the device’s specifications beforehand.
b) Open the Smart Plug App: Launch the dedicated smart plug app on your smartphone or tablet. If you haven’t installed the app yet, search for it in the app store and download it. Ensure that your device is connected to the same Wi-Fi network that you want to connect the smart plug to.
c) Access the Wi-Fi Setup: Within the smart plug app, look for the option to set up or connect a new device. This is usually represented by a “+” or “Add Device” button. Tap on it to begin the Wi-Fi setup process.
d) Put the Smart Plug in Setup Mode: Follow the app’s instructions to put the smart plug into setup or pairing mode. This process may vary depending on the brand and model of the smart plug. Typically, it involves pressing and holding a button on the smart plug until it starts blinking or emitting a specific pattern of lights.
e) Select your Wi-Fi Network: After activating setup mode on the smart plug, the app will guide you through the process of connecting it to your Wi-Fi network. Look for your network’s SSID in the list of available networks and tap on it to select it.
f) Enter the Wi-Fi Password: When prompted, enter the password for your Wi-Fi network. Make sure to enter it correctly, as Wi-Fi passwords are case-sensitive. Double-check for any typos or errors before proceeding.
g) Wait for the Connection: The smart plug will attempt to connect to your Wi-Fi network using the provided credentials. This may take a few moments. During this time, avoid disconnecting or powering off the smart plug or your smartphone.
h) Confirm the Connection: Once the smart plug successfully connects to your Wi-Fi network, the app will notify you of the successful connection or display a confirmation message. At this point, you can proceed to the next steps in the setup process, such as naming the smart plug or adding it to your home automation system.
By connecting the smart plug to your Wi-Fi network, you have enabled remote control and automation capabilities for your coffee maker. You are now ready to download and set up the smart plug app, and further customize the settings to suit your preferences.
Download and Set up the Smart Plug App
In order to control your smart plug and coffee maker, you will need to download and set up the accompanying smart plug app on your smartphone or tablet. Follow these steps to get started:
a) Identify the App: Find out which app is compatible with your smart plug. Check the packaging, instruction manual, or the manufacturer’s website for details. Once you have identified the app, search for it in your device’s app store (e.g., Google Play Store for Android devices or App Store for iOS devices).
b) Download the App: Locate the smart plug app in the app store and tap on the “Download” or “Install” button. Ensure that your device is connected to the internet and has enough available storage space for the app.
c) Launch the App: Once the app is successfully downloaded, locate its icon on your device’s home screen or in the app drawer. Tap on the icon to open the smart plug app.
d) Create an Account (if necessary): Some smart plug apps require you to create an account for full functionality and to access additional features. Follow the on-screen prompts to create a new account if required. This usually involves providing your email address, creating a password, and agreeing to the app’s terms of service and privacy policy.
e) Log in to the App: If you already have an existing account, simply log in using your credentials. Enter your email address and password on the app’s login screen to gain access to the app’s features.
f) Grant App Permissions: The smart plug app may request certain permissions to function properly. These can include permissions such as access to your device’s Wi-Fi and location services. Grant the necessary permissions to ensure smooth operation of the app.
g) Connect the App and Smart Plug: Follow the app’s setup wizard or instructions to connect the app to your smart plug. This usually involves selecting the brand or model of your smart plug and completing the setup process. Ensure that your smartphone is connected to the same Wi-Fi network that the smart plug is connected to.
h) Familiarize Yourself with the App: Once the smart plug app is connected to your smart plug, take some time to explore its features and options. Get acquainted with the various settings, such as scheduling, timers, and energy monitoring. Customize the app to your liking and configure any additional preferences or automation routines.
i) Troubleshoot (if necessary): If you encounter any issues during the setup process or while using the app, refer to the app’s troubleshooting guide or contact the manufacturer’s customer support team for assistance.
By downloading and setting up the smart plug app, you have gained full control over your smart plug and coffee maker. You can now proceed with adding the smart plug to the app, setting up schedules and timers, and exploring the various features and benefits it offers.
Add the Smart Plug to the App
After downloading and launching the smart plug app, the next step is to add your smart plug to the app. This allows you to control and manage your smart plug and coffee maker conveniently from your smartphone or tablet. Follow these steps to add the smart plug to the app:
a) Open the App: Launch the smart plug app on your device. Ensure that your smartphone or tablet is connected to the same Wi-Fi network as your smart plug.
b) Access Device Setup: Look for an option in the app that allows you to set up or add a new device. This may be represented by a “+” or “Add Device” button. Tap on this option to begin the process of adding the smart plug.
c) Select the Smart Plug Brand or Model: In the device setup section, you may be presented with a list of compatible brands or models. Choose the appropriate brand or model that corresponds to your smart plug. If your smart plug is not listed, there may be a generic option or an option to manually enter the device details.
d) Follow the App’s Pairing Instructions: The app will guide you through the pairing process specific to your smart plug. This typically involves pressing a button on the smart plug, putting it into pairing mode, or scanning a QR code using your phone’s camera. Follow the on-screen instructions to complete the pairing process.
e) Connect to the Smart Plug’s Wi-Fi Network (if necessary): During the pairing process, the smart plug may create its own Wi-Fi network for temporary connection. If prompted, go to your device’s Wi-Fi settings and connect to the smart plug’s Wi-Fi network. After establishing the connection, return to the smart plug app.
f) Enter Wi-Fi Network details (if required): After pairing, the app may prompt you to enter your home Wi-Fi network details (SSID) and password. Provide the necessary information correctly and double-check for any typos or errors before proceeding.
g) Confirm Successful Connection: Once you have completed the setup process and entered the necessary information, the app will attempt to connect to your smart plug. It may take a few moments for the connection to establish. Once connected, the app should display a confirmation or success message.
h) Customize Device Settings: After adding the smart plug to the app, take some time to explore the app’s features and settings for the smart plug. This may include options such as setting schedules, timers, or customizing device icons or names. Configure the settings based on your preferences and needs.
By successfully adding the smart plug to the app, you can now control and manage your coffee maker conveniently from your smartphone or tablet. You can proceed to set up schedules and timers, control the power supply, and explore other advanced features provided by the smart plug app.
Set up Schedules and Timers
One of the key features of using a smart plug with your coffee maker is the ability to set up schedules and timers. This allows you to automate the brewing process and have your coffee ready exactly when you want it. Follow these steps to set up schedules and timers using your smart plug app:
a) Open the Smart Plug App: Launch the smart plug app on your smartphone or tablet. Make sure you are logged in and have your smart plug added to the app.
b) Locate the Scheduling Feature: Look for the scheduling or timer feature within the smart plug app. It is usually represented by a clock or calendar icon or can be found in the settings or device management section.
c) Create a New Schedule: Tap on the “Add Schedule” or a similar button to create a new schedule. You will be prompted to enter details such as the days of the week, the start time, and the duration of the schedule.
d) Set the Days of the Week: Choose the specific days of the week for your coffee maker to follow the schedule. You can select individual days or choose options such as weekdays, weekends, or everyday for more flexibility.
e) Specify the Start Time: Enter the desired start time for the coffee maker to turn on and start brewing. Make sure to set it according to your preferred waking time or the time you want your coffee ready.
f) Set the Duration: Specify the duration for which the coffee maker should remain on and brew your coffee. This can be adjusted to accommodate different brewing times based on the size of your coffee maker and the strength of your coffee.
g) Repeat Steps c-f for Additional Schedules: If you want to set up multiple schedules for different times or days, repeat the process by tapping on the “Add Schedule” button again and entering the details for each schedule.
h) Save and Enable the Schedules: Once you have entered the desired schedules, save your settings. Make sure to enable or activate the schedules so that they take effect. Some apps may have a toggle switch or a separate enable button to activate the schedules.
i) Test the Schedules: To verify that the schedules are working correctly, wait for the designated start time and observe if the coffee maker turns on and begins brewing as expected. Make adjustments as necessary.
j) Edit, Modify, or Delete Schedules: If you need to make changes to the schedules or delete them, access the scheduling or timer feature in the app and edit the settings accordingly. This is useful for modifying schedules based on changing routines or preferences.
By setting up schedules and timers, you can ensure that your coffee maker starts brewing automatically at your desired times, whether it’s early in the morning or at specific intervals throughout the day. Enjoy the convenience of freshly brewed coffee without manually operating the coffee maker.
Plug in the Coffee Maker
Now that you have completed the setup and configuration of your smart plug and app, it’s time to connect your coffee maker to the smart plug. Follow these steps to safely plug in your coffee maker:
a) Prepare the Coffee Maker: Before plugging in the coffee maker, ensure that it is in the “off” or “standby” position. This prevents the coffee maker from turning on immediately when connected to the smart plug.
b) Locate the Smart Plug Outlet: Identify the outlet on the smart plug where you will be connecting the coffee maker. This outlet is usually labeled or clearly marked on the smart plug itself.
c) Position the Coffee Maker: Place your coffee maker on a suitable countertop or surface near the smart plug outlet. Ensure that there is enough space around the coffee maker for ventilation and access to the water reservoir and brewing area.
d) Connect the Coffee Maker: Plug the power cord of the coffee maker into the outlet on the smart plug. Insert the plug securely, making sure it sits firmly without any loose connections.
e) Verify the Connection: Check that the power cord is securely connected to both the coffee maker and the smart plug. Confirm that there are no visible signs of damage or loose components that may affect the connection or pose a safety hazard.
f) Position the Power Cord: Ensure that the power cord is positioned in a way that prevents tripping hazards or entanglement with other objects. Avoid placing the power cord near sources of heat, water, or sharp edges that may cause damage.
g) Test the Connection: Open the smart plug app or use your voice assistant to manually turn on the coffee maker. With the smart plug successfully connected, you should be able to control the power supply to the coffee maker at your convenience.
h) Coffee Maker Status: Check the status of the coffee maker within the smart plug app. It should indicate whether the coffee maker is powered on or off. This feature gives you peace of mind when you are not physically near the coffee maker.
i) Additional Precautions: Always follow the manufacturer’s guidelines and safety instructions specific to your coffee maker. Ensure that you comply with any additional precautions mentioned in the user manual or provided by the manufacturer.
By properly plugging in your coffee maker to the smart plug, you have established the connection that allows you to control the power supply to your coffee maker at your convenience. With the smart plug managing the power flow, you can enjoy the convenience of brewing coffee with just a tap on your smart plug app or a voice command to your virtual assistant.
Control the Coffee Maker with the Smart Plug
Now that your coffee maker is connected to the smart plug, you can easily control its operation using the smart plug app or voice commands. Follow these steps to conveniently control your coffee maker:
a) Launch the Smart Plug App: Open the smart plug app on your smartphone or tablet. Ensure that you are logged in and have your smart plug added to the app.
b) Access the Coffee Maker Controls: Locate the coffee maker device within the app’s device list or home screen. Tap on the coffee maker’s icon or name to access its control options.
c) Turn On/Off the Coffee Maker: Use the app’s interface to toggle the power supply to the coffee maker. Tap on the corresponding button or switch to turn the coffee maker on or off as desired.
d) Adjust Brew Settings (if available): Some coffee maker models may offer additional control options, such as adjustable brew strength or specific brewing programs. If your coffee maker supports these features, use the app to adjust the settings accordingly.
e) Use Voice Commands (if supported): If your smart plug app is compatible with voice assistants like Amazon Alexa or Google Assistant, you can control your coffee maker using voice commands. Activate your voice assistant and ask it to turn on/off the coffee maker or adjust specific settings.
f) Set Schedules and Timers: Take advantage of the scheduling and timer features within the smart plug app. Create specific schedules for your coffee maker to turn on or off at predetermined times, ensuring you wake up to freshly brewed coffee or have it ready when you come home.
g) Monitor Power Usage: Some smart plug apps provide insights into energy consumption. Keep track of how much power your coffee maker is using or monitor its energy usage patterns to make informed decisions about energy efficiency.
h) Away Mode (if available): Some smart plug apps offer an “away mode” feature, which can randomly turn the coffee maker on and off to create the illusion of activity in your home when you’re away. This can be useful for security purposes.
i) Troubleshooting: If you experience any issues with controlling the coffee maker through the smart plug app, refer to the app’s troubleshooting guide or consult the manufacturer’s support resources for assistance.
j) Enjoy the Convenience: With the ability to control your coffee maker using the smart plug, you can easily brew your favorite coffee at your preferred time, whether you’re in another room or even away from home. Experience the convenience and control that smart technology brings to your daily coffee routine.
By using the smart plug app or voice commands, you have full control over the operation of your coffee maker. Enjoy the ability to start brewing your coffee with a simple tap on your smartphone or a voice command to your smart home assistant.
Safety Tips and Precautions
While using a smart plug with your coffee maker provides convenience and control, it’s important to prioritize safety. Follow these safety tips and precautions to ensure a safe and hassle-free experience:
1. Read the User Manual: Familiarize yourself with the user manual of both the smart plug and your coffee maker. Understand the specific safety instructions, warnings, and precautions provided by the manufacturers.
2. Use Only with Compatible Devices: Ensure that your coffee maker is compatible with the smart plug. Using incompatible devices may result in malfunctions or safety hazards. Consult the manufacturer’s guidelines to verify compatibility.
3. Properly Plug in the Smart Plug: Ensure that the smart plug is securely plugged into a grounded electrical outlet. Avoid using extension cords or power strips that may overload the circuit and cause hazards.
4. Do Not Overload the Smart Plug: Avoid connecting multiple high-powered appliances to a single smart plug. Check the maximum power rating of the smart plug and ensure that the connected devices comply with the specified limits.
5. Unplug the Coffee Maker during Maintenance: Whenever performing maintenance or cleaning on your coffee maker, make sure to unplug it from the smart plug and disconnect it from the power source. This reduces the risk of electric shock or accidental activation.
6. Regularly Inspect the Power Cord: Check the condition of the power cord connecting your coffee maker to the smart plug. Look for any signs of wear, fraying, or damage. If you notice any issues, promptly replace the power cord to prevent electrical hazards.
7. Avoid Excessive Heat Exposure: Position the smart plug and coffee maker away from heat sources such as stovetops or direct sunlight. High temperatures may damage the smart plug or affect its performance.
8. Don’t Submerge the Smart Plug: Keep the smart plug away from water, moisture, or other liquids. Avoid using it in areas such as kitchens or bathrooms where there is a higher risk of water splashes or spills.
9. Follow Coffee Maker Safety Guidelines: Adhere to the safety guidelines provided by the coffee maker’s manufacturer. This includes proper usage, cleaning, and maintenance instructions to ensure safe operation.
10. Update Smart Plug Firmware: Check for firmware updates for your smart plug and app regularly. Manufacturers may release updates to address security vulnerabilities or provide enhanced features. Keep your smart plug updated to maintain its optimal performance and security.
11. Childproofing: If there are young children in your household, consider childproofing the smart plug and coffee maker by keeping them out of their reach. Utilize child safety covers or place the devices in a secure, inaccessible location.
12. Follow Local Electrical Codes: Adhere to your local electrical codes and regulations when installing and using smart plugs. This ensures compliance with safety standards and promotes safe electrical practices.
Remember, safety should always be a top priority when using smart plugs and operating your coffee maker. By following these safety tips and precautions, you can enjoy the benefits of a smart plug while keeping your home and family safe.
Conclusion
Integrating a smart plug with your coffee maker brings a new level of convenience, control, and automation to your daily coffee rituals. With the ability to remotely schedule, turn on, and monitor your coffee maker through a smartphone app or voice commands, you can enjoy fresh, brewed coffee at your desired time without the need for manual operation.
The benefits of using a smart plug with your coffee maker extend beyond convenience. You can save energy and reduce electricity bills by ensuring that your coffee maker is only powered when needed. The ability to remotely control and monitor your coffee maker also provides peace of mind, eliminating any worries about accidentally leaving it on or checking its status when you’re away from home.
Setting up a smart plug with your coffee maker is relatively simple. By plugging in the smart plug, connecting it to your Wi-Fi network, downloading and setting up the accompanying app, and adding the smart plug to the app, you can quickly gain access to a range of features and controls for your coffee maker.
Through the smart plug app, you can set up schedules and timers to automatically brew your coffee at specific times, adjust brewing settings, and even monitor energy consumption. The app’s compatibility with voice assistants adds the convenience of controlling your coffee maker with just your voice.
Remember to prioritize safety by following the recommended safety tips and precautions. Read the user manuals, properly plug in the smart plug, and regularly inspect the power cords. It is also important to follow the safety guidelines provided by the coffee maker’s manufacturer.
With the proper setup and adherence to safety guidelines, incorporating a smart plug with your coffee maker can enhance your coffee-drinking experience. From waking up to a freshly brewed cup to remotely controlling your coffee maker, this technology adds a touch of modern convenience to your daily routine. Enjoy the benefits of smart home automation as you savor your perfect cup of coffee, effortlessly brewed with the help of a smart plug.