Introduction
Imagine having the ability to control your home appliances with just a simple voice command. Thanks to technology, this is now a reality with the Alexa Smart Plug. In this article, we will explore how to set a timer on the Alexa Smart Plug, allowing you to automate your daily routines and make your life easier.
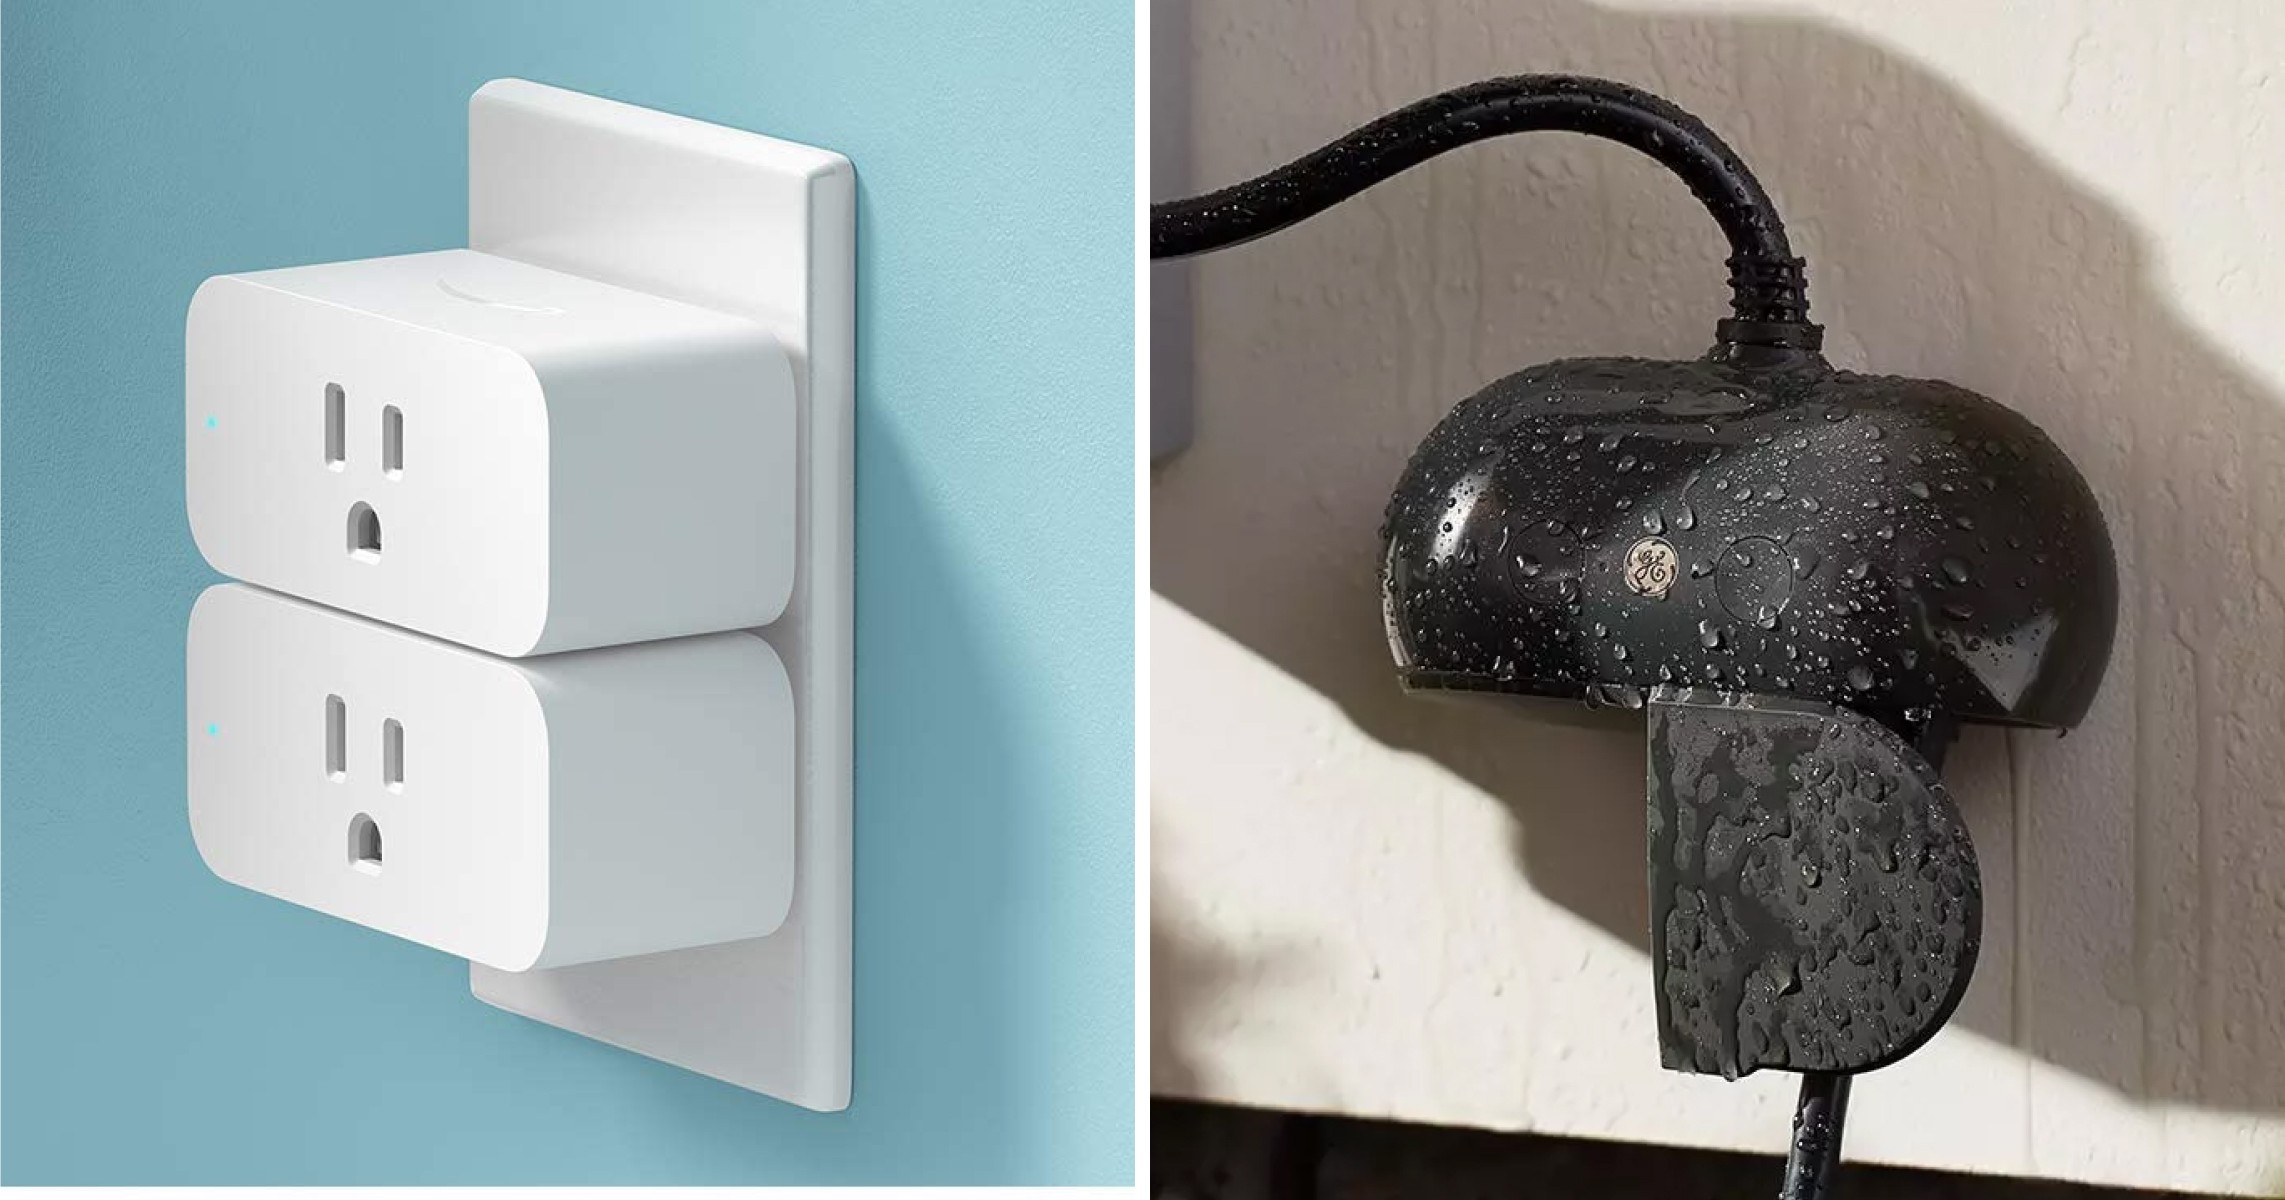
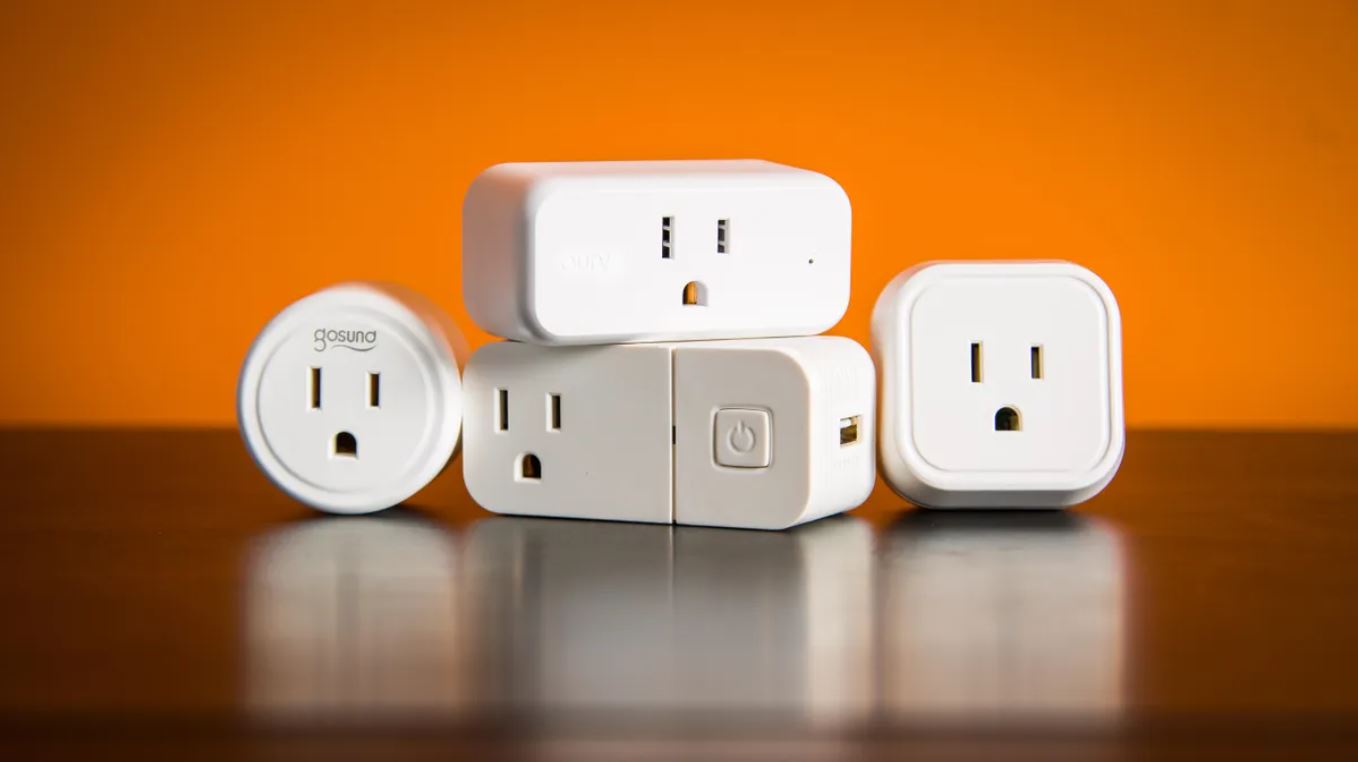
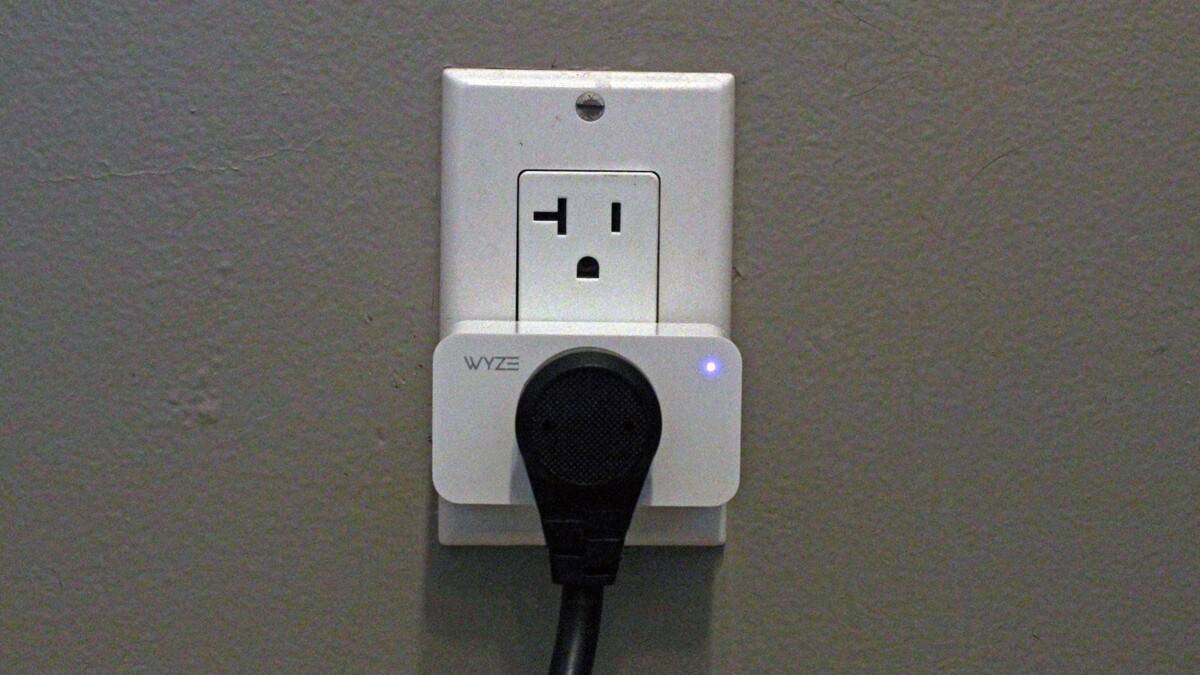
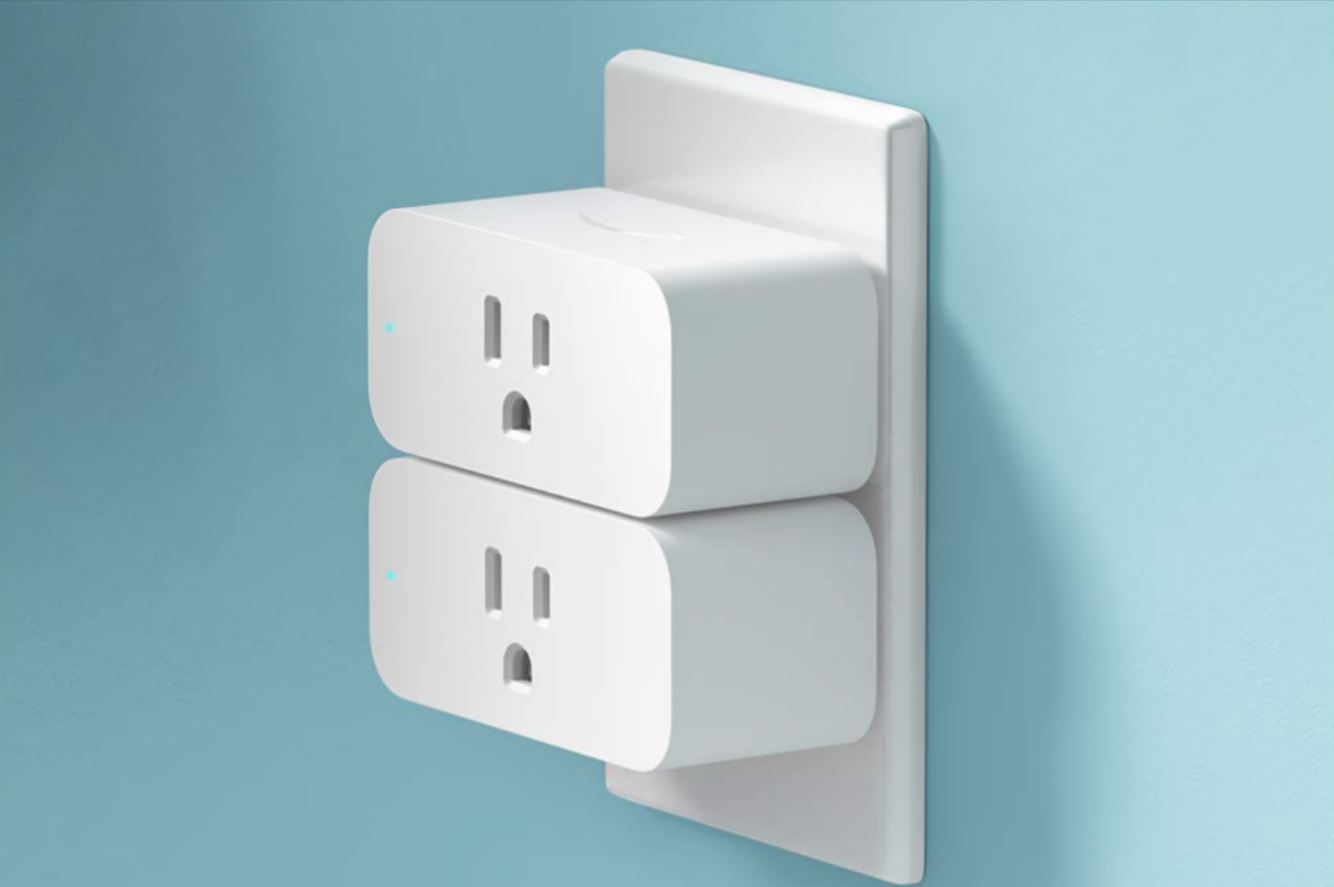
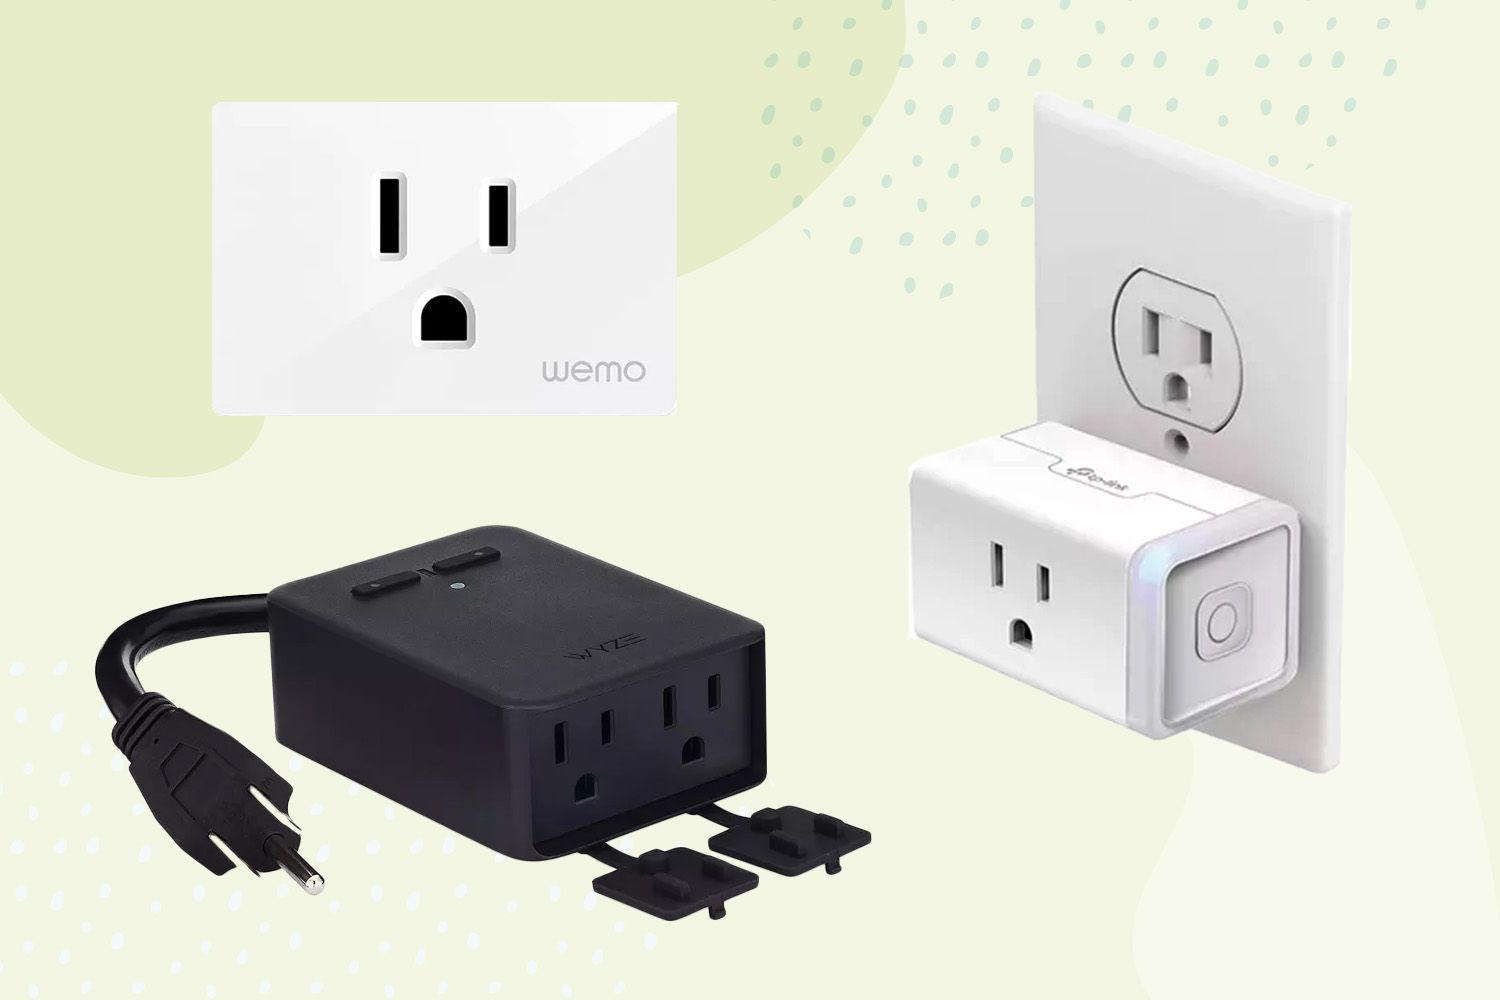
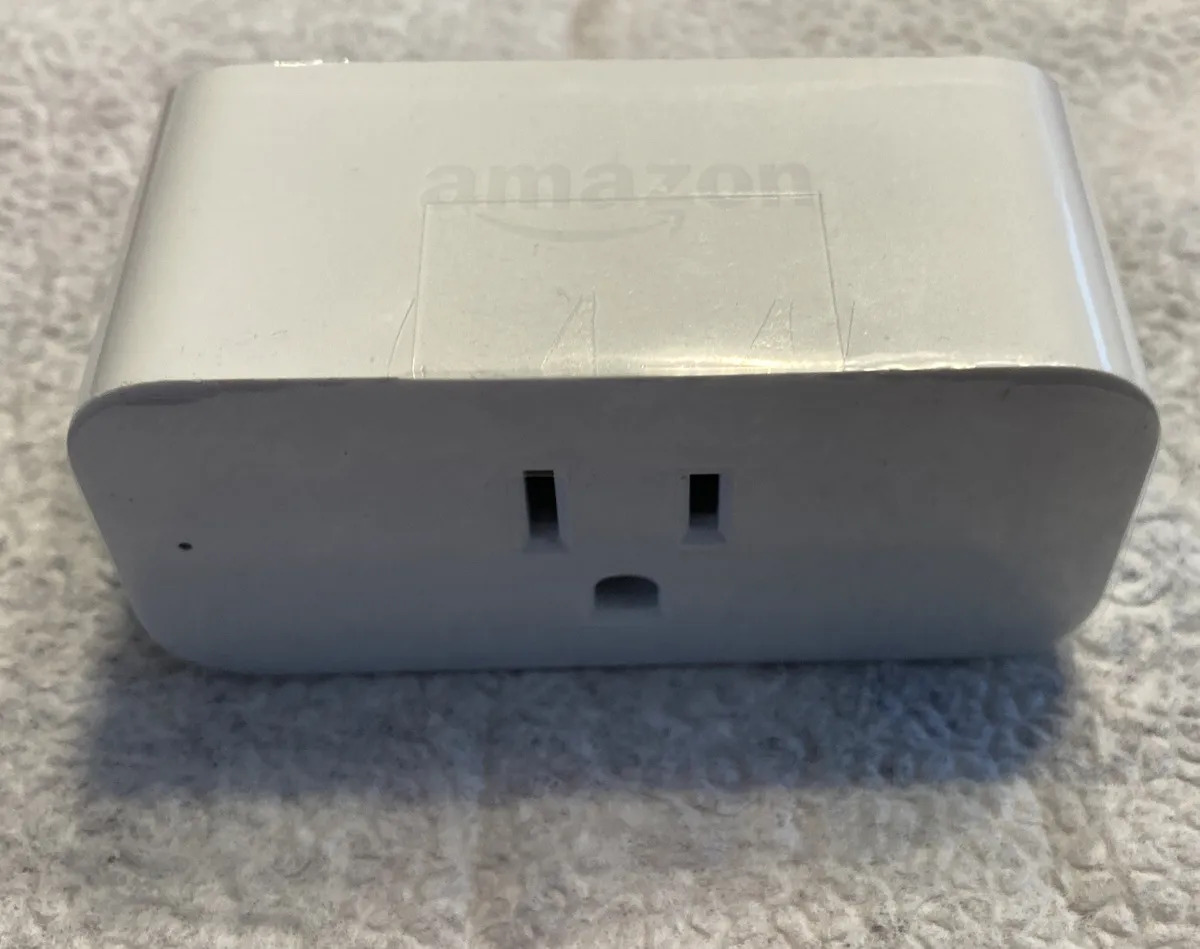
The Alexa Smart Plug is a small device that converts any ordinary electrical outlet into a smart one. It is compatible with Amazon’s virtual assistant, Alexa, enabling you to control various devices using voice commands. With the Alexa Smart Plug, you can turn on or off your appliances, set schedules, and even monitor energy usage.
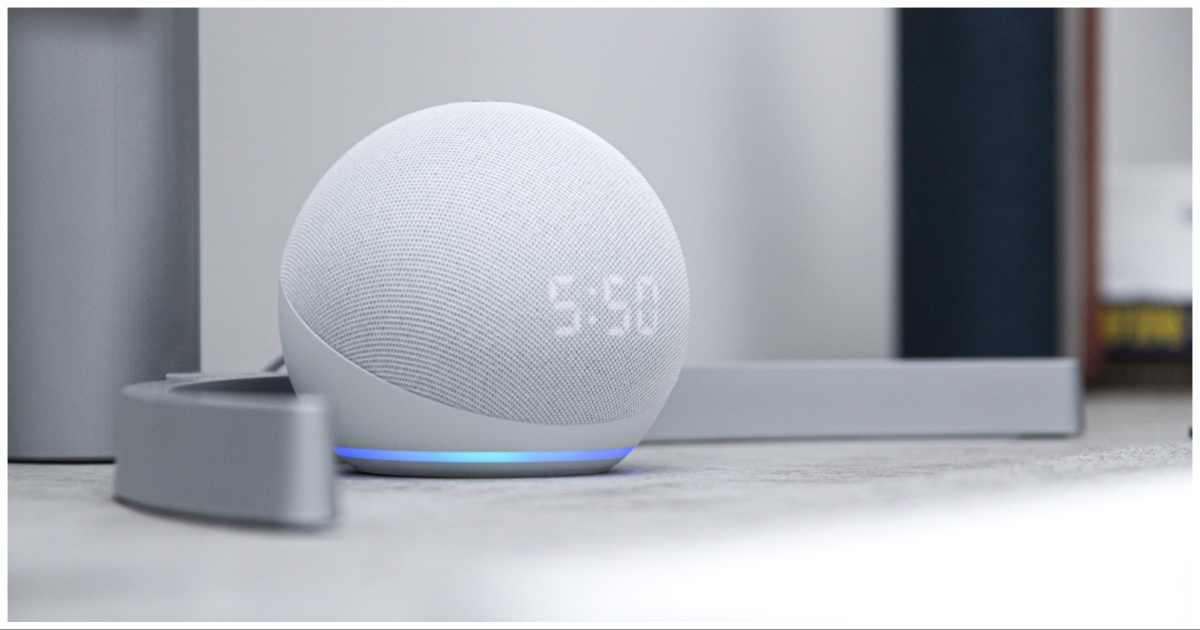
Setting up the Alexa Smart Plug is a breeze. Simply plug it into an electrical outlet and connect it to your Wi-Fi network. Once the setup is complete, you can control the smart plug using the Alexa app on your smartphone or by giving voice commands to an Alexa-enabled device, such as the Amazon Echo or Echo Dot.
With its timer feature, the Alexa Smart Plug allows you to schedule when your devices turn on or off automatically. This is incredibly useful for tasks like brewing coffee in the morning, turning on the lights when you arrive home, or even starting your favorite TV show at a specific time.
In this article, we will guide you through the process of setting up the Alexa Smart Plug and configuring timers using both the Alexa app and voice commands. We will also discuss common troubleshooting issues and provide solutions to ensure a smooth experience with your Alexa Smart Plug.
So, if you’re ready to simplify your life and embrace the convenience of a smart home, let’s dive into the world of timers on the Alexa Smart Plug.
What is Alexa Smart Plug?
The Alexa Smart Plug is a revolutionary device that brings smart home automation to your fingertips. It is a compact plug-in device that connects to your existing electrical outlets and allows you to control your appliances with ease. By integrating with Amazon’s virtual assistant, Alexa, the smart plug enables you to control your devices using voice commands or through the Alexa app on your smartphone.
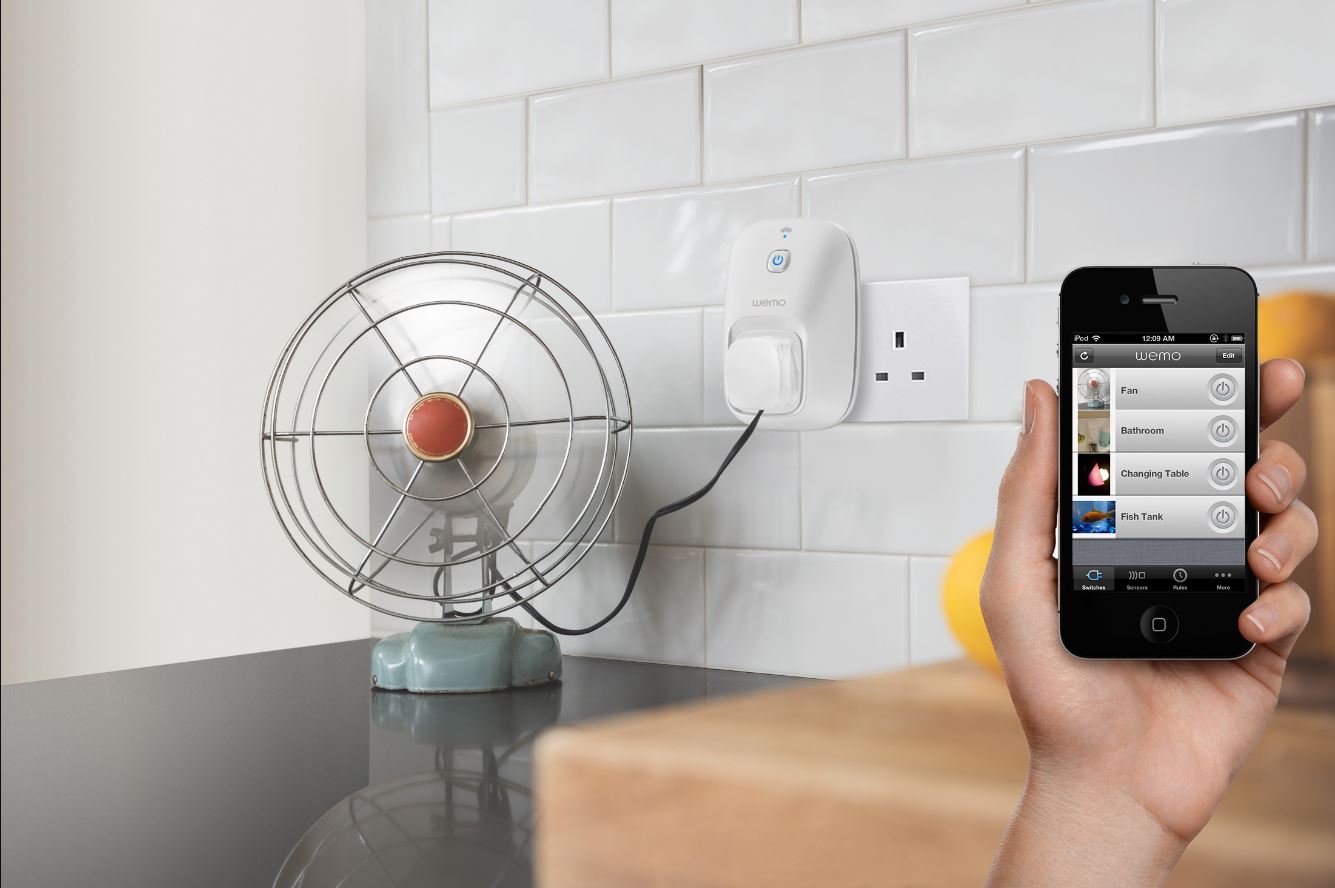
One of the key benefits of the Alexa Smart Plug is its ease of use. Simply plug it into an electrical socket, connect it to your Wi-Fi network, and you’re ready to go. It is compatible with a wide range of appliances, including lamps, fans, coffee makers, and even non-smart TVs. With the Alexa Smart Plug, you can automate your daily routines and have full control over your devices even when you’re not at home.
With the Alexa app, you can create custom schedules for your devices. For example, you can set your coffee maker to turn on every morning at 7:00 AM so that you wake up to the aroma of freshly brewed coffee. You can also schedule your lights to turn on and off at specific times, creating the illusion of someone being at home when you’re away.
The Alexa Smart Plug also provides you with insights into your energy usage. Through the Alexa app, you can monitor how much energy each device is consuming, helping you make informed decisions about your energy consumption and potentially saving on your utility bills.
In addition to scheduling and energy monitoring, the Alexa Smart Plug seamlessly integrates with other smart home devices. You can create routines that trigger multiple devices simultaneously, such as turning on the lights and playing your favorite music when you walk through the front door. This level of automation adds convenience and enhances the overall smart home experience.
Overall, the Alexa Smart Plug is a game-changer in bringing smart home automation to the masses. Its versatility, ease of setup, and integration with Alexa make it a must-have device for anyone looking to enhance their home with smart technology. Stay tuned as we explore how to make the most out of the Alexa Smart Plug by setting timers and optimizing its features.
Setting Up Alexa Smart Plug
Setting up the Alexa Smart Plug is a straightforward process that can be completed in just a few simple steps. Before getting started, ensure that you have a stable Wi-Fi connection and the Alexa app installed on your smartphone. Here’s how to set up your Alexa Smart Plug:
- Locate a suitable electrical outlet: Choose a standard electrical outlet near the device you want to control with the smart plug. Make sure it is within range of your Wi-Fi signal for a seamless connection.
- Plug in the Alexa Smart Plug: Insert the smart plug into the electrical outlet you selected. Ensure it is firmly inserted to establish a proper connection.
- Open the Alexa app: Launch the Alexa app on your smartphone or tablet. If you don’t have the app, you can download it from the App Store or Google Play Store.
- Add the smart plug: Tap on the Devices tab in the lower-right corner of the app. Then, tap the plus (+) symbol and select “Add Device”.
- Choose the smart plug type: From the list of device categories, select “Plug” and then choose the specific brand and model of your smart plug. If you’re unsure, consult the user manual that came with your smart plug.
- Put the smart plug in setup mode: Follow the on-screen instructions to put your smart plug into setup mode. This typically involves pressing and holding a button on the smart plug until the LED light starts blinking or flashing.
- Connect the smart plug to Wi-Fi: On your smartphone, go to your Wi-Fi settings and connect to the network labeled with your smart plug’s name (e.g., “SmartPlug1234”). Once connected, return to the Alexa app. If prompted, enter your Wi-Fi network password to allow the smart plug to connect to your home network.
- Complete the setup: Once the smart plug is connected to your Wi-Fi network, the Alexa app will confirm the successful setup. You can then give your smart plug a name for easier control through voice commands. For example, you could name it “Living Room Lamp”.
Congratulations! You have successfully set up your Alexa Smart Plug. Now you can start exploring its various features and functionalities.
Note: If you encounter any issues during the setup process, refer to the user manual or troubleshooting guide provided with your smart plug. Alternatively, you can visit the manufacturer’s website or contact their customer support for assistance.
Connecting Alexa Smart Plug to Wi-Fi
Once you have successfully plugged in and set up your Alexa Smart Plug, the next step is to connect it to your Wi-Fi network. This will enable seamless communication between your smart devices and the Alexa app. Here’s how to connect your Alexa Smart Plug to Wi-Fi:
- Open the Alexa app: Launch the Alexa app on your smartphone or tablet.
- Tap the Devices tab: In the lower-right corner of the app, tap on the Devices tab to access your connected devices.
- Select the smart plug: Locate and select the smart plug you wish to connect to Wi-Fi from the list of devices. If it’s your first time connecting a device, you may need to tap the plus (+) symbol to add the smart plug to your account.
- Tap on “Wi-Fi Network”: In the device settings, tap on “Wi-Fi Network” to begin the Wi-Fi connection process.
- Choose your Wi-Fi network: From the list of available Wi-Fi networks, select your home network. You may need to enter the Wi-Fi password if prompted.
- Wait for connection confirmation: The Alexa app will attempt to connect the smart plug to your selected Wi-Fi network. This process may take a few seconds. Once connected, you will see a confirmation message on the screen.
- Verify the connection: To ensure a successful Wi-Fi connection, you can check the LED indicator on the smart plug. It should remain solid or display a specific color, indicating that it is connected to the Wi-Fi network.
After connecting your Alexa Smart Plug to Wi-Fi, you can now conveniently control your devices using the Alexa app or through voice commands with an Alexa-enabled device. Make sure that the Wi-Fi signal in the area where your smart plug is located is strong and stable to ensure reliable communication between the devices.
If you encounter any issues during the Wi-Fi connection process, ensure that you are entering the correct Wi-Fi password and that your Wi-Fi network is functioning properly. Double-check that your router is within range of the smart plug and that there are no obstructions that might interfere with the signal.
By successfully connecting your Alexa Smart Plug to Wi-Fi, you can leverage the full functionality of the device and start enjoying the convenience of controlling your appliances remotely.
Using the Alexa App to Set Timer
Setting timers with the Alexa Smart Plug is a convenient way to automate your appliances and ensure they turn on or off at specific times. With the help of the Alexa app, you can easily configure and manage timers for your connected devices. Here’s how to set a timer using the Alexa app:
- Launch the Alexa app: Open the Alexa app on your smartphone or tablet.
- Access the Devices tab: Tap on the Devices tab located in the lower-right corner of the app to view your connected devices.
- Select the smart plug: Locate and select the smart plug for which you want to set a timer.
- Tap on “Timer”: In the device settings, tap on “Timer” to access the timer configuration options.
- Create a new timer: Tap on the plus (+) symbol or the “Create a New Timer” button to start setting up a new timer.
- Specify the timer details: Enter the desired time and duration for the timer. You can customize options such as start time, end time, and recurrence if applicable.
- Assign a name to the timer: Give your timer a name that corresponds to the appliance or task you want to control. For example, if you want to turn on the lighting at 6:00 PM, you can name the timer “Living Room Lights On”.
- Save the timer: Once you have configured the timer settings, tap on “Save” to save and activate the timer.
- Manage and adjust timers: To manage or adjust existing timers, navigate to the device settings and select the “Timer” option. From there, you can view, edit, or delete timers as needed.
By using the Alexa app to set timers, you can easily automate your daily routines and have your devices turn on or off at specific times. Whether it’s waking up to a coffee maker that has already brewed your favorite cup or ensuring the lights are turned off when you go to bed, timers provide an invaluable convenience.
Within the Alexa app, you can also create routines, which allow you to combine multiple actions and triggers together. For example, you can set a routine to turn on specific lights, play your favorite music, and adjust the thermostat when you say, “Good morning” to your Alexa-enabled device. This further enhances the automation capabilities of the smart plug and provides a truly personalized smart home experience.
Utilizing the power of the Alexa app, you can effortlessly create and manage timers for your Alexa Smart Plug, bringing a new level of convenience and automation to your daily life.
Setting Timer with Voice Commands
One of the standout features of the Alexa Smart Plug is its ability to set timers using simple voice commands. With just a few words, you can conveniently configure and manage timers for your connected devices. Here’s how to set a timer using voice commands:
- Ensure your Alexa-enabled device is set up: Make sure you have set up an Alexa-enabled device, such as an Amazon Echo or Echo Dot, and that it is connected to the same Amazon account as your Alexa Smart Plug.
- Place your Alexa-enabled device in a convenient location: Position your Alexa-enabled device in an area where it can easily hear your voice commands, such as the kitchen counter or living room.
- Wake up your Alexa-enabled device: Wake up your Alexa-enabled device by saying the “wake word” (e.g., “Alexa”, “Echo”, “Computer”, or “Amazon”, depending on your device’s settings).
- Give a voice command to set the timer: Simply say, “Set a timer for [duration] for the [appliance or task].” For example, you can say, “Set a timer for 10 minutes for the oven” or “Set a timer for 30 minutes for the laundry.”
- Acknowledge the confirmation from Alexa: Alexa will confirm the timer creation by stating the duration and the name you assigned. You can also ask Alexa to provide the remaining time on the timer by saying, “How much time is left on the [appliance or task] timer?”
- Manage and adjust timers: If you need to make changes to the timer, such as extending or canceling it, simply give voice commands to your Alexa-enabled device accordingly. For example, “Extend the oven timer by 5 minutes” or “Cancel the laundry timer.”
Setting timers with voice commands adds another level of convenience to your smart home experience. Whether you’re busy cooking in the kitchen or your hands are full, being able to set timers with just your voice allows you to easily control your devices without any physical interaction.
Additionally, through the Alexa app, you can create routines that include timers as triggers. This means that you can set up custom routines to activate specific timers when you say a particular phrase or perform a specific action. For example, saying “Dinner time” could trigger a timer to turn on the oven and set a reminder to check the meal.
By harnessing the power of voice commands, the Alexa Smart Plug provides a seamless and hands-free way to set and manage timers for your connected devices, making your daily routines more efficient and convenient.
Troubleshooting Common Timer Issues
While setting timers with the Alexa Smart Plug is generally a smooth and hassle-free experience, there may be instances where you encounter some common timer-related issues. Here are some troubleshooting tips to help you resolve these issues:
- Check your Wi-Fi connection: Ensure that your Alexa Smart Plug is connected to a stable Wi-Fi network. Poor or intermittent Wi-Fi connectivity can affect the proper functioning of timers.
- Verify the timer settings: Double-check the timer settings in the Alexa app to ensure accuracy. Make sure the start time, duration, and recurrence settings are correctly configured.
- Restart your Alexa-enabled device: Sometimes, a simple restart can resolve temporary glitches. Try restarting your Alexa-enabled device by unplugging it from the power source and plugging it back in.
- Reset and reconnect the smart plug: If the timer issues persist, you can try resetting the smart plug. Refer to the user manual for specific instructions on how to reset the device. After resetting, go through the setup process again to reconnect the smart plug to your Alexa account.
- Ensure the smart plug firmware is up to date: Check for any available firmware updates for your smart plug. Outdated firmware can cause compatibility issues, including problems with timers.
- Review your device’s power supply: It’s essential to ensure that the device you are controlling with the smart plug has a stable power supply. Unstable or fluctuating power can lead to issues with timers.
- Contact customer support: If you have tried the above troubleshooting steps and are still experiencing timer issues, reach out to the manufacturer’s customer support. They can provide further guidance on resolving the problem or determine if there is a technical issue with the smart plug.
Troubleshooting timer issues may vary depending on the specific smart plug model and its integration with the Alexa app. Always refer to the user manual or online resources provided by the manufacturer for tailored troubleshooting steps.
Keeping these troubleshooting tips in mind, you can resolve common timer-related issues and ensure a smooth and reliable experience with your Alexa Smart Plug.
Conclusion
The Alexa Smart Plug brings the convenience of smart home automation to your fingertips. With the ability to control your devices using voice commands or the Alexa app, setting timers has never been easier. Whether you want to automate your morning coffee routine, schedule your lights to turn on when you arrive home, or manage various appliances throughout the day, the Alexa Smart Plug offers a seamless and efficient solution.
In this article, we explored the process of setting up the Alexa Smart Plug, connecting it to your Wi-Fi network, and using it to set timers. By following the simple steps outlined, you can enjoy the benefits of automation and effortlessly control your devices with ease.
We also discussed troubleshooting tips for common timer issues, ensuring that you can resolve any challenges that may arise along the way. Remember to refer to the manufacturer’s guidelines and customer support for personalized assistance if needed.
The Alexa Smart Plug opens up a world of possibilities for creating a smarter, more convenient home. Whether you’re looking to save time, enhance energy efficiency, or have more control over your devices, the Alexa Smart Plug can revolutionize the way you interact with your appliances.
So, why wait? Take the leap into the world of smart home automation and experience the convenience and flexibility that the Alexa Smart Plug offers.