Introduction
Welcome to our guide on how to add a Kasa Smart Plug to Google Home! If you’re looking to enhance your smart home setup and make your everyday life more convenient, integrating your Kasa smart plug with Google Home is a great move. Google Home allows you to control your smart devices with simple voice commands, creating a seamless and hands-free experience.
Whether you want to turn on your coffee maker in the morning, sync your lights to change color with your mood, or control your appliances remotely, connecting your Kasa Smart Plug to Google Home will give you greater control and automation options. With just a few simple steps, you’ll be able to take advantage of Google Home’s voice commands to manage your smart plug effortlessly.
In this guide, we will walk you through the process of setting up your Kasa Smart Plug, connecting it to your Google Home, and managing it with the Google Home app. With our easy-to-follow instructions, you’ll be on your way to a more convenient and integrated smart home experience in no time.
Before we dive into the step-by-step instructions, make sure you have the Kasa Smart Plug and the Google Home device set up and ready to go. Install and set up the Kasa Smart app on your smartphone or tablet, and have your Google Home device connected to the same Wi-Fi network as your smart plug. Once you have everything in place, let’s get started with the setup process!
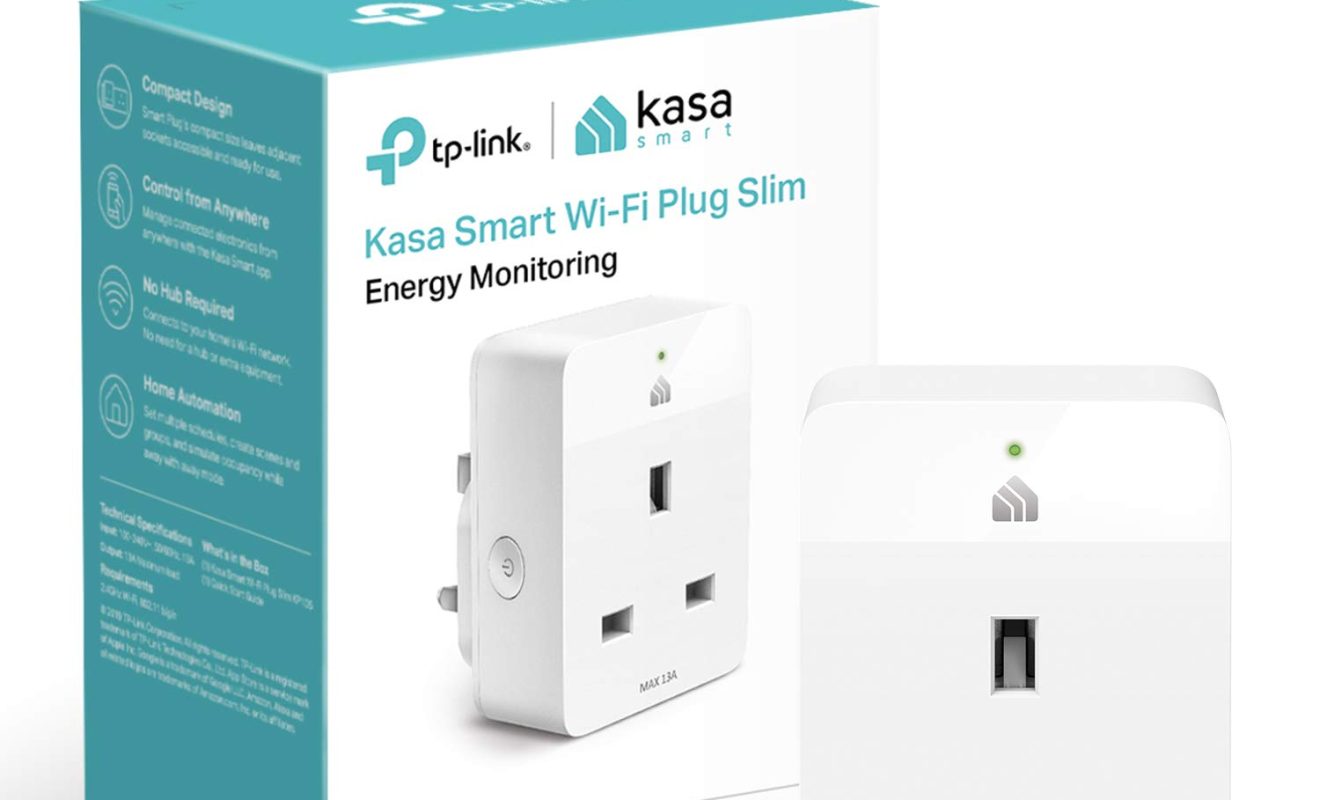
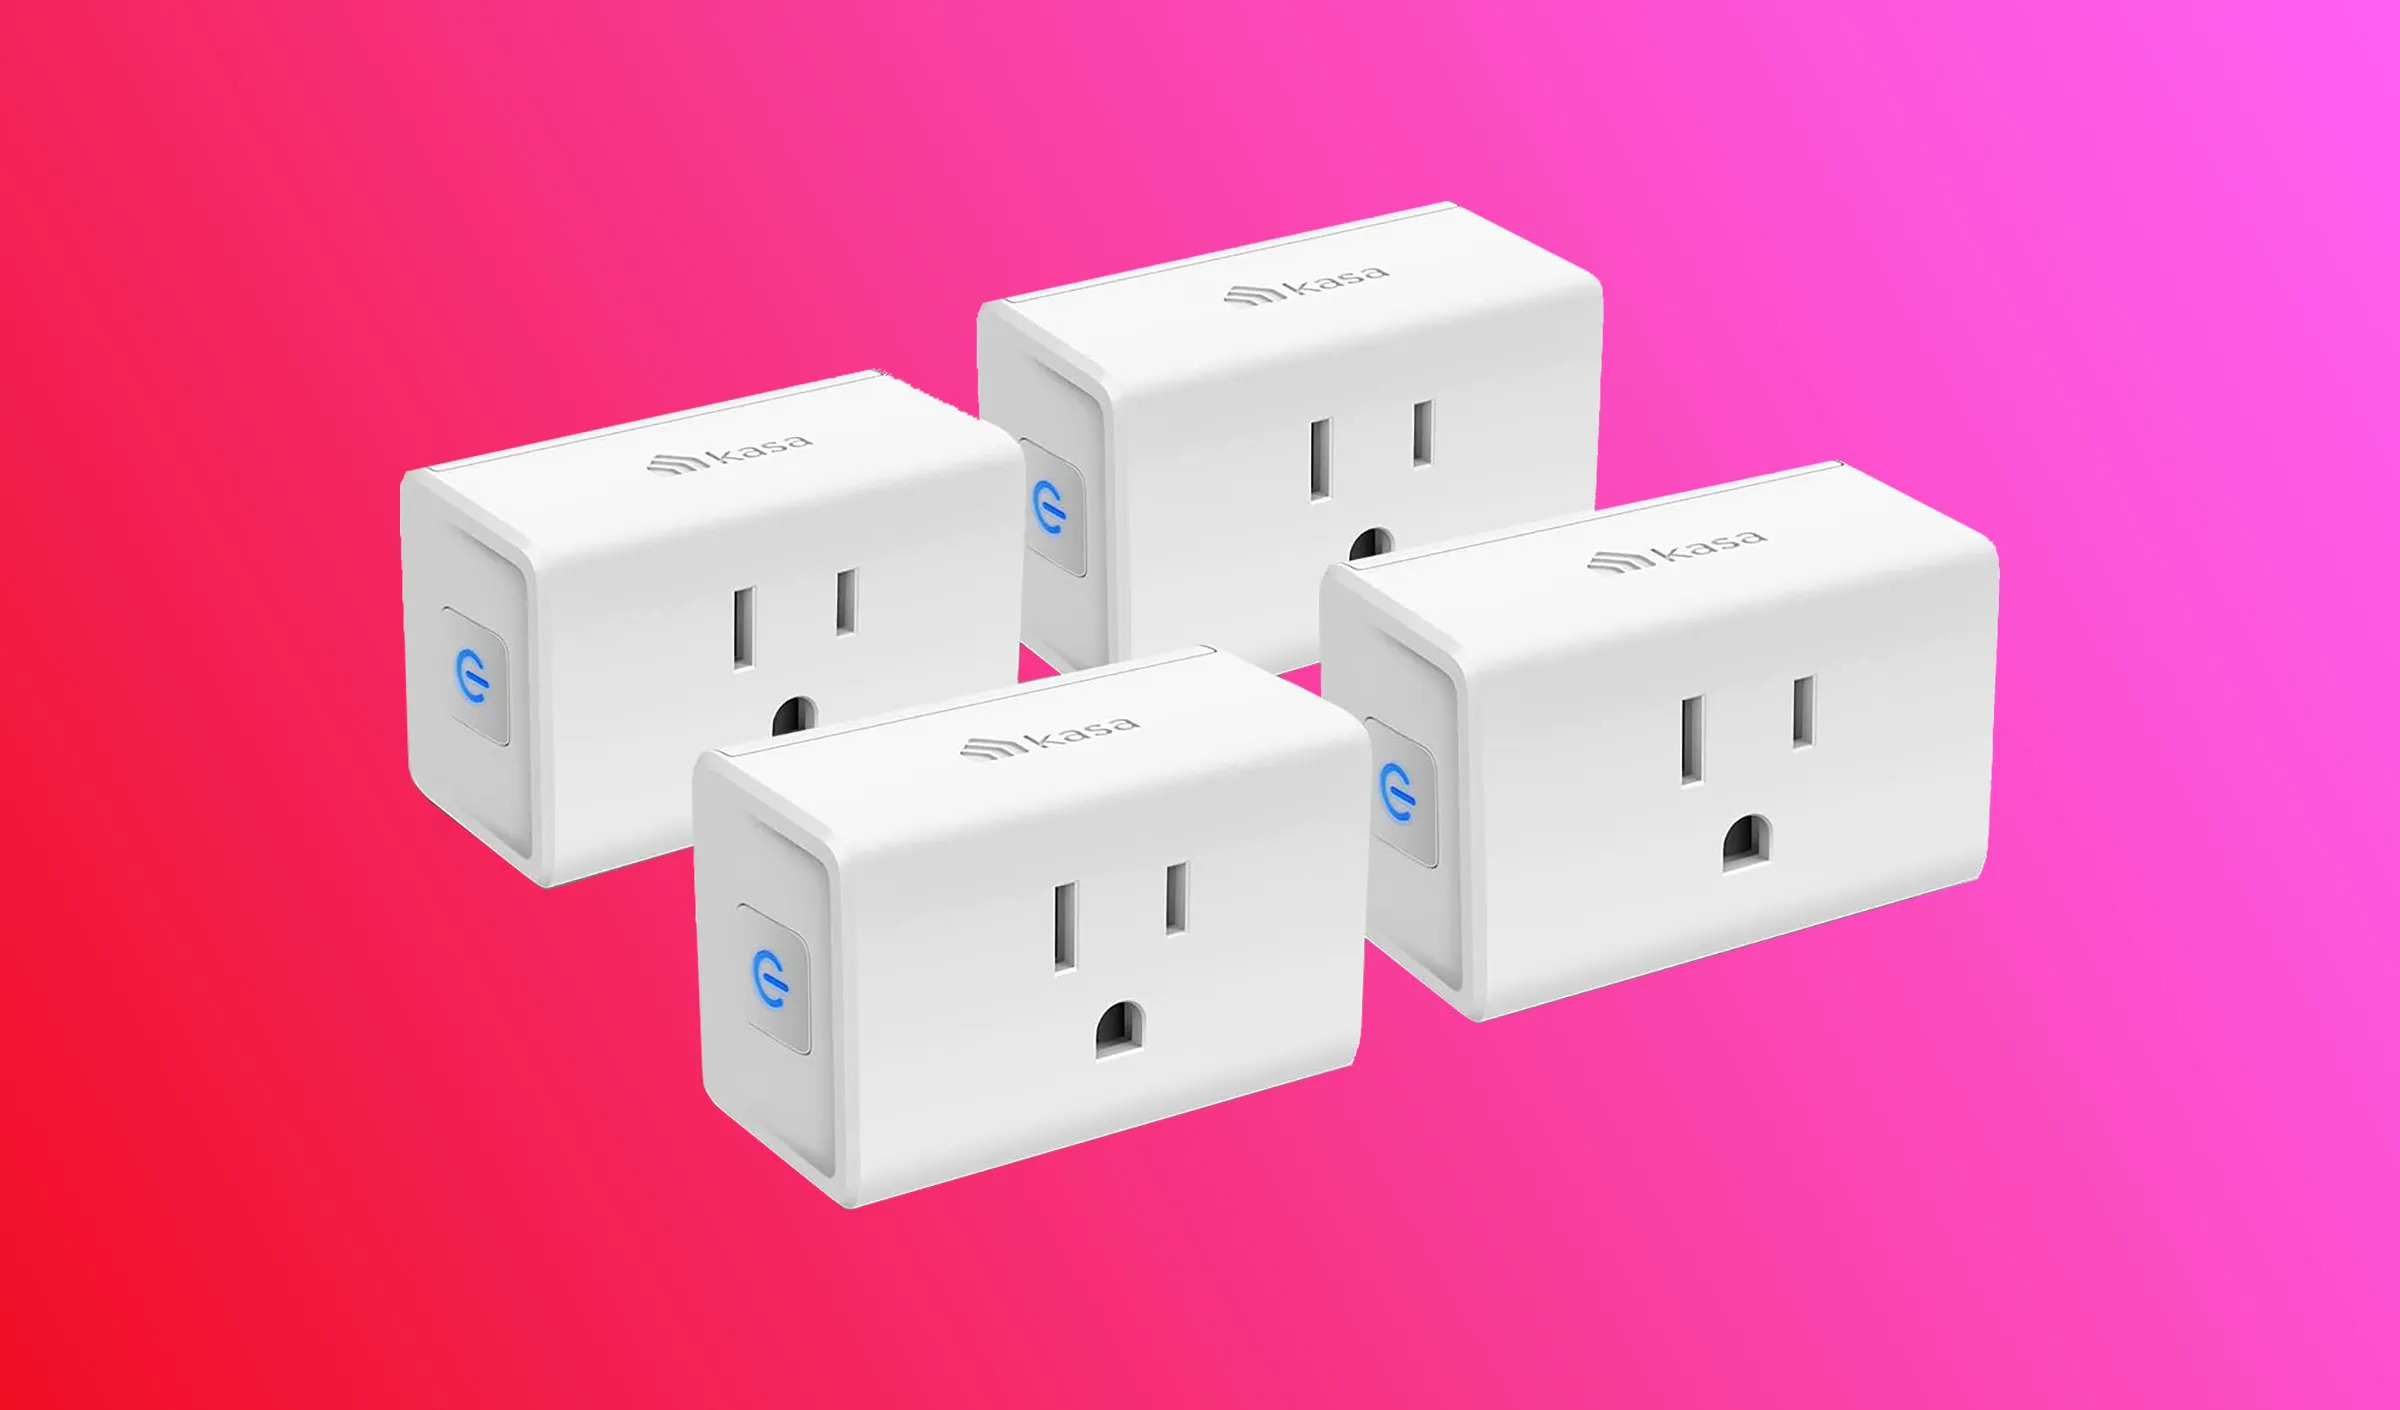
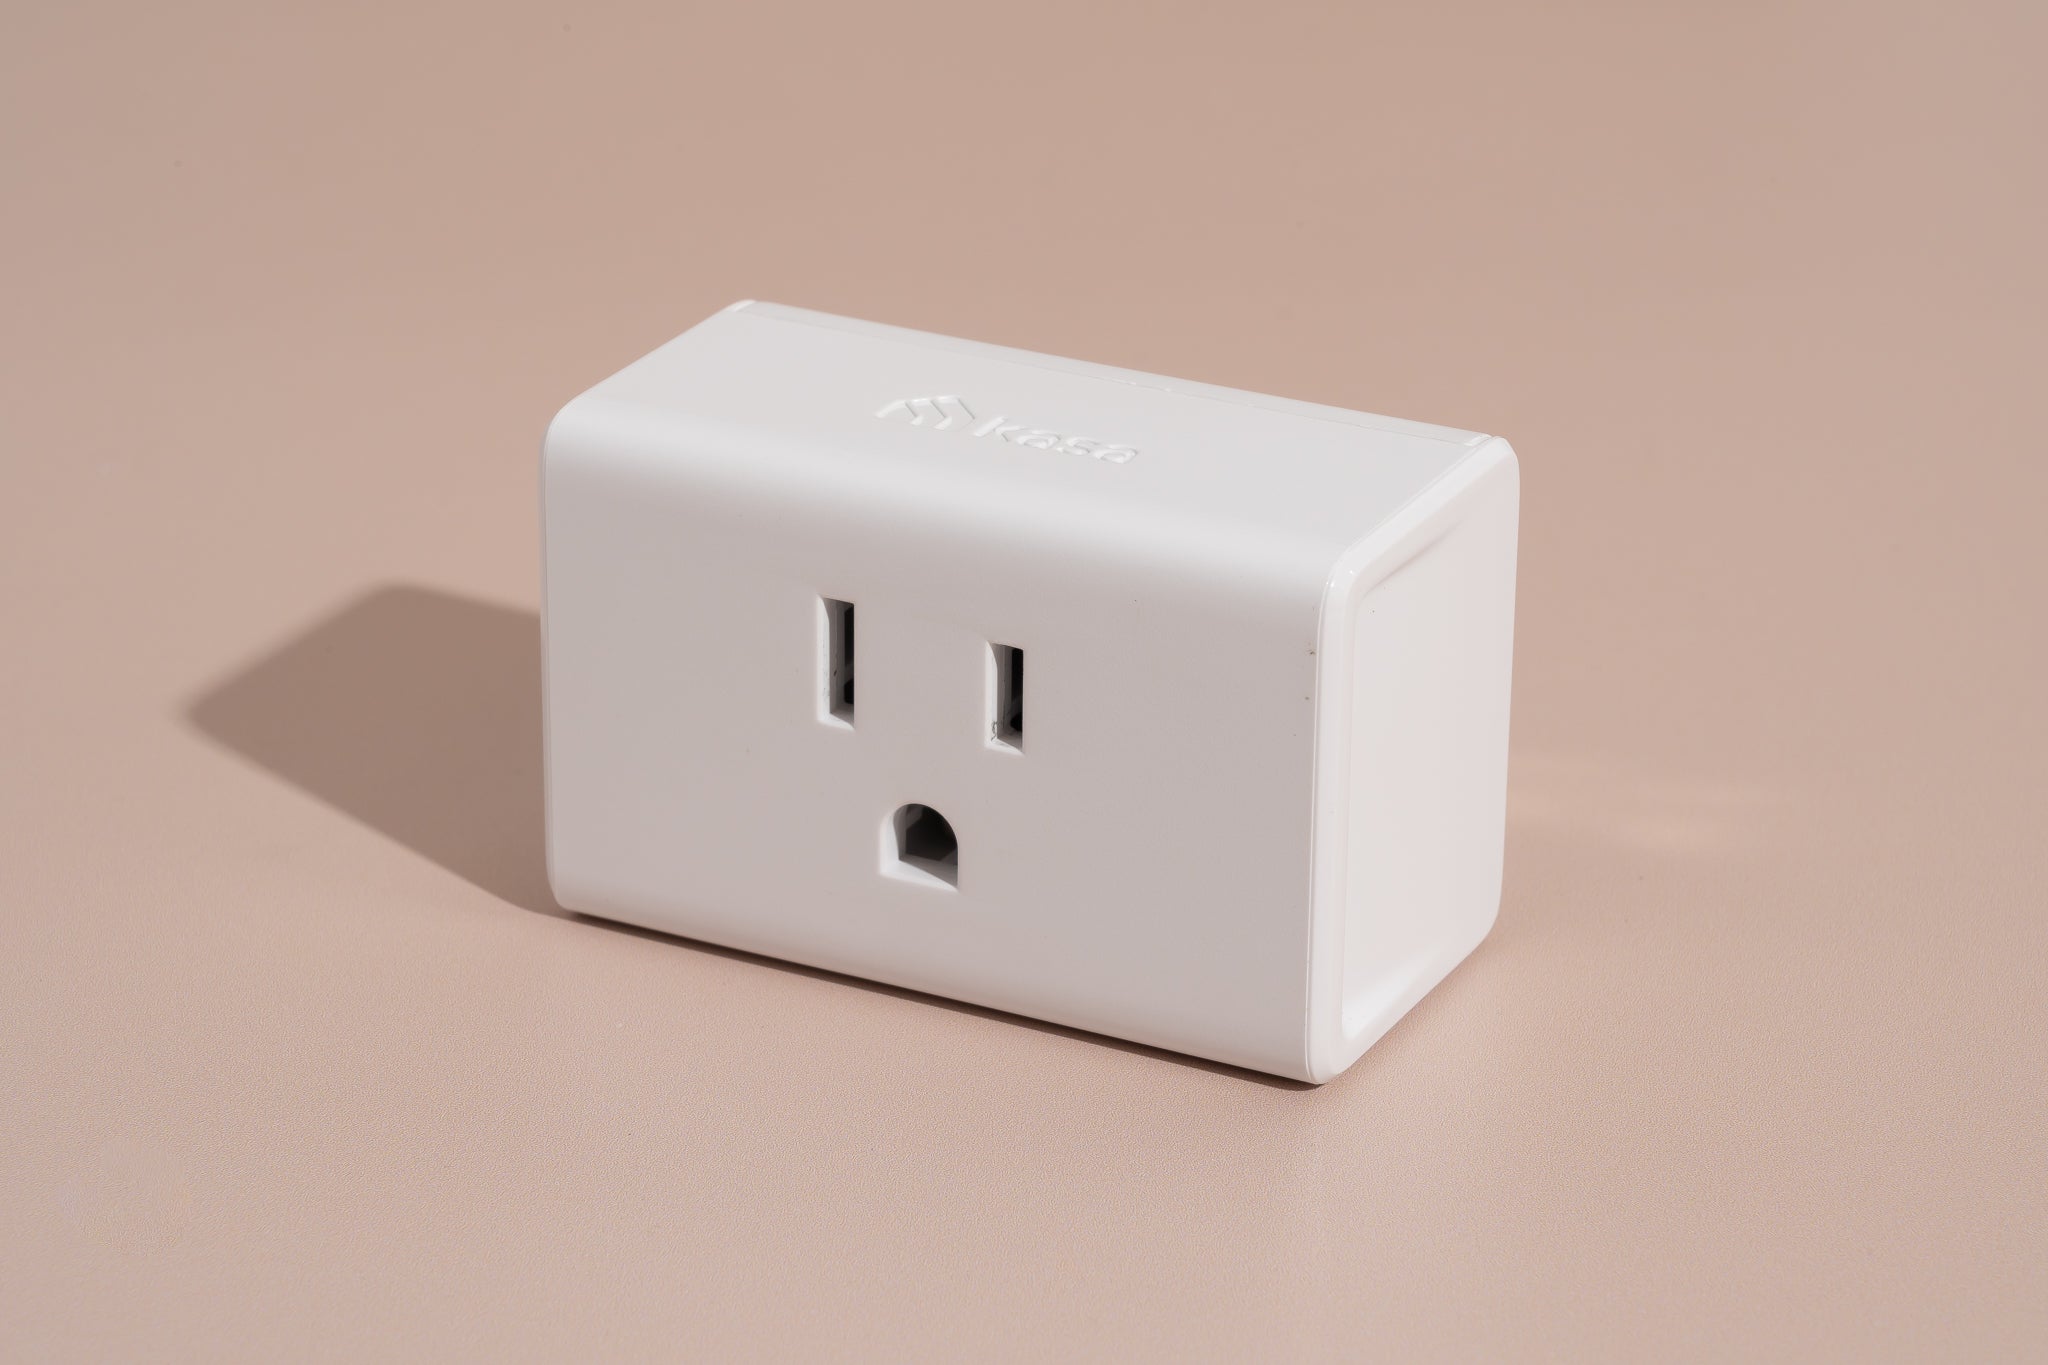
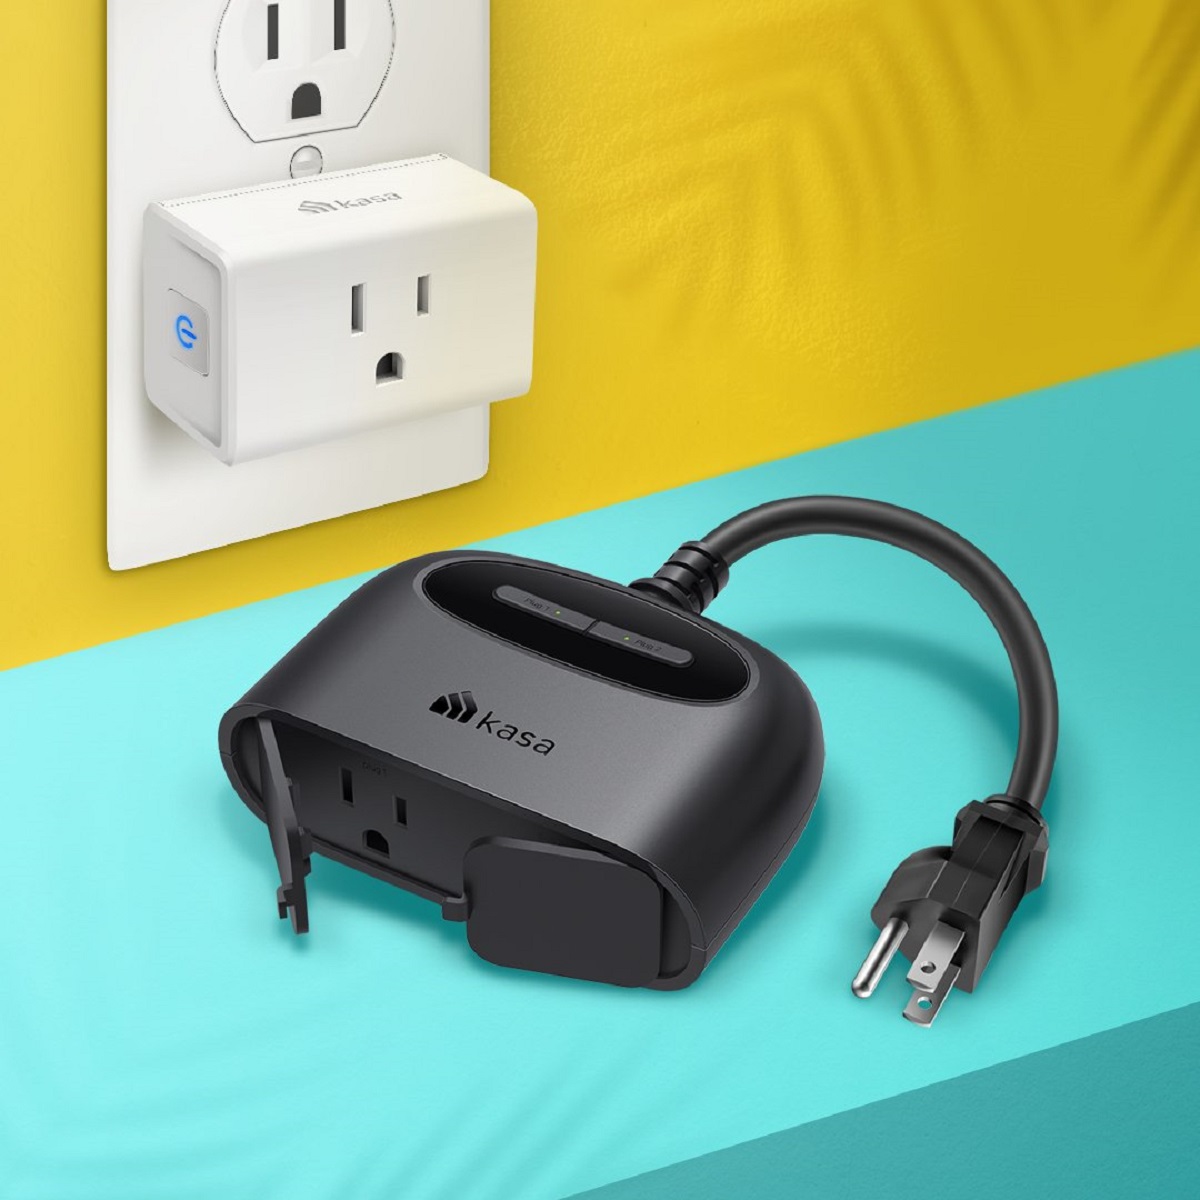
Step 1: Set up your Kasa smart plug
Before you can connect your Kasa smart plug to Google Home, you’ll need to set it up and ensure it’s functioning properly. Here’s how to get started:
- Download and launch the Kasa Smart app: Start by downloading the Kasa Smart app from the App Store or Google Play Store. Once installed, open the app and create an account if you don’t already have one with TP-Link.
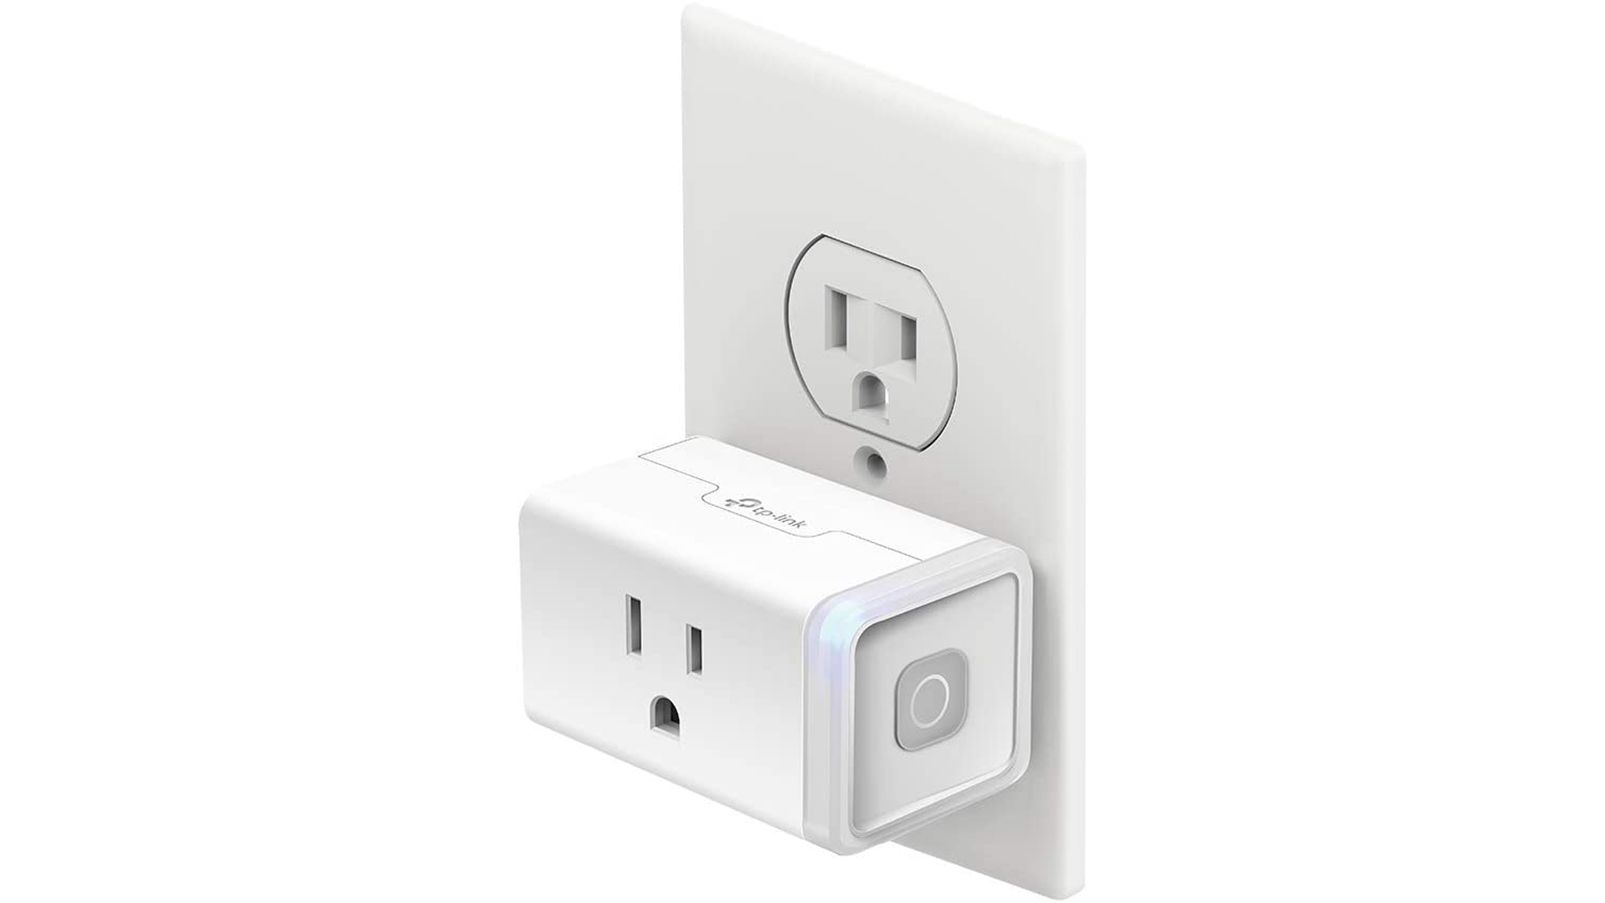
- Plug in your Kasa smart plug: Take your Kasa smart plug and plug it into a power outlet. Make sure the power outlet is in close proximity to your Wi-Fi router to ensure a strong and stable connection.
- Connect the smart plug to the app: Launch the Kasa Smart app on your device and tap the “+” icon to add a new device. Follow the on-screen instructions to connect your smart plug to the app. This usually involves pressing the “WPS” or “Pair” button on the plug until the LED light begins flashing, indicating it’s ready for pairing.
- Connect to your Wi-Fi network: Once the smart plug is in pairing mode, the app will prompt you to connect it to your Wi-Fi network. Select your network from the list and enter your Wi-Fi password, if necessary. The app will then establish a connection between the smart plug and your Wi-Fi network.
- Test the smart plug: After successfully connecting the smart plug to your Wi-Fi network, the app will display a confirmation message. You can now test the smart plug by turning it on or off from within the app. If everything is working as expected, proceed to the next step.
That’s it for the setup process! You have successfully set up your Kasa smart plug and it’s now ready to be connected to Google Home. In the next step, we will guide you through the process of connecting the smart plug to your Google Home device.
Step 2: Connect Kasa smart plug to Google Home
Now that your Kasa smart plug is set up and functioning correctly, it’s time to connect it to your Google Home device. Follow these steps to integrate your smart plug with Google Home:
- Open the Google Home app: Launch the Google Home app on your smartphone or tablet. Make sure your Google Home device is set up and connected to the same Wi-Fi network as your smart plug.
- Access the Devices tab: In the Google Home app, tap on the “Devices” tab at the bottom of the screen.
- Add a new device: Under the Devices tab, tap the “+” icon in the bottom right corner to add a new device to your Google Home setup.
- Select ‘Set up device’: From the list of options, choose “Set up device” and then select “Have something already set up?”
- Find the Kasa smart plug: In the list of compatible devices, find and select “TP-Link Kasa” as the manufacturer of your smart plug.
- Sign in to your TP-Link account: To establish a connection between Google Home and your Kasa smart plug, you’ll need to sign in to your TP-Link account that you created during the Kasa Smart app setup process.
- Authorize Google Home: Once signed in, Google Home will request authorization to access your Kasa devices. Grant the necessary permissions to allow Google Home to control your Kasa smart plug.
- Sync your devices: After authorizing Google Home, the app will sync your devices and display a list of available options. Find your Kasa smart plug in the list and tap on it to add it to your Google Home setup.
- Customize device settings (optional): Once added to your Google Home, you can customize the settings for your Kasa smart plug, such as assigning it to a specific room, setting up routines, or creating voice commands for easier control.
Congratulations! You have successfully connected your Kasa smart plug to Google Home. Now you can take advantage of Google Assistant’s voice commands to control your smart plug with ease. In the next step, we will explore how to manage and control your Kasa smart plug using the Google Home app.
Step 3: Manage your Kasa smart plug with Google Home
Now that your Kasa smart plug is connected to Google Home, you have the power to control and manage it using the Google Home app. Here’s how to make the most of your Kasa smart plug with Google Home:
- Open the Google Home app: Launch the Google Home app on your smartphone or tablet.
- Access device controls: Tap on the “Devices” tab at the bottom of the screen to access your connected devices, including your Kasa smart plug.
- Select your Kasa smart plug: Locate your Kasa smart plug in the list of devices and tap on it to access its controls and settings.
- Turn your smart plug on or off: Within the device control screen, you’ll find a power button icon that allows you to turn your smart plug on or off with a single tap.
- Create routines (optional): With Google Home, you can create routines that automate certain actions with your Kasa smart plug. For example, you can set a routine to turn on the smart plug every morning to activate your coffee maker.
- Assign to a room: To organize your devices, you can assign your Kasa smart plug to a specific room. This makes it easier to control multiple devices simultaneously using room-specific voice commands.
- Control with voice commands: One of the biggest advantages of integrating your smart plug with Google Home is the ability to control it using voice commands. Simply say “Hey Google, turn on/off [device name]” to conveniently operate your Kasa smart plug.
- Access remote control: If you have enabled remote control in the Kasa Smart app, you can manage your smart plug even when you’re away from home. Use the Google Home app to control your smart plug remotely, providing flexibility and convenience.
- Explore advanced settings: If you want to delve deeper into the settings and features of your Kasa smart plug, you can access the manufacturer’s app, the Kasa Smart app. There, you can customize schedules, monitor energy usage, and explore additional options.
With these management options, you can maximize the convenience and automation of your Kasa smart plug through Google Home. Enjoy the seamless integration and effortless control of your smart home devices with just a few taps or voice commands.
Conclusion
Congratulations! You have successfully added your Kasa Smart Plug to Google Home, making your smart home experience even more convenient and seamless. By following the simple steps outlined in this guide, you can control and manage your Kasa smart plug using voice commands and the Google Home app.
With the integration of Google Home, you now have the power to control your smart plug with ease. Whether you want to turn on your appliances, set up routines, or adjust settings remotely, Google Home provides a user-friendly platform for managing your Kasa smart plug and other connected devices.
Remember, the key steps involved in the process are setting up your Kasa smart plug, connecting it to Google Home, and then utilizing the Google Home app to manage and control your smart plug. By following these steps, you can enjoy the benefits of home automation with enhanced flexibility and effortless control.
Make sure to explore the various features and customization options available within the Google Home app, such as assigning devices to rooms, creating routines, and accessing advanced settings. These features can streamline your smart home experience and further tailor it to your preferences.
With your Kasa smart plug connected to Google Home, you can enjoy the convenience of controlling your devices with just your voice or a few taps on your smartphone. Sit back, relax, and let technology do the work for you.
Thank you for following our guide on how to add a Kasa Smart Plug to Google Home. We hope this article has been informative and helpful in setting up your smart home system. Enjoy the convenience and automation that Google Home brings to your everyday life!