Introduction
Welcome to our comprehensive guide on how to set up a Kasa Smart Plug! In this article, we will walk you through the step-by-step process of unboxing, configuring, and integrating the Kasa Smart Plug into your home automation system.
The Kasa Smart Plug is a versatile device that allows you to control your electronic appliances and devices remotely. With its user-friendly interface and compatibility with popular virtual assistants like Amazon Alexa and Google Assistant, the Kasa Smart Plug offers a seamless and convenient way to manage your devices using voice commands.
Whether you’re a tech-savvy enthusiast or just getting started with home automation, this guide will equip you with the knowledge and skills to set up your Kasa Smart Plug effortlessly. You’ll be able to control your lights, coffee maker, fans, and other appliances with a few taps on your smartphone or a simple voice command.
Before we dive into the step-by-step process, it’s worth mentioning that the Kasa Smart Plugs are renowned for their robust performance, reliability, and security features. TP-Link, the manufacturer of Kasa Smart Plugs, has implemented advanced encryption protocols to safeguard your privacy and ensure a secure connection between your smart home devices.
Now that you have an overview of what we’ll cover in this guide, let’s get started with the first step: unboxing and inspecting the Kasa Smart Plug.
Step 1: Unboxing and Inspecting the Kasa Smart Plug
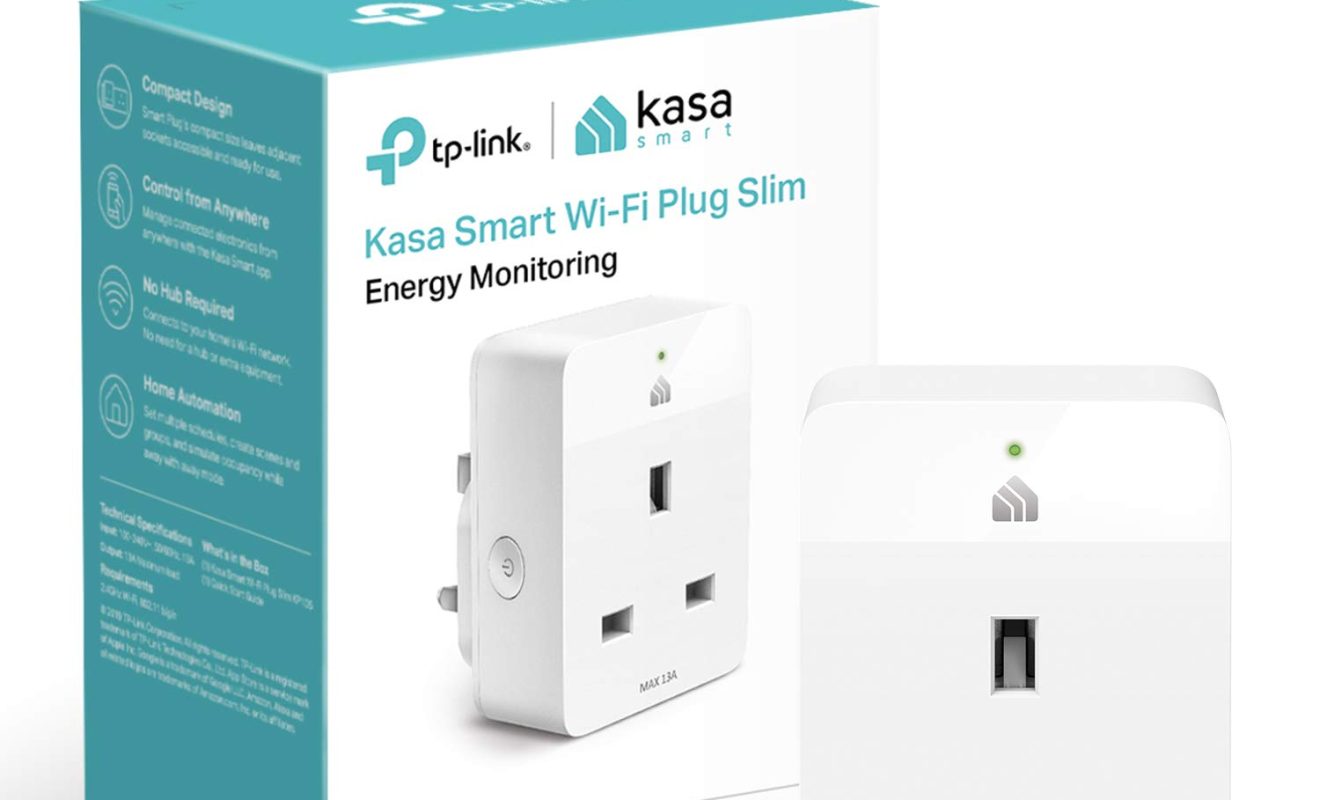
The first step towards setting up your Kasa Smart Plug is unboxing and inspecting the contents. When you receive your Kasa Smart Plug, check the packaging for any signs of damage during transit. It’s essential to ensure that all components are present and in good condition.
Inside the box, you will find the Kasa Smart Plug, a quick start guide, and any additional accessories that may be included, such as a user manual or warranty information. Take a moment to familiarize yourself with the components and ensure everything is intact.
Inspect the Kasa Smart Plug for any visible physical damage, such as scratches or dents. It’s crucial to address any issues at this stage to ensure a smooth setup process.
Once you have confirmed that everything looks good, you are ready to move on to the next step.
Tips:
- Keep the packaging and all accompanying documents in a safe place. You may need them for future reference or warranty claims.
- Make sure to handle the Kasa Smart Plug and other components with care to avoid any accidental damage.
Now that you have unboxed and inspected your Kasa Smart Plug, it’s time to move on to step two: downloading and setting up the Kasa Smart App. This app will be your go-to tool for controlling and managing your Kasa devices with ease.
Step 2: Downloading and Setting up the Kasa Smart App
To control your Kasa Smart Plug, you’ll need to download and install the Kasa Smart App on your smartphone or tablet. The app is available for both iOS and Android devices and can be found in the respective app stores.
Here’s how you can get started:
- Open the App Store (for iOS) or Google Play Store (for Android) on your device.
- Search for “Kasa Smart” in the search bar.
- Locate the official Kasa Smart App developed by TP-Link Technologies Co., Ltd.
- Tap the “Install” or “Get” button to download and install the app.
Once the app is downloaded and installed on your device, follow these steps to set it up:
- Open the Kasa Smart App on your smartphone or tablet.
- Create a Kasa account by tapping on “Create Account.” You will need to provide a valid email address and create a secure password.
- Verify your account by clicking on the verification link sent to your email address.
- Log in to your Kasa account using your credentials.
Once you have successfully logged in, the app will guide you through the process of setting up your Kasa Smart Plug and connecting it to your Wi-Fi network.
Now that you have downloaded and set up the Kasa Smart App, you’re one step closer to controlling your Kasa Smart Plug. In the next step, we will cover how to connect the smart plug to your Wi-Fi network.
Step 3: Connecting the Smart Plug to Wi-Fi
Now that you have the Kasa Smart App installed and set up on your smartphone or tablet, it’s time to connect your Kasa Smart Plug to your Wi-Fi network. This step is essential as it allows you to control your devices remotely and enjoy all the smart features the plug has to offer.
Follow these steps to connect the smart plug to your Wi-Fi:
- Make sure your Kasa Smart Plug is plugged into an electrical outlet and turned on.
- Launch the Kasa Smart App on your device.
- Tap the “+” icon located at the top right corner of the app to add a new device.
- Select “Smart Plug” from the list of available devices.
- Follow the on-screen instructions to put your smart plug into “Pairing Mode” or “AP Mode.”
- In your device’s Wi-Fi settings, locate and connect to the Wi-Fi network with a name similar to “TP-LINK_Smart Plug_XXXX.”
- Return to the Kasa Smart App and wait for the app to detect the smart plug.
- Once the smart plug is detected, select your home Wi-Fi network from the list and enter your Wi-Fi password.
- Wait for the app to connect the smart plug to your Wi-Fi network. This may take a few moments.
Once connected, you can choose to give your smart plug a custom name for easier identification and control.
Tips:
- Ensure that your smartphone or tablet is connected to the same Wi-Fi network you want to connect your Kasa Smart Plug to.
- Make sure your Wi-Fi network is stable and has a strong signal strength in the area where the smart plug is installed.
- If you encounter any issues during the setup process, consult the Kasa Smart App’s troubleshooting guide or refer to the device’s user manual.
Now that you have successfully connected your Kasa Smart Plug to your Wi-Fi network, you can move on to the next step: adding the smart plug to the Kasa Smart App.
Step 4: Adding the Smart Plug to the Kasa Smart App
With your Kasa Smart Plug connected to your Wi-Fi network, the next step is to add it to the Kasa Smart App. By doing so, you can control and manage your smart plug with ease using the intuitive app interface.
Here’s how you can add the smart plug to the Kasa Smart App:
- Open the Kasa Smart App on your smartphone or tablet.
- Tap the “+” icon located at the top right corner of the app to add a new device.
- Select “Smart Plug” from the list of available devices.
- The app will start searching for your smart plug. Wait for it to detect and display the found device.
- Confirm the device details and tap “Add” to add it to your Kasa Smart App.
- Your smart plug will now be added to the app’s device list.
Once added, you can access and control your smart plug directly from the app. The Kasa Smart App offers a range of features, including on/off control, setting up schedules and timers, and monitoring energy usage.
Tips:
- If the app is unable to detect your smart plug, make sure you’re connected to the same Wi-Fi network and check if the smart plug is powered on and within range.
- Double-check the device details before adding it to ensure you’re adding the correct smart plug.
- If you have multiple smart plugs, repeat the above steps to add each device to the Kasa Smart App.
Now that you have successfully added your Kasa Smart Plug to the Kasa Smart App, you’re ready to move on to the next step: naming and grouping your smart plug for easier management.
Step 5: Naming and Grouping Your Smart Plug
Now that your Kasa Smart Plug is added to the Kasa Smart App, it’s time to give it a custom name and group it for easier management. Naming and grouping your smart plug will allow you to quickly identify and control specific devices within your home automation system.
Follow these steps to name and group your smart plug:
- Open the Kasa Smart App on your smartphone or tablet.
- Locate the added smart plug in the app’s device list.
- Tap on the smart plug to access its settings and details.
- Select the “Edit” or “Rename” option.
- Enter a unique and descriptive name for your smart plug. For example, you can name it “Living Room Lamp” or “Bedside Fan”.
- Tap “Save” to confirm the new name.
- To group your smart plug with other devices, go back to the device list.
- Select the “Group” or “Add Group” option.
- Create a new group or add the smart plug to an existing group.
- Assign a name to the group that reflects the devices it contains, such as “Living Room Devices” or “Bedroom Appliances”.
- Save the group settings, and your smart plug will now be grouped for easier control.
By customizing the name and grouping your smart plug, you can effortlessly manage and control multiple devices within specific areas or rooms in your home.
Tips:
- Choose names that are easy to remember and reflect the device’s location or purpose.
- Create multiple groups if you have a complex automation system with devices spread across different areas of your home.
- Regularly review and update the names and groups as you add or remove devices from your smart home setup.
Now that you have named and grouped your Kasa Smart Plug, it’s time to explore the advanced features of scheduling and timers in the next step.
Step 6: Setting up Schedules and Timers
One of the key advantages of using a Kasa Smart Plug is the ability to automate your devices through schedules and timers. By setting up schedules and timers, you can have your devices turn on or off at specific times, creating a more convenient and energy-efficient home environment.
Follow these steps to set up schedules and timers for your Kasa Smart Plug:
- Open the Kasa Smart App on your smartphone or tablet.
- Select the smart plug you want to set up a schedule or timer for.
- Tap on the “Schedules” or “Timers” option, depending on your desired automation.
- Select “Add Schedule” or “Add Timer” to create a new automation rule.
- Choose the specific days or times you want the automation to occur.
- Set the desired actions for the smart plug, such as turning it on or off.
- Specify any additional settings, such as brightness levels or color changes for devices that support these features.
- Save your schedule or timer settings, and it will be activated according to the specified parameters.
You can create multiple schedules or timers for your Kasa Smart Plug, allowing you to customize the automation based on your needs. For example, you can set up a schedule to turn on a lamp every day at 6 PM and set a timer to turn off a fan after 2 hours of use.
Tips:
- Experiment with different schedules and timers to find the most suitable automation settings for your devices and lifestyle.
- Consider creating schedules or timers for devices that consume a significant amount of energy to promote energy savings.
- Regularly review and adjust your schedule and timer settings to accommodate any changes in your daily routine.
Now that you have set up schedules and timers for your Kasa Smart Plug, you’re ready to explore the last step: voice control and integration with virtual assistants.
Step 7: Voice Control and Integration with Virtual Assistants
One of the most convenient features of the Kasa Smart Plug is its compatibility with popular virtual assistants like Amazon Alexa and Google Assistant. With voice control integration, you can easily control your smart plug and connected devices using simple voice commands.
Here’s how to set up voice control and integration with virtual assistants:
- Ensure that your Kasa Smart Plug is set up and connected to the Kasa Smart App.
- Open the virtual assistant app on your smartphone or tablet (e.g., Amazon Alexa app or Google Assistant app).
- Follow the instructions to set up your virtual assistant device if you haven’t done so already.
- Enable the Kasa Skill or Kasa Action within the virtual assistant app to connect it with your Kasa Smart Plug.
- Sign in to your Kasa account when prompted and grant permission to link your devices.
- Once the virtual assistant is successfully linked, you can start controlling your Kasa Smart Plug using voice commands.
To control your smart plug with a virtual assistant, simply use the wake word followed by the device name and the action you want to perform. For example, you can say, “Alexa, turn on the living room lamp” or “Hey Google, turn off the bedside fan.”
Tips:
- Make sure your virtual assistant device and the Kasa Smart Plug are connected to the same Wi-Fi network for seamless control.
- Customize device names within the Kasa Smart App to make it easier for virtual assistants to identify and control them.
- Explore other voice commands and features supported by your virtual assistant, such as adjusting brightness levels or creating routines.
With voice control and integration with virtual assistants, managing your Kasa Smart Plug becomes even more effortless and hands-free. Enjoy the convenience of controlling your devices with just the sound of your voice!
Congratulations! You have successfully completed all the steps to set up your Kasa Smart Plug and maximize its functionality. Whether it’s controlling devices remotely, scheduling automation, or using voice commands, your Kasa Smart Plug offers a wide range of features to enhance your home automation experience.
Conclusion
Congratulations on successfully setting up your Kasa Smart Plug! By following the step-by-step instructions in this guide, you have unlocked a host of convenient features and possibilities in managing your devices with ease.
The Kasa Smart Plug offers a user-friendly interface, seamless connectivity, and compatibility with popular virtual assistants like Amazon Alexa and Google Assistant. With its ability to control your devices remotely, set up schedules and timers, and integrate with voice commands, the Kasa Smart Plug truly brings the power of automation to your fingertips.
Remember to explore the advanced features of the Kasa Smart App, such as energy monitoring, grouping devices, and creating customized automation routines. These features allow you to further personalize your smart home setup to suit your needs and preferences.
As you continue to enjoy the convenience and control provided by your Kasa Smart Plug, be sure to keep the app and firmware updated to benefit from the latest enhancements and security patches. Additionally, don’t hesitate to consult the user manual or online resources provided by TP-Link for any troubleshooting or support needs you may have.
With your Kasa Smart Plug, you have taken a significant step towards creating a smarter and more efficient home. Now, sit back, relax, and enjoy the convenience and benefits that come with having a connected and automated living space.
Thank you for choosing the Kasa Smart Plug, and happy smart home automation!