Introduction
Welcome to the world of smart home technology! The TP-Link Smart Plug is a remarkable device that allows you to control your electrical appliances using your smartphone or voice commands. With its easy setup process and versatile functionality, the TP-Link Smart Plug provides a seamless integration of convenience and control in your everyday life.
Gone are the days of manually turning on and off your devices. With this smart plug, you have the power to manage your devices remotely, create schedules, and even monitor your energy usage. Whether you’re at home or on the go, the TP-Link Smart Plug empowers you to take charge of your home appliances effortlessly.
In this guide, we will take you through the step-by-step process of setting up your TP-Link Smart Plug. We’ll cover everything from unpacking the device to configuring it with your Wi-Fi network. We’ll also explore the advanced features and customizations that can enhance your smart home experience.
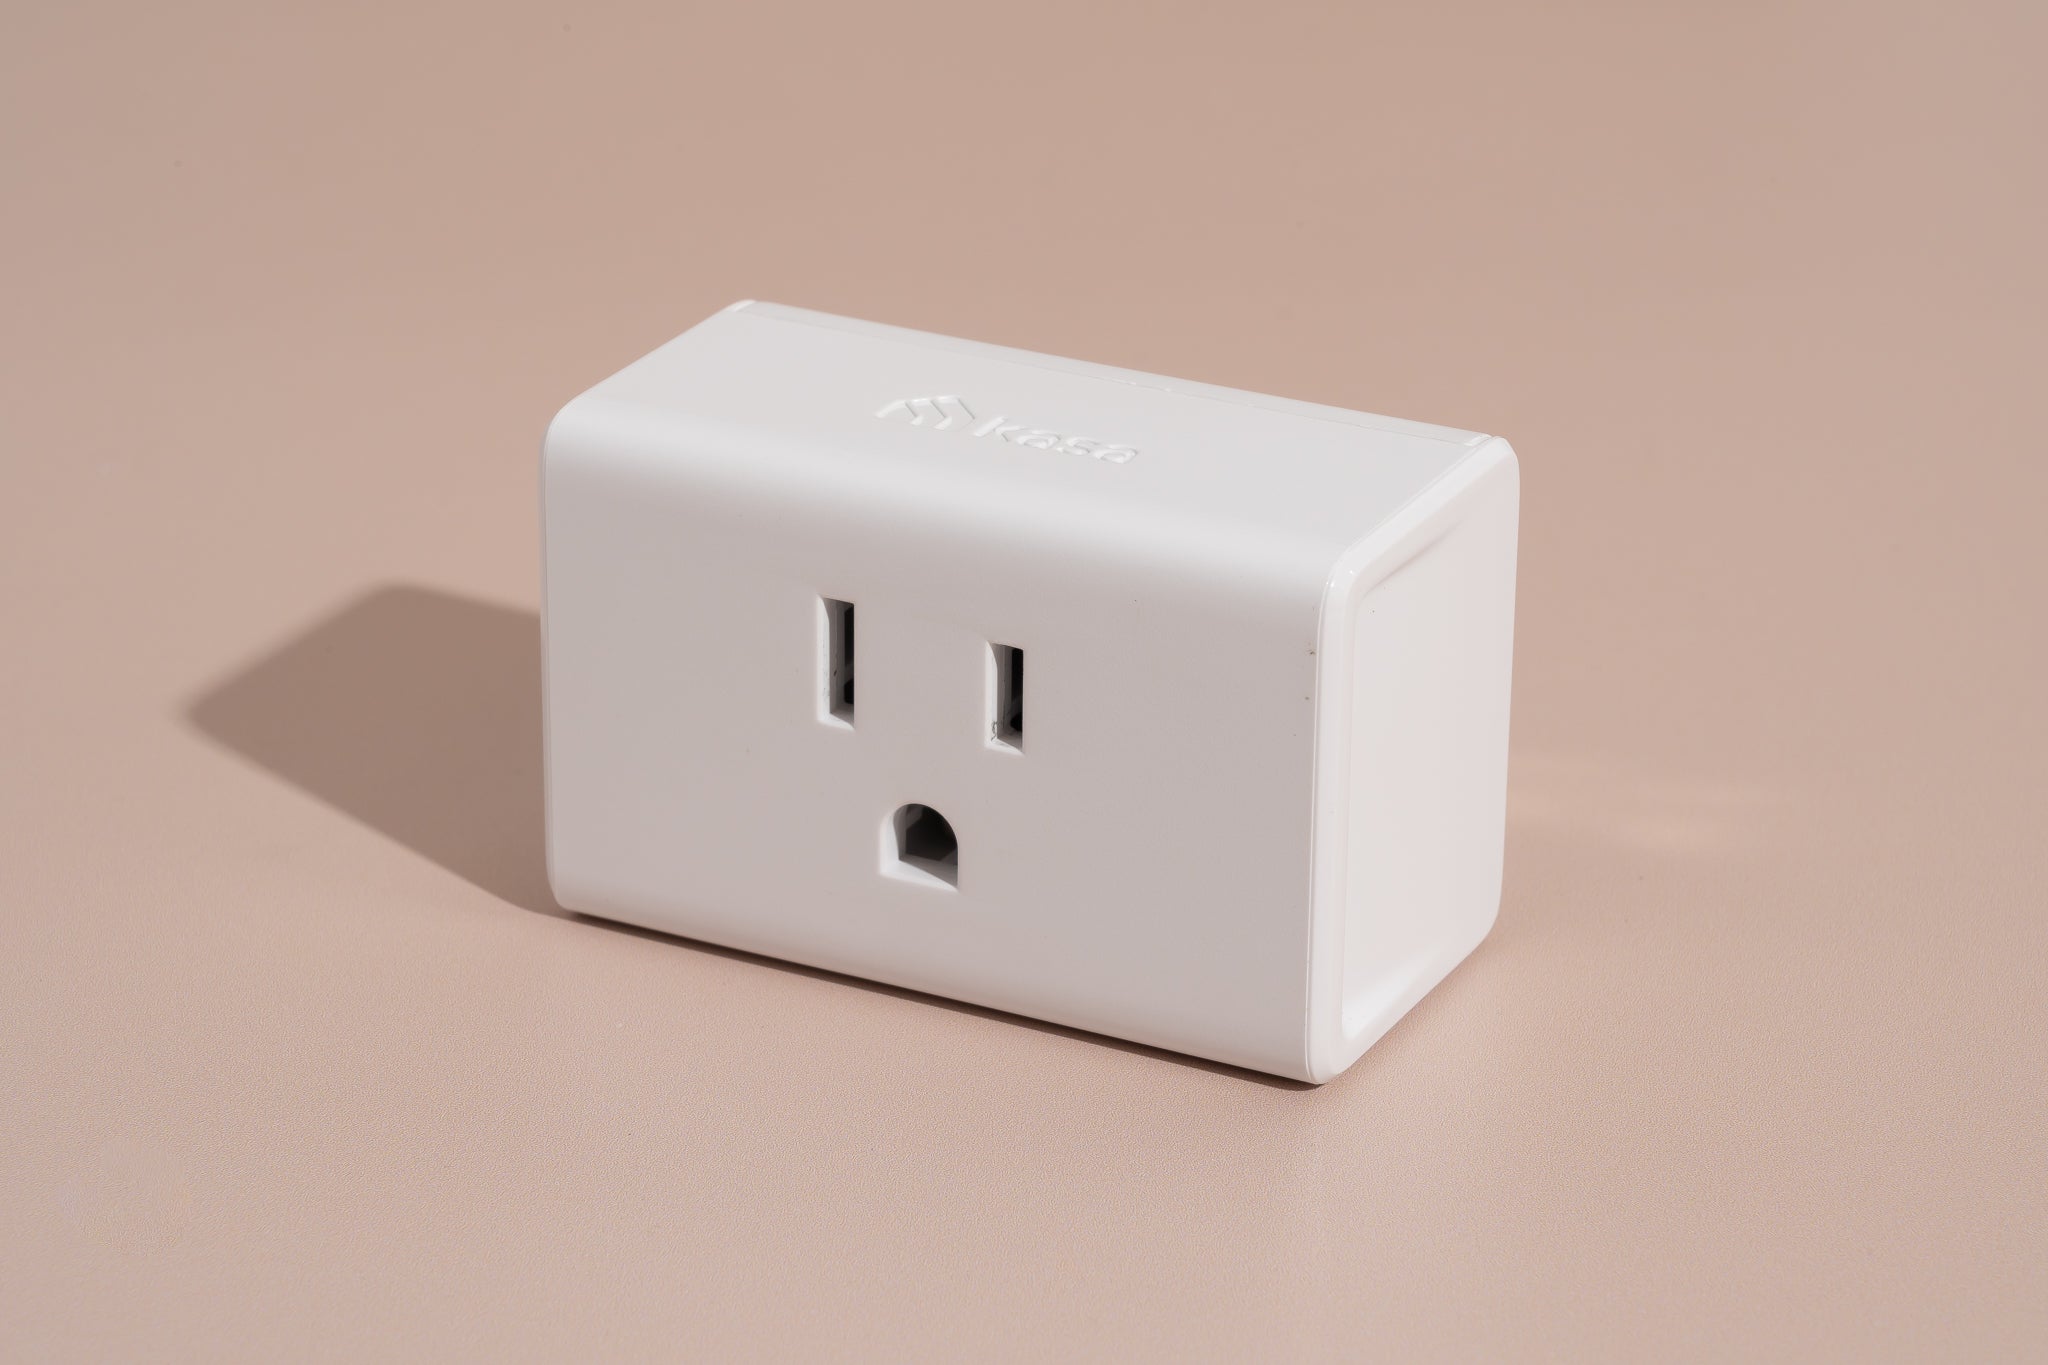
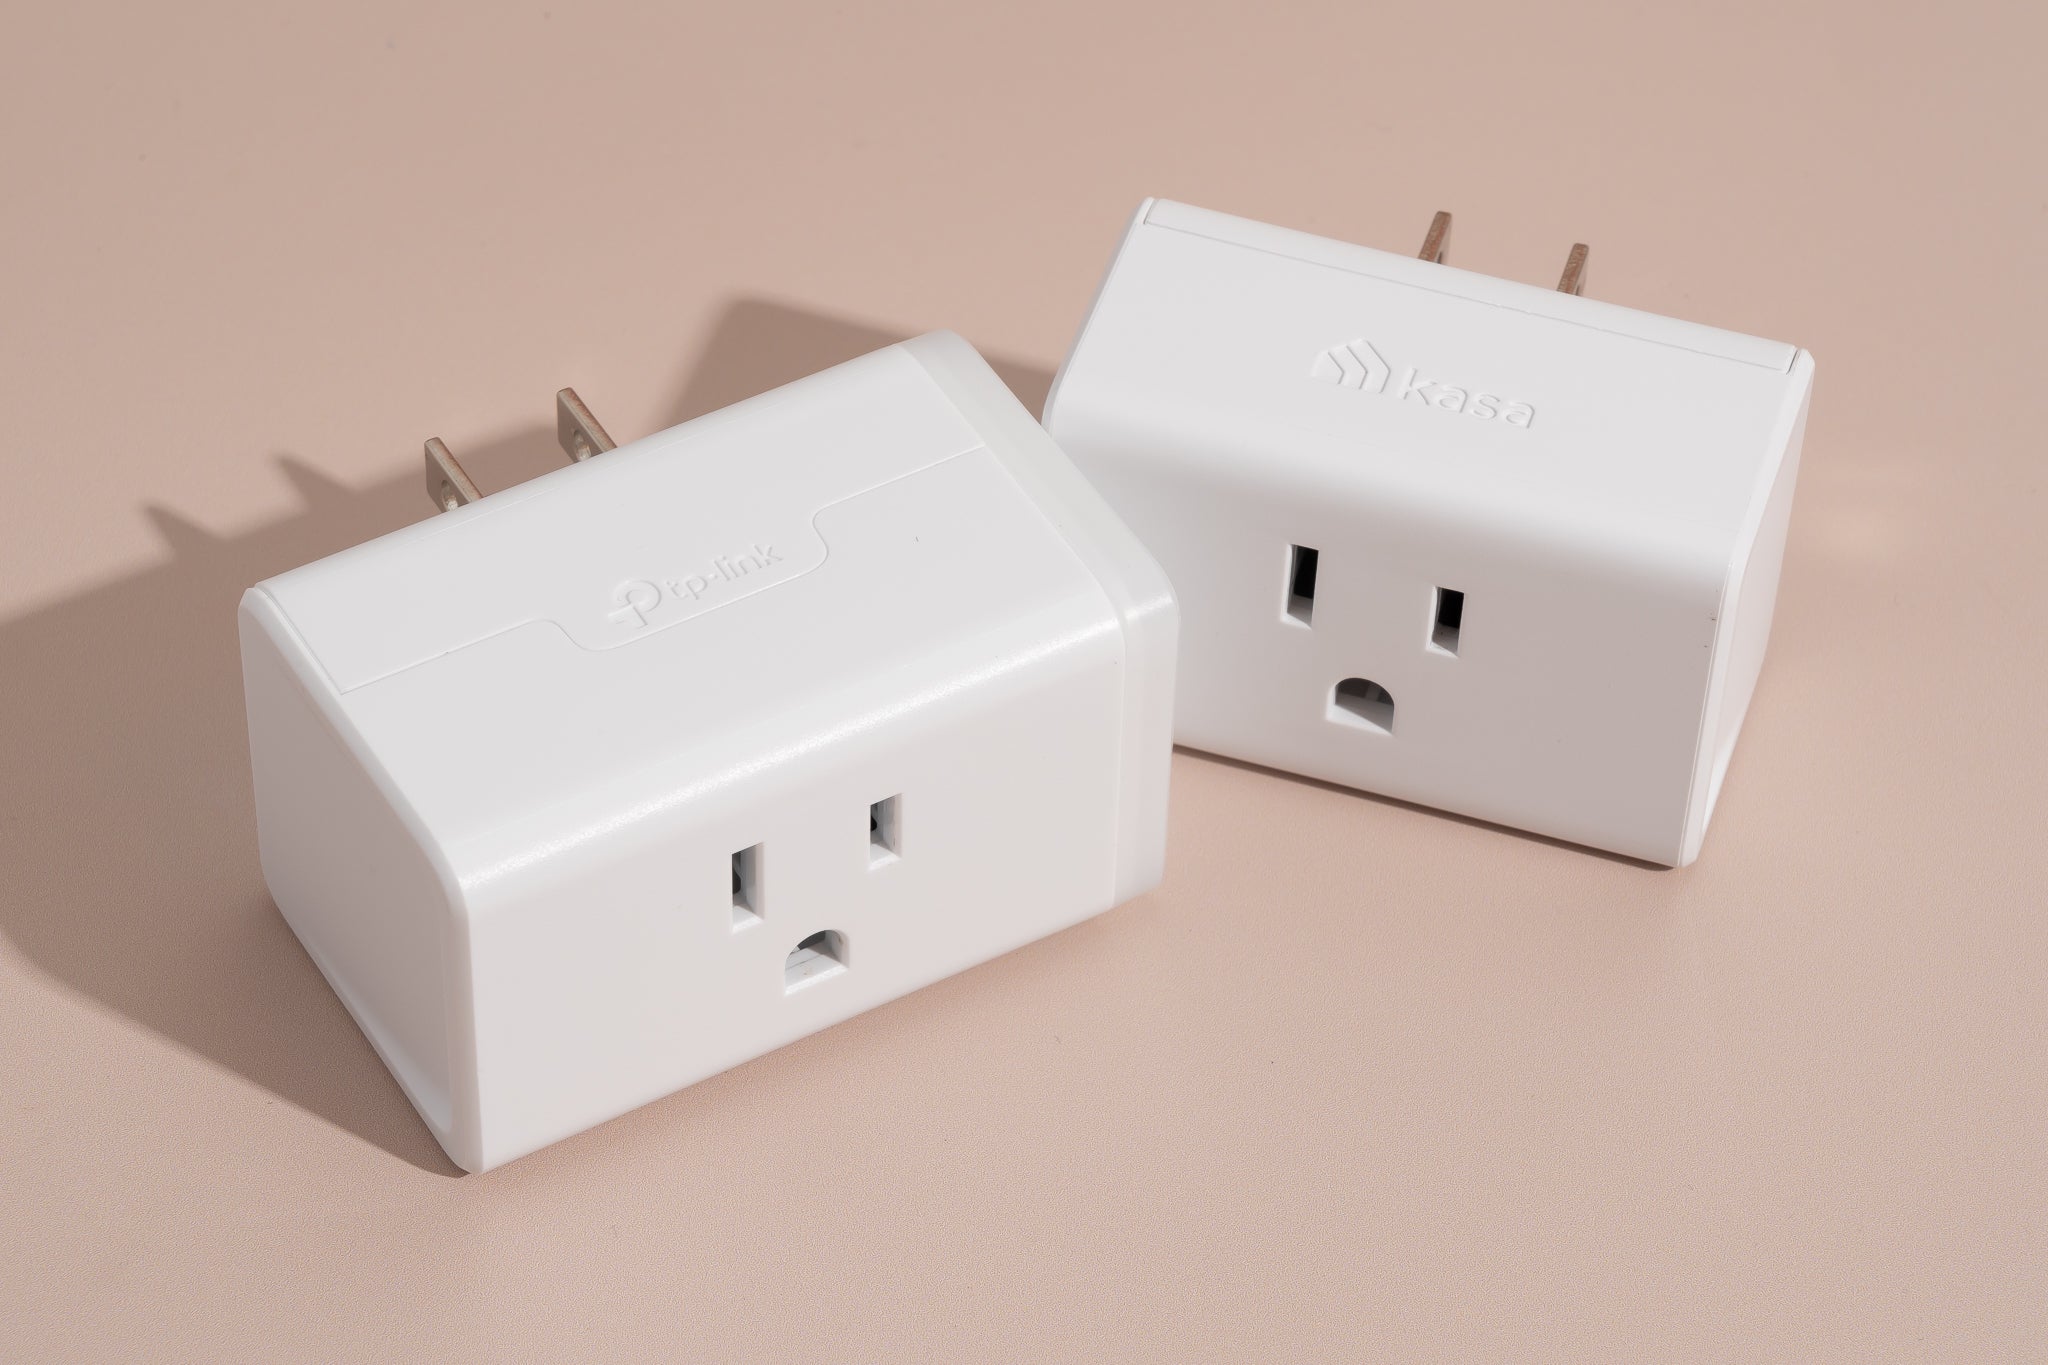
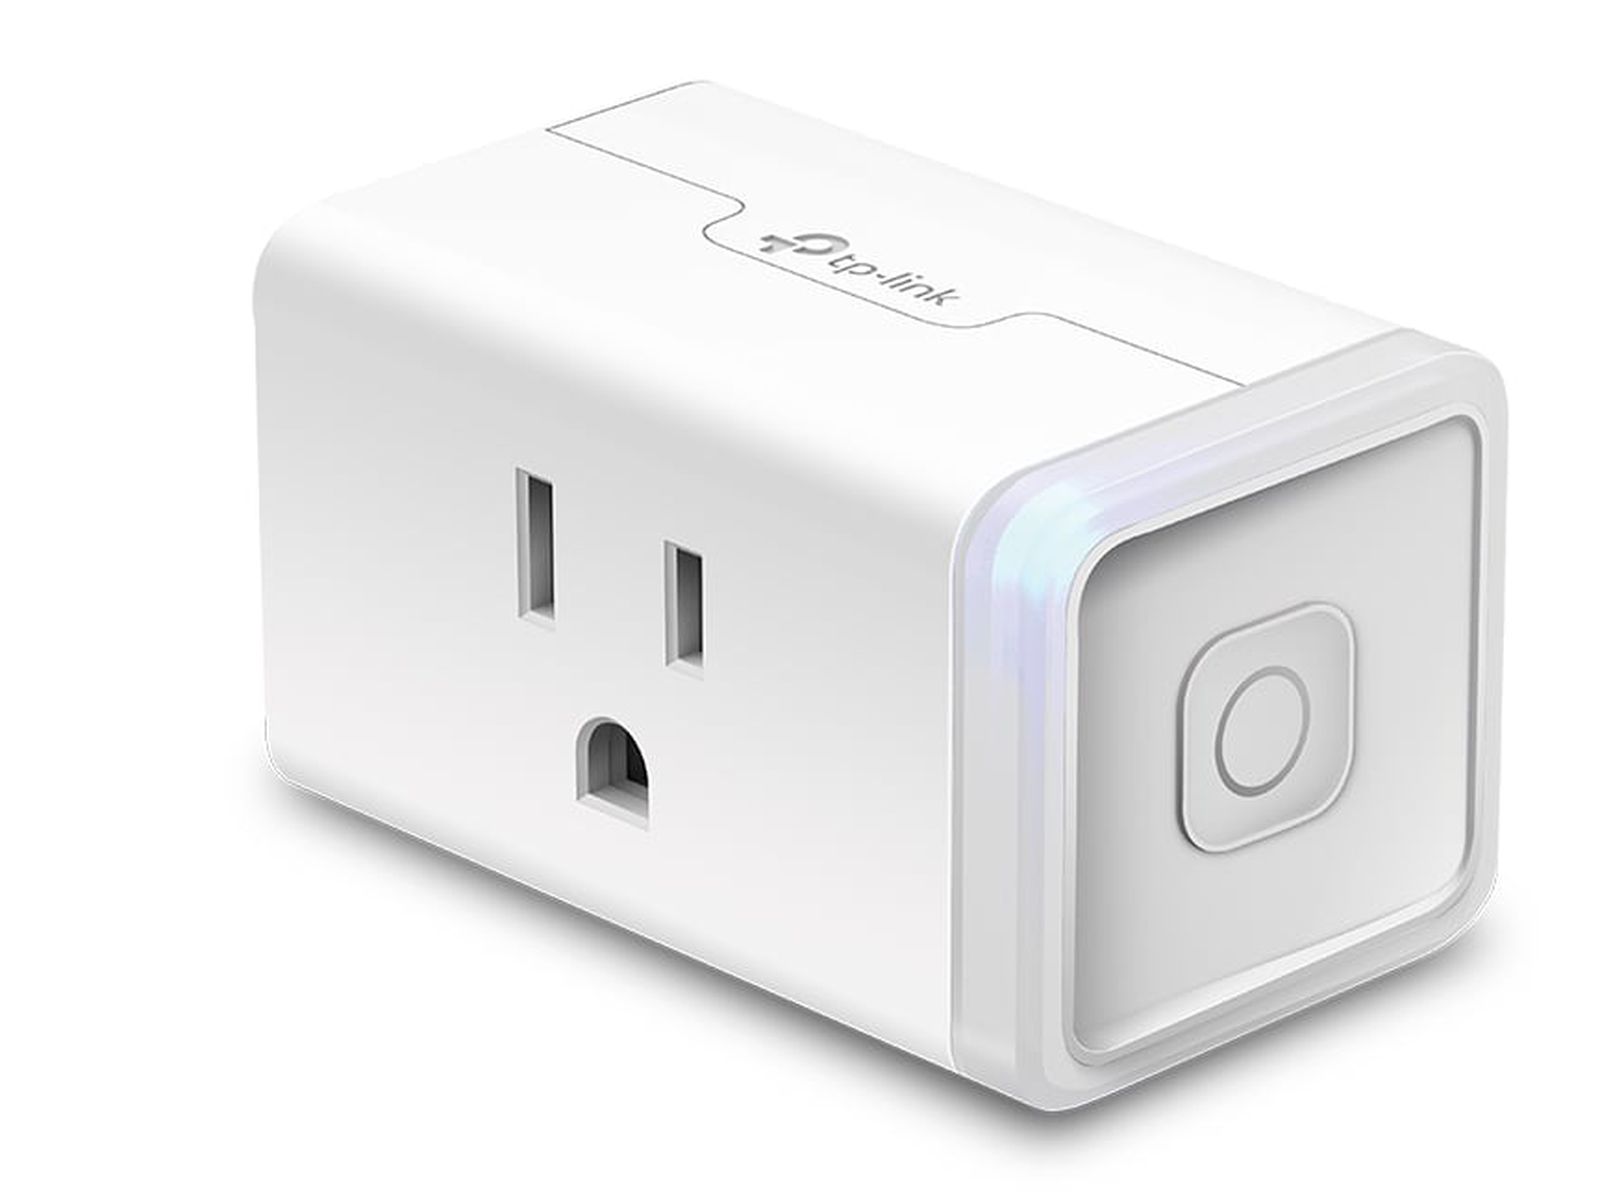
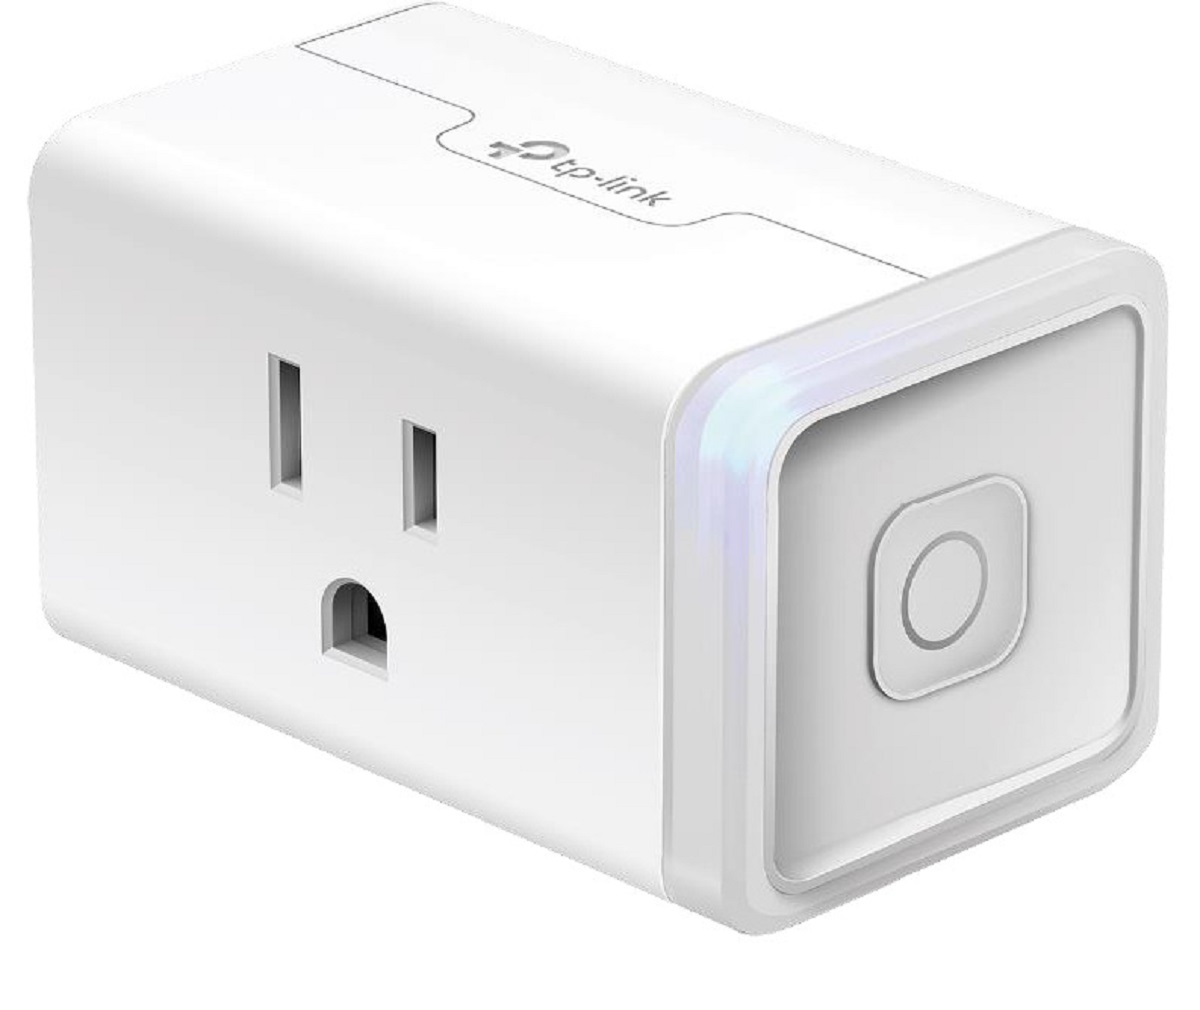
But before we dive into the setup process, let’s take a moment to familiarize ourselves with the TP-Link Smart Plug. Designed with sleek aesthetics and built with premium materials, this smart plug blends effortlessly into any home decor. Its compact size allows for easy placement without obstructing nearby outlets.
The TP-Link Smart Plug is compatible with both Android and iOS devices, making it accessible to a wide range of users. Its intuitive and user-friendly interface ensures a smooth and hassle-free setup experience. Whether you’re a tech-savvy individual or just starting your smart home journey, the TP-Link Smart Plug offers a straightforward and enjoyable installation process.
So, get ready to transform your home into a smart, connected space. Follow the upcoming steps carefully, and you’ll be well on your way to maximizing the potential of your TP-Link Smart Plug. Let’s start by unpacking and inspecting the device to ensure everything is in order.
Step 1: Unpacking and Inspecting the TP-Link Smart Plug
Before we begin the setup process, it’s essential to properly unpack and inspect your TP-Link Smart Plug. This step ensures that everything is accounted for and in good condition, setting the foundation for a successful installation. Let’s get started:
1. Unbox the TP-Link Smart Plug: Carefully remove the smart plug from its packaging. Take a moment to appreciate its sleek design and sturdy build quality. Remove any protective plastic coverings or packaging materials.
2. Inspect the Plug: Examine the smart plug for any physical damage or deformities. Check the power prongs for bending or signs of wear. Ensure that there are no loose parts or rattling sounds when you shake the device. If you notice any issues, refrain from proceeding with the setup and contact TP-Link customer support.
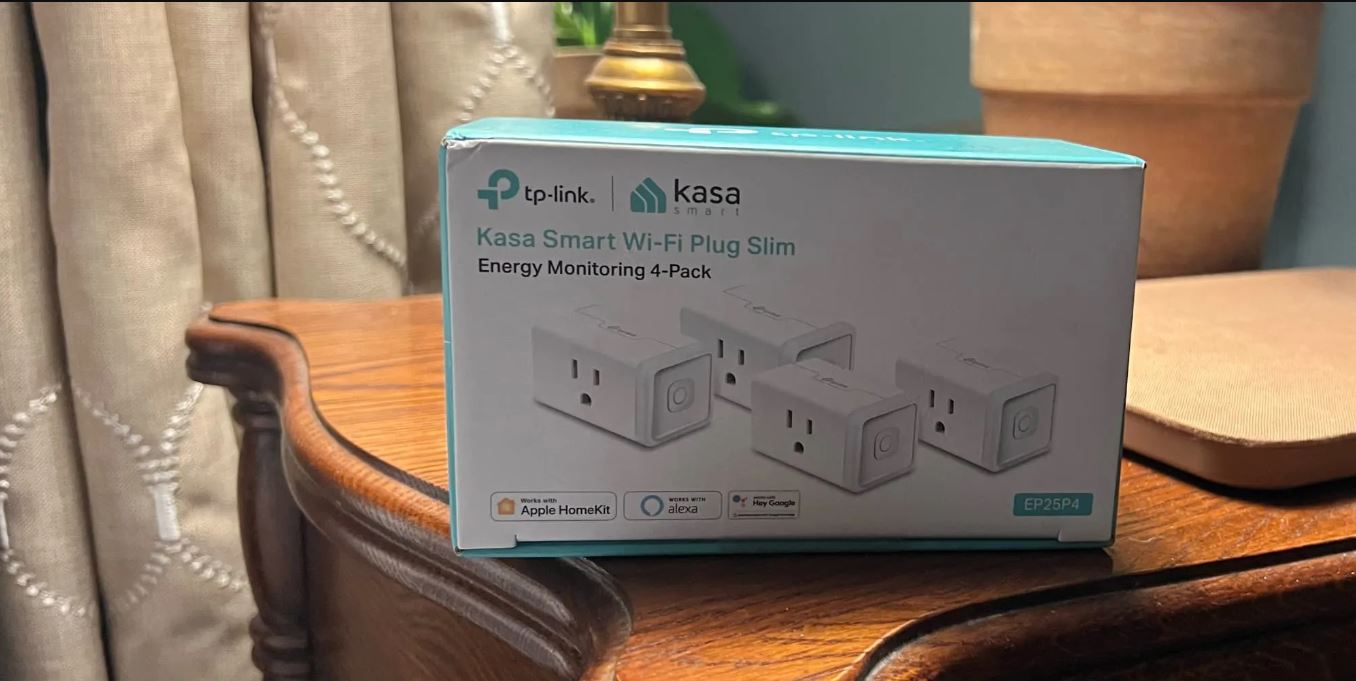
3. Check the Accessories: Along with the smart plug, you should find the necessary accessories included in the package. This typically includes an instruction manual, warranty information, and a power cord. Ensure all accessories are present and in good condition.
4. Review the Instruction Manual: Take a moment to skim through the instruction manual provided. Familiarize yourself with the different components and connectors on the smart plug. The manual will also provide valuable information on safety precautions and any additional setup requirements.
5. Prepare your Wi-Fi Network Information: Before moving on to the next step, make sure you have the following information readily available: your Wi-Fi network name (SSID) and password. You’ll need this information to connect the smart plug to your home network.
By following these steps, you’ve successfully unpacked and inspected your TP-Link Smart Plug. It’s crucial to ensure that everything is in working order before proceeding with the setup process. Now that you’re ready to move forward, let’s proceed to the next step: downloading and installing the Kasa App on your smartphone.
Step 2: Downloading and Installing the Kasa App
To control and configure your TP-Link Smart Plug, you’ll need to download and install the Kasa App on your smartphone. This app serves as the central hub for managing all your TP-Link smart devices. Here’s how to get started:
1. Open the App Store (iOS) or Google Play Store (Android) on your smartphone: Launch the respective app store based on your device’s operating system.
2. Search for the Kasa App: In the search bar, type “Kasa” and look for the official Kasa Smart app by TP-Link Technologies.
3. Download the App: Tap on the app’s icon and select the “Download” or “Install” button to initiate the download. The app is free to download and doesn’t require any additional purchases.
4. Wait for the Installation: The installation process may take a few moments depending on your internet speed. Ensure you have a stable internet connection to minimize any interruptions.
5. Launch the Kasa App: Once the installation is complete, locate the Kasa App on your home screen or app drawer. Tap on it to launch the application.
6. Create a Kasa Account (optional): If you don’t already have a Kasa account, you’ll be prompted to create one. This account allows you to access your smart devices from anywhere and provides additional features like remote control and scheduling. Follow the on-screen instructions to create your account, or you can choose to skip this step and create an account later.
Congratulations! You’ve successfully downloaded and installed the Kasa App on your smartphone. With the app now installed, you’re one step closer to setting up your TP-Link Smart Plug. In the next step, we’ll guide you through connecting and configuring the smart plug.
Step 3: Connecting and Configuring the Smart Plug
Now that you have the Kasa App installed on your smartphone, it’s time to connect and configure your TP-Link Smart Plug. Follow these simple steps to get started:
1. Launch the Kasa App: Open the Kasa App on your smartphone. If you haven’t logged in already, enter your Kasa account credentials to proceed.
2. Tap on the “+” Icon: Look for the “+” symbol usually located at the top-right corner of the app’s interface. This icon represents adding a new device.
3. Choose “Smart Plug” from the Device List: In the list of available device types, select “Smart Plug” from the options presented. The app will guide you through the setup process specific to the smart plug.
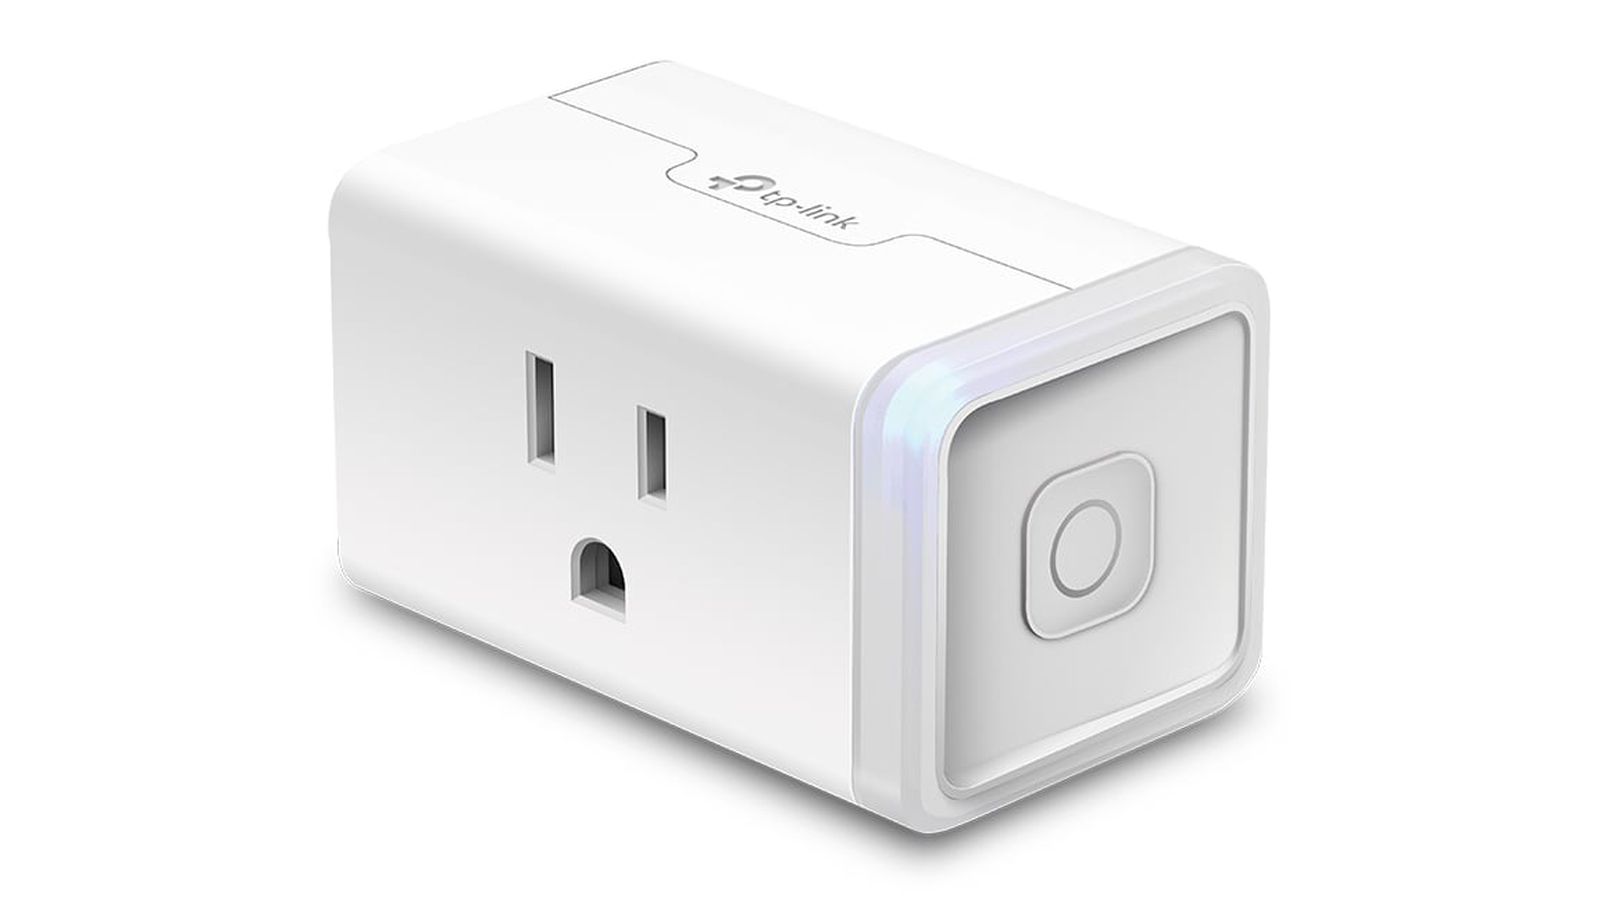
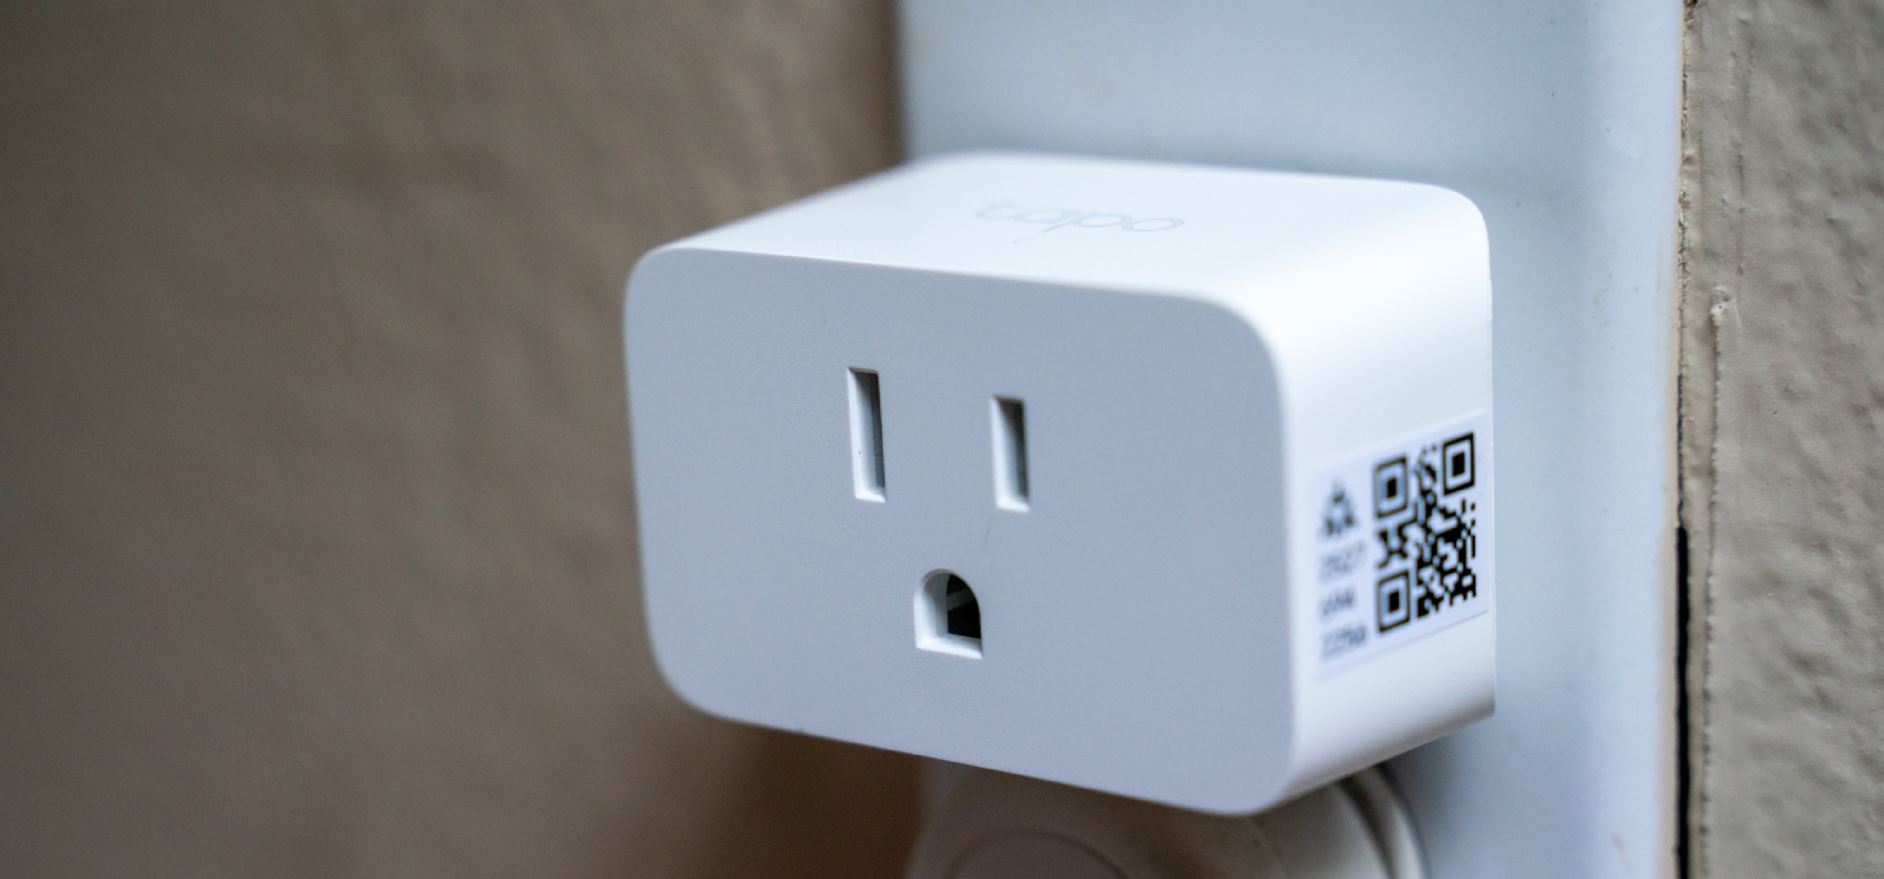
4. Power On the Smart Plug: Ensure that your TP-Link Smart Plug is connected to a power source and turned on. The LED indicator on the plug should start blinking to indicate it’s ready for setup.
5. Press the Wi-Fi/Reset button: Locate the Wi-Fi/Reset button on the smart plug itself. Press and hold this button for around 5 seconds until the LED indicator starts flashing quickly. This indicates that the smart plug is in its setup mode.
6. Connect to the Smart Plug Network: On your smartphone, go to the Wi-Fi settings and look for the Wi-Fi network named something like “TP-Link_Smart Plug_XXXX” (the “XXXX” represents a unique identifier). Tap on this network to connect to it.
7. Return to the Kasa App: Once connected to the Smart Plug network, switch back to the Kasa App. The app should automatically detect the smart plug and prompt you to enter your Wi-Fi network information.
8. Enter your Wi-Fi Network Details: Select your home Wi-Fi network from the available list and enter the password when prompted. Double-check the credentials to ensure accuracy.
9. Wait for the Connection: The Kasa App will now attempt to connect the smart plug to your Wi-Fi network. Be patient while the connection is established, as it may take a minute or two.
10. Successful Connection: Once the connection is established, the LED indicator on the smart plug should become solid, indicating a successful setup. You now have full control over your TP-Link Smart Plug through the Kasa App.
You’ve now successfully connected and configured your TP-Link Smart Plug! In the next step, we’ll guide you through connecting the smart plug to your Wi-Fi network.
Step 4: Connecting the Smart Plug to Your Wi-Fi Network
Now that your TP-Link Smart Plug is in setup mode and connected to your smartphone, it’s time to establish a connection between the smart plug and your home Wi-Fi network. Follow these steps to complete the process:
1. Open the Kasa App: Launch the Kasa App on your smartphone and ensure you are logged in to your Kasa account.
2. Locate the Smart Plug: The Kasa App should automatically detect the smart plug that is in its setup mode. Tap on the detected device to proceed with the setup.
3. Select Wi-Fi Network: You will be prompted to select your home Wi-Fi network from the available list. Choose your network and enter the password when prompted. Double-check the credentials to avoid any errors.
4. Connect the Smart Plug: The Kasa App will now attempt to connect the smart plug to your Wi-Fi network. During this process, make sure both the smart plug and your smartphone are in close proximity to your Wi-Fi router. This will ensure a stable and strong connection.
5. Wait for the Connection: It may take a few moments for the smart plug to establish a connection with your Wi-Fi network. Be patient and avoid interrupting the setup process.
6. Successful Connection: Once the smart plug successfully connects to your Wi-Fi network, the LED indicator on the smart plug should become solid or stop blinking. This indicates that the setup process is complete, and the smart plug is now connected to your network.
7. Rename the Smart Plug (optional): If desired, you can give a custom name to the smart plug for easier identification. Choose a name that reflects the appliance or area it is connected to, such as “Living Room Lamp” or “Bedside Fan.”
Congratulations! Your TP-Link Smart Plug is now connected to your Wi-Fi network. This means you can control the plugged-in device using the Kasa App from anywhere with an internet connection. In the next step, we’ll explore how to test and control your smart plug’s functionality.
Step 5: Testing and Controlling the Smart Plug
Now that your TP-Link Smart Plug is successfully connected to your Wi-Fi network, it’s time to test and experience the convenience of controlling your devices remotely. Follow these steps to test and control your smart plug:
1. Open the Kasa App: Launch the Kasa App on your smartphone and ensure you are logged in to your Kasa account.
2. Locate the Smart Plug: In the app’s interface, locate and select your smart plug from the list of connected devices. The app will display the current status of the plug, whether it’s turned on or off.
3. Turn On/Off the Smart Plug: To test the functionality, tap on the power button or switch within the app to toggle the smart plug on or off. This action will control the power supply to the device connected to the smart plug.
4. Observe the Device: Check the plugged-in device to verify that it turns on or off according to the command sent through the Kasa App. The smart plug provides a seamless and instant experience, allowing you to control your devices with a simple tap.
5. Use Scheduling Feature: The Kasa App allows you to schedule power on/off times for your smart plug. Experiment with the scheduling feature to automate your devices and create personalized routines. For example, you can schedule your coffee maker to turn on automatically every morning.
6. Test Remote Control: Leave your home Wi-Fi network and connect your smartphone to a different network, such as mobile data or another Wi-Fi network. Open the Kasa App and try controlling the smart plug remotely. You should still be able to turn your device on or off, demonstrating the remote accessibility of the smart plug.
7. Explore Additional Features: The Kasa App provides additional features and customization options. Take some time to explore the app’s settings and options to make the most out of your smart plug. You’ll find options like energy monitoring, away mode, and integration with voice assistant platforms such as Amazon Alexa or Google Assistant.
You’ve successfully tested and controlled your TP-Link Smart Plug! Enjoy the convenience of managing your devices with just a few taps on your smartphone. In the next step, we’ll delve into the advanced features and customizations available for your smart plug.
Step 6: Advanced Features and Customizations
Congratulations on reaching the final step of setting up your TP-Link Smart Plug! Now that you have the basics down, it’s time to explore the advanced features and customizations that can enhance your smart home experience. Here are some options to consider:
1. Energy Monitoring: The Kasa App provides energy monitoring functionality, allowing you to track and analyze the energy consumption of your devices. This feature helps promote energy efficiency and provides insights into your electricity usage.
2. Away Mode: The away mode feature allows you to create the illusion of being at home even when you’re away. By randomly turning your plugged-in devices on and off, the smart plug can help deter potential intruders.
3. Scheduling: Take advantage of the scheduling feature to automate your devices based on your routines. You can create schedules to turn on or off your devices at specific times, ensuring they are ready when you need them or conserving energy when not in use.
4. Voice Control: If you have a voice assistant device, such as Amazon Alexa or Google Assistant, you can integrate it with your TP-Link Smart Plug. This allows you to control your devices using voice commands, providing a hands-free and convenient experience.
5. IFTTT Integration: If you’re into home automation, consider exploring the IFTTT (If This, Then That) integration with your smart plug. IFTTT allows you to create custom automation rules and connect your smart plug with other smart devices or services.
6. Grouping Devices: If you have multiple smart plugs or other TP-Link devices, you can create groups to control them simultaneously. This feature is particularly useful for managing devices in the same area or performing actions on a larger scale.
7. Firmware Updates: Periodically check for firmware updates for your smart plug through the Kasa App. Firmware updates bring new features, performance improvements, and security enhancements to your device. Keeping your smart plug up to date ensures you have the latest functionalities and protection.
Remember, these advanced features and customizations are designed to enhance your smart home experience and provide more personalized control over your devices. Explore them at your own pace and adapt them to your specific needs and preferences.
Well done on completing the setup process and exploring the advanced features of your TP-Link Smart Plug! With these features in your arsenal, you can enjoy a more convenient, efficient, and connected home.
Conclusion
Congratulations on successfully setting up your TP-Link Smart Plug! You have now embarked on a journey towards a more connected and convenient home. By following the step-by-step guide, you have successfully unpacked, inspected, connected, and configured your smart plug.
With the TP-Link Smart Plug, you have the power to control your devices remotely, create schedules, and monitor energy usage. The Kasa App serves as the central hub for managing all your TP-Link smart devices, offering intuitive controls, advanced features, and customization options.
Through the Kasa App, you can easily turn devices on or off, create schedules, monitor energy consumption, and even control your smart plug using voice commands with compatible voice assistant devices. The app’s interface is user-friendly, allowing even beginners to navigate seamlessly and access all the functionalities effortlessly.
As you become familiar with the setup process and core features, don’t forget to explore the advanced options available to you. From energy monitoring and away mode to IFTTT integration and group controls, these additional features allow you to customize your smart home experience to suit your needs and preferences.
Incorporating TP-Link Smart Plugs into your home not only adds convenience but also promotes energy efficiency and enhances home security. Through the scheduling feature and away mode, you can automate your devices and create the illusion of a lived-in home, even when you’re away.
Finally, remember to keep your smart plug firmware up to date by periodically checking for updates through the Kasa App. Firmware updates bring new features, performance improvements, and security enhancements, ensuring that your smart plug is always up to date and functioning at its best.
Now that you’re equipped with the knowledge to set up, configure, and maximize the potential of your TP-Link Smart Plug, it’s time to enjoy the benefits of a smarter home. Embrace the convenience, control, and energy-saving capabilities that this device brings to your everyday life. Have fun exploring and customizing your smart home experience with your TP-Link Smart Plug!