Introduction
Welcome to this helpful guide on how to change the time on a Samsung tablet. Whether you need to adjust the time due to daylight saving changes, or if the current time on your tablet is simply incorrect, we’ve got you covered. With a few simple steps, you’ll be able to easily change the time settings to ensure that your tablet displays the accurate local time.
Having the correct time on your tablet is crucial for various reasons. It ensures that you stay punctual for appointments and events, allows you to synchronize your activities across different devices, and helps you stay updated with real-time information such as weather forecasts and time-sensitive notifications.
Fortunately, Samsung tablets are equipped with user-friendly settings that make it straightforward to adjust the time. Whether you prefer to manually set the time or enable automatic time synchronization, we’ll guide you through the process step-by-step.
So, let’s dive in and discover how you can easily change the time on your Samsung tablet to keep it accurate and synchronized with your local time zone.
Step 1: Access the Settings menu
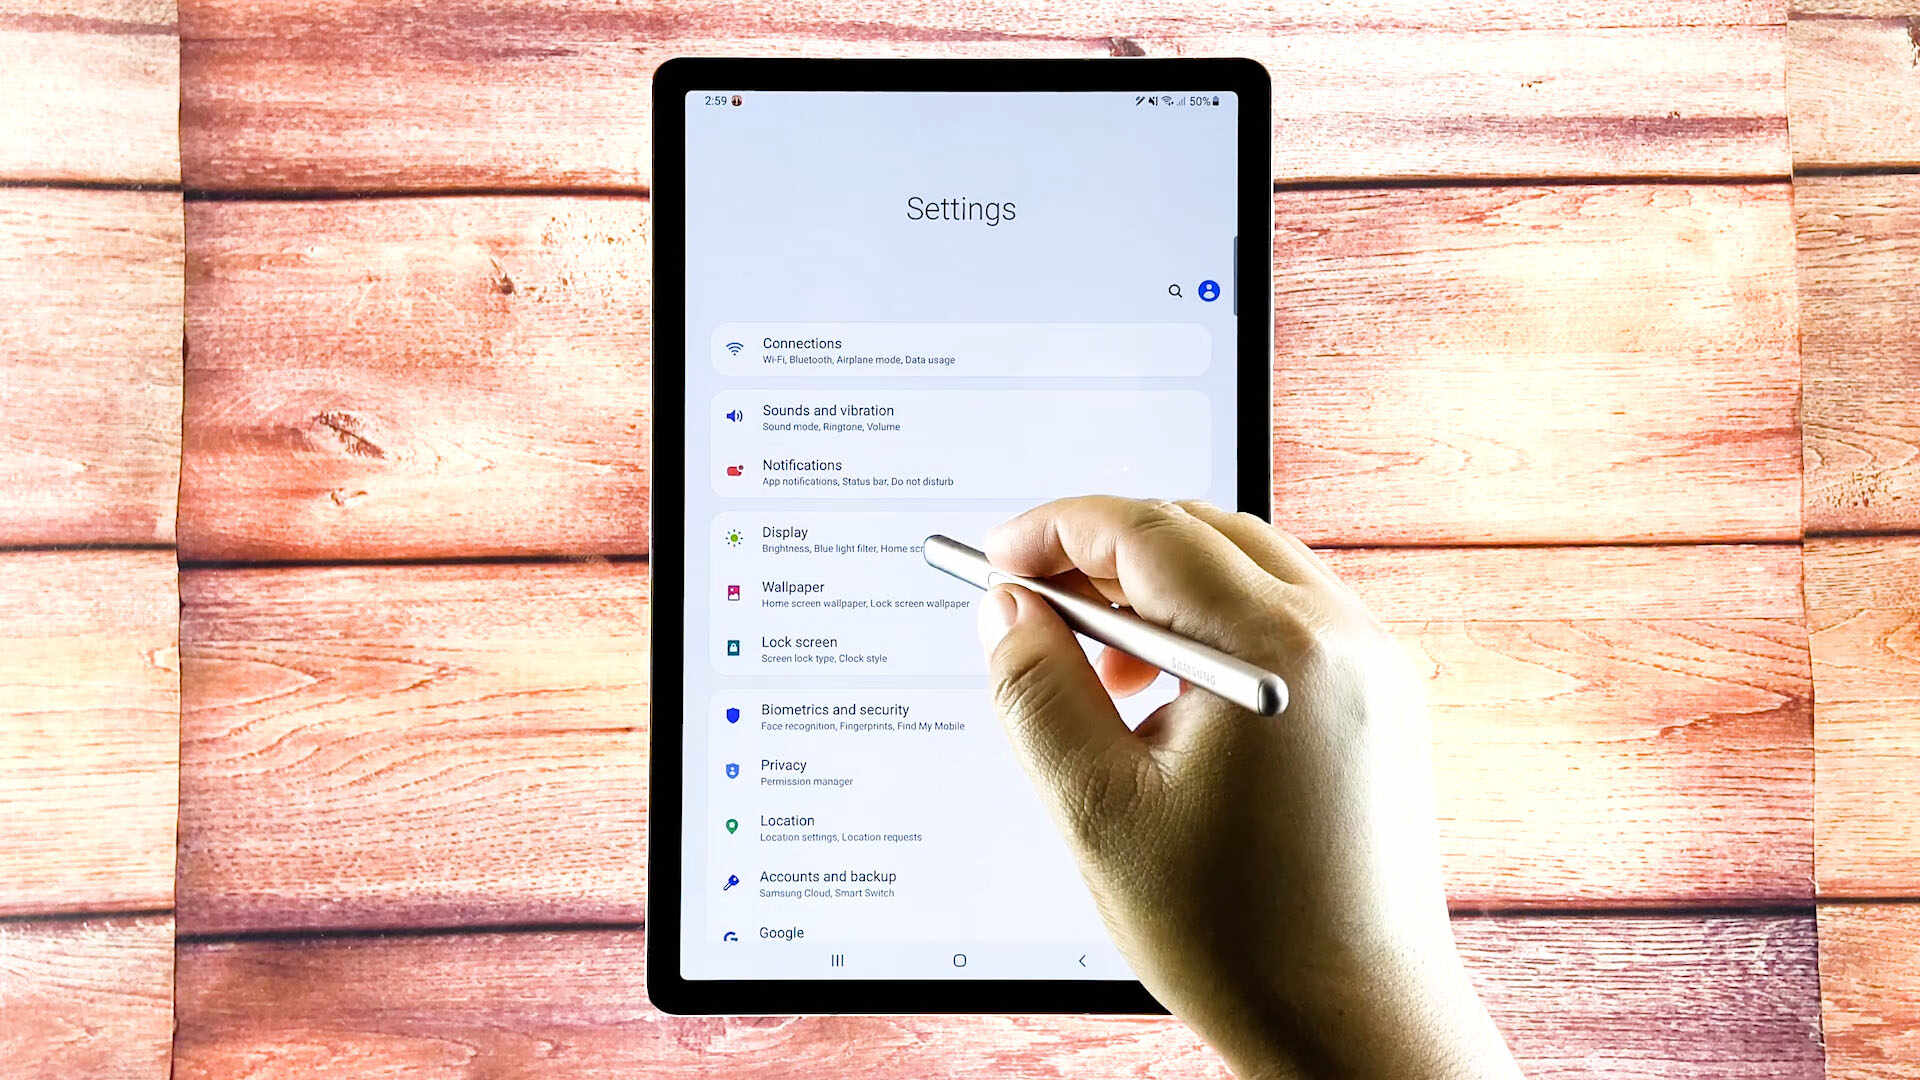
The first step to change the time on your Samsung tablet is to access the Settings menu. The Settings menu is where you can customize various aspects of your tablet’s functionality, including date and time settings.
To access the Settings menu, start by unlocking your tablet and navigating to the home screen. Look for the “Settings” app icon, which is usually represented by a gear or a cogwheel. Tap on the Settings app to open it.
Once inside the Settings menu, you’ll notice a list of different options and settings categories. Scroll through the list until you locate the “System” or “Device” category. The exact name may vary depending on the model of your Samsung tablet.
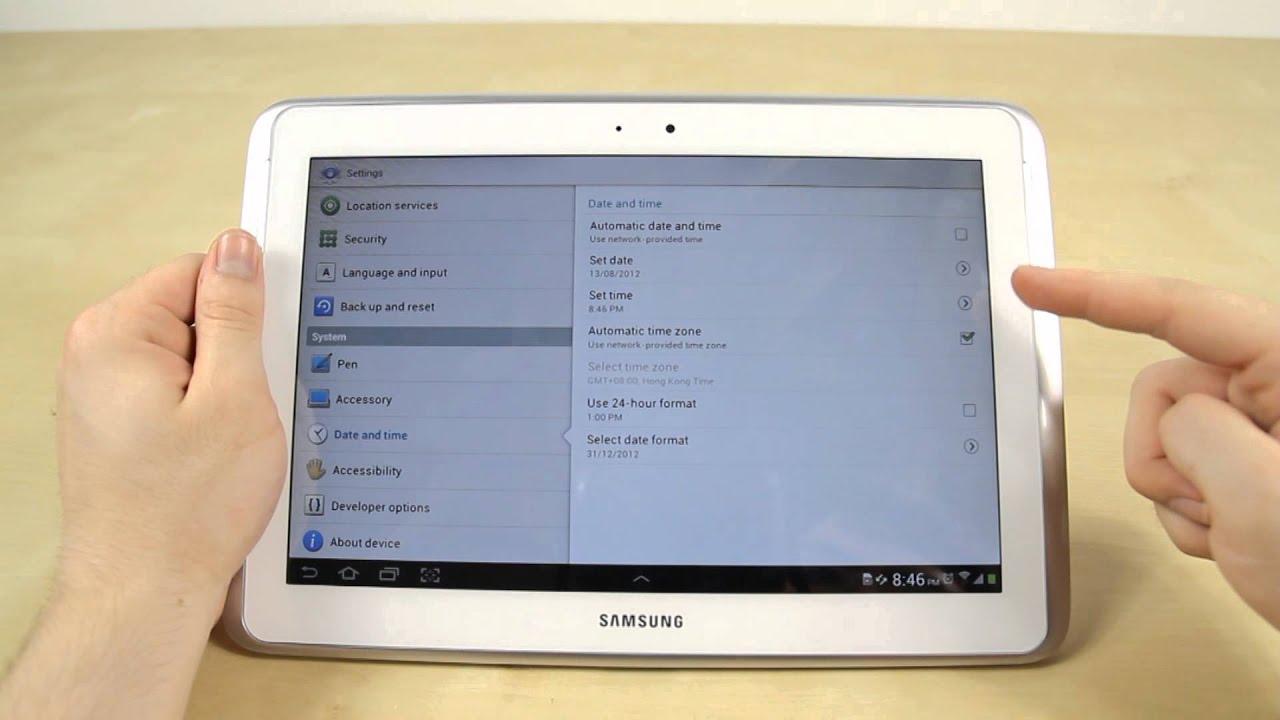
Tap on the “System” or “Device” category to expand it. This will reveal additional settings related to the device’s system preferences. Look for the “Date & Time” option and tap on it to access the date and time settings.
By accessing the Settings menu and navigating to the Date & Time settings, you are now ready to proceed with adjusting the time on your Samsung tablet. Continue reading to discover the next steps in this simple process.
Step 2: Select the Date & Time option
After accessing the Settings menu on your Samsung tablet, the next step to change the time is to select the Date & Time option. This is where you’ll find the necessary settings to modify and adjust the time settings on your tablet.
Within the Date & Time settings, you’ll have various options to customize how your tablet displays and syncs the time. These options may include enabling automatic time updates, manually adjusting the time, choosing the time zone, and selecting the time format.
To select the Date & Time option, look for it within the expanded System or Device category in the Settings menu. Once you find it, tap on it to access the date and time settings.
Upon entering the Date & Time settings, you’ll see several configuration options related to the time settings on your Samsung tablet. These options may vary depending on the specific model and software version of your tablet.
Take your time to familiarize yourself with the available options. This will allow you to customize the time settings according to your preferences and needs. In the following steps, we’ll guide you through different options and show you how to make the necessary adjustments.
Now that you’ve successfully selected the Date & Time option in the Settings menu, you’re ready to move on to the next step, where you can enable automatic date and time updates for your Samsung tablet.
Step 3: Enable automatic date and time
Enabling automatic date and time updates on your Samsung tablet ensures that it stays synchronized with the current time. This feature is particularly useful as it automatically adjusts the time based on your location and any daylight saving changes.
To enable automatic date and time, navigate to the Date & Time settings in the Settings menu, following the previous steps. Look for the option that allows you to enable automatic date and time updates. It is usually labeled as “Automatic date and time” or something similar.
Tap on the toggle switch or checkbox next to the automatic date and time option to enable it. Once enabled, your tablet will automatically update the time whenever necessary, without any manual intervention from you.
It’s important to note that enabling this option requires an internet connection. Your tablet uses the internet to retrieve accurate time information, so make sure you’re connected to a Wi-Fi network or have a data connection enabled.
By enabling automatic date and time updates, you can rest assured that your Samsung tablet will always display the correct and up-to-date time without you having to manually adjust it.
Now that you’ve enabled automatic date and time on your Samsung tablet, you’re ready to move on to the next step, where we’ll guide you through adjusting the time manually if necessary.
Step 4: Adjust the time manually
If you prefer to manually adjust the time on your Samsung tablet instead of relying on automatic updates, this step will guide you through the process. Manually adjusting the time allows you to set it according to your specific needs and preferences.
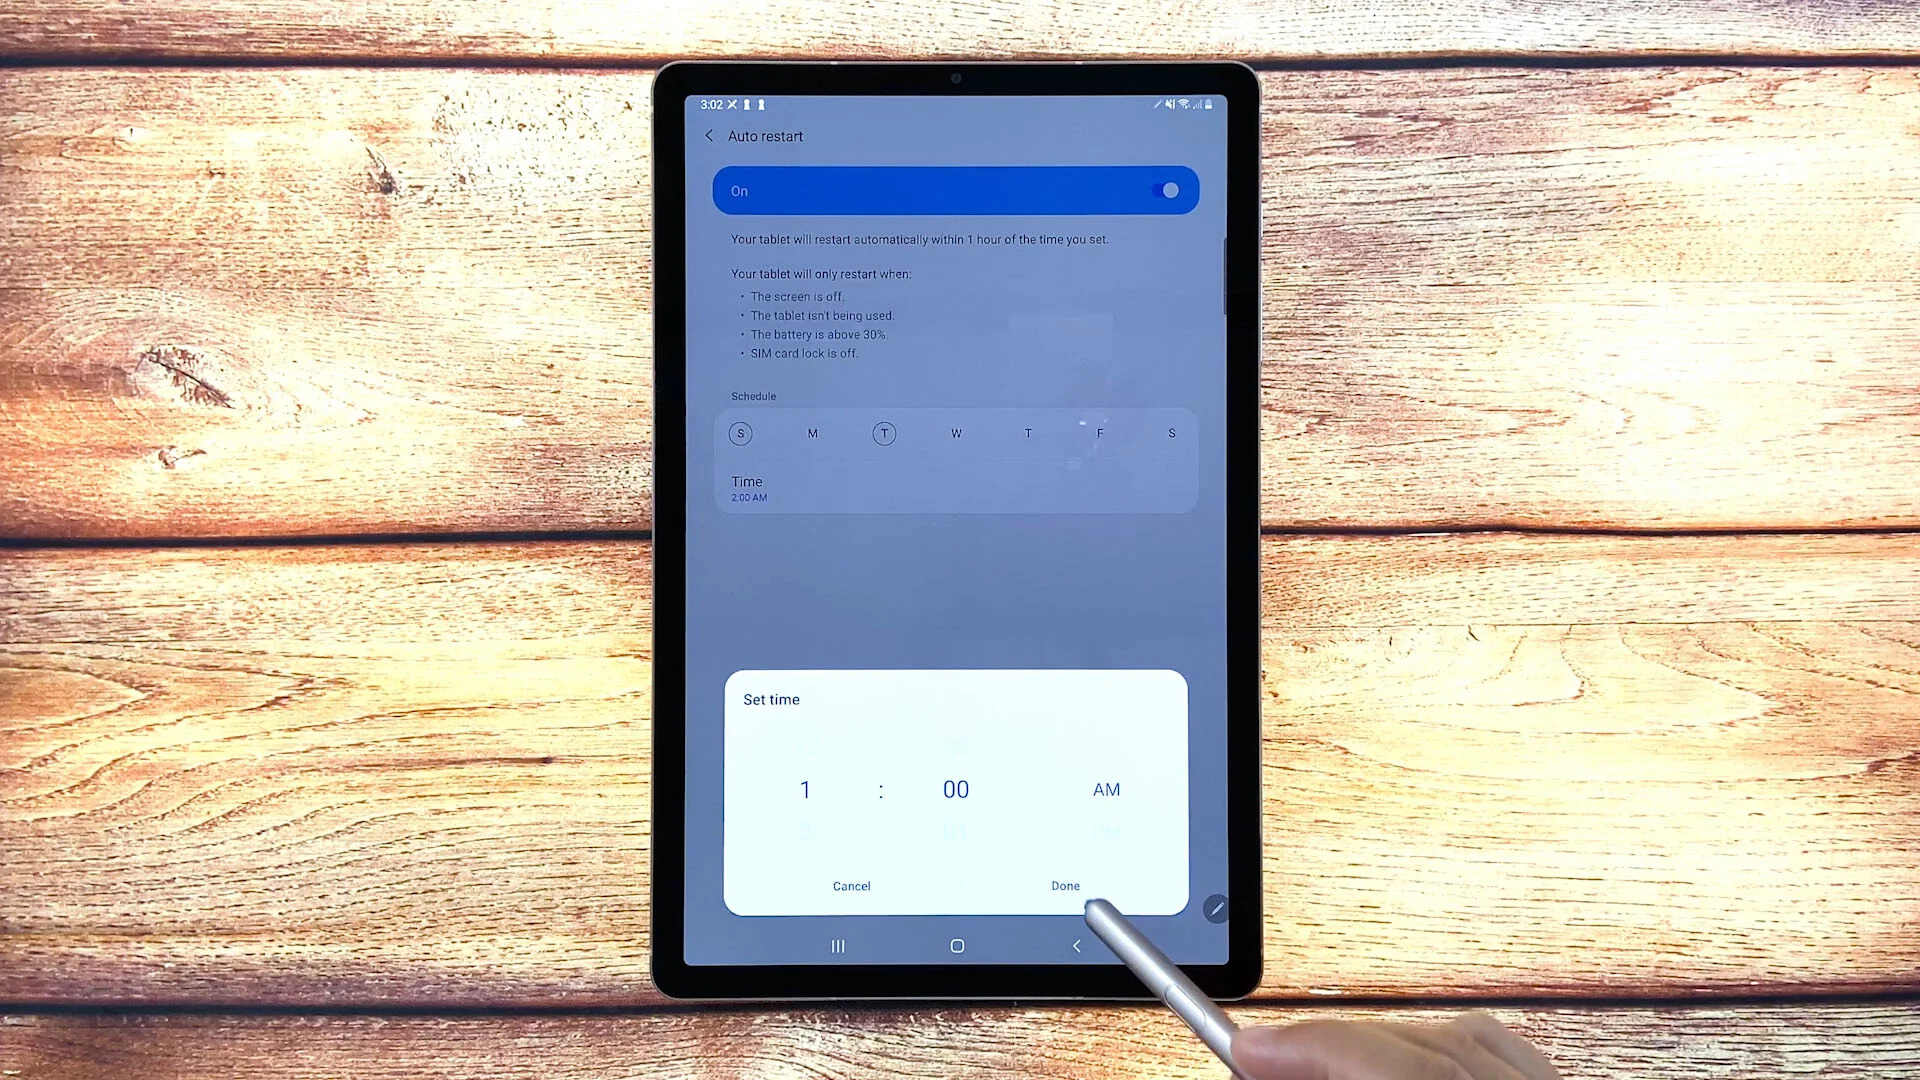
To adjust the time manually, open the Date & Time settings in the Settings menu, as mentioned in the previous steps. Look for the manual time adjustment option, typically labeled as “Set time” or something similar.
Tap on the “Set time” option to access the manual time adjustment interface. You will see a numerical input field along with buttons or sliders to modify the hours, minutes, and possibly even seconds.
Use the provided controls to set the desired time. Tap on the hour section and use the buttons or slider to adjust the hour value. Repeat the same for the minutes and seconds sections, if available.
Pay attention to AM and PM indicators if your tablet uses a 12-hour time format. Make sure to select the appropriate time of day to accurately reflect whether it’s morning or afternoon.
Once you’ve set the desired time, tap on the “Save” or “Apply” button to save the changes. Your tablet will now display the manually adjusted time.
Remember that if you’ve enabled automatic date and time updates, manually adjusting the time will temporarily override the automatic setting. To revert to automatic time updates, simply disable the manual time adjustment option in the settings.
Now that you’ve successfully adjusted the time manually on your Samsung tablet, you can proceed to the next step, where we’ll guide you through enabling automatic time zone updates.
Step 5: Enable automatic time zone
Enabling automatic time zone updates on your Samsung tablet ensures that it displays the correct local time based on your current location. This feature is especially useful when traveling or when daylight saving changes occur in different time zones.
To enable automatic time zone updates, navigate to the Date & Time settings in the Settings menu, following the previous steps. Look for the option that allows you to enable automatic time zone updates. It is usually labeled as “Automatic time zone” or something similar.
Tap on the toggle switch or checkbox next to the automatic time zone option to enable it. Once enabled, your tablet will use location services or network information to determine your current time zone and automatically update the time accordingly.
It’s worth noting that enabling this option requires an internet connection and location access. Your tablet needs to access location data to accurately identify your time zone. Make sure you have a Wi-Fi connection or have enabled your device’s location services.
By enabling automatic time zone updates, you can rest assured that your Samsung tablet will display the correct local time, regardless of where you are located. This eliminates the need for manual time zone adjustments when traveling or when daylight saving changes occur.
Now that you’ve successfully enabled automatic time zone updates on your Samsung tablet, you’re ready to move on to the next step, where we’ll guide you through changing the time zone manually if necessary.
Step 6: Change the time zone manually
If you prefer to change the time zone manually on your Samsung tablet, this step will guide you through the process. Manually changing the time zone allows you to set it according to your specific location, even if automatic time zone updates are disabled or inaccurate.
To change the time zone manually, open the Date & Time settings in the Settings menu, as mentioned in the previous steps. Look for the manual time zone adjustment option, typically labeled as “Set time zone” or something similar.
Tap on the “Set time zone” option to access the manual time zone selection interface. You will see a list of available time zones categorized by regions or cities. Scroll through the list or search for your desired time zone using the provided search function.
Once you’ve located your desired time zone, tap on it to select it. The selected time zone will be highlighted or marked in some way to indicate your choice.
After selecting the time zone, go back or exit the settings menu. Your Samsung tablet will now display the time according to the manually set time zone. Keep in mind that if you have enabled automatic time zone updates, manually changing the time zone will temporarily override the automatic setting.
It’s important to note that manually changing the time zone may have an impact on other time-related functions on your tablet, such as event reminders or scheduled notifications. Make sure to review and adjust those settings accordingly to ensure they align with the newly set time zone.
Now that you’ve successfully changed the time zone manually on your Samsung tablet, you can proceed to the next step, where we’ll guide you through enabling the 24-hour format if desired.
Step 7: Enable 24-hour format
Enabling the 24-hour format on your Samsung tablet allows you to display the time in a 24-hour or military time format, rather than the typical 12-hour format. This can be useful if you prefer a more precise and globally recognized time representation.
To enable the 24-hour format, navigate back to the Date & Time settings in the Settings menu, following the previous steps. Look for the option that allows you to toggle the time format between 12-hour and 24-hour.
Tap on the toggle switch or checkbox next to the 24-hour format option to enable it. Once enabled, your Samsung tablet will now display the time in the 24-hour format, showing hours in the range of 00 to 23.
It’s important to note that enabling the 24-hour format will change how the time is displayed throughout your tablet’s interface, including the lock screen, status bar, and other time-related apps or widgets.
If you decide to switch back to the 12-hour format in the future, you can simply disable the 24-hour format option in the settings, and your tablet will revert to displaying the time in the traditional 12-hour format.
Now that you’ve successfully enabled the 24-hour format on your Samsung tablet, you have completed the process of changing the time settings. You can now enjoy the accurate and customized time display on your device.
We hope this guide has been helpful in assisting you with changing the time on your Samsung tablet. Whether you adjusted the time manually, enabled automatic updates, changed the time zone, or modified the time format, your tablet’s time settings should now be configured to your preferences.
Conclusion
Congratulations! You have successfully learned how to change the time on your Samsung tablet. Whether you needed to adjust the time manually, enable automatic updates, change the time zone, or modify the time format, you now have the knowledge and tools to keep your tablet’s time settings accurate and customized to your needs.
Having the correct time on your tablet is essential for staying organized and on schedule. With the step-by-step instructions provided in this guide, you can easily navigate the Settings menu and make the necessary adjustments to ensure your tablet displays the precise local time.
Remember, enabling automatic date and time updates and automatic time zone updates allows your tablet to sync with the most accurate time information, ensuring that you stay punctual and up-to-date, especially when traveling or during daylight saving changes.
Additionally, changing the time zone manually gives you the flexibility to set the time according to your current location, regardless of the automatic settings. This is especially useful if you’re in a different time zone than where your tablet is originally set up.
Finally, enabling the 24-hour format allows you to display the time in a more precise and globally recognized format, should you prefer it over the traditional 12-hour format.
Now that you have mastered the art of changing the time on your Samsung tablet, you can maintain accurate timekeeping and ensure that your device aligns with your daily routines and responsibilities.
We hope this guide has been informative and helpful in assisting you with adjusting the time settings on your Samsung tablet. Remember, accurate timekeeping is just a few taps away, allowing you to stay ahead and make the most of your tablet experience.