Introduction
Welcome to this guide on how to change the administrator on a Samsung tablet. Whether you’ve recently purchased a used tablet or simply want to transfer the administrative rights to a different user, this step-by-step tutorial will walk you through the process.
As an administrator, you have full control over the device, including app installations, settings adjustments, and user management. However, there may be instances where you need to pass on this responsibility to someone else. Fortunately, Samsung tablets offer a straightforward method of changing the administrator, ensuring a smooth transition of control.
By following these instructions, you can easily navigate the settings and designate a new administrator for the tablet. Taking a few minutes to complete these steps will grant the new administrator full access and privileges, allowing them to manage the device as needed.
It is important to note that only users with administrative rights can carry out these changes, so make sure you have the necessary permissions before proceeding. Now, let’s dive into the process of changing the administrator on your Samsung tablet.
Step 1: Accessing the Settings
The first step in changing the administrator on your Samsung tablet is accessing the settings. The settings menu contains all the necessary options to manage various aspects of your device, including user accounts and permissions.
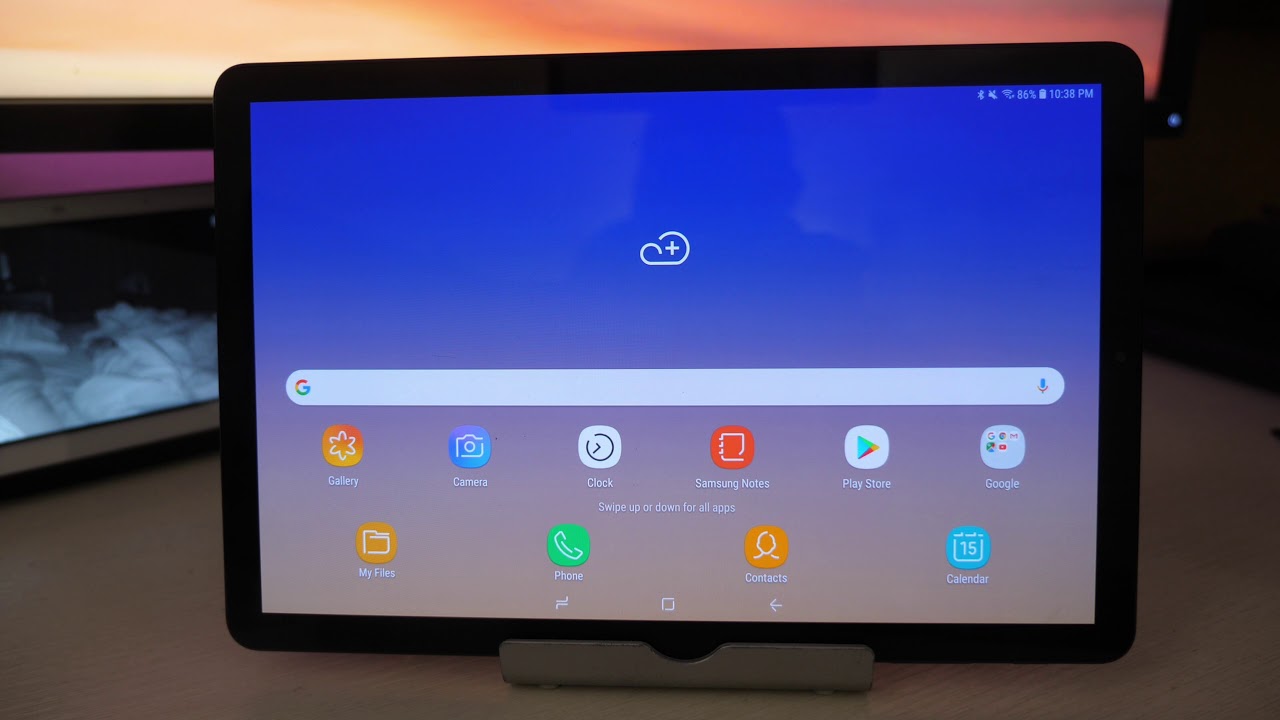
To access the settings, start by unlocking your Samsung tablet and navigating to the home screen. Look for the “Settings” app, which is represented by a gear icon. You can usually find it on the home screen or in the app drawer.
Once you’ve located the “Settings” app, tap on it to open the settings menu. This will bring you to a screen where you can customize and manage all the settings on your Samsung tablet.
If you’re using a newer Samsung tablet with Android 9 or higher, you may find the settings organized into different categories, such as “Connections,” “Display,” “Sounds and vibration,” and more. In that case, you’ll need to scroll through the options until you find the category labeled “System” or “General management.”
Once you’ve accessed the “System” or “General management” category, continue scrolling down until you locate the option for “Users” or “Accounts and backup.” This is where you’ll find the user management settings, including the ability to change the administrator.
Now that you’ve successfully accessed the settings menu, you’re ready to proceed to the next step and navigate to the section where you can change the administrator on your Samsung tablet.
Step 2: Navigating to the “Users” Section
Once you’ve accessed the settings menu on your Samsung tablet, the next step is to navigate to the “Users” section. This is where you’ll find the options related to user accounts and permissions, including the ability to change the administrator.
Scroll down the settings menu until you find the category labeled “Users” or “Accounts.” On some Samsung tablets, this category may be named “Device management” or something similar. Tapping on this category will open a new screen with options related to managing user accounts on your device.
In the “Users” or “Accounts” section, you’ll see a list of all the users currently registered on your Samsung tablet. This includes the current administrator and any other users with limited access or guest accounts.
Look for the user account that currently holds the administrator privileges. It may be labeled as “Owner” or “Primary user.” Once you’ve identified the current administrator, proceed to the next step to select and change the administrator on your Samsung tablet.
It’s important to note that in certain cases, such as when your Samsung tablet is running on a different version of Android or has a customized user interface, the location of the “Users” or “Accounts” section may vary slightly. However, the general concept remains the same, and you should be able to locate the relevant settings by exploring the options in the settings menu.
Now that you’ve successfully navigated to the “Users” section, let’s move on to the next step and learn how to choose the new administrator for your Samsung tablet.
Step 3: Choosing the Current Administrator
Now that you’ve accessed the “Users” or “Accounts” section on your Samsung tablet, it’s time to choose the current administrator. This step is crucial as it allows you to designate the user who currently holds the administrative rights on the device.
In the list of user accounts displayed in the “Users” or “Accounts” section, locate the user that is currently set as the administrator. This user will likely be labeled as “Owner” or “Primary user.”
Once you’ve identified the current administrator, tap on their name or profile picture to select them. This will open a submenu with more options related to their account.
In this submenu, you may find various options such as “Change role,” “Change permissions,” or “Edit account.” The exact wording may differ based on your Samsung tablet model or Android version. Look for an option that allows you to modify the administrator status.
Tapping on the relevant option will bring up a confirmation prompt asking if you want to continue with the change. Take a moment to review the information and make sure you are selecting the correct user as the current administrator.
Upon confirmation, the selected user will now be designated as the current administrator on your Samsung tablet. This user will gain full control and privileges over the device, allowing them to manage settings, install apps, and perform other administrative tasks.
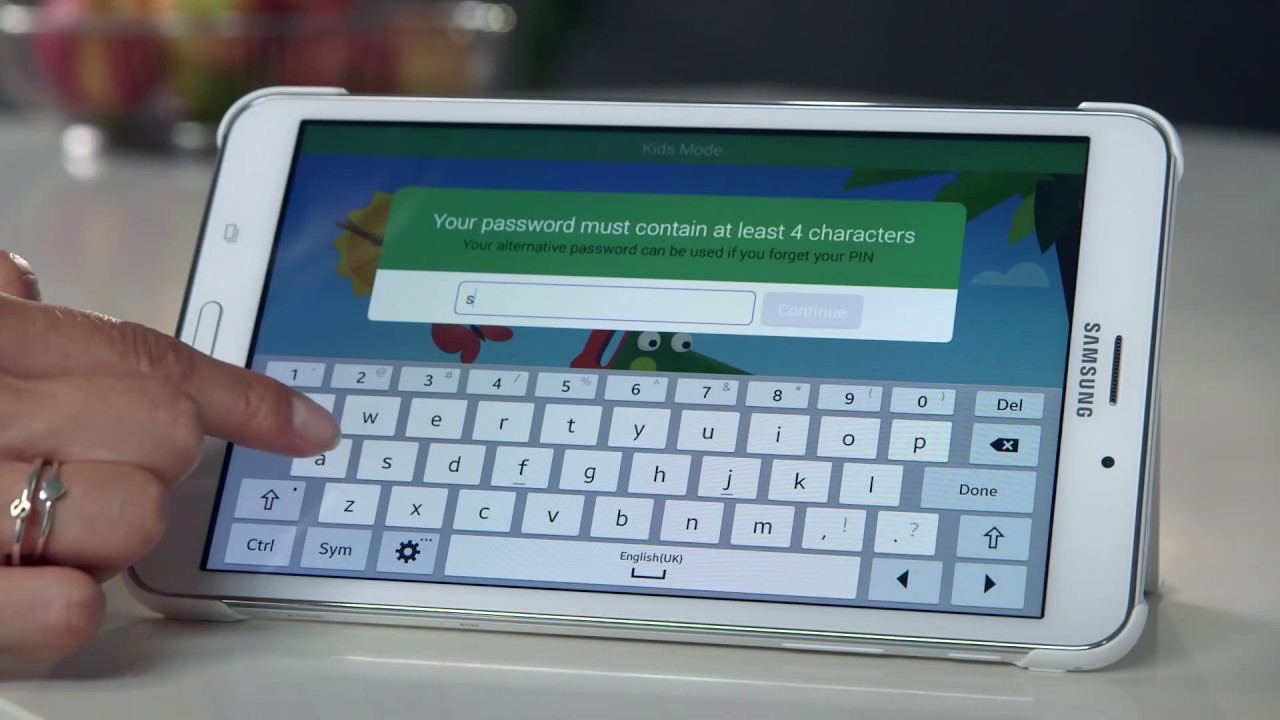
It’s important to note that changing the administrator may require you to enter a security PIN, pattern, or password to ensure you have the necessary authority to carry out this action. This is to protect the device from unauthorized changes to the administrative permissions.
Now that you’ve successfully chosen the current administrator, you’re ready to proceed to the next step and select the new administrator for your Samsung tablet.
Step 4: Selecting the New Administrator
With the current administrator selected, it’s time to choose the new administrator for your Samsung tablet. This step allows you to designate another user who will have full control and administrative privileges over the device.
In the “Users” or “Accounts” section, take a look at the list of user accounts displayed. Identify the user whom you want to assign as the new administrator. This user can be an existing account on your tablet or a new account that you create specifically for administrative purposes.
To select the new administrator, tap on their name or profile picture in the user list. This will open a submenu with additional options related to their account settings.
Look for an option such as “Change role,” “Change permissions,” or “Edit account role.” Tap on it to proceed with the process of assigning the new administrator.
In the submenu, you may be prompted to confirm the selection or make additional changes to the account’s permissions. Carefully review the options and ensure that you have selected the correct user to be the new administrator.
If required, you may need to enter your security PIN, pattern, or password to authorize the change in administrative roles. This step ensures that only authorized users can make such modifications on the device.
After confirming the selection, the chosen user will now be assigned as the new administrator on your Samsung tablet. They will have full access and control over the device, including the ability to manage settings, install apps, and perform other administrative tasks.
It’s important to note that changing the administrator may impact the access and permissions of other user accounts on the tablet. If you have multiple users, make sure to inform them about the change and clarify any adjustments they may need to make to their account settings.
Now that the new administrator has been selected, let’s move on to the next step and learn how to confirm and verify the changes on your Samsung tablet.
Step 5: Confirming the Change
After selecting the new administrator for your Samsung tablet, it’s important to confirm and finalize the change to ensure that the new user is granted the necessary administrative rights and privileges.
Once you have chosen the new administrator in the “Users” or “Accounts” section, carefully review the information displayed on the screen. Double-check that the correct user has been selected and that you are satisfied with the choice.
Next, look for a confirmation button or option that is typically labeled as “Confirm,” “Save,” or “Apply.” Tap on this button to proceed with the change and confirm the new administrator.
Depending on your Samsung tablet model and Android version, you may be prompted to enter your security PIN, pattern, or password once again to authorize the change. This is an additional security measure to ensure that only authorized users can modify the administrative roles.
Once you’ve successfully confirmed the change, a message or notification will likely appear on the screen, indicating the successful transition of administrative rights to the new user.
It’s recommended to take a moment to ensure that the new administrator account is functioning as intended. This can be done by testing various administrative tasks, such as making changes to the settings, installing apps, or accessing restricted features.
If you encounter any issues or have any concerns during the confirmation process, refer to the device’s user manual or the manufacturer’s support resources for further assistance.
Now that you’ve successfully confirmed the change, you’re one step closer to having a new administrator for your Samsung tablet. The final step involves verifying the new administrator and ensuring their access and privileges on the device.
Step 6: Verifying the New Administrator
After confirming the change of the administrator on your Samsung tablet, it’s important to verify that the new administrator has been successfully assigned and has the necessary access and privileges on the device.
To verify the new administrator, restart or power on your Samsung tablet if it was not already done during the previous steps. Once the device is booted up, proceed to unlock it using the credentials of the newly designated administrator.
Upon unlocking, navigate through the device and explore various administrative features and settings. Ensure that the new administrator has the ability to access and modify settings, install and uninstall apps, manage user accounts, and perform other administrative tasks.
You can also test specific actions that require administrative privileges, such as adjusting security settings, setting up device restrictions, or accessing restricted features or files. Verifying the new administrator’s access to these functions will ensure that they have been successfully assigned the necessary permissions.
During the verification process, keep an eye out for any error messages, restrictions, or limitations that may prevent the new administrator from accessing certain features or performing certain tasks. If any issues arise, double-check the user account settings and the steps followed during the administrator change process.
If the new administrator is unable to access desired administrative functions or encounters any unexpected limitations, consider revisiting the “Users” or “Accounts” section in the settings menu to double-check the permissions assigned to the new administrator. Make any necessary adjustments to ensure the desired access and capability is granted.
Remember that the new administrator should have full control over the device, so it is crucial to ensure that all necessary privileges have been granted.
Once you have verified that the new administrator has the proper access and control on the Samsung tablet, you have successfully completed the process of changing the administrator.
Congratulations! Now you can enjoy the benefits of having a new administrator on your Samsung tablet, allowing for efficient device management and customization according to your needs.
If you still encounter any difficulties or have further questions regarding the administrator change process, consult the device’s user manual or reach out to the manufacturer’s support for guidance.
Conclusion
Changing the administrator on your Samsung tablet is a straightforward process that allows you to transfer control and administrative privileges to another user. Whether you’re passing on the responsibilities to a different user or setting up a new administrator account, this step-by-step guide has provided you with the necessary instructions.
By accessing the settings, navigating to the “Users” section, and selecting the current and new administrators, you can easily make the necessary changes. Confirming the change and verifying the new administrator ensures that the designated user has the appropriate access and privileges.
Having an administrator who can manage settings, install apps, and perform other administrative tasks is essential for efficient device management and customization. It allows for a tailored user experience and ensures that the tablet meets your specific needs and preferences.
Remember to take precautions when making these changes, such as entering your security PIN, pattern, or password, to prevent unauthorized modifications to the administrator settings on your Samsung tablet.
If you encounter any difficulties or have any questions during the process, consult the device’s user manual or seek assistance from the manufacturer’s support team.
Now that you have successfully changed the administrator on your Samsung tablet, you can enjoy the benefits of having a new user in control. Tweak settings, manage user accounts, and customize your tablet to suit your preferences with ease.
Thank you for following this guide, and we hope it has been helpful in enabling you to change the administrator on your Samsung tablet. Embrace the new level of control and make the most out of your device!