Introduction
A Virtual Private Network (VPN) is an essential tool for online security and privacy. It creates a secure, encrypted connection between your device and the internet, ensuring that your data is protected from prying eyes. VPNs also offer the added benefit of allowing you to change your virtual location, giving you access to geo-restricted content and enabling you to browse the web as if you were in a different country.
So why would you want to change your VPN location? There are several reasons! Firstly, changing your VPN location can help you bypass online restrictions and censorship imposed by governments or organizations. Secondly, it can allow you to access content that is only available in specific regions, such as streaming services or websites that are blocked in your country. Lastly, changing your VPN location can enhance your online privacy by masking your true IP address and making it more difficult for advertisers, trackers, and hackers to track your online activities.
In this article, we will guide you through the process of changing your VPN location on various operating systems, including Windows, Mac, Android, iOS, and Linux. Whether you’re looking to access region-restricted content, bypass online censorship, or simply enhance your online privacy, we’ve got you covered. So let’s dive in and explore how to change your VPN location on different devices and platforms.
What is VPN and why do I need to change my VPN location?
A Virtual Private Network (VPN) is a powerful tool that allows you to create a secure connection to another network over the internet. It provides a layer of encryption that ensures your online activities remain private and secure, shielding your sensitive data from prying eyes. But why would you want to change your VPN location?
When you connect to a VPN server, your internet traffic is routed through that server, and it appears as if you are browsing the internet from the location of the server. This virtual location masking offers a wide range of benefits.
Firstly, changing your VPN location allows you to bypass geographical restrictions. Many online services, such as streaming platforms, restrict their content to specific regions due to copyright agreements or other legal reasons. By changing your VPN location to a country where the content is available, you can access these restricted services and enjoy a wider variety of entertainment options.
Secondly, changing your VPN location helps you protect your privacy and anonymity. By masking your true IP address and assuming the IP address of the VPN server, you can browse the web without revealing your actual location. This prevents advertisers, trackers, and even your internet service provider from monitoring and tracking your online activities.
In addition to privacy and content access, changing your VPN location can also bypass online censorship. Some countries or organizations attempt to restrict access to certain websites or services based on location or content. By using a VPN to change your virtual location, you can circumvent these restrictions and access the free and open internet without limitations.
Moreover, changing your VPN location can enhance your online security. By connecting to a server in a different country, you can protect yourself against targeted attacks and phishing attempts. Hackers targeting specific regions or individuals will have a more challenging time tracking your location and accessing your personal information.
Whether you’re looking to access restricted content, protect your privacy, bypass censorship, or enhance your security, changing your VPN location is a valuable feature. In the following sections, we will guide you through the process of changing your VPN location on different operating systems and devices.
How to change my VPN location on Windows?
Changing your VPN location on Windows is a straightforward process. Follow these step-by-step instructions to get started:
- First, make sure you have a VPN client installed on your Windows device. There are many VPN providers available, so choose one that suits your needs and install their client software.
- Launch the VPN client software and log in with your credentials.
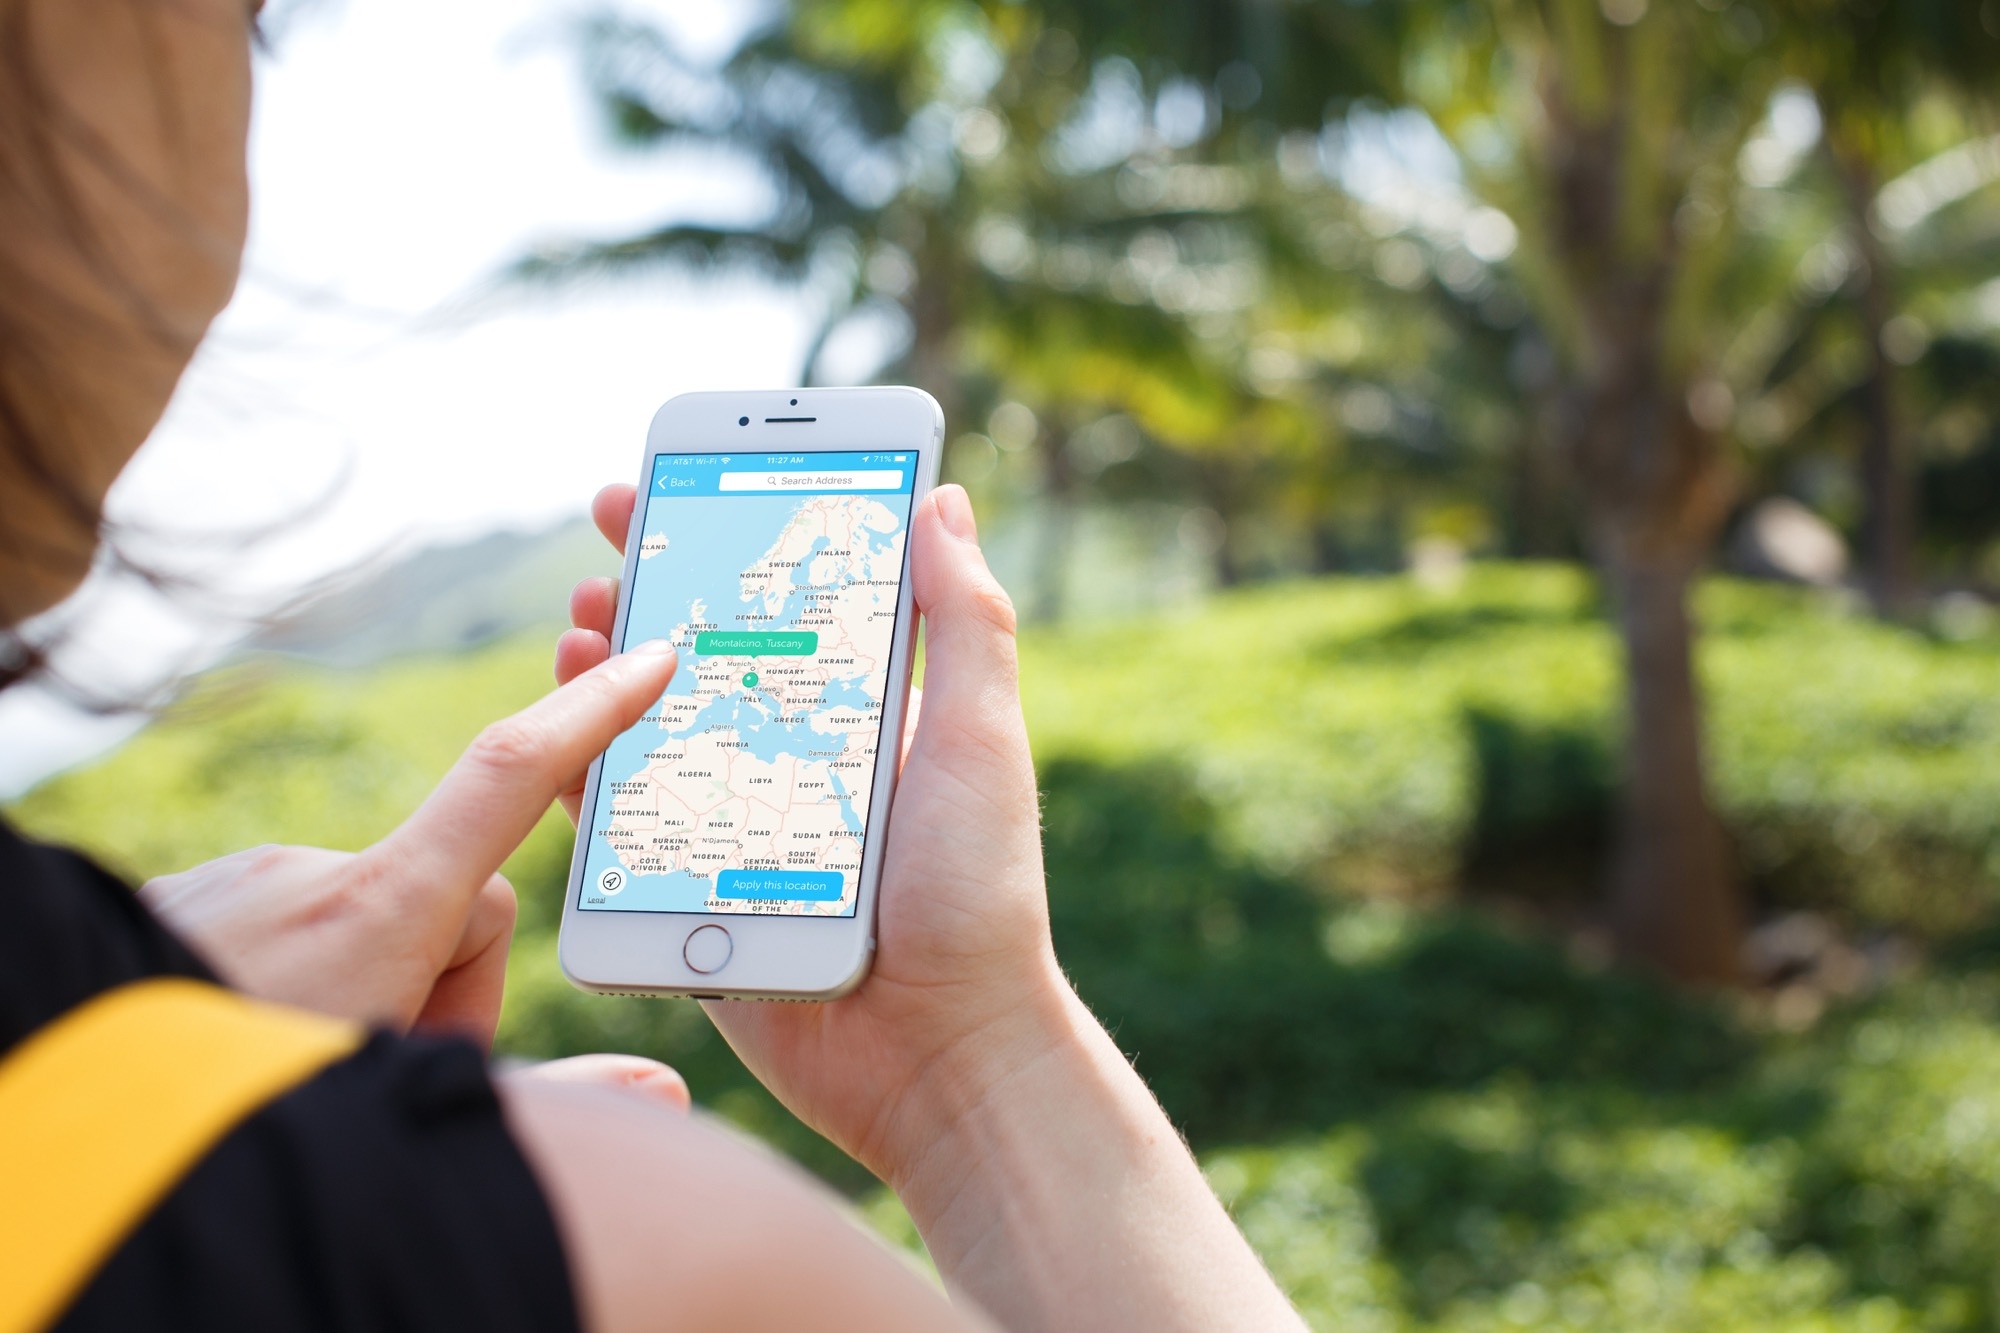
- Once you are logged in, you will typically see a list of available server locations. This list may be displayed as a dropdown menu or a map with clickable regions.
- Select the location you want to connect to from the server list. This can be a specific country or region, depending on your VPN provider and their server locations.
- Click on the “Connect” or “Go” button to initiate the connection to the selected server location.
- Wait for the VPN client to establish a connection to the server. This process usually takes a few seconds and may display a progress bar or indicator.
- Once the connection is established, you will now appear to be browsing the internet from the location you selected. You can confirm this by visiting a geo-location website or checking your IP address.
- To change your VPN location again, simply disconnect from the current server and repeat the steps above to connect to a different server location.
Remember, the available server locations may vary depending on your VPN provider. Some providers offer a wide range of servers in different countries, while others may have a more limited selection. Take the time to explore and choose the server location that best suits your needs.
Changing your VPN location on Windows allows you to access region-restricted content, protect your privacy, and enhance your online security. Whether you want to stream content from a different country or browse the web anonymously, the ability to change your VPN location gives you the flexibility and control over your online presence.
How to change my VPN location on Mac?
If you’re using a Mac and want to change your VPN location, follow these simple steps:
- Start by ensuring you have a VPN client installed on your Mac. There are numerous VPN providers available, so choose one that suits your preferences and install their dedicated Mac client.
- Launch the VPN client software and log in using your account credentials.
- Once you’re logged in, you’ll typically see a list of available server locations. This list may be displayed as a dropdown menu or a map with clickable regions.
- Select the desired location you want to connect to from the server list. This could be a specific country or a region, depending on your VPN provider and their server availability.
- Click on the “Connect” or “Go” button to initiate the connection to the chosen server location.
- Wait for the VPN client to establish a connection to the server. This process usually takes a few seconds and may display a progress indicator or notification.
- Once the connection is established, your internet traffic will appear to be originating from the location you selected. You can verify this by visiting a geo-location website or checking your IP address.
- To change your VPN location again, simply disconnect from the current server and repeat the steps above to connect to a different server location.
It’s important to note that the available server locations may vary depending on your VPN provider. Some providers offer a wide range of servers in different countries, while others may have a more limited selection. Take the time to explore and choose the server location that suits your needs.
Changing your VPN location on Mac allows you to bypass geo-restrictions, protect your privacy, and enhance your online security. Whether you want to access content only available in specific regions or browse the web anonymously, the ability to change your VPN location provides you with greater flexibility and control over your online experience.
How to change my VPN location on Android?
If you’re using an Android device and want to change your VPN location, follow these steps:
- Begin by downloading and installing a VPN app from the Google Play Store. There are numerous VPN providers to choose from, so select one that meets your requirements and install their app on your Android device.
- Open the VPN app and sign in using your account credentials.
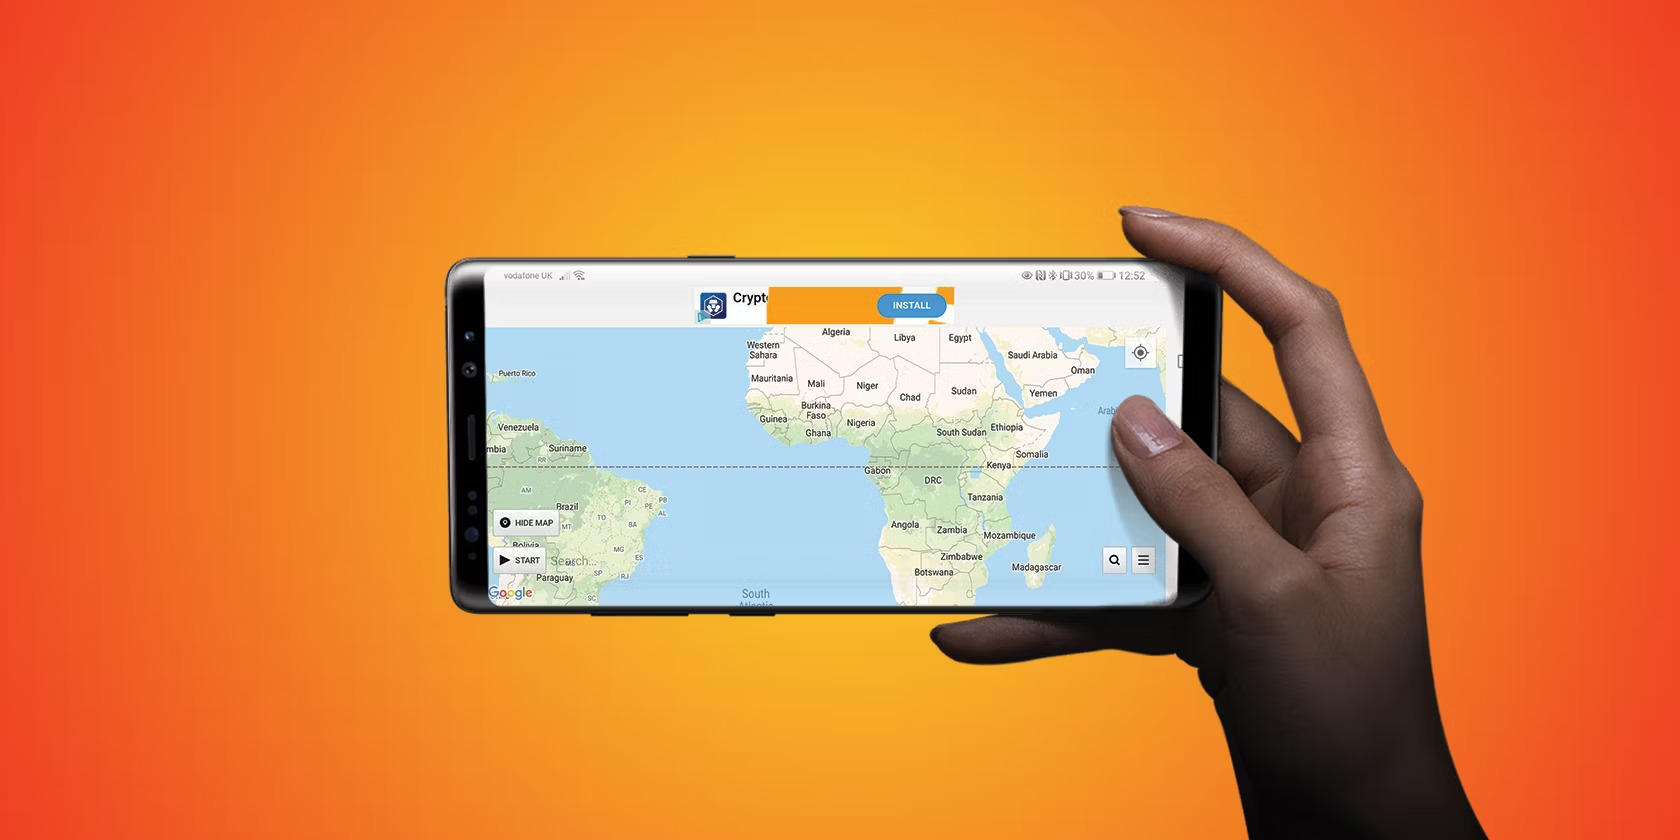
- Once you’re logged in, you’ll typically see a list of available server locations. This may be presented as a dropdown menu, a list, or even a world map.
- Select the desired location you want to connect to from the server list. This could be a specific country or a region, depending on the VPN provider and their server infrastructure.
- Tap on the “Connect” or “Go” button to establish a connection to the chosen server location.
- Wait for the VPN app to establish a secure connection with the server. This usually takes a few seconds and may display a connection status or notification.
- Once the connection is established, your Android device will appear to be accessing the internet from the location you selected. You can verify this by visiting a geo-location website or checking your IP address.
- To change your VPN location again, simply disconnect from the current server and repeat the steps above to connect to a different server location.
It’s important to note that the available server locations may vary depending on the VPN provider. Some VPN services offer a wide range of servers in different countries, while others have a more limited selection. Take the time to explore and choose the server location that best suits your needs.
Changing your VPN location on Android provides you with the ability to bypass geo-restrictions, protect your privacy, and enhance your online security. Whether you want to access region-restricted content or browse the internet anonymously, the option to change your VPN location gives you more control over your online experience.
How to change my VPN location on iOS?
If you’re using an iOS device and want to change your VPN location, follow these steps:
- Start by opening the App Store on your iOS device and downloading a VPN app. There are numerous VPN providers available, so choose one that meets your needs and install their app on your iPhone or iPad.
- Once the VPN app is installed, open it and sign in using your account credentials.
- After logging in, you’ll usually see a list of available server locations. This list may be displayed as a dropdown menu, a list, or even a map.
- Select the desired location you want to connect to from the server list. This can be a specific country or region, depending on the VPN provider and their server network.
- Tap on the “Connect” or “Go” button to establish a connection to the chosen server location.
- Wait for the VPN app to establish a secure connection with the server. This process typically takes a few seconds and may display a connection status or notification.
- Once the connection is established, your iOS device will appear to be browsing the internet from the location you selected. You can confirm this by visiting a geo-location website or checking your IP address.
- To change your VPN location again, simply disconnect from the current server and repeat the steps above to connect to a different server location.
It’s important to note that the available server locations may differ depending on the VPN provider you choose. Some VPN services offer a wide range of servers in various countries, while others have a more limited selection. Take the time to explore and choose the server location that best suits your preferences.
Changing your VPN location on iOS allows you to bypass geo-restrictions, maintain your privacy, and improve your online security. Whether you want to access content that is only available in certain regions or browse the internet anonymously, the ability to change your VPN location on your iOS device gives you more control over your online experience.
How to change my VPN location on Linux?
If you’re using a Linux-based operating system and want to change your VPN location, follow these steps:
- Start by installing a VPN client on your Linux device. There are several VPN providers that offer dedicated Linux clients, so choose one that suits your needs and install their client software.
- Open the VPN client and log in using your account credentials.
- Once you’re logged in, you’ll typically see a list of available server locations. This list may be displayed as a dropdown menu, a list of countries, or even a map.
- Select the desired location you want to connect to from the server list. This could be a specific country or a region, depending on the VPN provider and their server network.
- Click on the “Connect” or “Go” button to establish a connection to the chosen server location.
- Wait for the VPN client to establish a secure connection with the server. This process usually takes a few seconds and may display a connection status or notification.
- Once the connection is established, your Linux device will appear to be accessing the internet from the location you selected. You can verify this by visiting a geo-location website or checking your IP address.
- To change your VPN location again, simply disconnect from the current server and repeat the steps above to connect to a different server location.
It’s worth noting that the available server locations may vary depending on the VPN provider. Some VPN services offer a wide range of servers in different countries, while others have a more limited selection. Take the time to explore and choose the server location that best fits your needs.
Changing your VPN location on Linux enables you to bypass geographical restrictions, protect your privacy, and enhance your online security. Whether you want to access region-restricted content or browse the web anonymously, the ability to change your VPN location on Linux devices provides you with greater control over your online experience.
Tips for choosing the best VPN location for your needs
When it comes to choosing the best VPN location for your needs, consider the following tips:
- Consider your intended use: Determine why you want to change your VPN location. Are you looking to access region-specific content or bypass online censorship? Knowing your specific purpose will help guide your decision.
- Geographical restrictions: If you’re trying to access content that is only available in certain countries or regions, choose a VPN location that aligns with the geographic restrictions imposed by the content provider.
- Server availability: Check the VPN provider’s server network and ensure they have servers in the countries or regions you’re interested in. A wide selection of server locations gives you greater flexibility.
- Speed and latency: Connect to a server that offers good speed and low latency. Selecting a server that is closer to your physical location can result in faster connection speeds.
- Privacy regulations: Research the privacy regulations of the country where the VPN server is located. Some jurisdictions may have stricter data retention laws, potentially impacting your online privacy.
- Security and encryption: Ensure that the VPN provider uses strong encryption protocols to protect your data. Look for providers that offer advanced security features such as DNS leak protection and a kill switch.
- Trial or money-back guarantee: Consider choosing a VPN provider that offers a trial period or a money-back guarantee. This allows you to test their service and switch locations if needed.
- Server load and performance: Check if the VPN provider’s servers are overcrowded or experiencing performance issues. Avoid servers that are consistently overloaded, as it may negatively affect your browsing experience.
- Customer support: Assess the VPN provider’s customer support options. Look for providers that offer responsive customer support channels, such as live chat or email, in case you encounter any issues or have questions.
- Keep experimenting: Don’t be afraid to try different VPN server locations to find the one that best meets your needs. Experimenting with different locations can help you optimize your browsing experience.
By considering these tips, you can choose the best VPN location that aligns with your specific requirements, whether it’s accessing content, enhancing your privacy, or improving your online security.
Conclusion
Changing your VPN location is a valuable feature that provides numerous benefits. Whether you want to access region-restricted content, protect your privacy, or enhance your online security, the ability to change your virtual location gives you greater control over your online experience.
Throughout this article, we have explored how to change your VPN location on different operating systems, including Windows, Mac, Android, iOS, and Linux. By following the step-by-step instructions provided, you can easily configure your VPN client to connect to your desired server location.
Remember to consider your specific needs when choosing a VPN location. Factors such as geographical restrictions, server availability, speed, privacy regulations, and security should all be taken into account. By selecting the right VPN location, you can enjoy unrestricted access to content, protect your online privacy, and ensure a secure browsing experience.
Don’t be afraid to experiment and try out different server locations to find the one that works best for you. VPN technology offers a flexible and dynamic solution, allowing you to change your location at any time and adapt to your evolving needs.
So, whether you’re an avid streamer seeking access to global content libraries or a privacy-conscious user who wants to browse the web anonymously, changing your VPN location is a powerful tool that can greatly enhance your online experience. Take advantage of this feature and unlock a world of possibilities.


