Introduction
Welcome to this guide on how to change your desktop’s HDD to an SSD. If you’ve been experiencing slow boot times and sluggish performance, upgrading your hard drive to a solid-state drive (SSD) can significantly improve your computer’s speed and responsiveness. With the advancements in technology, SSDs have become more affordable and offer faster data transfer rates, making them an excellent choice for upgrading your desktop.
In this guide, we will walk you through the step-by-step process of replacing your HDD with an SSD in your desktop. This upgrade will not only enhance your computer’s performance but also provide additional storage space and increase the overall lifespan of your system.
Before we dive into the steps, it’s important to note that this guide is tailored for desktop computers. If you have a laptop, the process may vary, and it’s recommended to consult your laptop’s user manual or seek professional assistance.
Make sure to follow each step carefully to avoid any potential damage to your computer components. Keep in mind that opening your desktop case and working with its internal components might void any existing warranties, so proceed with caution.
Now that we’ve set the stage, let’s move on to gathering the necessary tools and materials for this upgrade.
Step 1: Gather the necessary tools and materials
Before you begin the process of changing your desktop’s HDD to an SSD, you’ll need to have the following tools and materials ready:
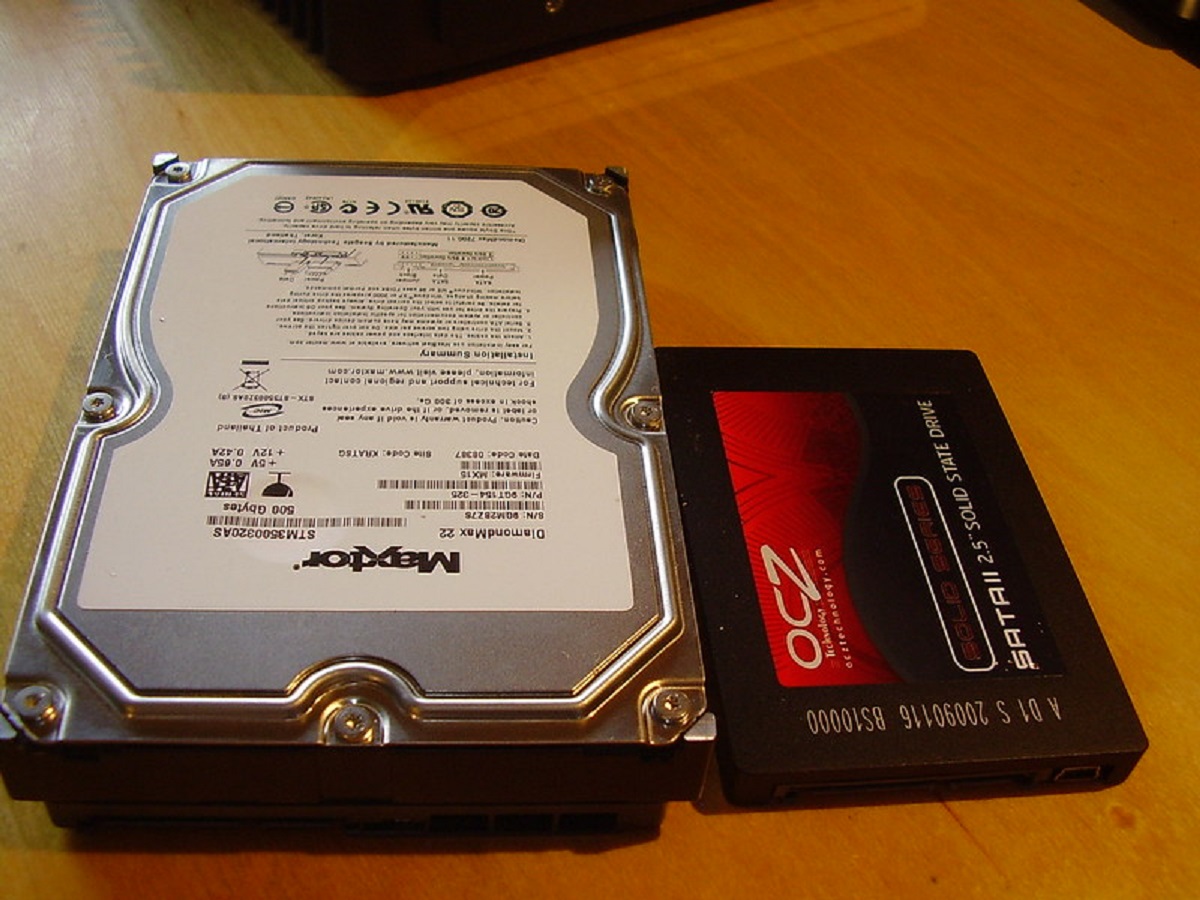
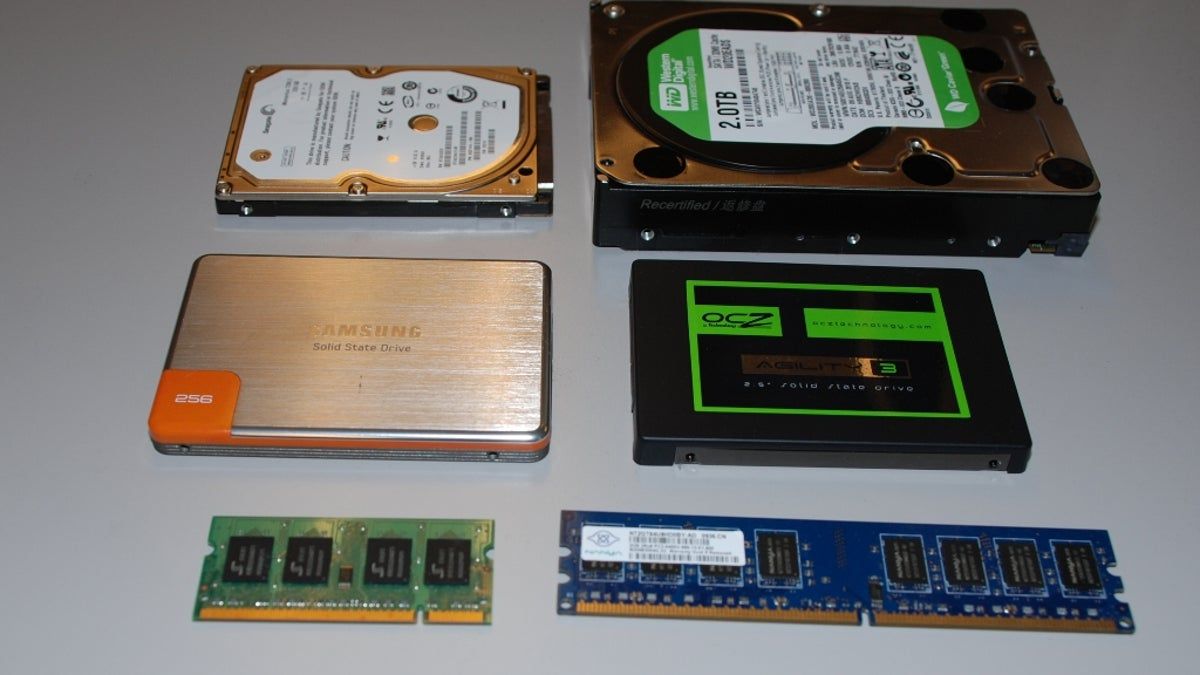
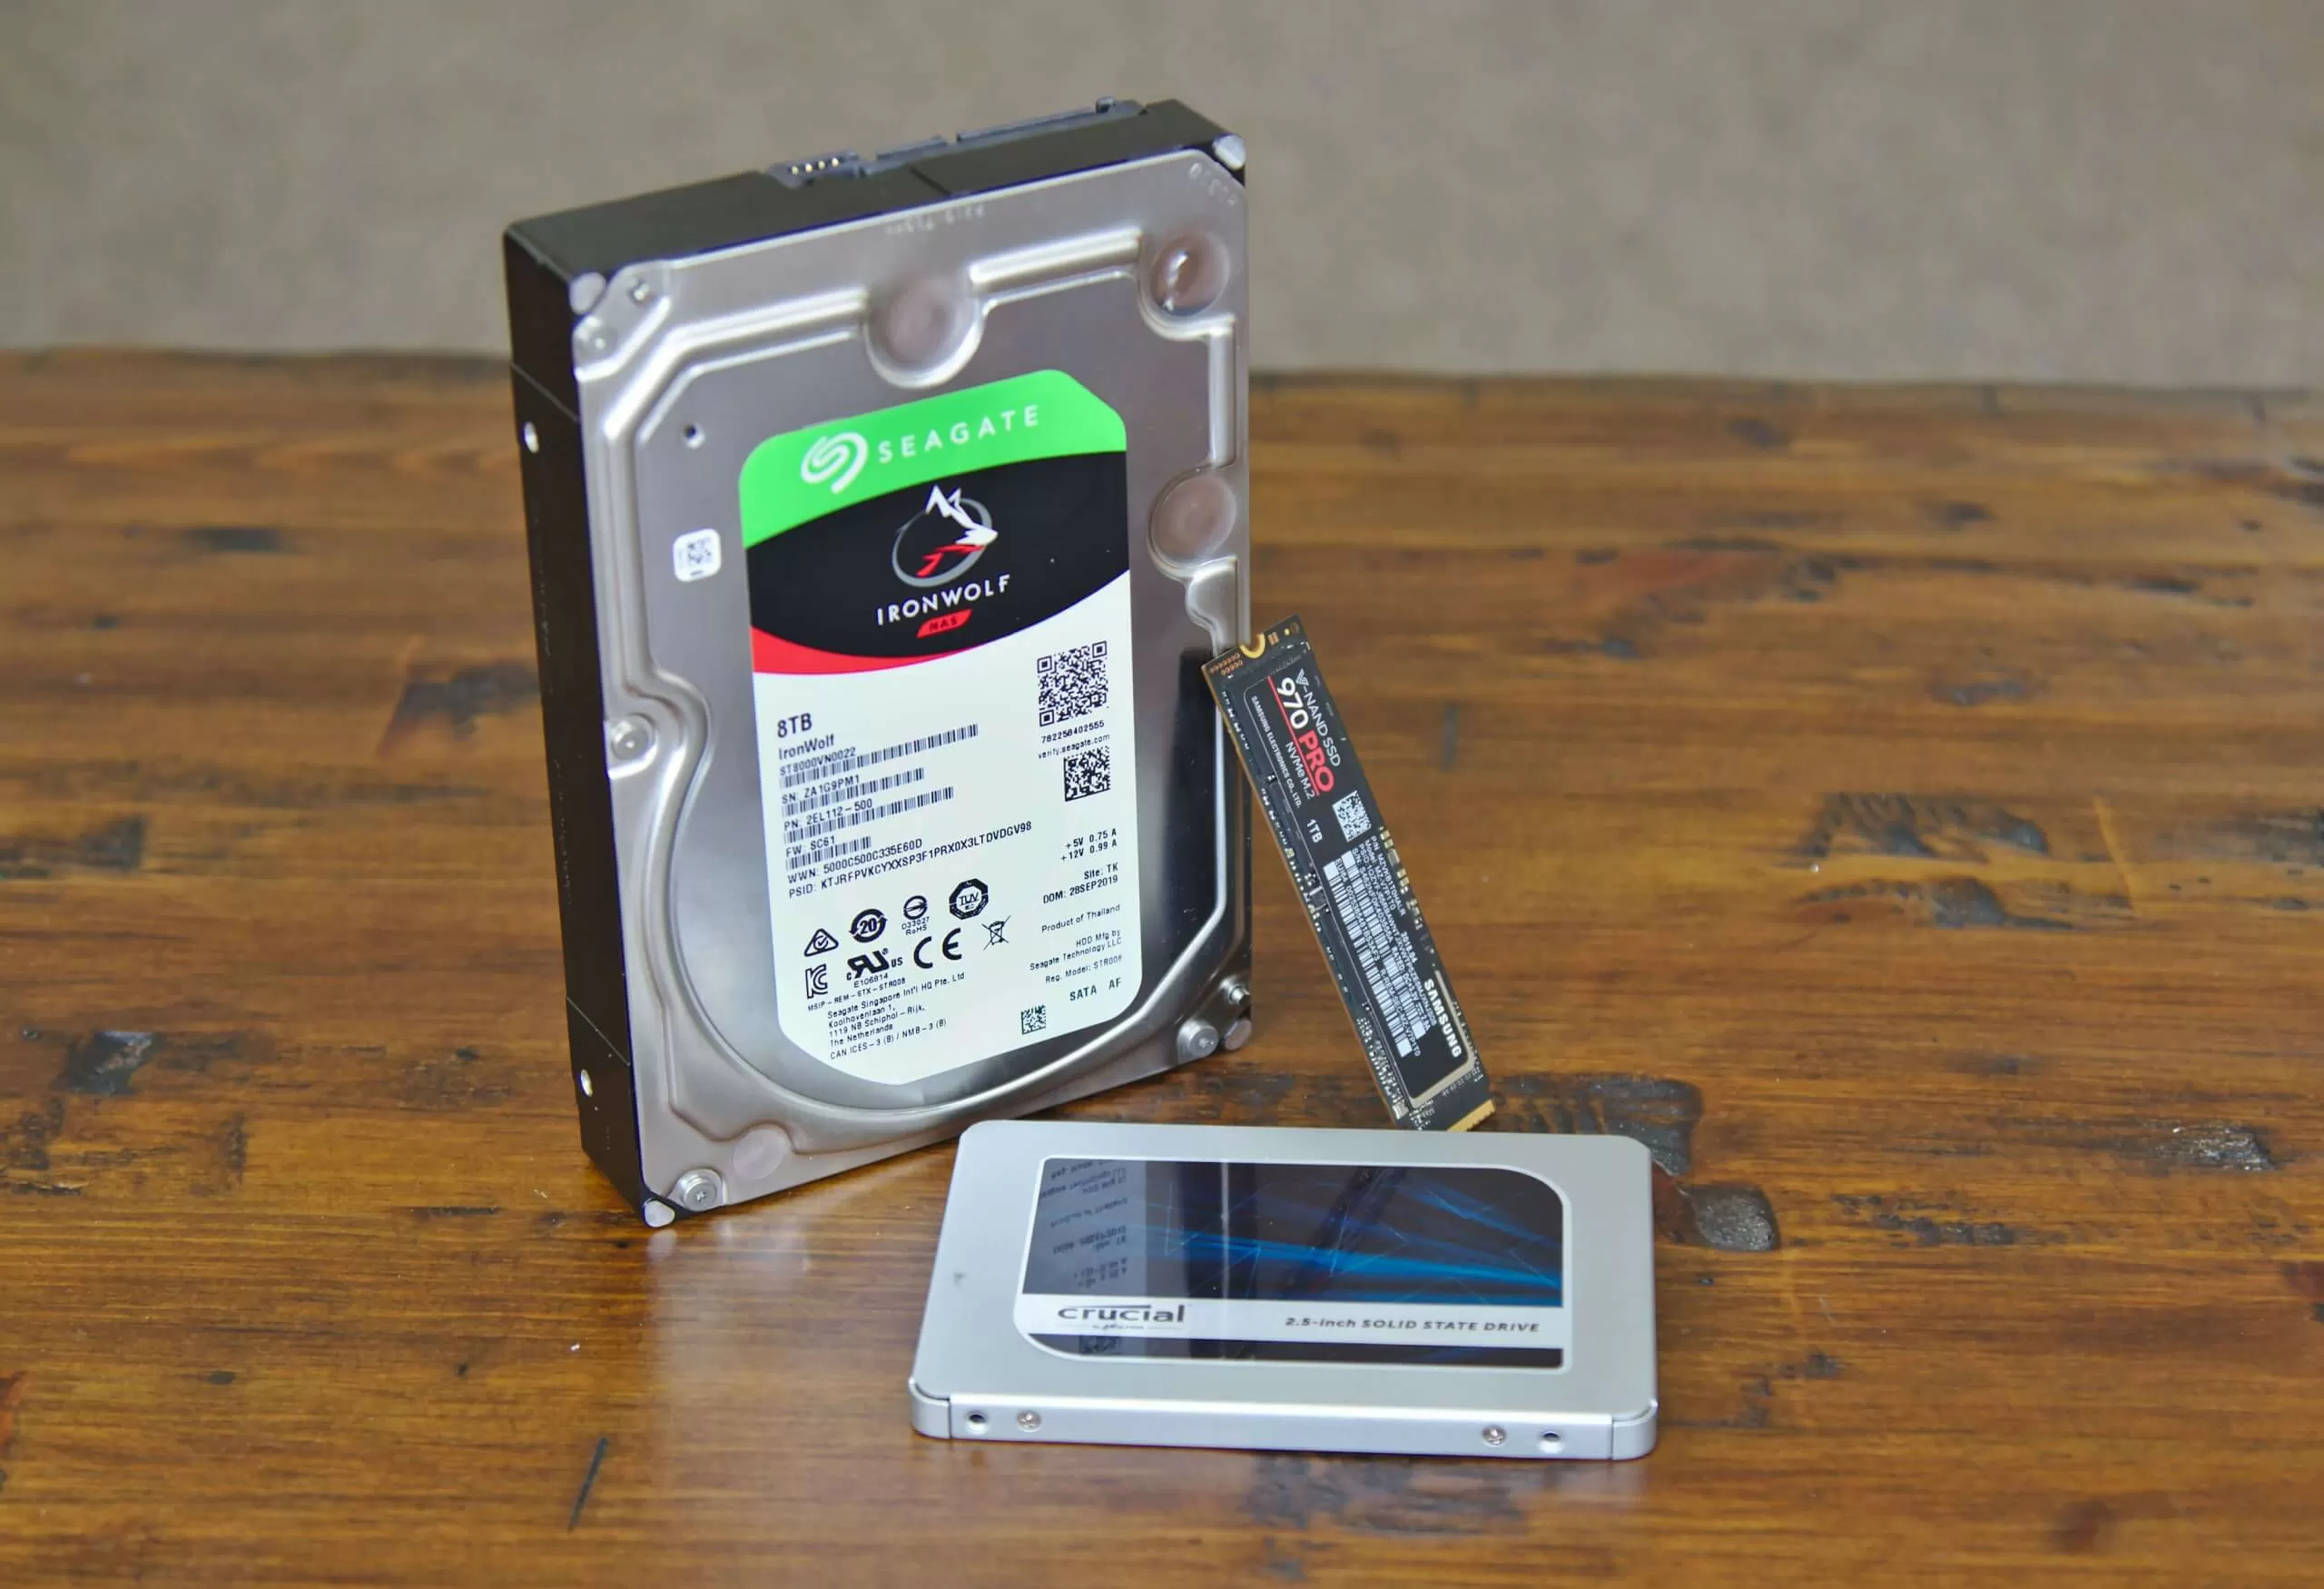
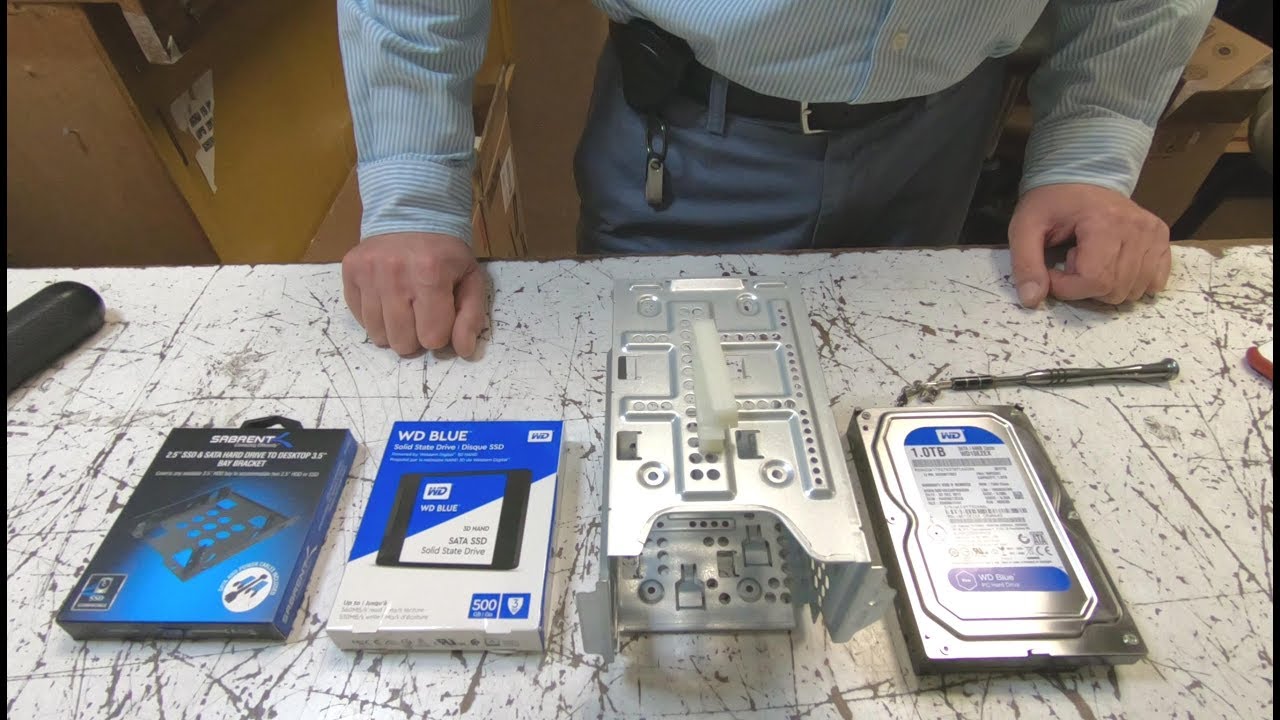
- SSD: Purchase a compatible SSD with sufficient storage capacity to meet your needs. Consider factors such as read/write speeds and reliability when selecting your SSD.
- Screwdriver: Depending on your desktop model, you may need a Phillips head screwdriver or a Torx screwdriver to open the case.
- External storage device: It’s essential to back up your data before making any hardware changes. An external hard drive or USB flash drive will come in handy for this purpose.
- SATA cable: You may need a SATA data cable if your SSD doesn’t come with one or if you want to replace the existing cable.
- SATA power cable: Similarly, you might require a SATA power cable if your power supply unit doesn’t have an available connector for the SSD.
- Anti-static wristband: Static electricity can damage sensitive computer components. An anti-static wristband ensures that you are grounded while working inside the desktop case.
- Cleaning cloth or compressed air: Prepare a soft cleaning cloth or compressed air to remove any dust or debris from the desktop case and components.
Once you have all the necessary tools and materials, you’re ready to move on to the next step: backing up your data. It’s crucial to safeguard your files and programs before proceeding with any hardware modifications.
Step 2: Backup your data
Before making any changes to your desktop’s hard drive, it’s essential to backup all your valuable data. This step ensures that you don’t risk losing any important files or programs during the upgrade process.
There are multiple options available for backing up your data:
- External storage device: Connect an external hard drive or USB flash drive to your desktop and transfer all essential files and folders to the external device. Make sure to organize and label the backup for easy retrieval.
- Cloud storage: Utilize cloud storage services such as Google Drive, Dropbox, or Microsoft OneDrive to store your files securely online. Upload all necessary data to the cloud and ensure that it’s synced and accessible.
- Disk imaging software: Install disk imaging software like Acronis True Image or Macrium Reflect to create a complete image of your HDD. This method allows you to restore your entire system, including the operating system and installed programs, to the new SSD.
Choose the method that works best for you based on your storage requirements and familiarity with the backup process. Whichever approach you select, ensure that your backup is successfully completed, and you can restore your data if needed.
Remember, backing up your data is a crucial step to prevent any potential loss of files or data during the hardware upgrade. Once you have a verified backup, you can proceed confidently to the next step: shutting down and disconnecting your desktop.
Step 3: Shut down and disconnect the desktop
Before you begin working inside your desktop case, it’s important to shut down your computer properly and disconnect it from any power source. Follow these steps to ensure a safe and smooth process:
- Save and close any open programs or files to avoid data loss.
- Click on the “Start” button in the bottom left corner of your screen and select “Shut down” or “Restart” from the options provided.
- Wait for your computer to completely shut down before proceeding further. You can verify this by ensuring that all fans and lights have stopped moving or glowing.
- Once your computer is powered off, unplug the power cable from the back of your desktop or disconnect the power supply unit from the power outlet.
- Take a moment to discharge any residual power by pressing and holding the power button on your computer for about 10 seconds. This helps prevent any electrical shocks or damage to the internal components.
By following these steps, you ensure that your desktop is completely powered down and disconnected, reducing the risk of electrical accidents or damage during the upgrade.
Now that your desktop is safely shut down and disconnected, it’s time to move on to the next step: opening the desktop case. This allows access to the internal components of your computer.
Step 4: Open the desktop case
To access the internal components of your desktop, you’ll need to open the desktop case. Follow these steps to ensure a safe and proper opening:
- Identify the screws or clasps that hold the case together. These are typically located on the back or side panel of the desktop.
- Using a screwdriver or the appropriate tool, remove the screws or unclasp the clasps that secure the case. Set aside the screws in a safe place to avoid losing them.
- Once the screws or clasps are removed, gently slide or lift off the side or back panel of the desktop case. Be cautious as some cases may have sharp edges or delicate components inside.
- Take a moment to familiarize yourself with the internal layout of the desktop. Locate the area where the hard drive is installed. It may be positioned vertically or horizontally, depending on the case design.
Opening the desktop case provides you with access to the internal components and allows you to proceed with removing the existing HDD and installing the new SSD. Remember to handle the case and the internal components with care and be mindful of static electricity. If you have an anti-static wristband, now is the time to put it on to discharge any static electricity from your body.
Now that you have successfully opened the desktop case, it’s time to move on to the next step: locating the HDD and SSD slots. This step will help you identify where the hard drive is currently installed and where the new SSD will go.
Step 5: Locate the HDD and SSD slots
Now that you have the desktop case open, it’s time to locate the slots where the HDD and SSD are installed. These slots are usually located near the front or bottom of the case, but the exact placement may vary depending on the model or brand of your desktop.
Follow these steps to locate the HDD and SSD slots:
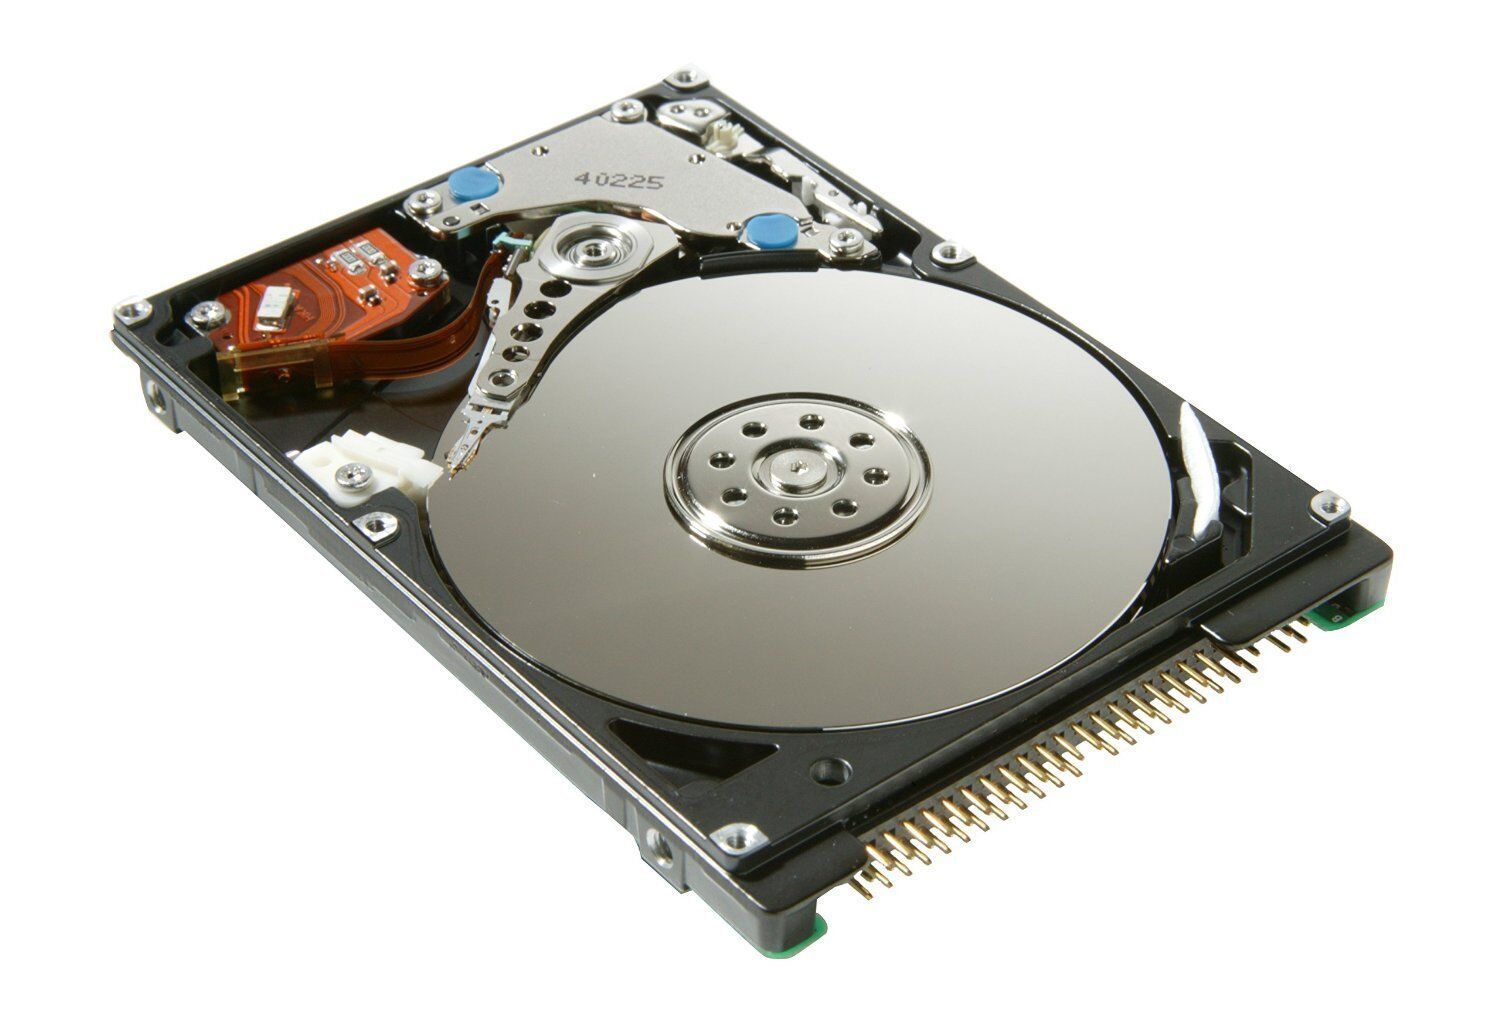
- Inspect the internal layout of your desktop. Look for the existing HDD, which is usually a larger rectangular-shaped component with cables connected to it.
- Next, locate the SSD slot. This may be a separate bay or a designated area to install the SSD. It is typically smaller and closer to the motherboard.
- Ensure that you have a clear view of both the HDD and SSD slots. Take note of any cables or connections that are currently attached to the HDD.
Identifying the HDD and SSD slots is crucial as it helps you understand the current configuration of your desktop and plan the installation of the new SSD. Take a moment to familiarize yourself with the positioning and connections before proceeding to the next steps.
With the HDD and SSD slots located, you are now ready to move on to the next step: removing the existing HDD from your desktop.
Step 6: Remove the HDD
Now that you have located the HDD slot and have a clear understanding of its connections, it’s time to remove the existing HDD from your desktop. Follow these steps carefully to ensure a smooth removal process:
- Identify the SATA data cable that connects the HDD to the motherboard. It will be a thin, flat cable running from the HDD to a port on the motherboard.
- Gently disconnect the SATA data cable from the HDD by firmly pulling the connector straight out from the port. Avoid unnecessary twisting or bending of the cable to prevent any damage.
- Locate the SATA power cable that supplies power to the HDD. This cable will generally have multiple connectors branching out from a single cable from the power supply unit.
- Detach the SATA power cable from the HDD by firmly pulling the connector straight out. Again, be careful not to twist or bend the cable excessively.
- Once the data and power cables are disconnected, carefully slide out the HDD from its slot. Some cases may require removing additional screws or brackets that secure the HDD in place. Refer to the case manual or documentation if needed.
With the HDD now removed from the desktop, keep it in a safe place as a backup or for future use. Remember to handle the HDD with care, ensuring it is placed on an anti-static surface to prevent any electrostatic discharge.
Now that you have successfully removed the existing HDD from your desktop, it’s time to proceed with the next step: installing the new SSD.
Step 7: Install the SSD
With the existing HDD removed, it’s time to install the new SSD into your desktop. Follow these steps to ensure a proper installation:
- Take the new SSD and carefully align it with the SSD slot in your desktop. Pay attention to any notches or grooves on the SSD and the slot so that they match up.
- Gently slide the SSD into the slot until it is securely in place. You should feel a slight click or resistance when the SSD is properly inserted.
- If necessary, secure the SSD in place using any screws or brackets provided with your desktop case. Refer to the case manual or documentation for the specific installation instructions.
It’s important to ensure that the SSD is firmly and securely installed in the slot to prevent any movement or improper connections. Take a moment to visually inspect the SSD to confirm its proper positioning.
Now that the new SSD is installed in your desktop, you are ready to move on to the next step: connecting the necessary cables.
Step 8: Connect the cables
With the new SSD securely installed in your desktop, it’s time to connect the necessary cables to ensure proper functionality. Follow these steps to complete the cable connections:
- Locate the SATA data cable that came with your new SSD. It will be a thin, flat cable with connectors on both ends.
- Connect one end of the SATA data cable to the SATA port on the SSD. The port is generally located near the power connector and labeled as “SATA”. Ensure that the connector is aligned properly and insert it firmly.
- Connect the other end of the SATA data cable to an available SATA port on the motherboard. These ports are usually labeled with numbers or letters, such as SATA 1, SATA 2, etc. Consult your motherboard manual if you’re unsure which port to use.
- Next, locate the SATA power cable that runs from the power supply unit. Connect one of the SATA power connectors to the SSD’s power port, ensuring a secure and snug fit.
Take a moment to double-check the connections and ensure that all cables are securely plugged in. Properly connected data and power cables are essential for the SSD to function correctly.
With the necessary cables connected, you have completed the installation of the new SSD. Now, it’s time to move on to the next step: closing the desktop case.
Step 9: Close the desktop case
Now that you have completed the installation of the new SSD and ensured all necessary connections are secure, it’s time to close the desktop case. Follow these steps to properly close and secure the case:
- Take the side or back panel that you removed earlier and carefully align it with the case.
- Once aligned, gently slide or push the panel back into place. Ensure that the panel is flush with the rest of the case and that any tabs or clasps are securely engaged.
- If your case requires screws to secure the panel, use the appropriate screwdriver to insert and tighten the screws. Be careful not to overtighten, as it may damage the case or strip the screw threads.
It’s important to ensure that the desktop case is properly closed and secured to protect the internal components from dust, debris, and potential damage. Once the case is closed, it’s time to move on to the final step: powering up and configuring the SSD.
Before proceeding, quickly double-check that all cables and connections are secure and that there are no loose components inside the case. This will help prevent any potential issues or damage when powering up the computer.
Step 10: Power up and configure the SSD
With the desktop case closed, you are now ready to power up your computer and configure the newly installed SSD. Follow these steps to ensure a proper initialization and setup:
- Plug in the power cable to the back of your desktop and insert the power supply unit into a power outlet.
- Press the power button on your desktop to start the computer. You should see the manufacturer’s logo or a startup screen indicating that the computer is booting up.
- Access the BIOS or UEFI settings by pressing the designated key when prompted during the boot process. This key is usually displayed on the startup screen and can be a combination of keys, such as F2, Del, or Esc.
- Navigate to the “Boot” or “Boot Priority” section in the BIOS/UEFI settings and ensure that the SSD is recognized as the primary boot device. If necessary, adjust the boot order to prioritize the SSD over the previous HDD or any other devices.
- Save the changes in the BIOS/UEFI settings and exit. This will restart your computer.
- Once your computer has restarted, it will boot from the SSD. You may need to install the operating system if you did not clone the HDD to the new SSD. Follow the on-screen prompts to complete the OS installation.
- After the OS installation is complete, it’s recommended to update the firmware of the SSD to ensure optimal performance. Visit the manufacturer’s website and download any available firmware updates specifically for your SSD model.
- Lastly, restore your backed-up data to the new SSD. Transfer files and reinstall programs from your backup device or cloud storage to the appropriate directories on the SSD.
Congratulations! You have successfully powered up your computer with the newly installed SSD and configured it for optimal performance. Enjoy the improved speed and responsiveness of your desktop.
Remember to periodically update the firmware of your SSD and maintain regular backups to ensure the safety and longevity of your data.
Conclusion
Congratulations on successfully changing your desktop’s HDD to an SSD! By following the step-by-step process outlined in this guide, you have significantly improved your computer’s performance and responsiveness.
We started by gathering the necessary tools and materials, including the SSD, screwdriver, external storage device, SATA cables, and anti-static wristband. Then, we proceeded to back up your data to ensure its safety during the hardware upgrade.
After shutting down and disconnecting your desktop, we opened the case and located the HDD and SSD slots. We carefully removed the HDD and installed the new SSD in its place. The necessary data and power cables were connected securely to the SSD.
Next, we closed the desktop case, ensuring that all panels and screws were properly aligned and tightened. Finally, we powered up the computer, accessed the BIOS/UEFI settings to configure the SSD as the primary boot device, and installed the operating system.
With the new SSD up and running, you can now enjoy faster boot times, quicker application launches, and improved overall performance of your desktop.
Remember to keep the firmware of your SSD up to date and regularly back up your data to protect against any unforeseen issues.
Thank you for following this guide, and we hope it has been helpful in your journey to upgrading your desktop’s HDD to an SSD. Happy computing!